★★★★★ Rated 5 out of 5
Canon EOS 60D Infrared Conversion DIY Tutorial and Disassembly Guide
Difficulty
Moderate
Steps
15
Time Required
15 minutes
Small Phillips Screwdriver
Small Torx Screwdriver set
Depth Gauge Measuring Scale
Tweezers
Grounding strap with current limit resistor
Grounded work mat (optional but recommended)
Canned/compressed air
Sensor wet cleaning solution and tissue
Capacitor Discharge Tool
Introduction
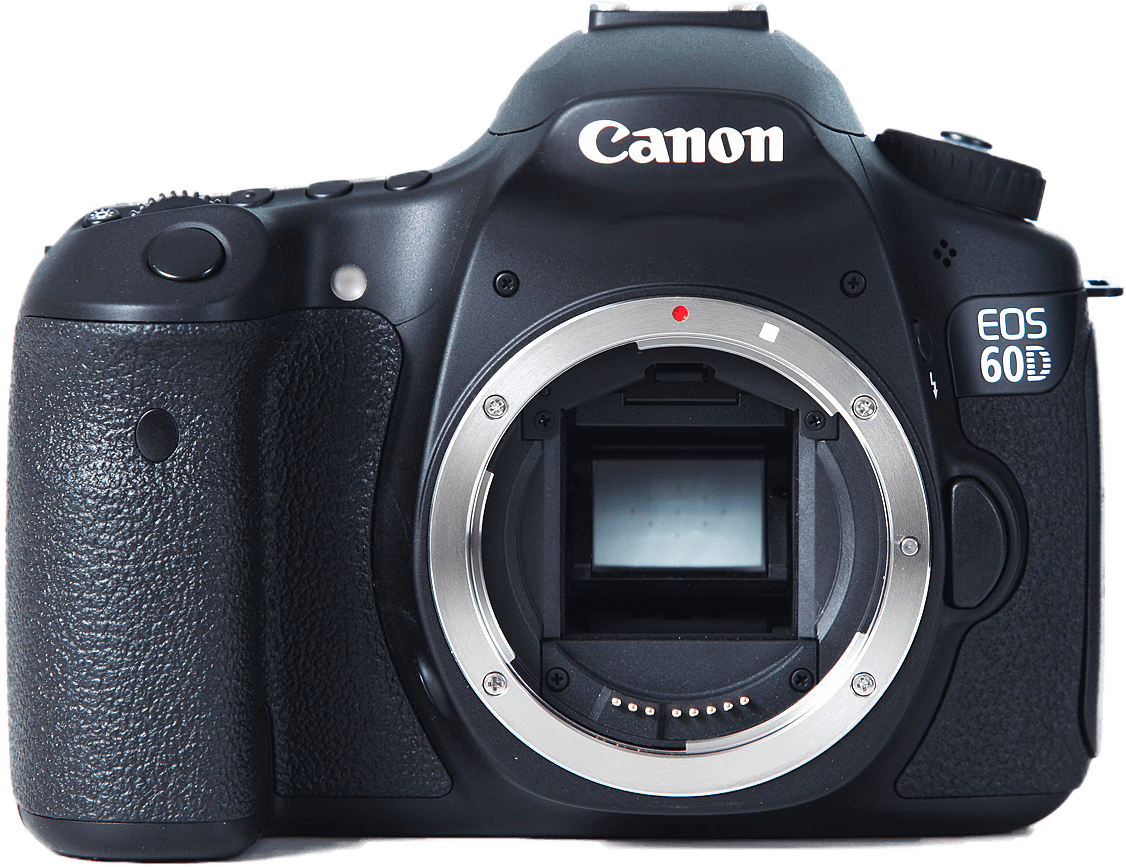
DIY tutorial of the Canon EOS 60D
1
Step 1
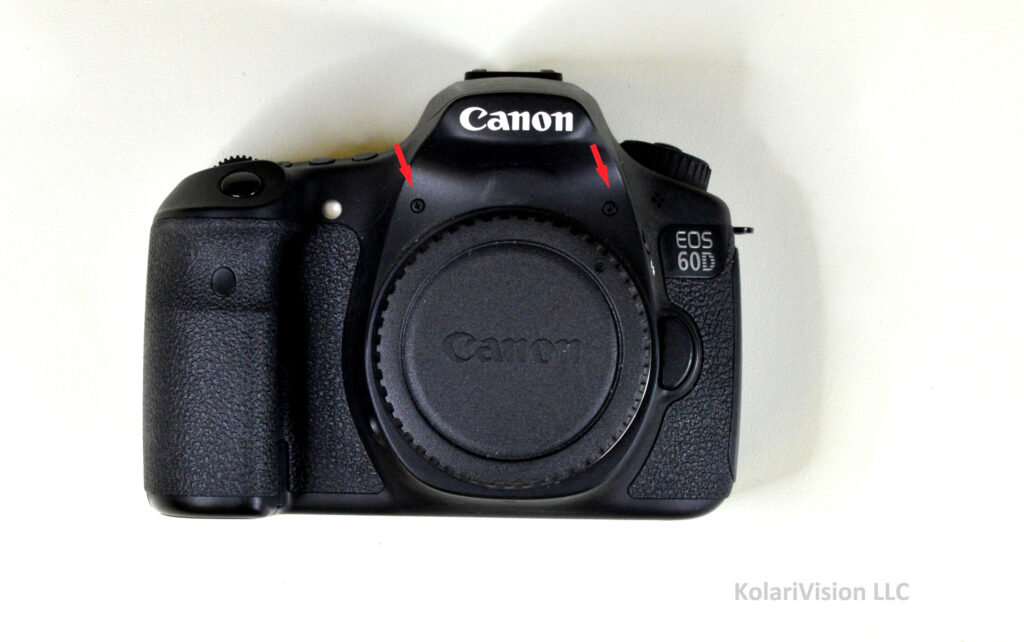
- First lets start by removing front two screws.
2
Step 2
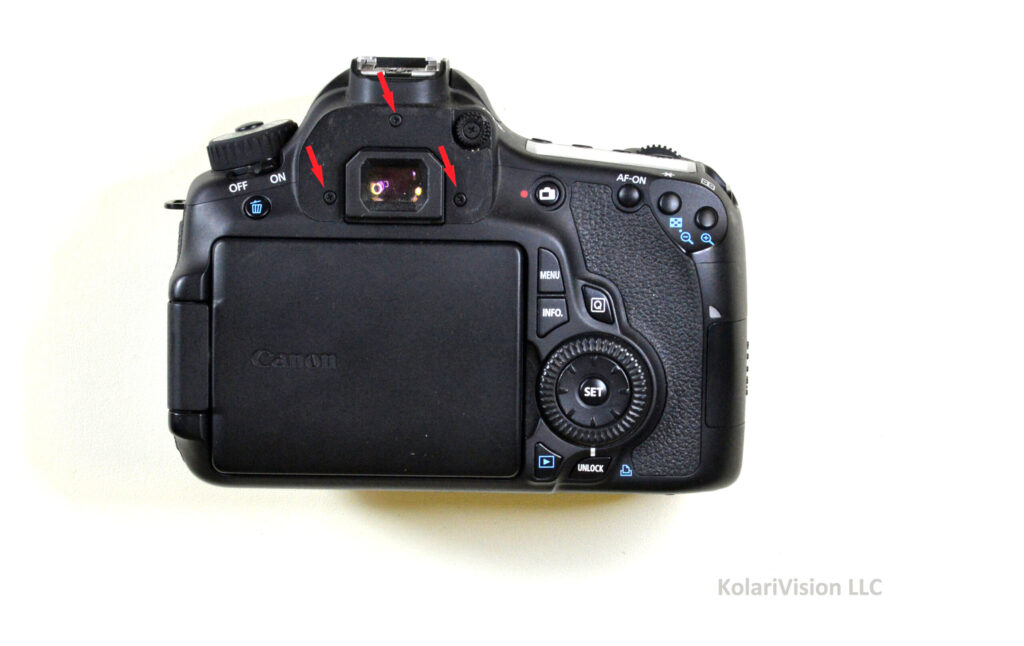
- Lift up eyepiece and remove 3 screws as indicated which will loosen up the back panel.
3
Step 3
- Turn camera so that the bottom is facing you, and remove the 6 screws as indicated. These 6 screws loosen up the back LCD panel and front panel.
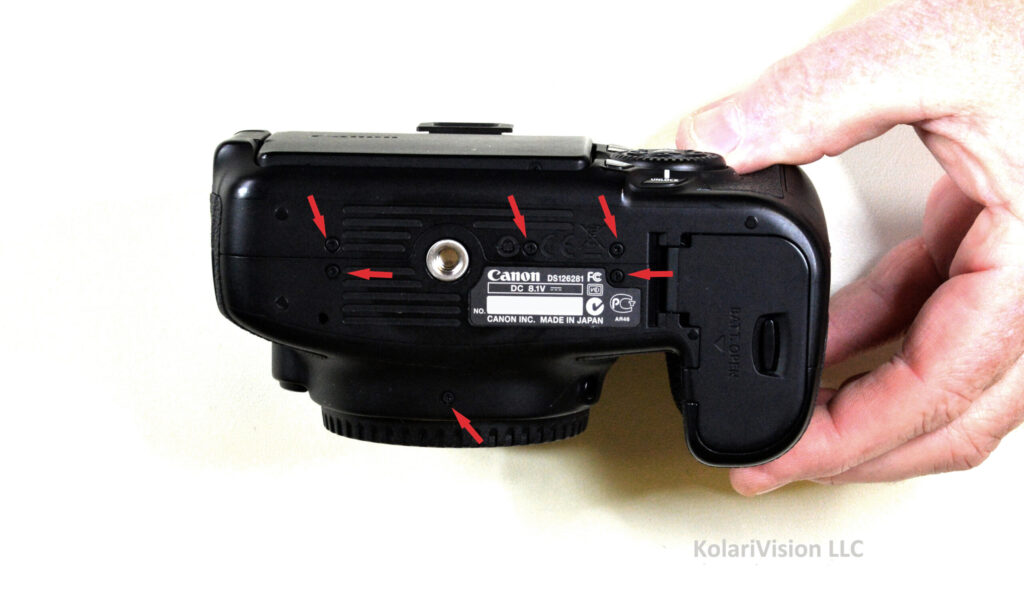
4
Step 4
- Flip camera to the SD card side. Remove rubber grip and you will notice the 4 screws. Remove the two screws as indicated.
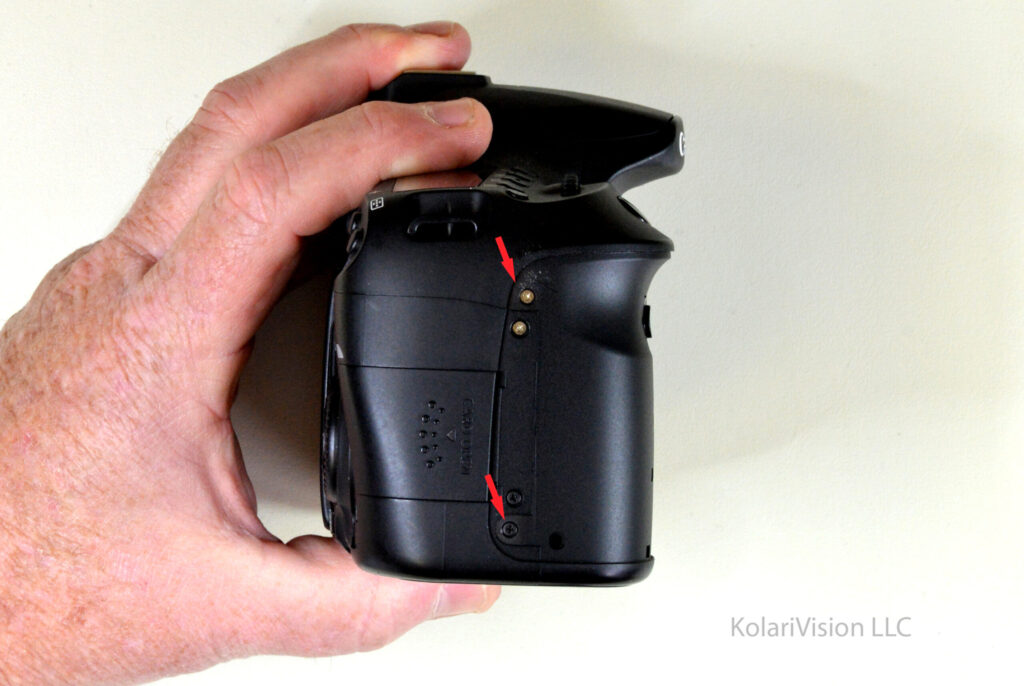
5
Step 5
- Remove rubber grip carefully so that it does not stretch and remove 2 screws as indicated.
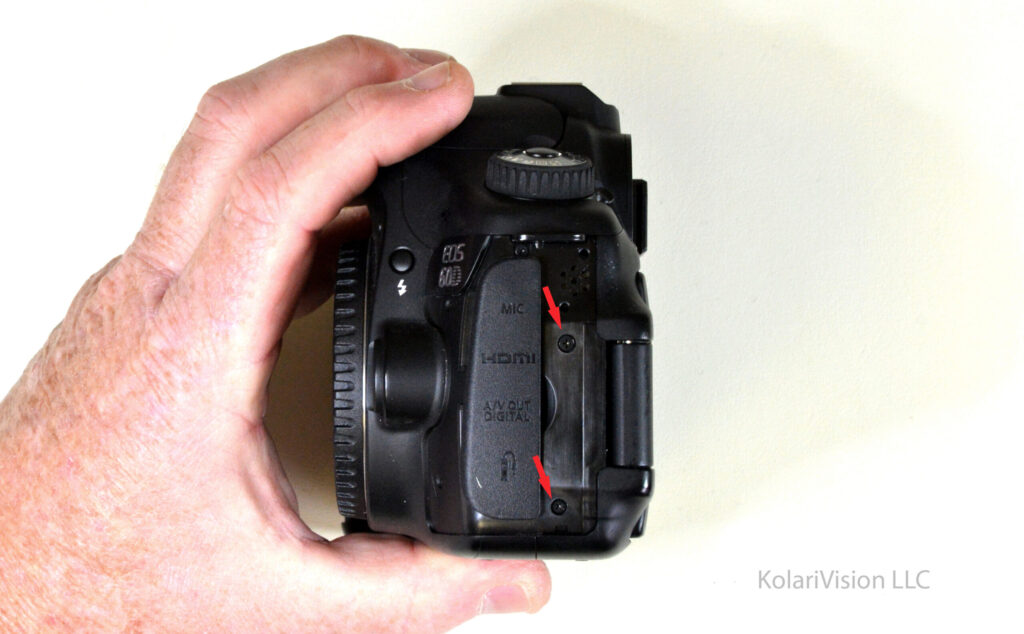
6
Step 6
- You can now pull out the plastic frame gently and carefully.
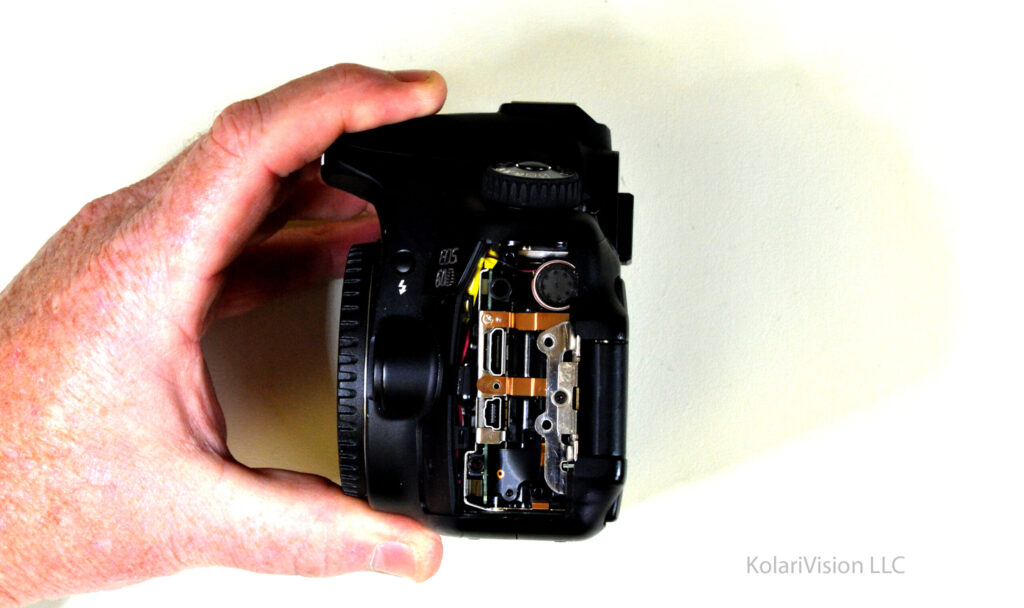
7
Step 7
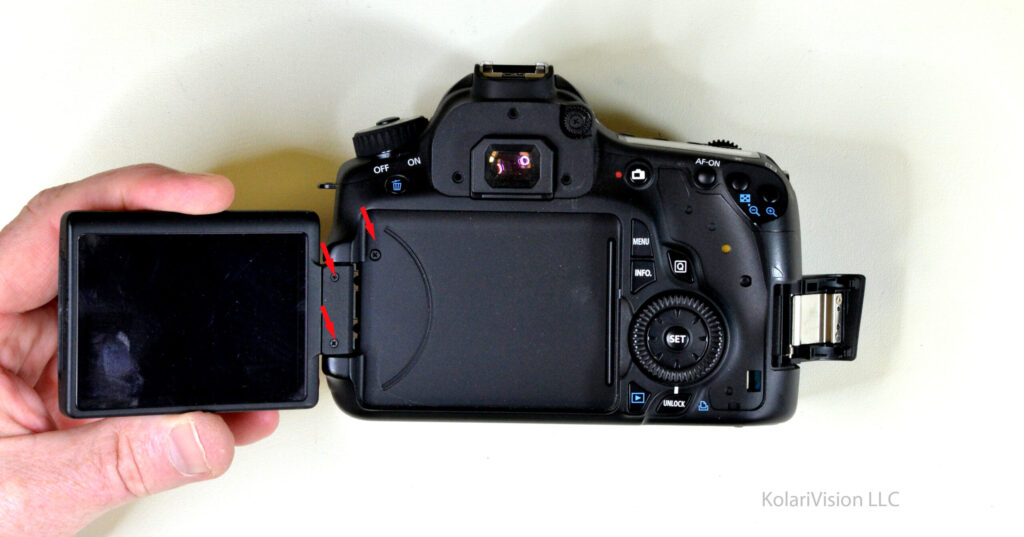
- Lift up LCD and you will notice 2 tiny screws on the LCD itself and 1 normal screw behind it holding down the back panel. Remove as indicated.
8
Step 8
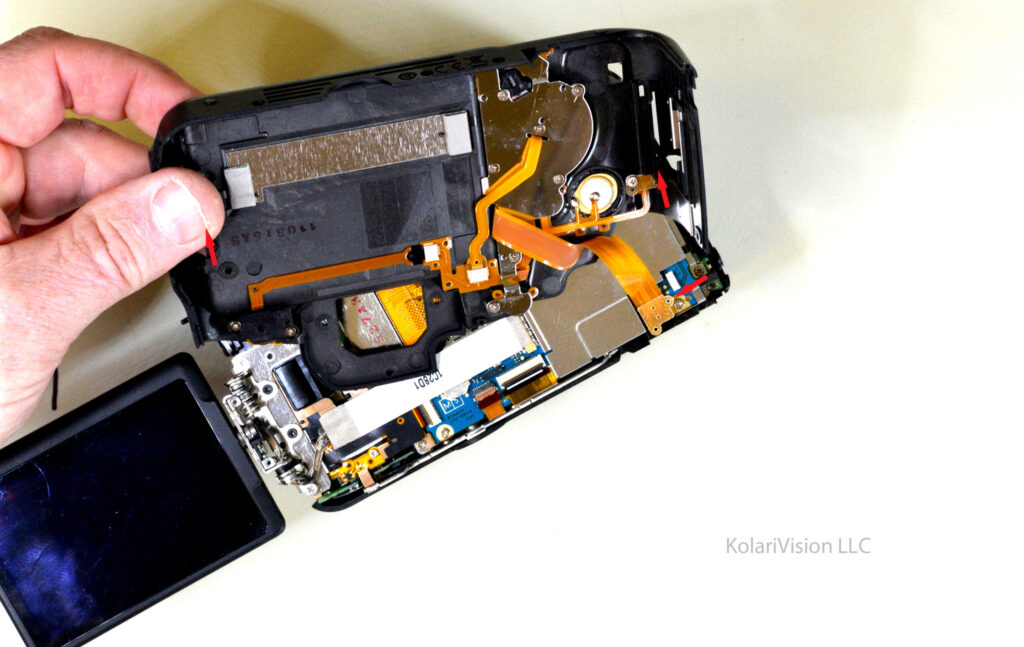
- After all screws from previous steps are removed, you can go ahead and lift up the back panel. Before you completely remove it be cautious of the LCD cable being attached. Unclip the cable before completely removing panel.
9
Step 9
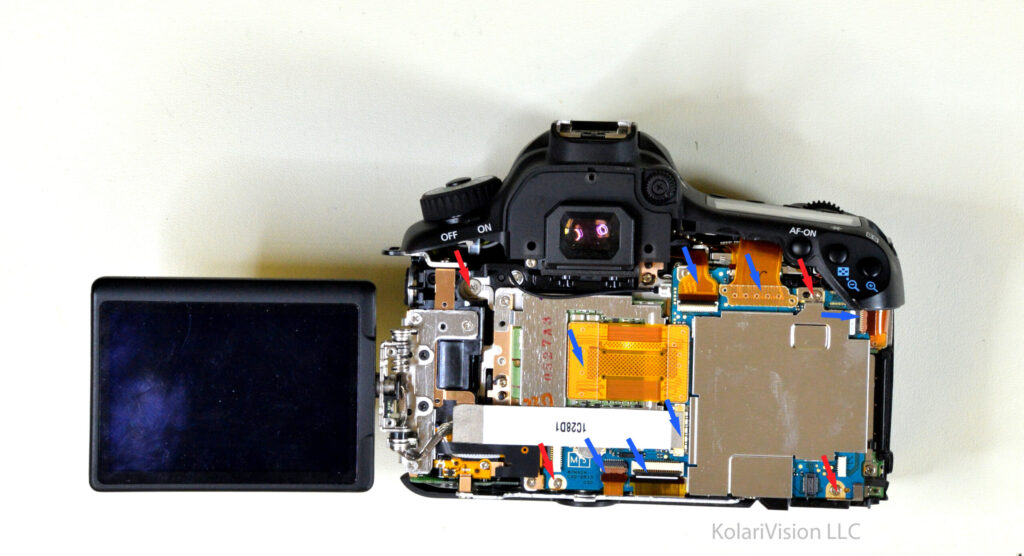
- Blue arrows indicate to remove cables, and Red arrows indicate to remove screws.
10
Step 10
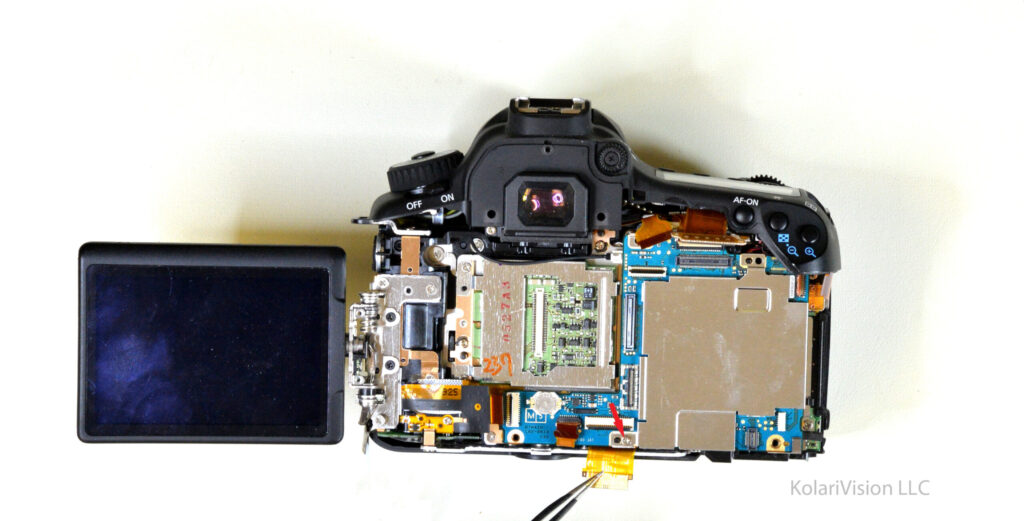
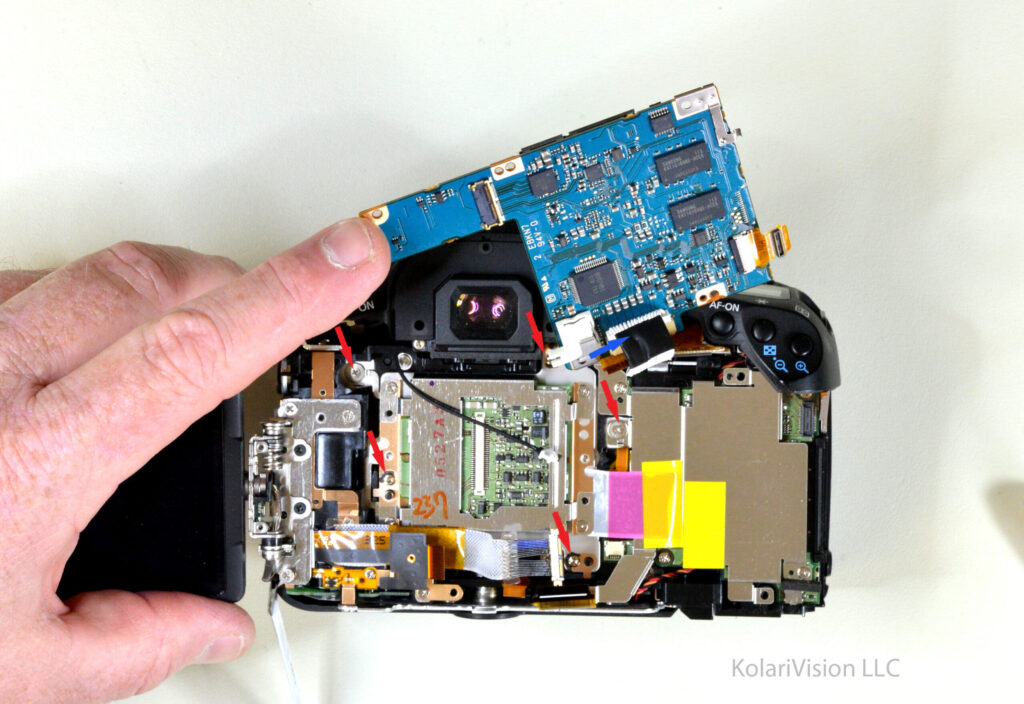
- Underneath the cable you will find one hidden screw. Be sure to remove that before lifting up PC board.
11
Step 11
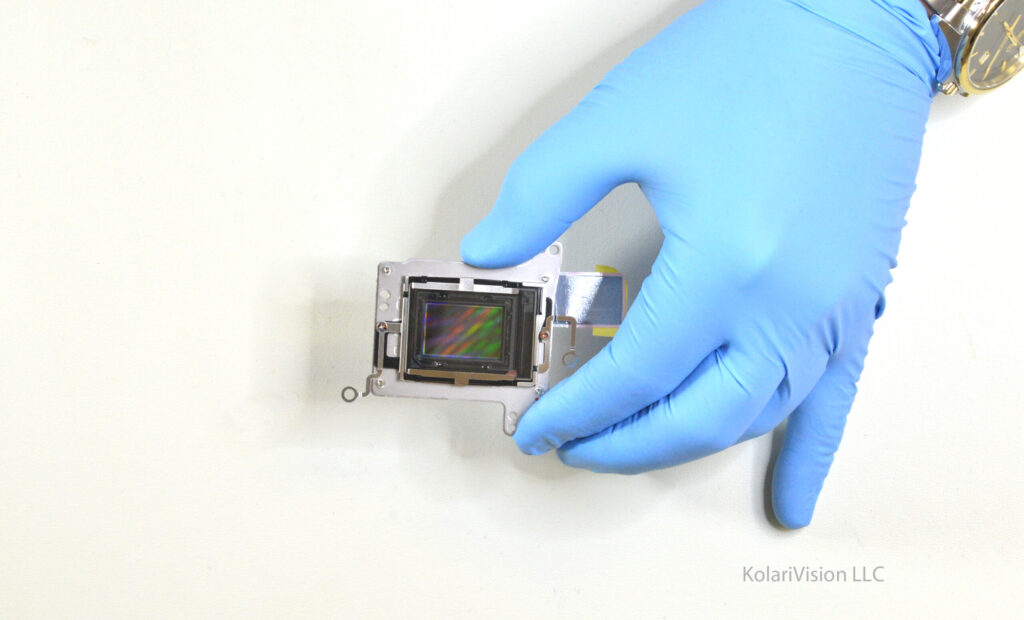
Lift up main PC board and you will see the camera sensor. For this step you will need a depth gauge measuring tool to to measure the torx screw position before removing since you will need the same measurement when putting back in.
12
Step 12
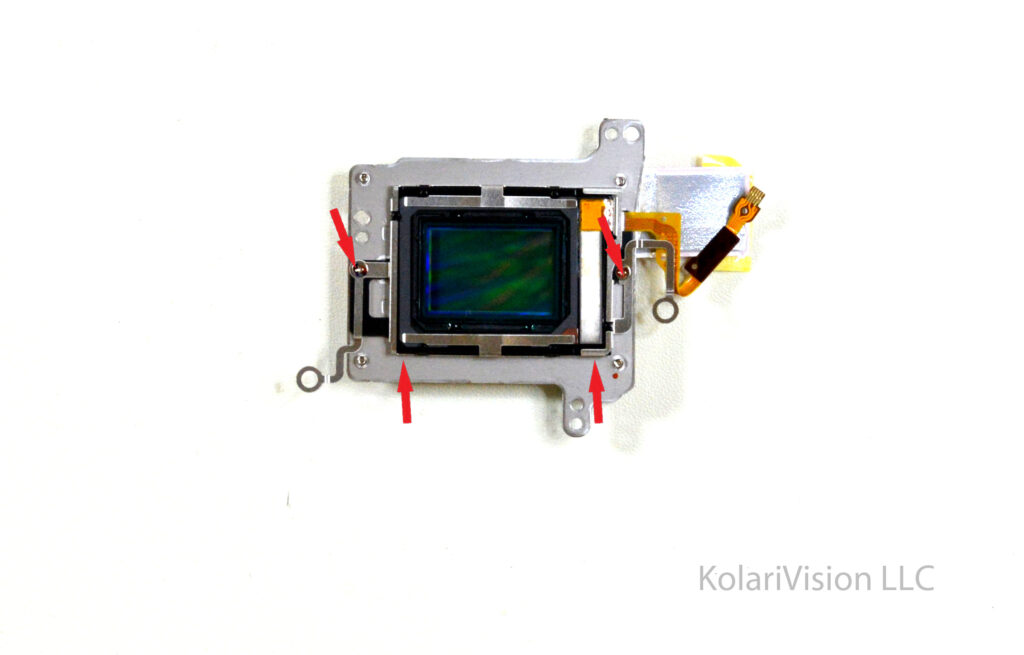
- Remove two screws as indicated, and pop off clips which are pressed against black frame.
13
Step 13
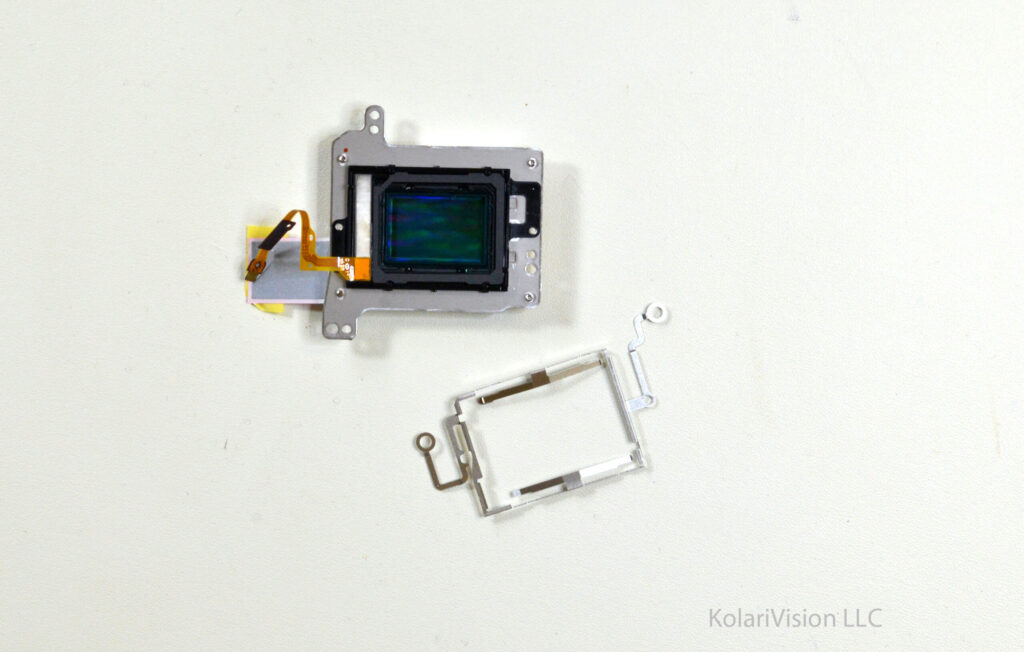
- Silver frame comes off and now you have access to remove the outer dust filter.
14
Step 14
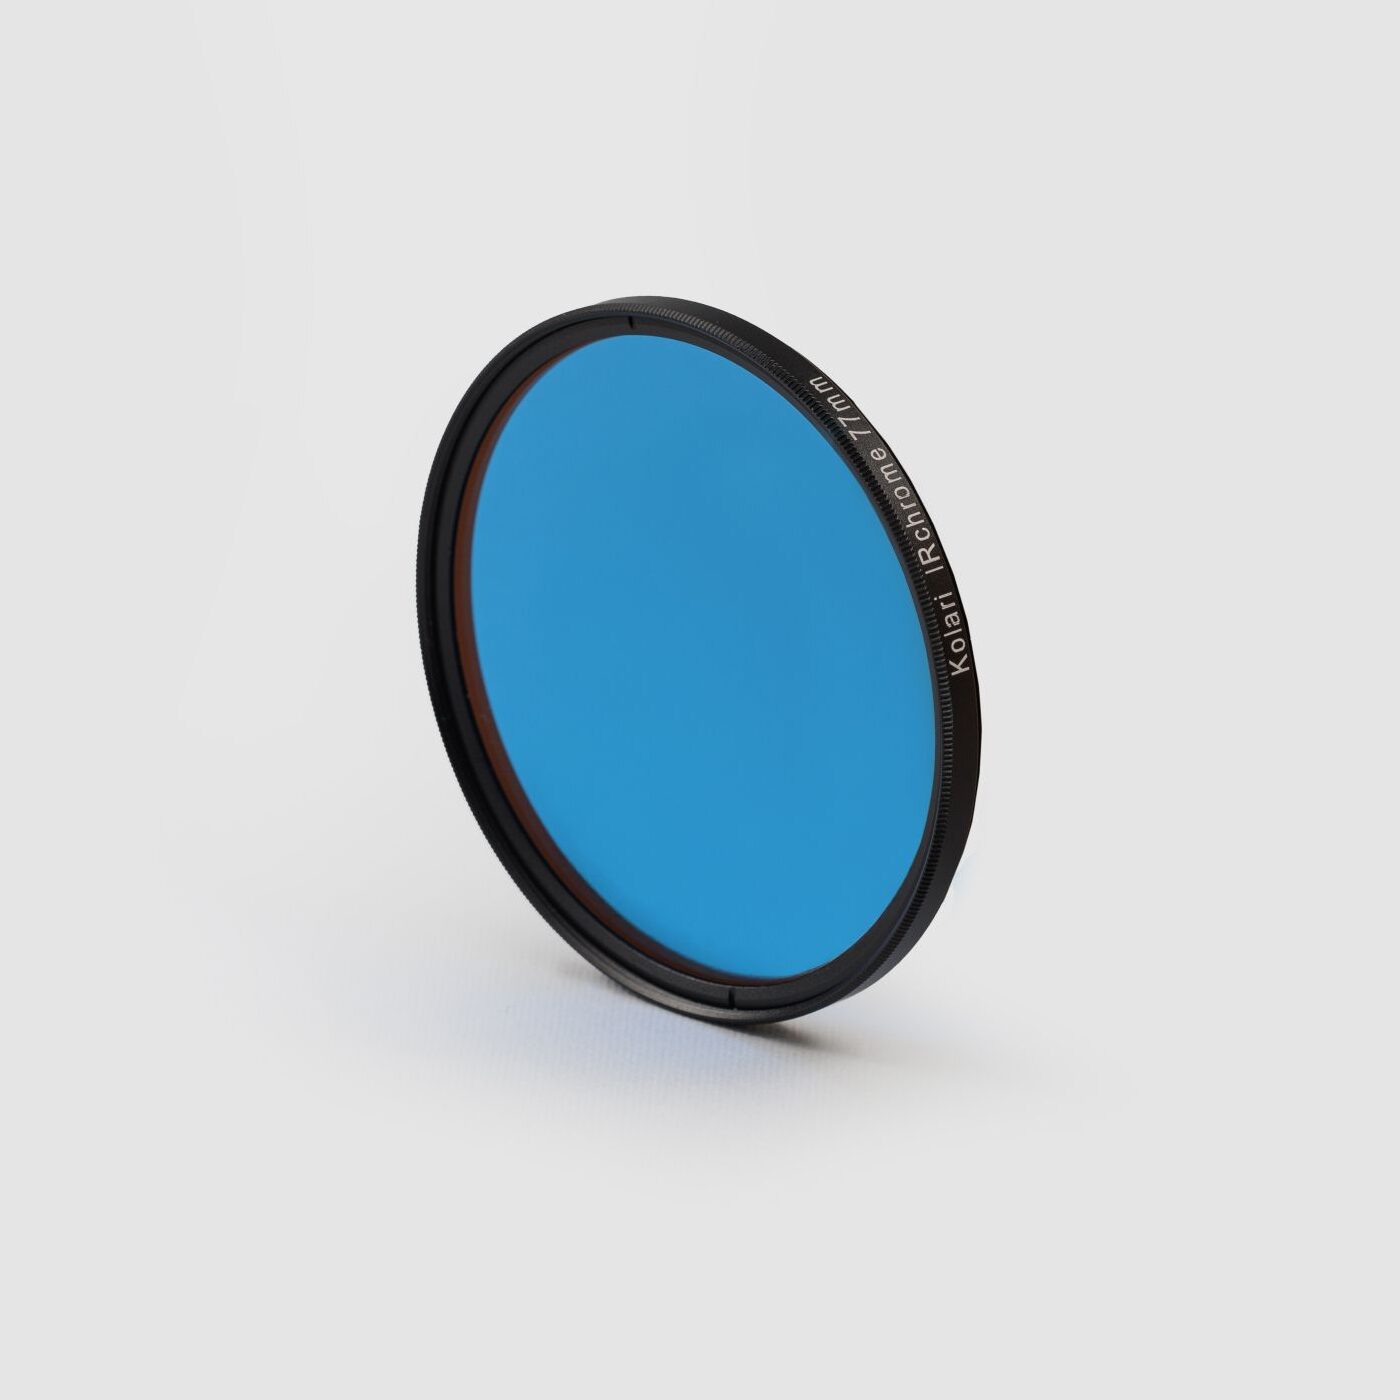
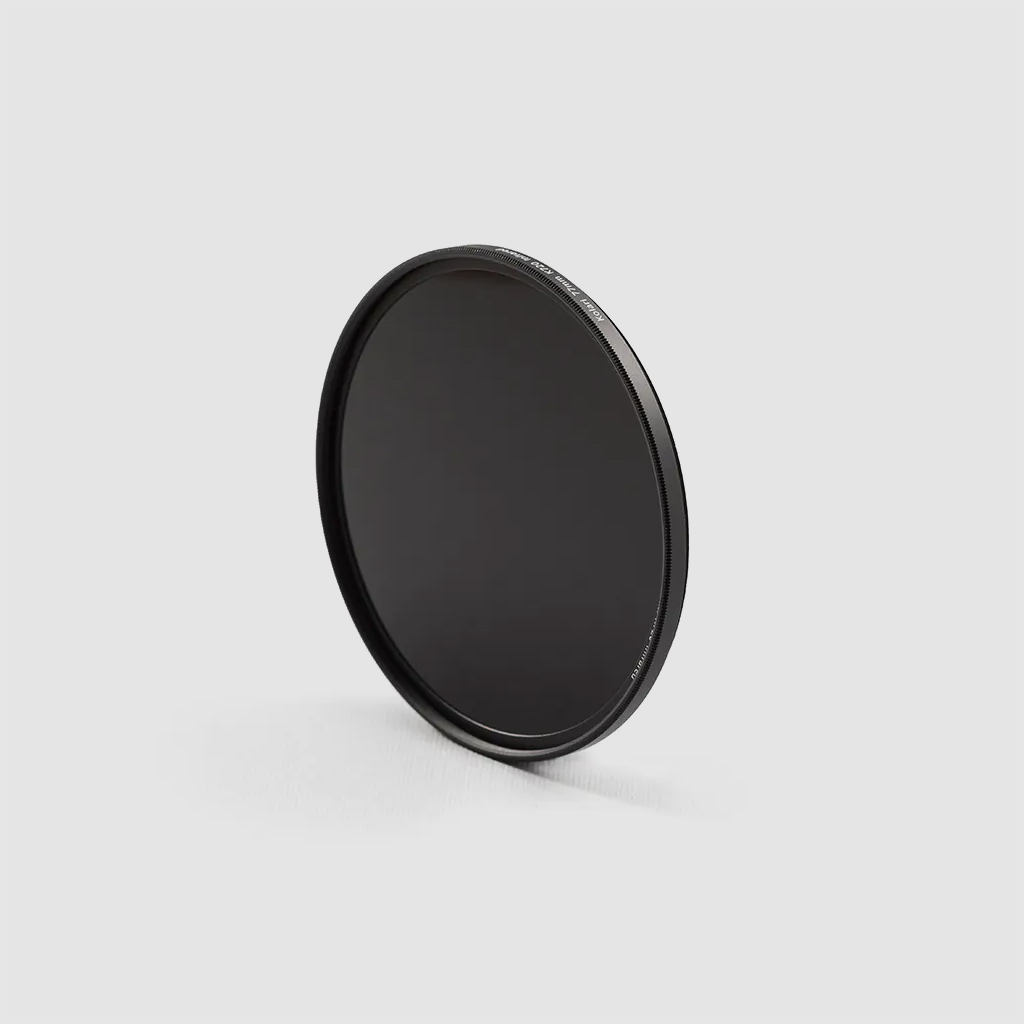
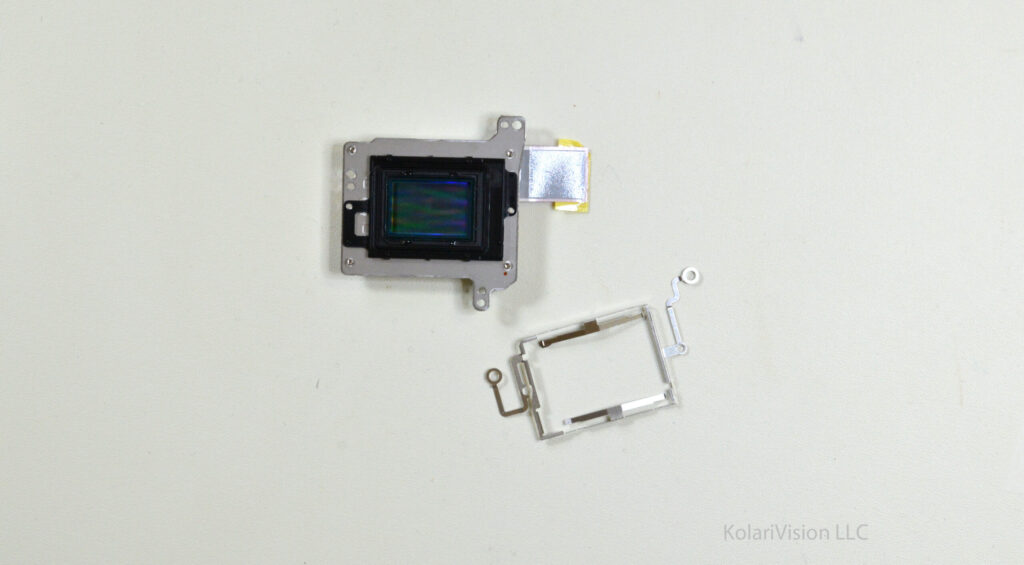
- Now you will have to either cut the glass filter off from the tape it is held down by or you can remove the 2 screws from the black plastic frame and pull up the whole black frame with the filter and then pop it out. After that is done, double check for dust on the sensor and filter. You will need to put the black plastic retainer back. Our DIY filter will be a drop in fit on top of the original retainer, once you install it you can secure it in place securely and reversibly with the silver clip.
15
Step 15
- Congratulations you have successfully converted your sensor! Now you will have to work backwards to reassemble the camera to test.
