★★★★★ Rated 5 out of 5
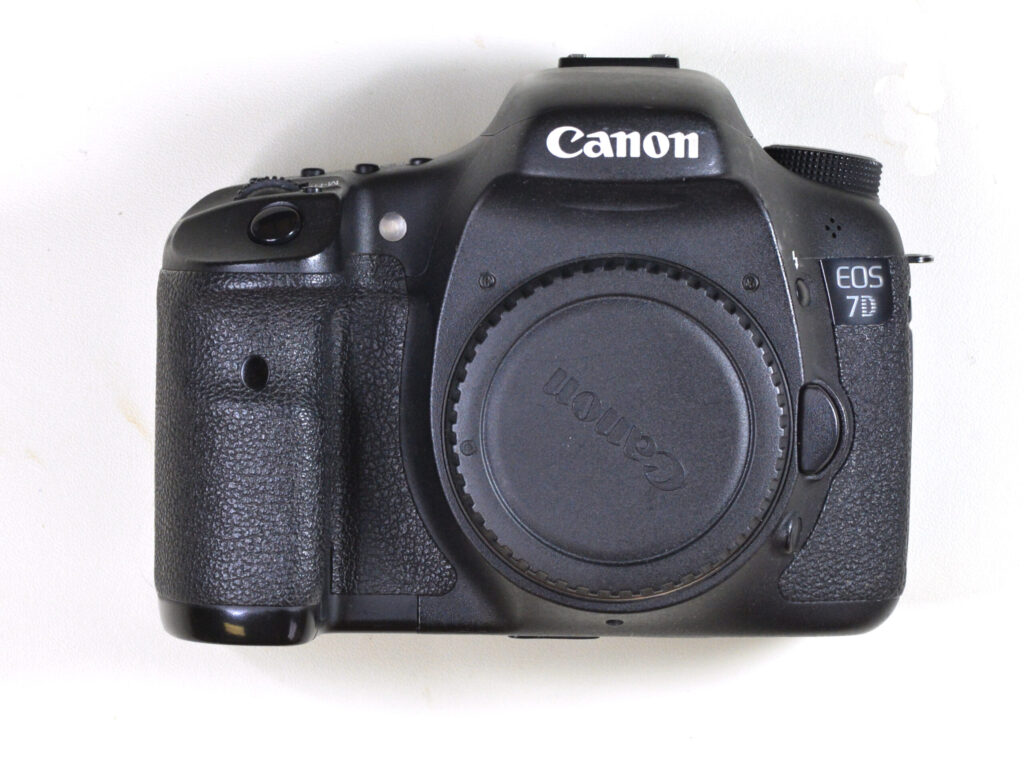
CANON EOS 7D INFRARED CONVERSION DIY TUTORIAL AND DISASSEMBLY GUIDE
Difficulty
Moderate
Steps
15
Time Required
15 minutes
Small Phillips Screwdriver
Small Torx Screwdriver set
Tweezers
Soft Pry tool (optional but recommended)
Grounding strap with current limit resistor
Grounded work mat (optional but recommended)
Canned/compressed air
Sensor wet cleaning solution and tissue
Capacitor Discharge Tool (optional but recommended)
Introduction
Welcome to the DIY of the Canon EOS 7D. Before you get started, be sure to be grounded to avoid any static damage to electronic components.
1
Step 1
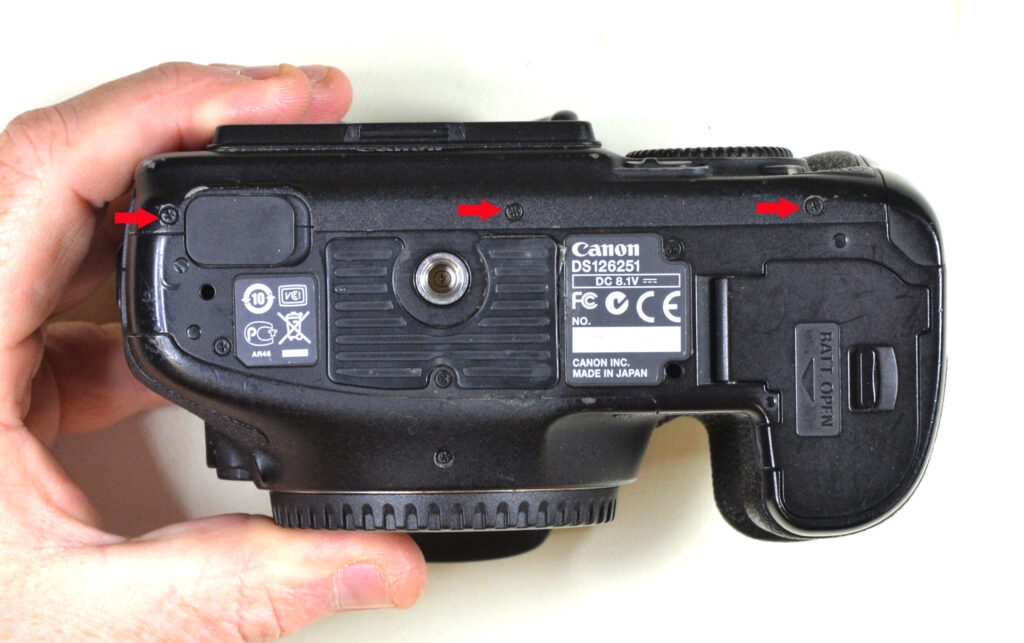
- Remove 3 bottom screws as indicated.
2
Step 2
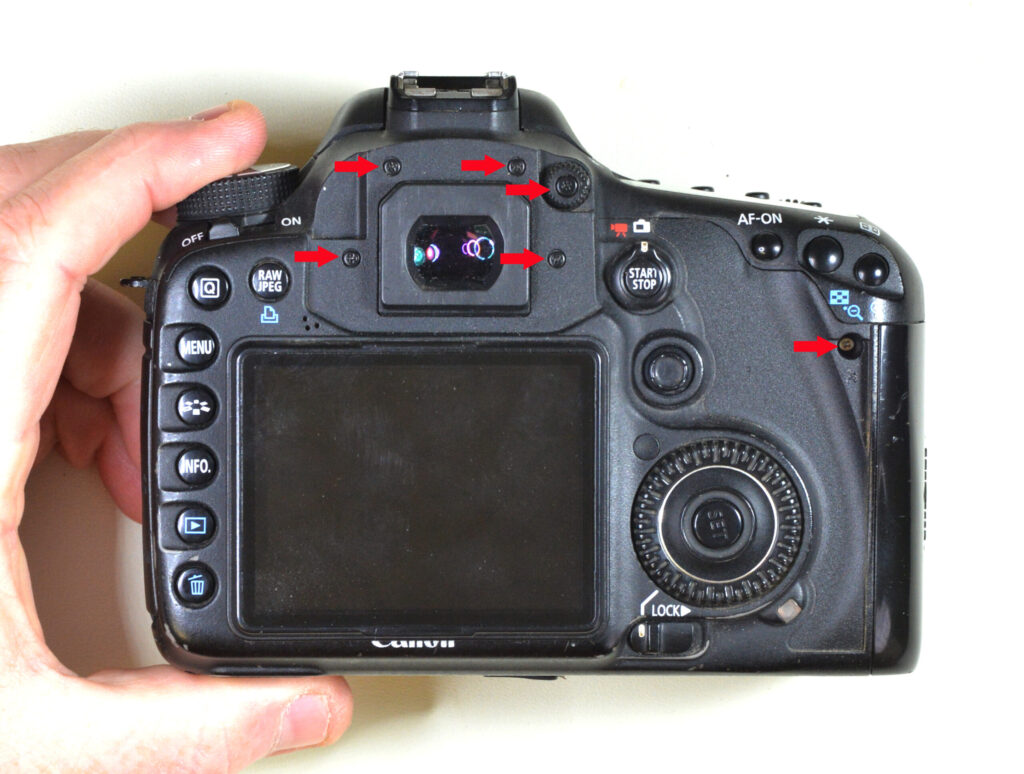
- Remove rubber from back panel. Remove the 6 screws as indicated. Keep back panel secure because it has a cable directly behind panel. Be cautious of two cables.
3
Step 3
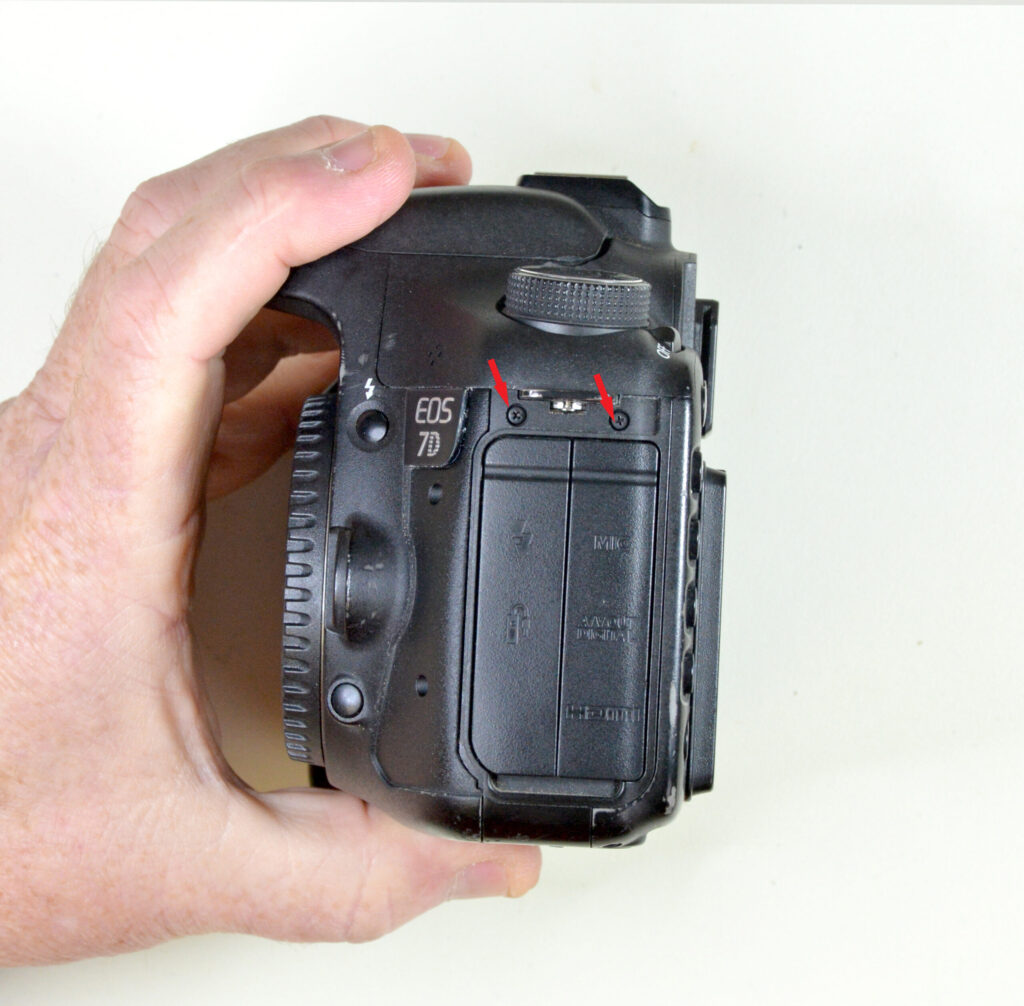
- Turn camera to AV OUT side and remove two screws as indicated.
4
Step 4
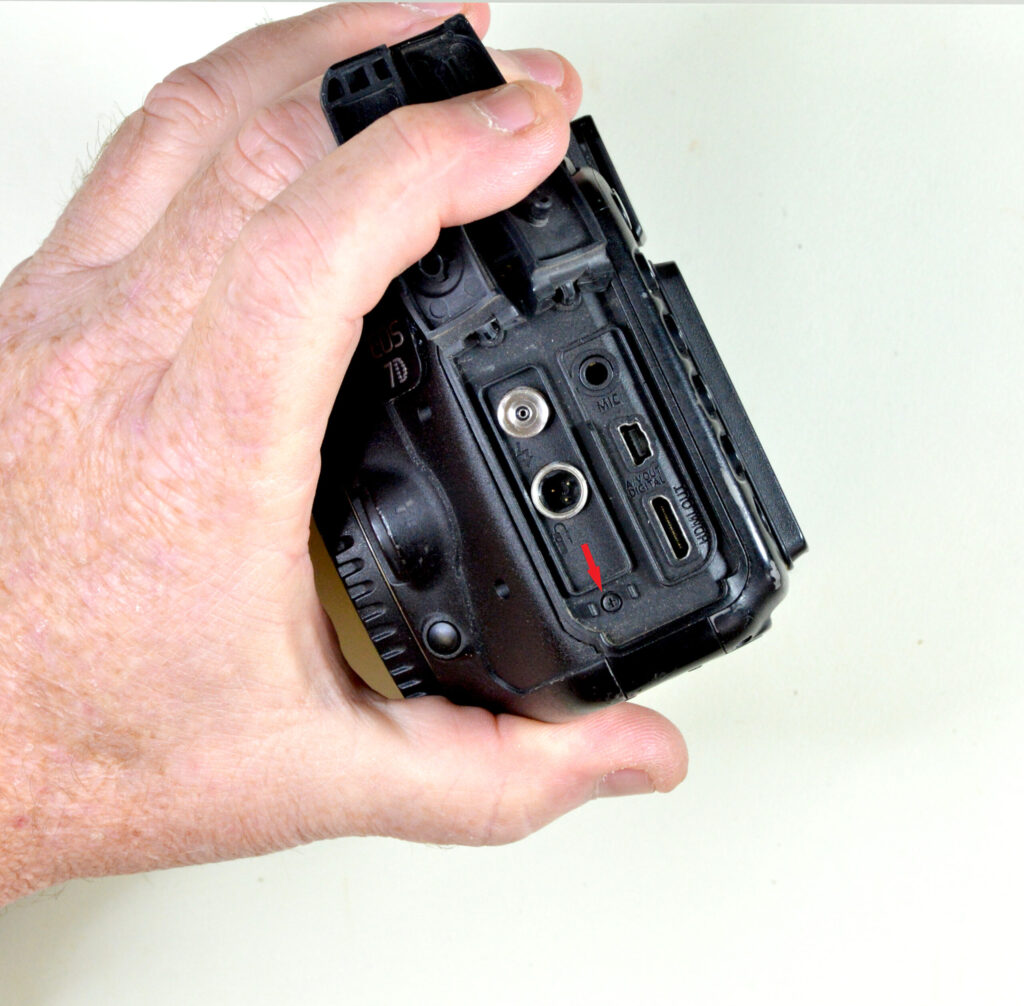
Lift up the rubber flap and you will see 1 screw towards the bottom. Go ahead and remove that.
5
Step 5
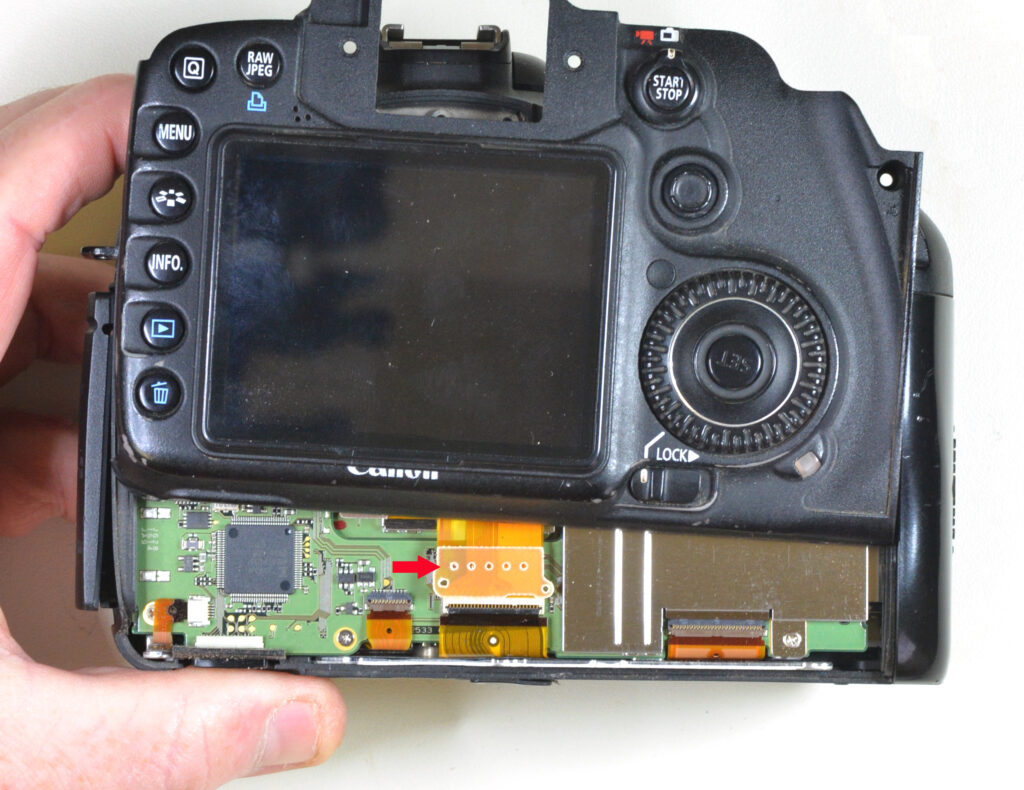
- Before you remove the LCD panel, their is a cable directly behind the panel which links the LCD to the PC board. You will have to release the cable before completely separating the back panel.
6
Step 6
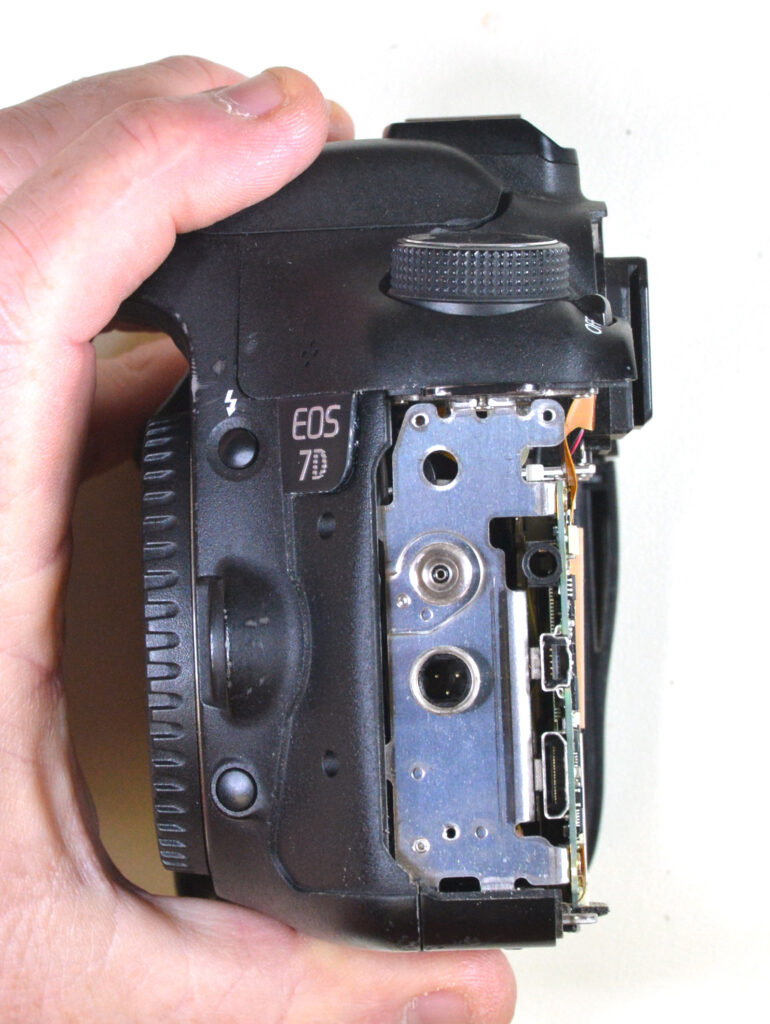
- You can now also remove the AV OUT rubber panel.
7
Step 7
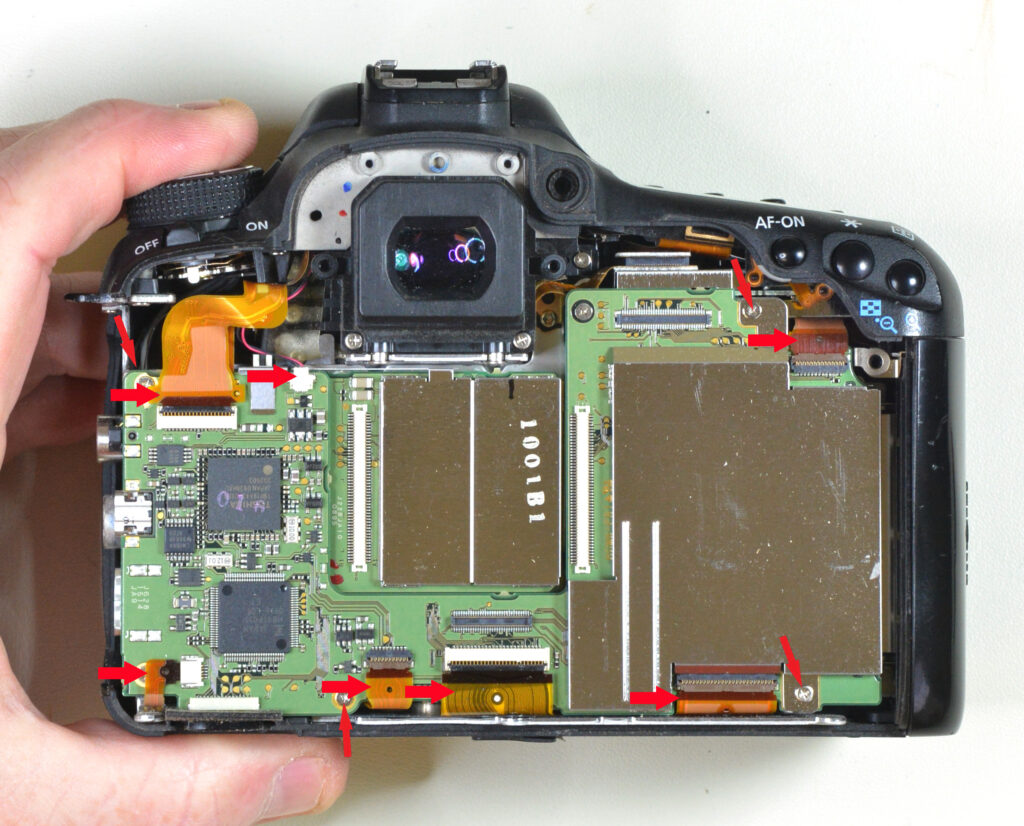
- Now you will see the main PC board. Carefully remove the indicated cables and screws.
8
Step 8
- Be sure to get hidden screw under cable before lifting up main PC board.
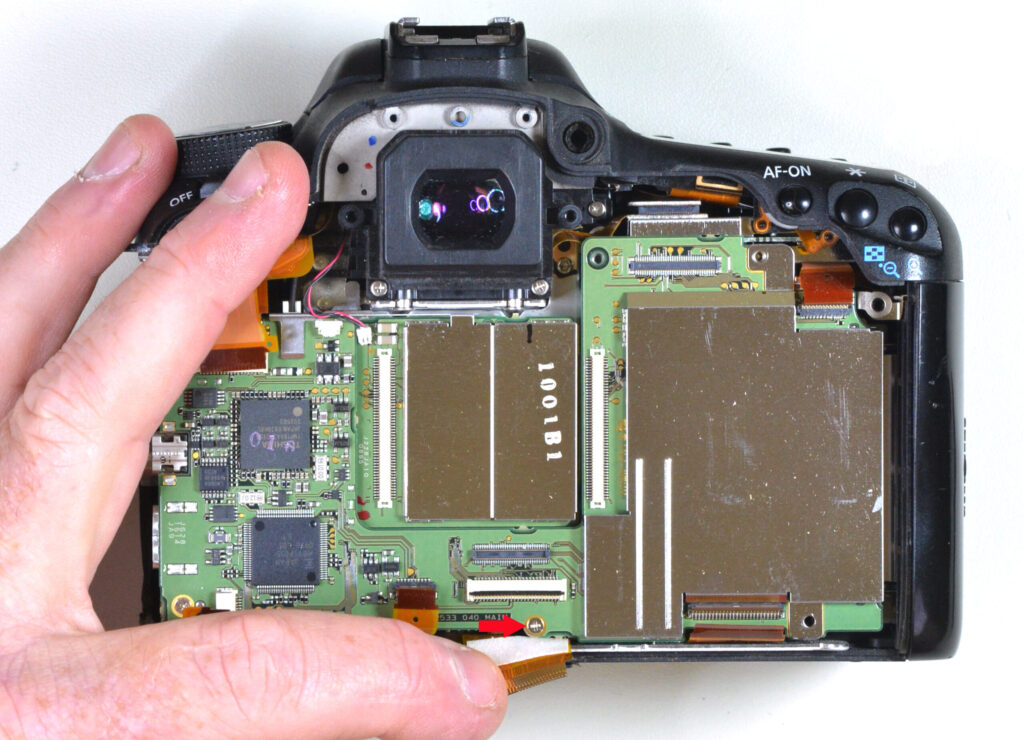
9
Step 9
- Once you remove main PC board, you will see the main sensor which you will be converting.
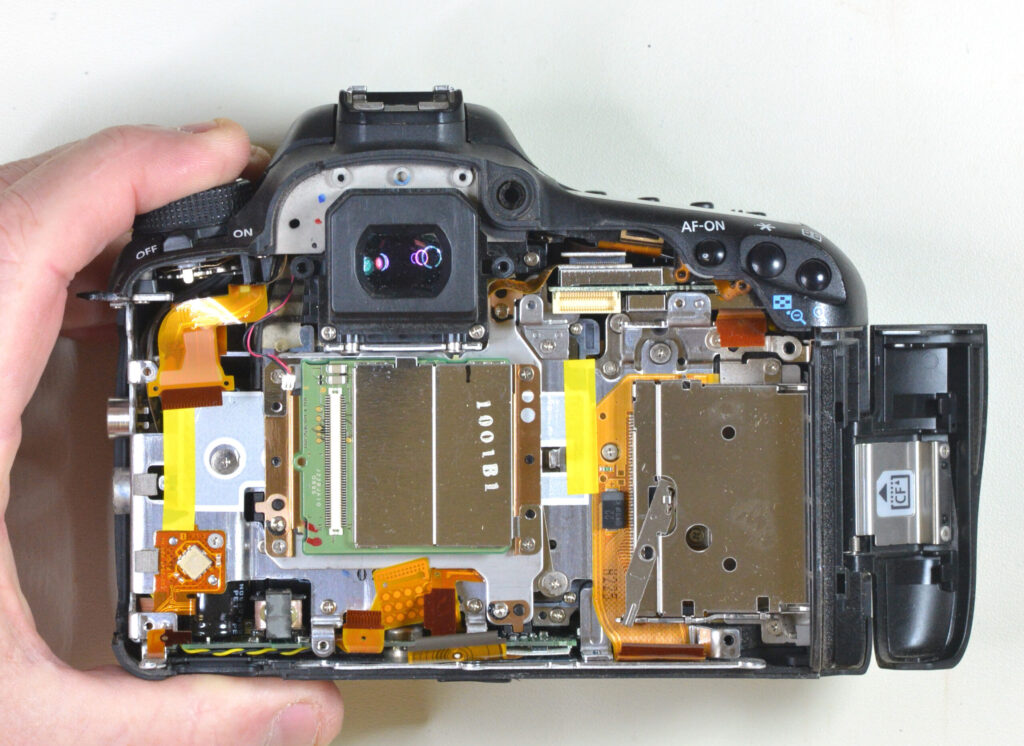
10
Step 10
- ::CAUTION:: The sensor on this camera is spring loaded, you will need to measure the position of the sensor accurately to be able to install the sensor back parallel. If you do not have the ability to do this, you should not attempt this conversion.
- Remove the indicated screws to release sensor. You will need a torx bit to remove the 3 sensor screws. Be sure to keep the bronze shims. They are very important when it comes to the camera’s focus.
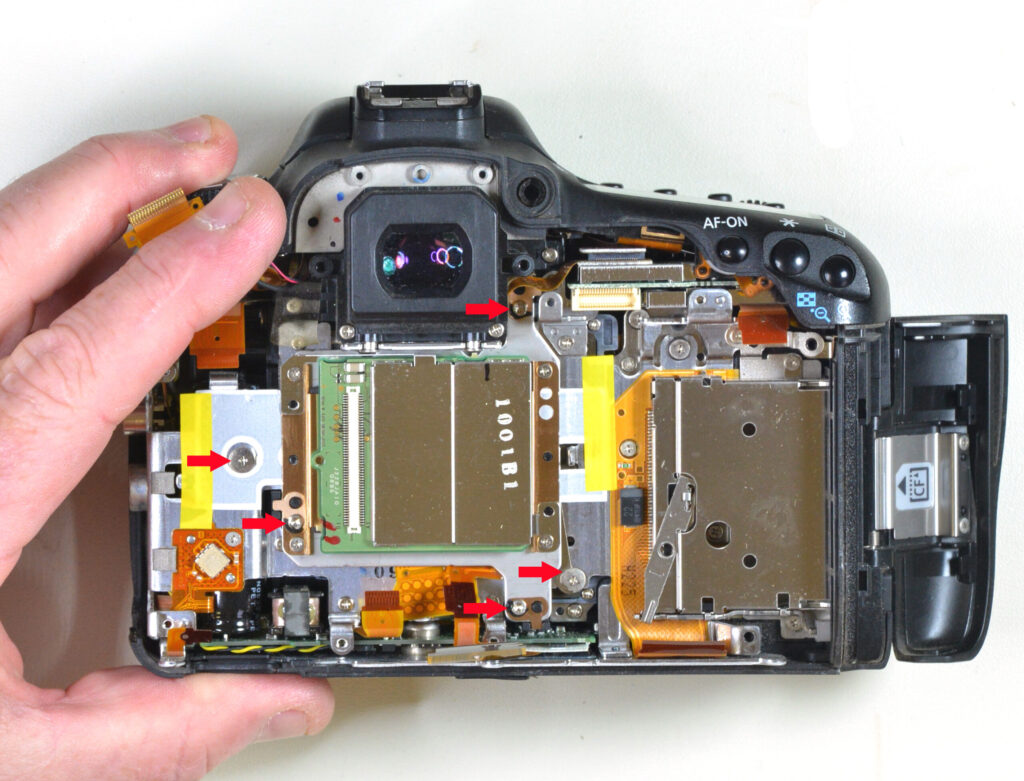
11
Step 11
- Sensor comes straight up after screws are removed. Cables come out easily with a slight tug.
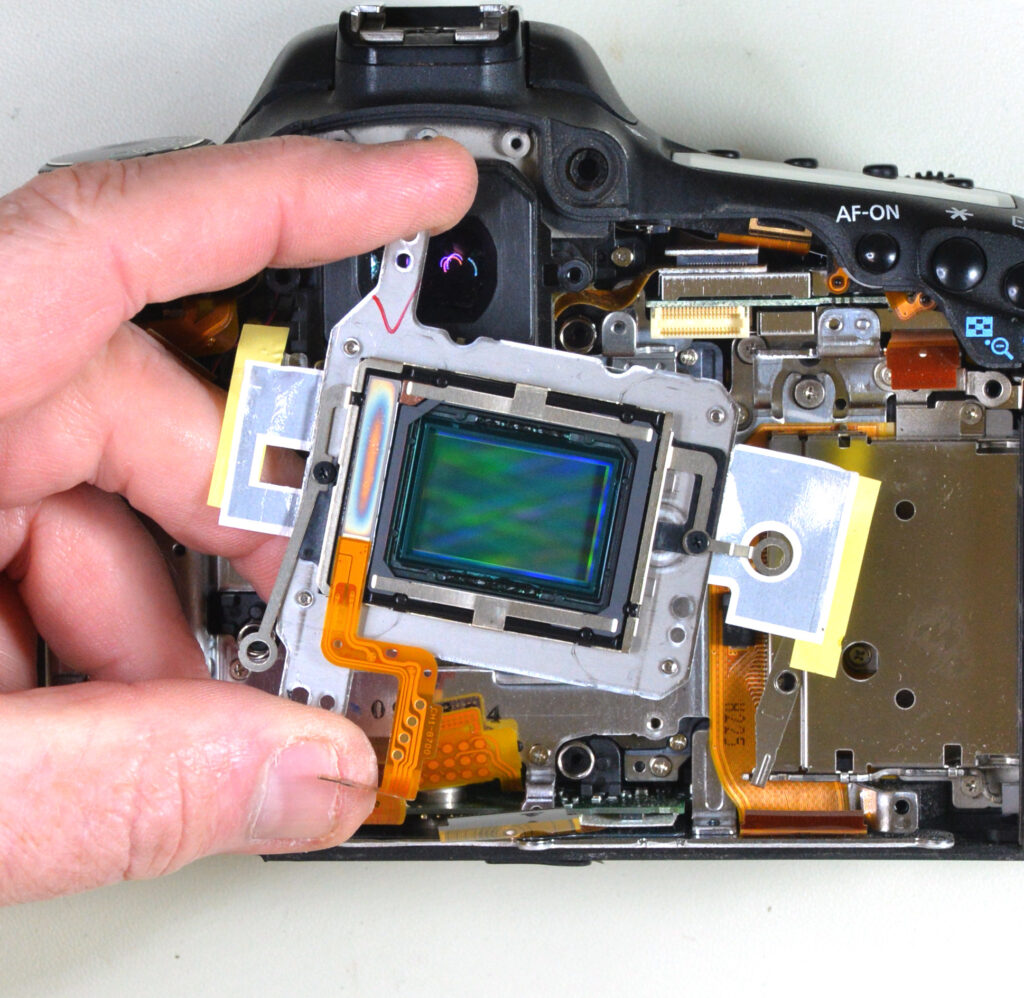
12
Step 12
- Once you remove the silver frame which holds down the filters, you can lift up the dust filter and put it to the side.
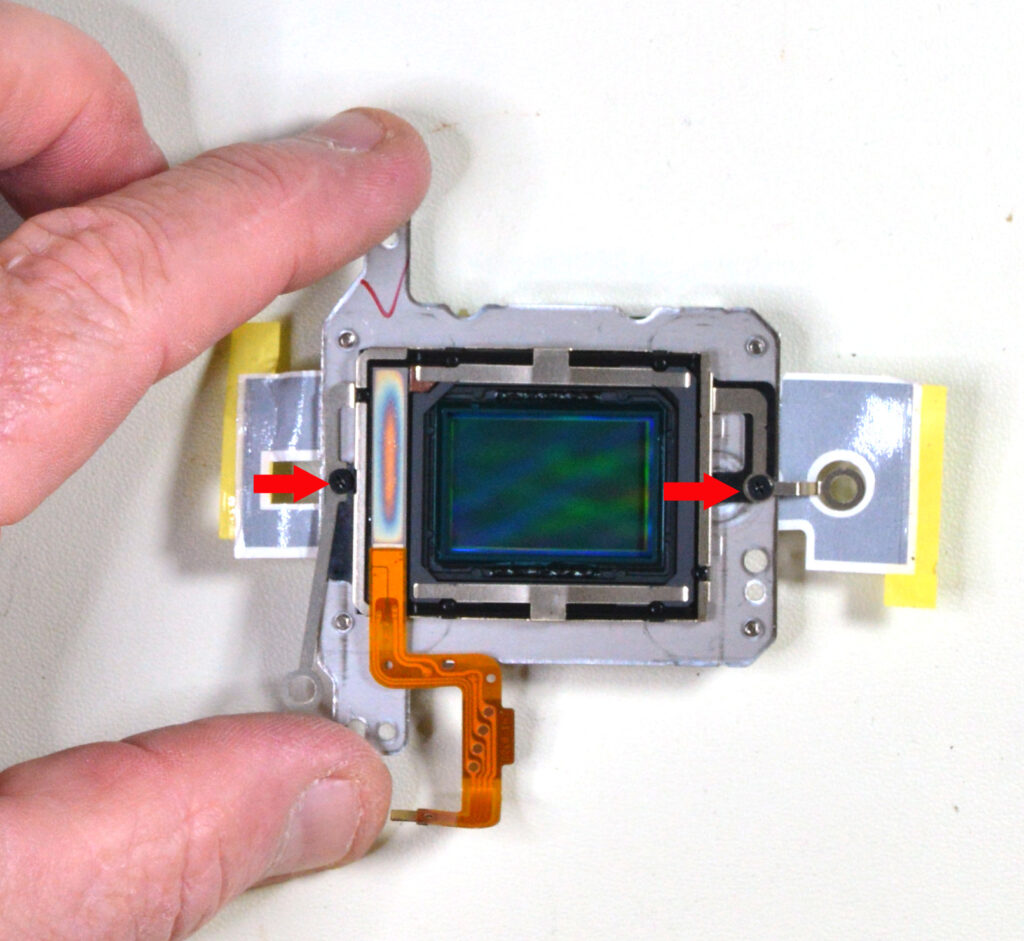
13
Step 13
- Now you can remove the dust filter.
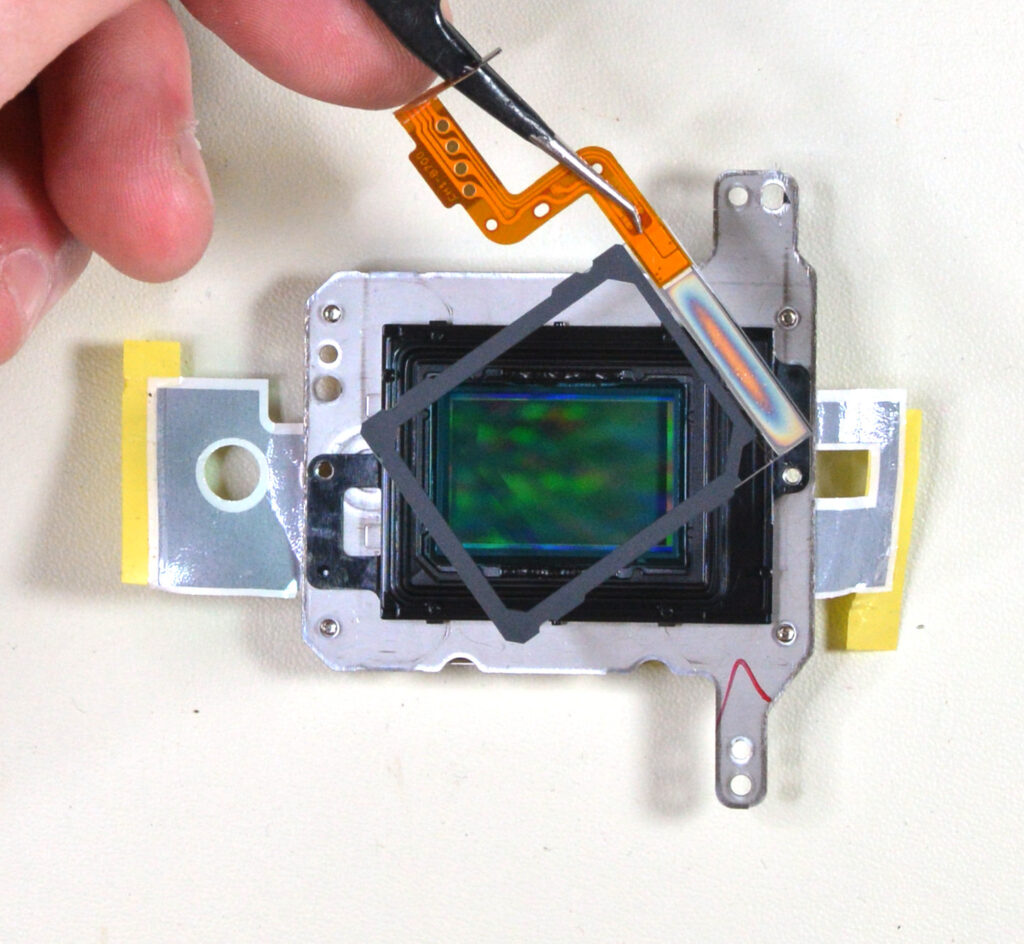
14
Step 14
- Remove two screws off of black plastic frame and lift up black plastic frame. Frame is held down by 3M tape, so you may need to give it a good tug. Once you remove the frame, you can cut the seal between the filter and the black frame to remove the inner glass filter.
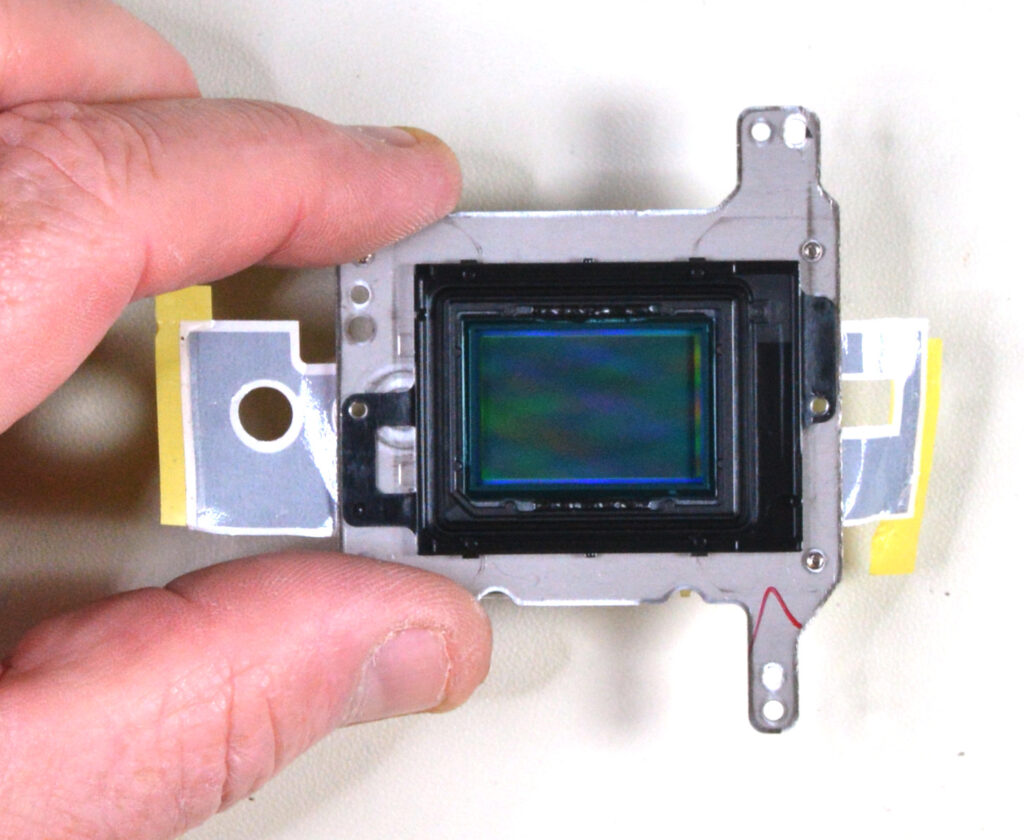
15
Step 15
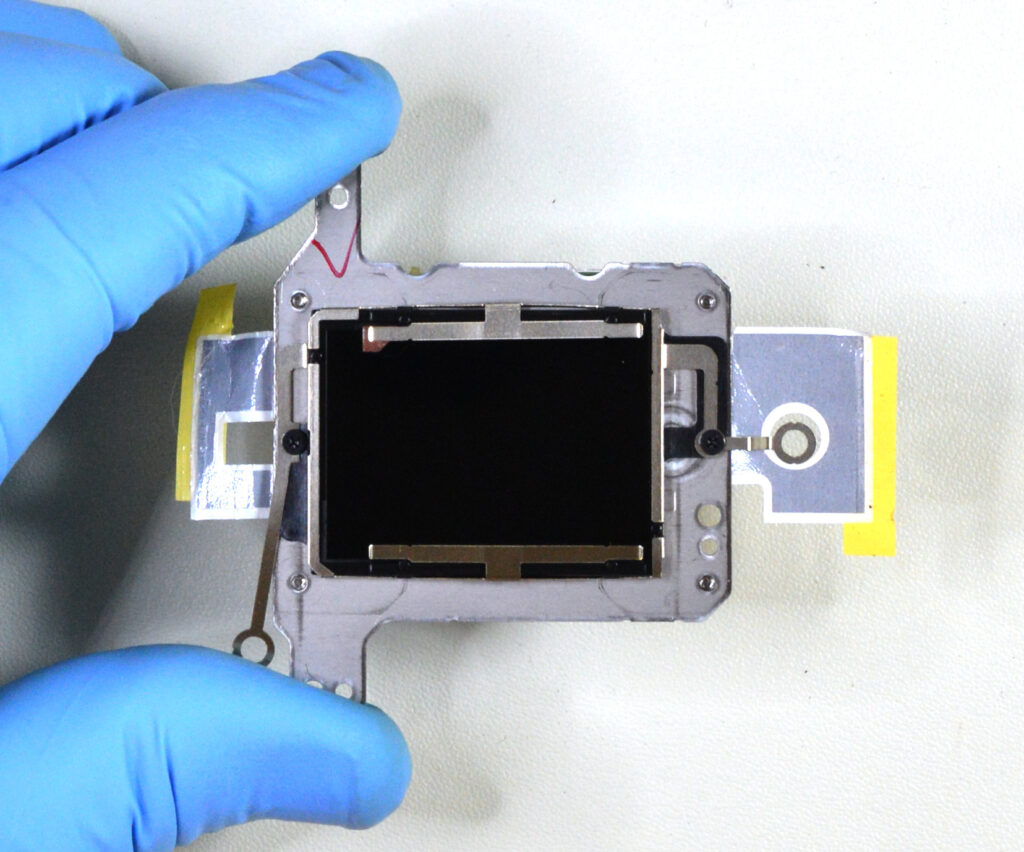
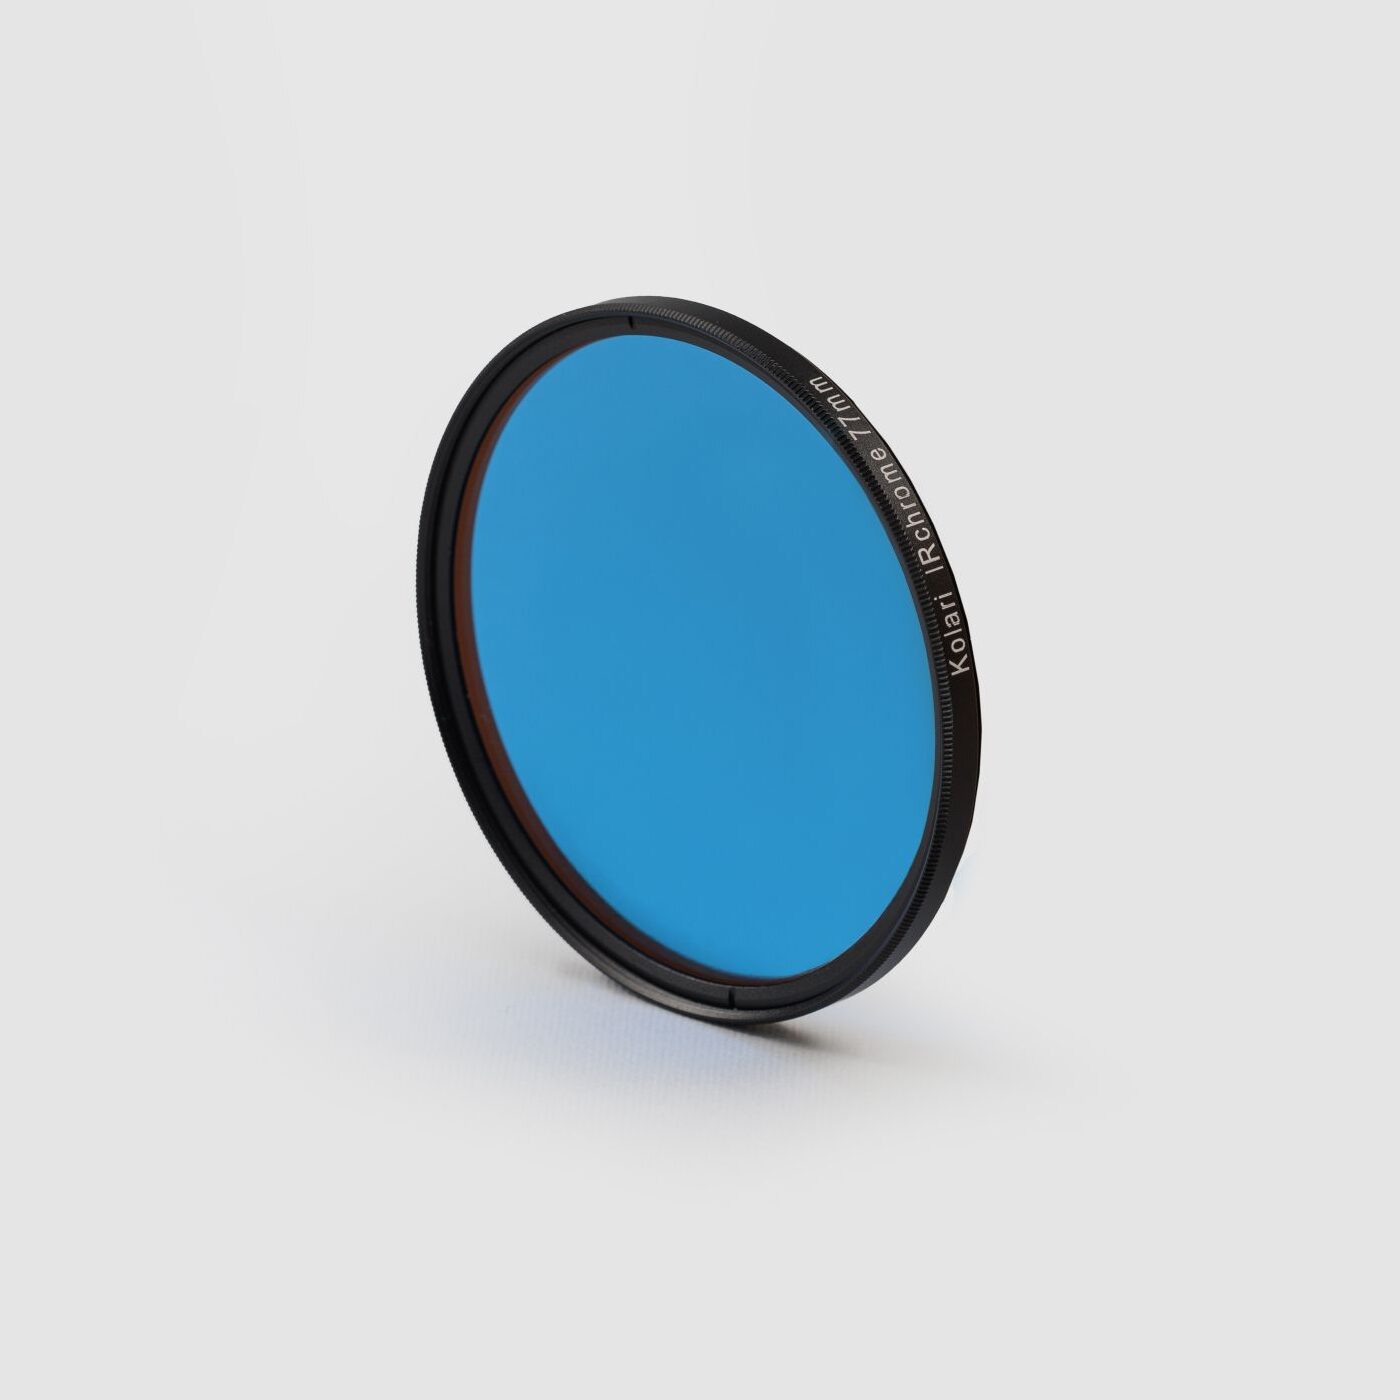
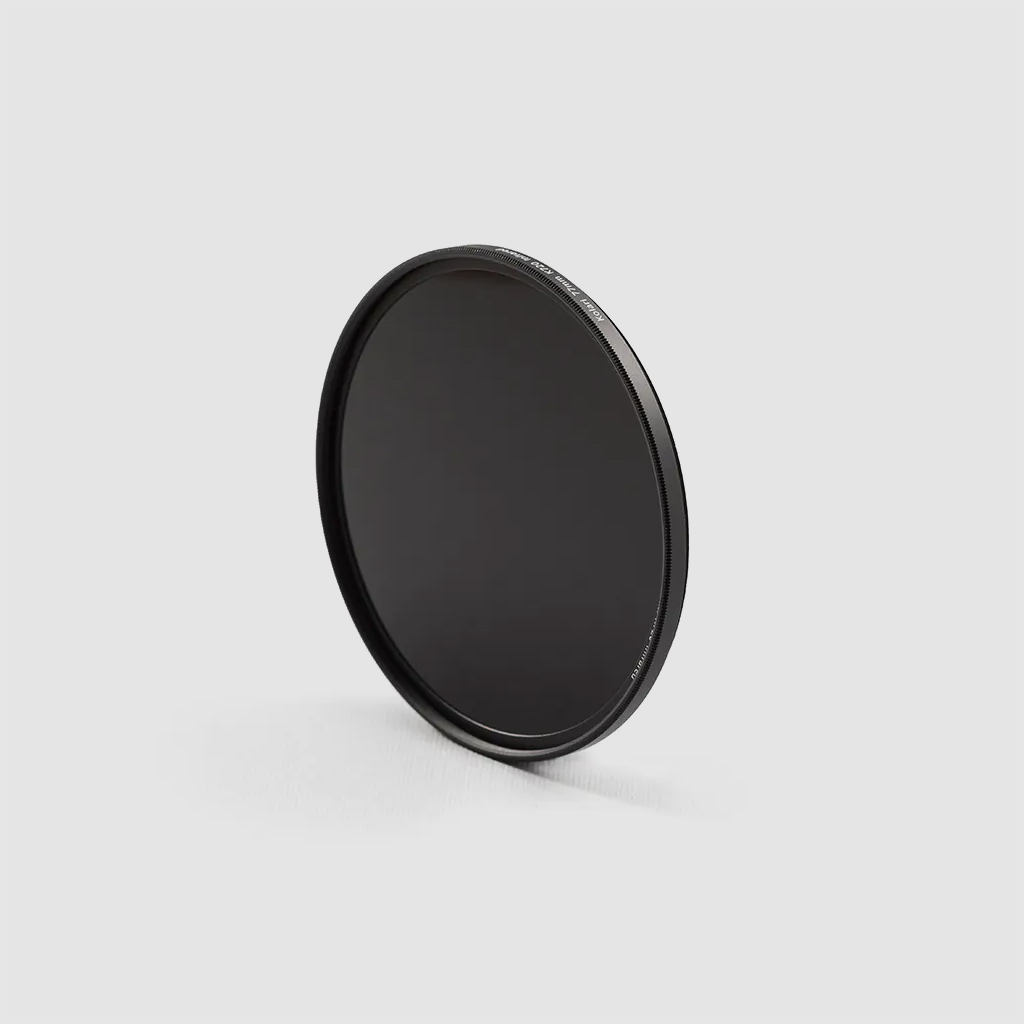
- Before placing down your desired filter, be sure there is no dust on either the filter or the sensor before placing down. Put back the silver frame to secure the filter. We use a multi step process and inspect the glass and sensor under a microsocpe to ensure everything is clean. This is the hardest part of the conversion.
- Congratulations! You have successfully converted the sensor. Follow the steps backwards to reassemble the camera.

One Response
Hi, thanks for this information. I was looking for it to modify my EOS 7D. Just one question however; you explane that the sensor is spring loaded, and that you need to measure. But in what place sits the spring or springs? Is that under the screws wit the little bit of black paint? And at what point or points do you need to measure?
Kind regards,
Rob van den Wijngaart