Overview
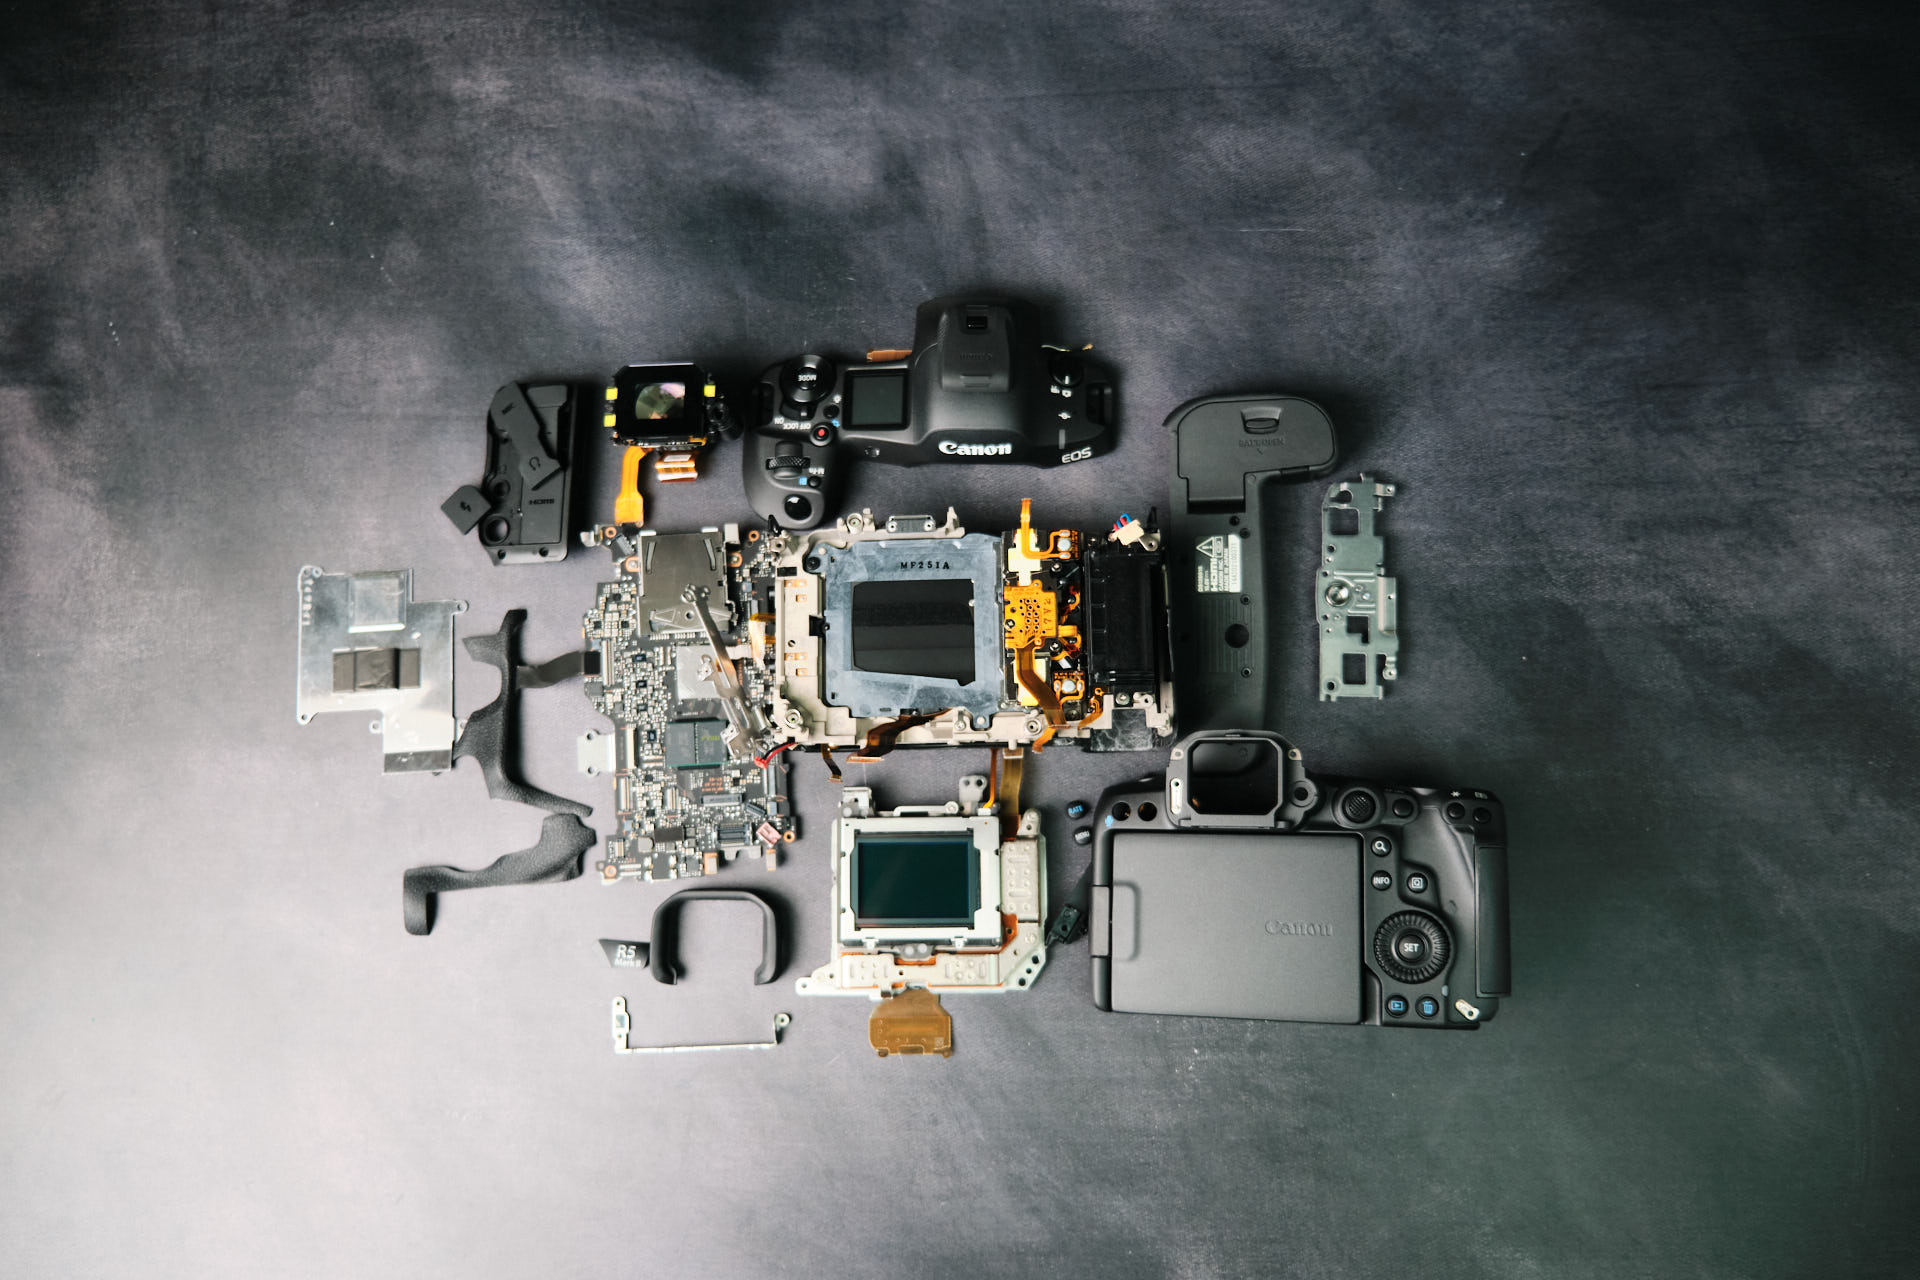
Canon announced the EOS R5 Mk II in July 2024 and we were able to get one for a teardown here at Kolari. Let’s see what has changed between this camera and it’s predecessor and how Canon has addressed the overheating issues of the original Canon R5. Before we get into the teardown, let’s breakdown the technical specs.
Canon R5 Mark II Specs and 45MP Full-Frame Sensor
The Canon R5 MK II is hybrid camera with equally impressive specs on the photo and video side. It features a new full-frame back illuminated CMOS 45MP sensor designed by Canon. Capable of capturing 8k RAW footage up to 59.94 fps. Faster sensor read-out speeds allow for up to 30 fps electronic shutter & a new focus system makes this a great choice for action or sports photography.
Canon R5 Mark II RF-Mount Filter Compatibility
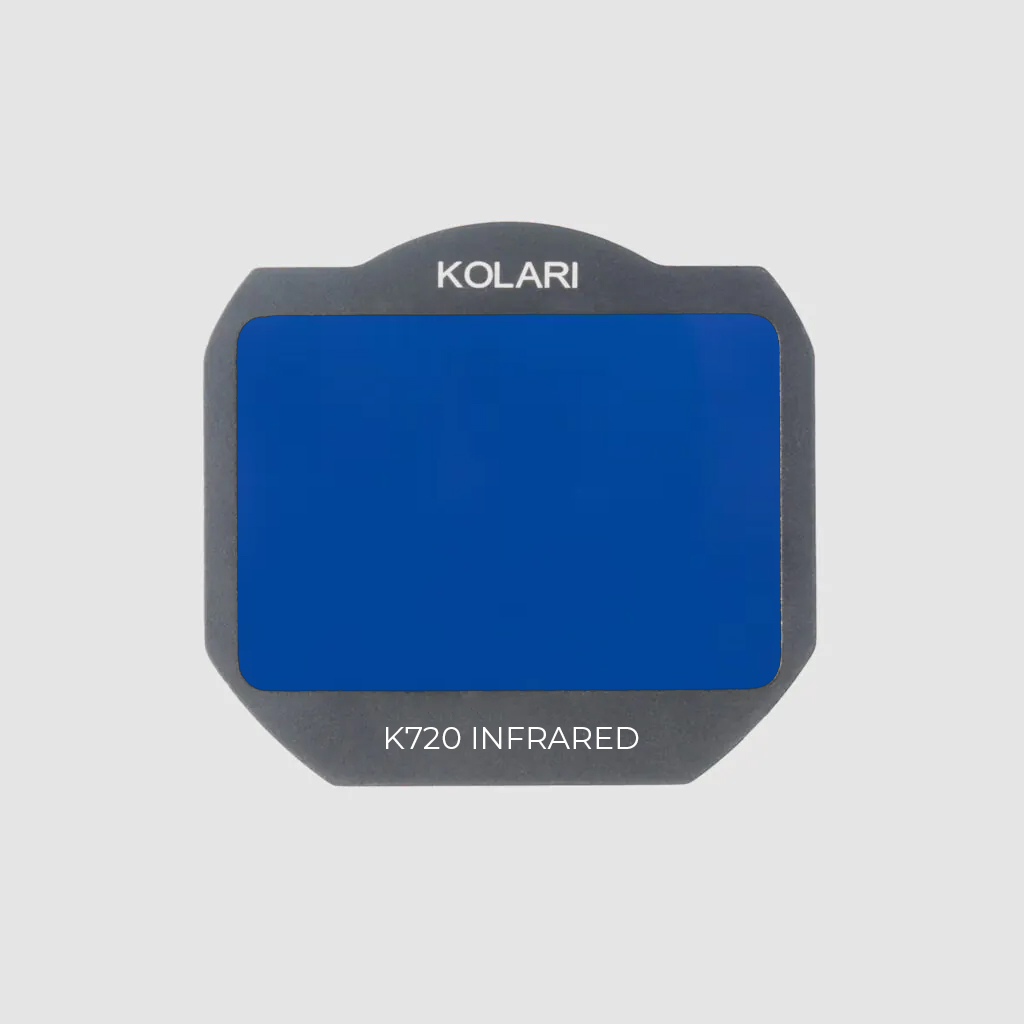
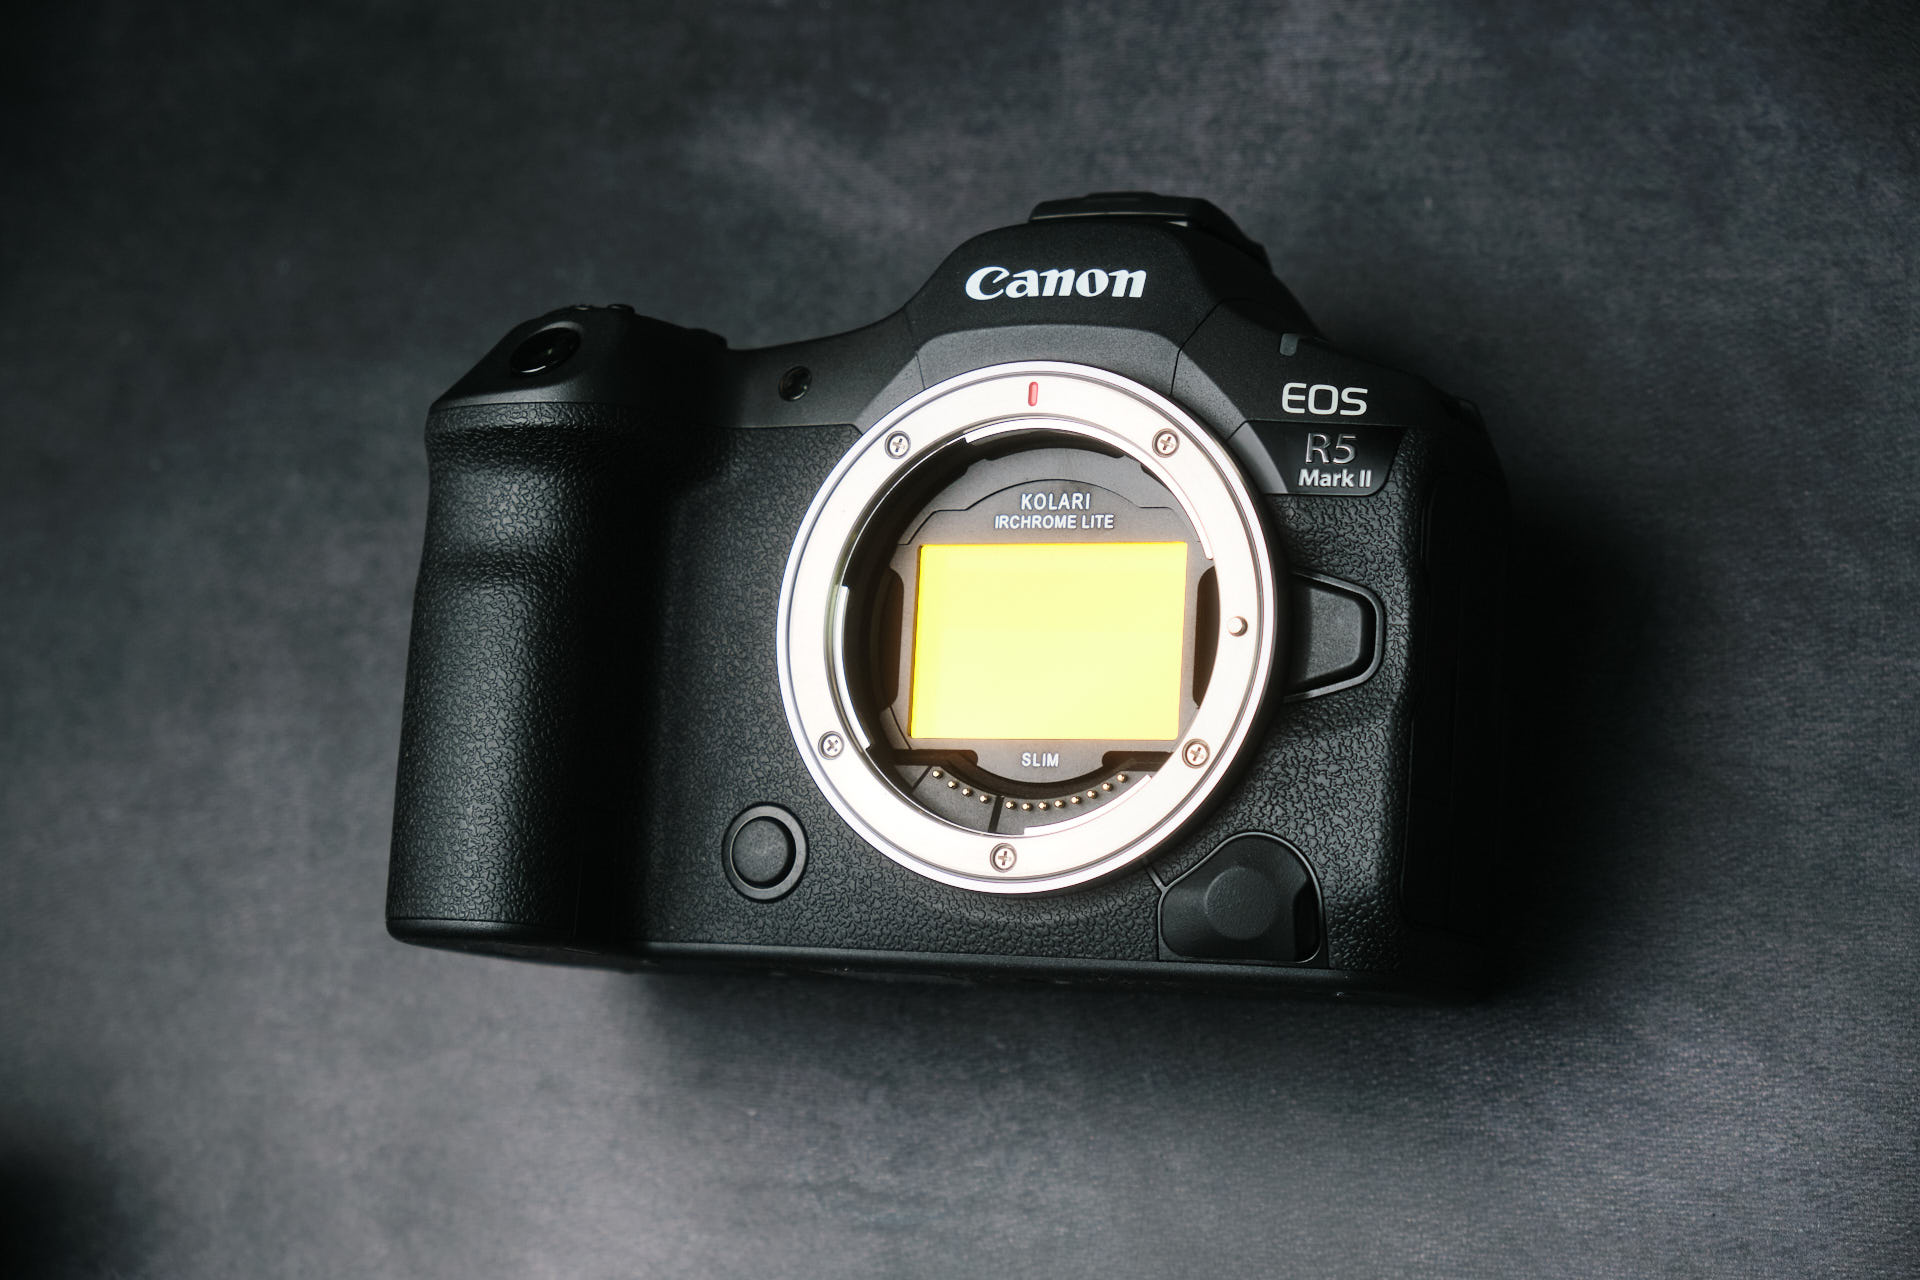
Just like the original R5, this camera also uses an RF-mount, which is compatible with our magnetic clip-in filters; it also accepts an EF-EOS R Mount Adapter for compatibility with our drop-in filters. Now let’s take apart this camera!
Starting the Canon R5 Mark II Teardown With the Baseplate
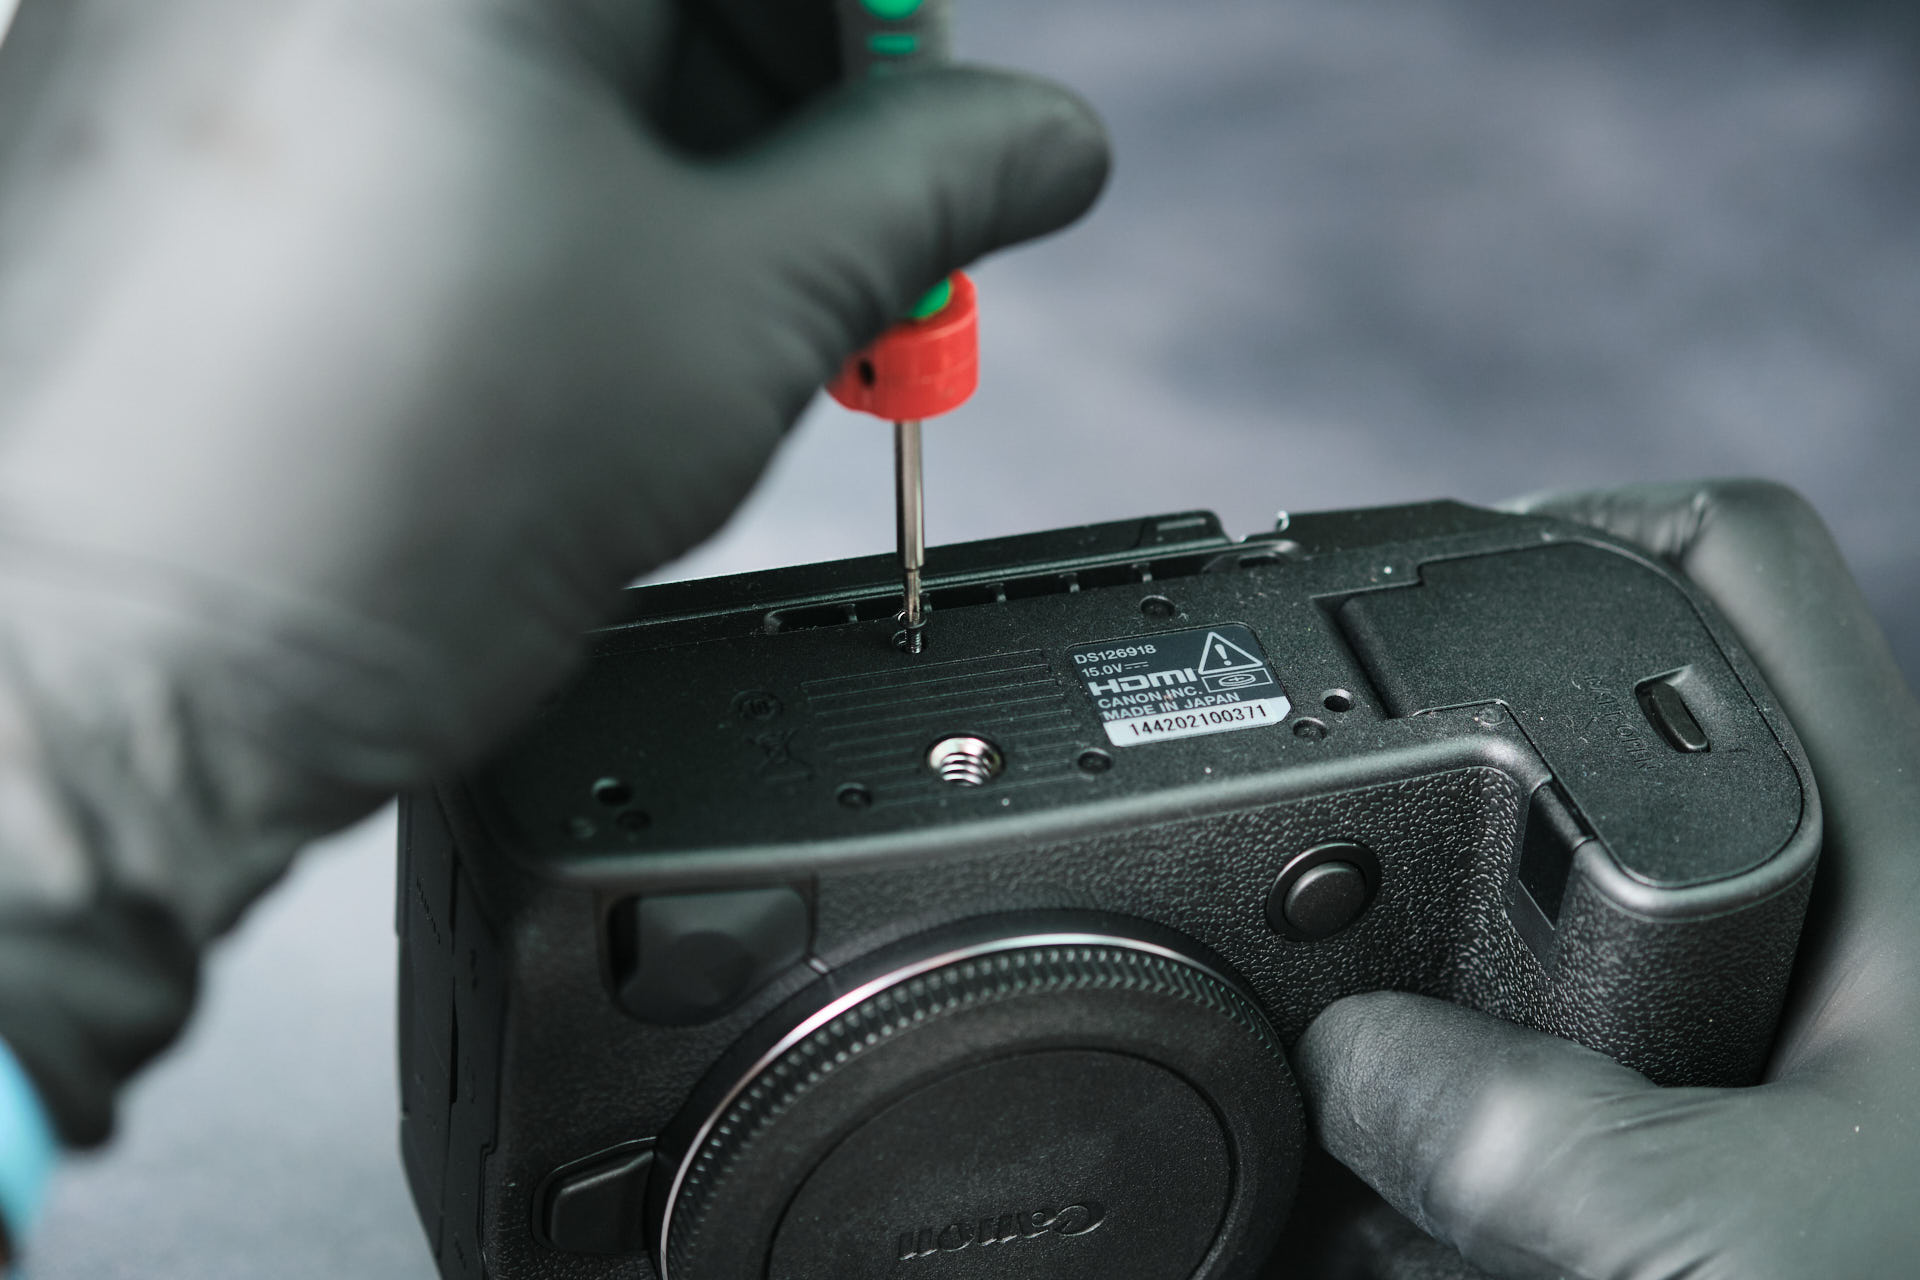
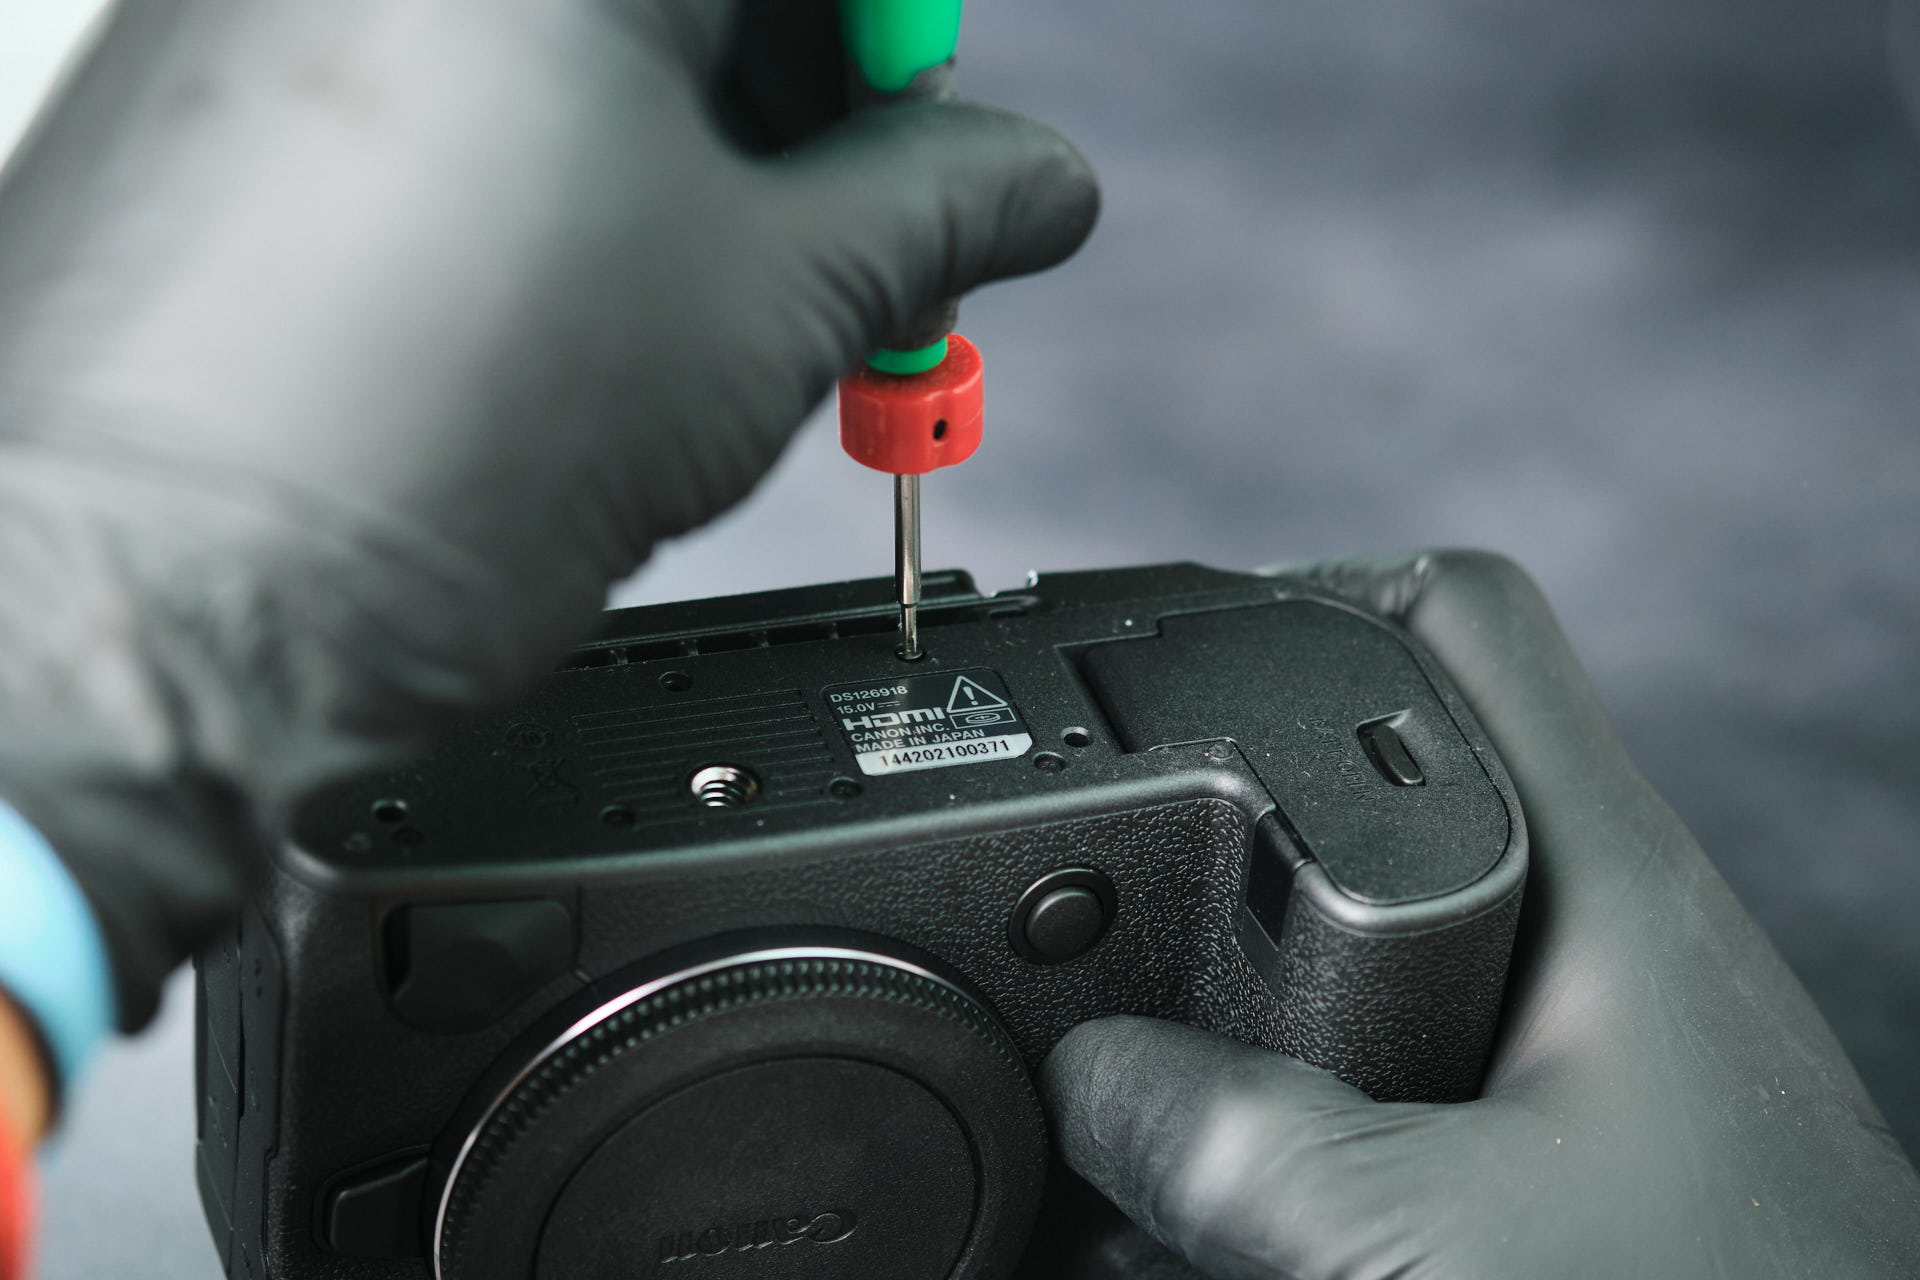
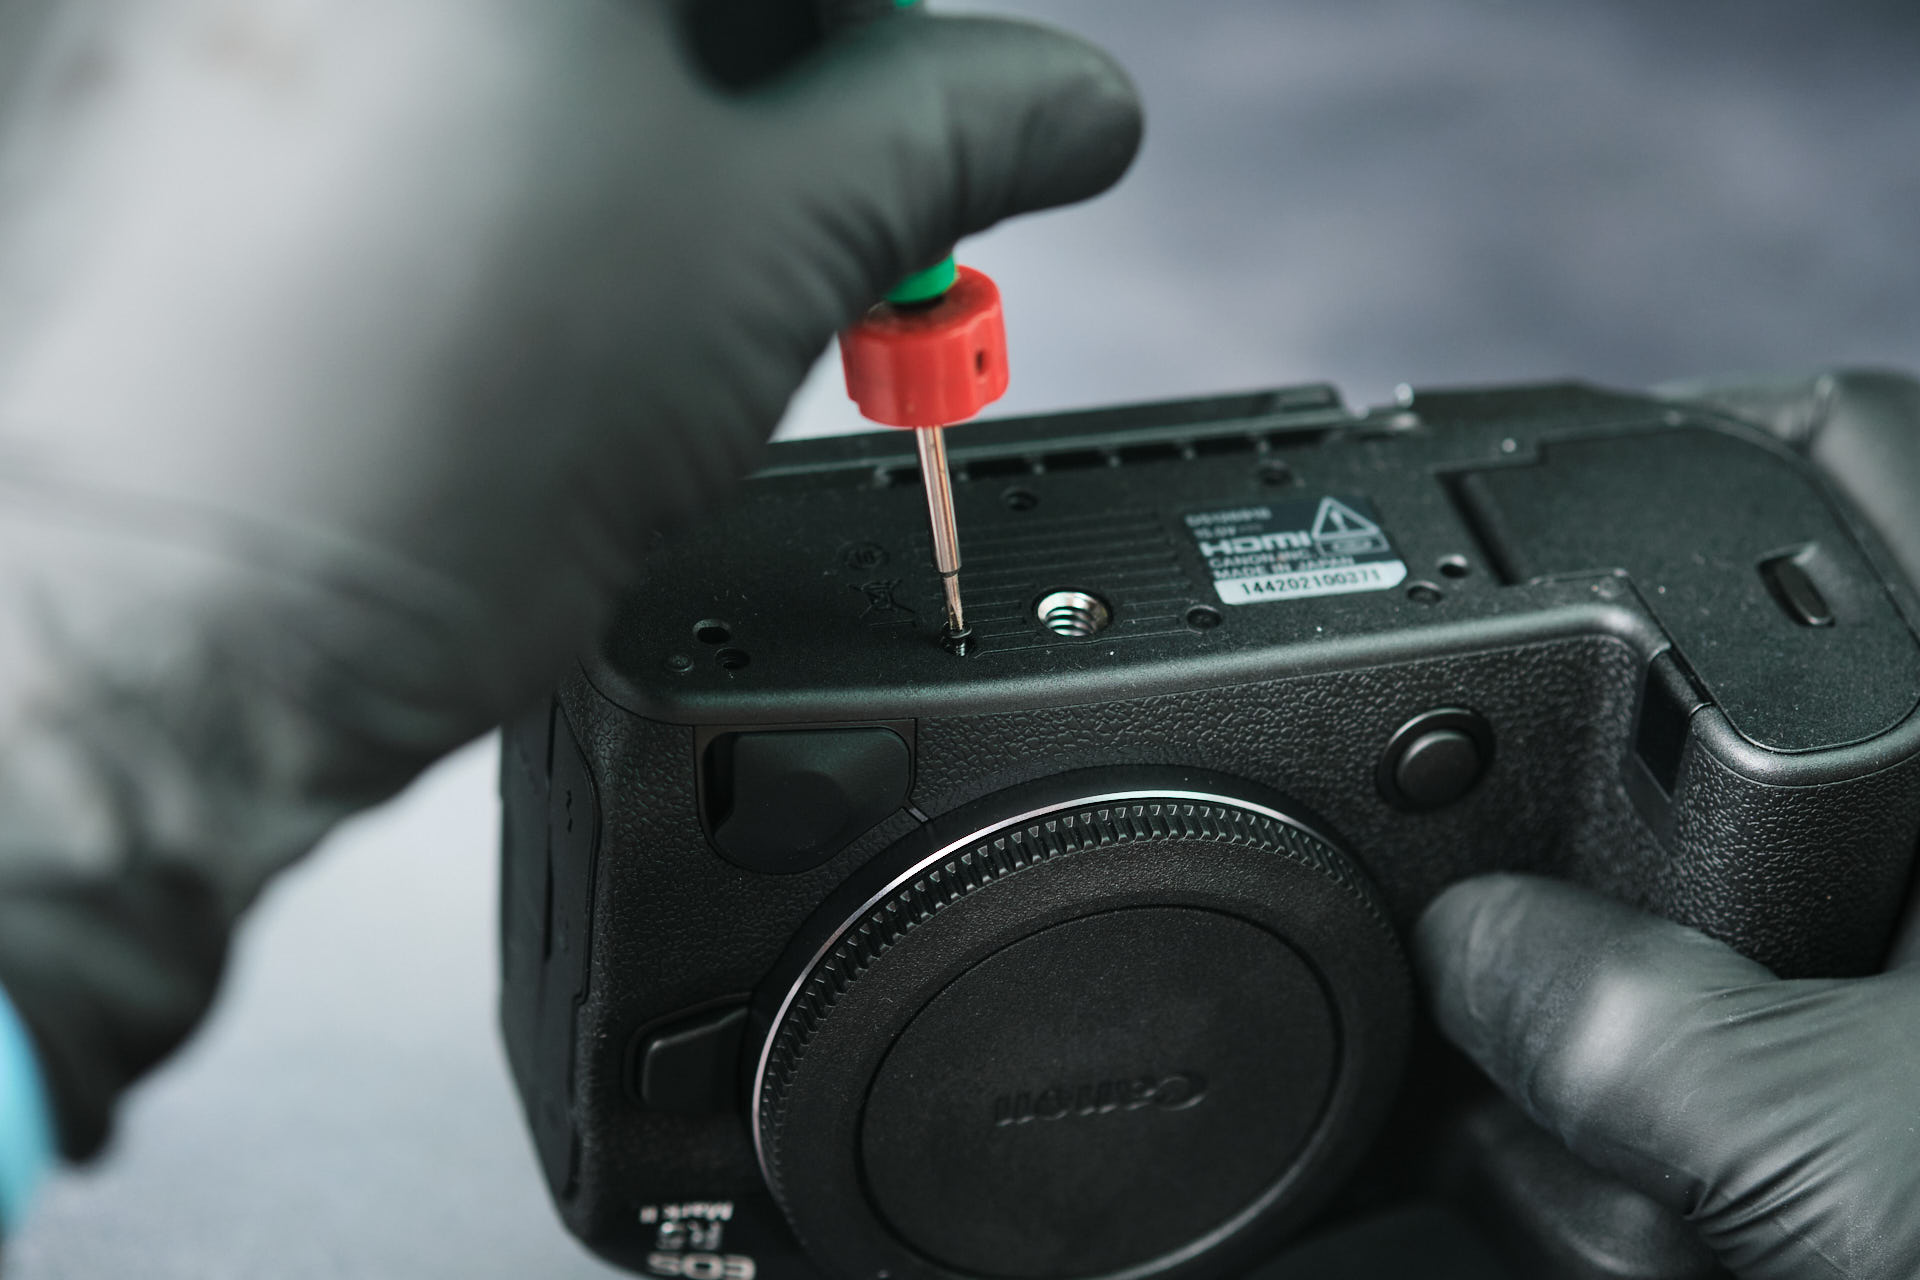
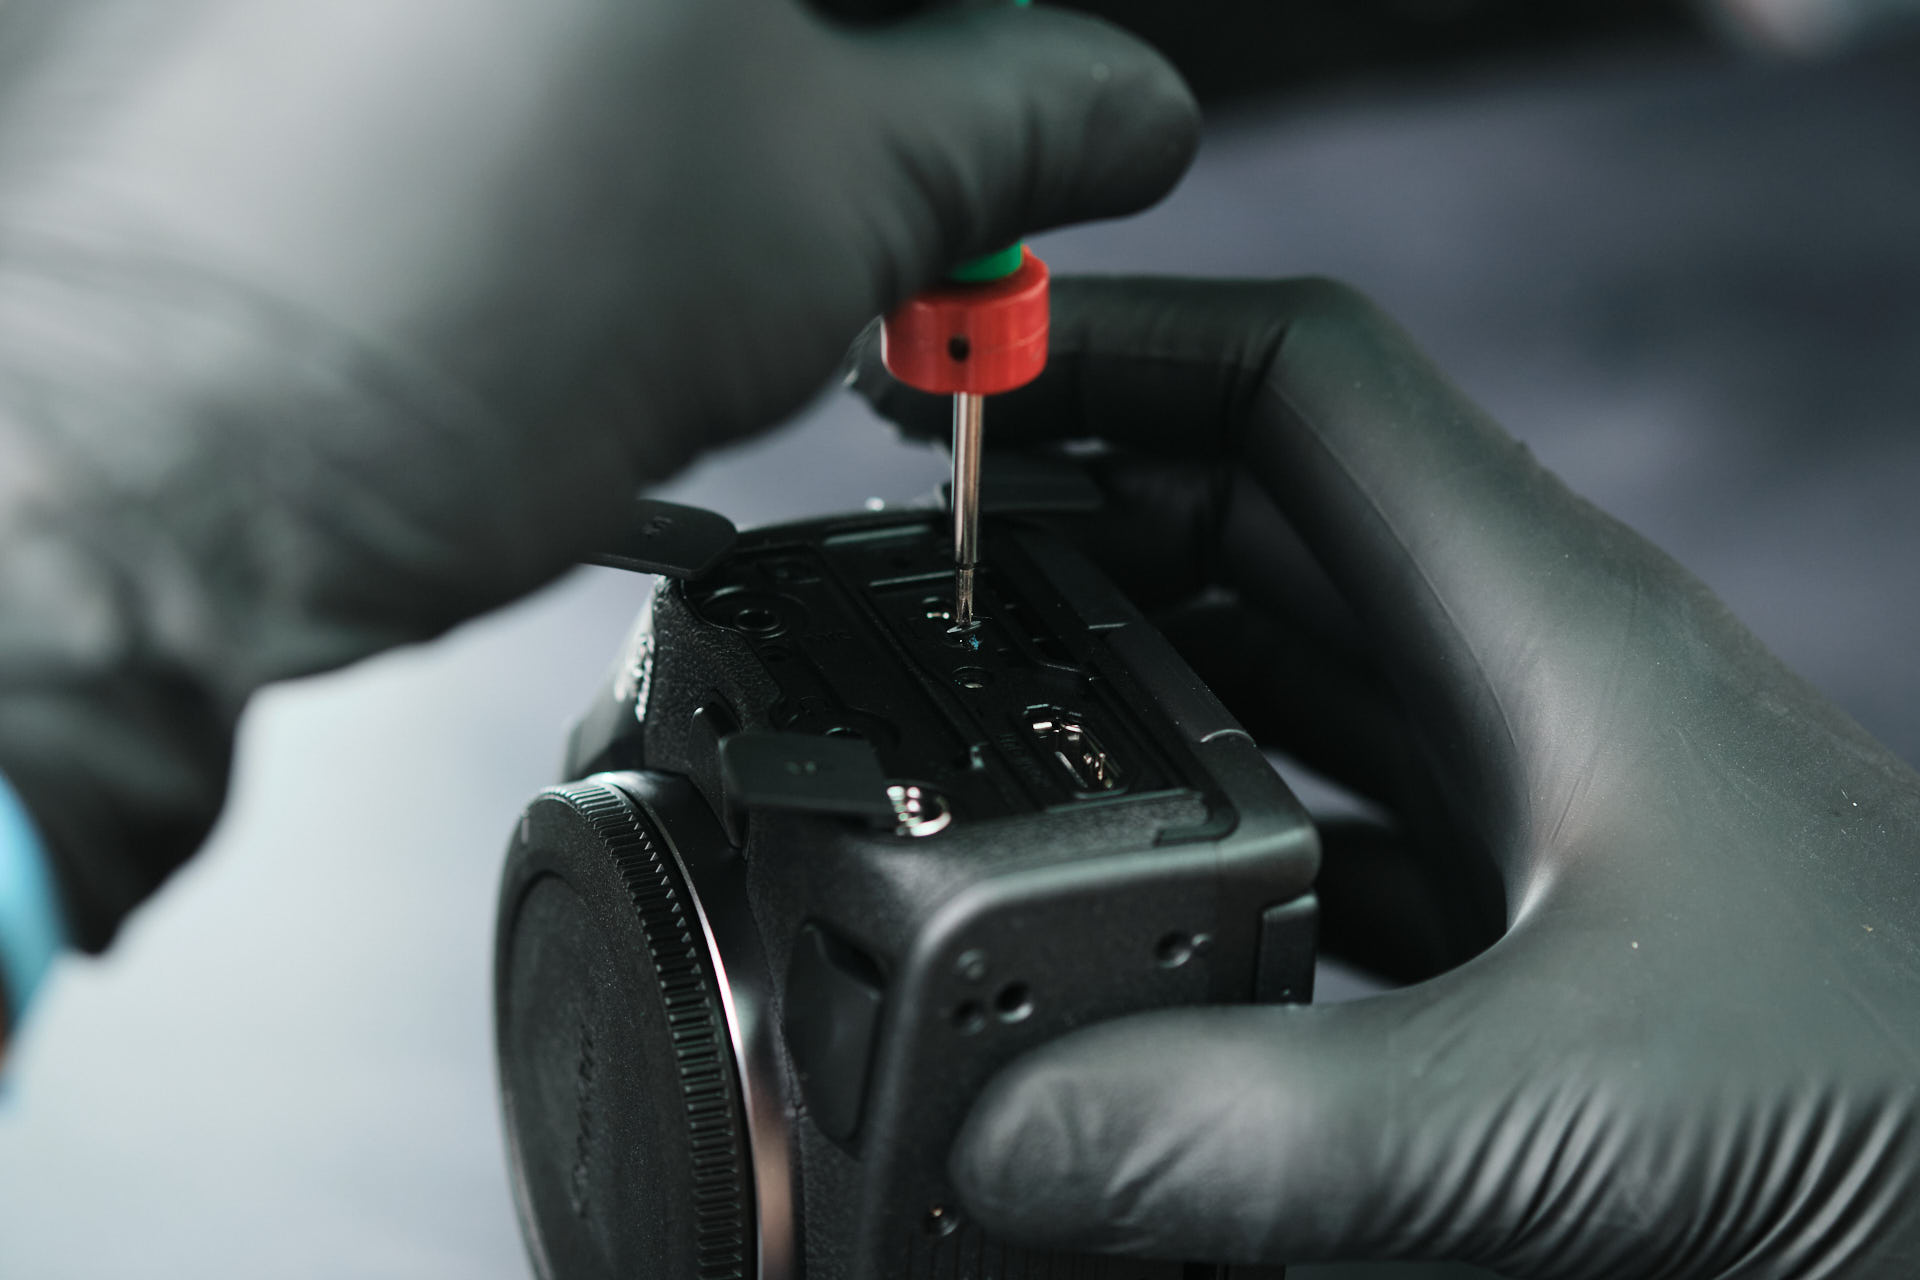
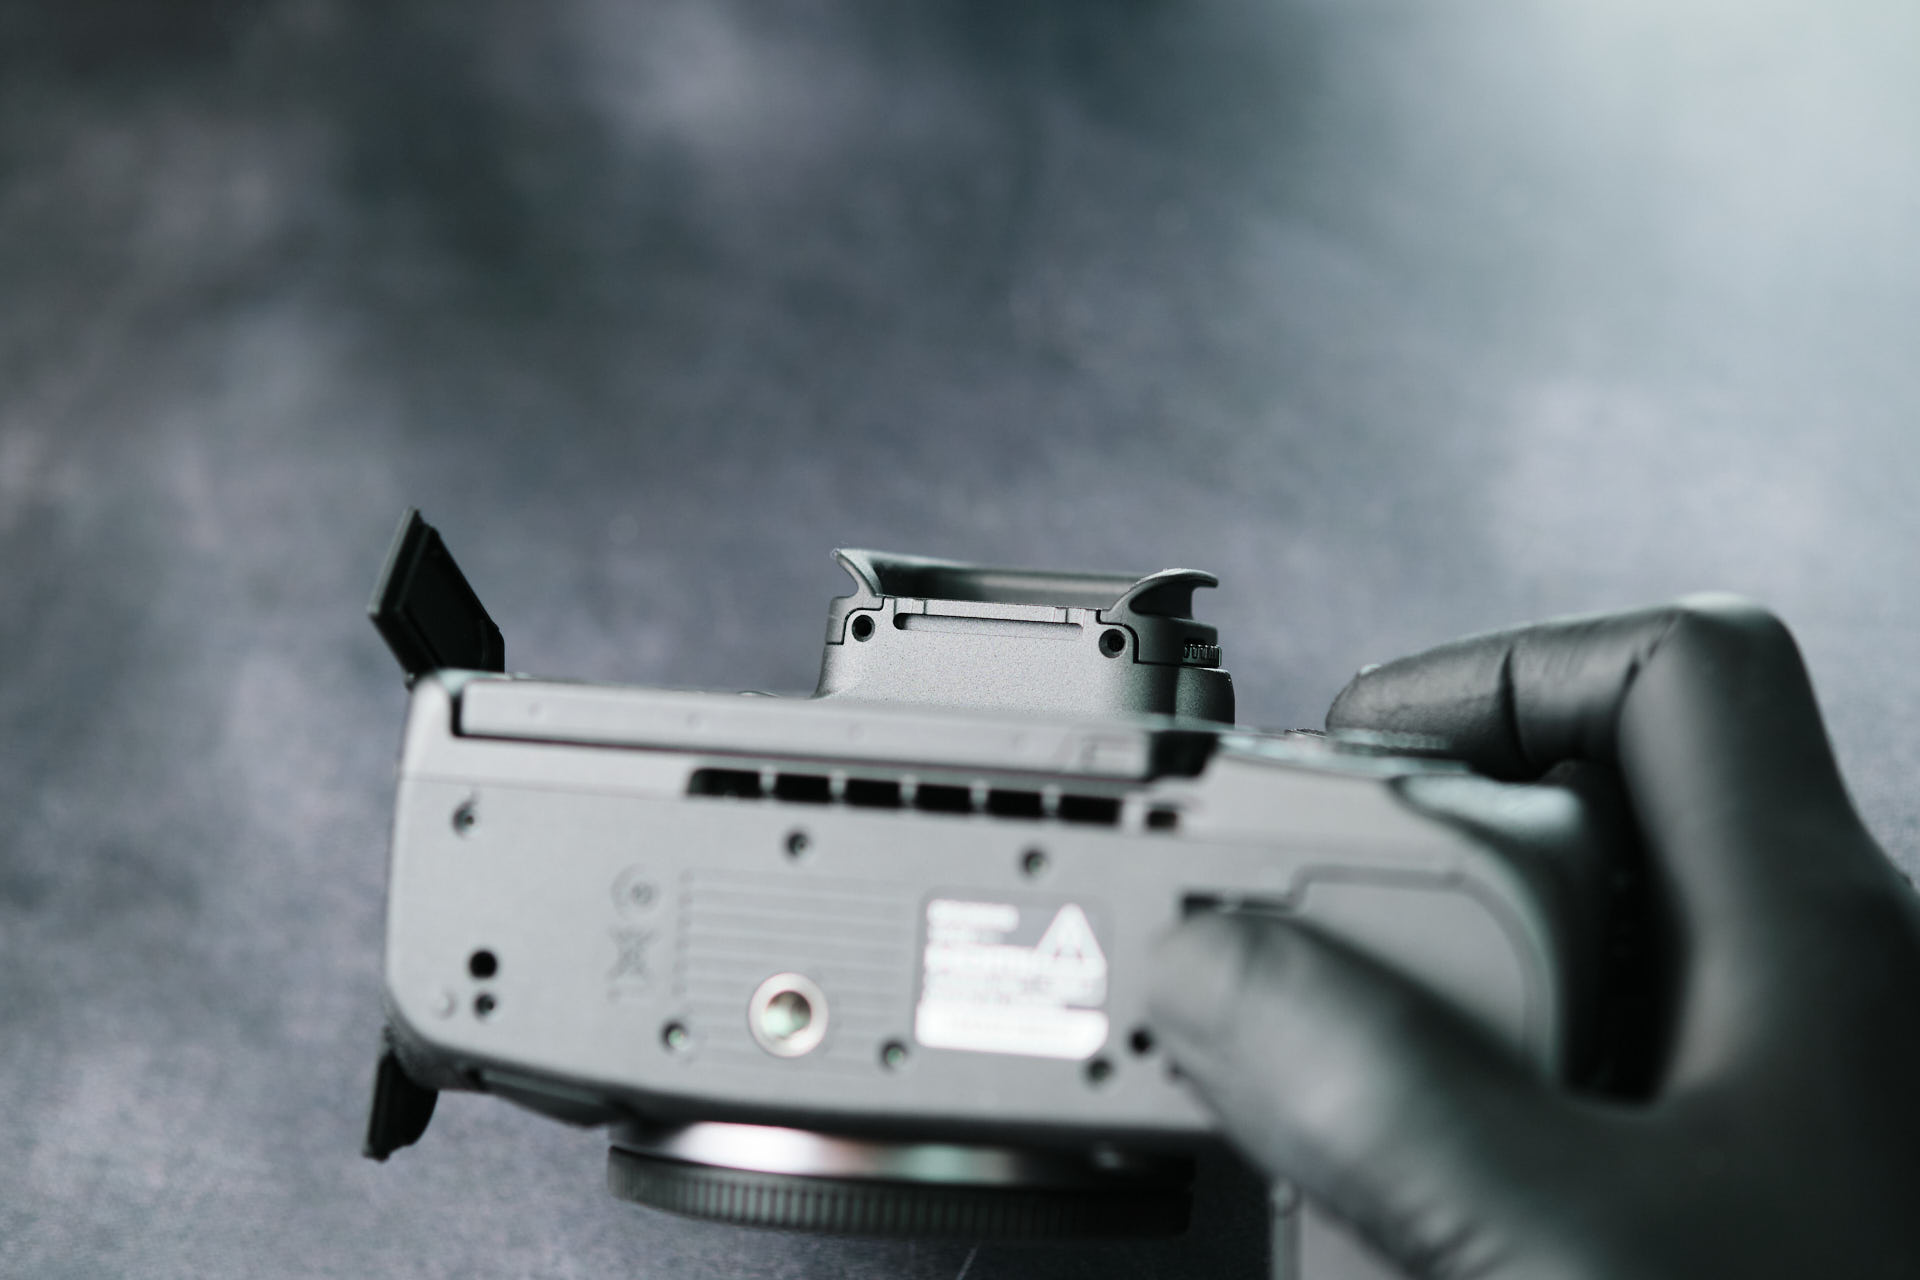
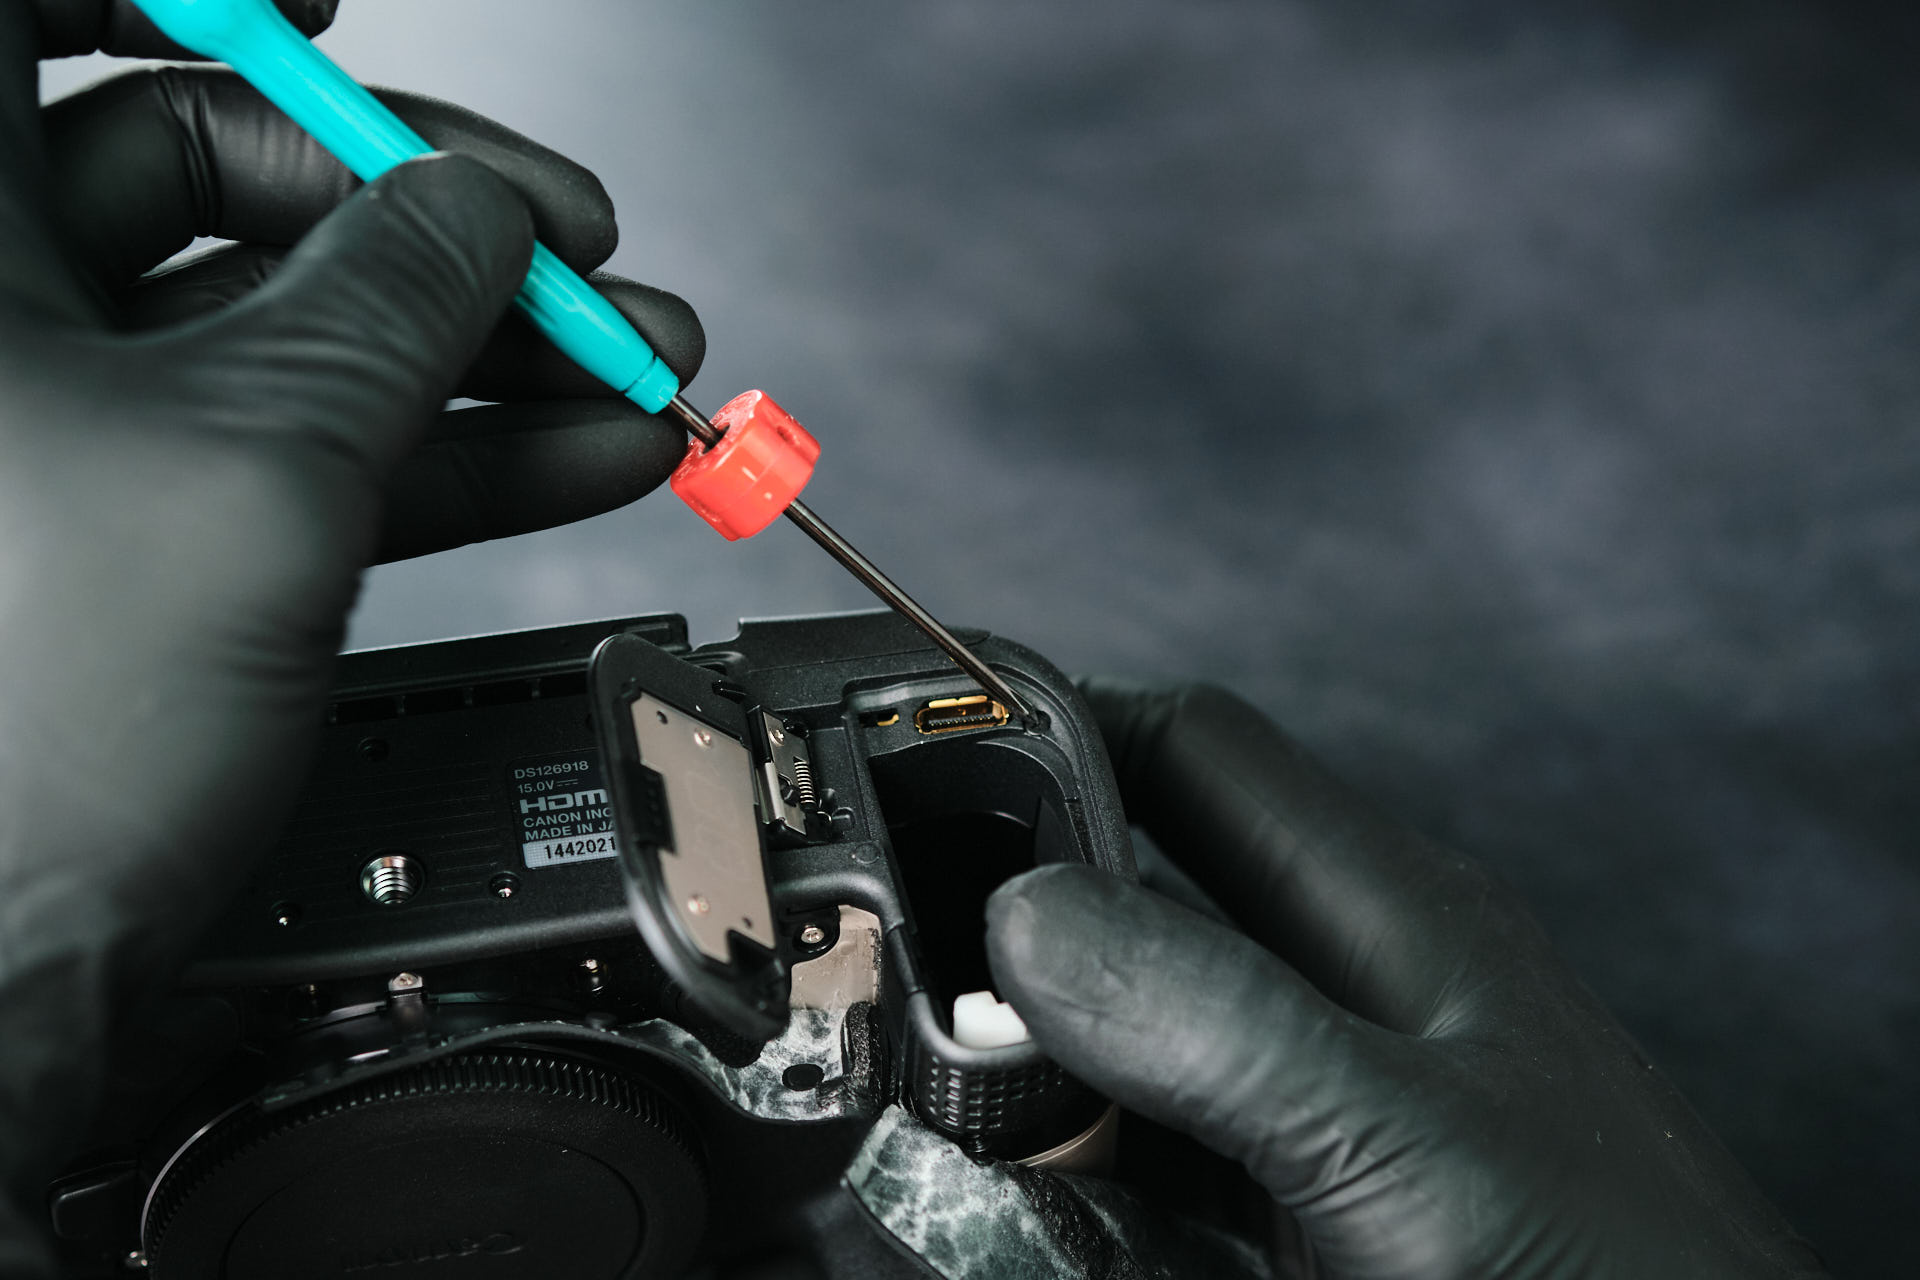
We started by removing six screws fastened to the camera’s baseplate.
Removing Port Side Screws and EVF Screws
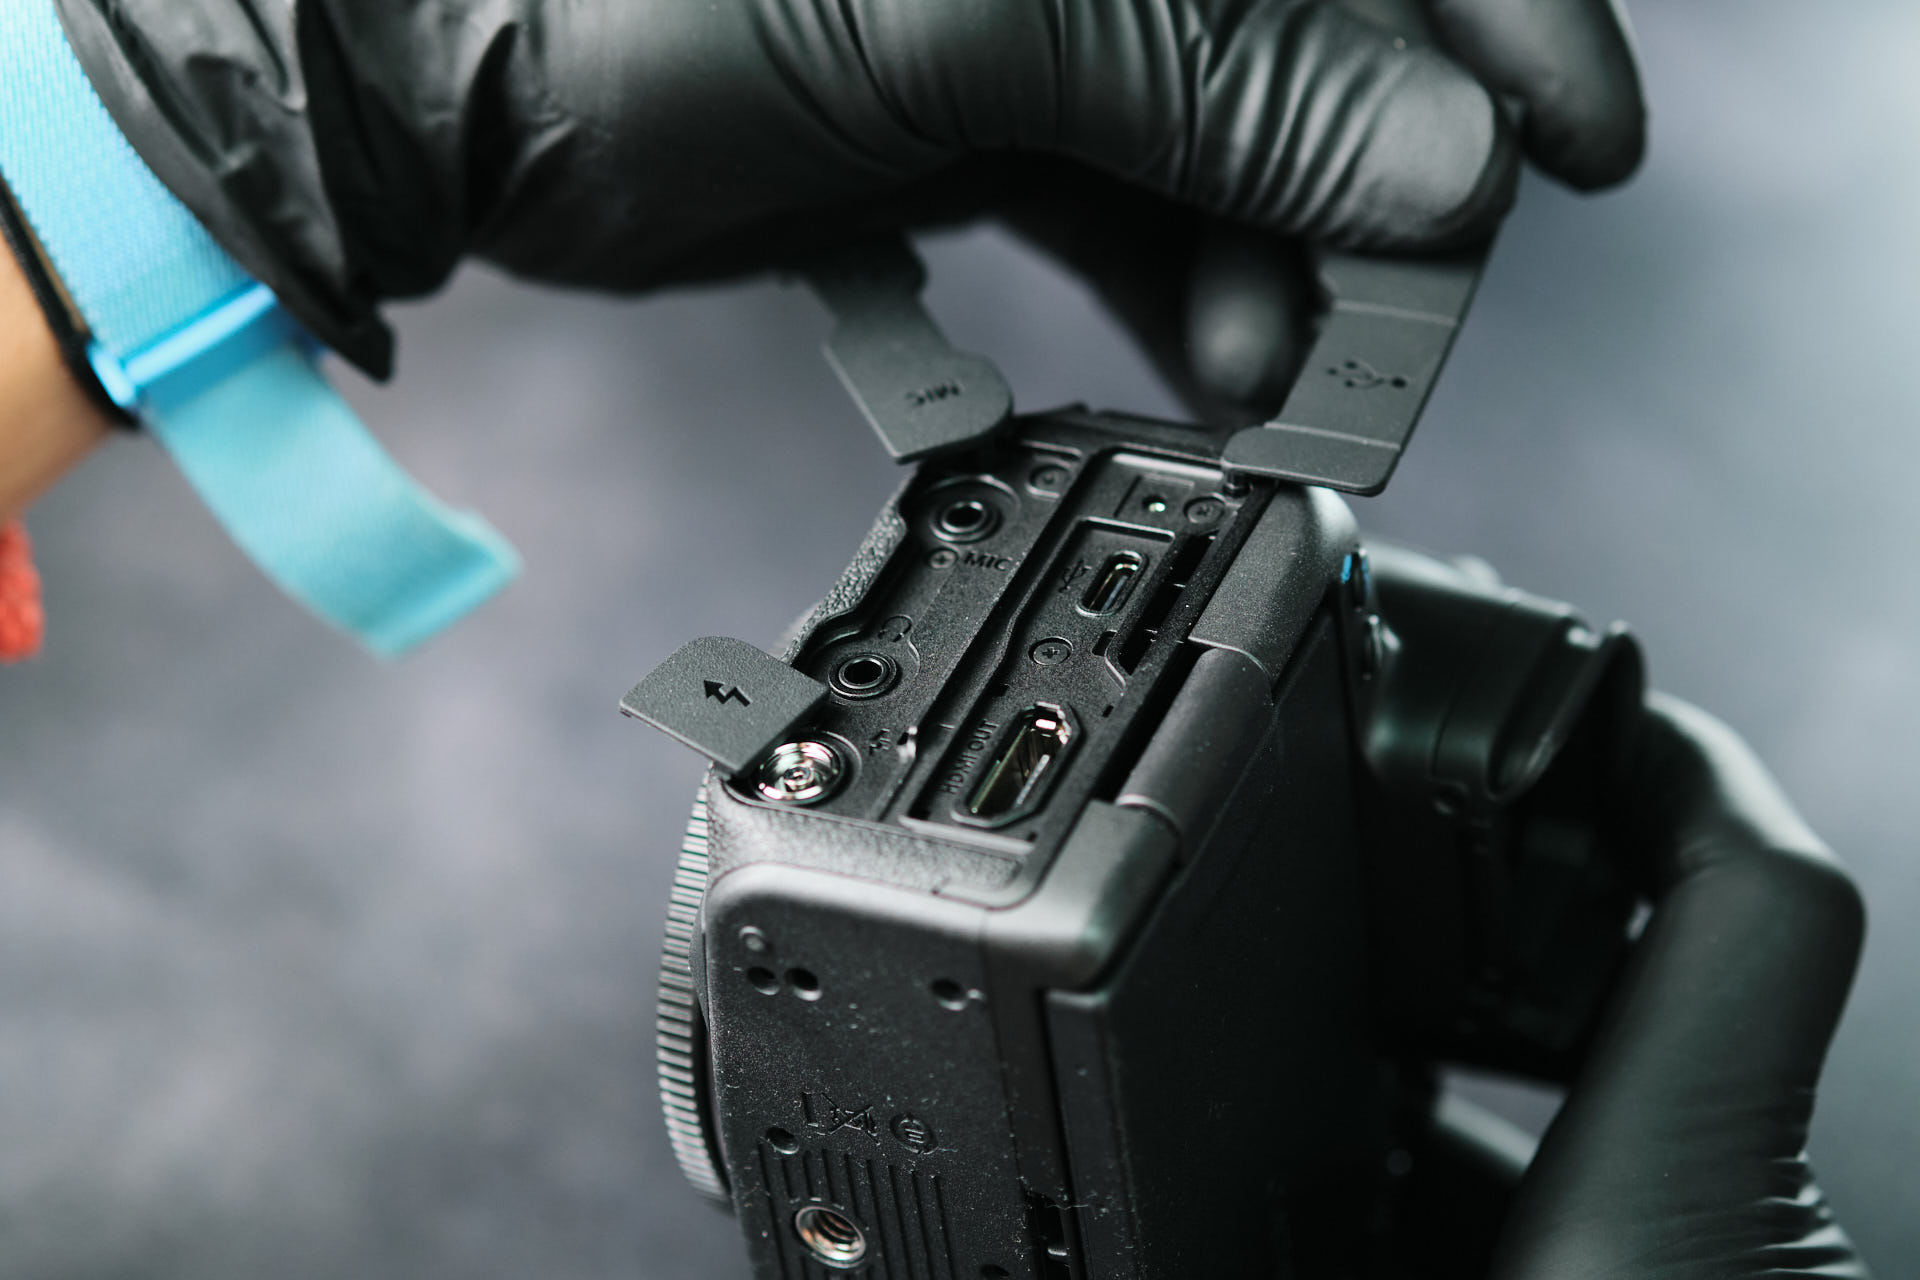
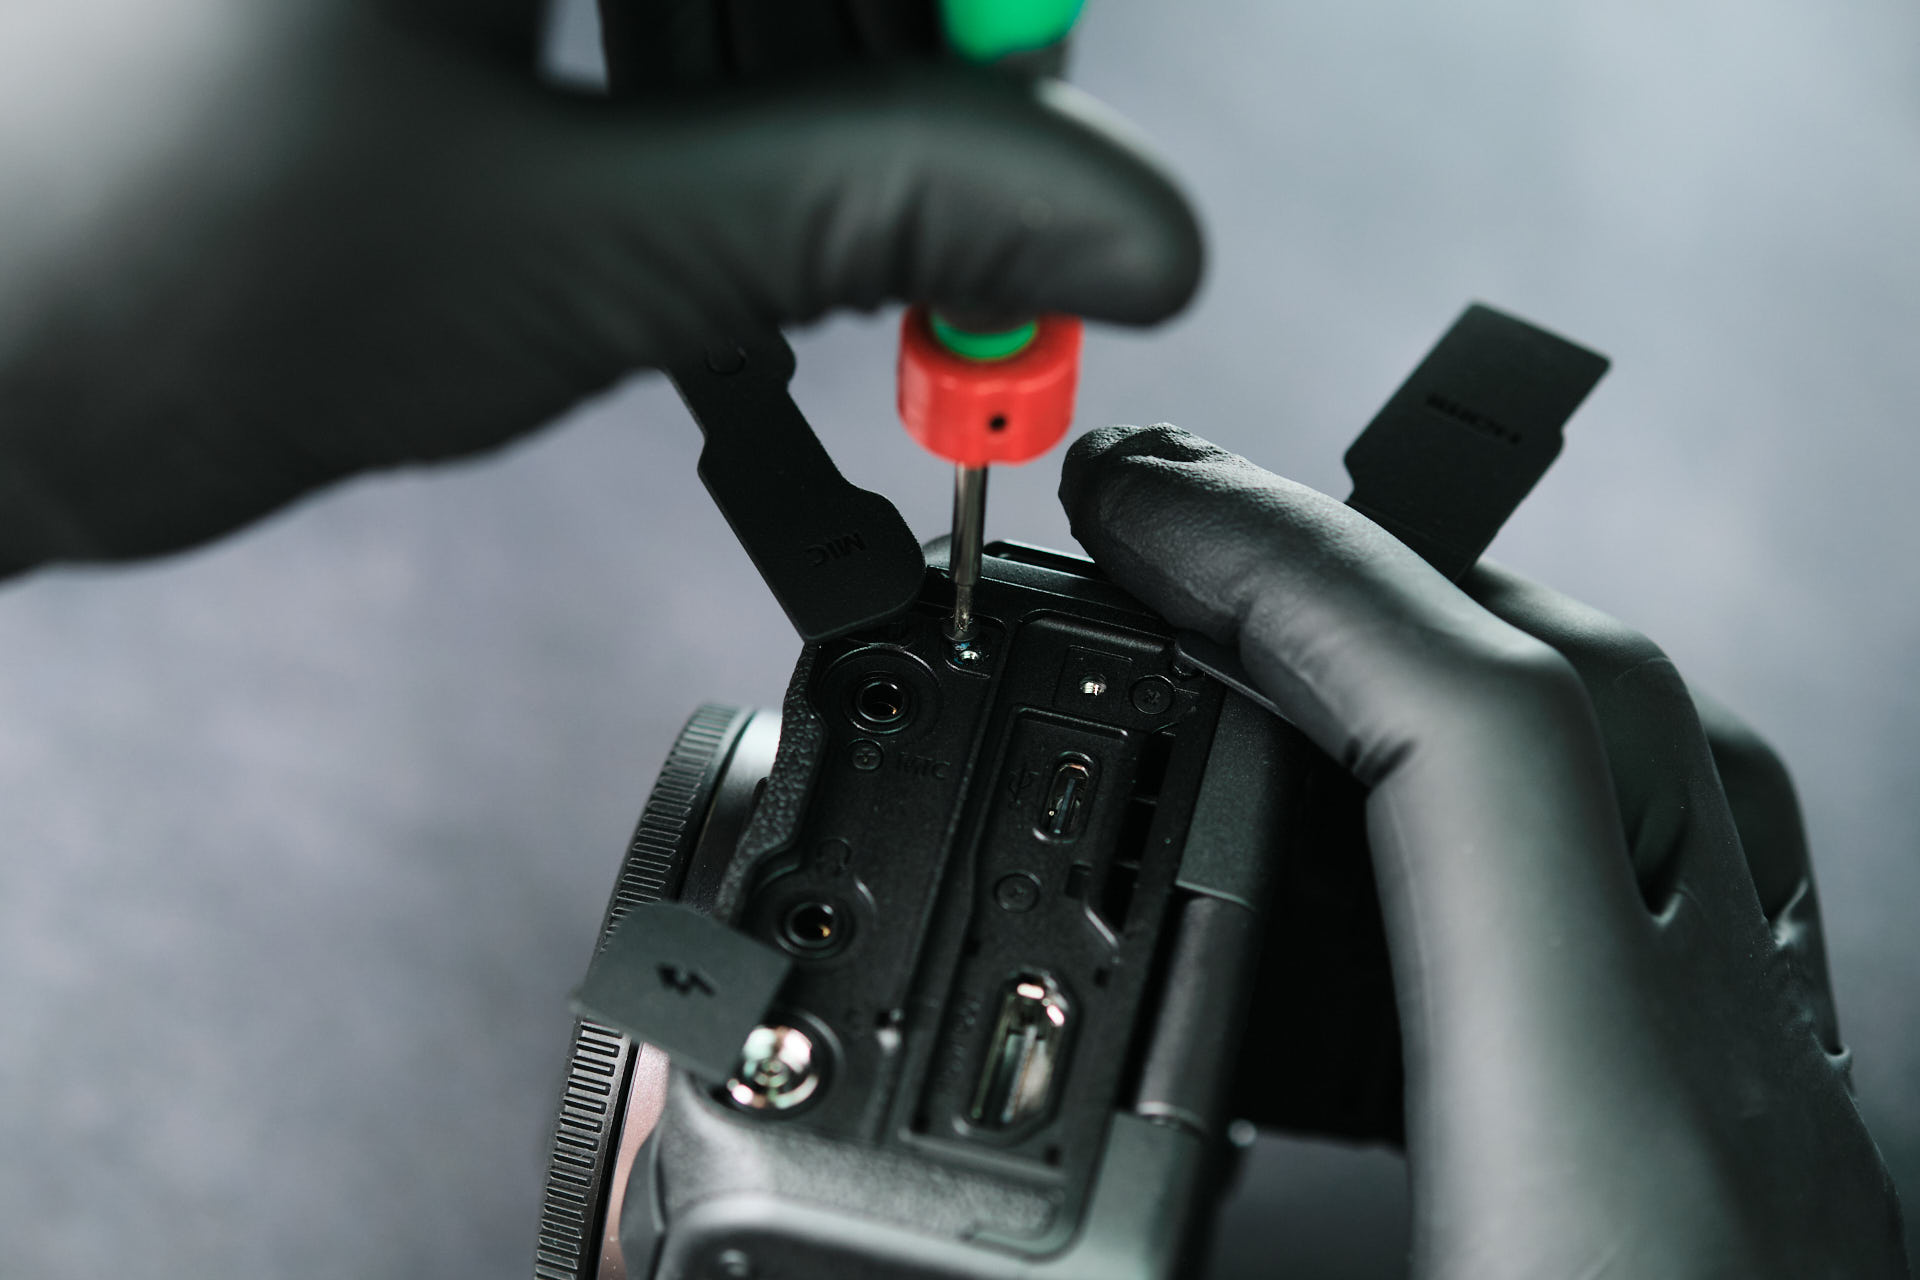
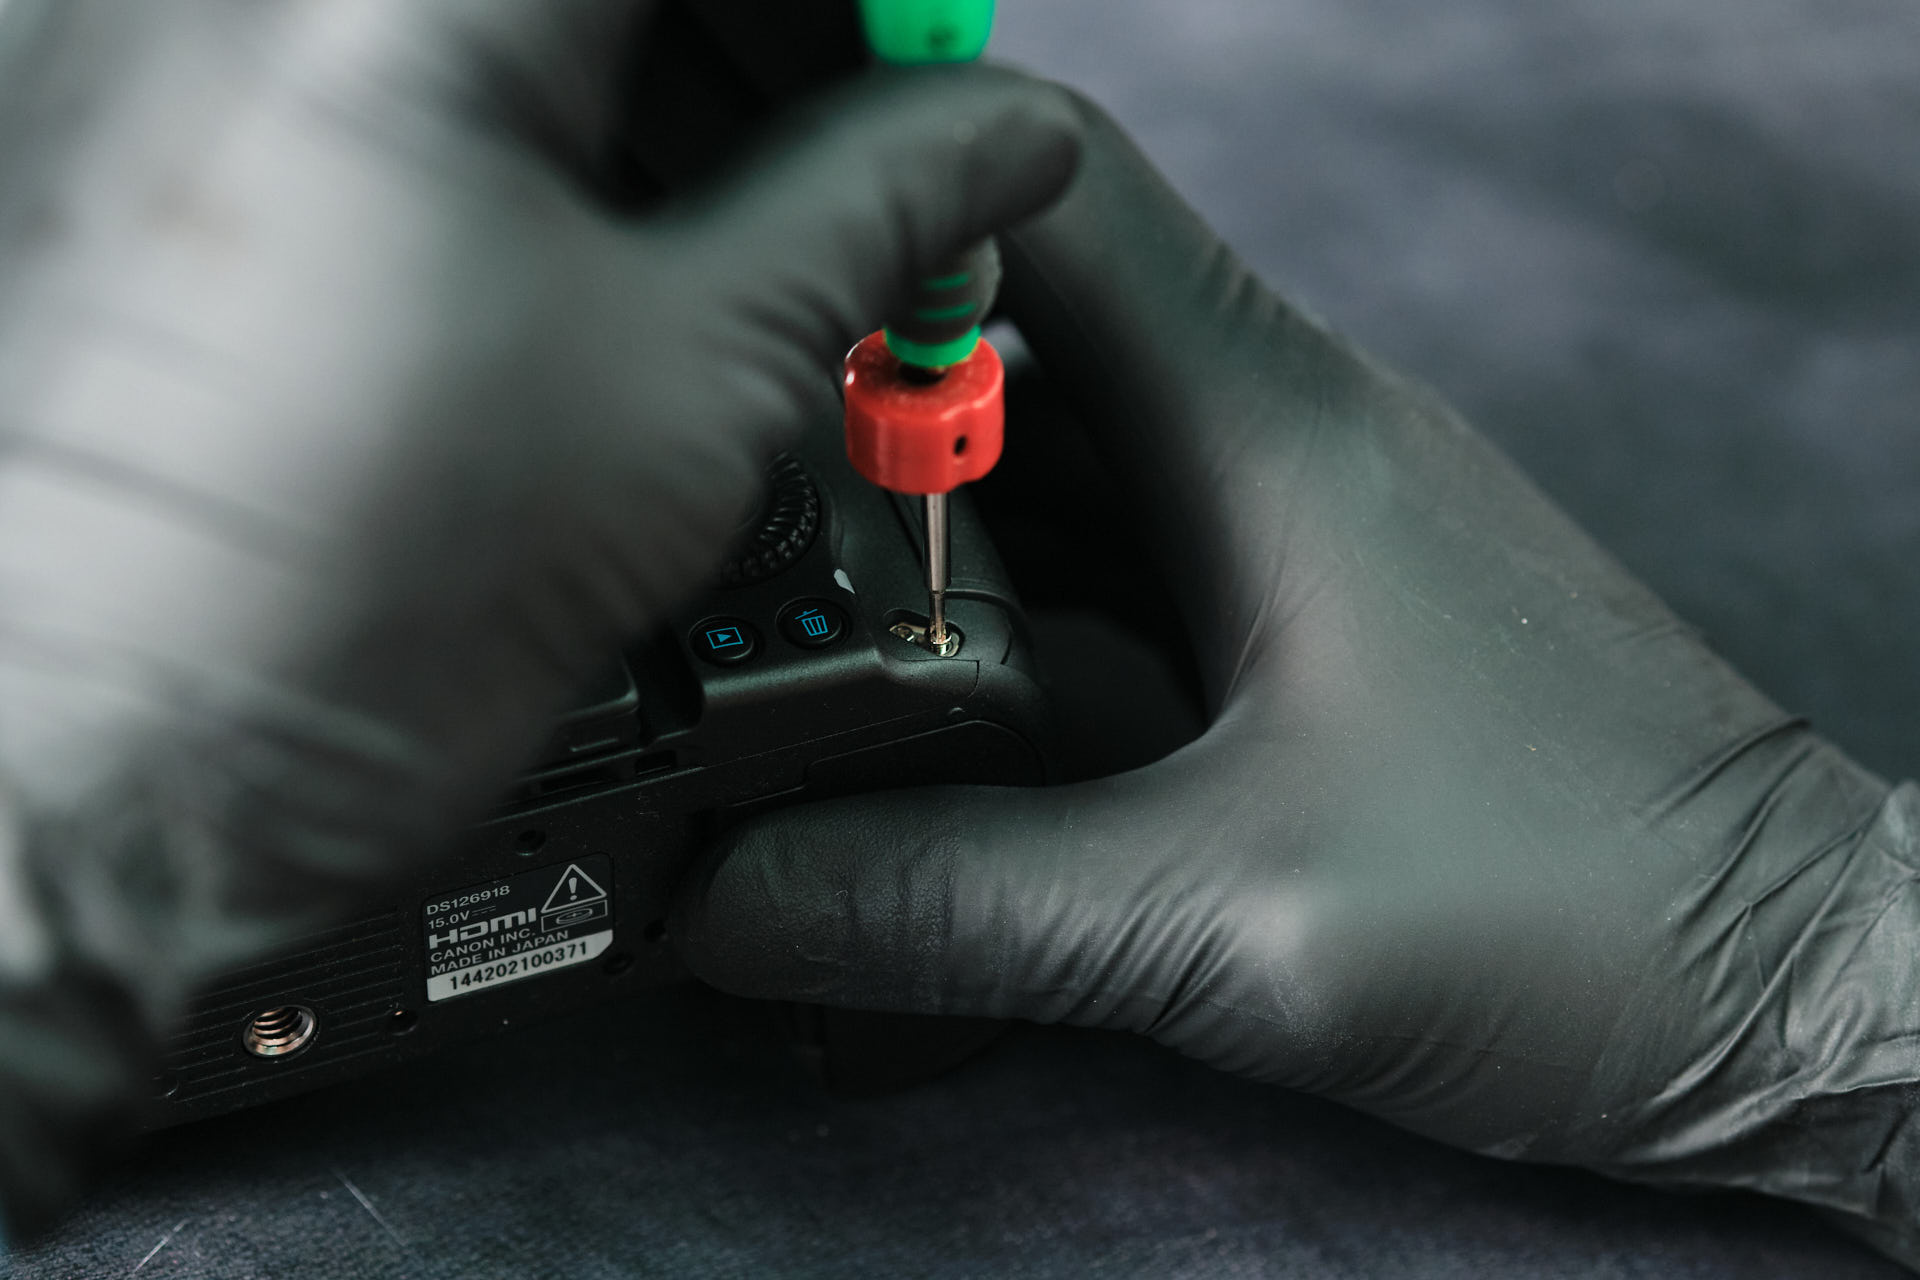
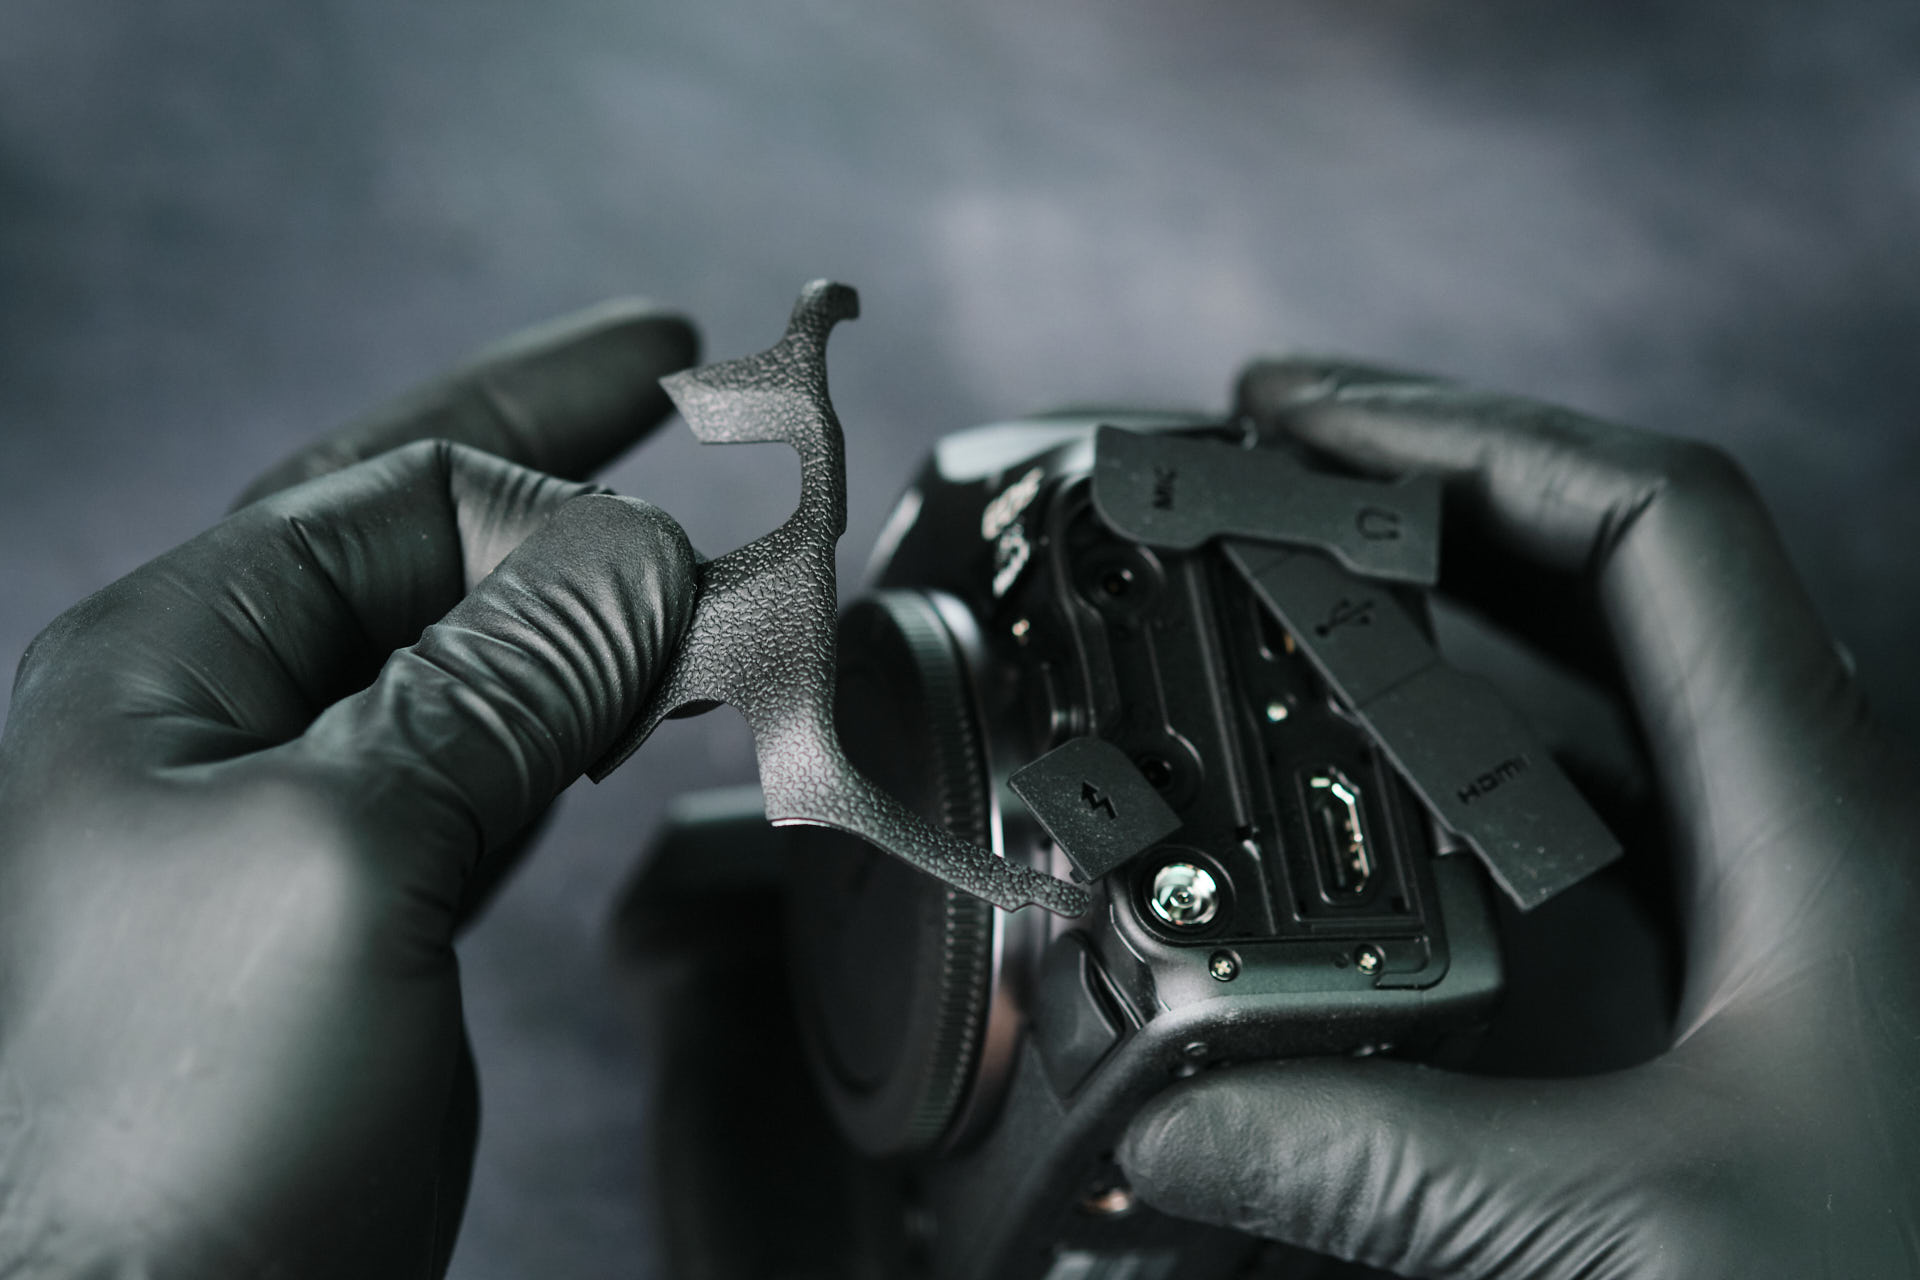
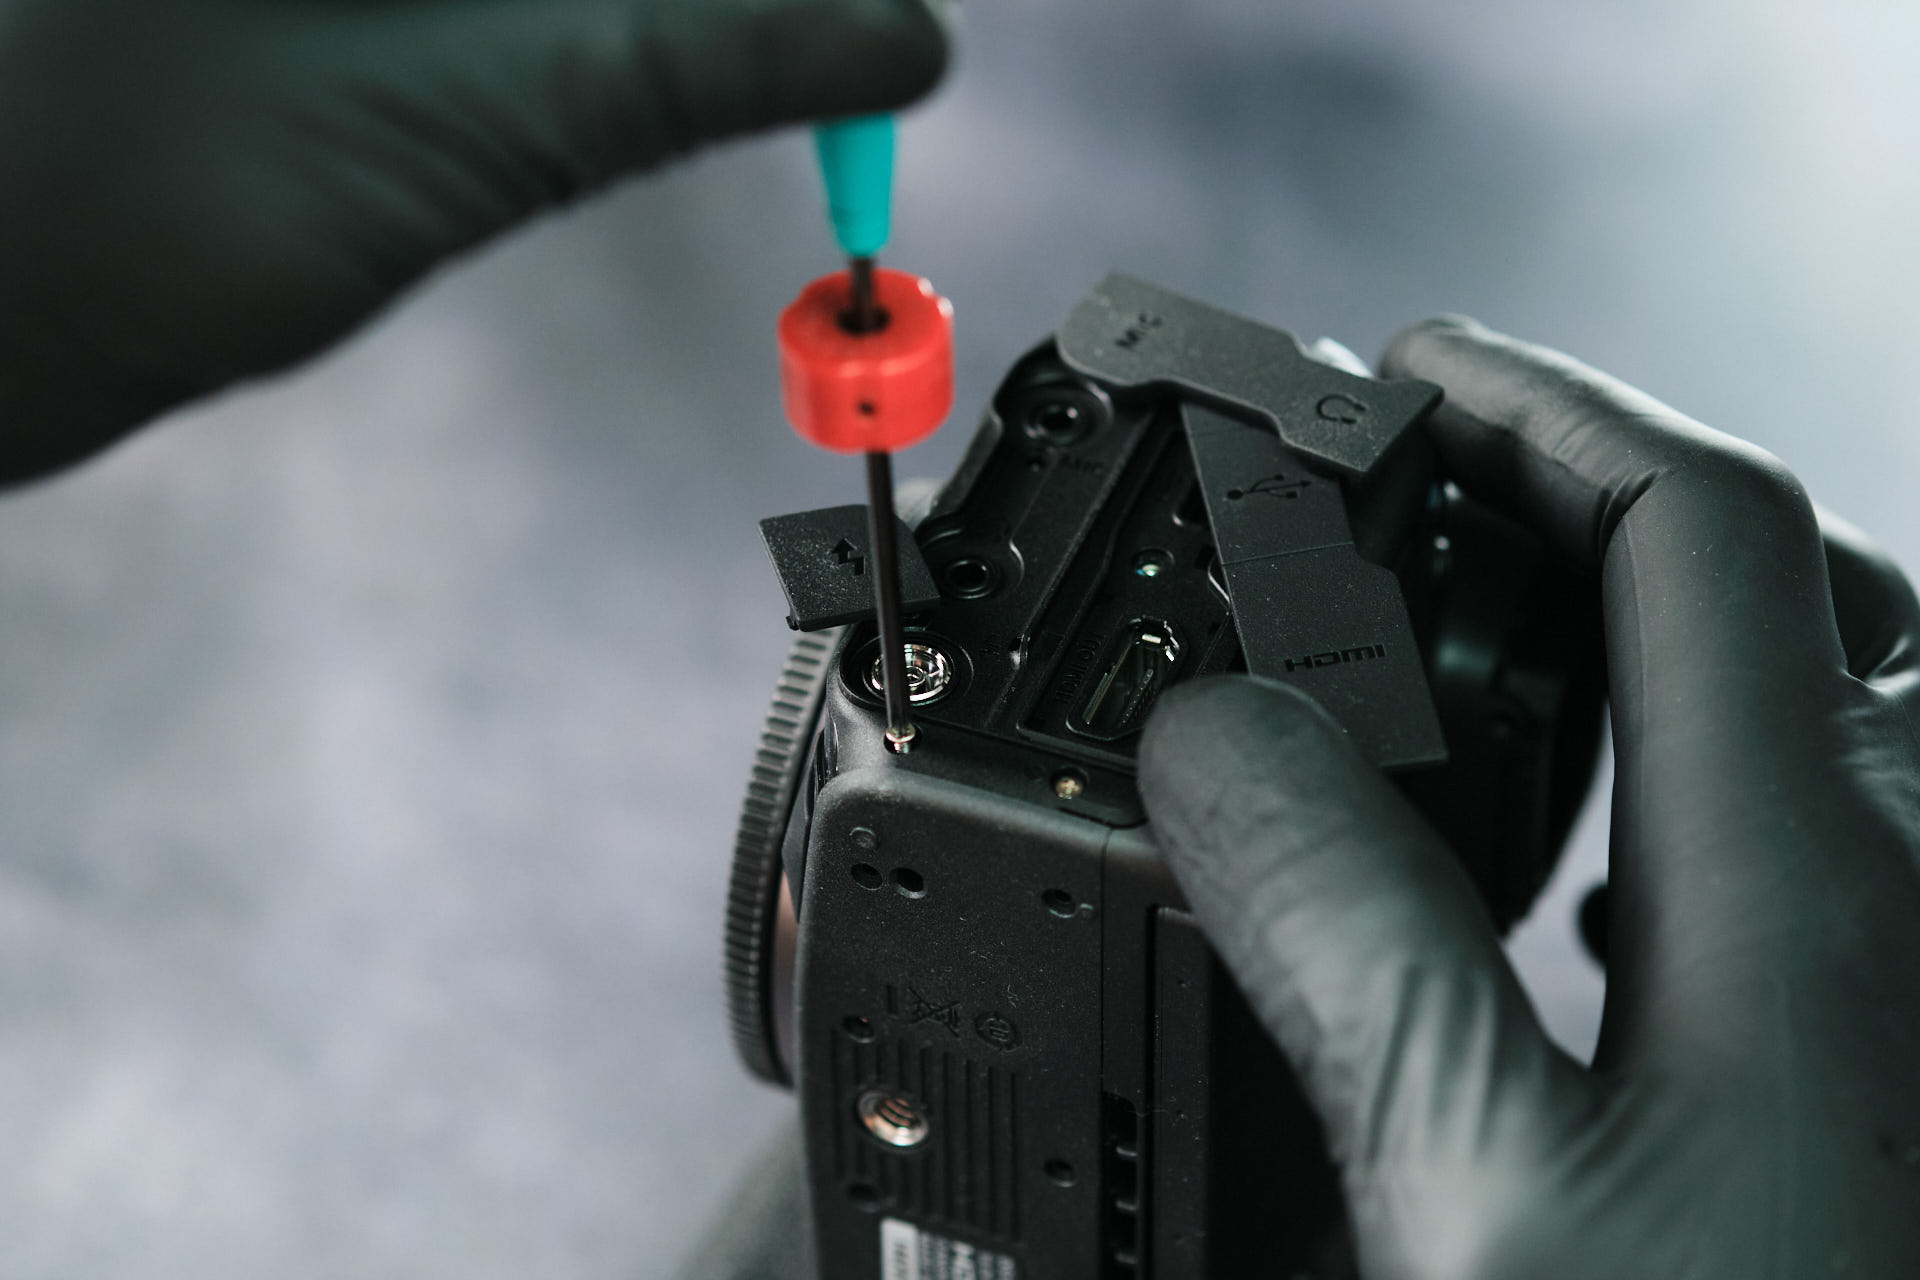
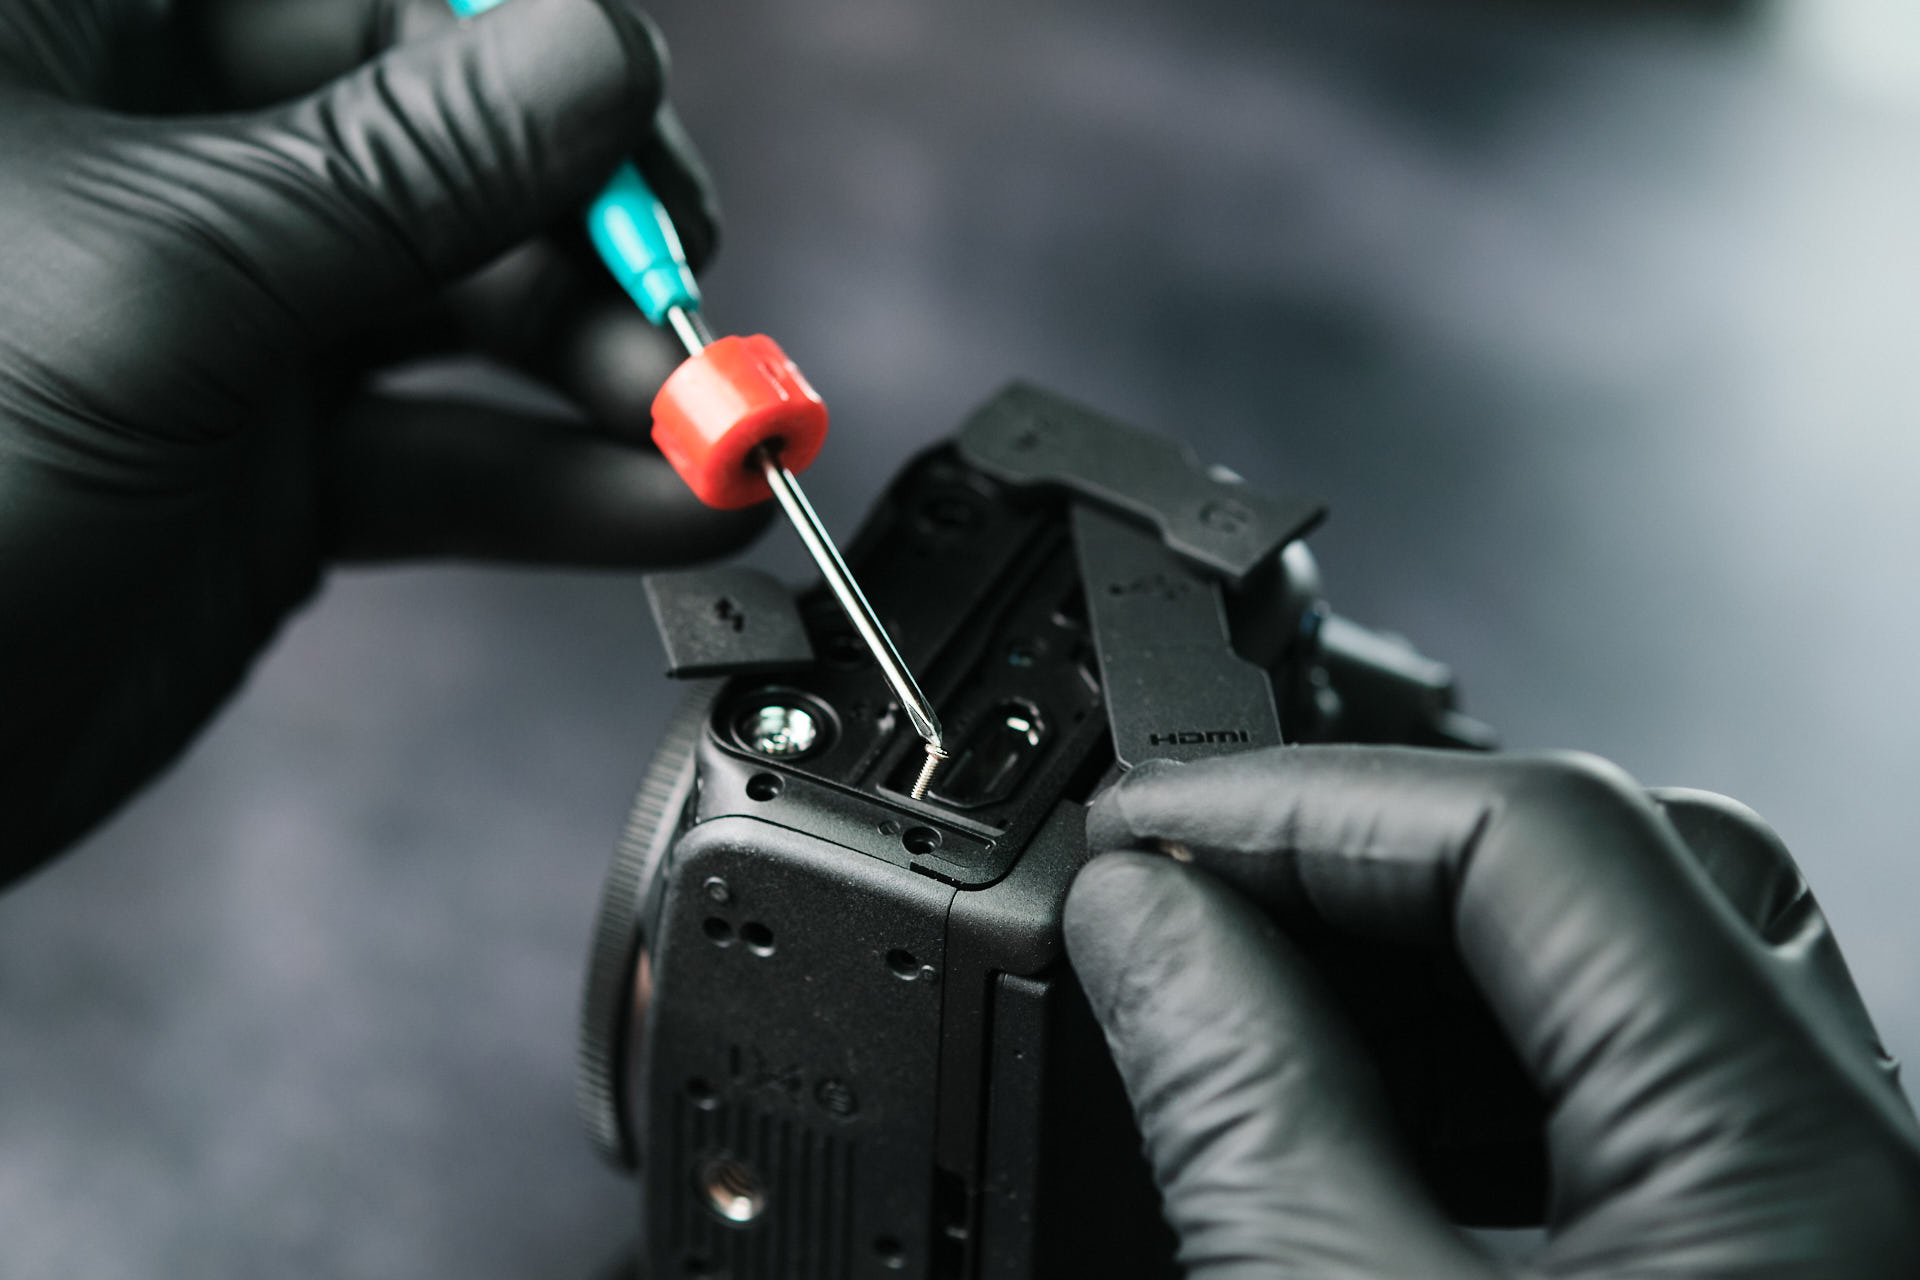
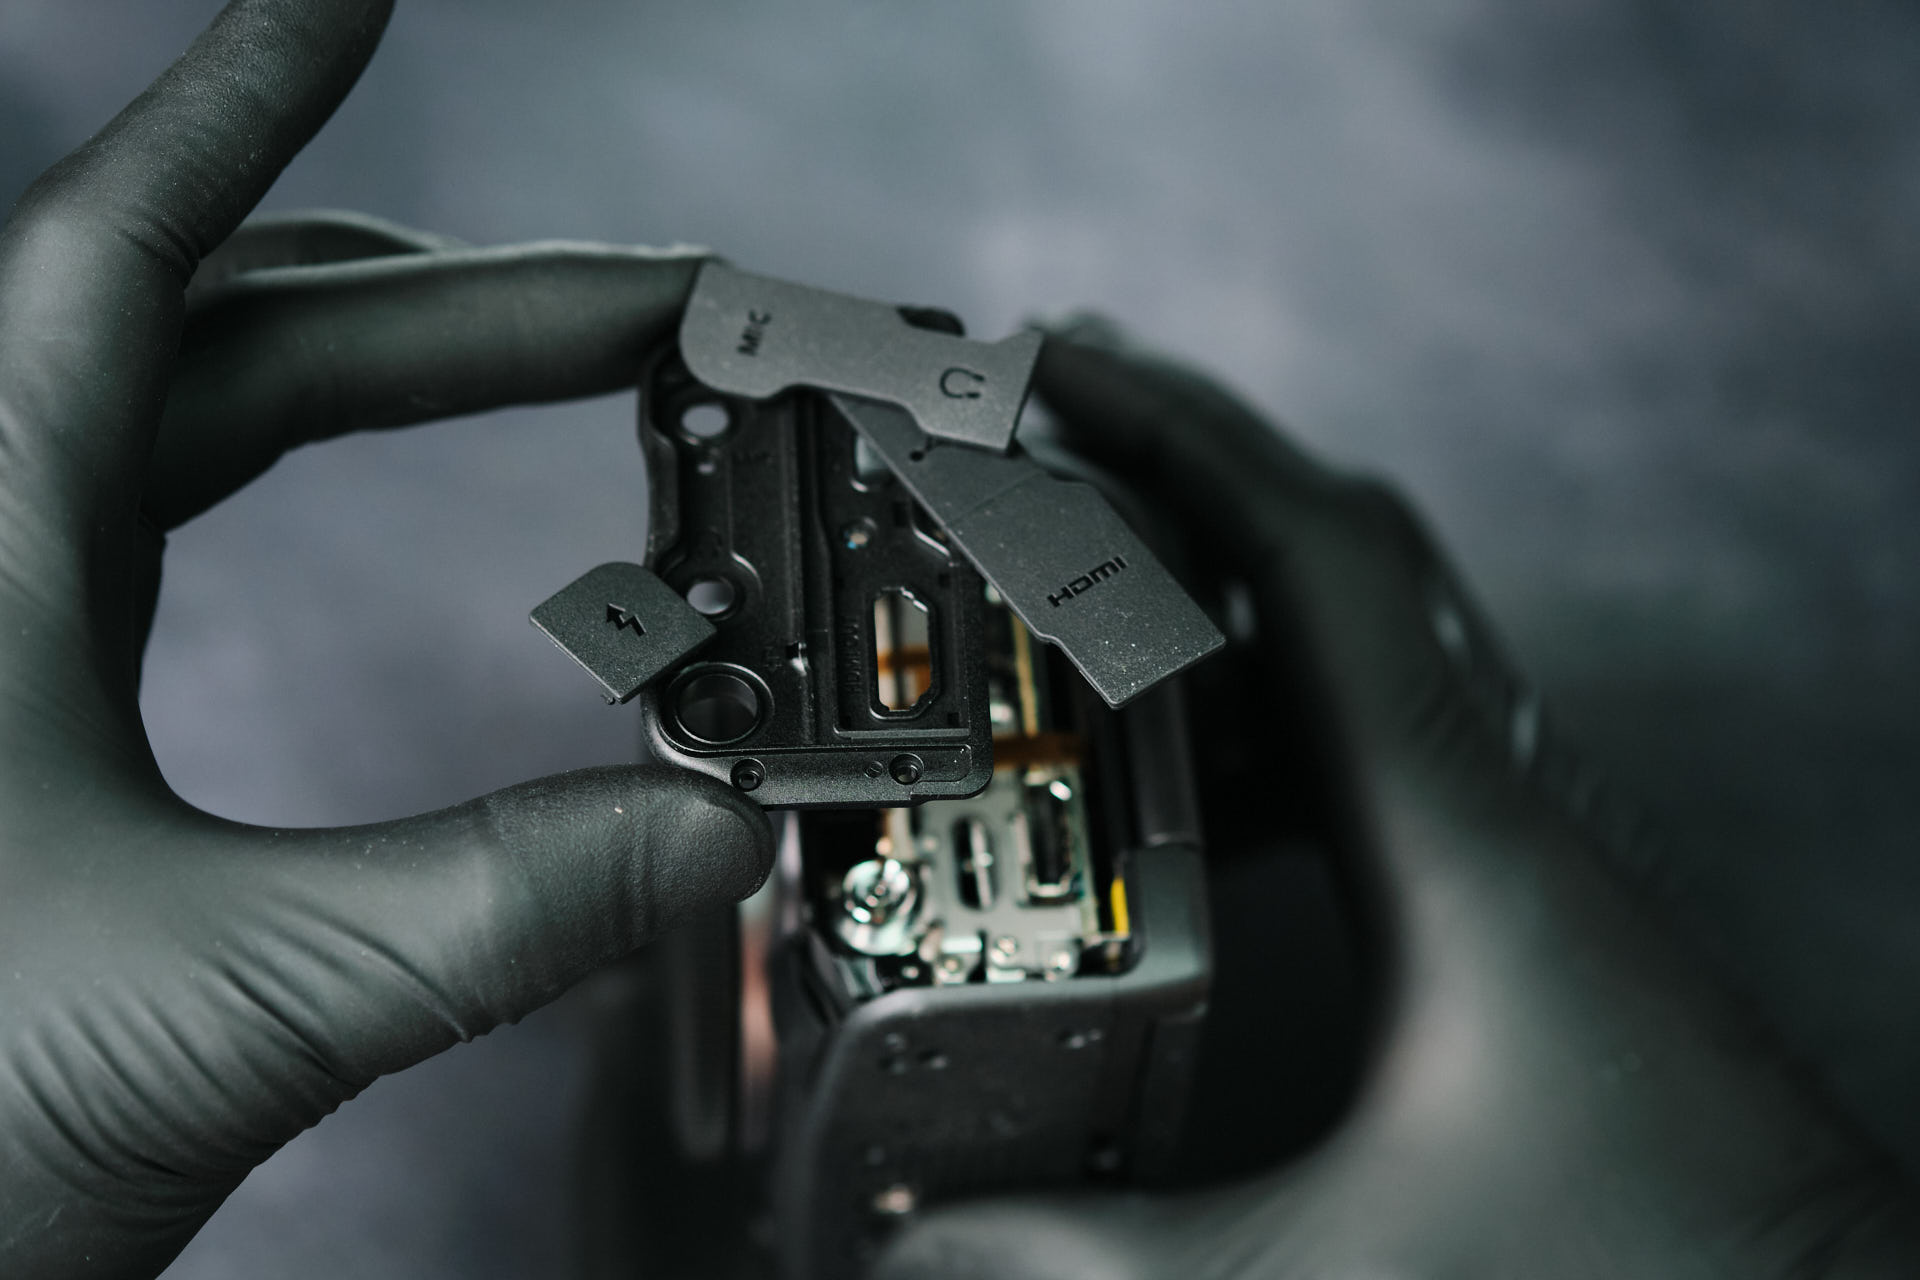
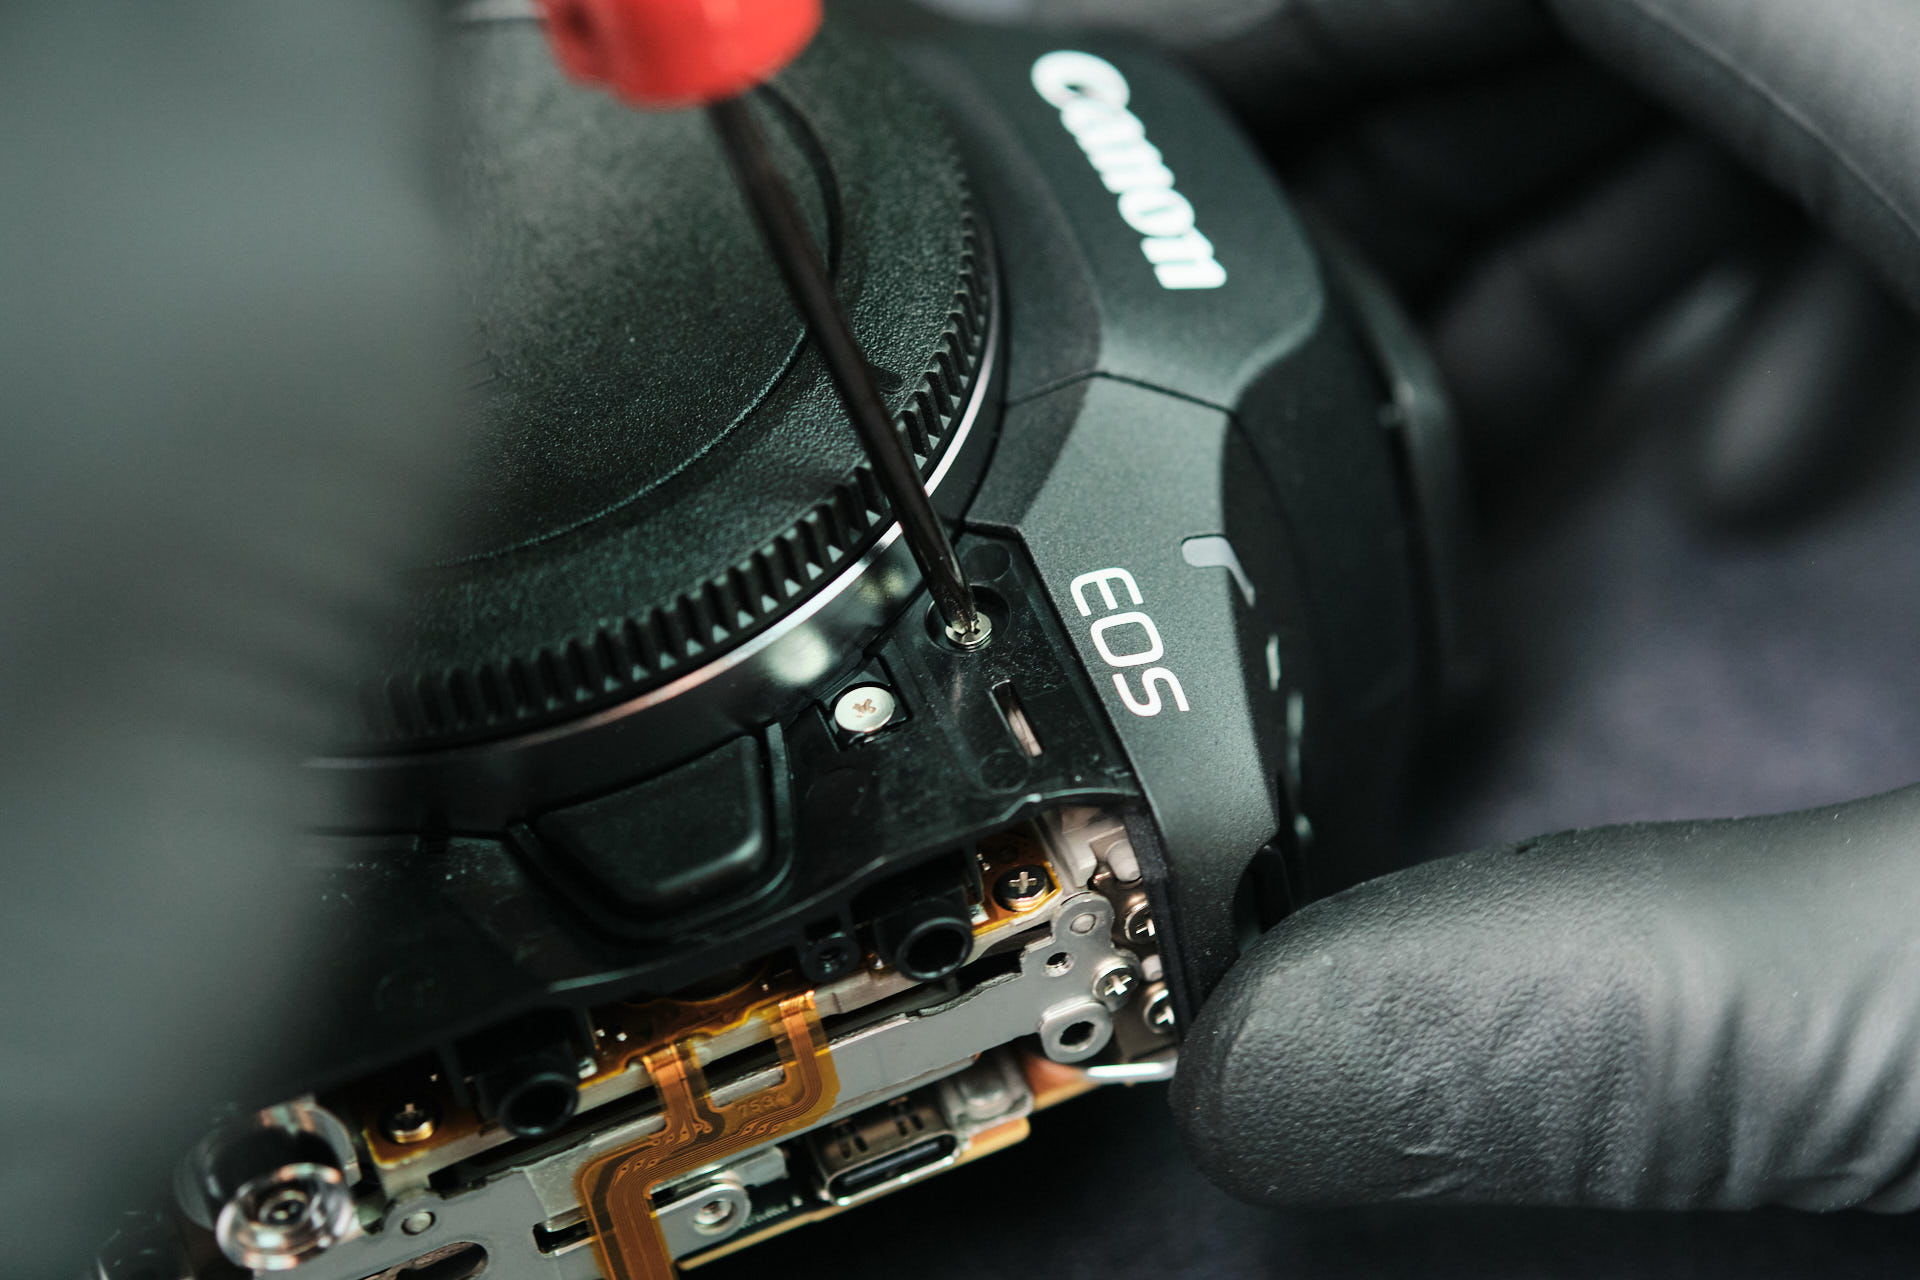
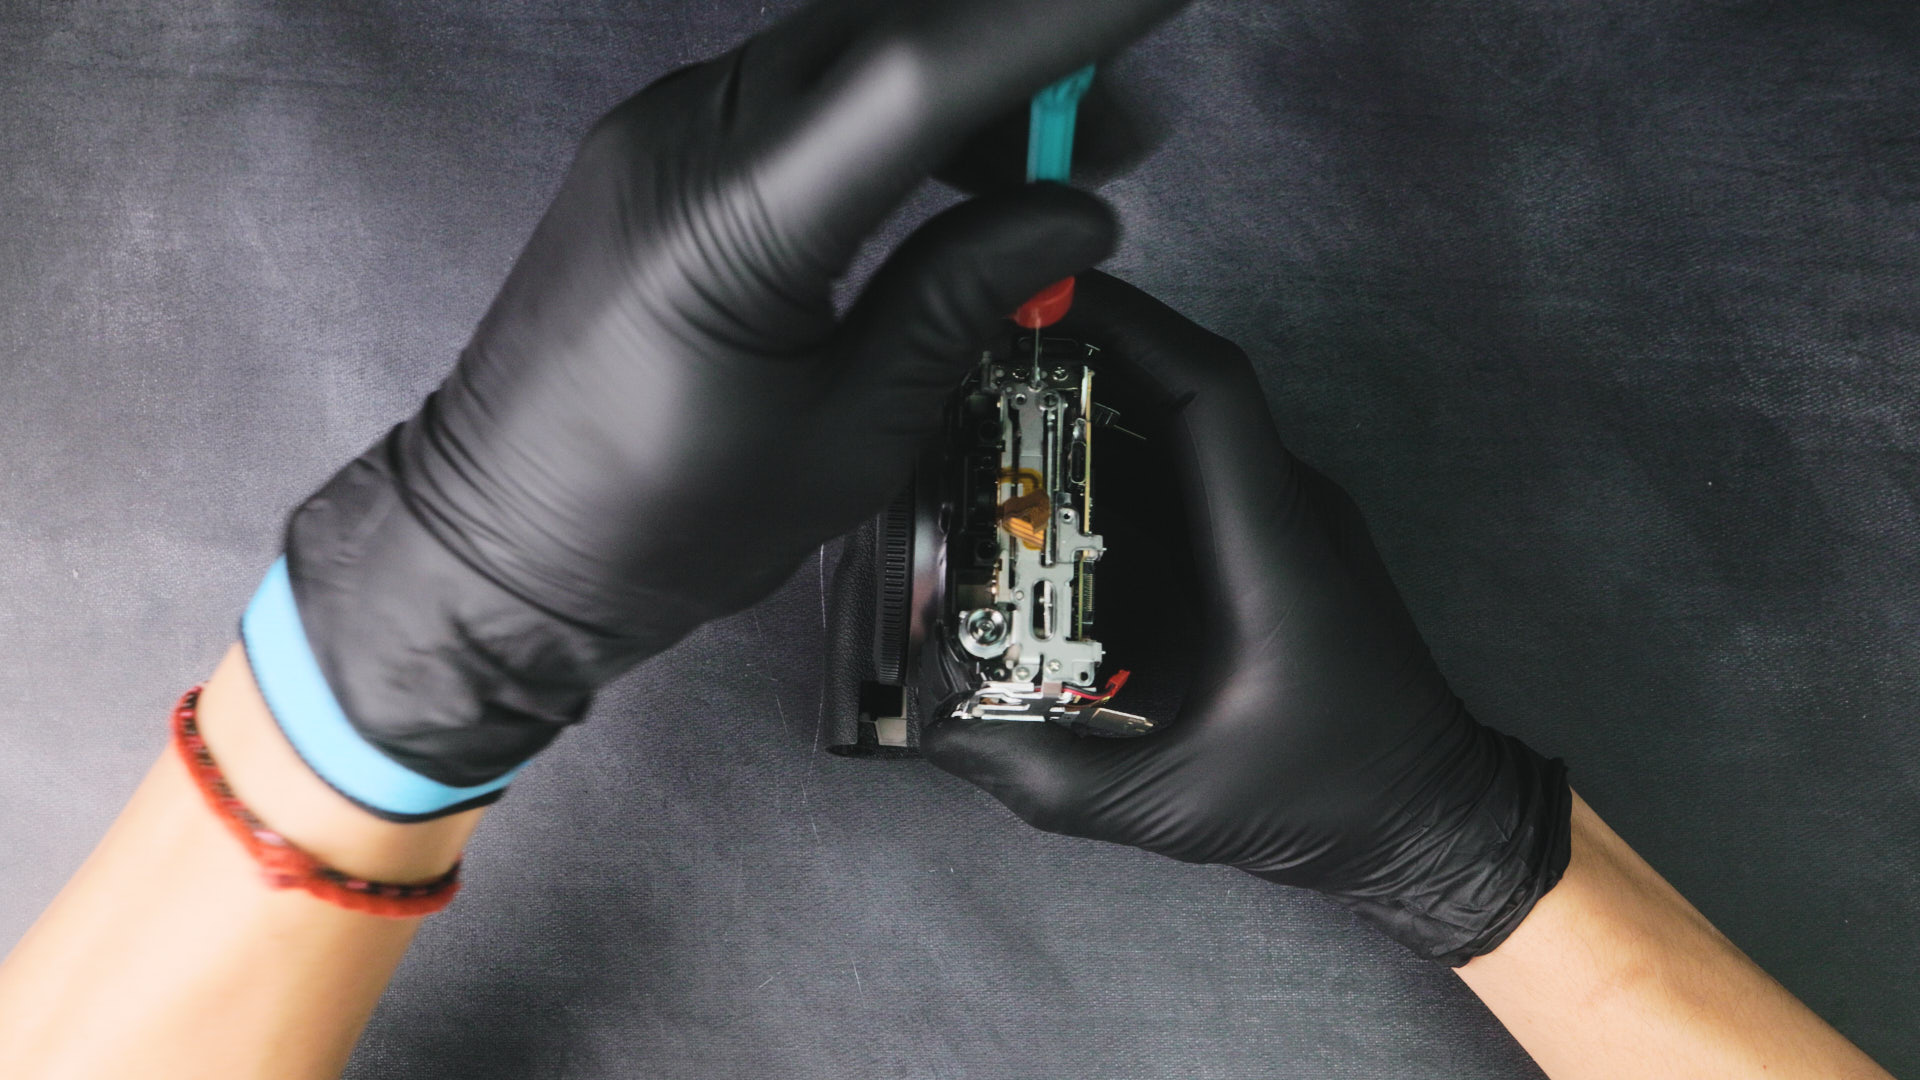
On the port side, there were four screws beneath the dust caps.
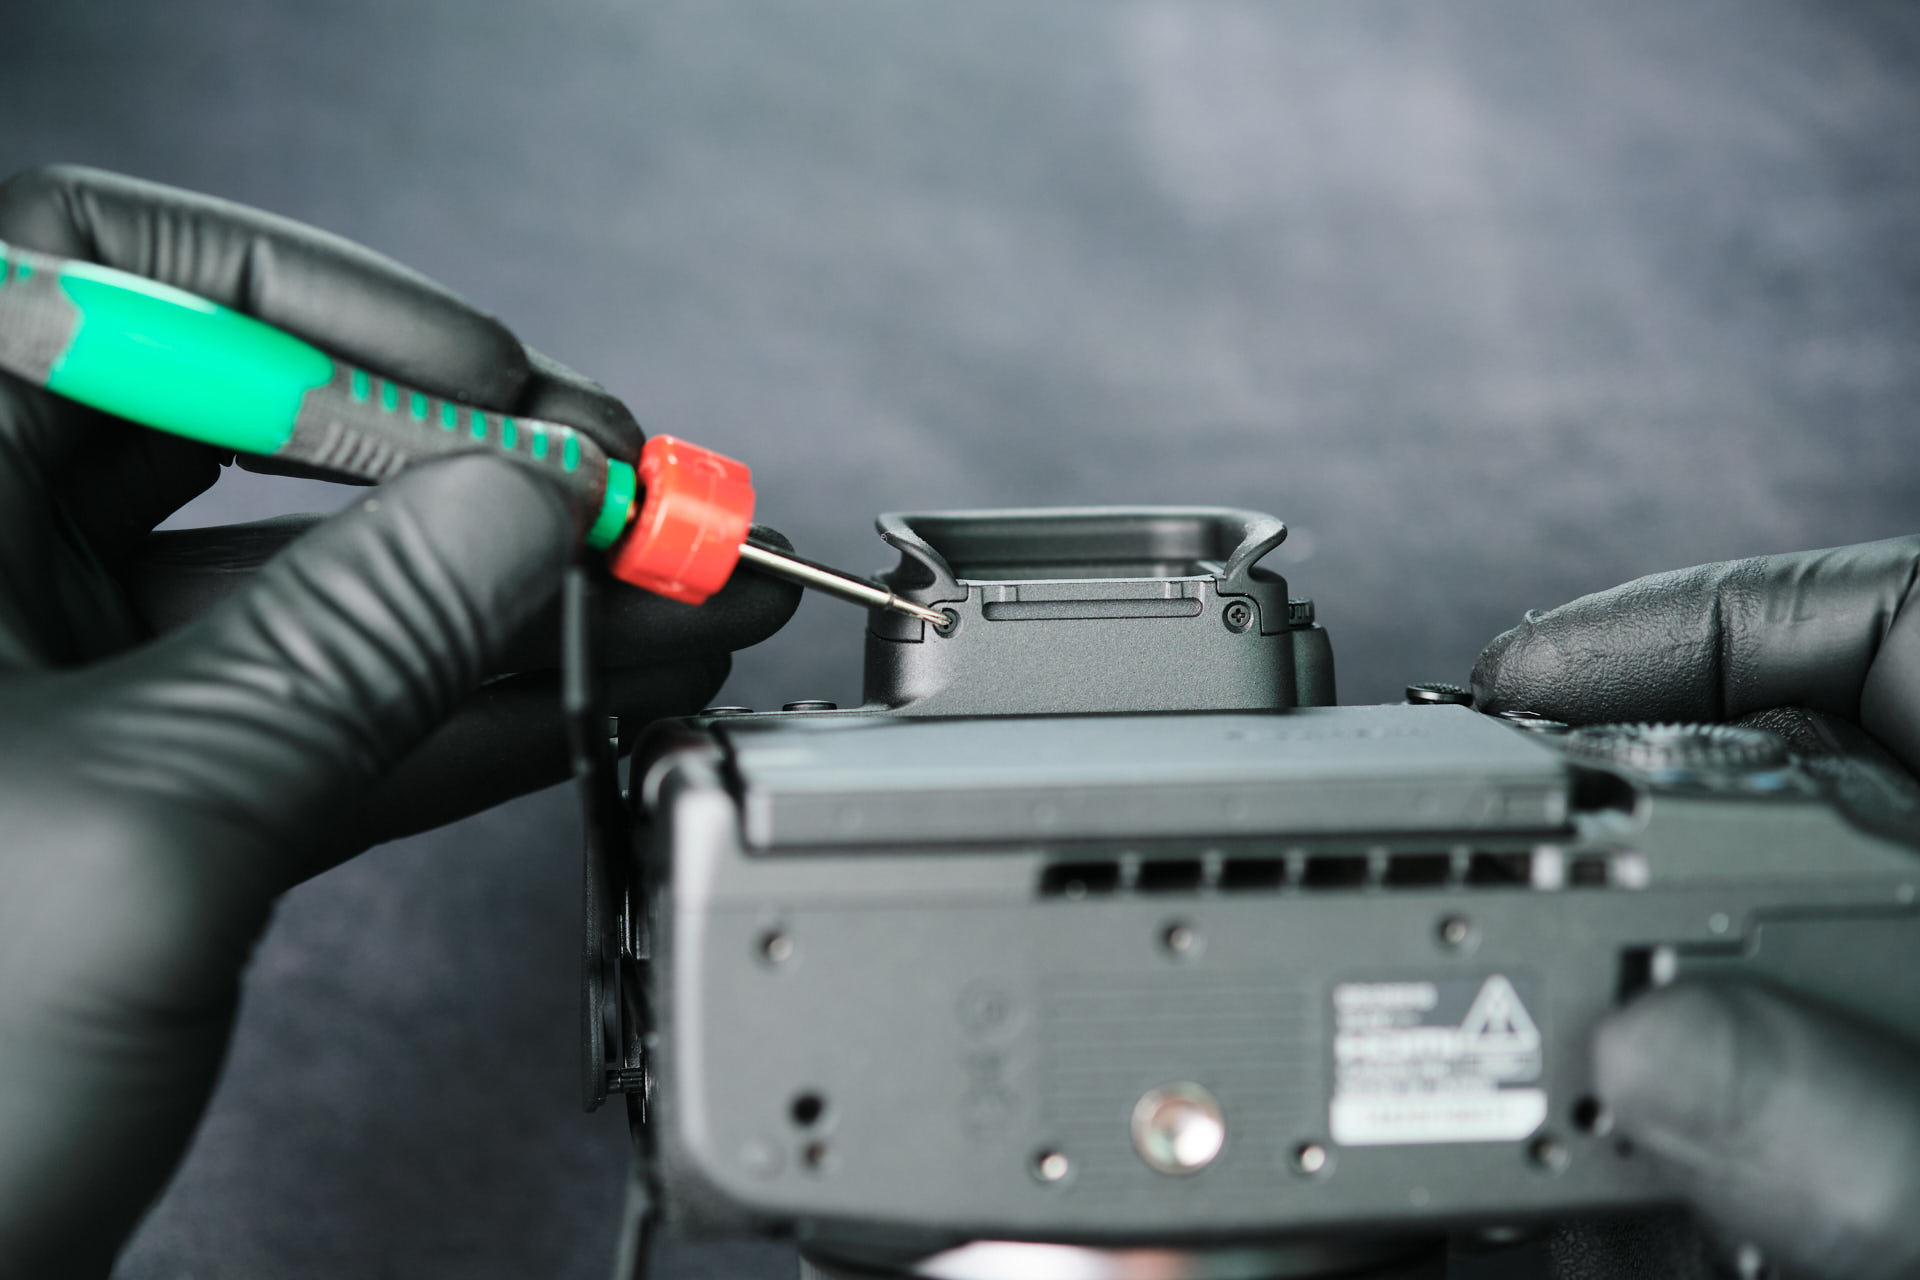
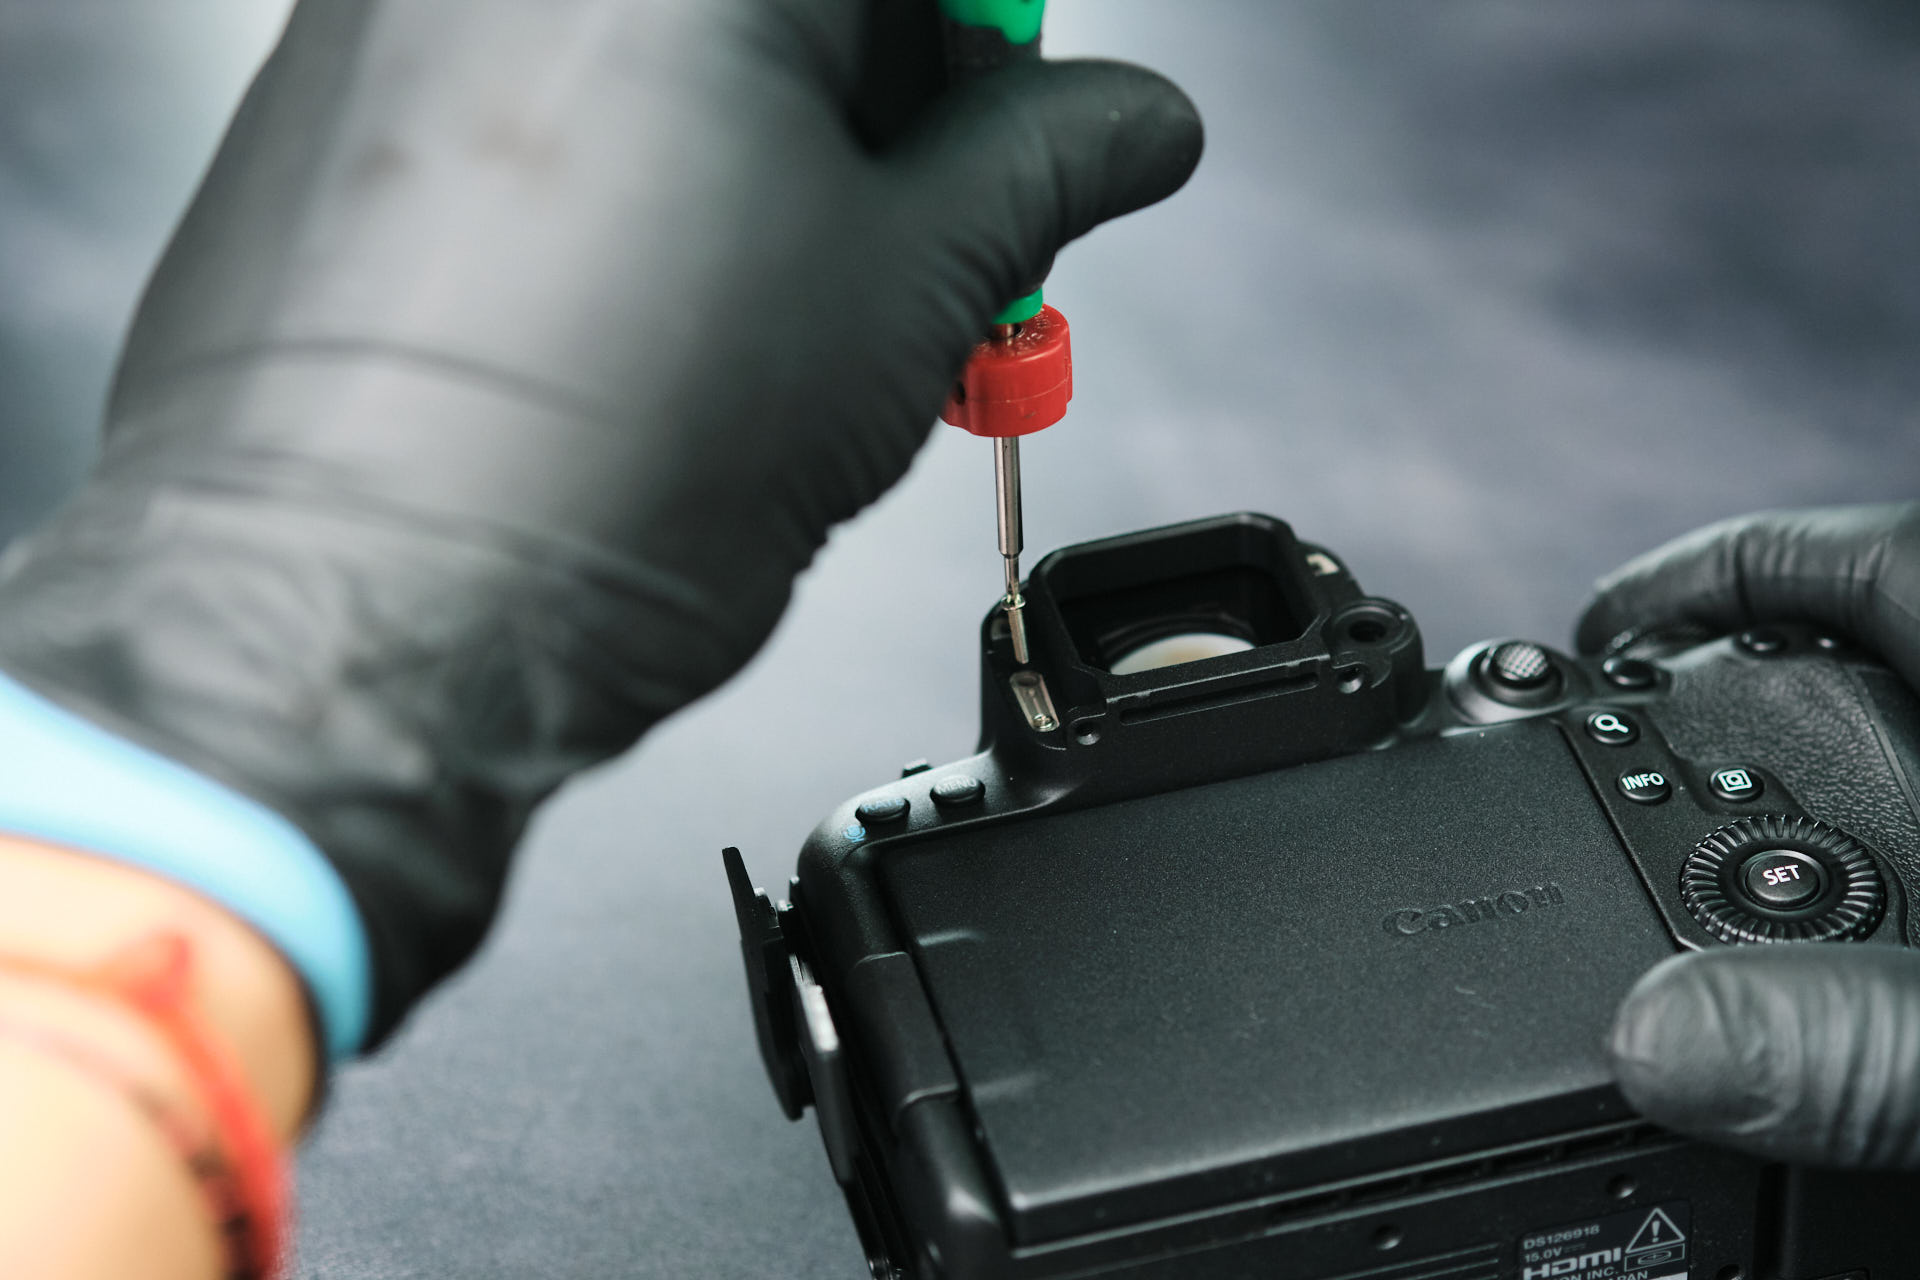
We extracted two screws on the bottom of the EVF.
Removing the Eyecup and Diopter Screws
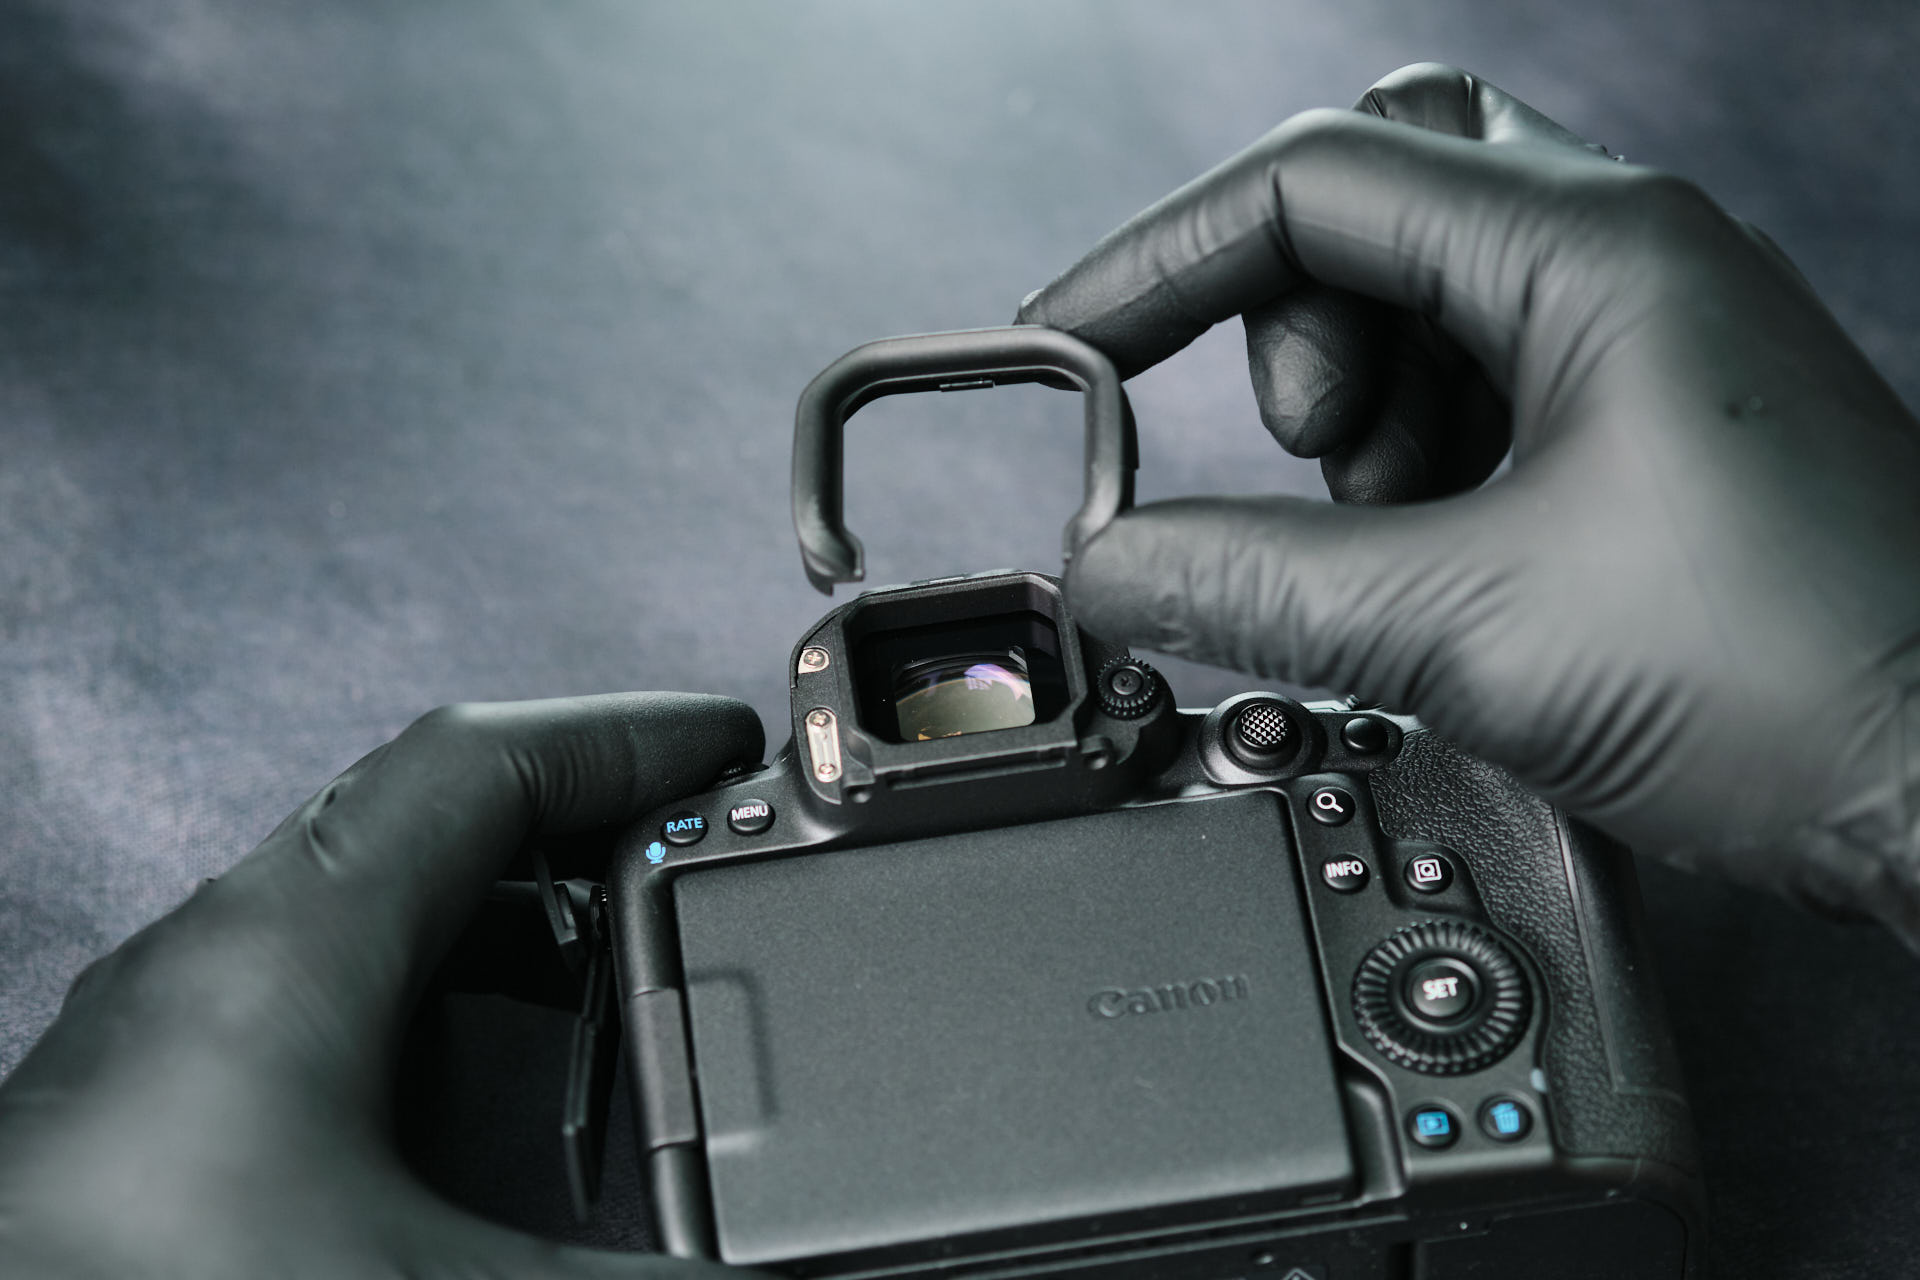
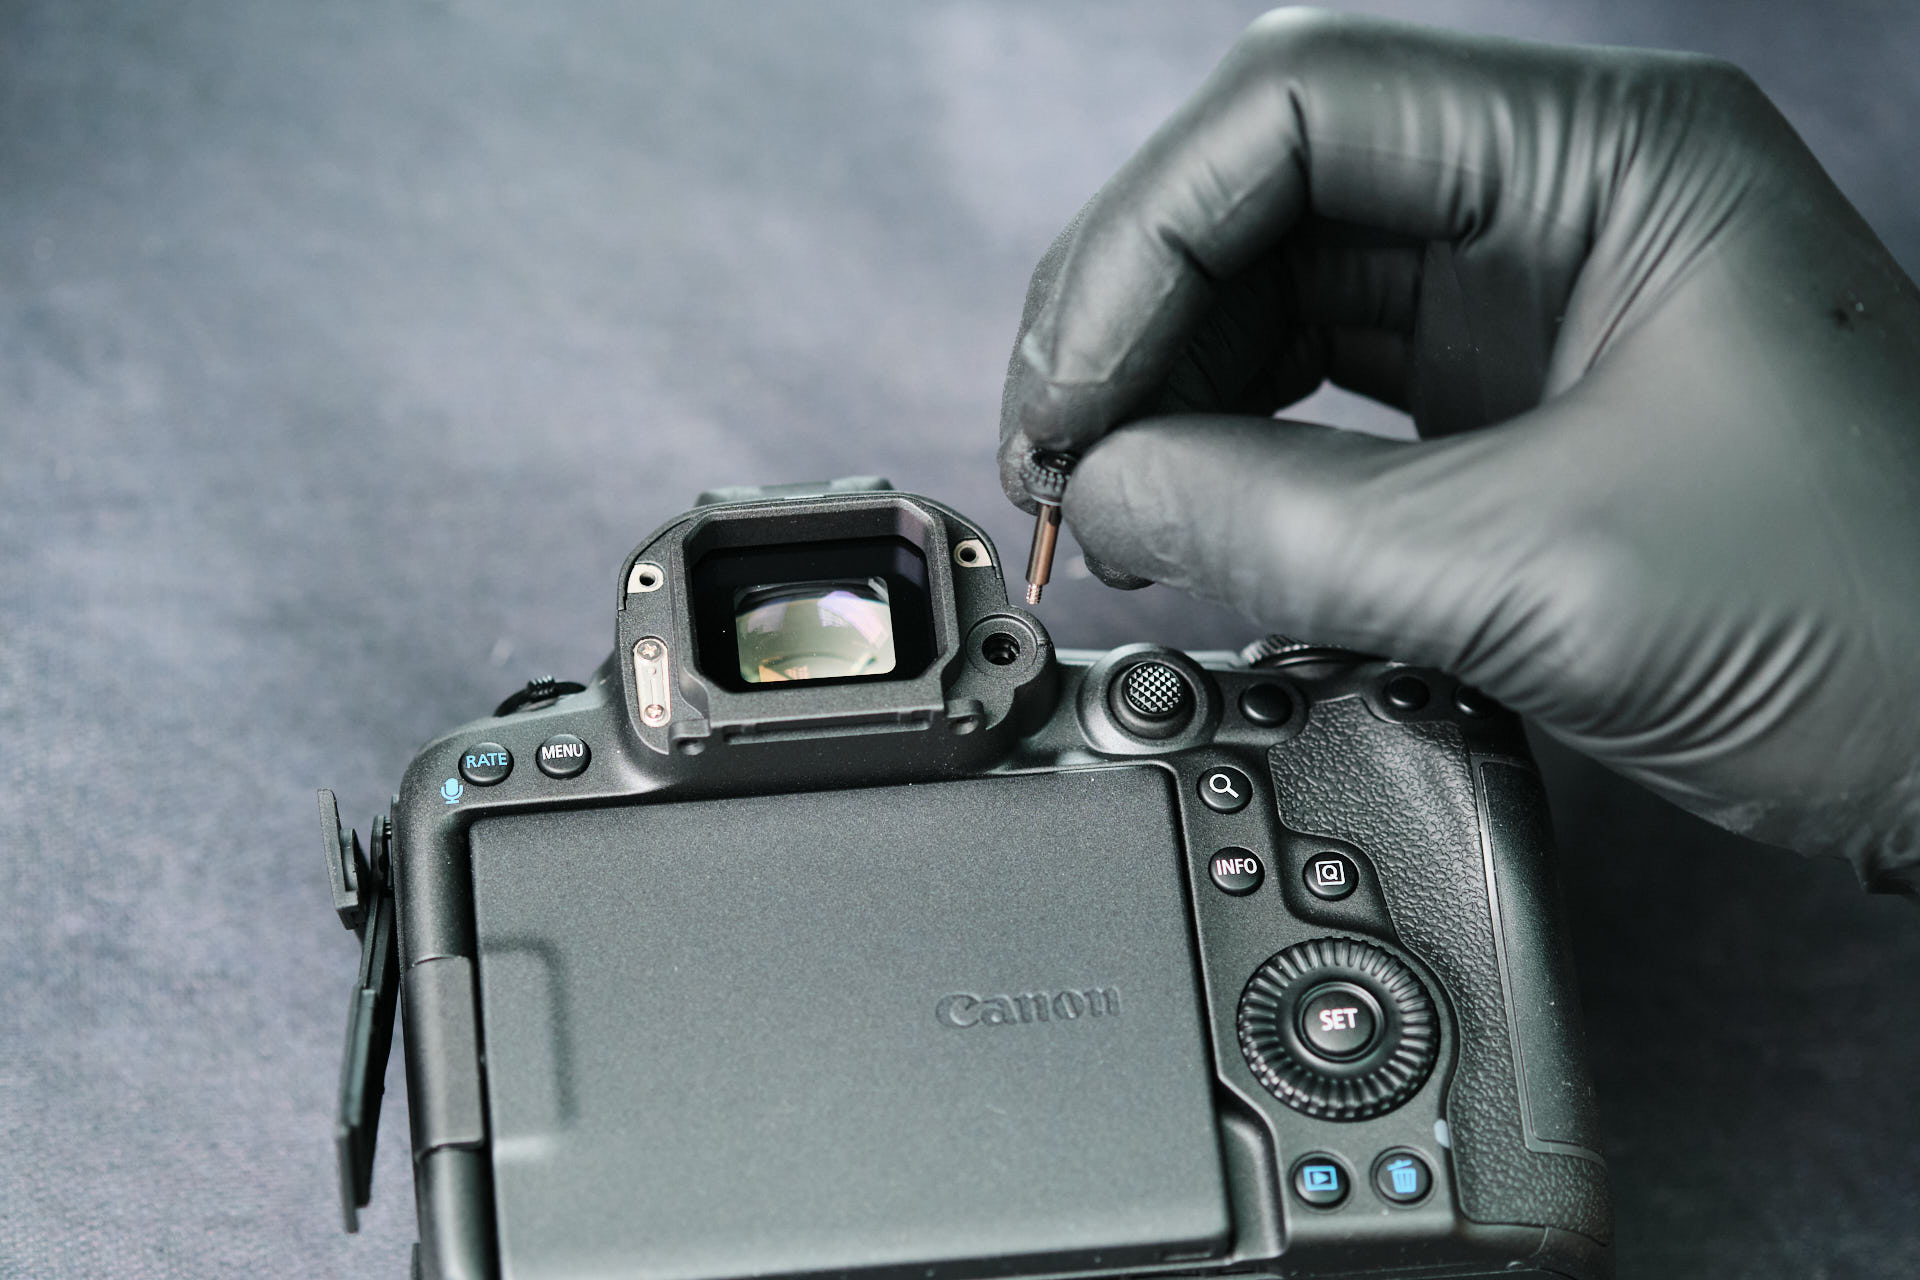
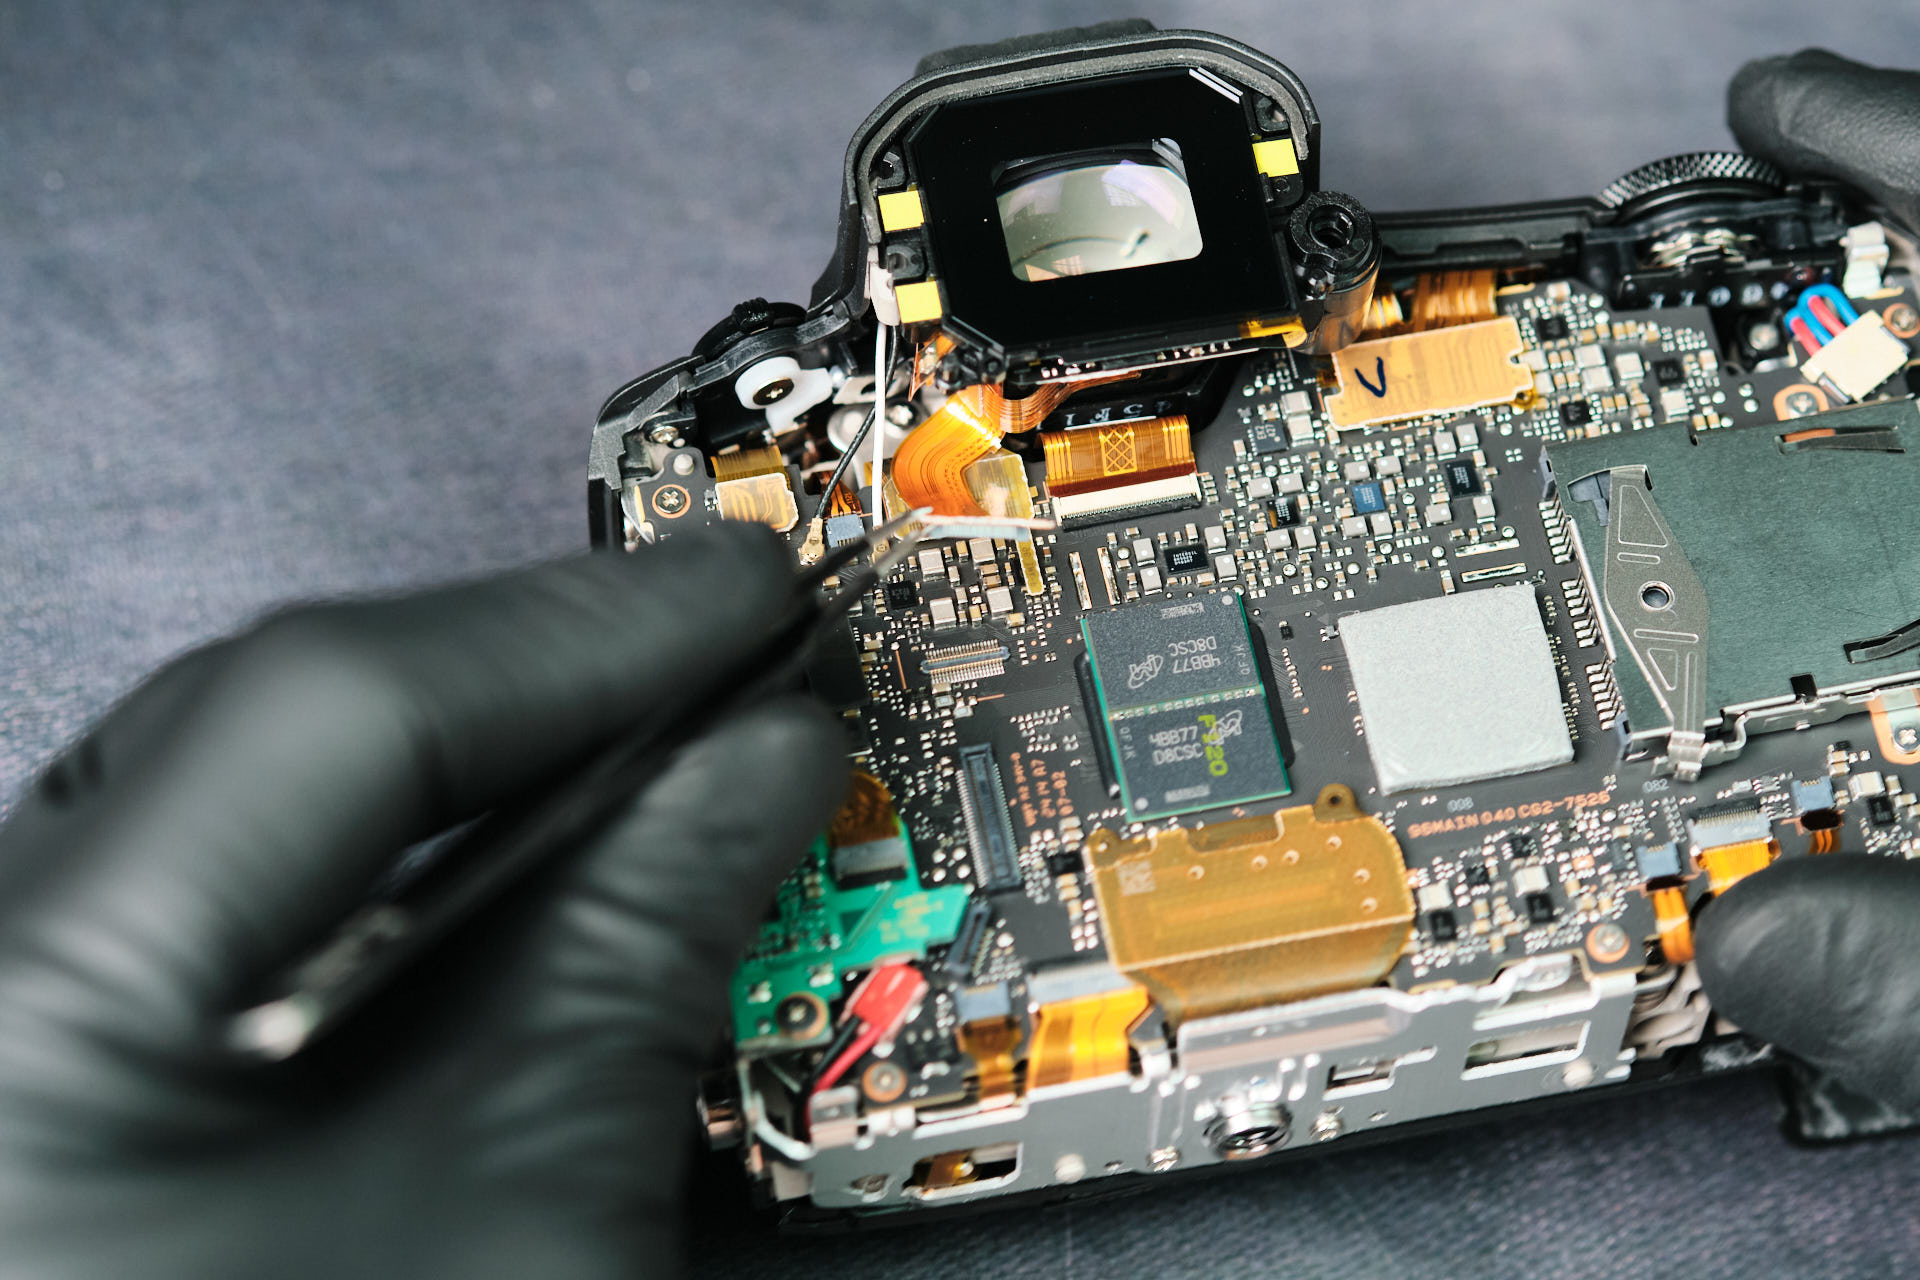
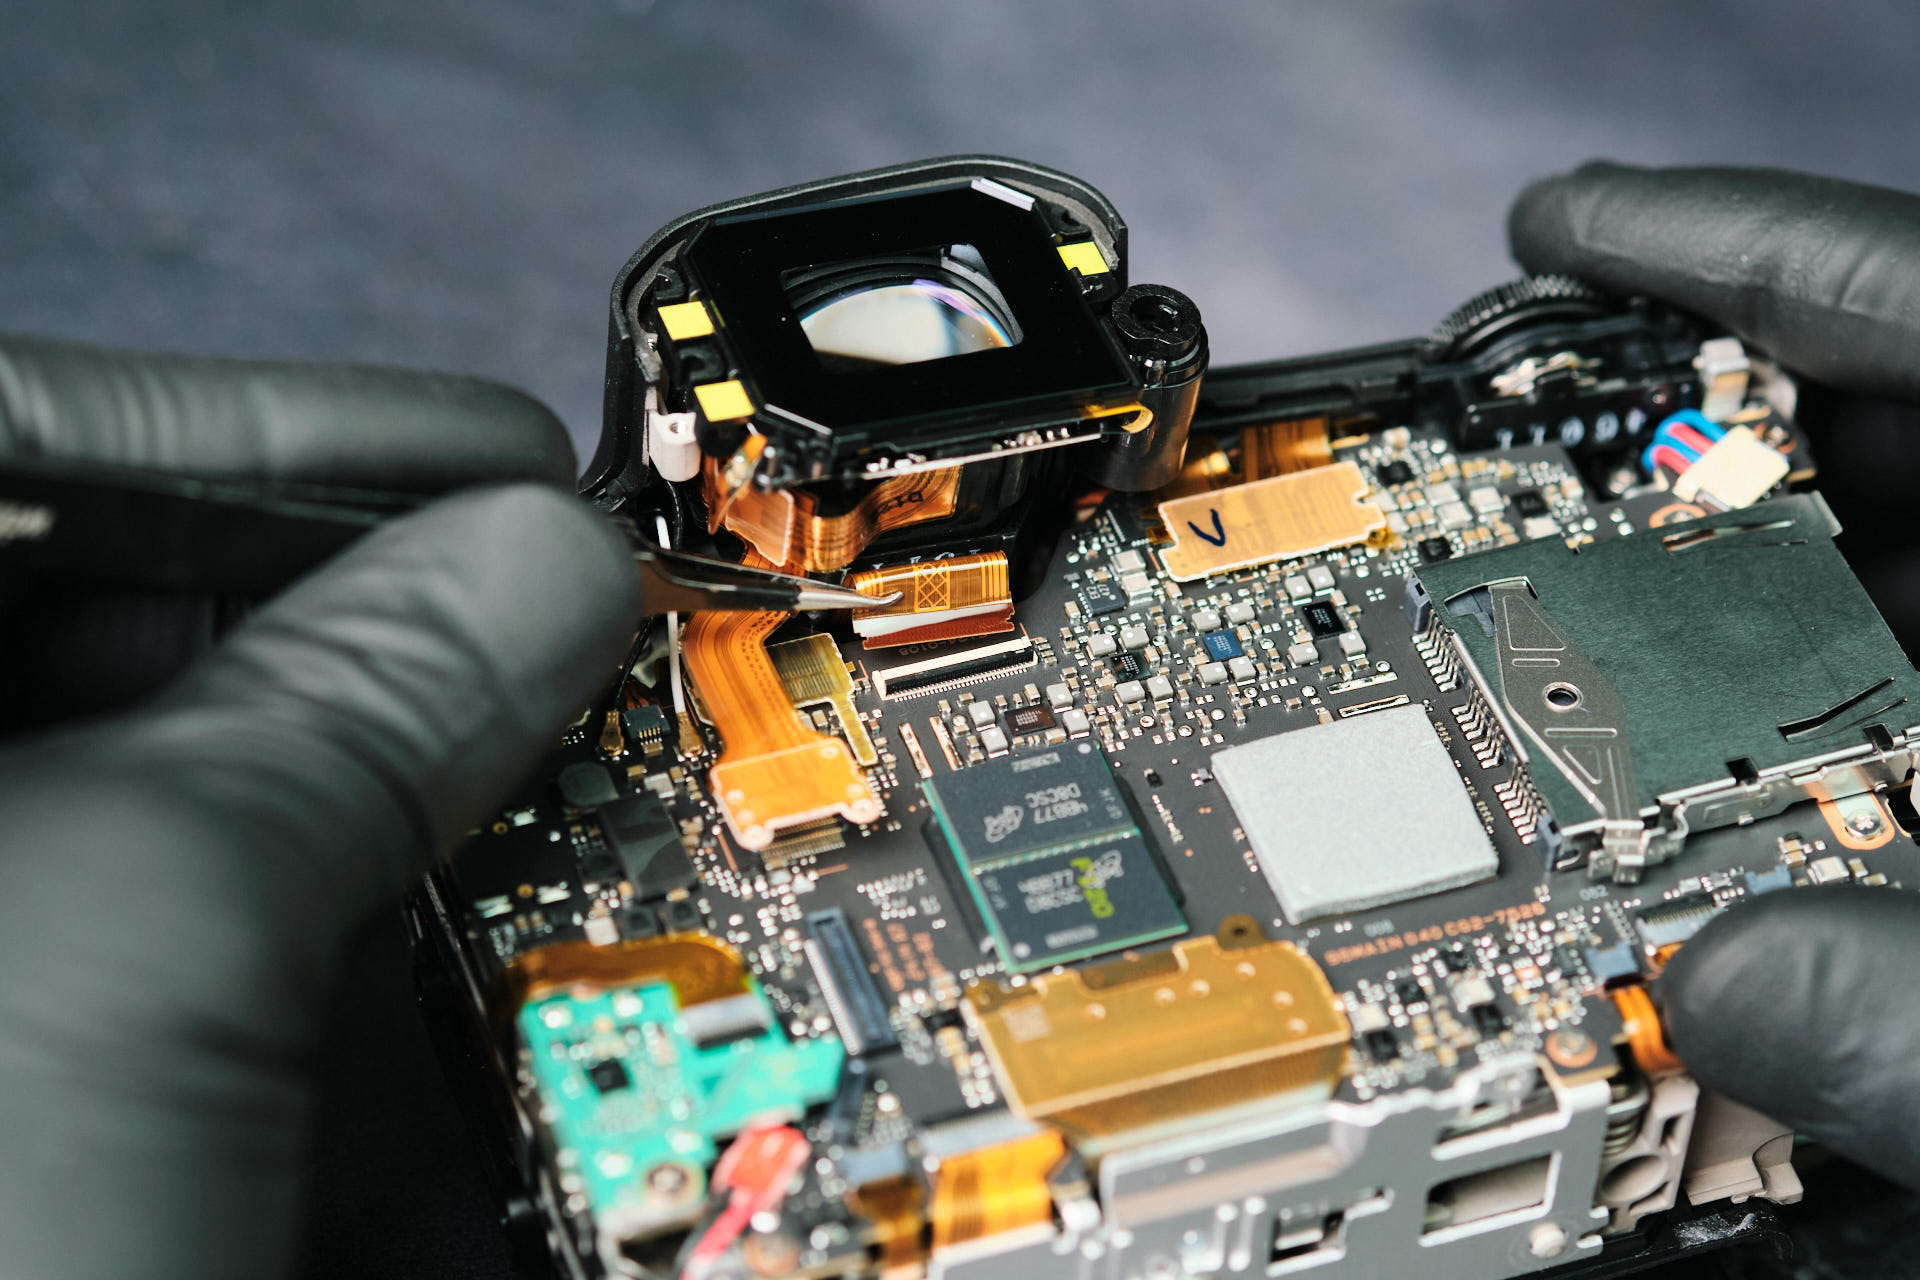
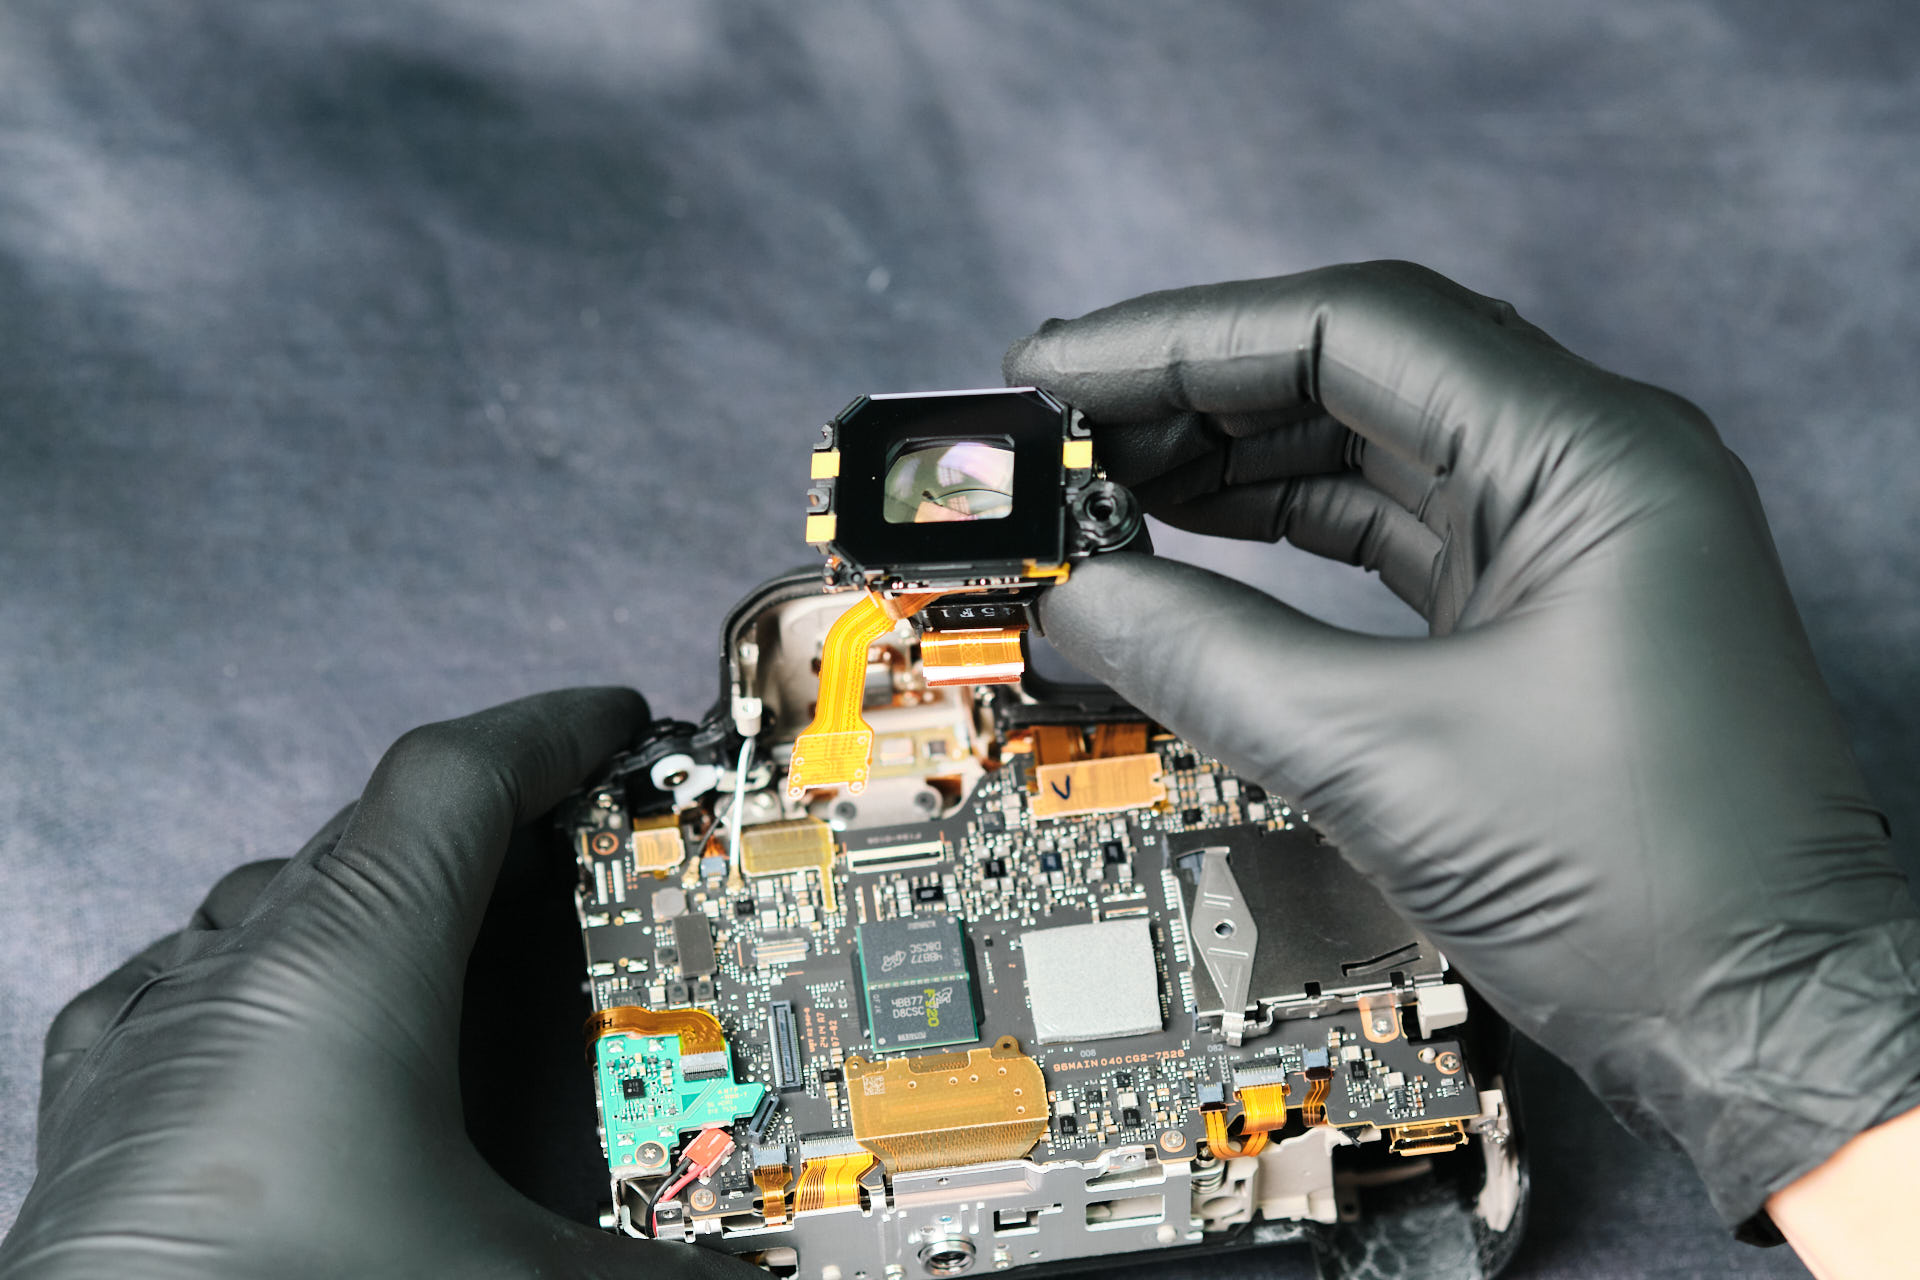
Next we removed the eyecup, which was removed simply by squeezing the sides and sliding it off the camera.
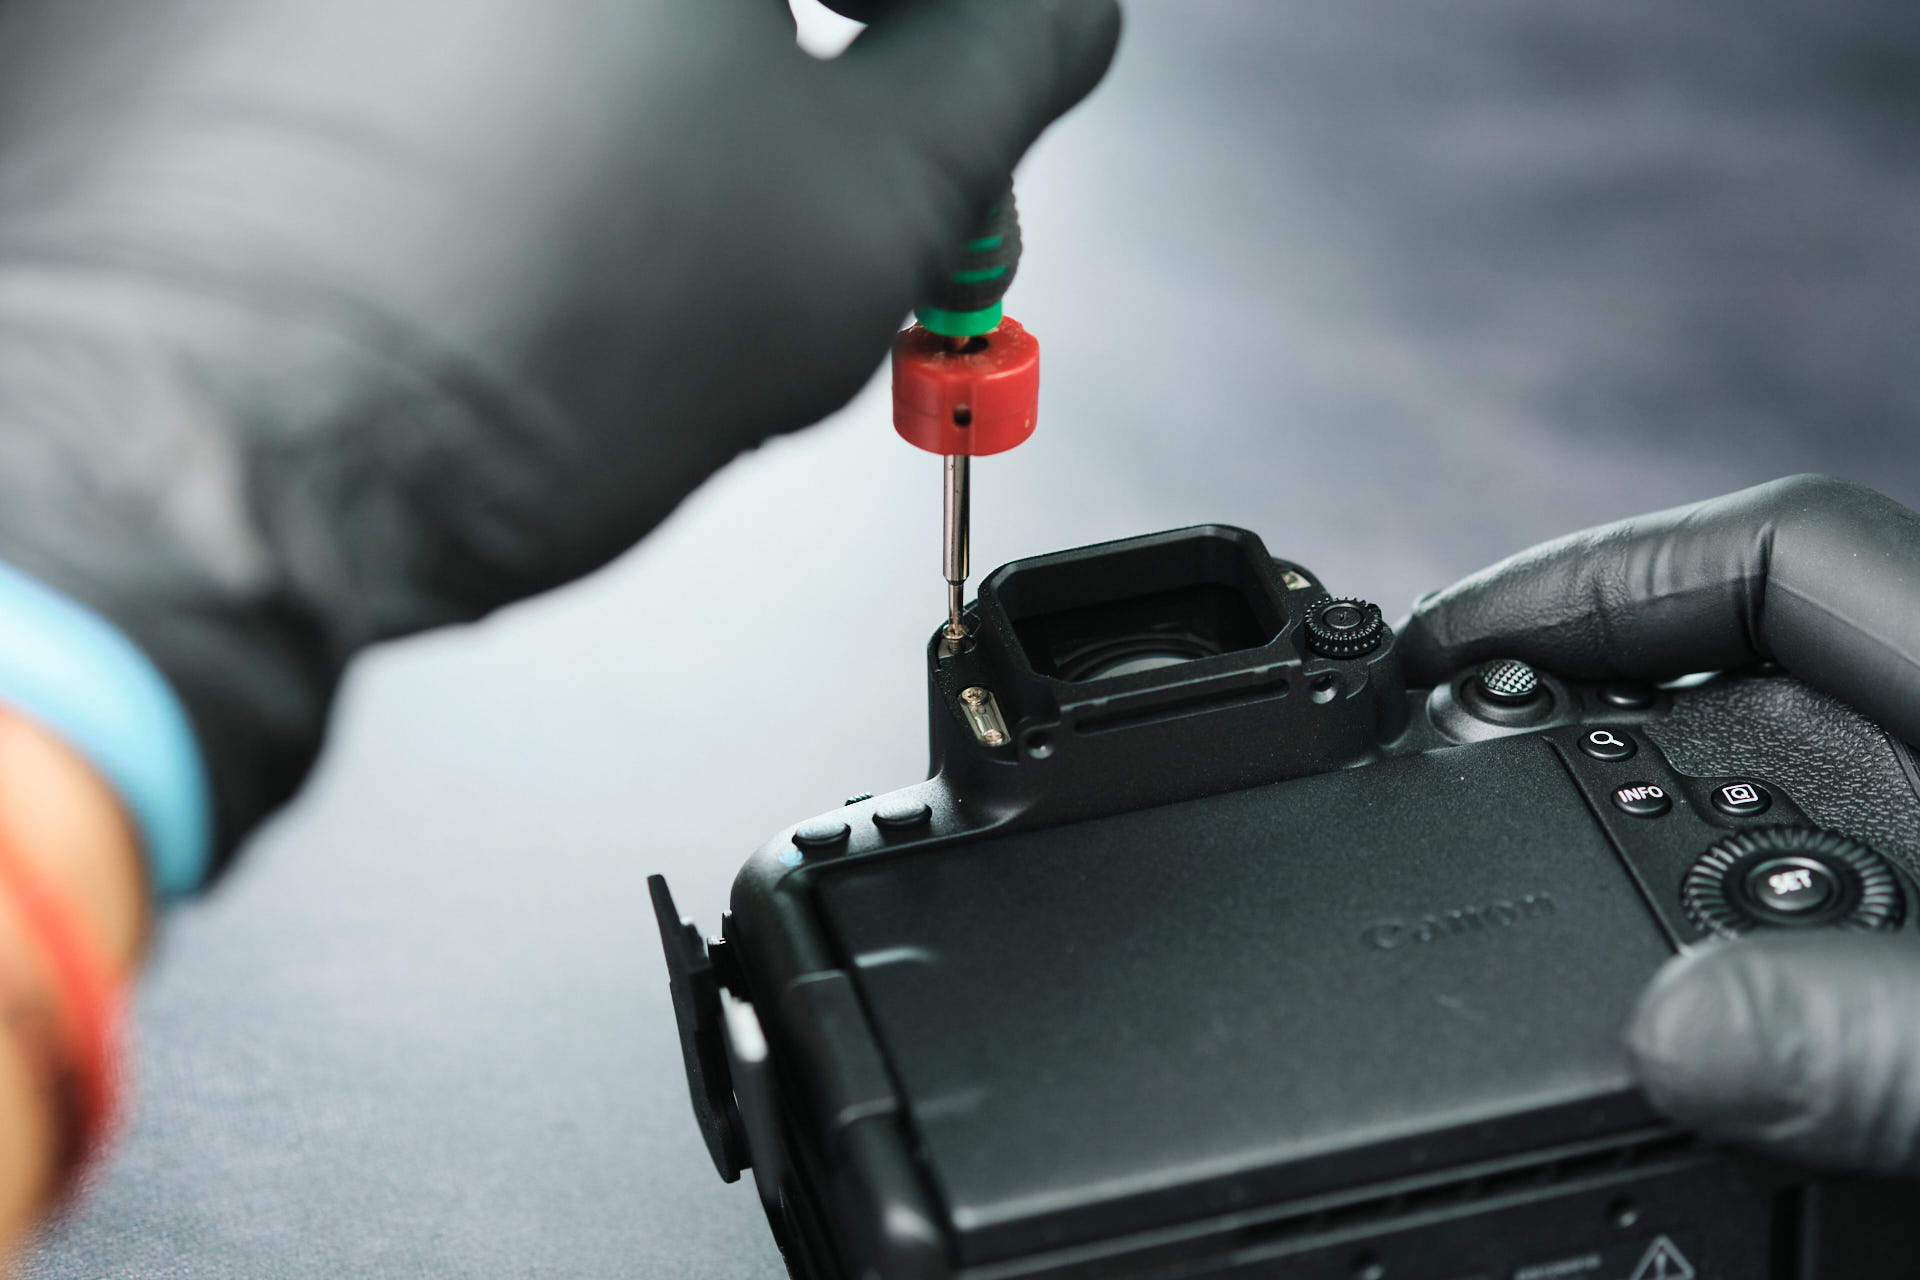
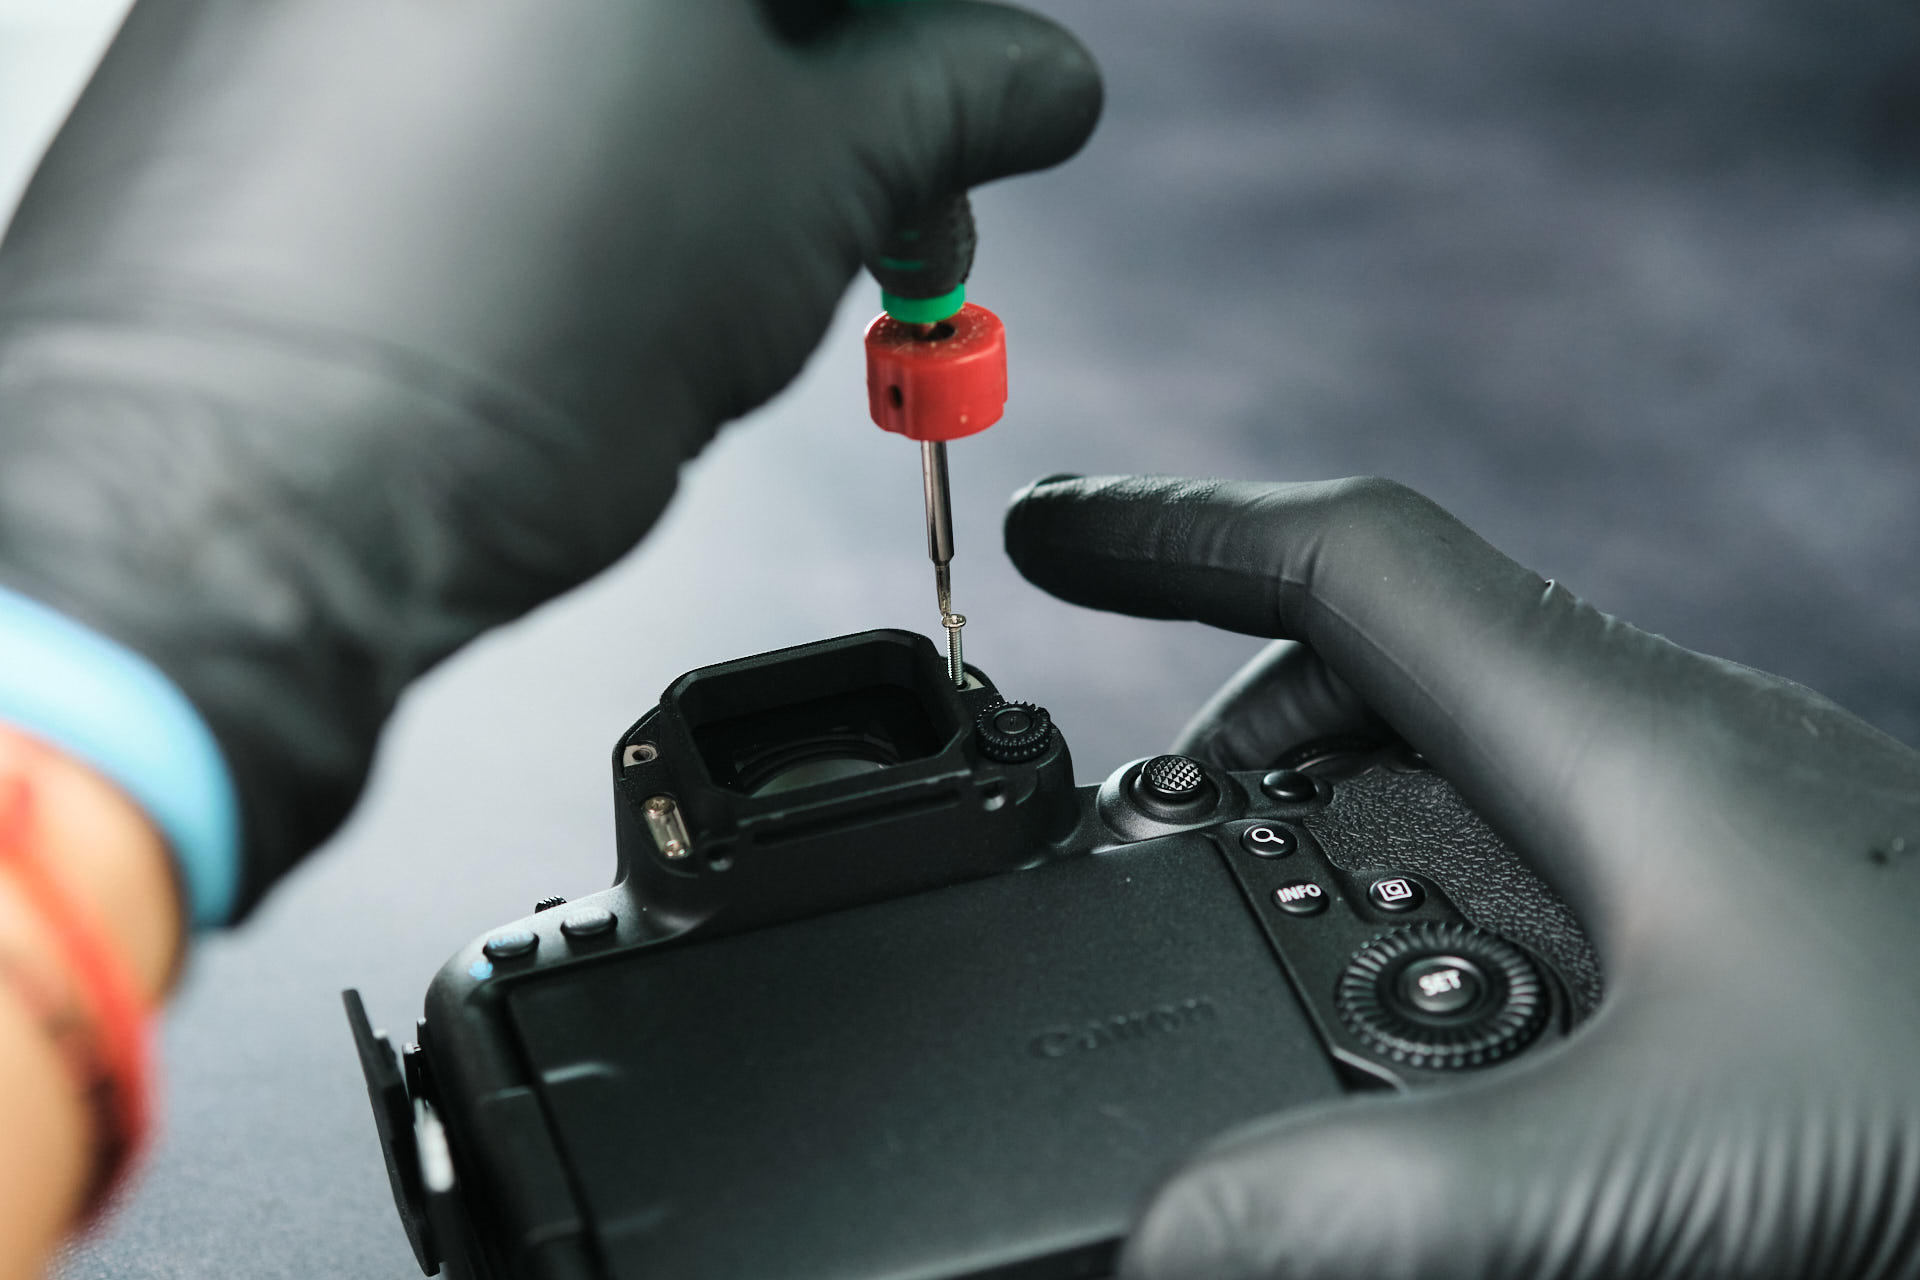
Four silver screws were located beneath the eyecup. One black screw holds down the diopter.
Finding Hidden Screws Under the Camera Grips
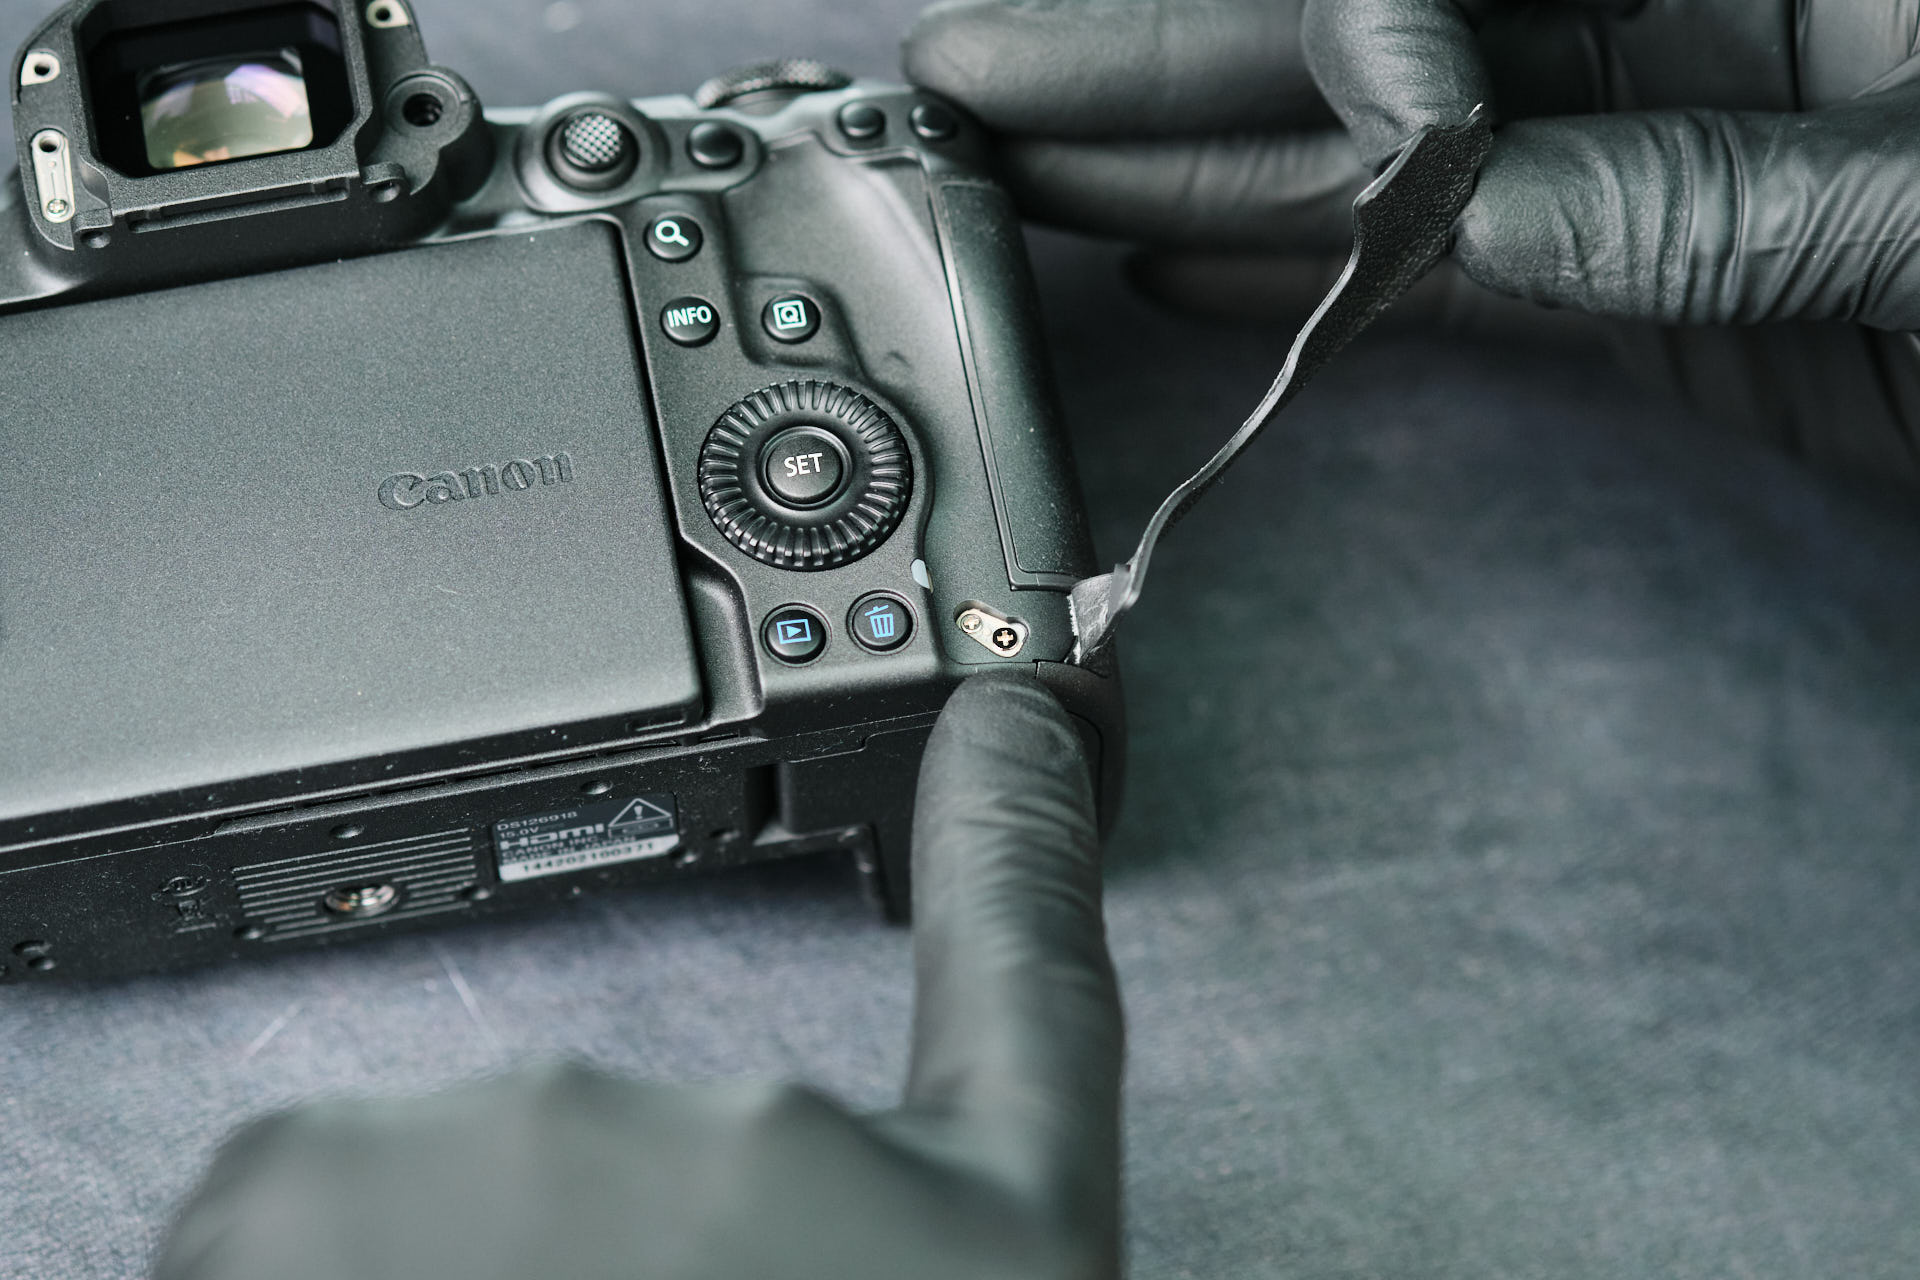
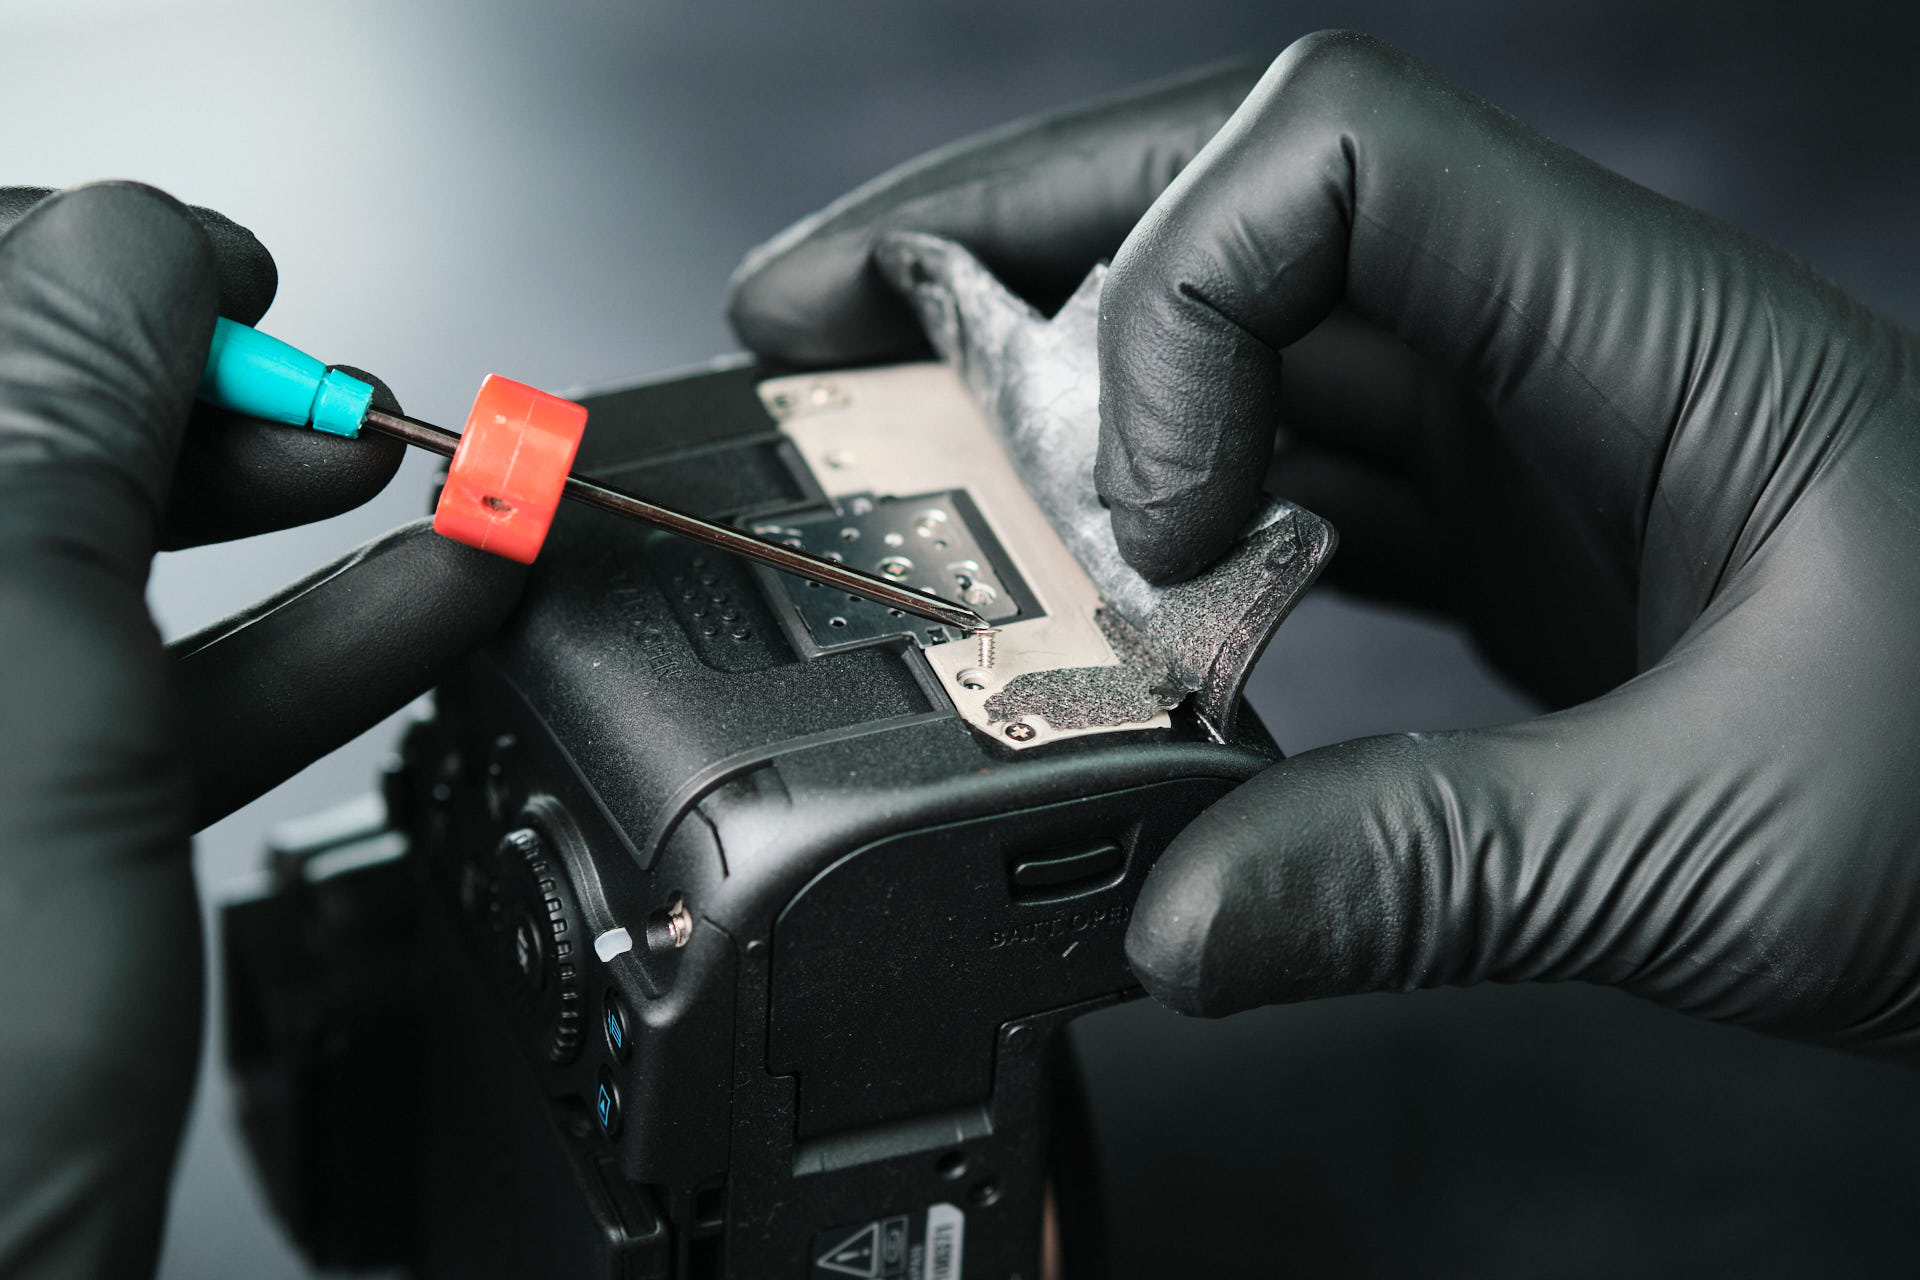
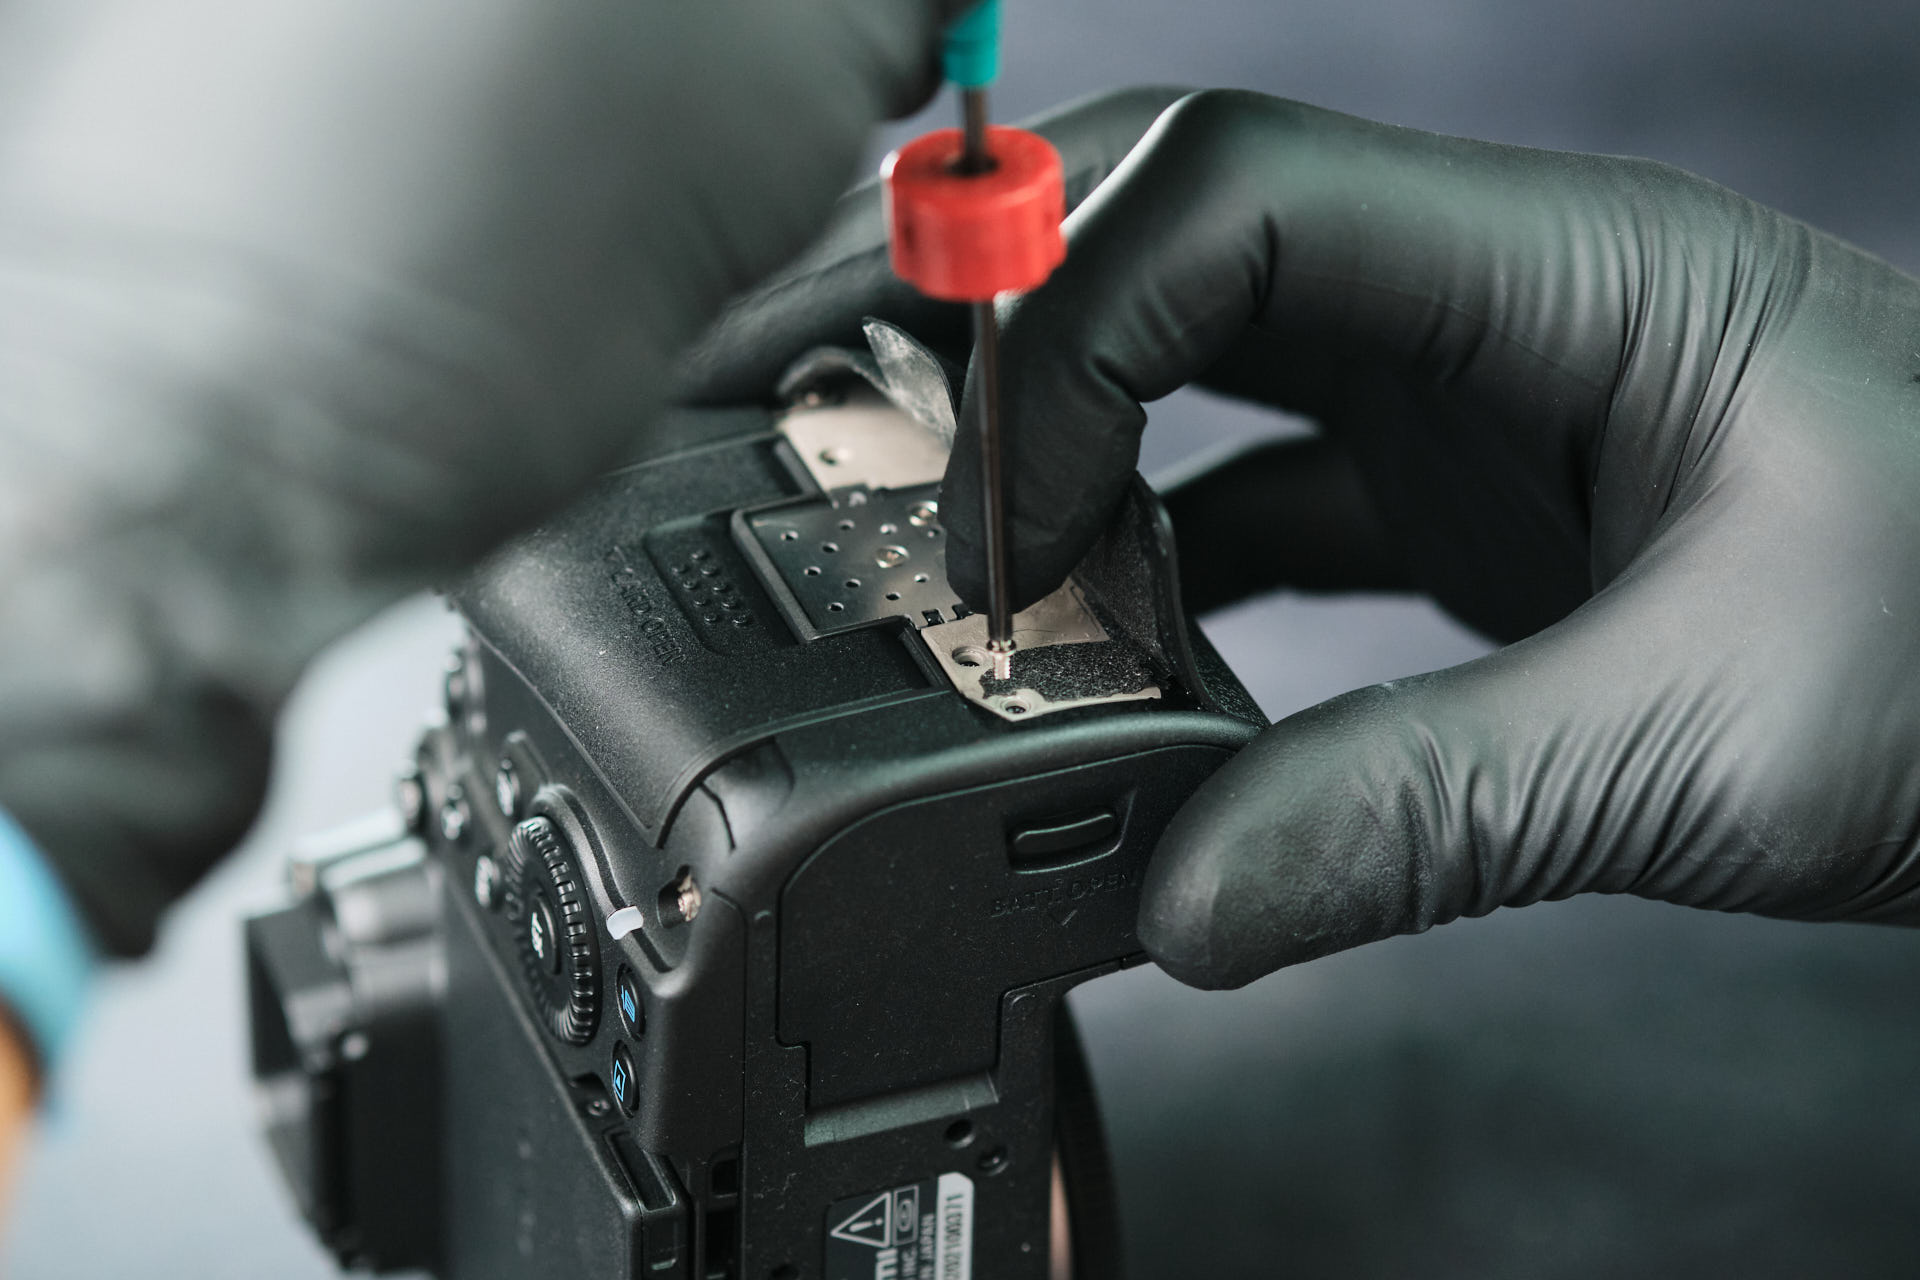
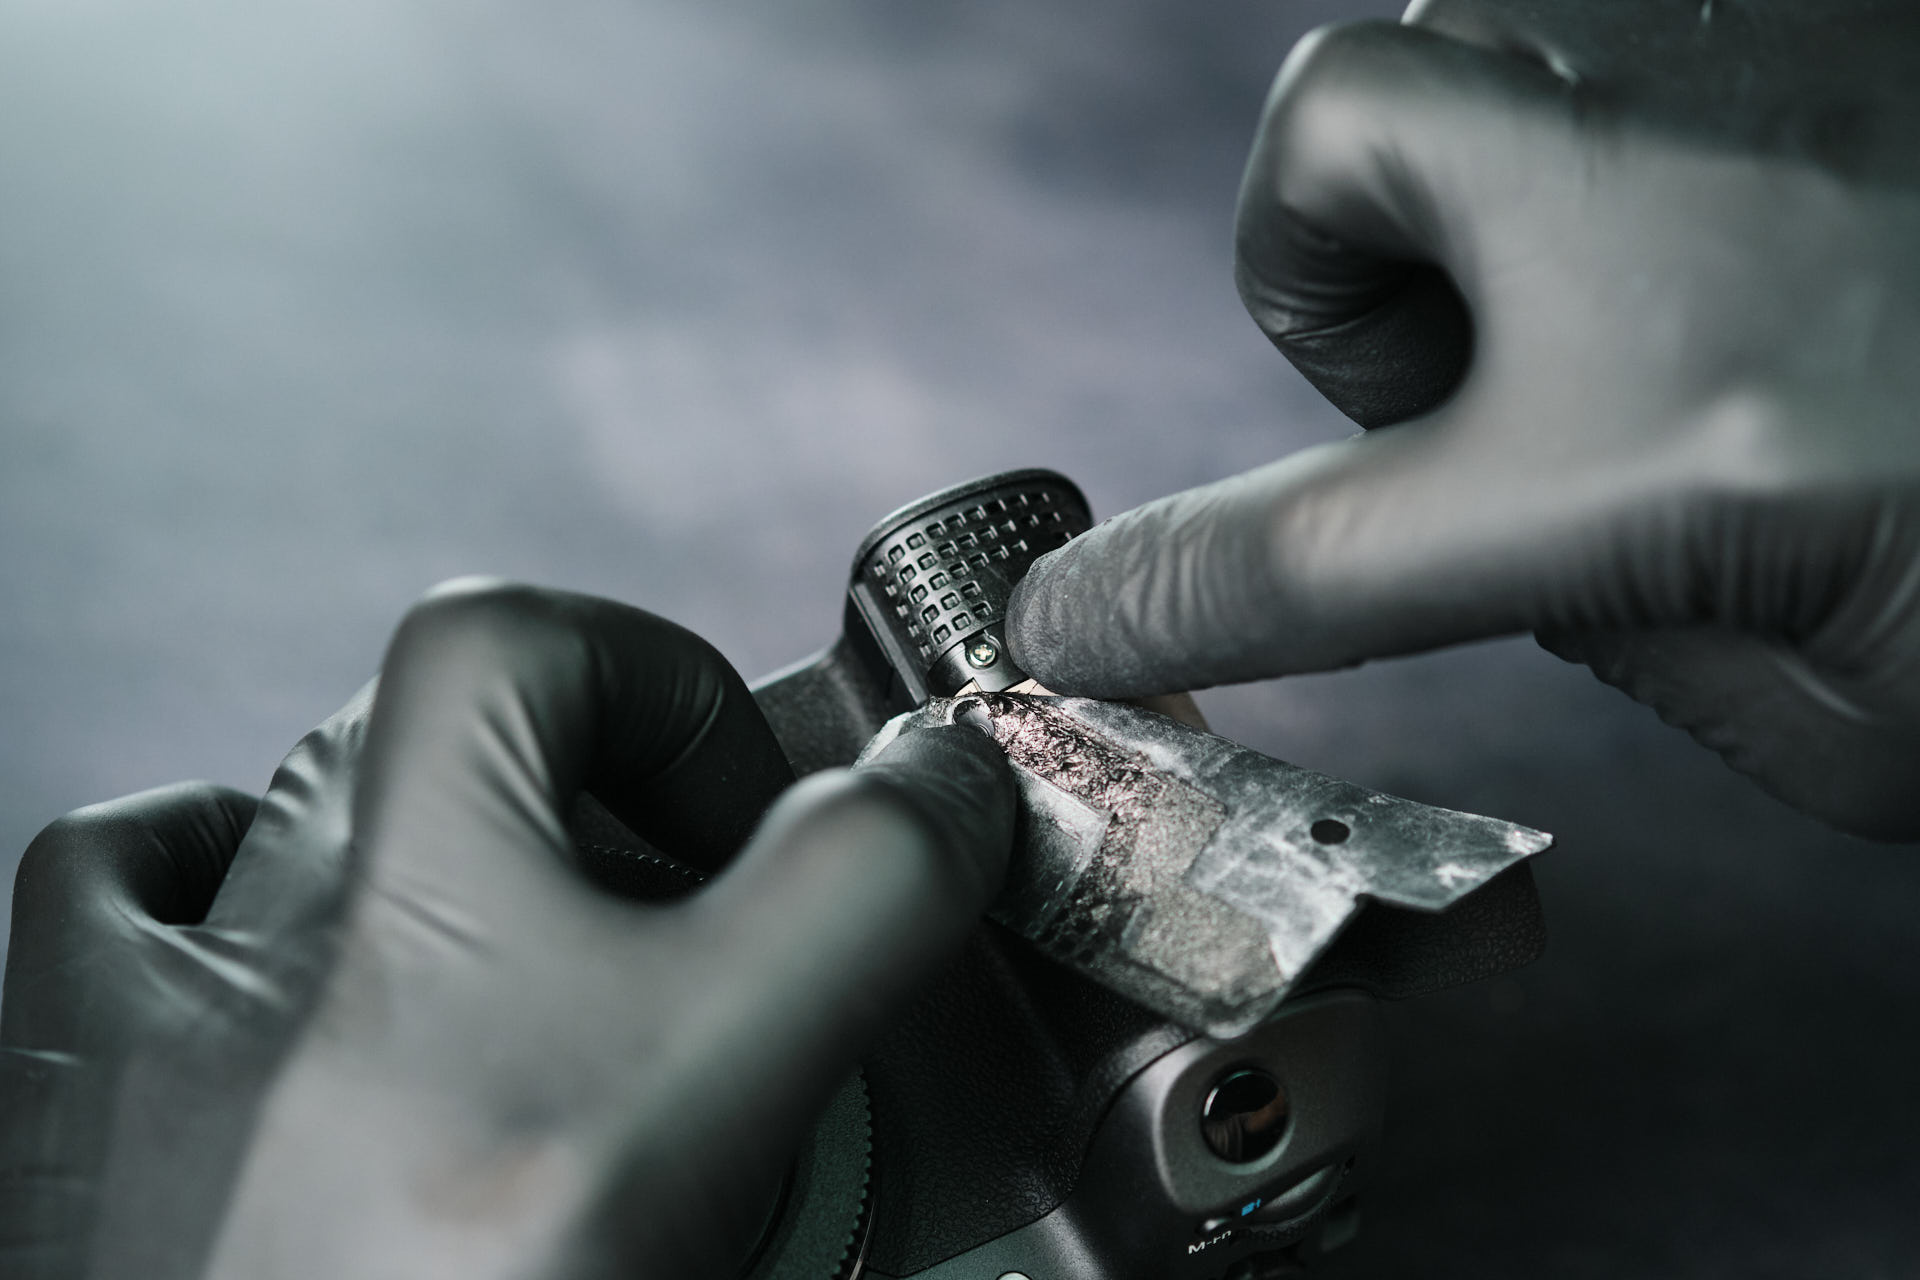
We peeled back the right hand palm grip and extracted two silver screws.
Removing Strap Mount and Memory Card Side Screws
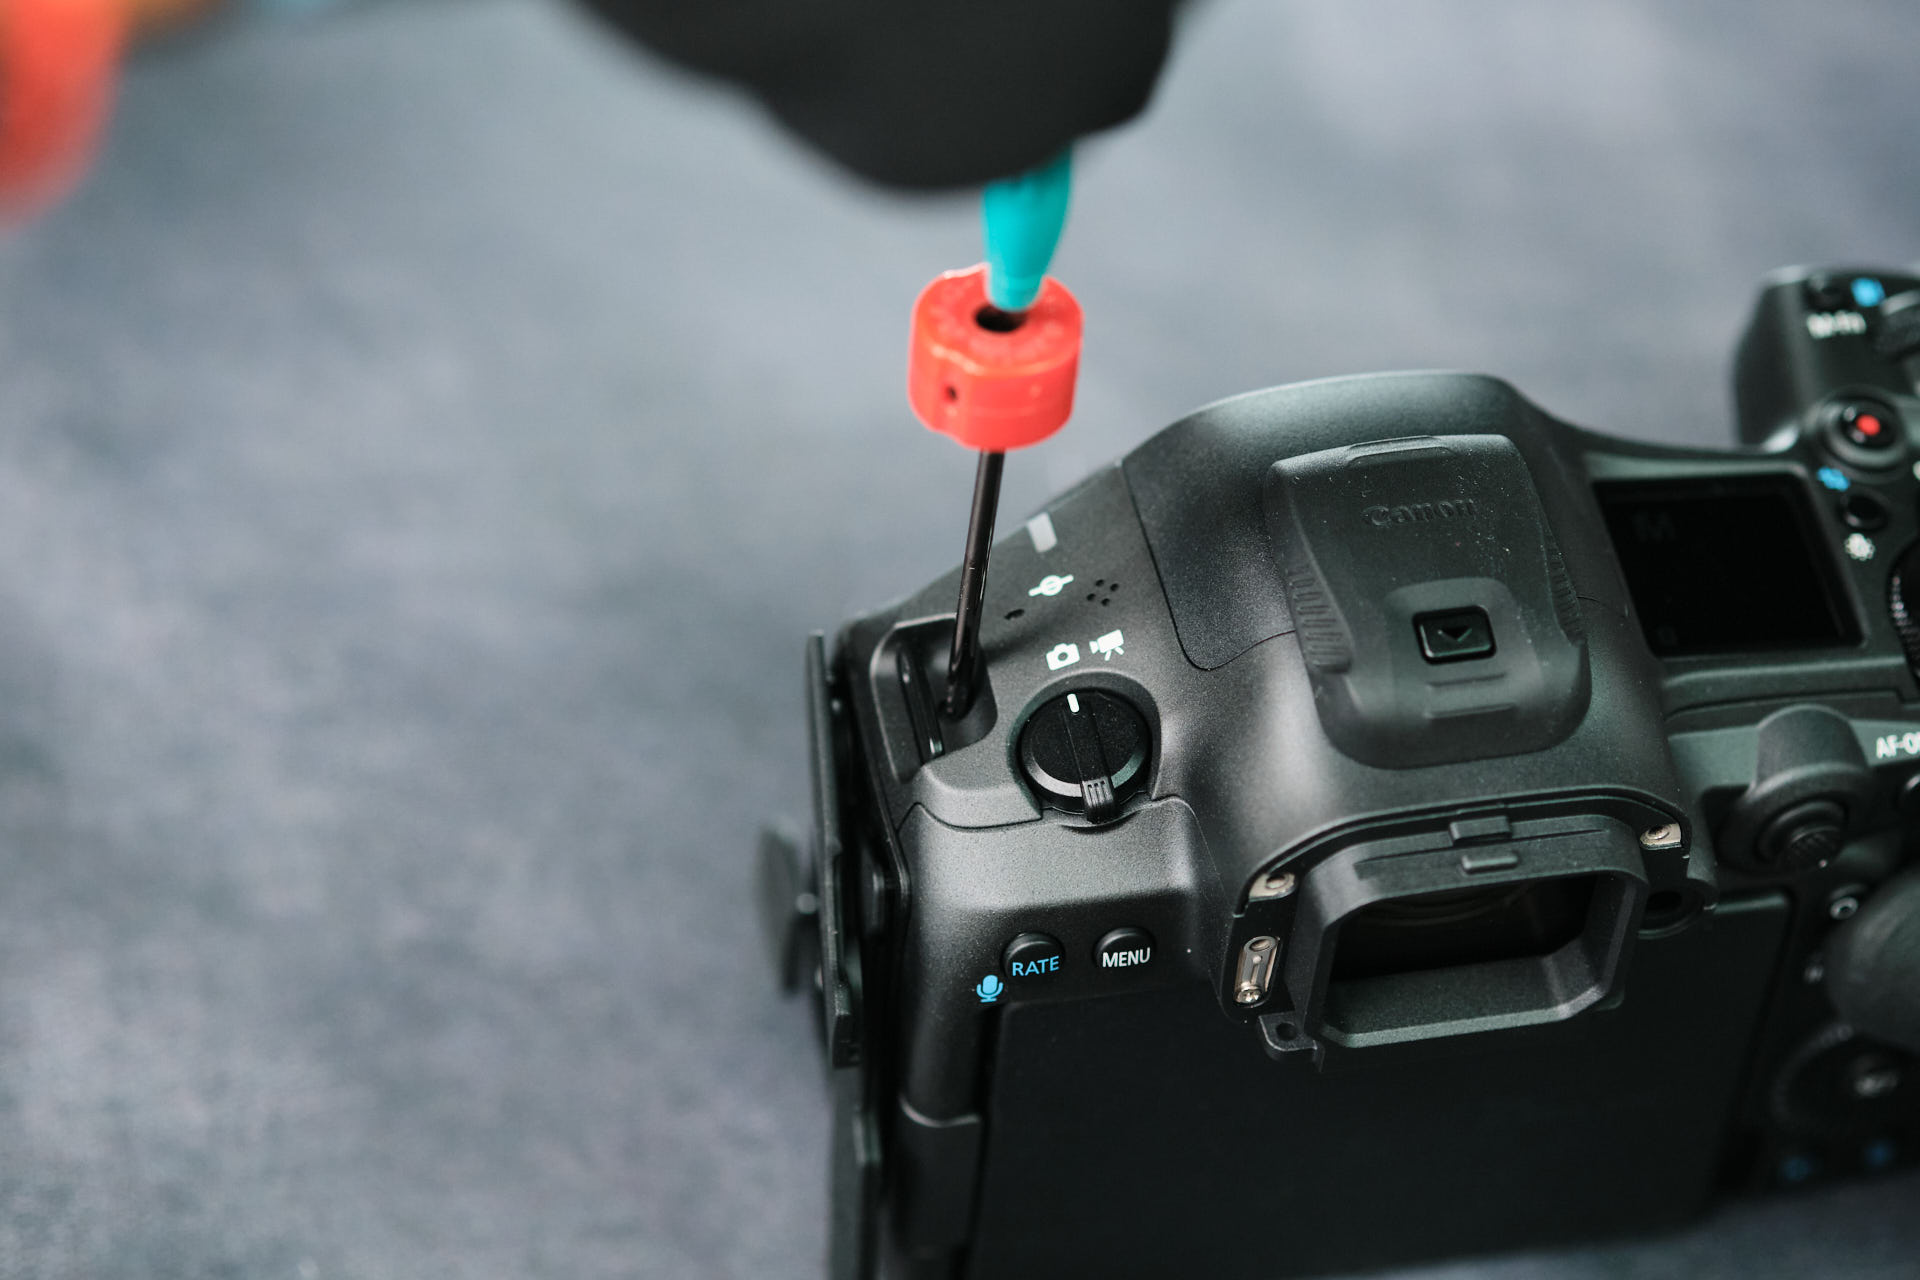
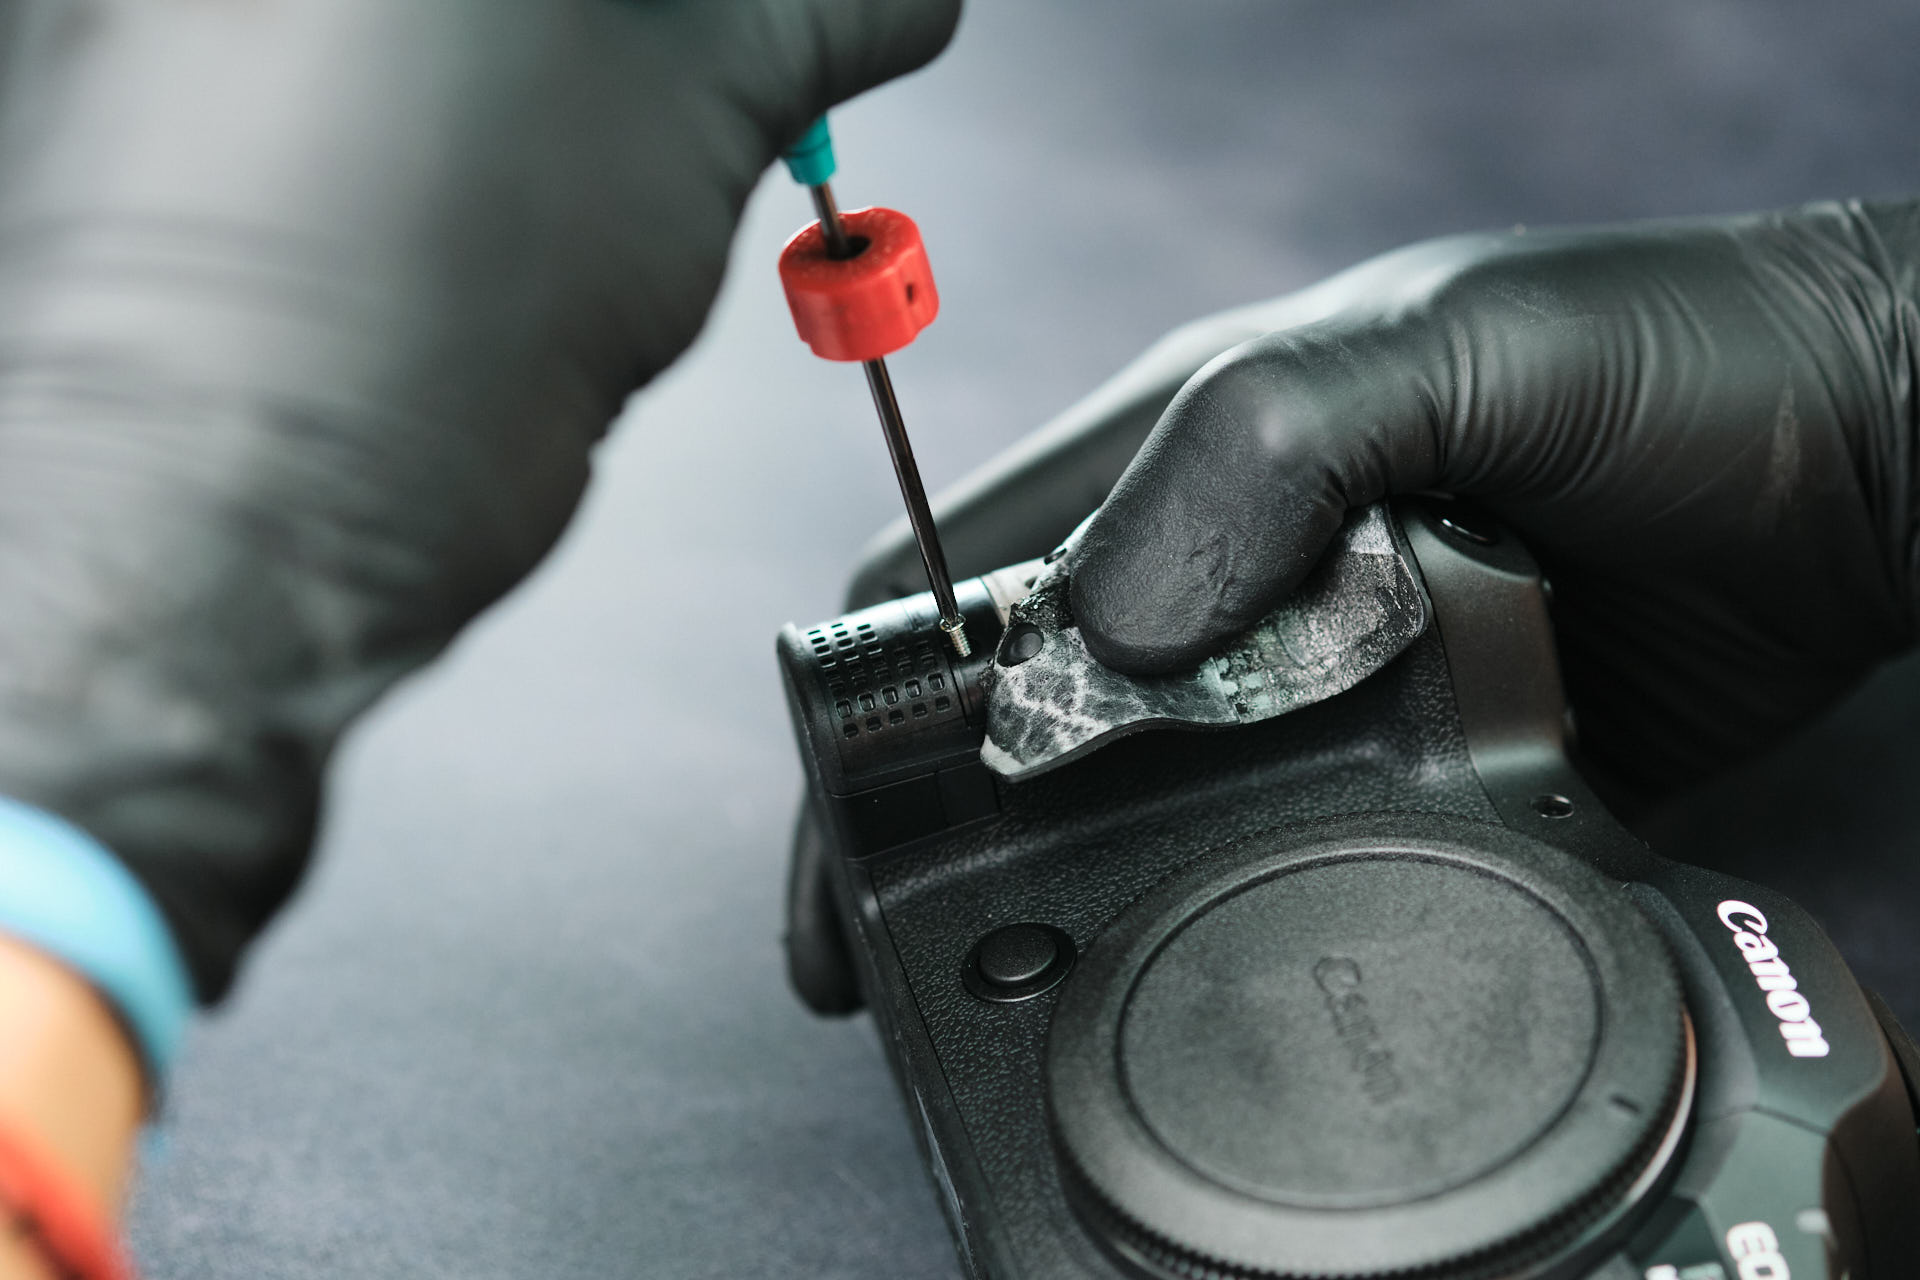
At the top of the camera, two screws on each side were located underneath the strap mounts.
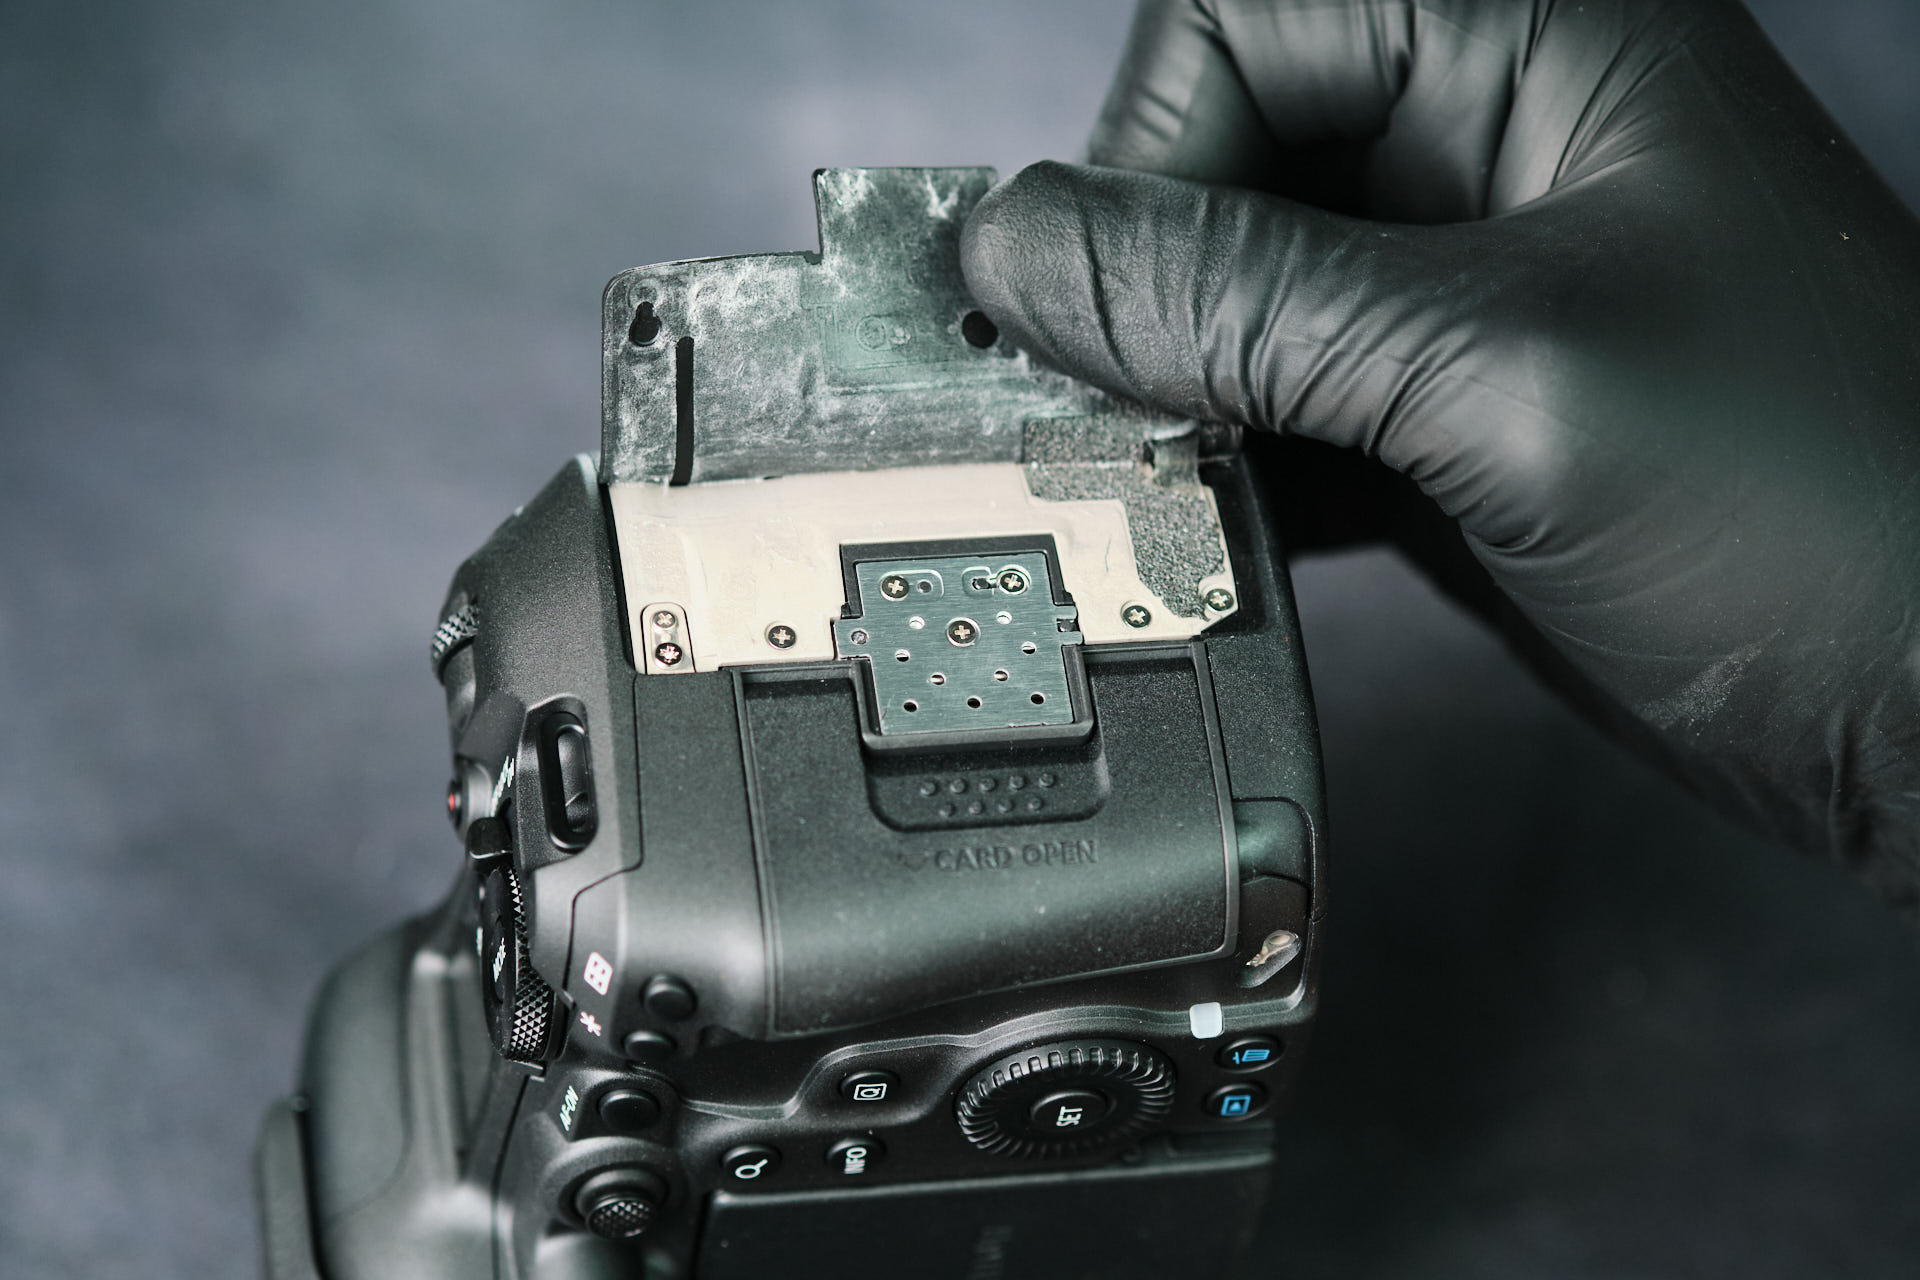
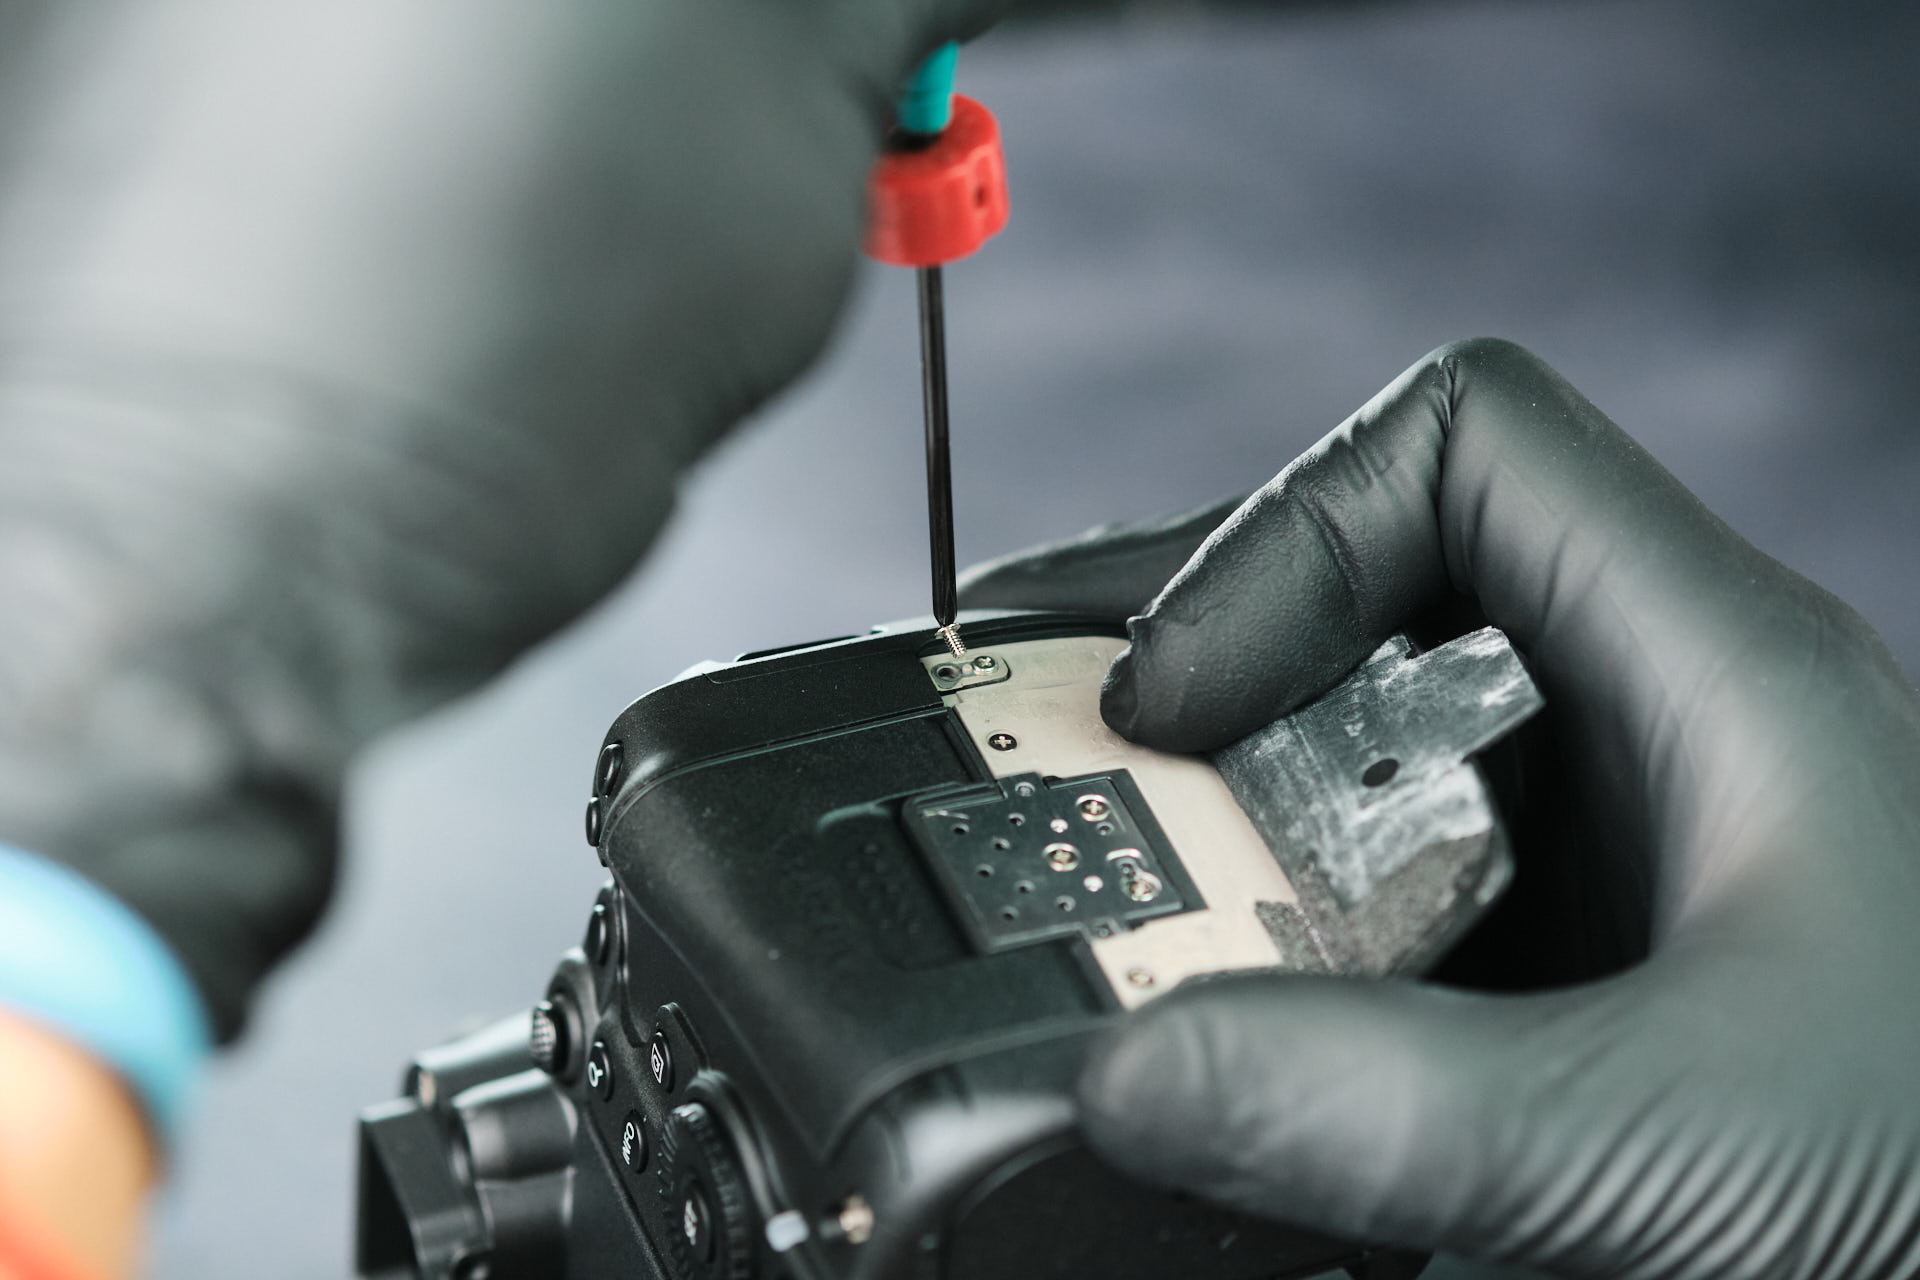
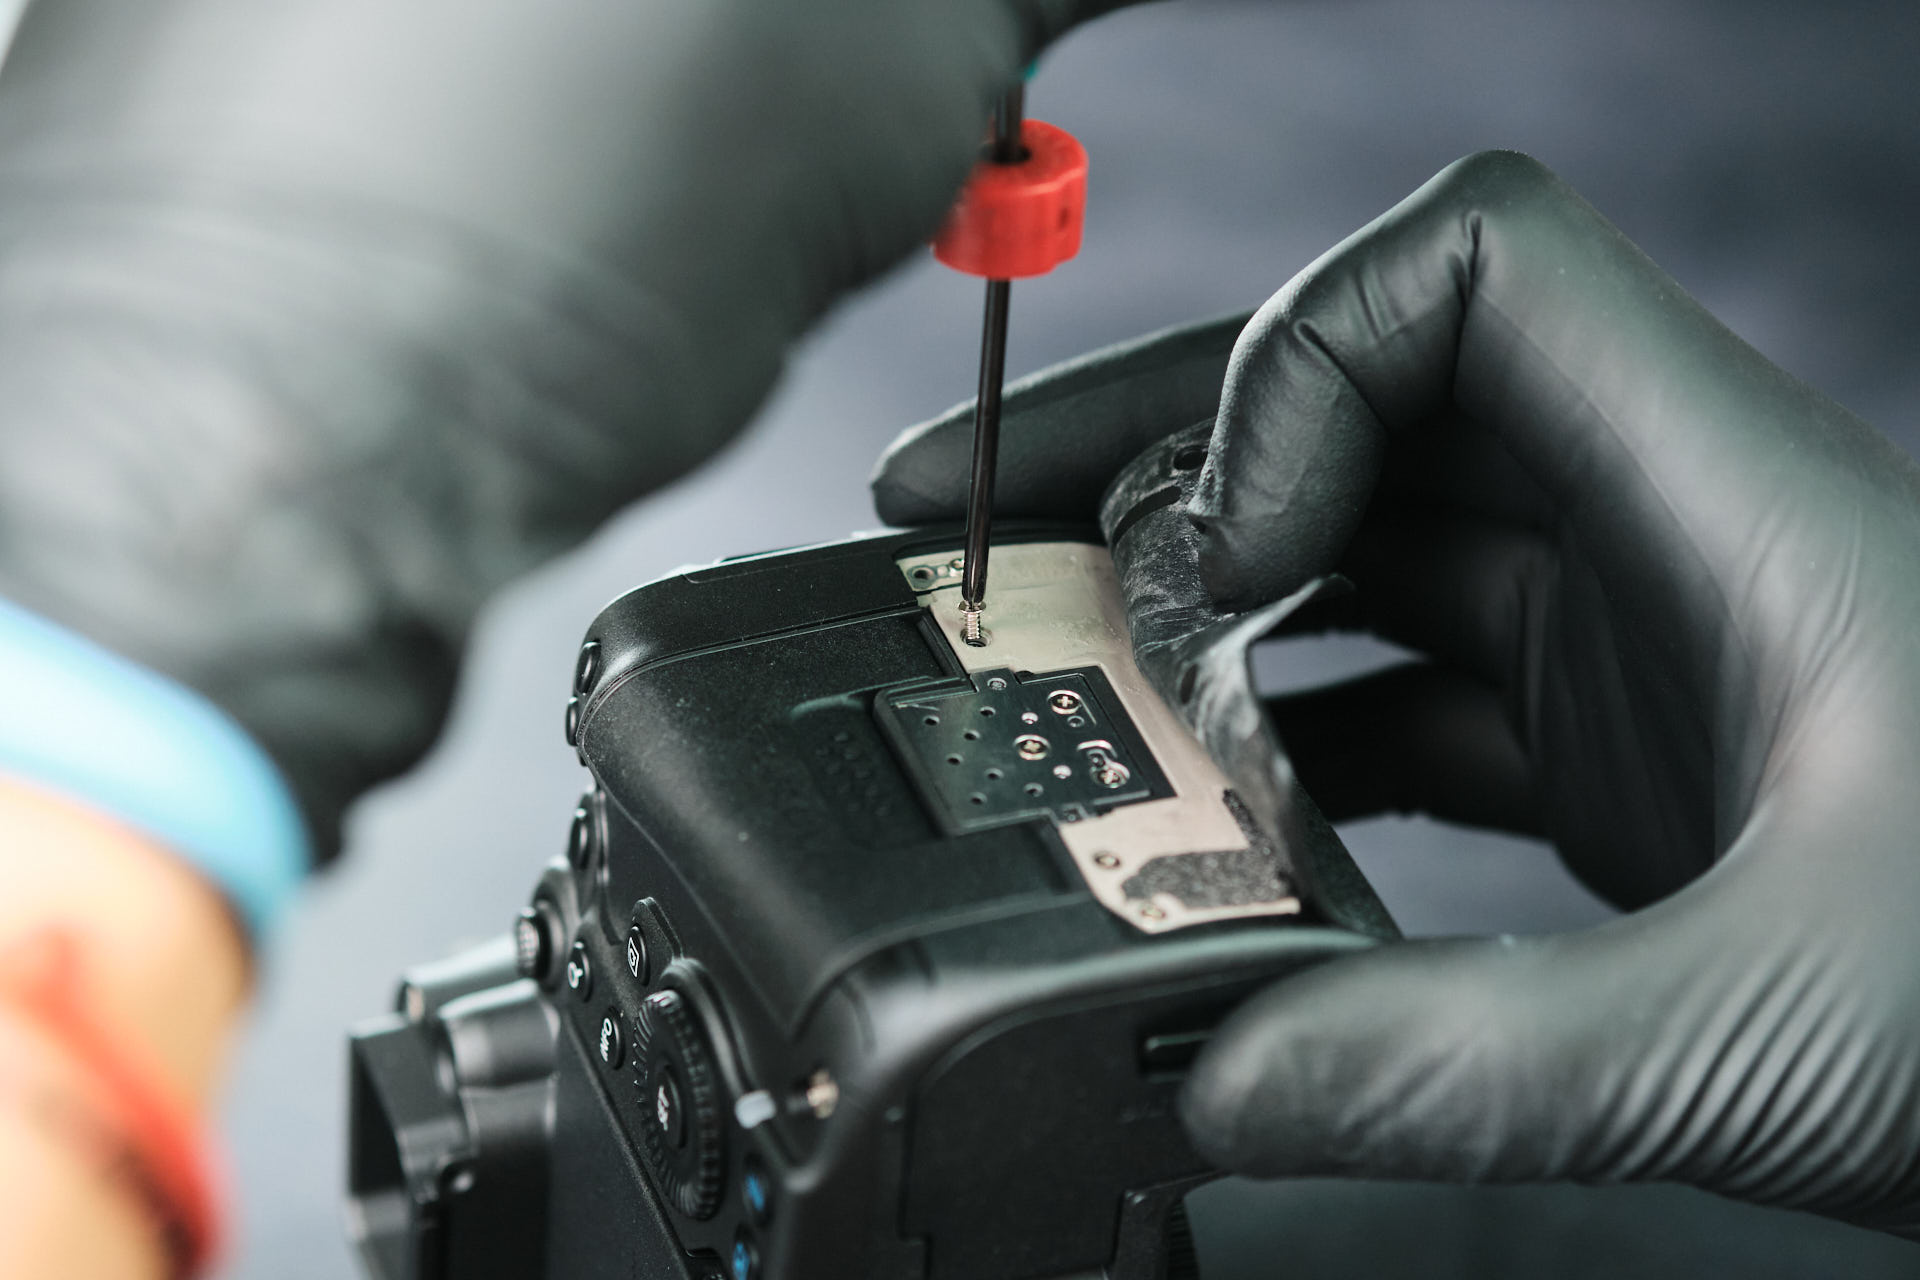
On the memory card side, we peeled back the grip to reveal four screws.
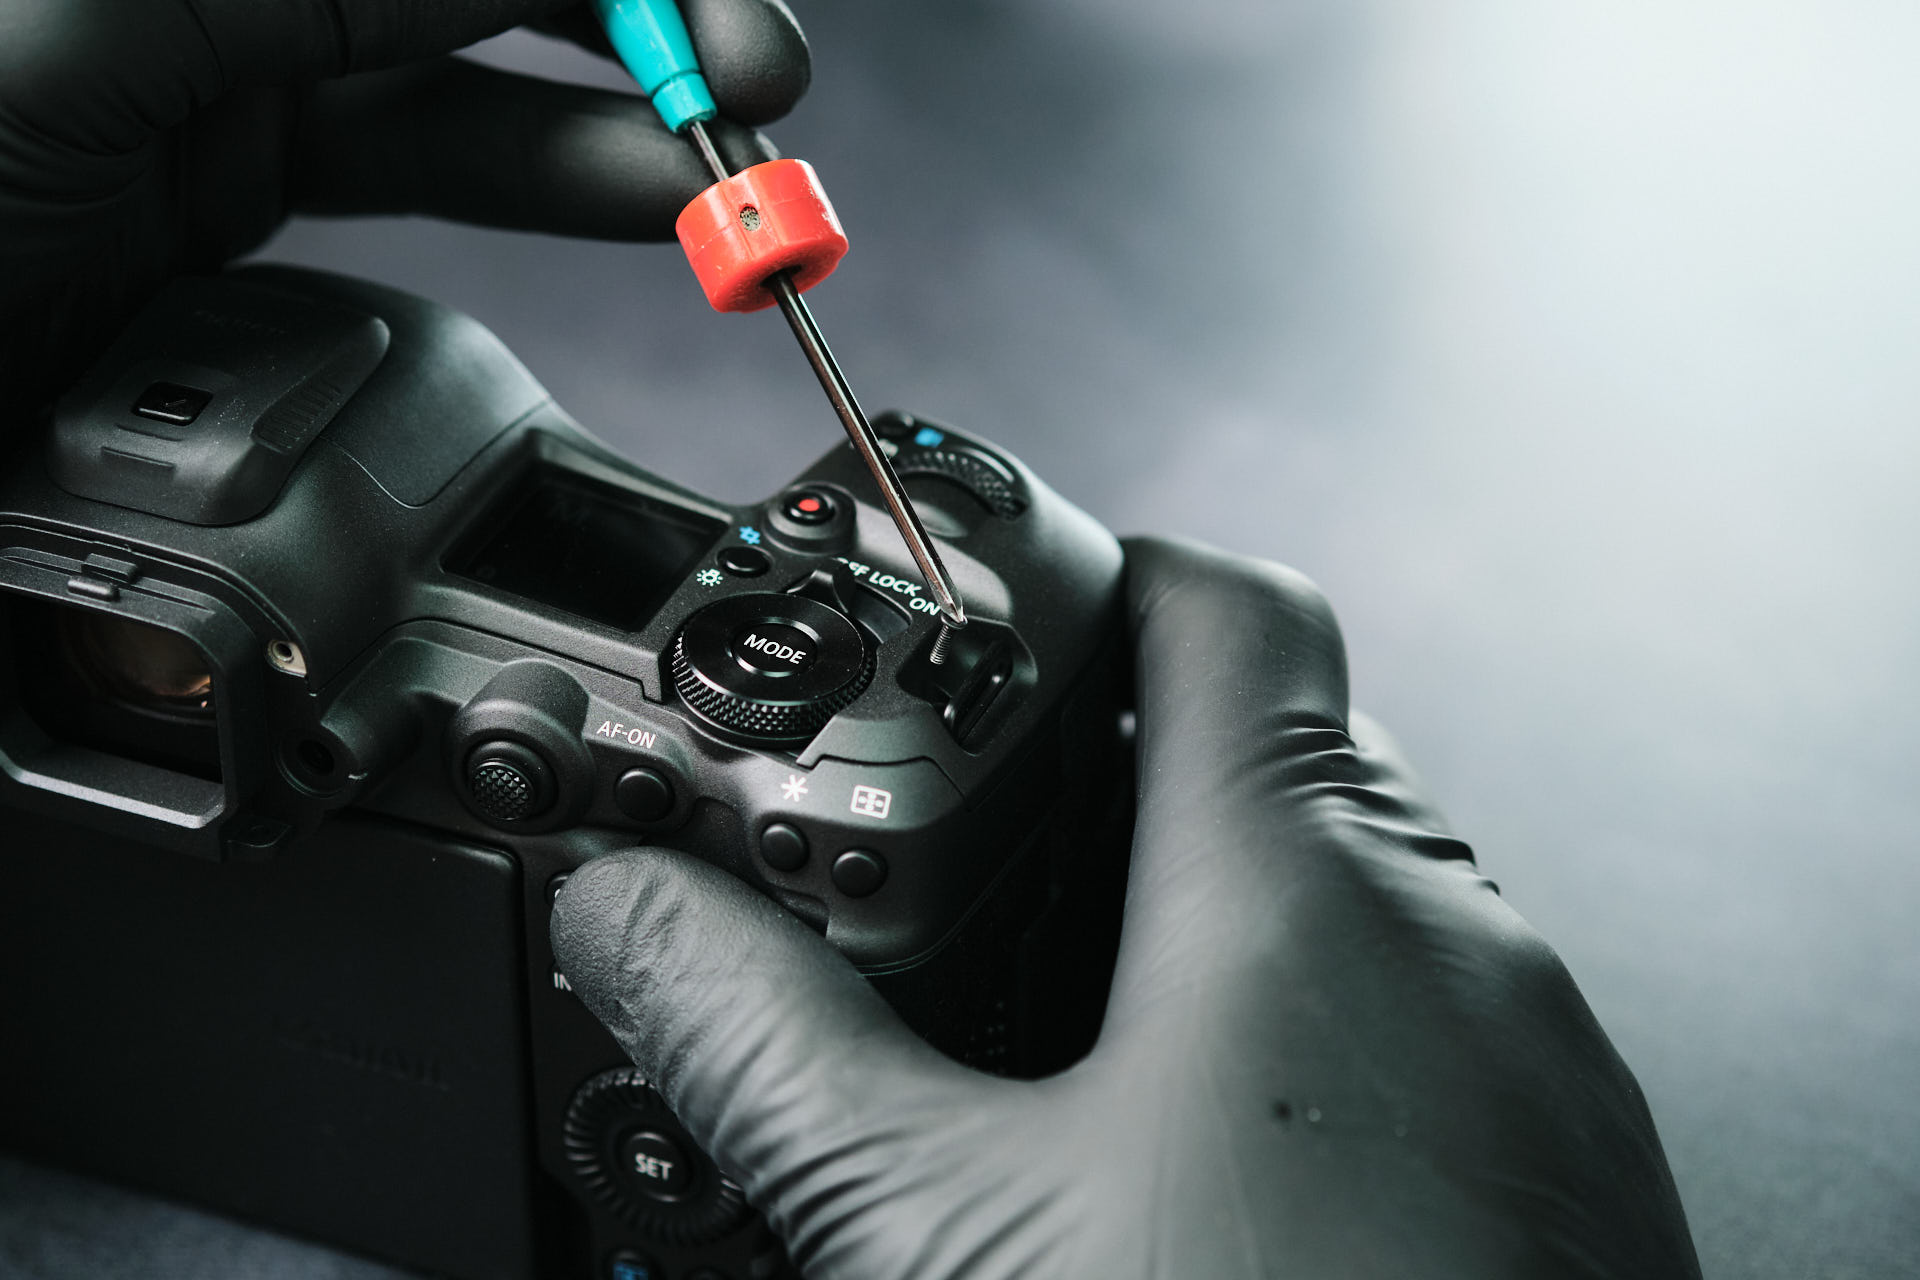
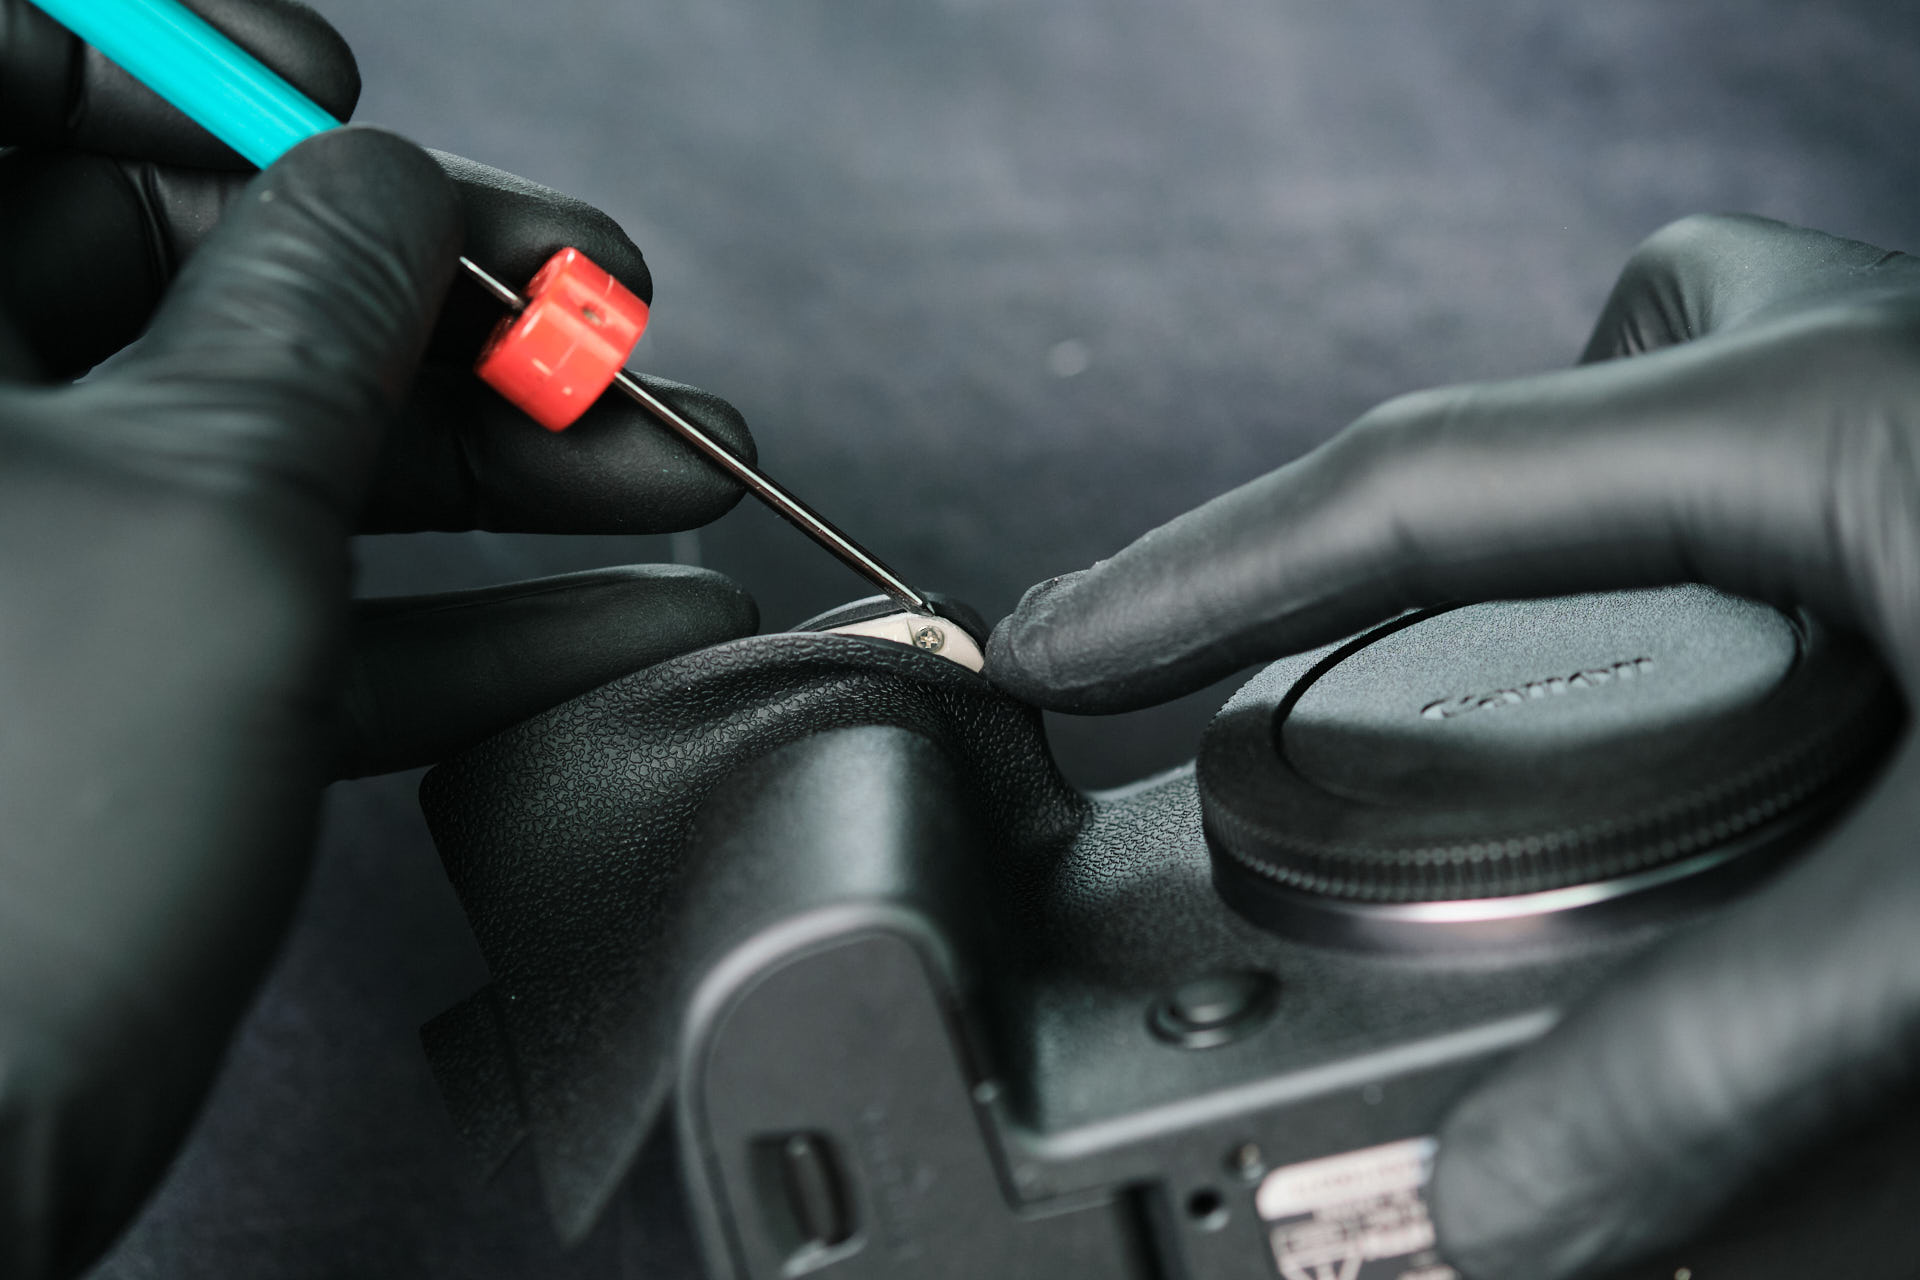
One screw was found under the shutter button.
Removing Additional Front Grip and Port Side Screws
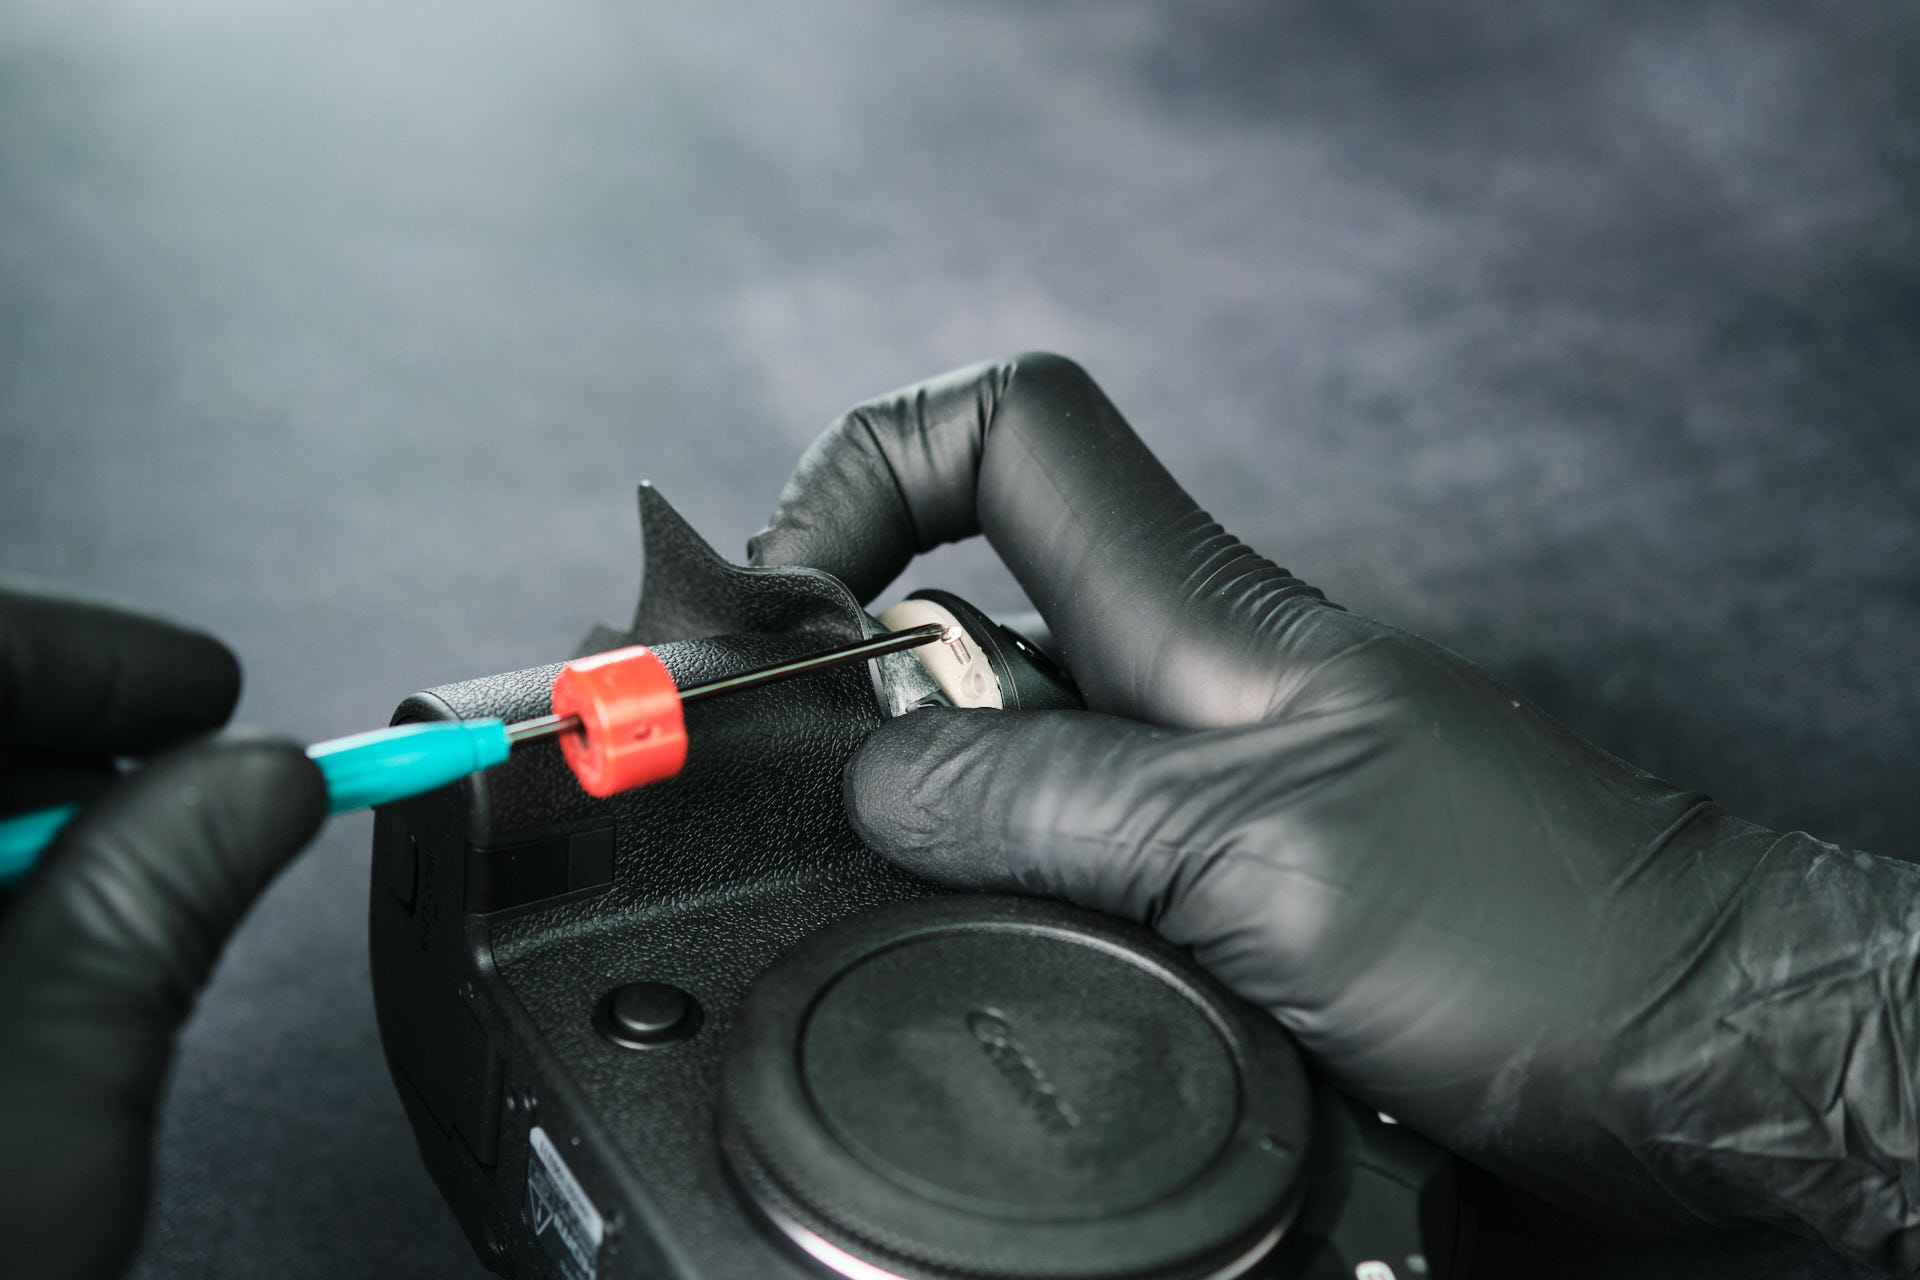
We continued to peel back the right hand grip to reveal one screw on the front of the battery compartment.
Next, we removed the left hand front grip.
On the port side, we extracted two screws near the bottom of the camera.
Removing the Port Side Cover and Baseplate
After removing the aforementioned screws, we could remove the port side cover.
We found one screw beneath the battery door.
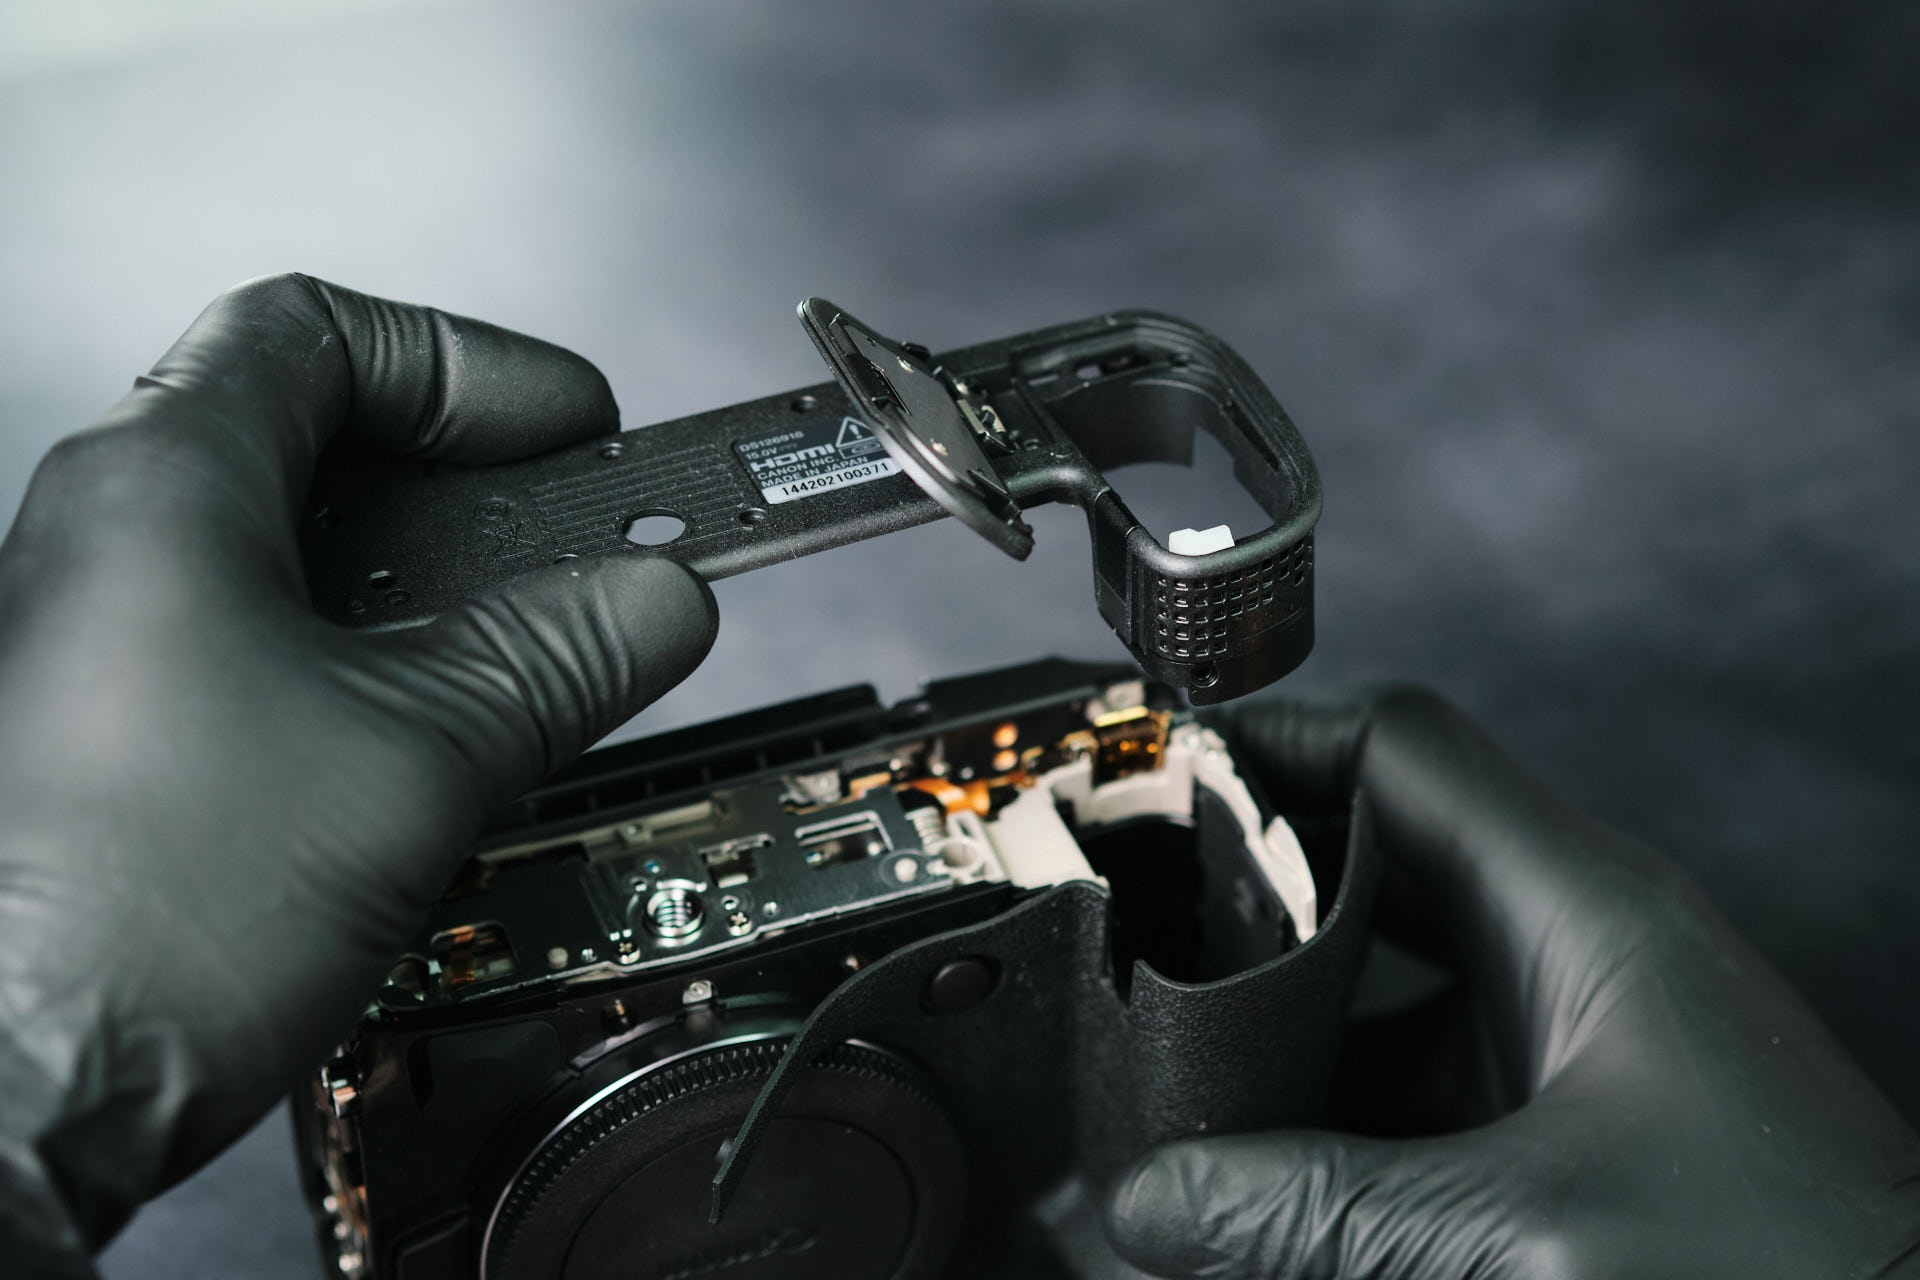
Removing the screw allowed us to detach the baseplate from the camera.
Removing the Rear Panel and Ribbon Cable
Back on the port side, one more screw was extracted before removing the rear panel.
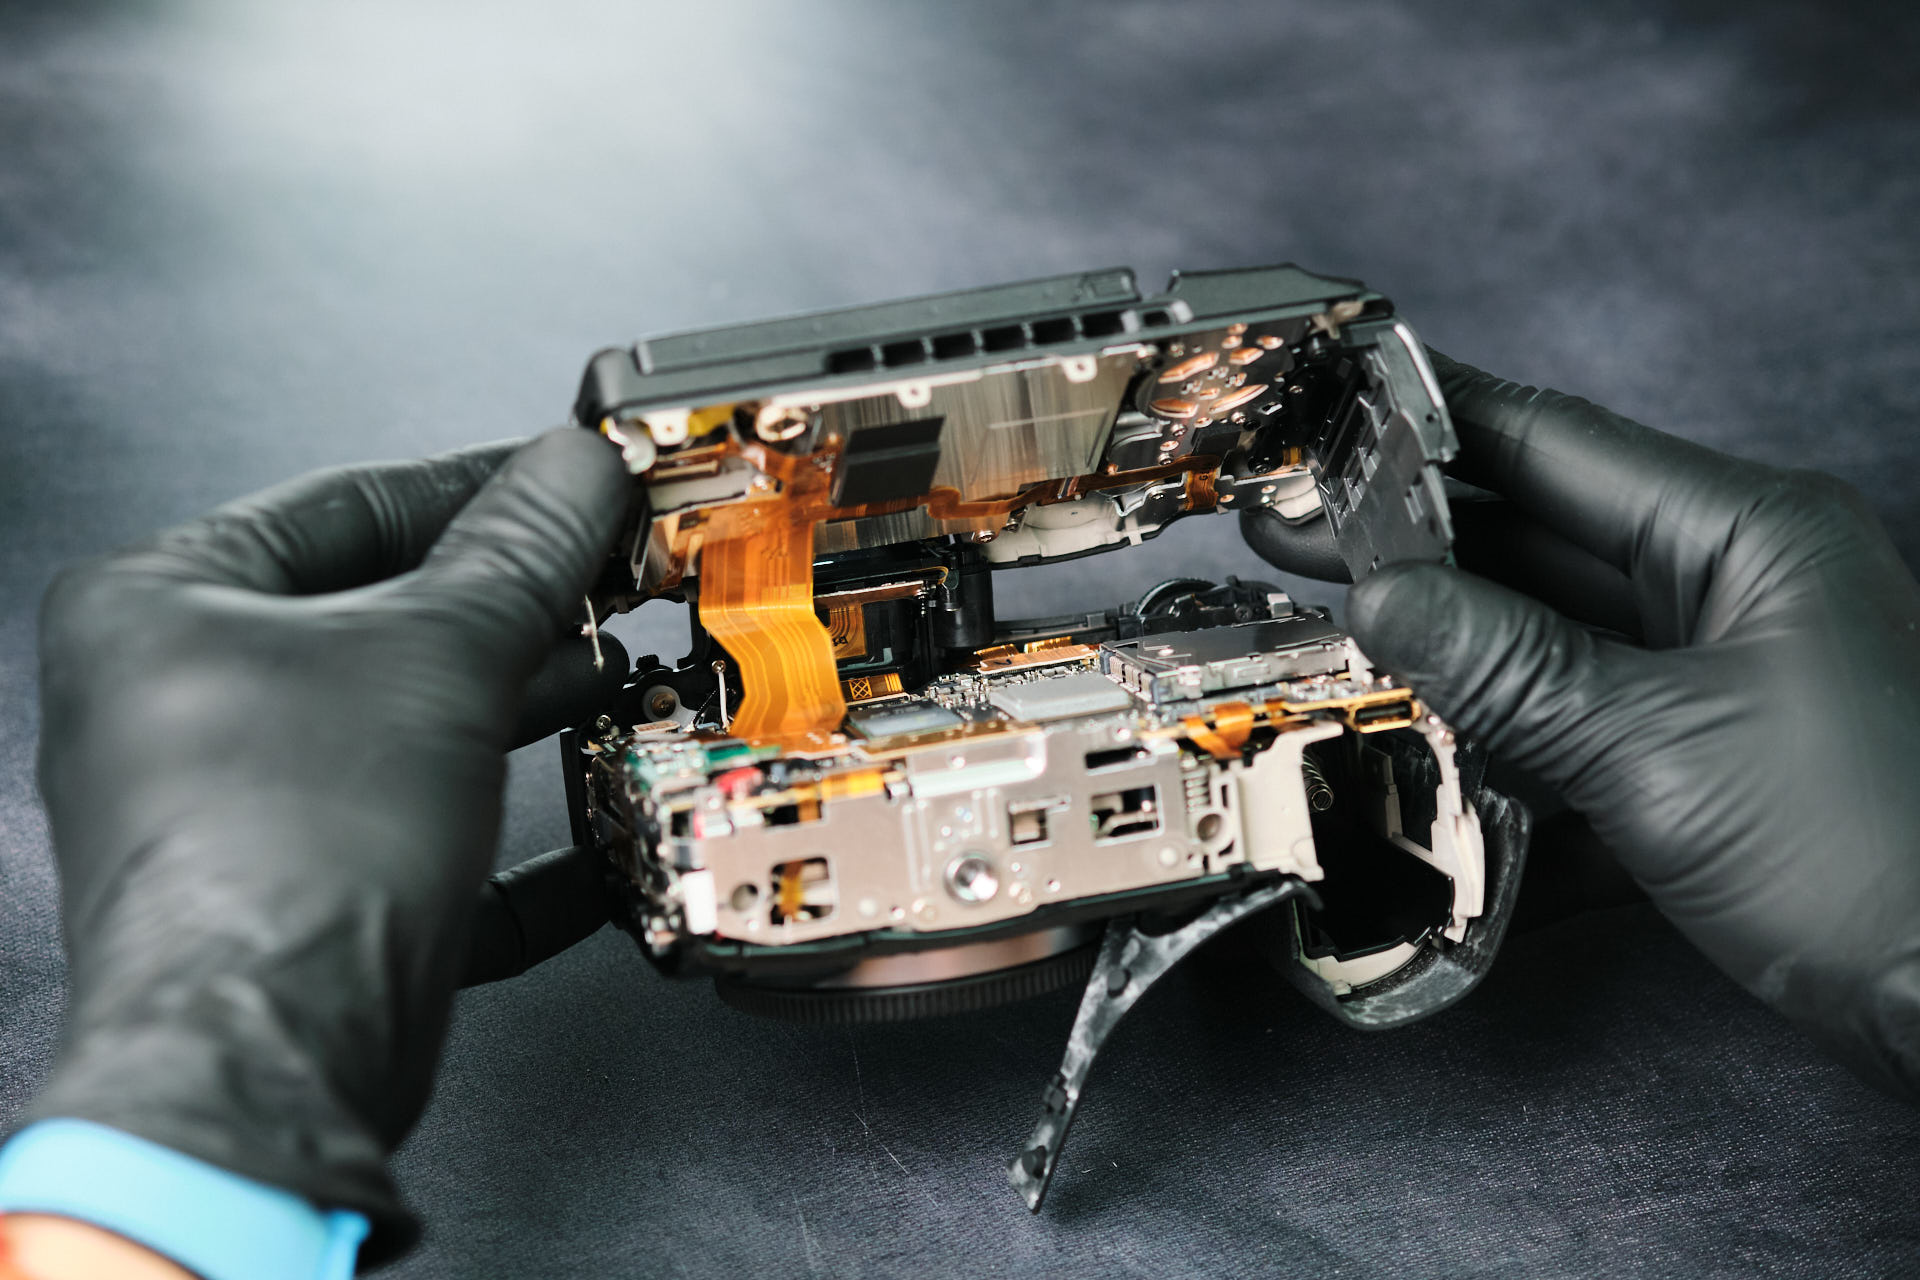
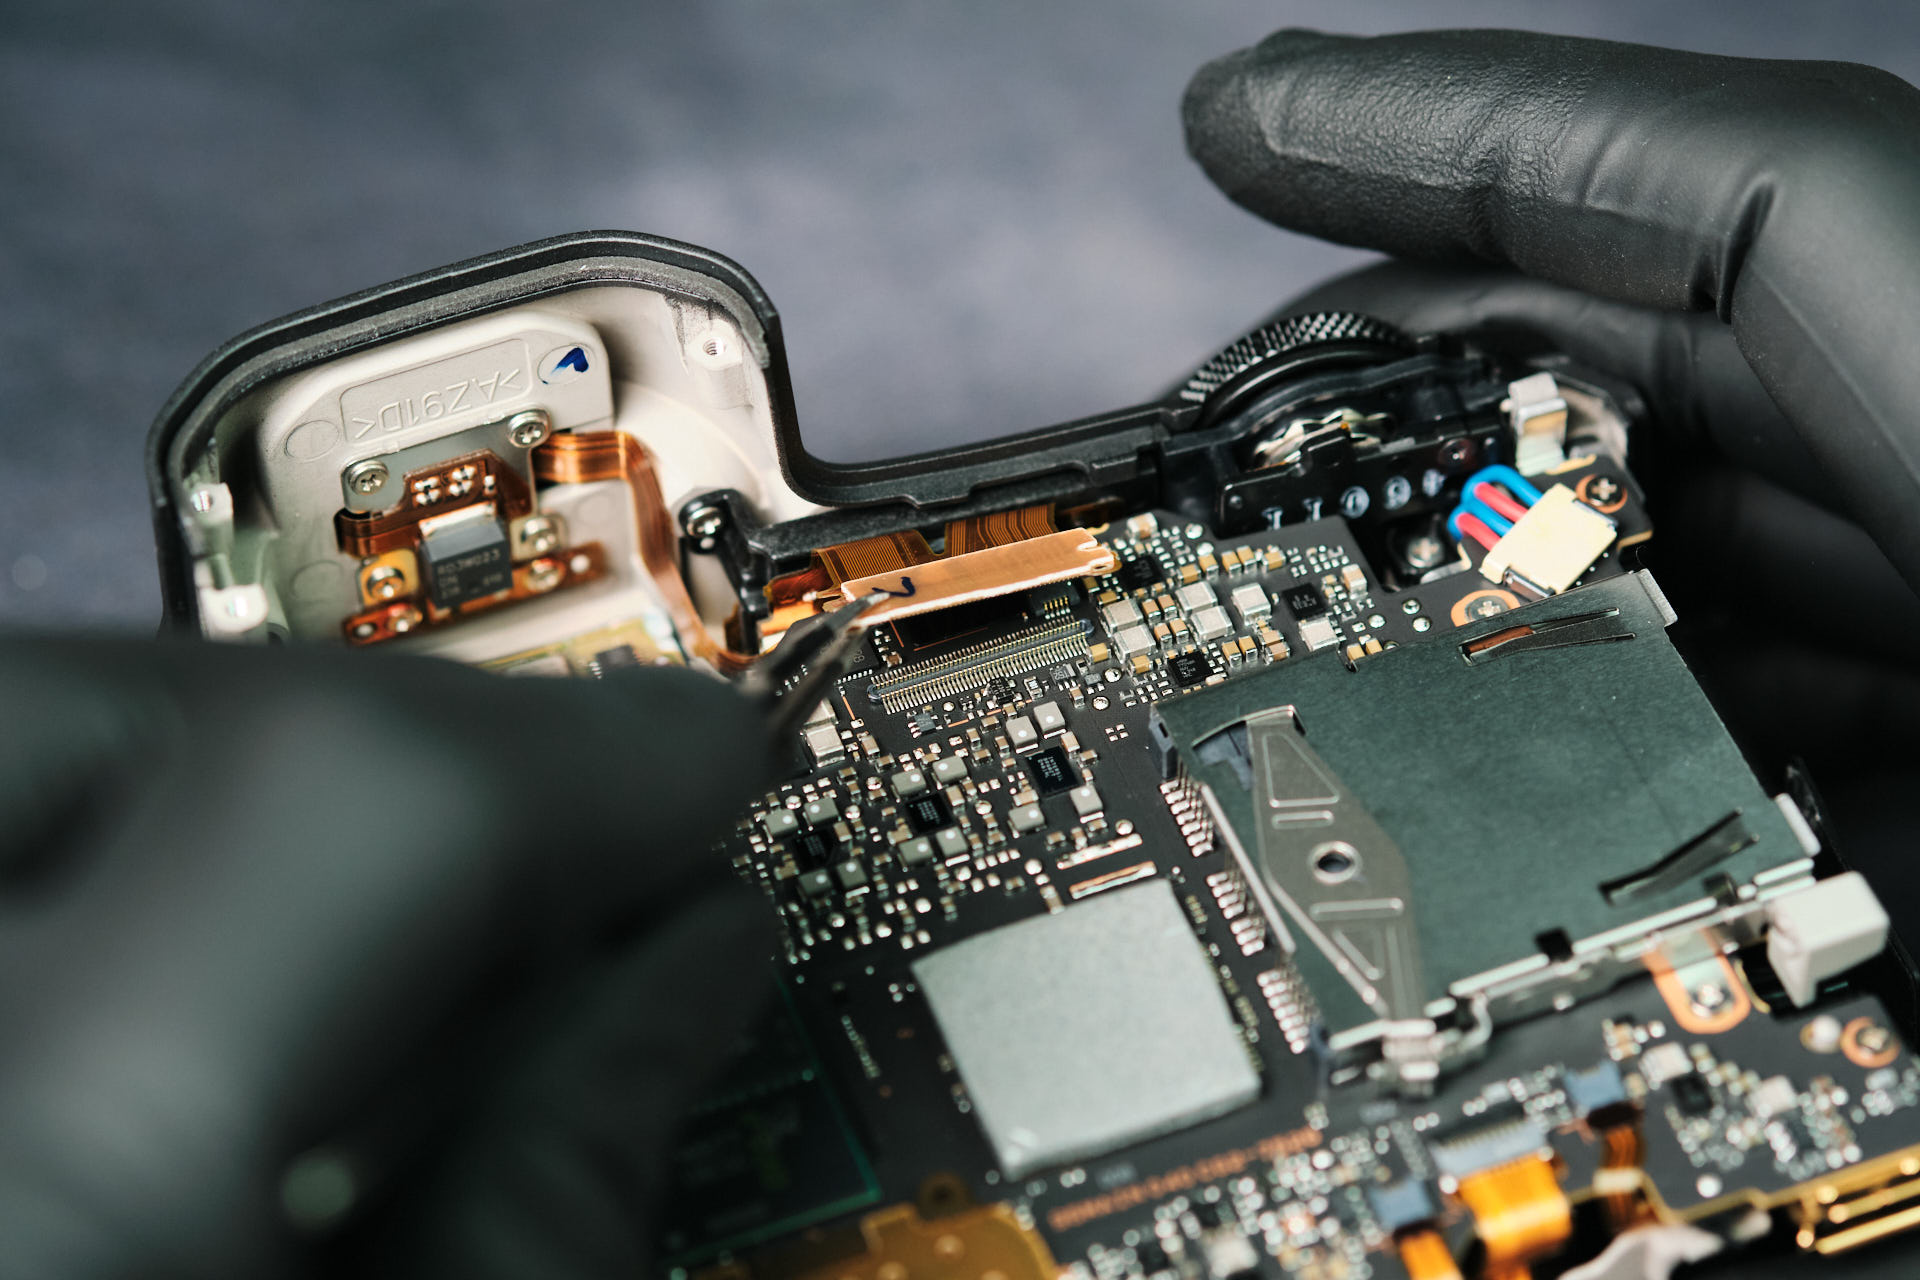
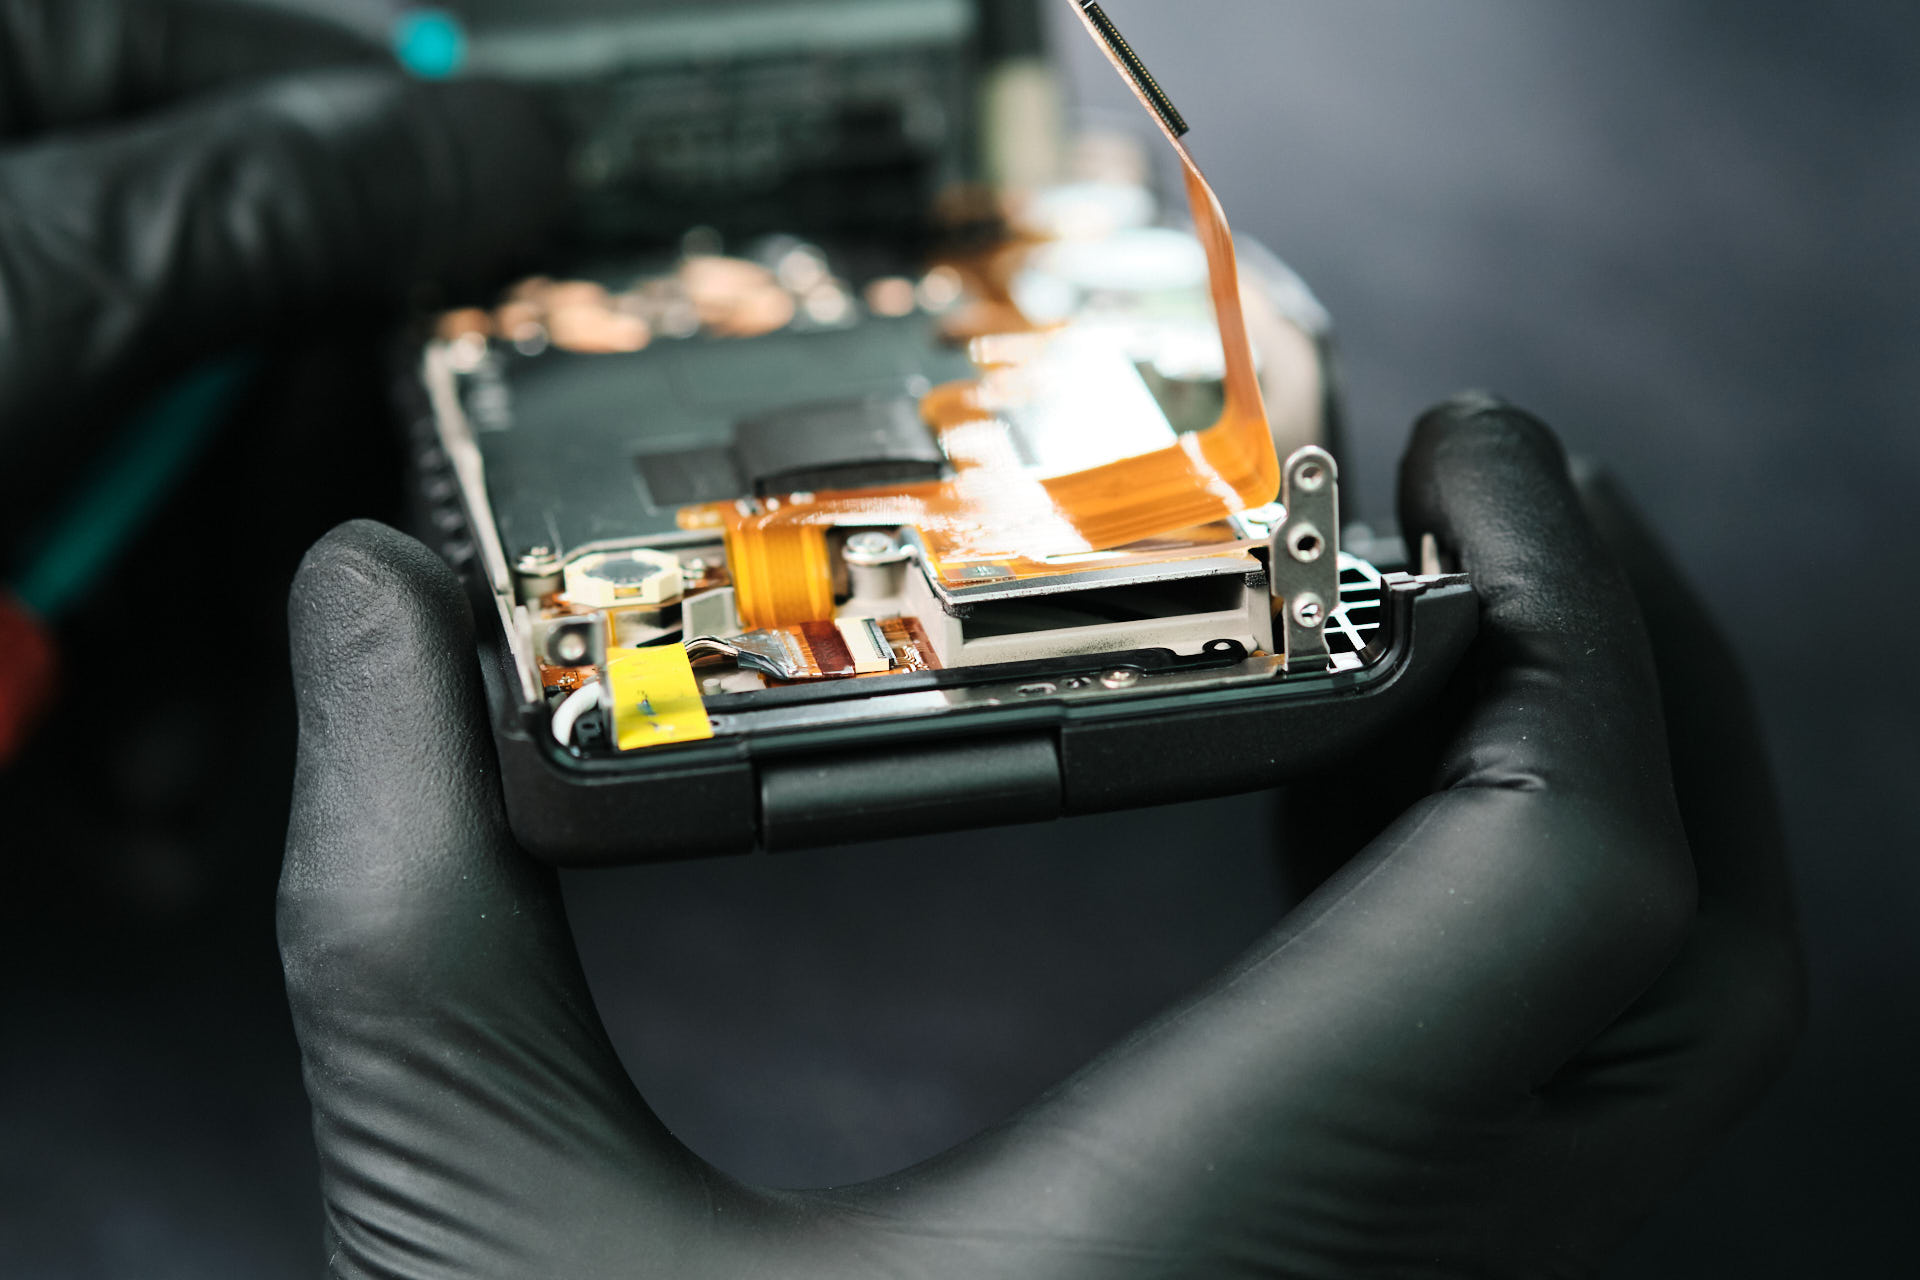
One large ribbon cable connects the rear panel.
Canon R5 Mark II Passive Cooling Design
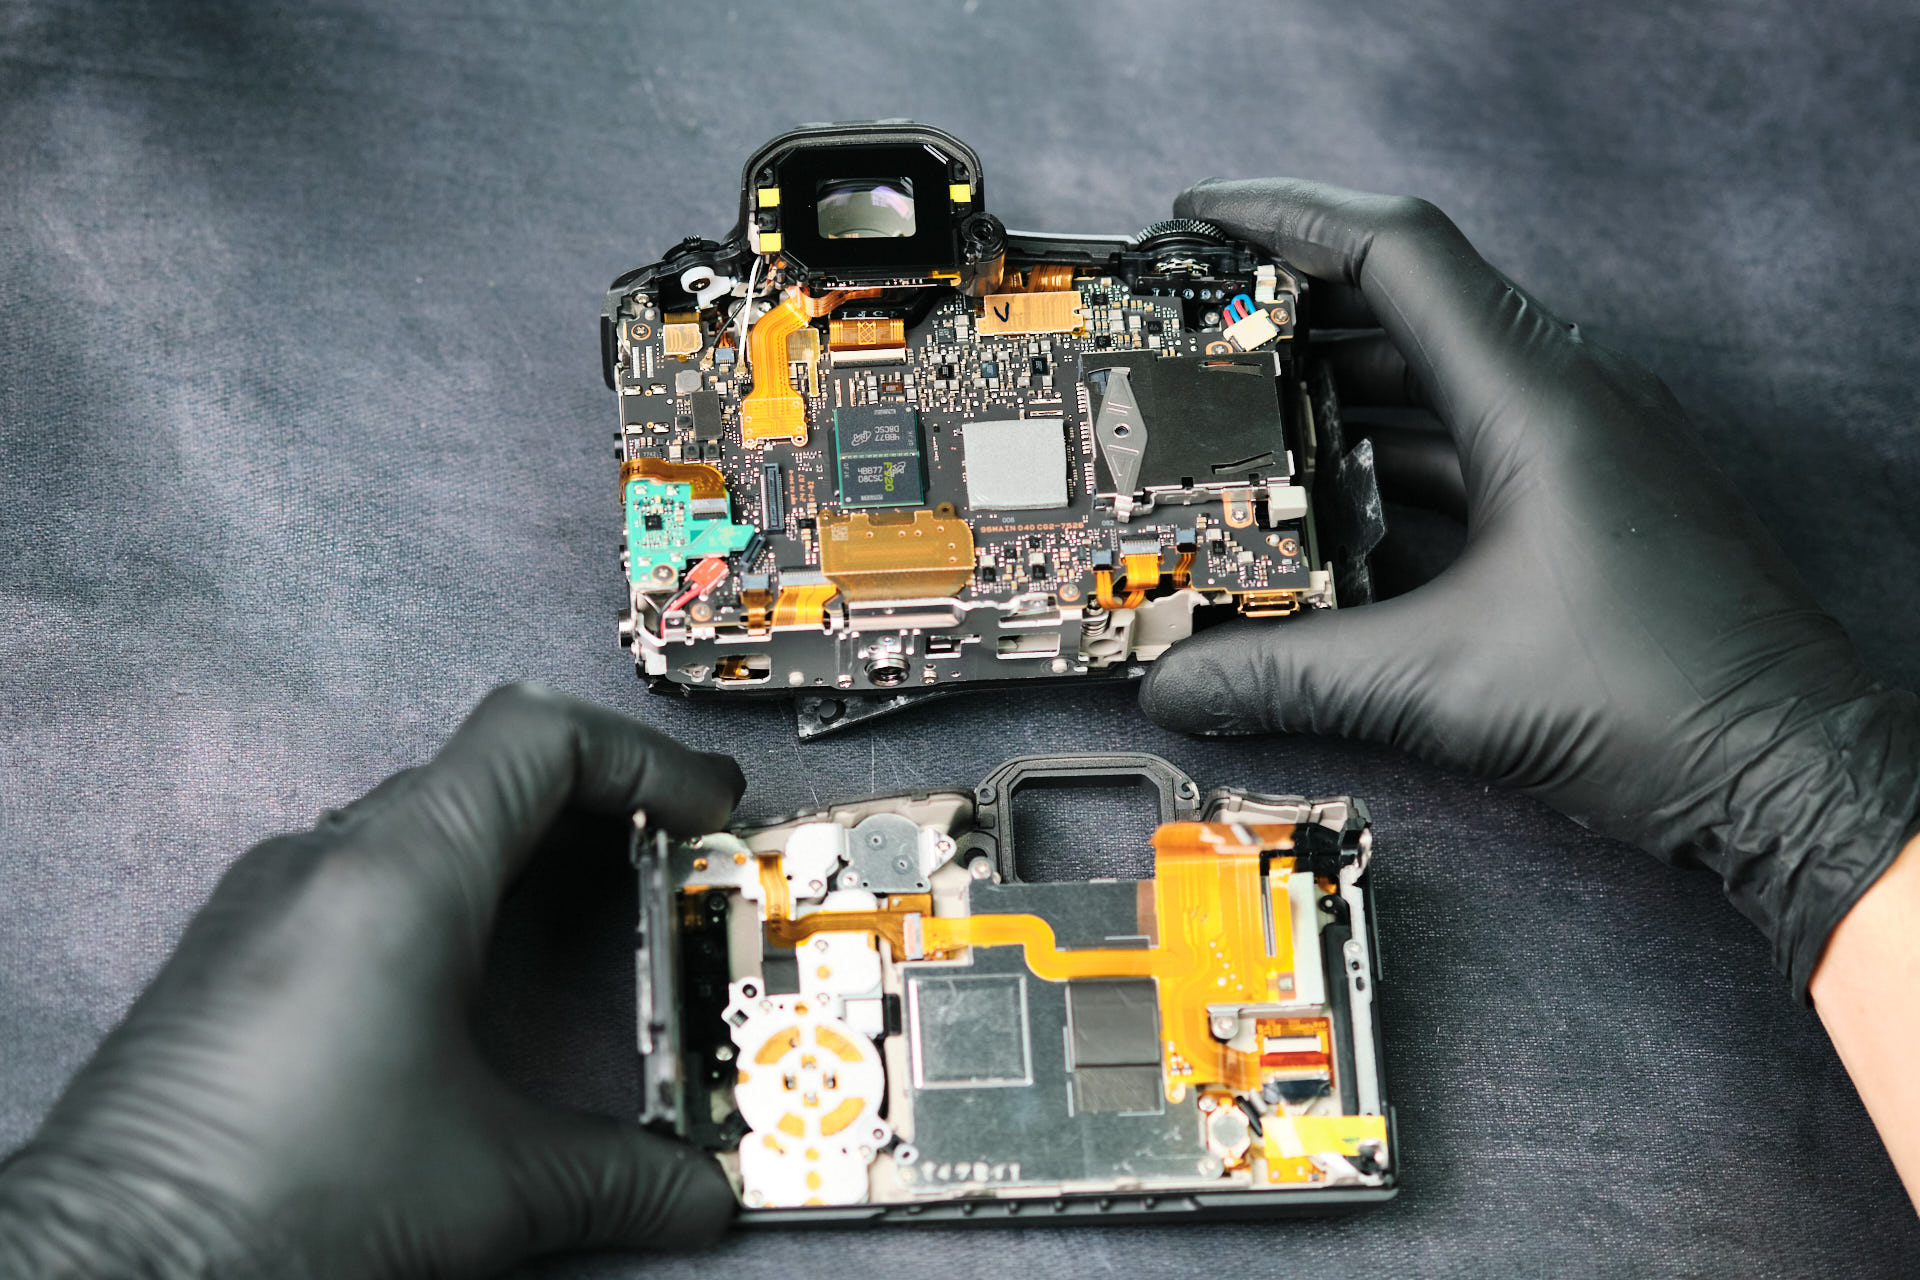
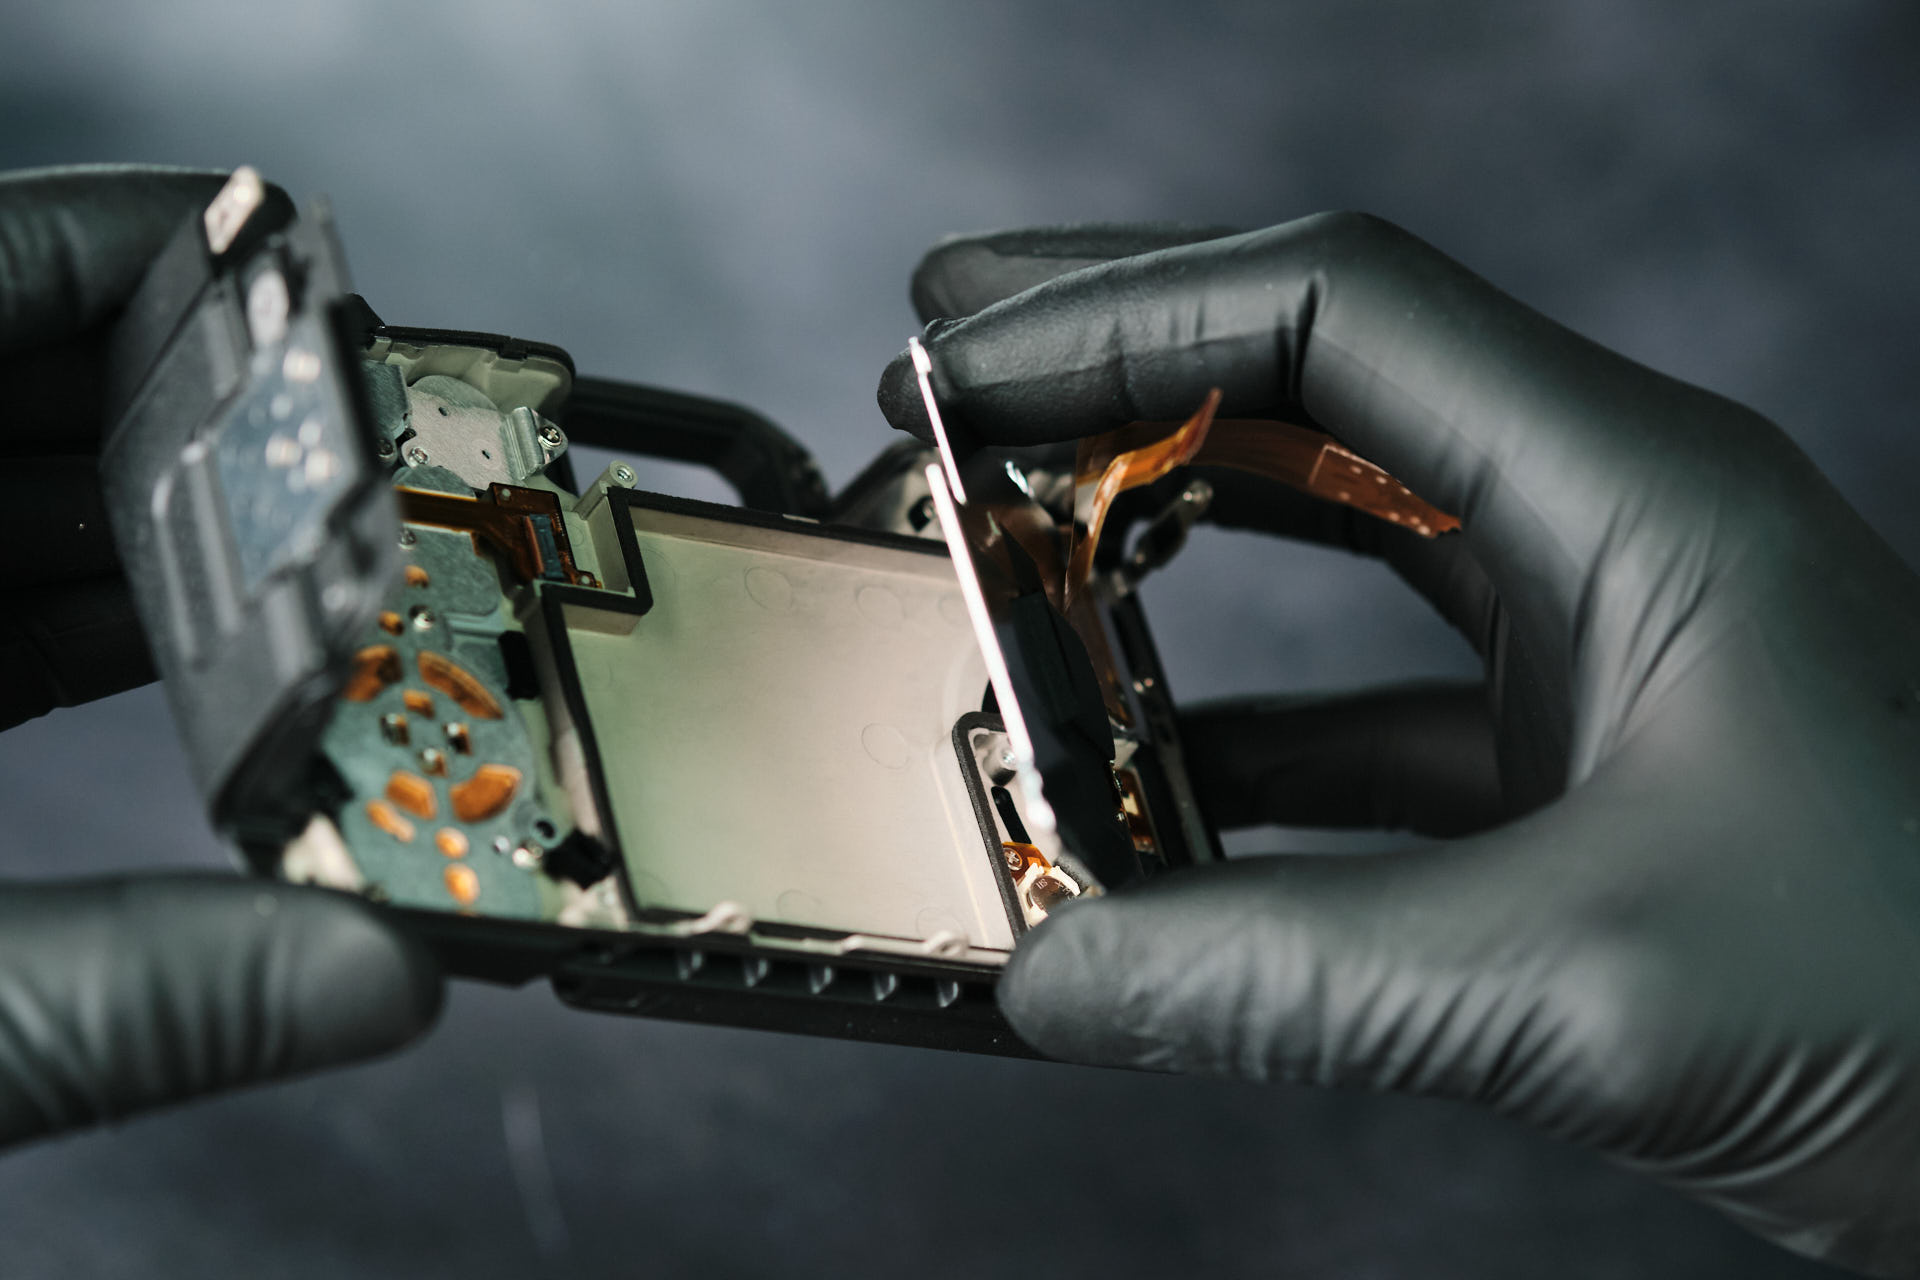
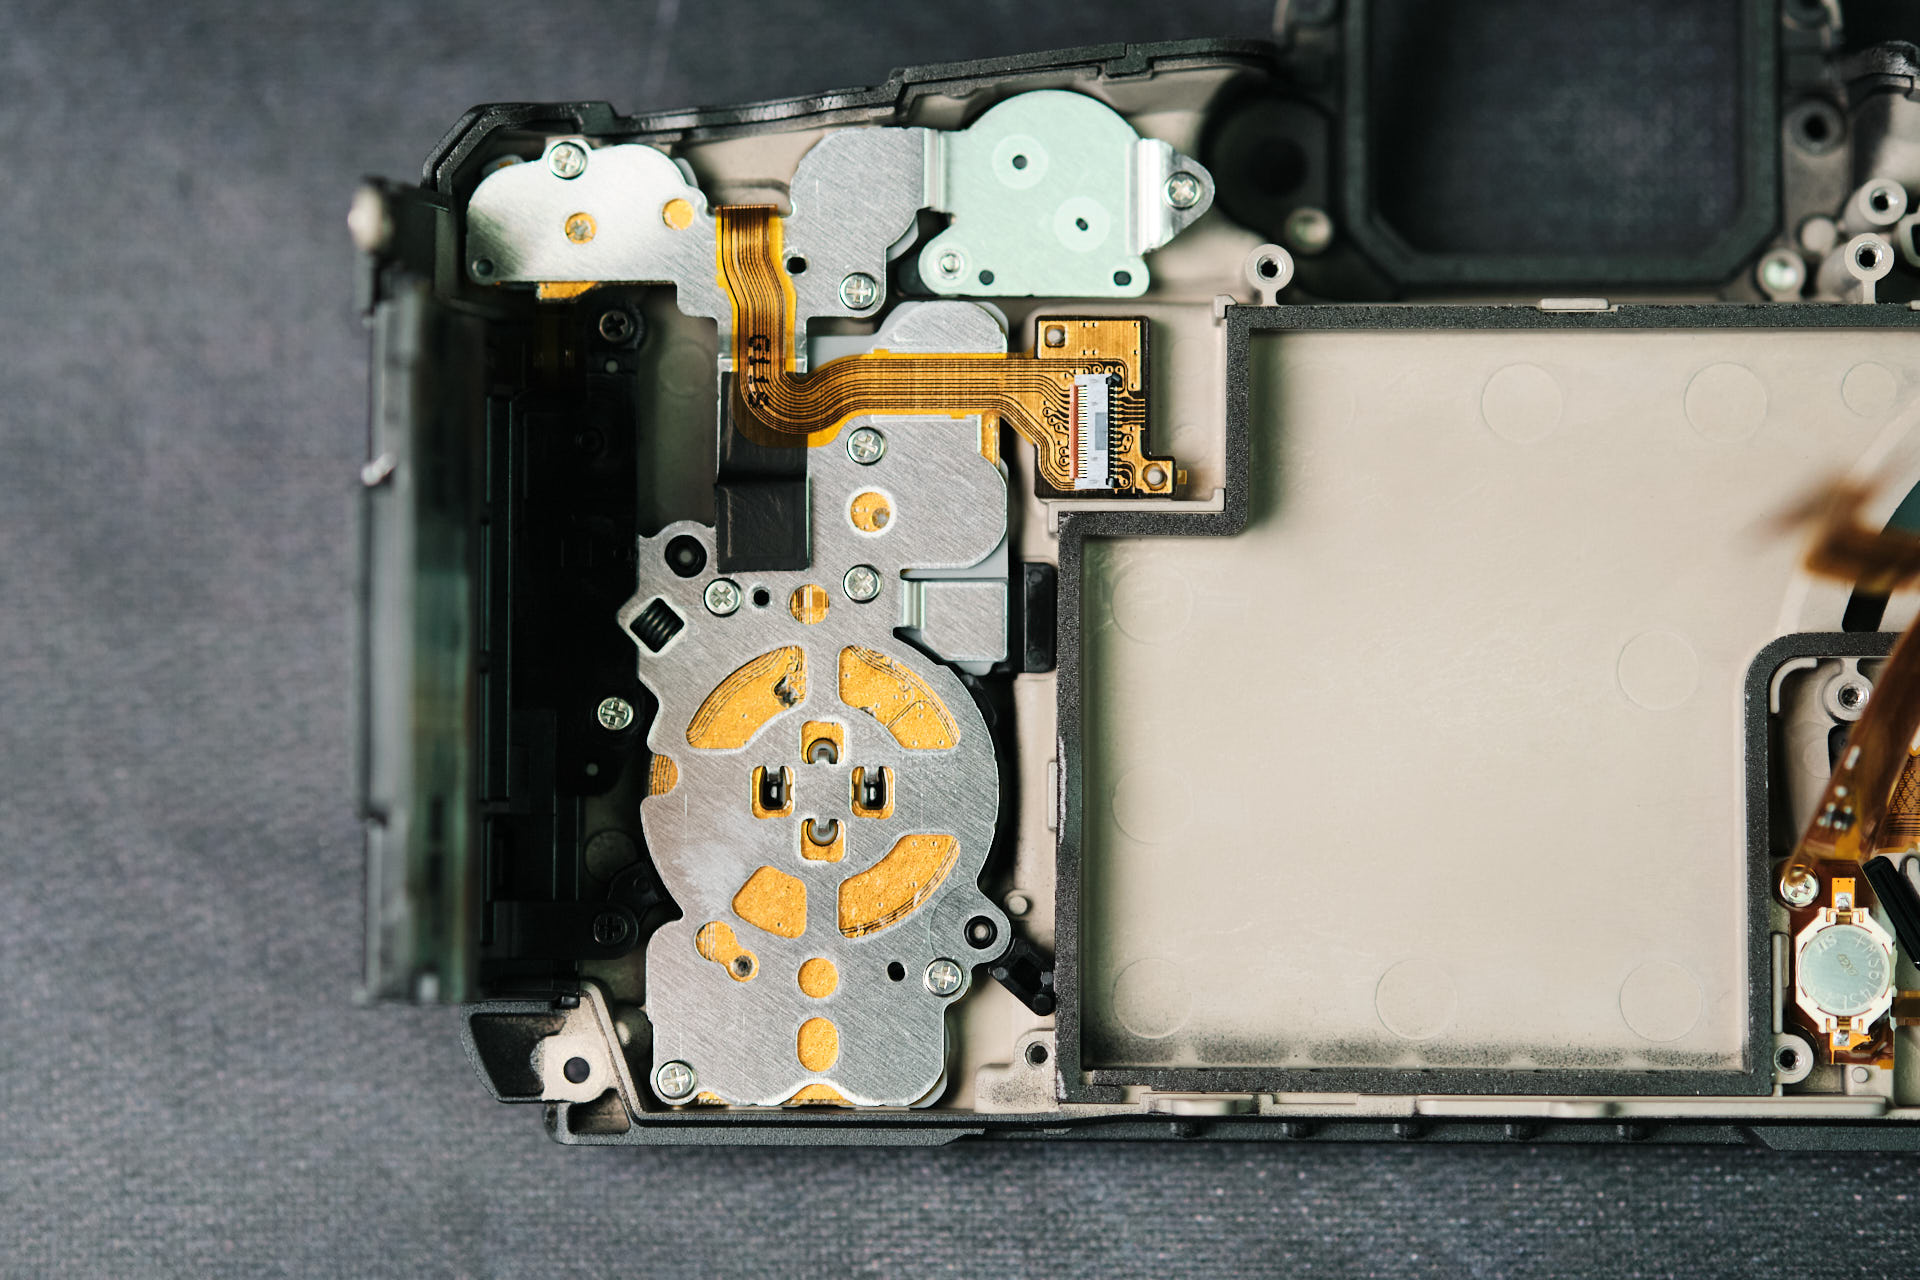
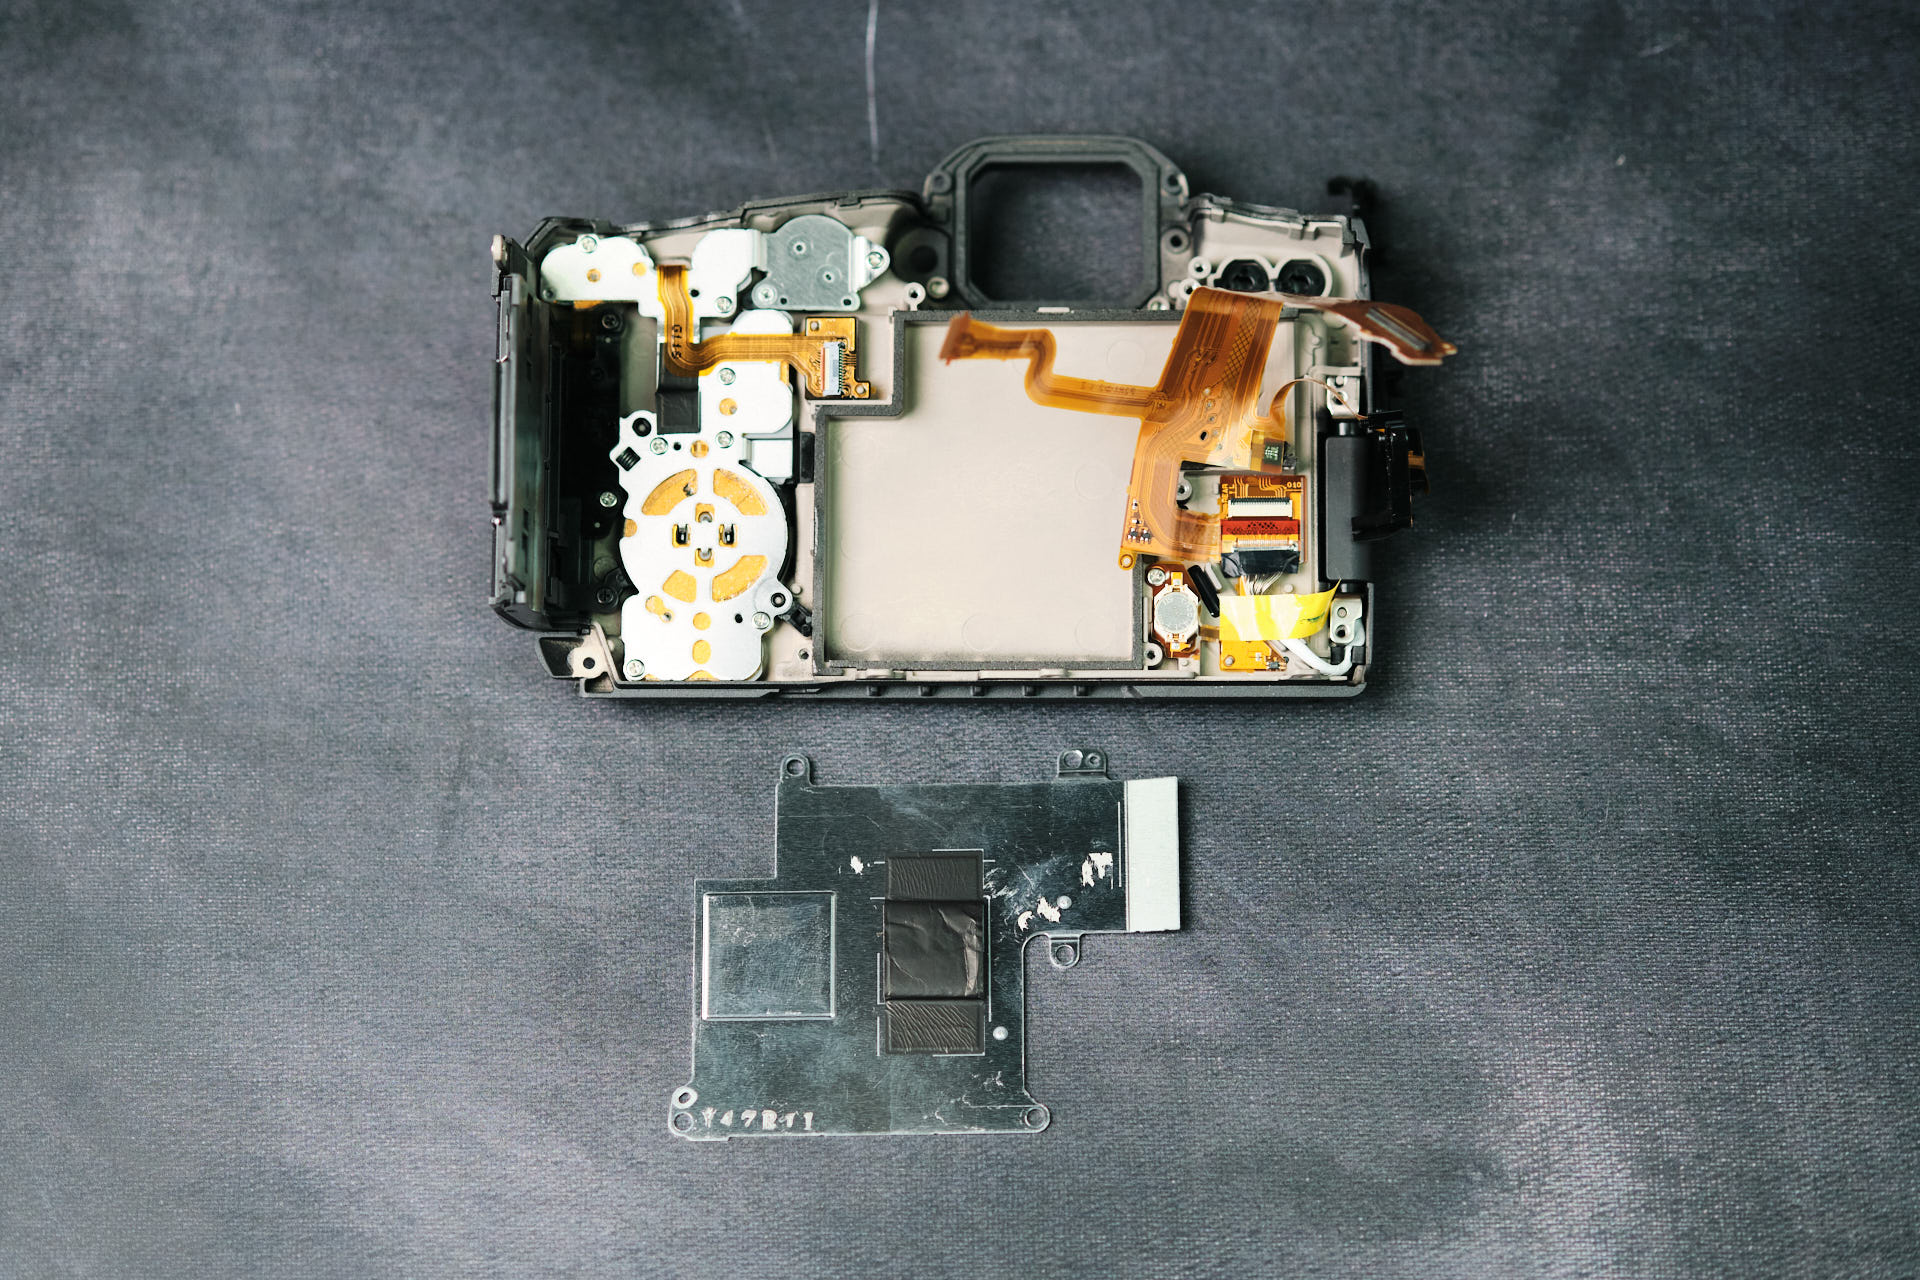
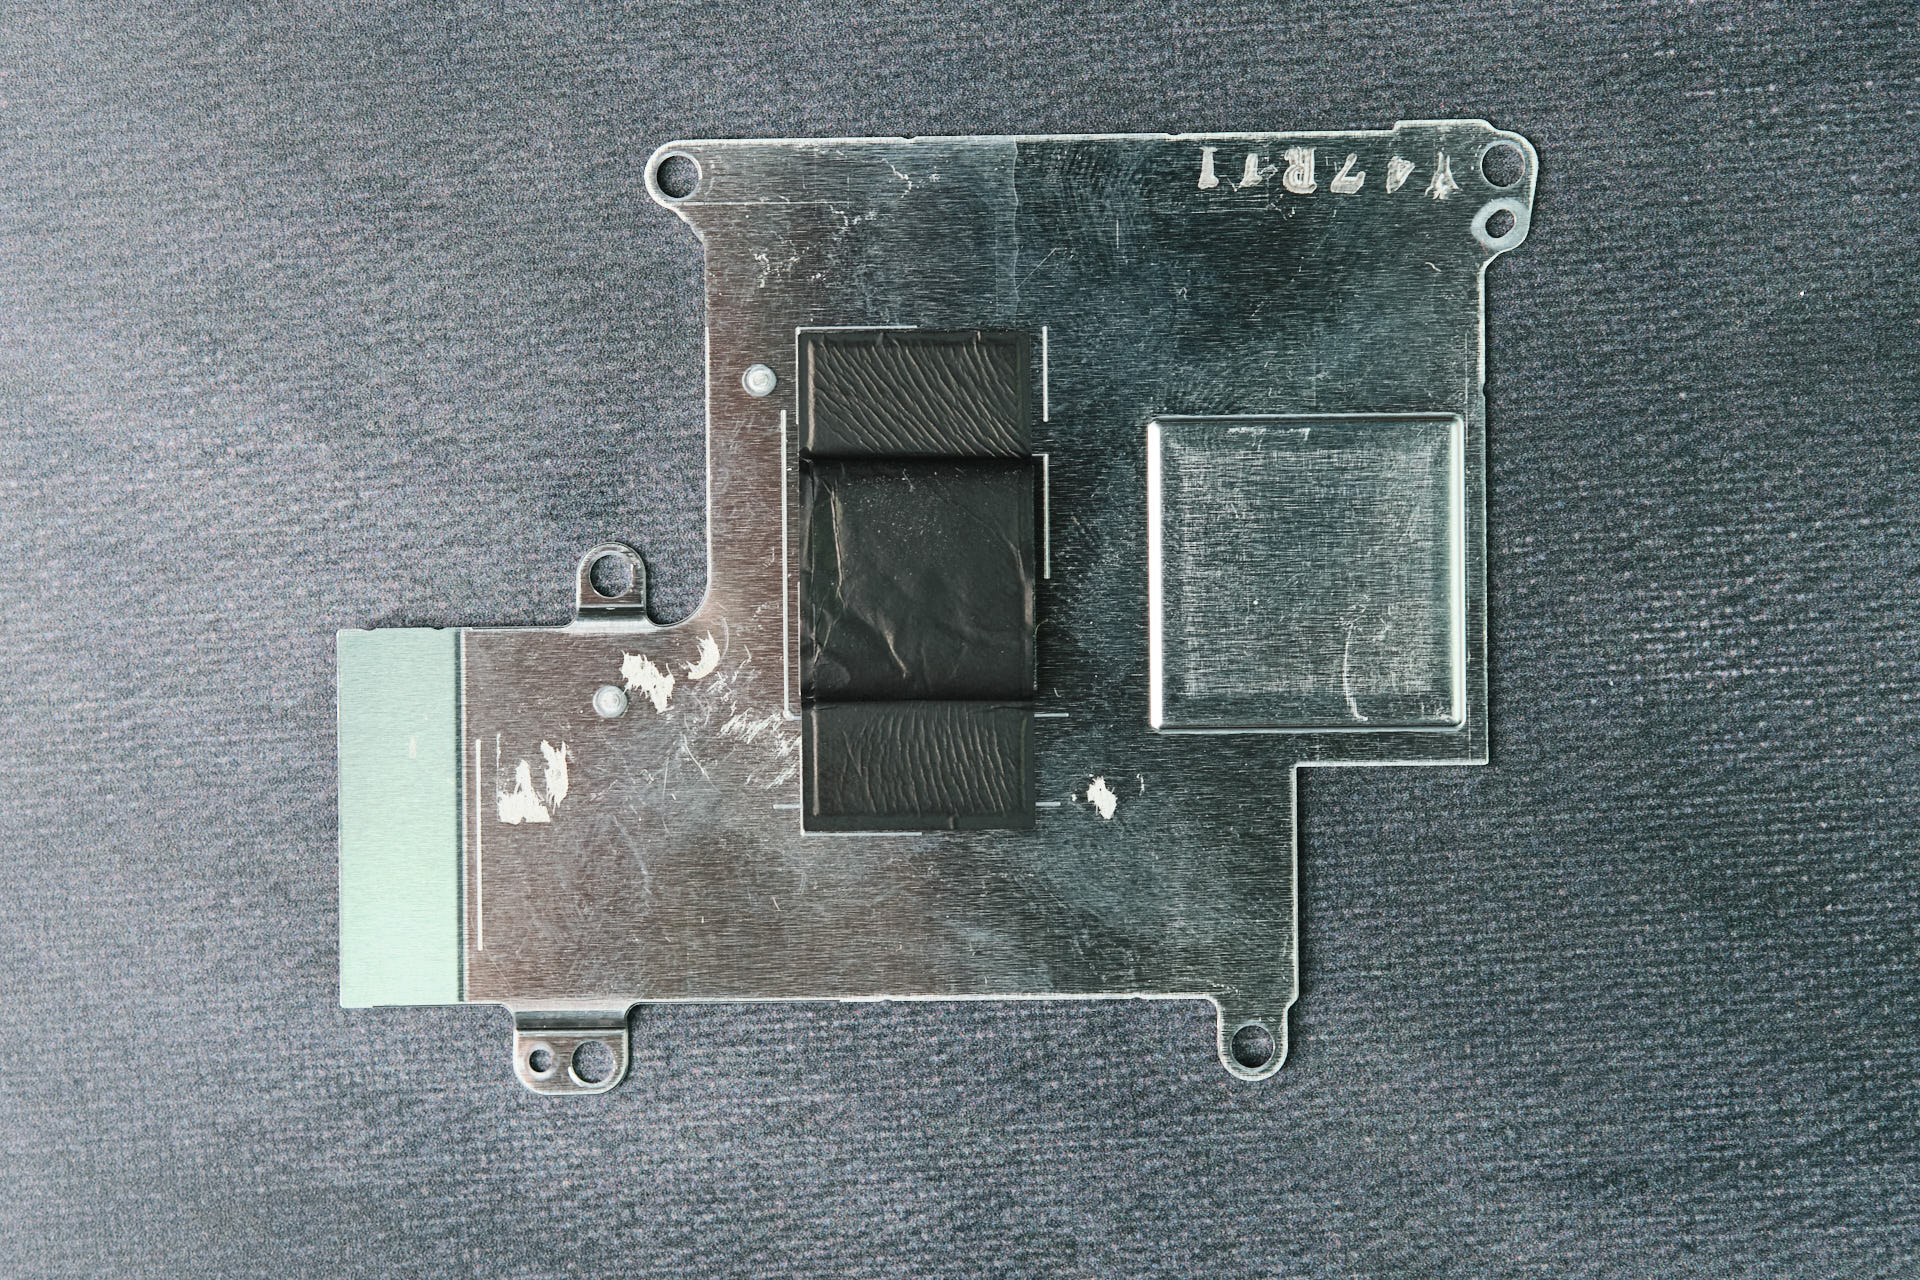
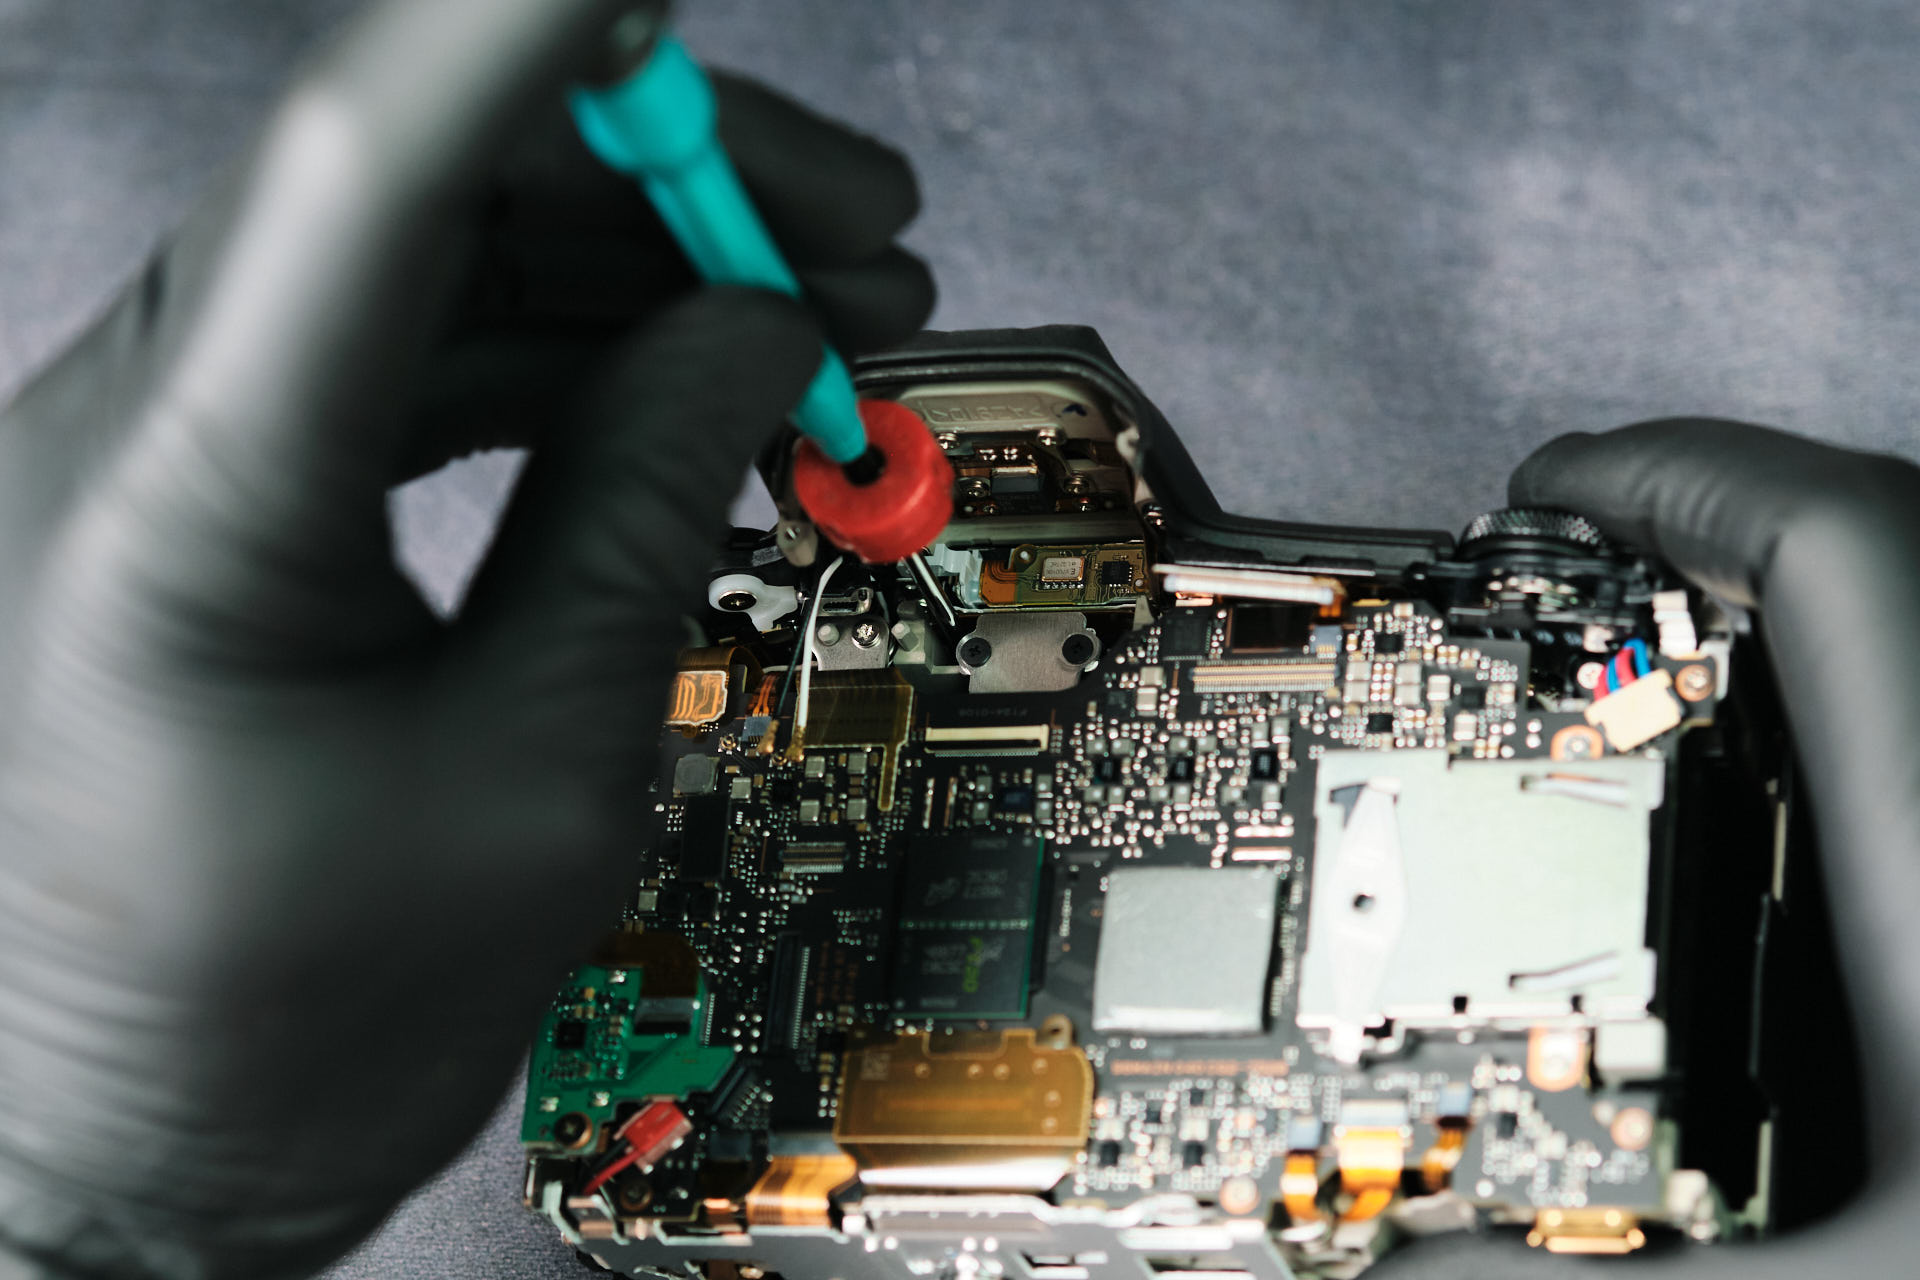
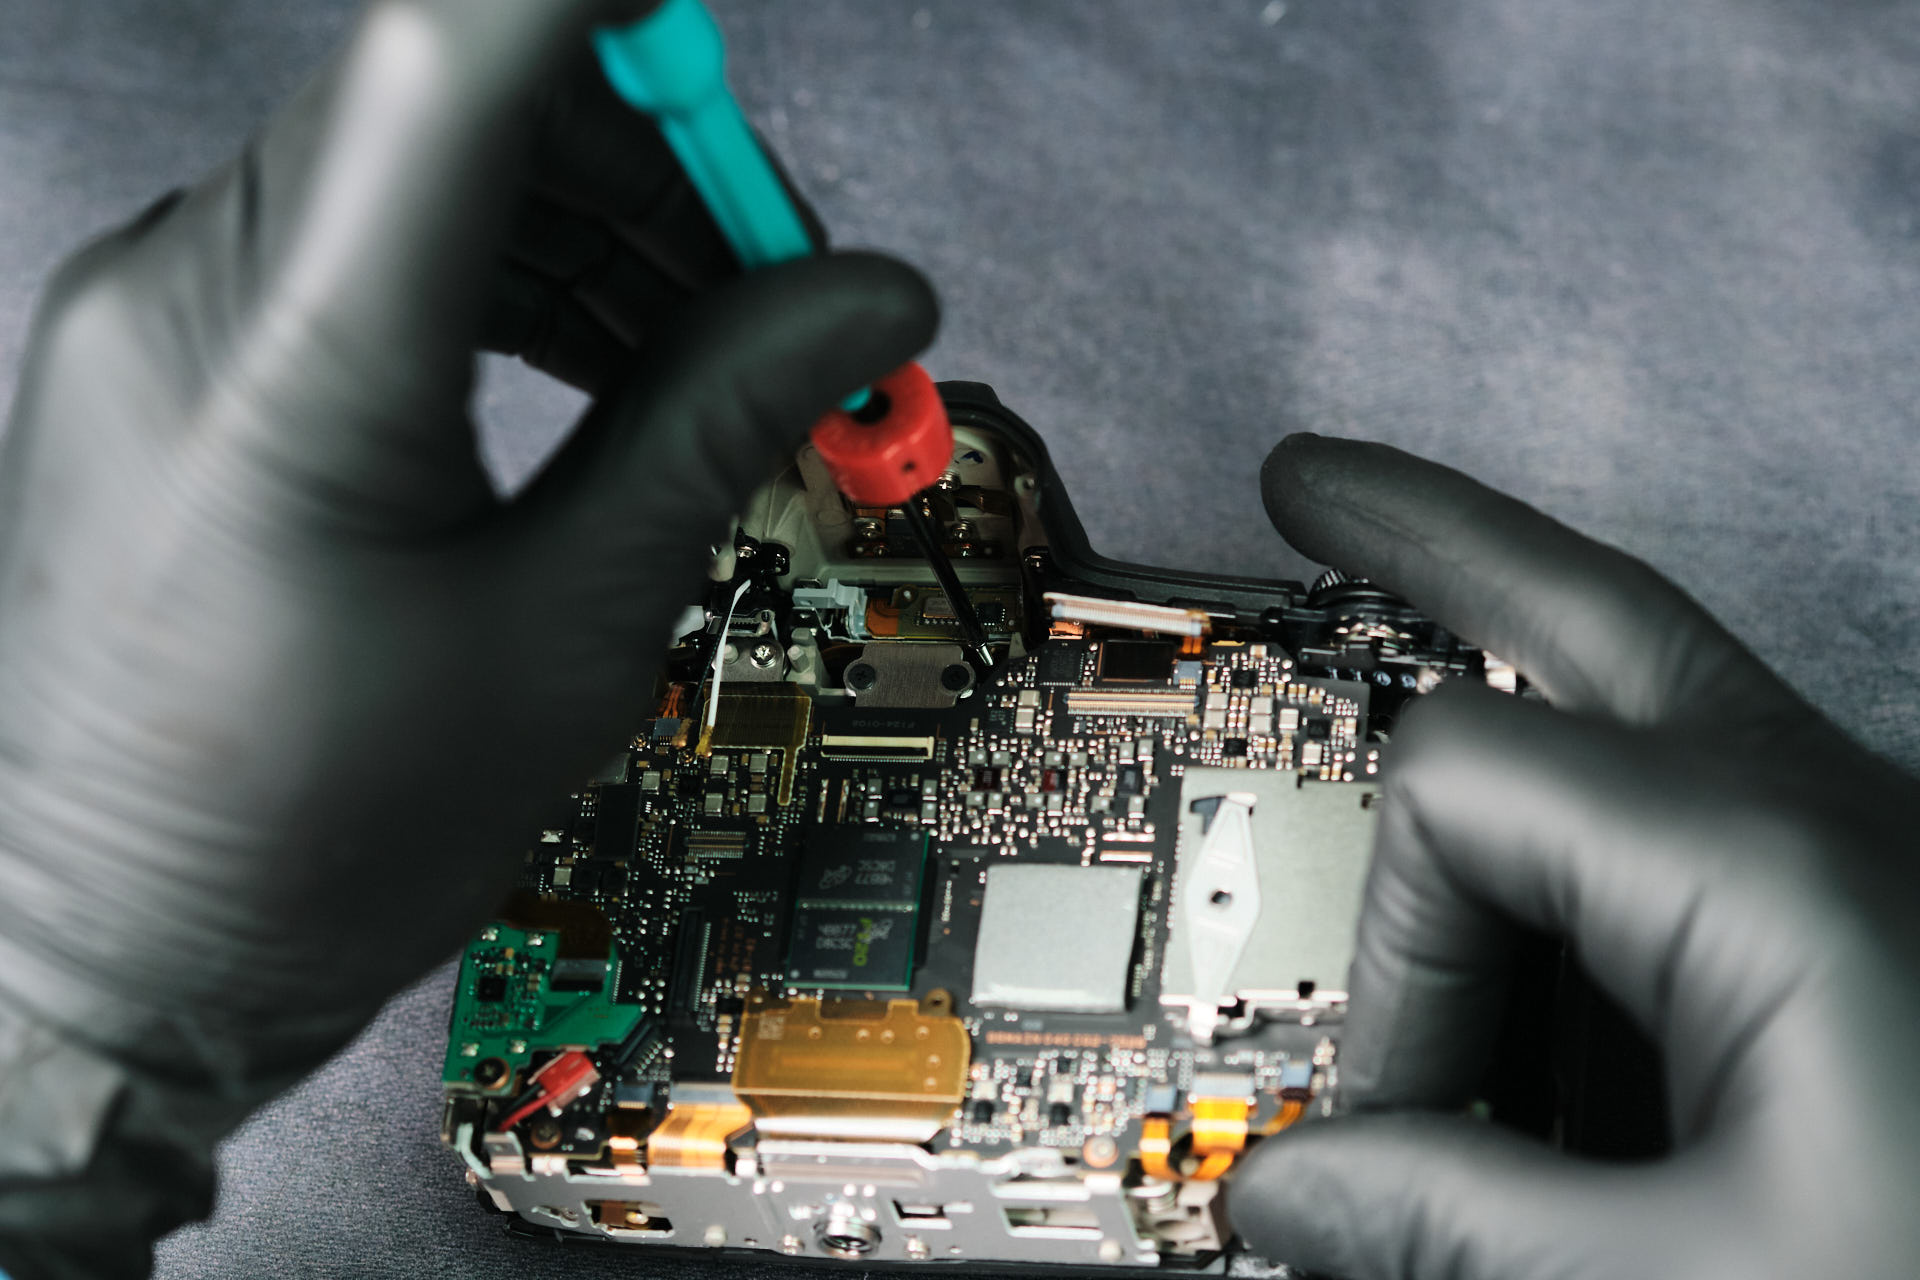
To better understand Canon’s solution to the overheating problem we disassembled the rear panel. We discovered that there was no fan or active cooling system, meaning the R5 Mk II, in its stock camera body without any attachments, only has passive cooling via vents, thermal pad, and heatsink.Â
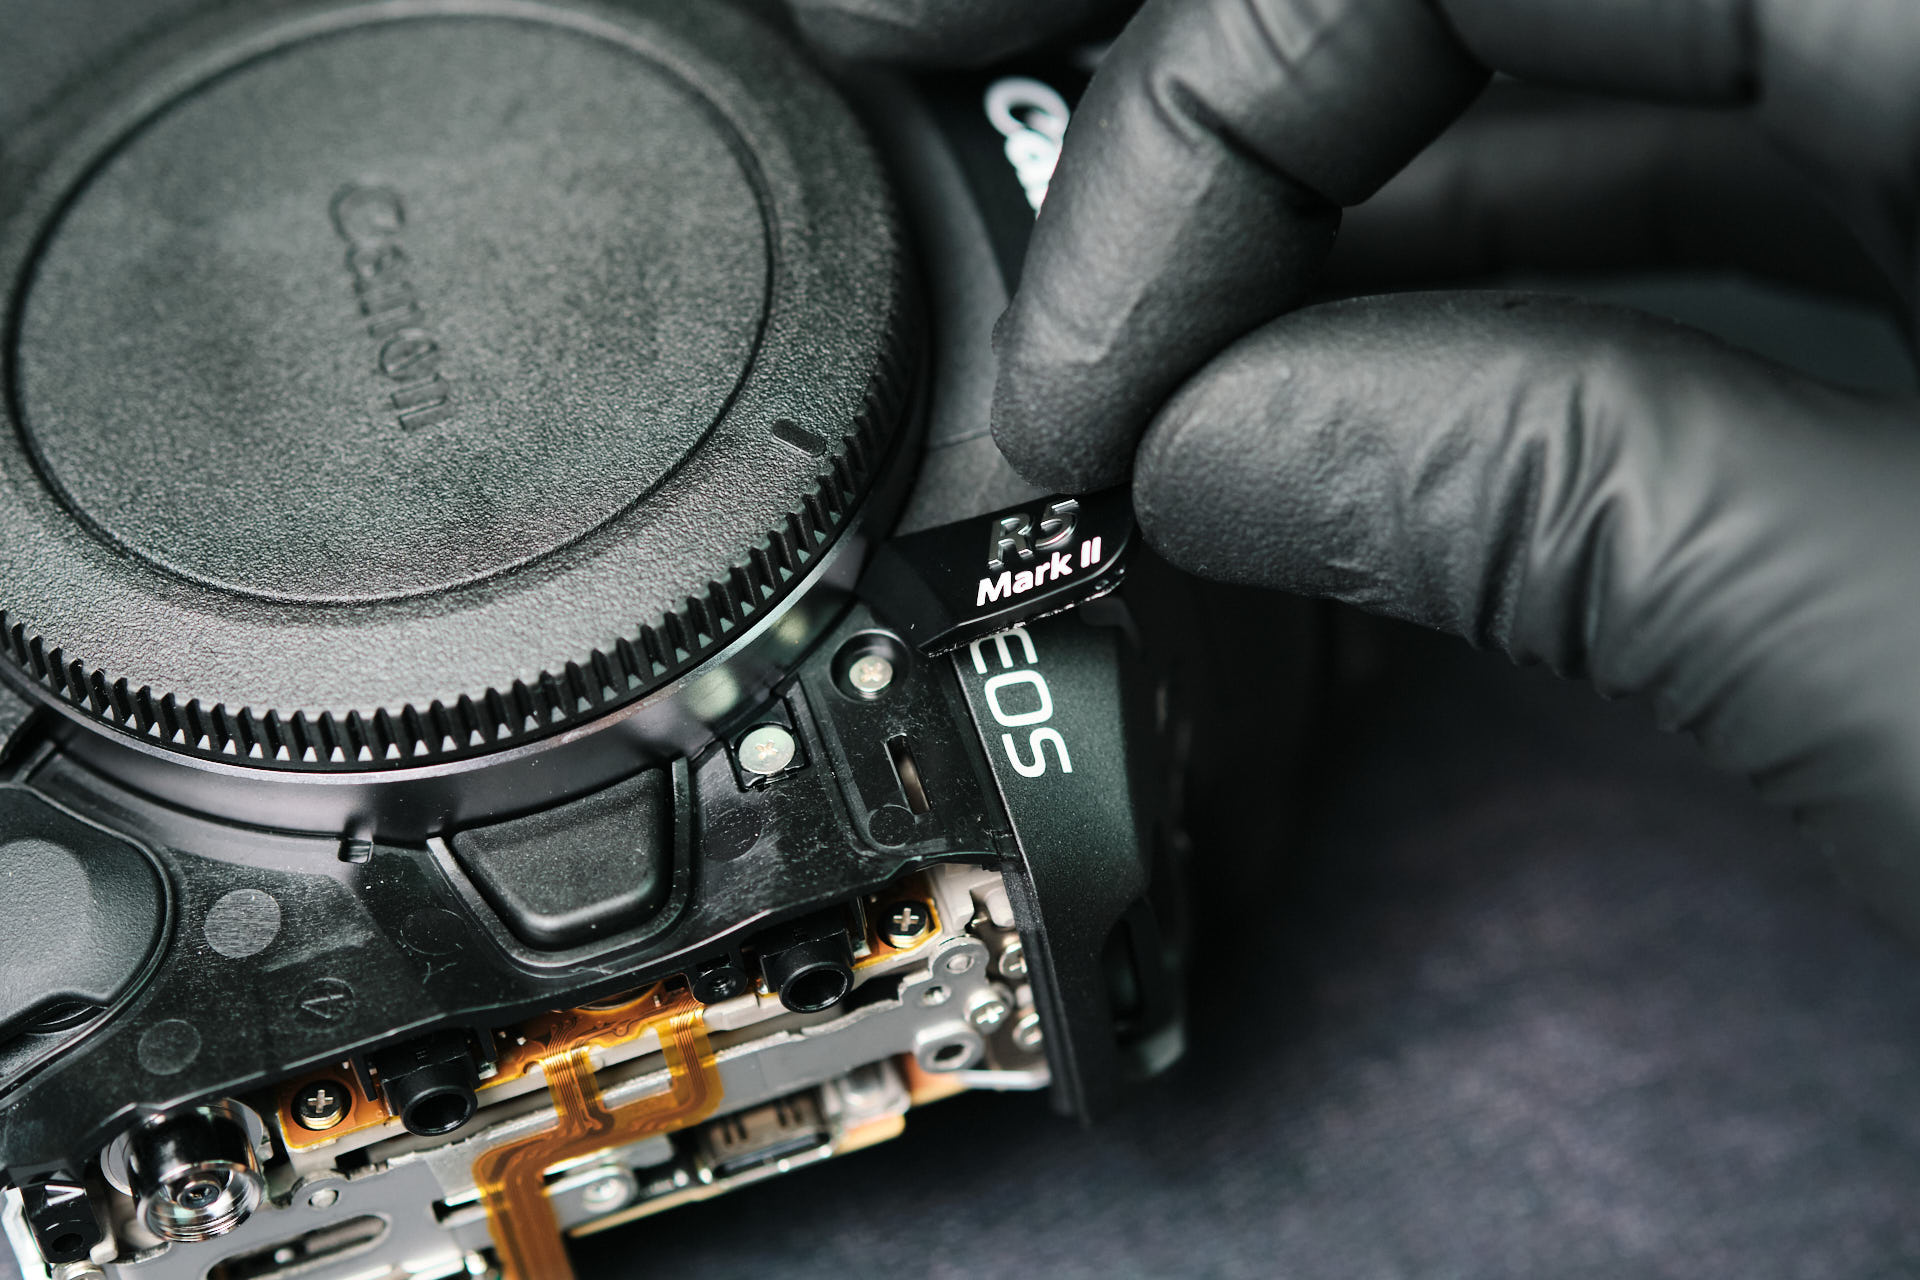
One screw was hidden under the R5 Mk II logo.
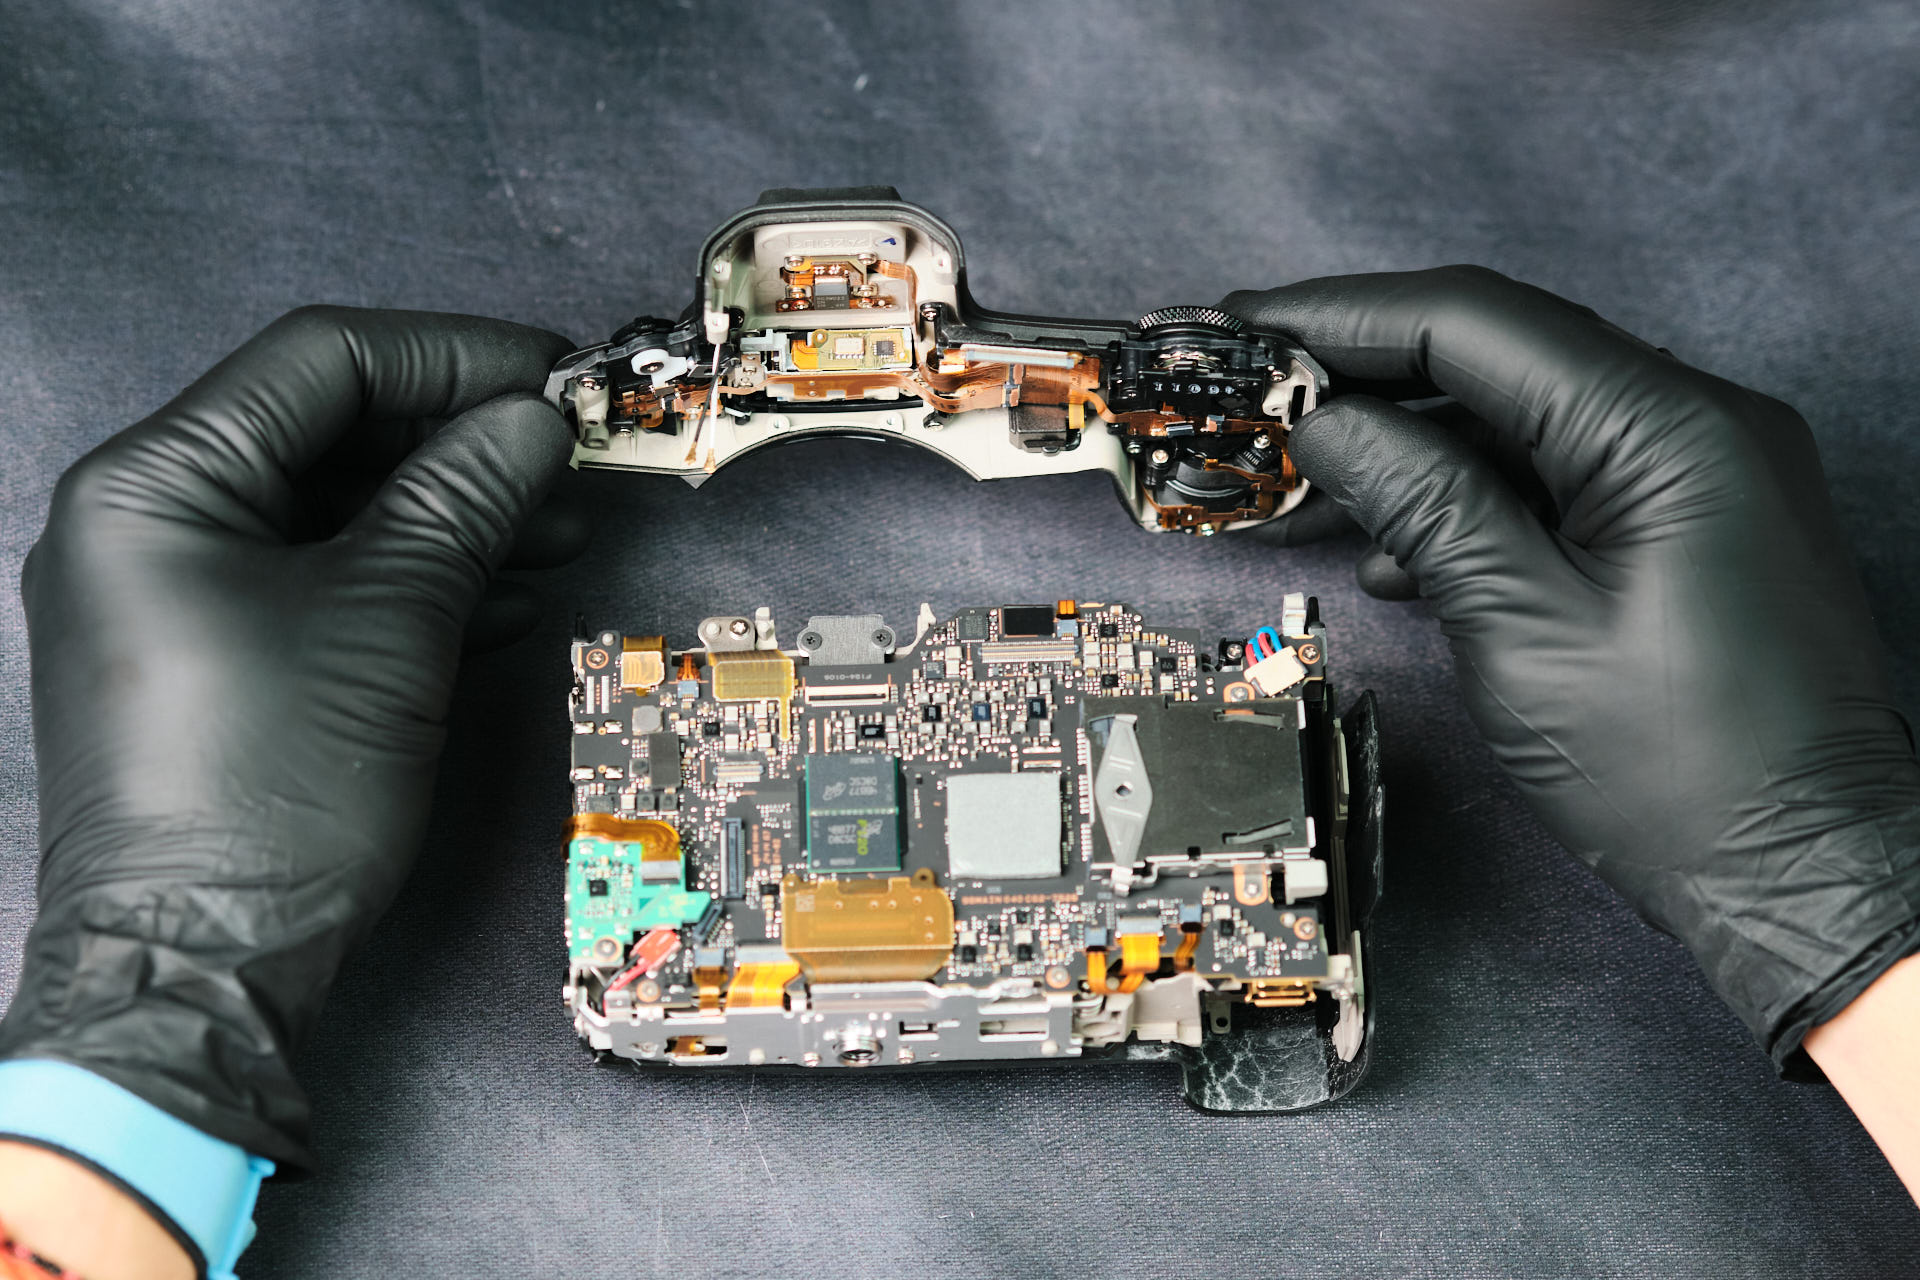
Three ribbon cables and two screws were extracted allowing us to disconnect the top panel.
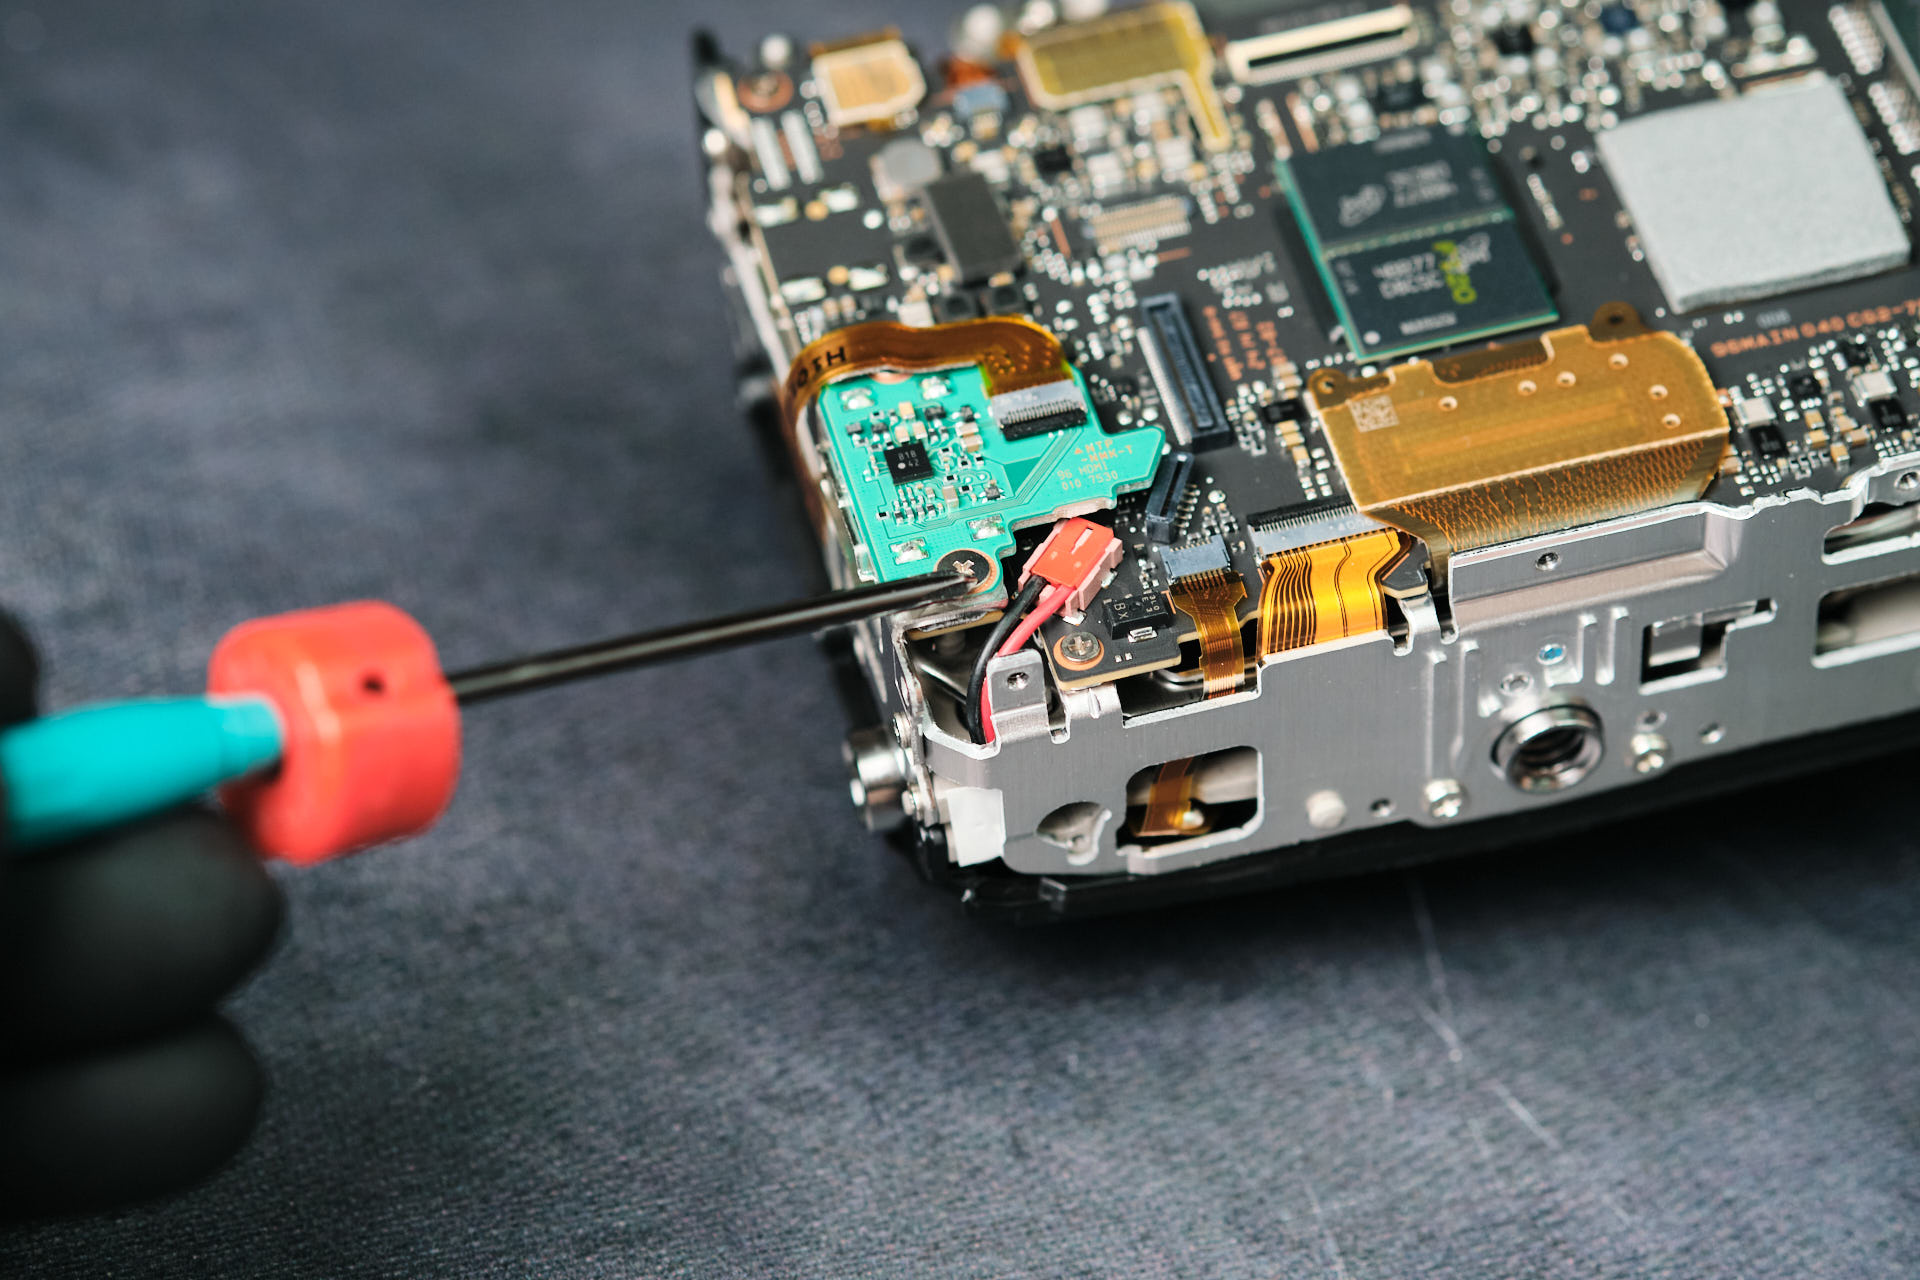
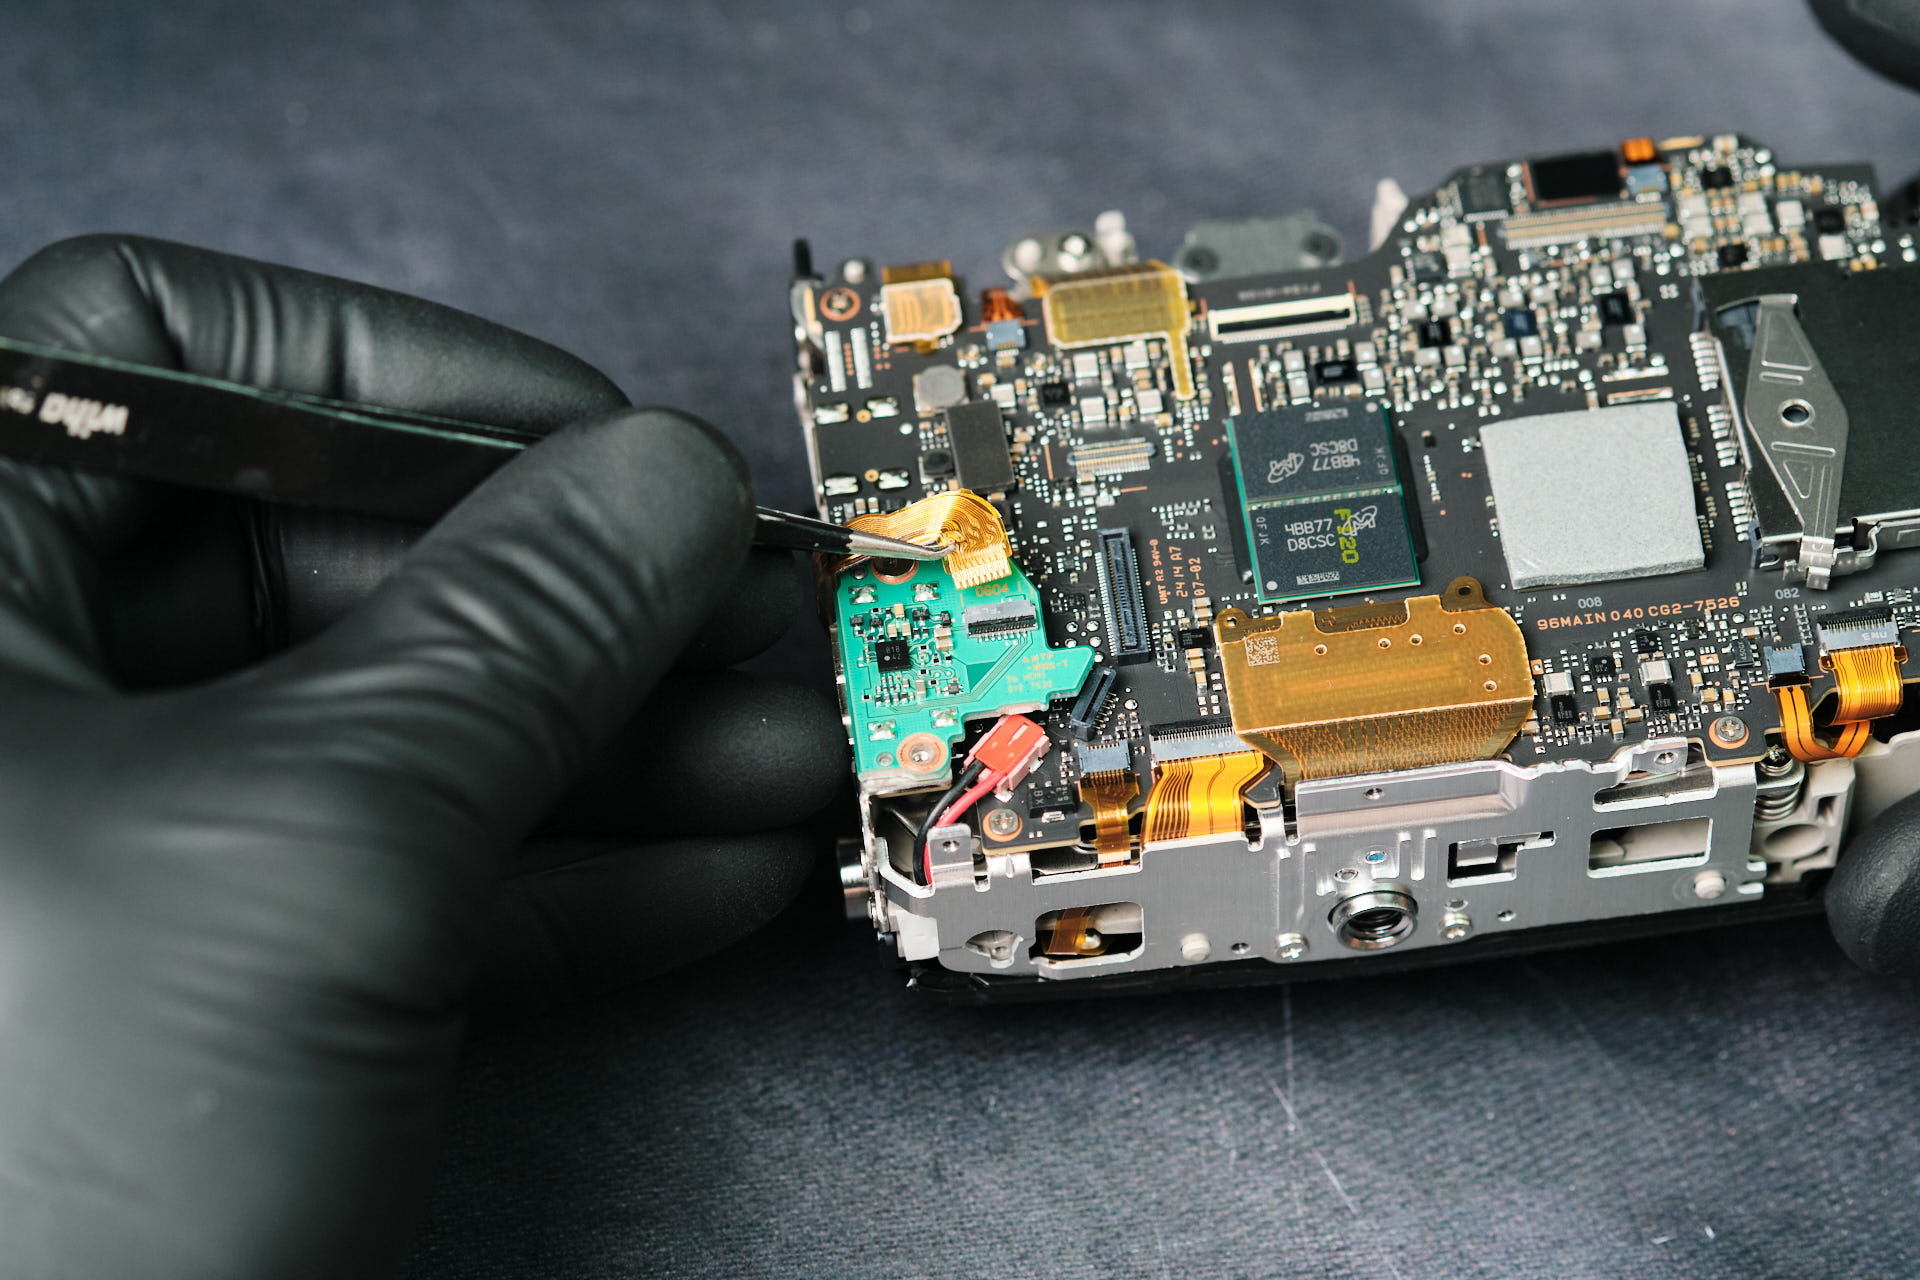
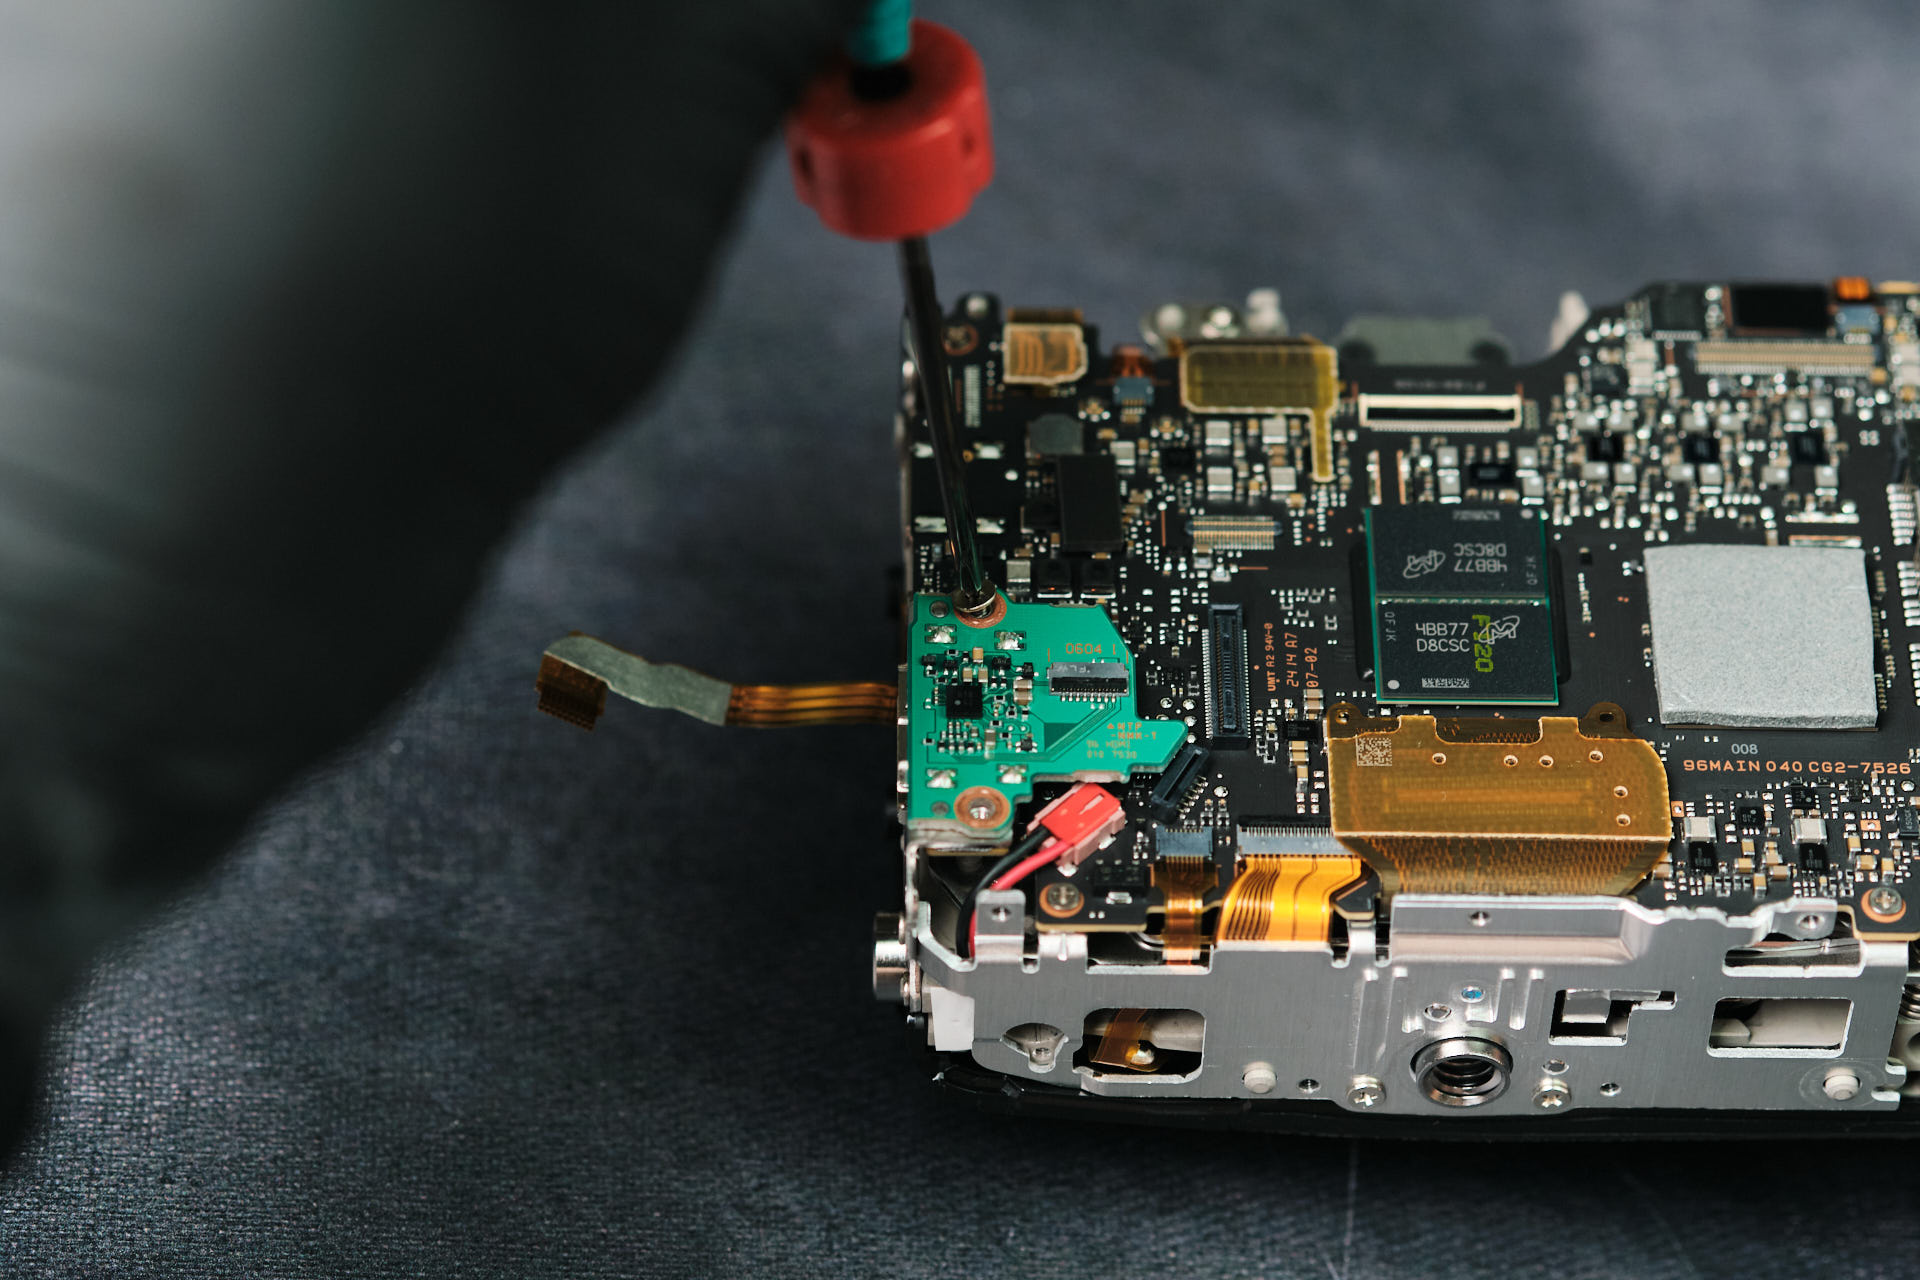
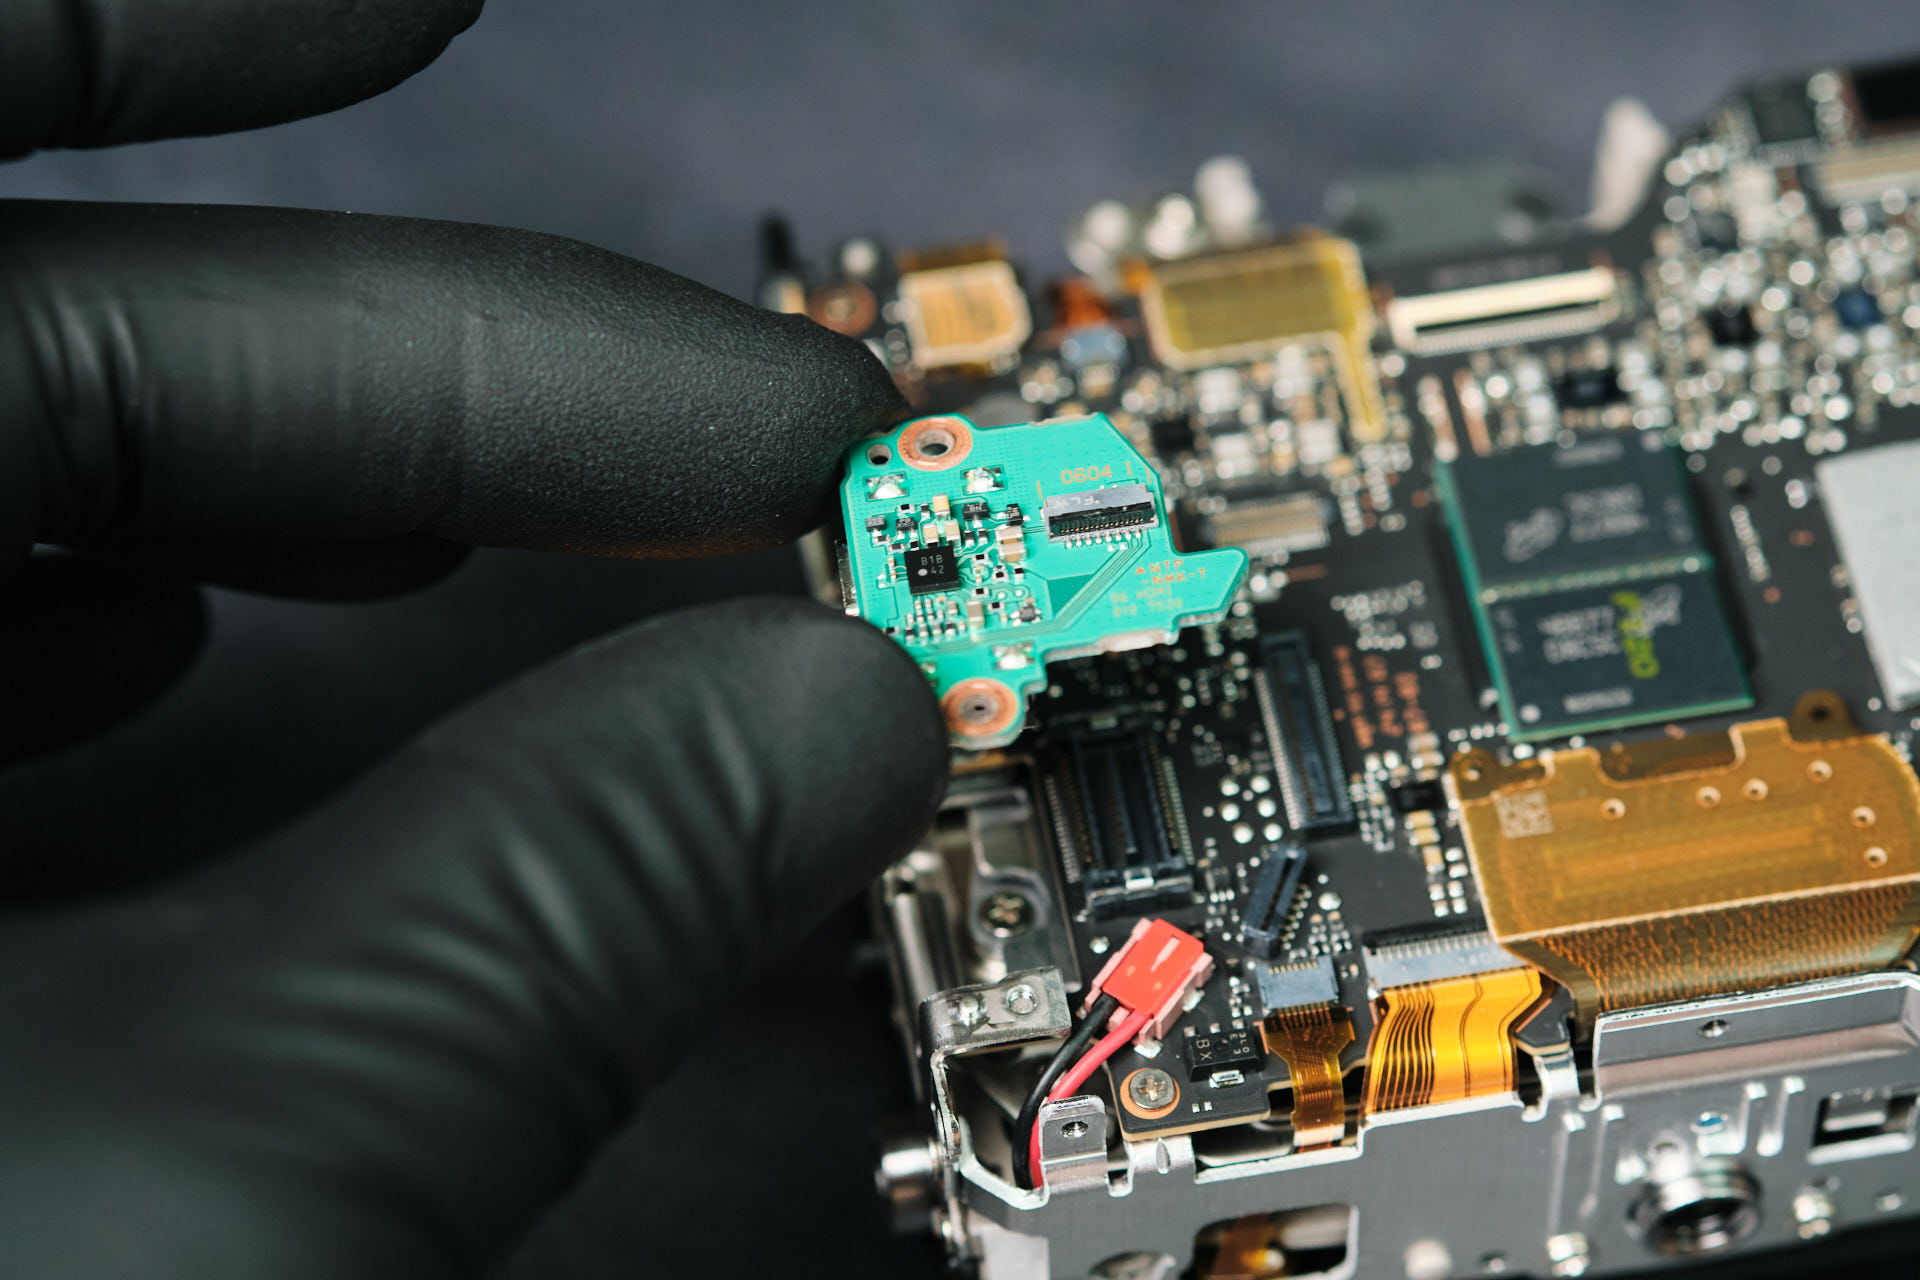
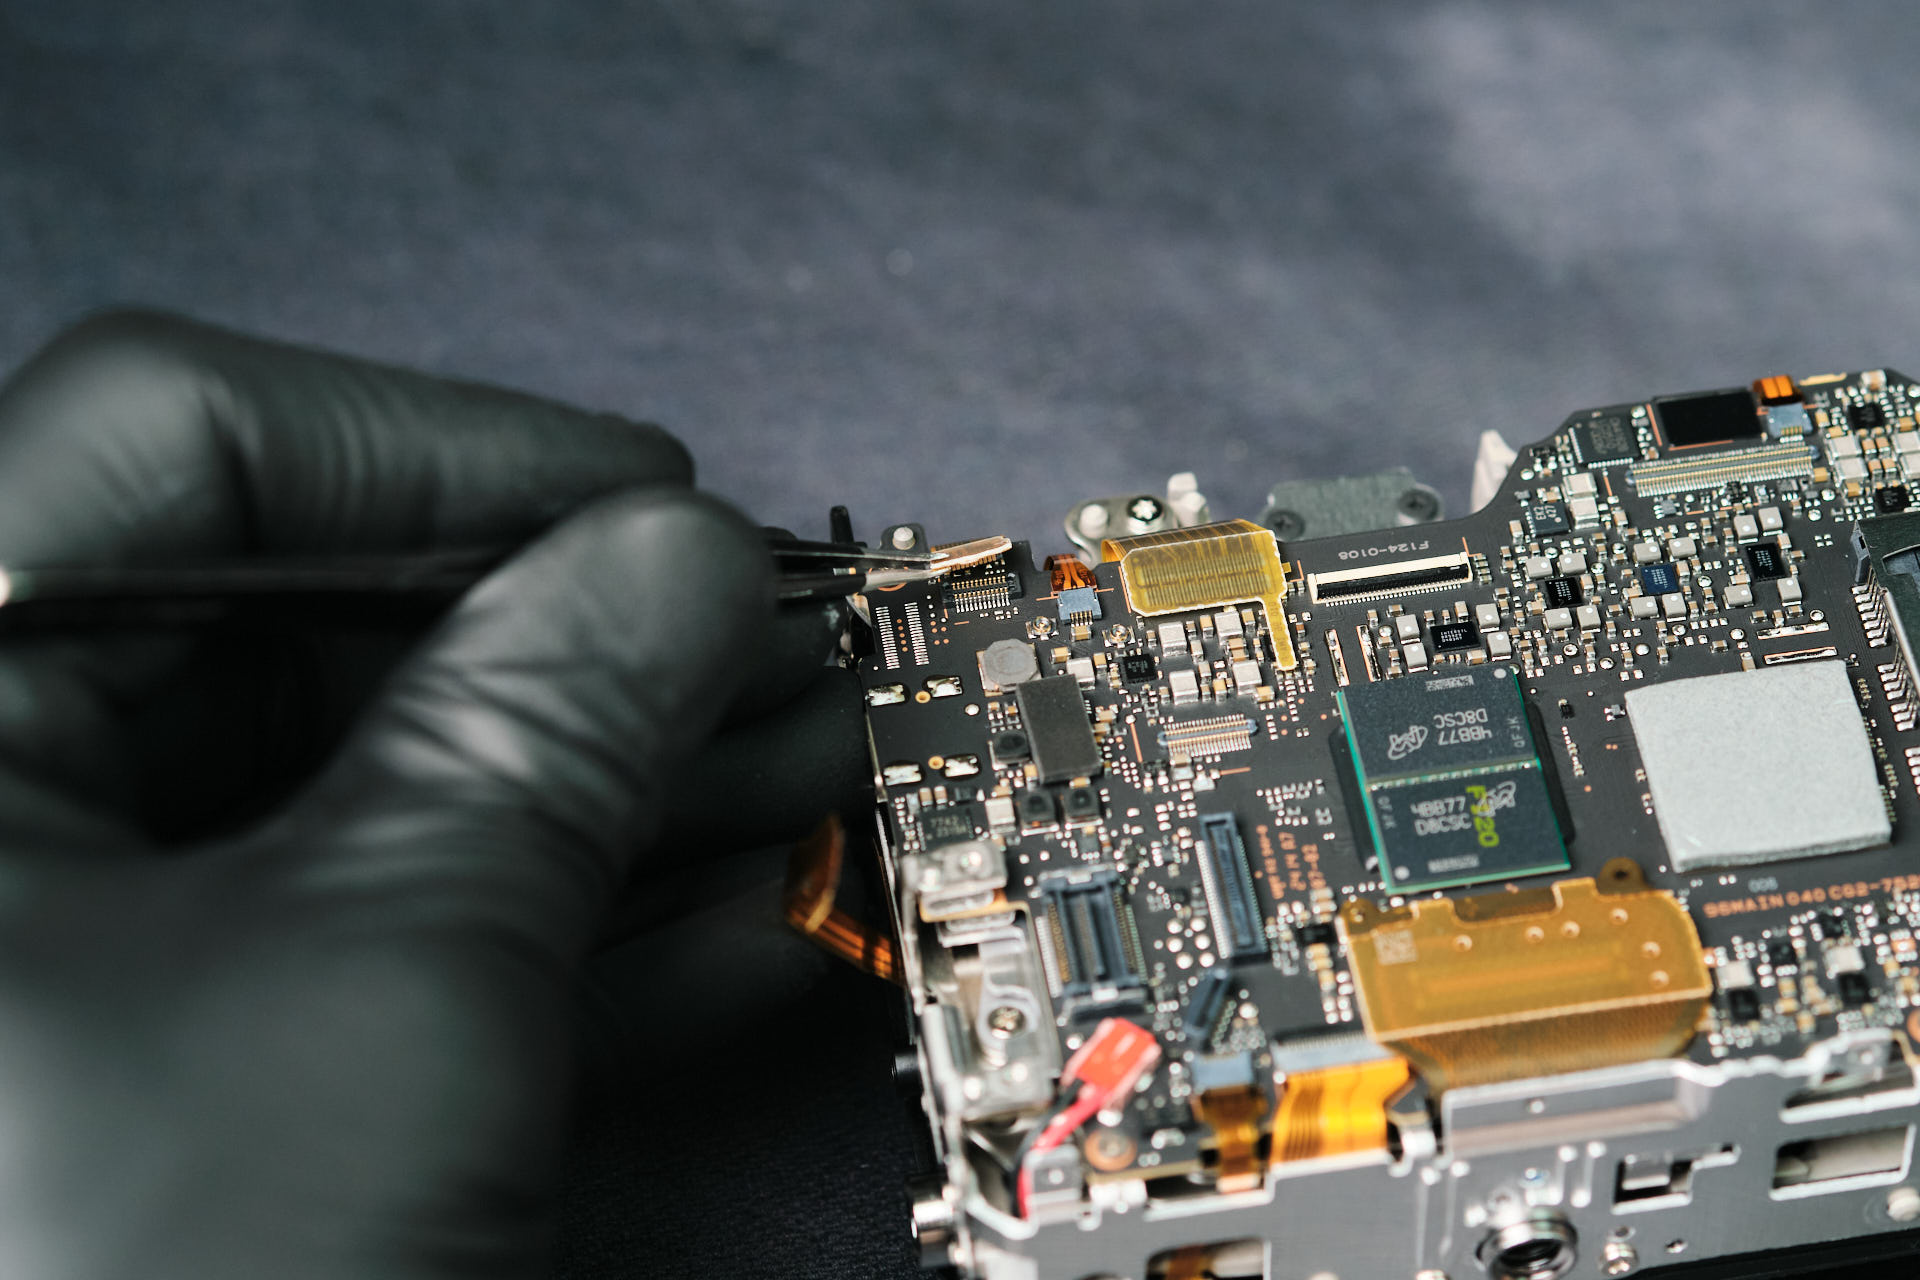
Removing the HDMI Board
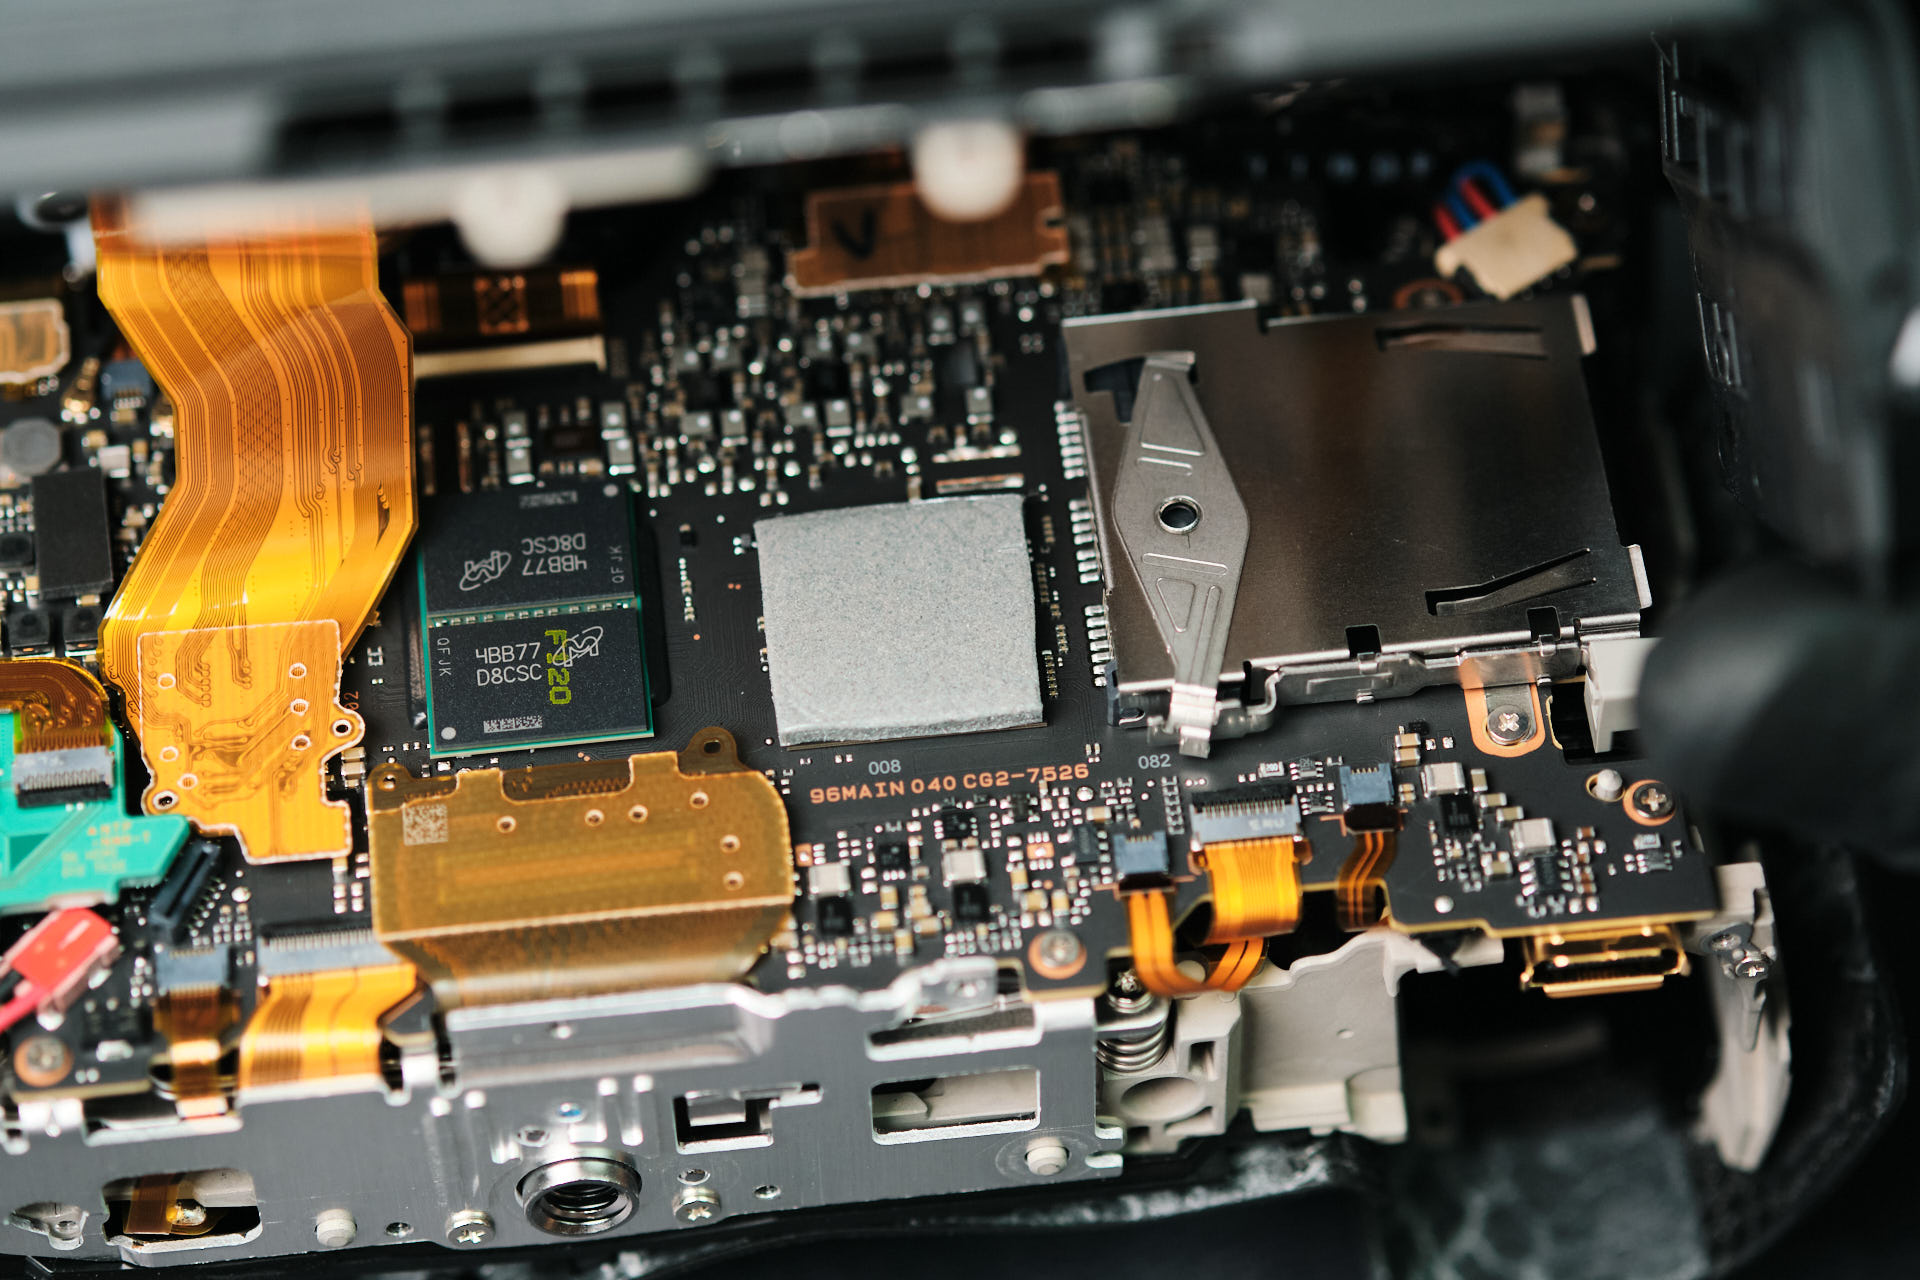
Two screws and one ribbon cable held down the HDMI board. Unlike previous Canon cameras, the HDMI is not built in to the circuitboard making it easier to service.
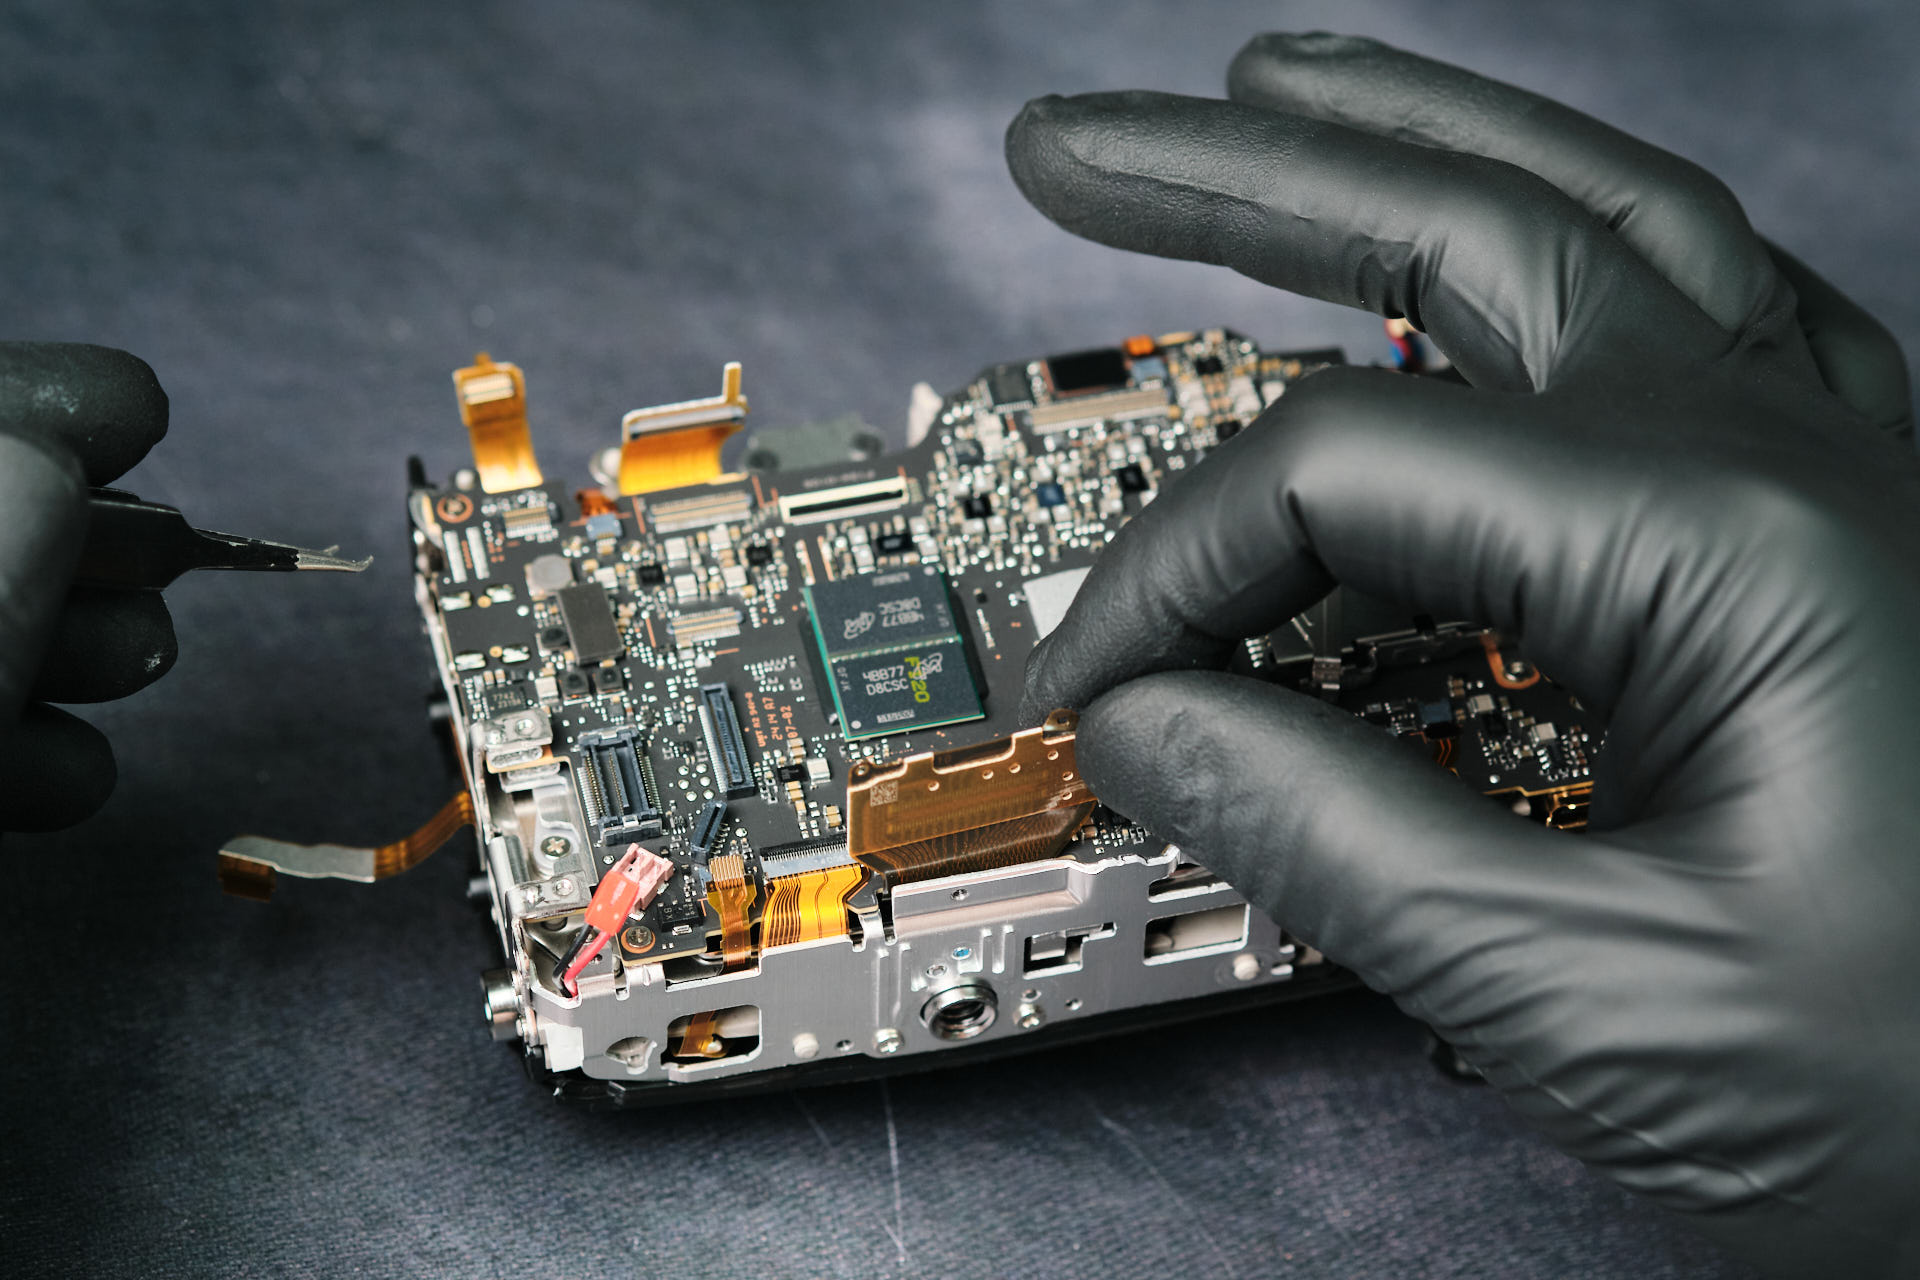
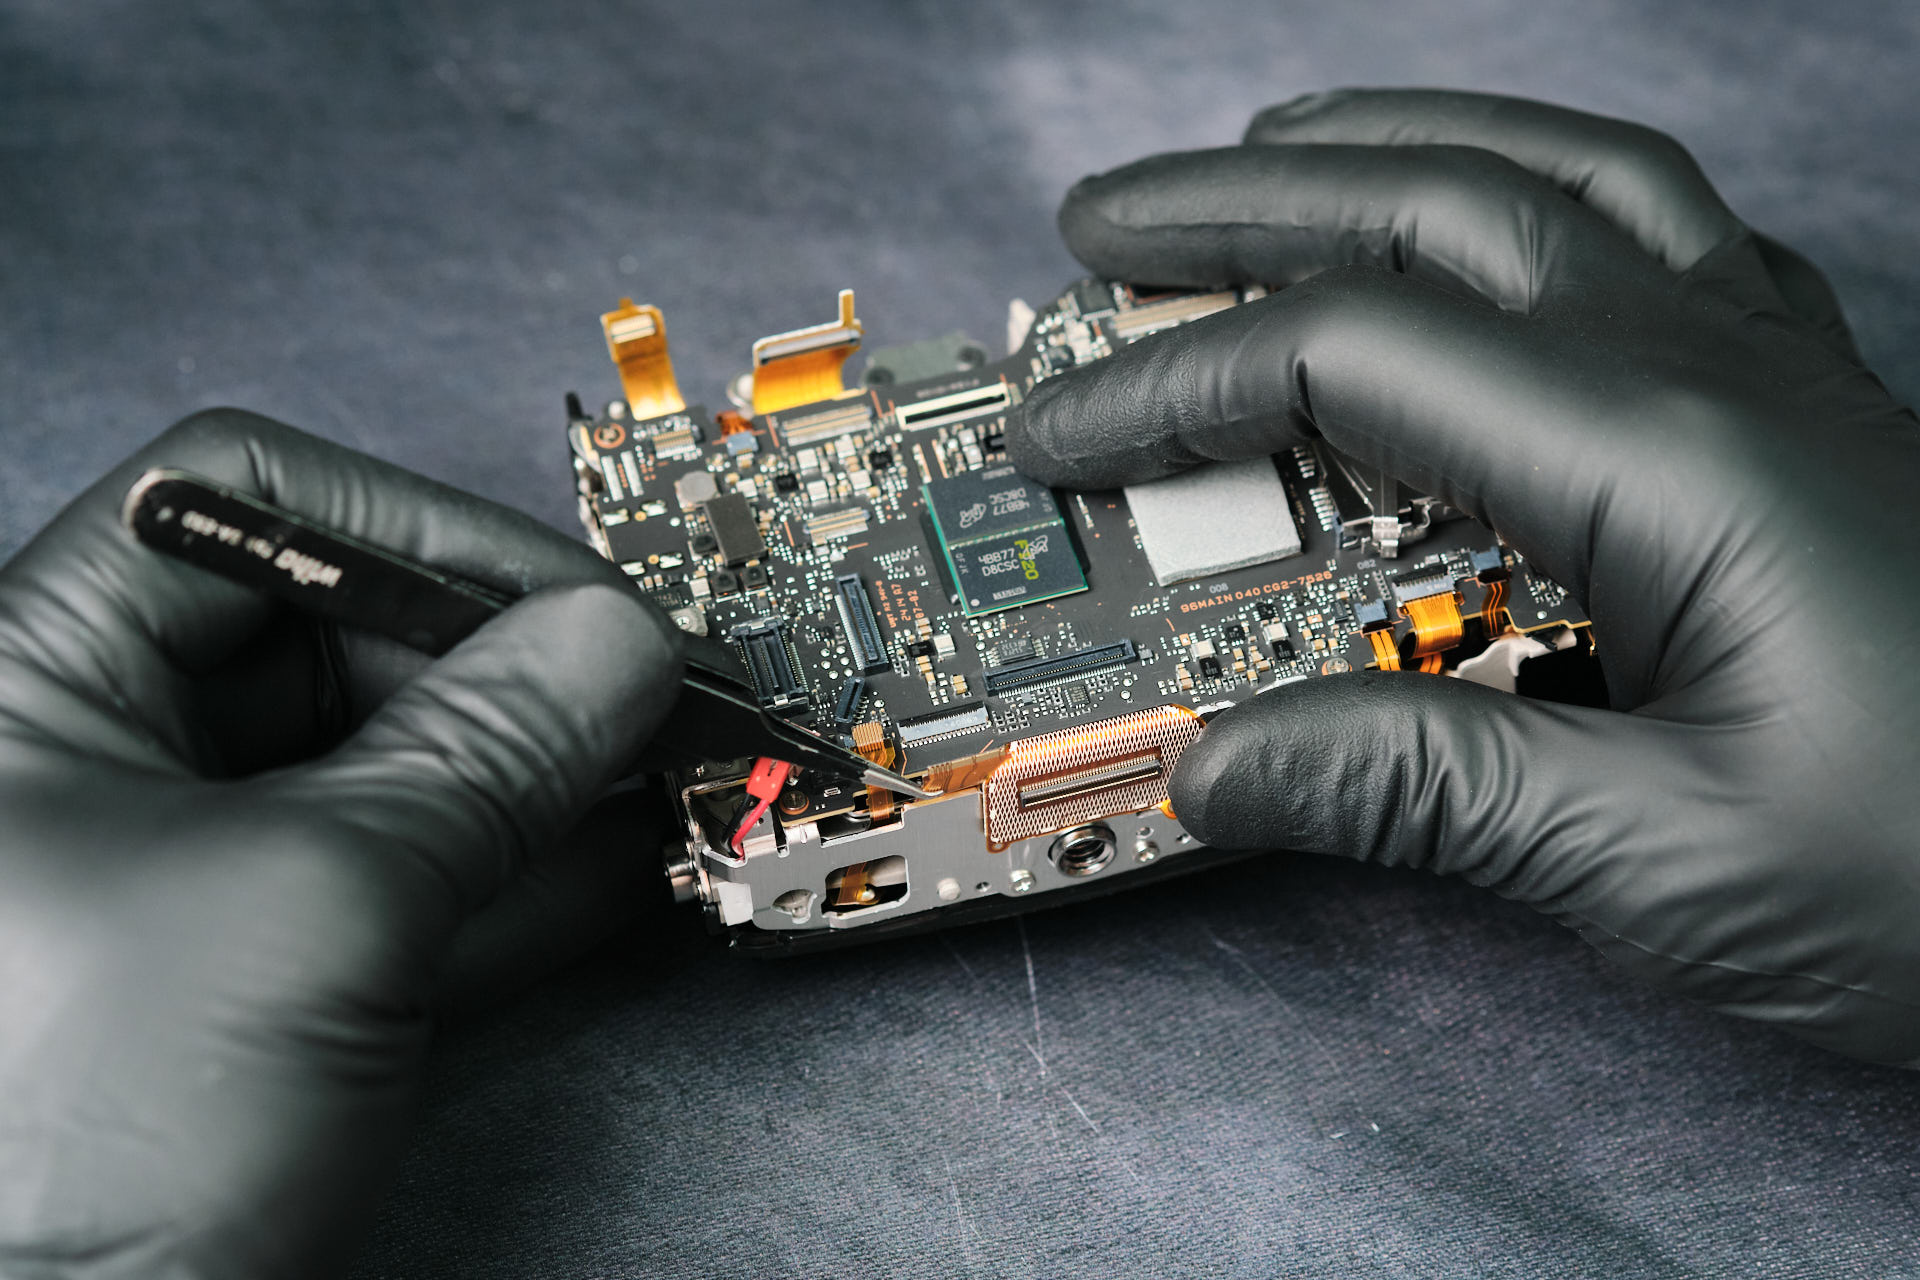
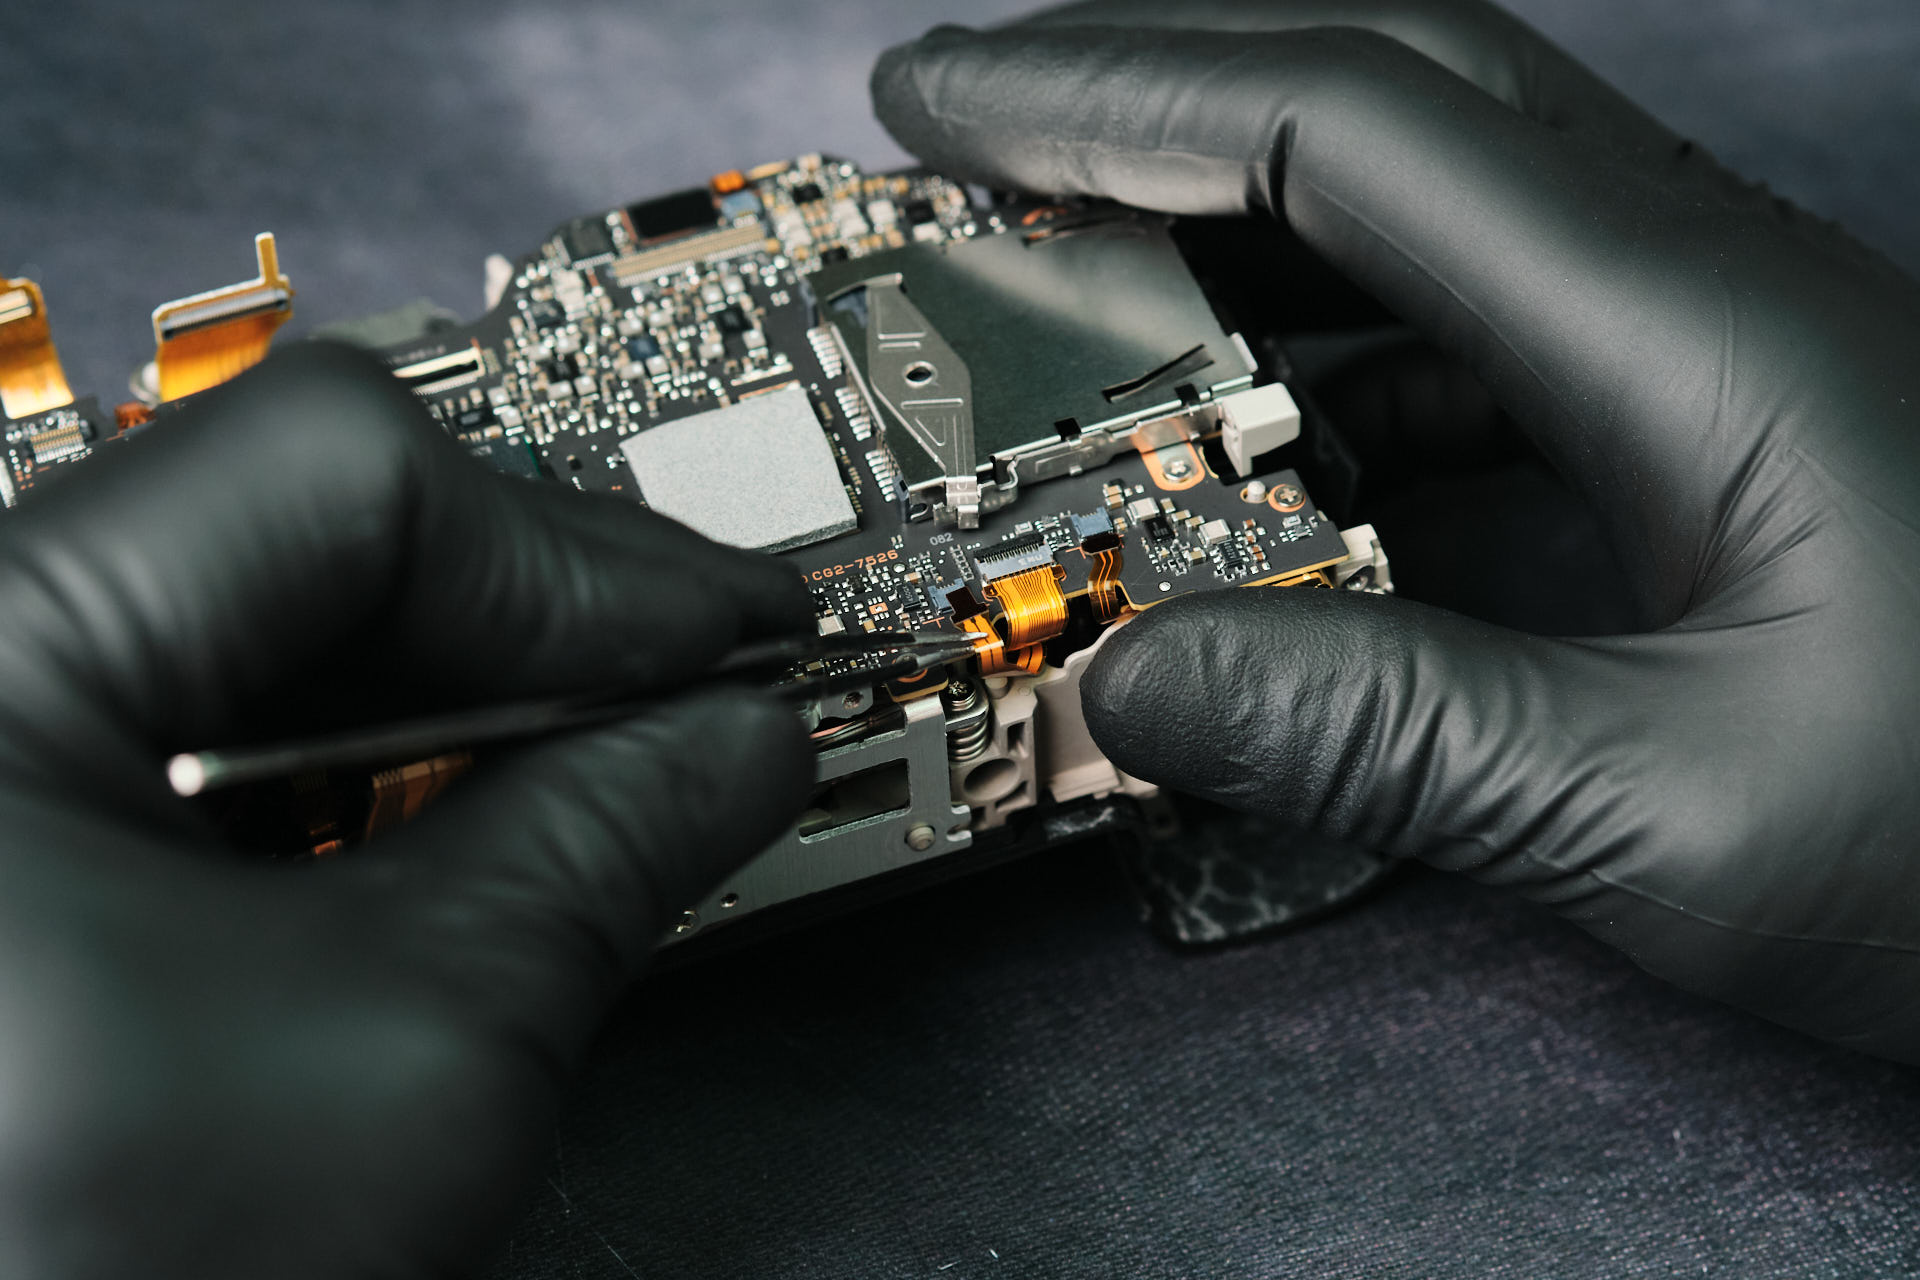
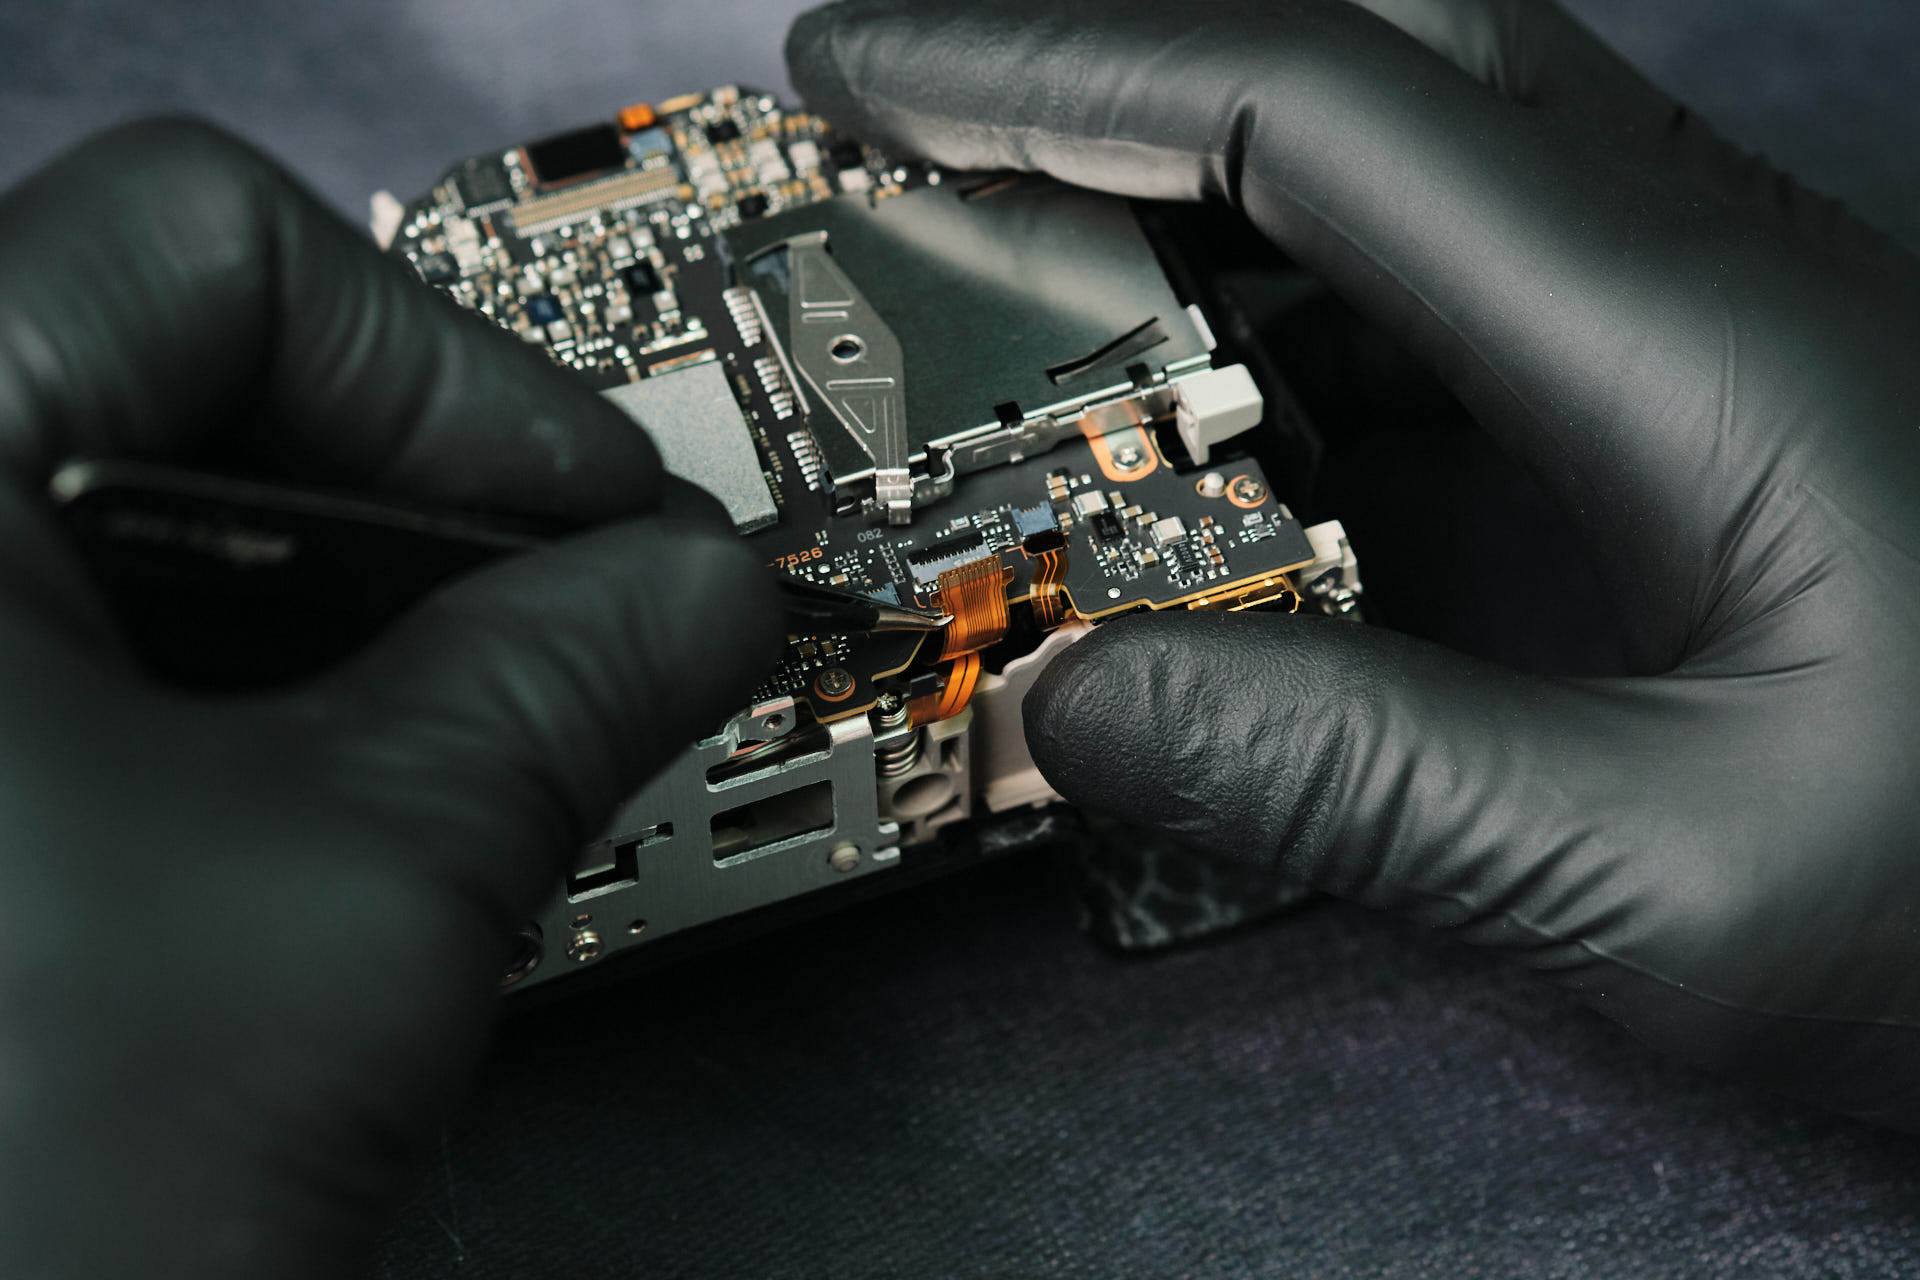
Disconnecting the Canon R5 Mark II Circuit Board
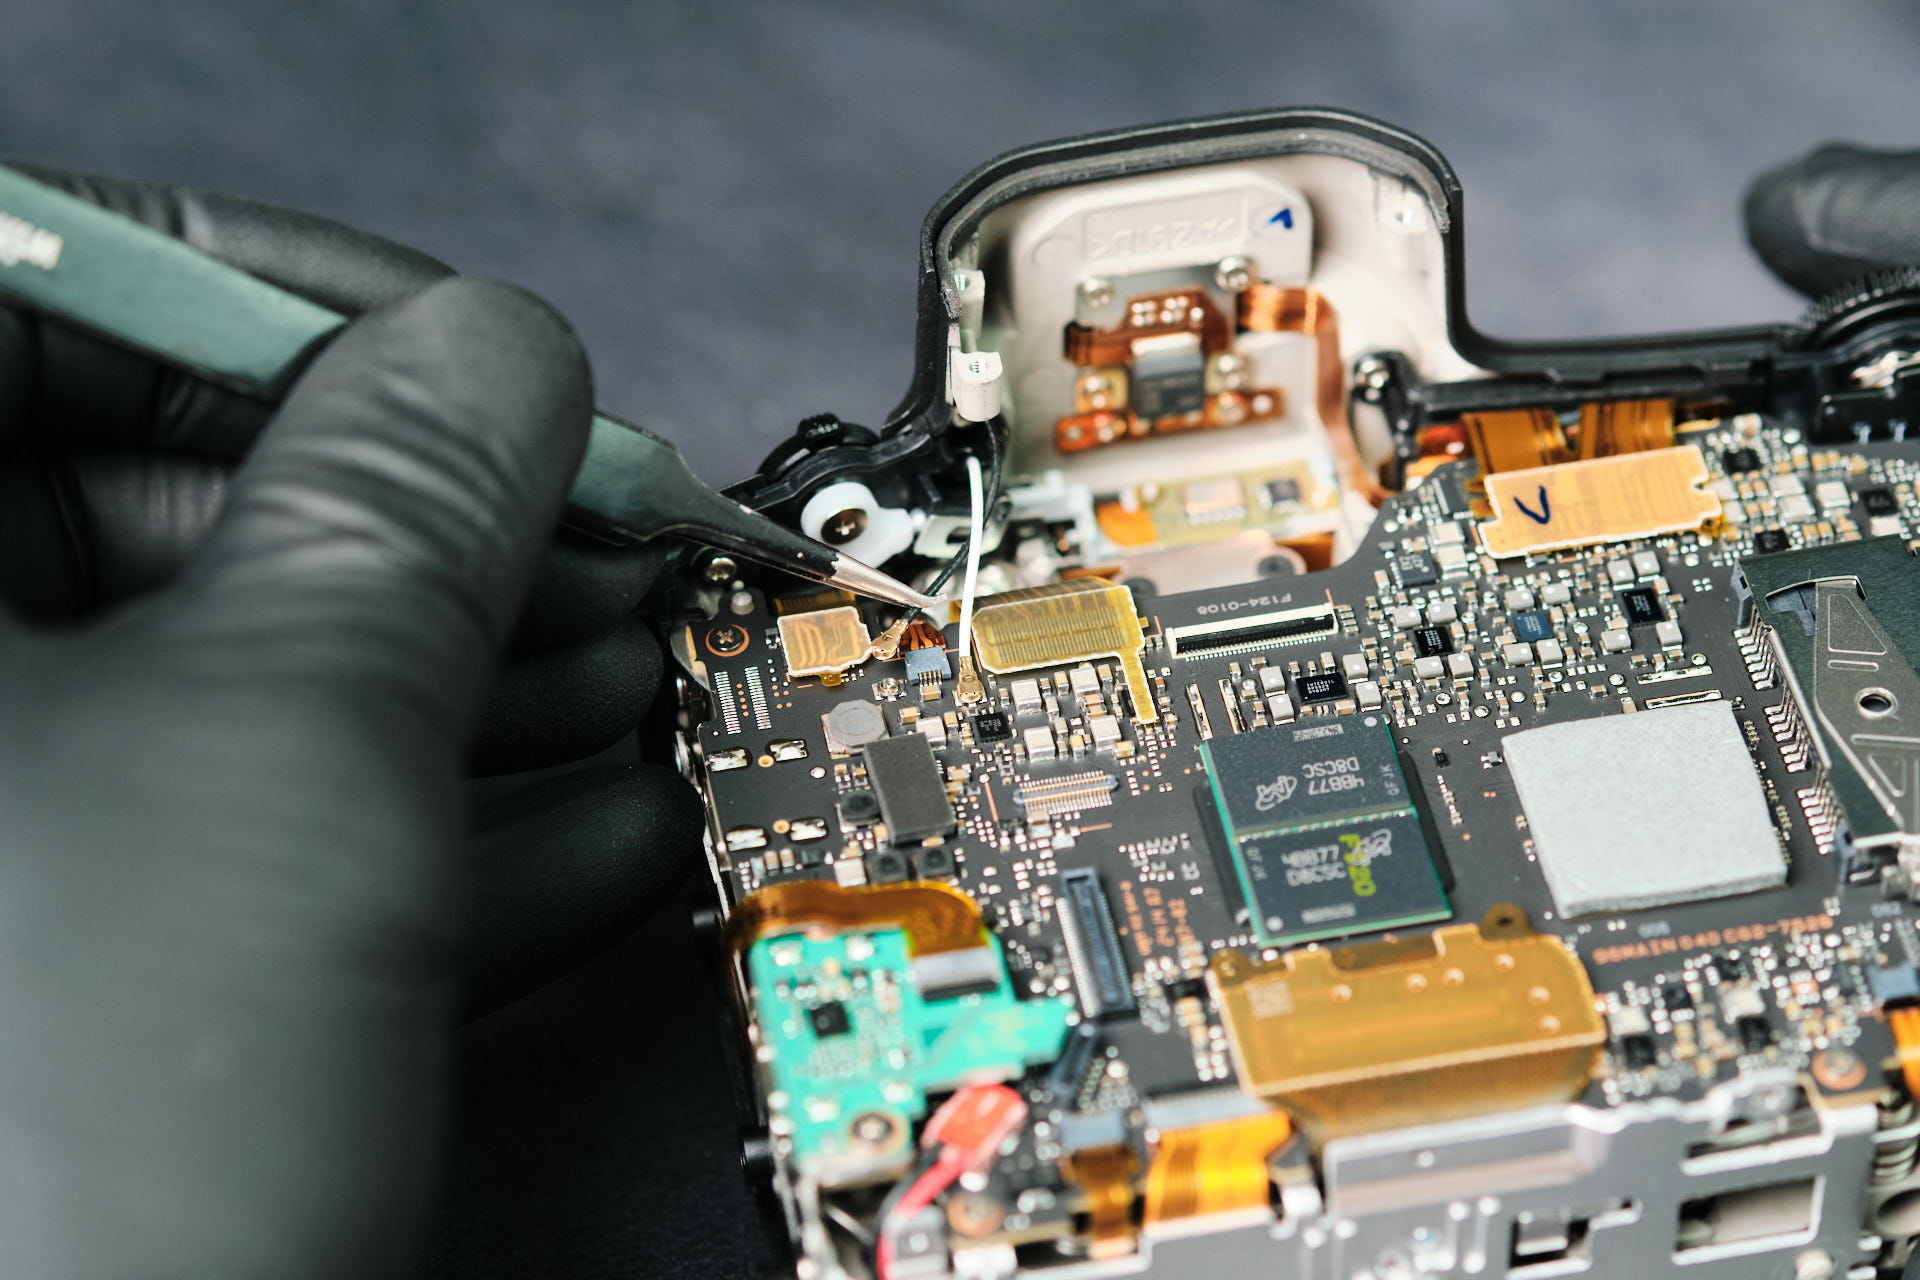
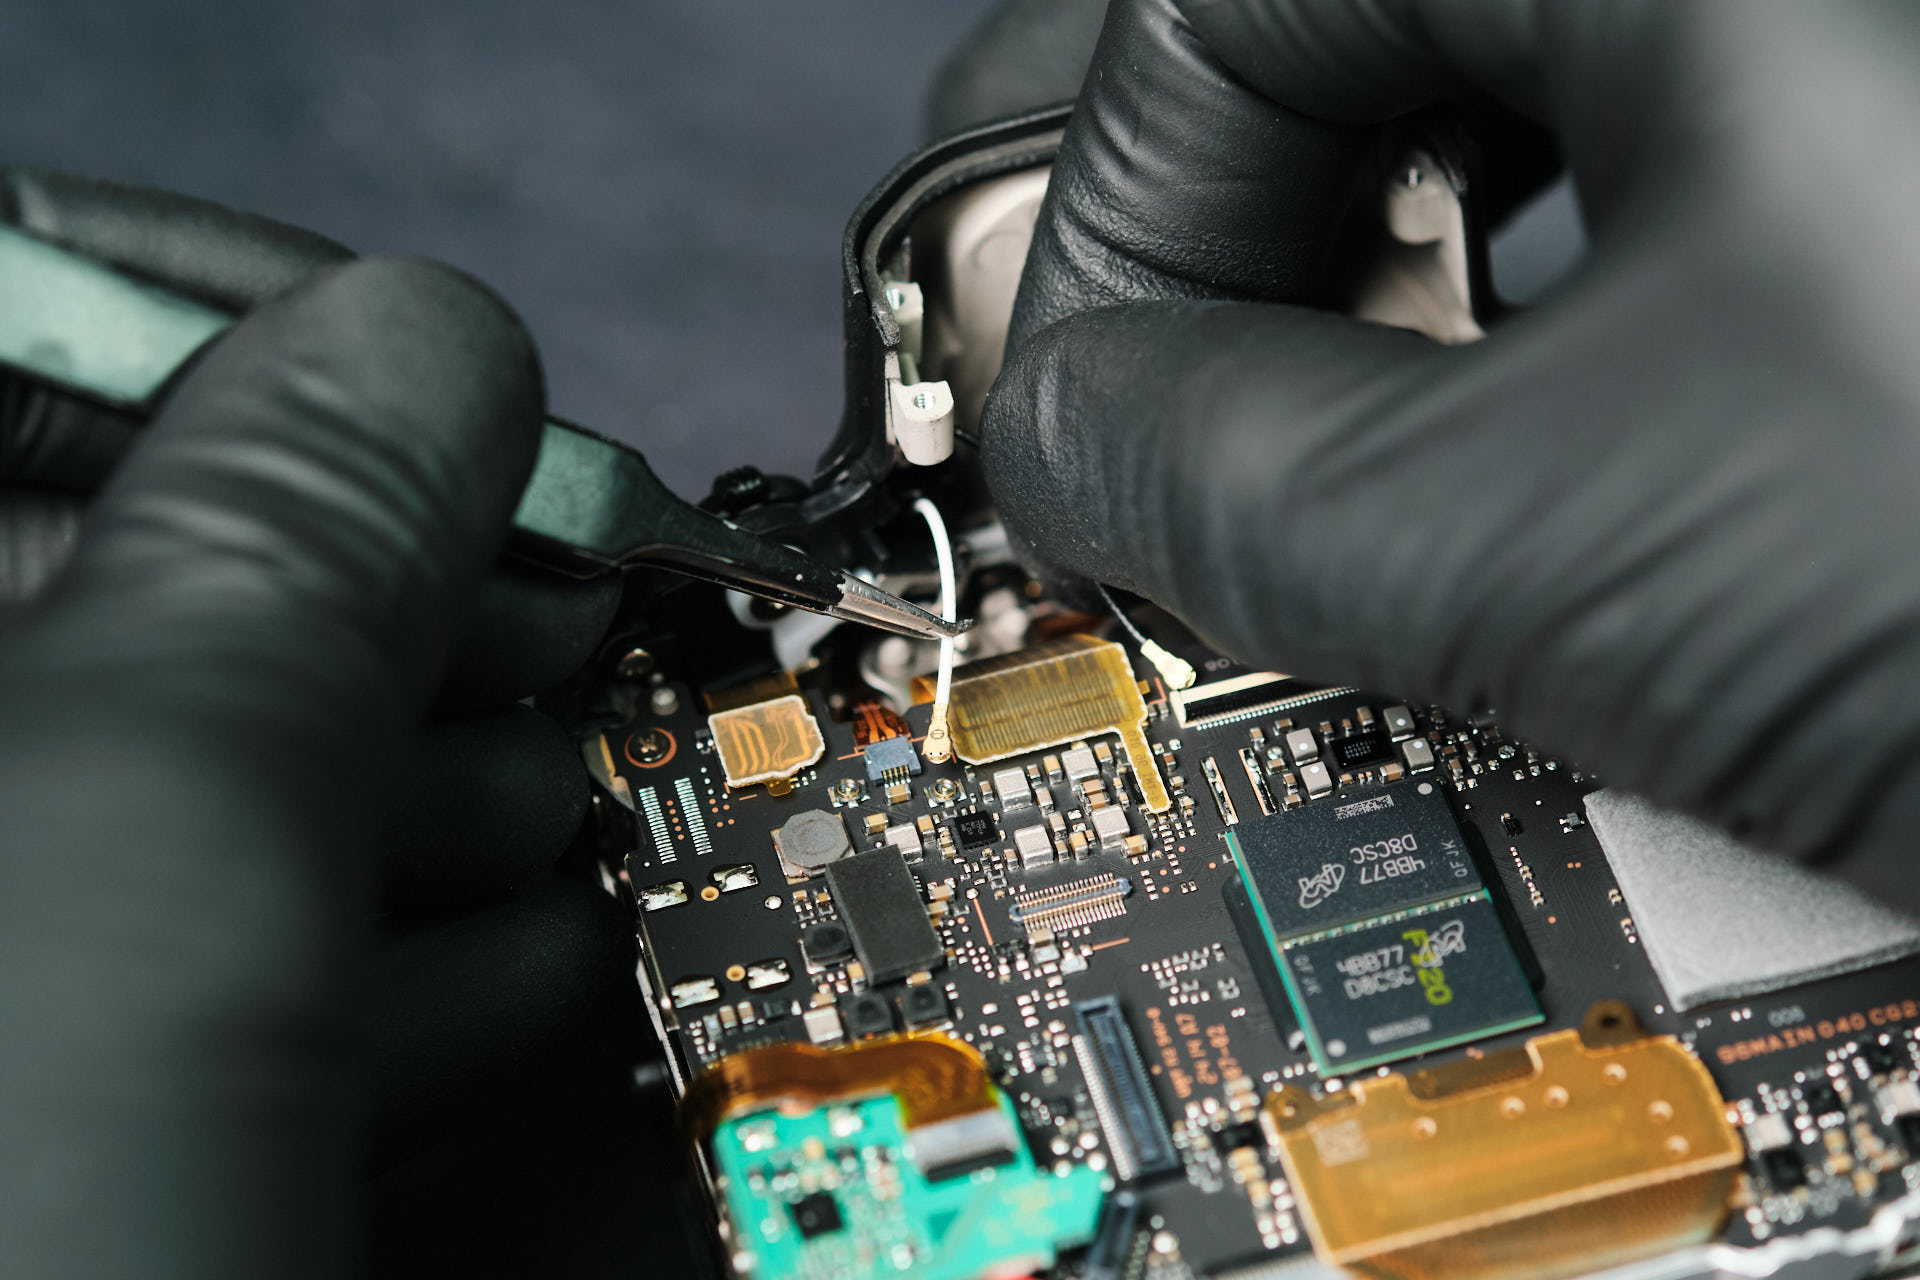
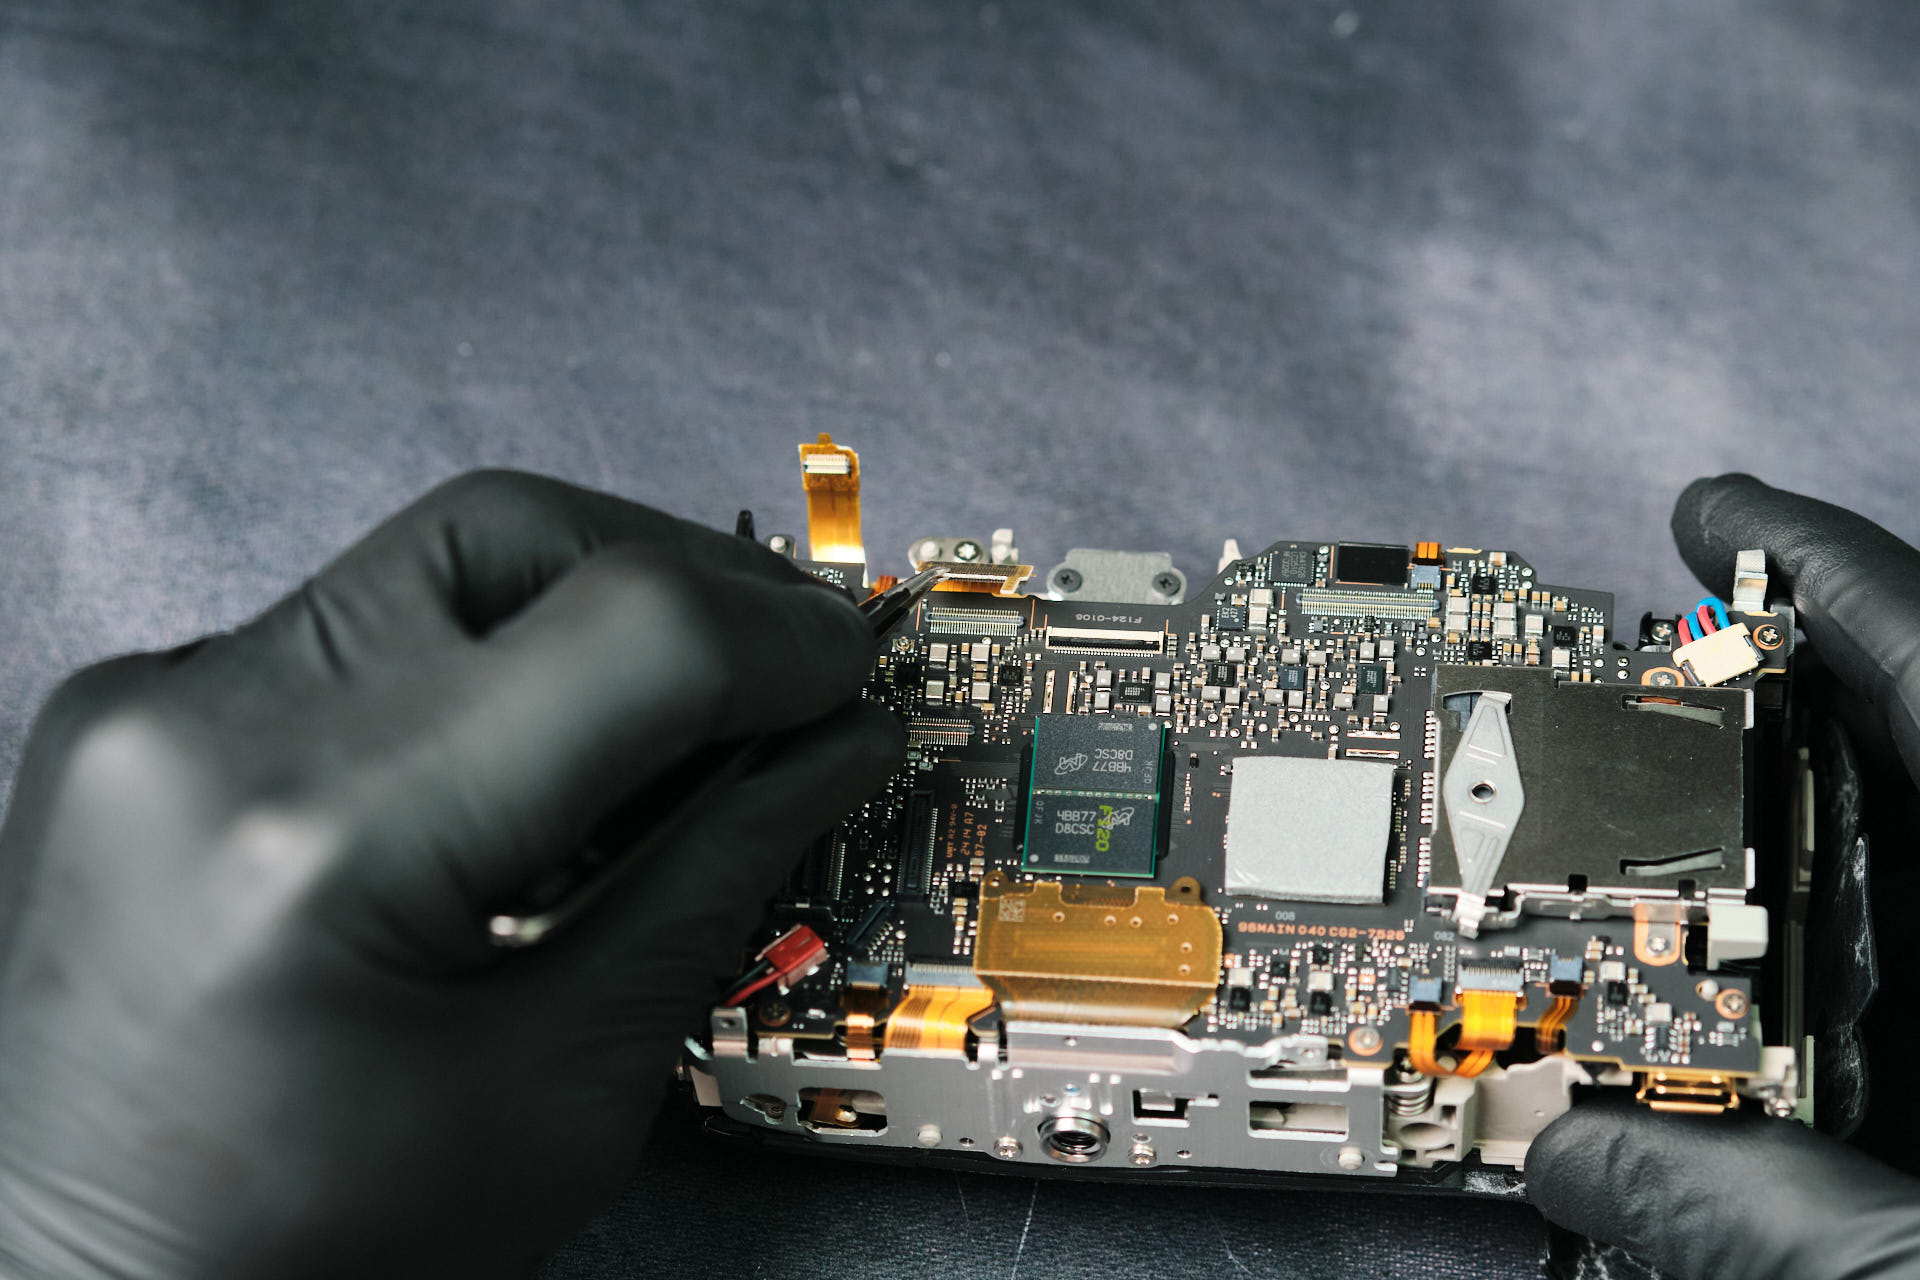
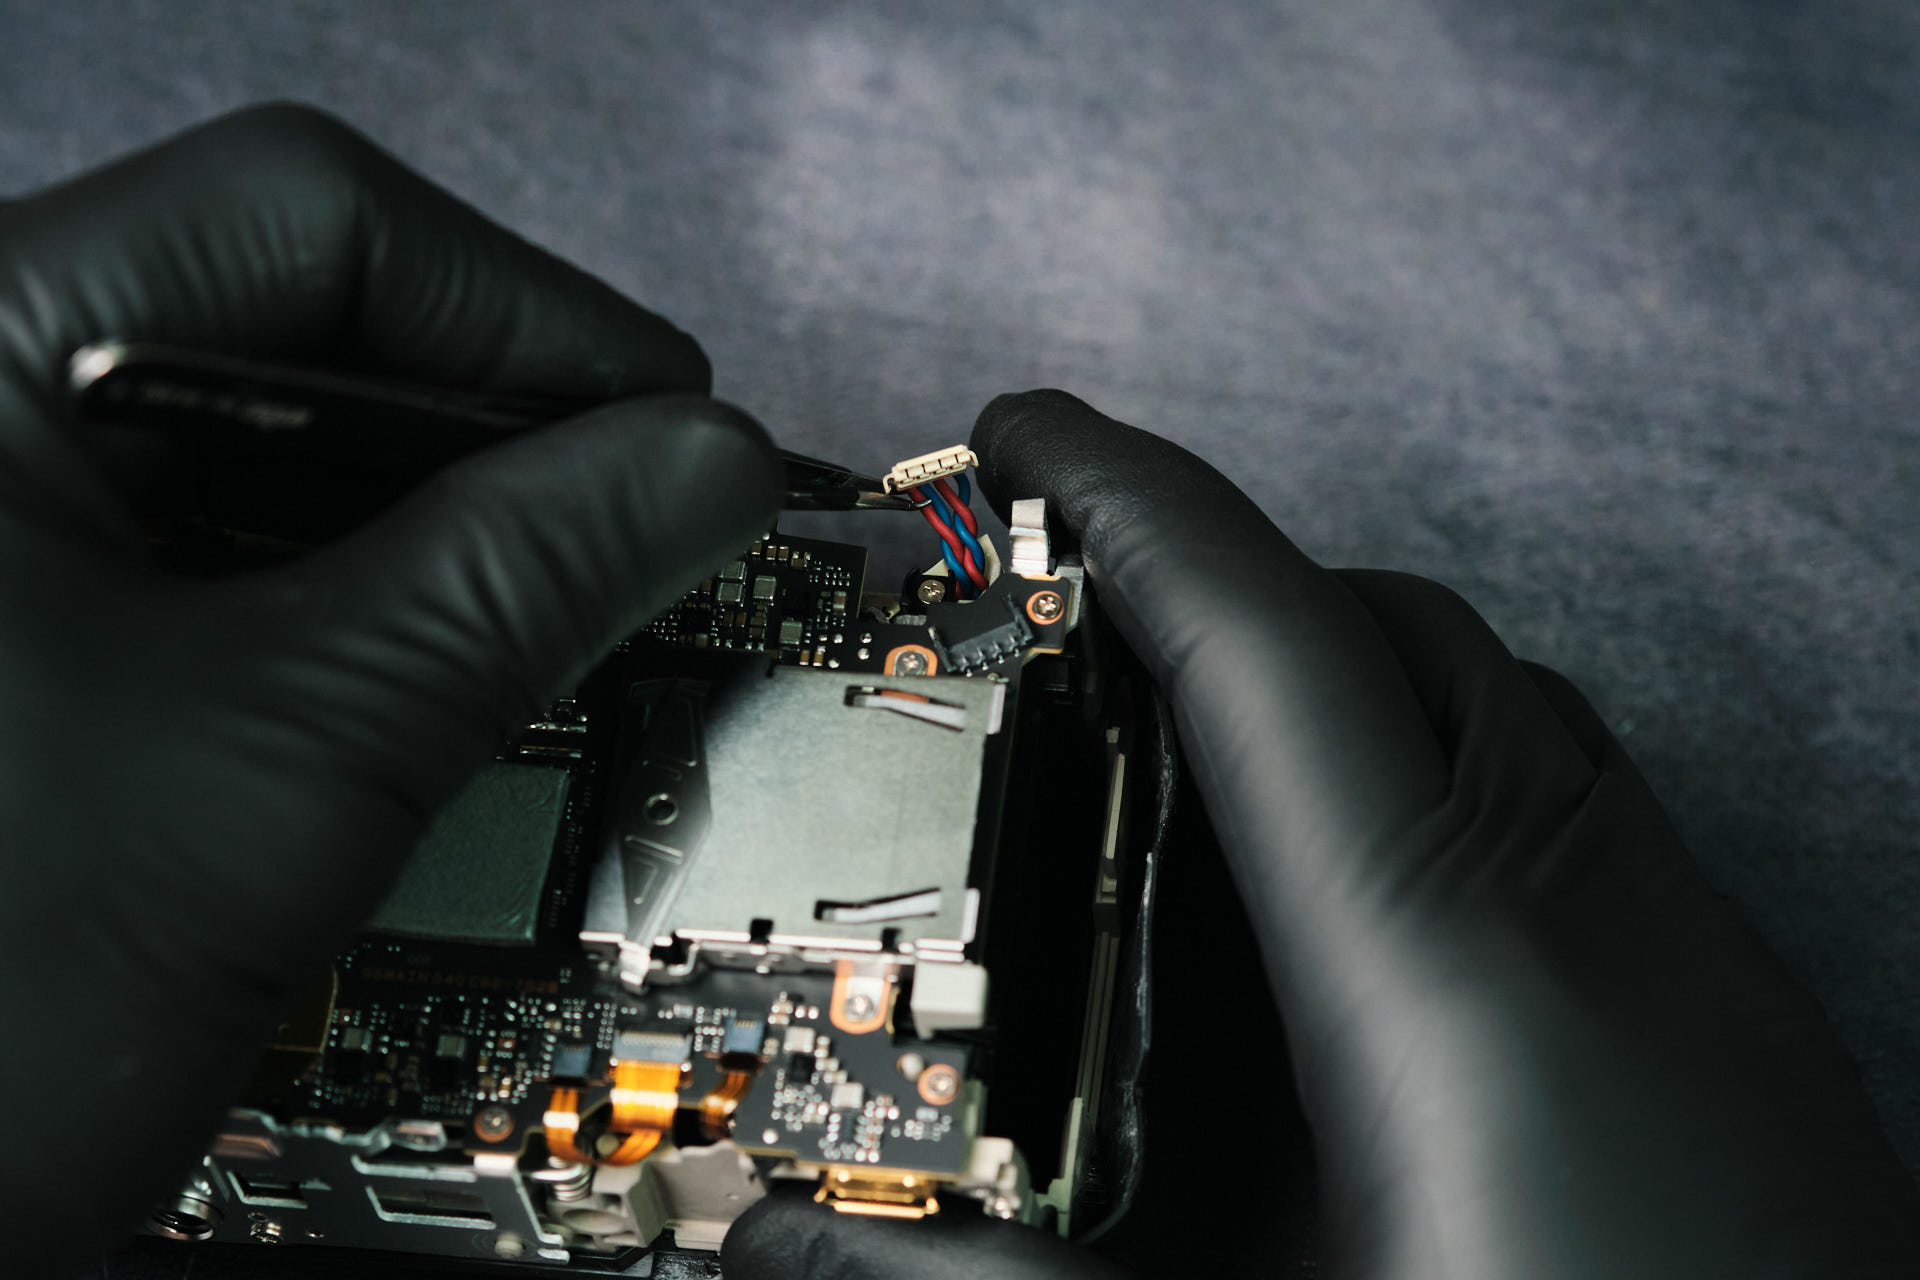
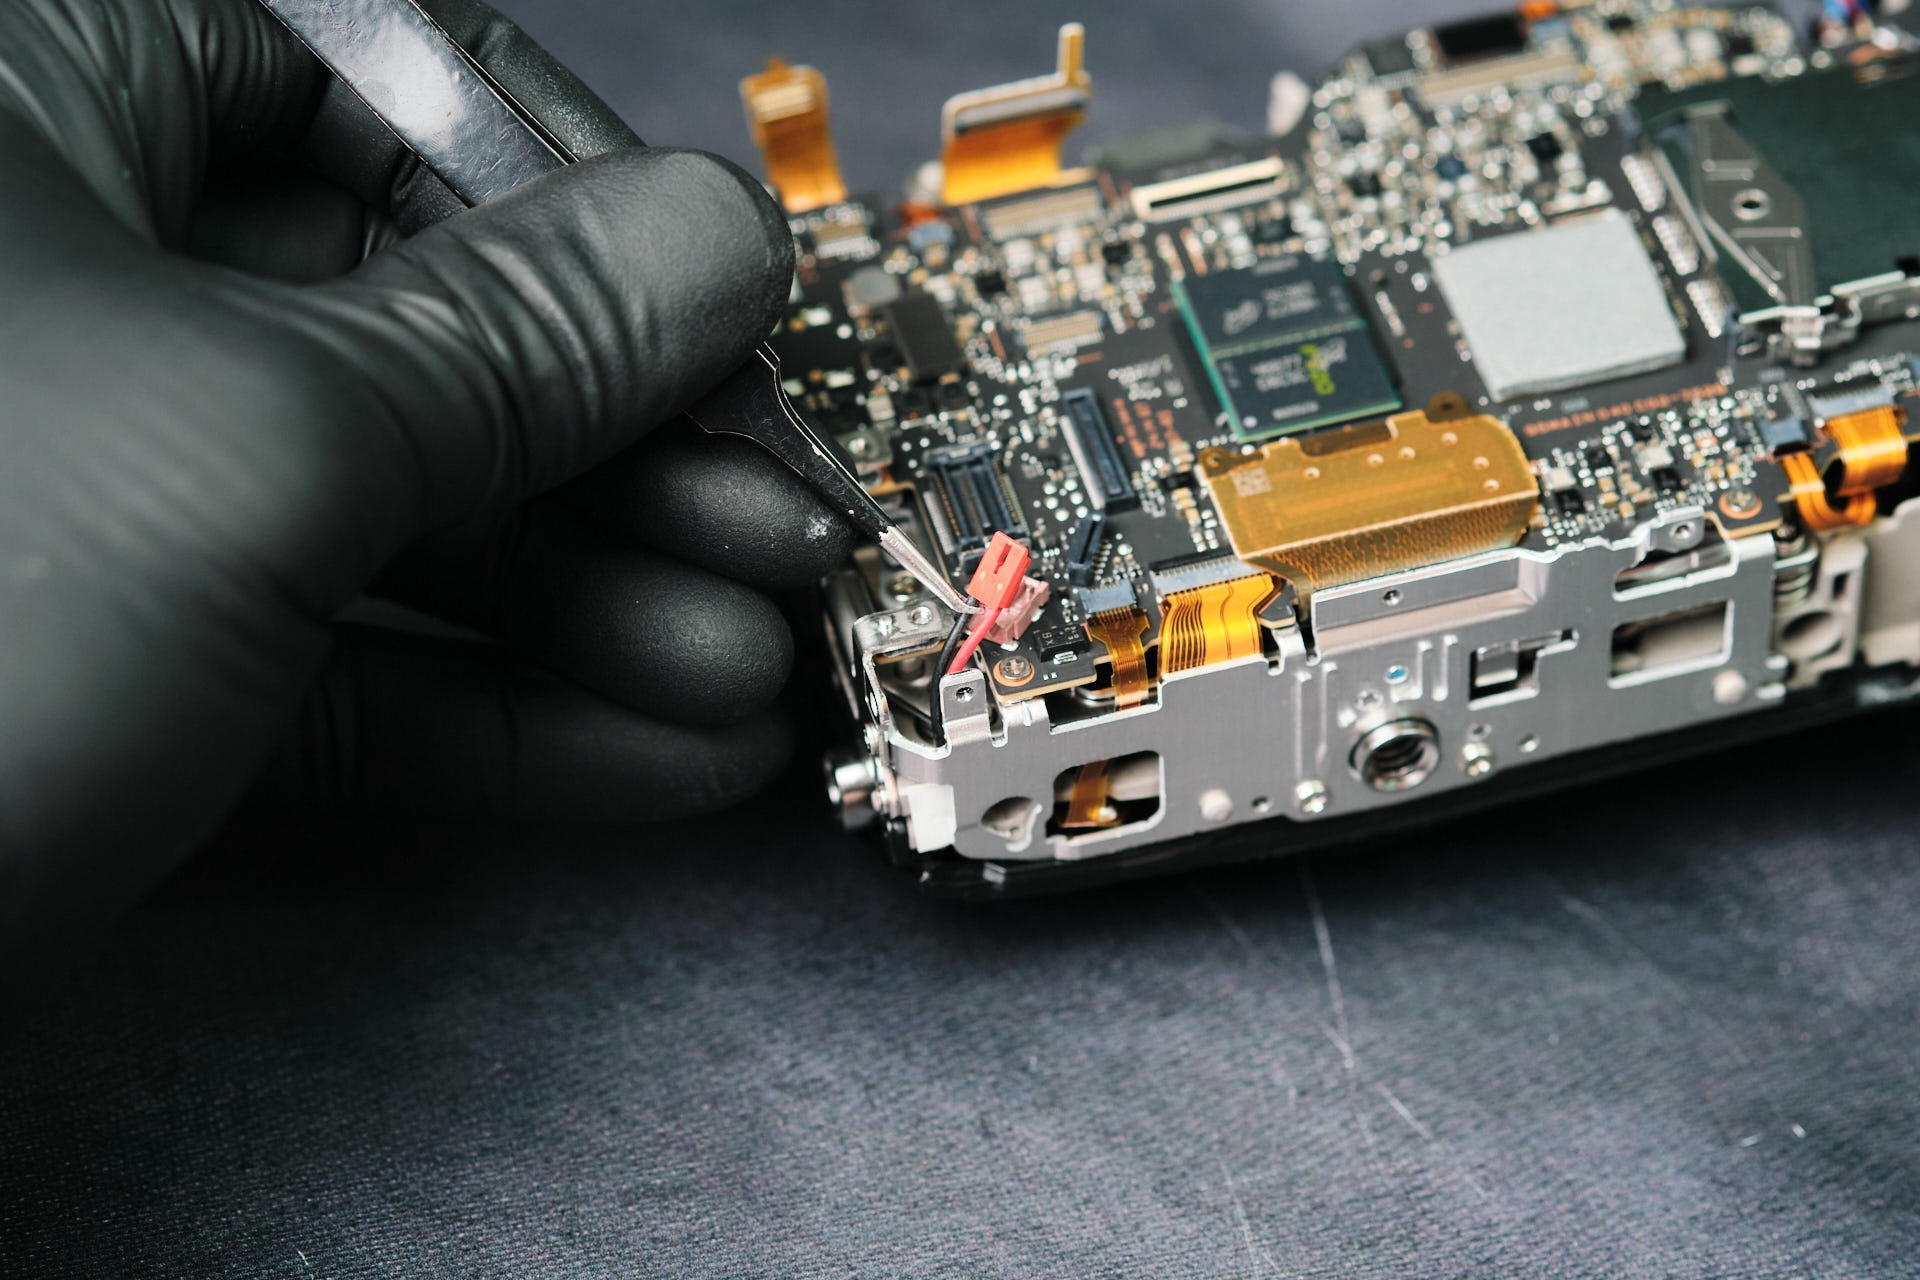
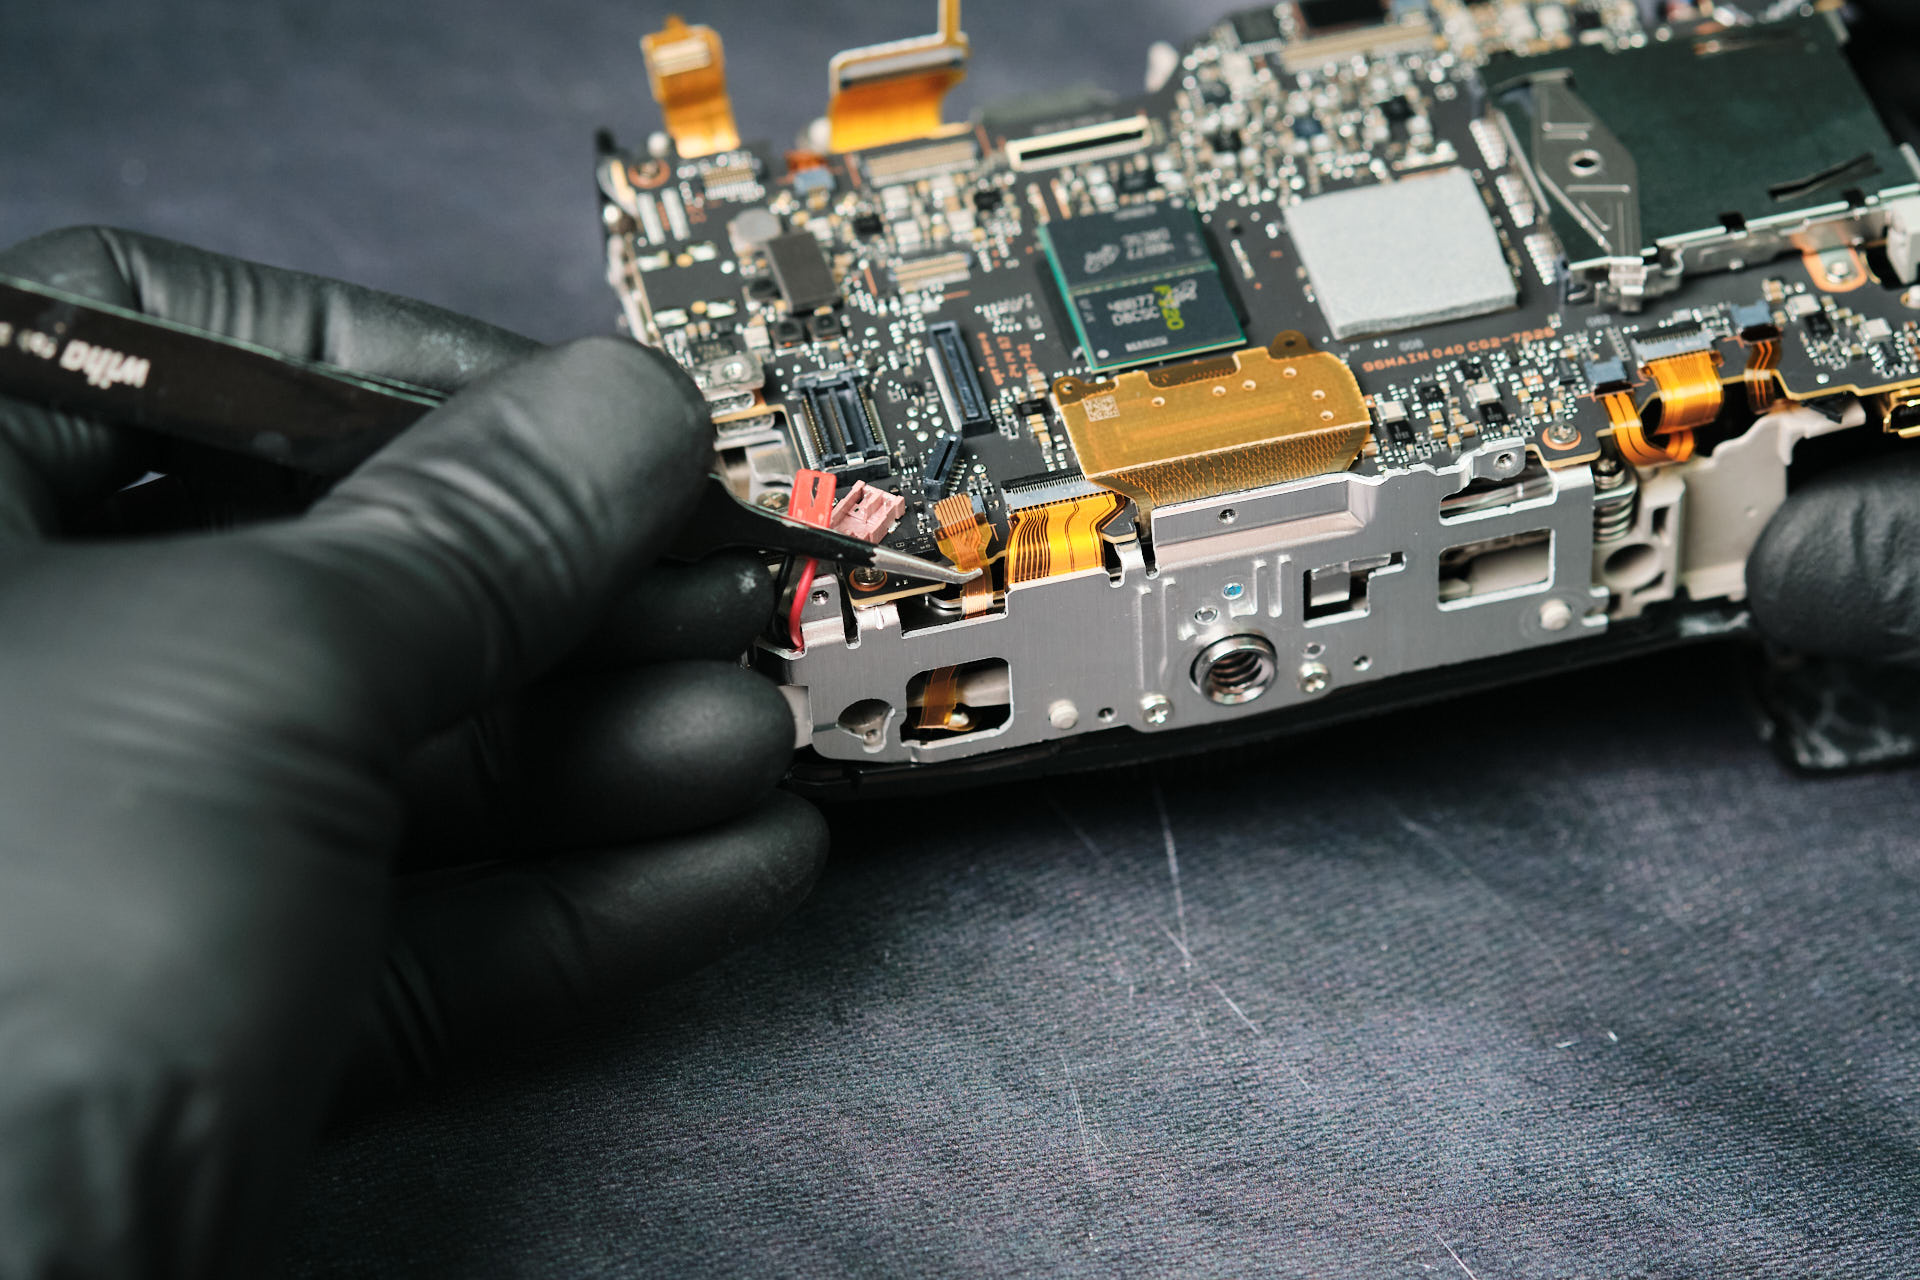
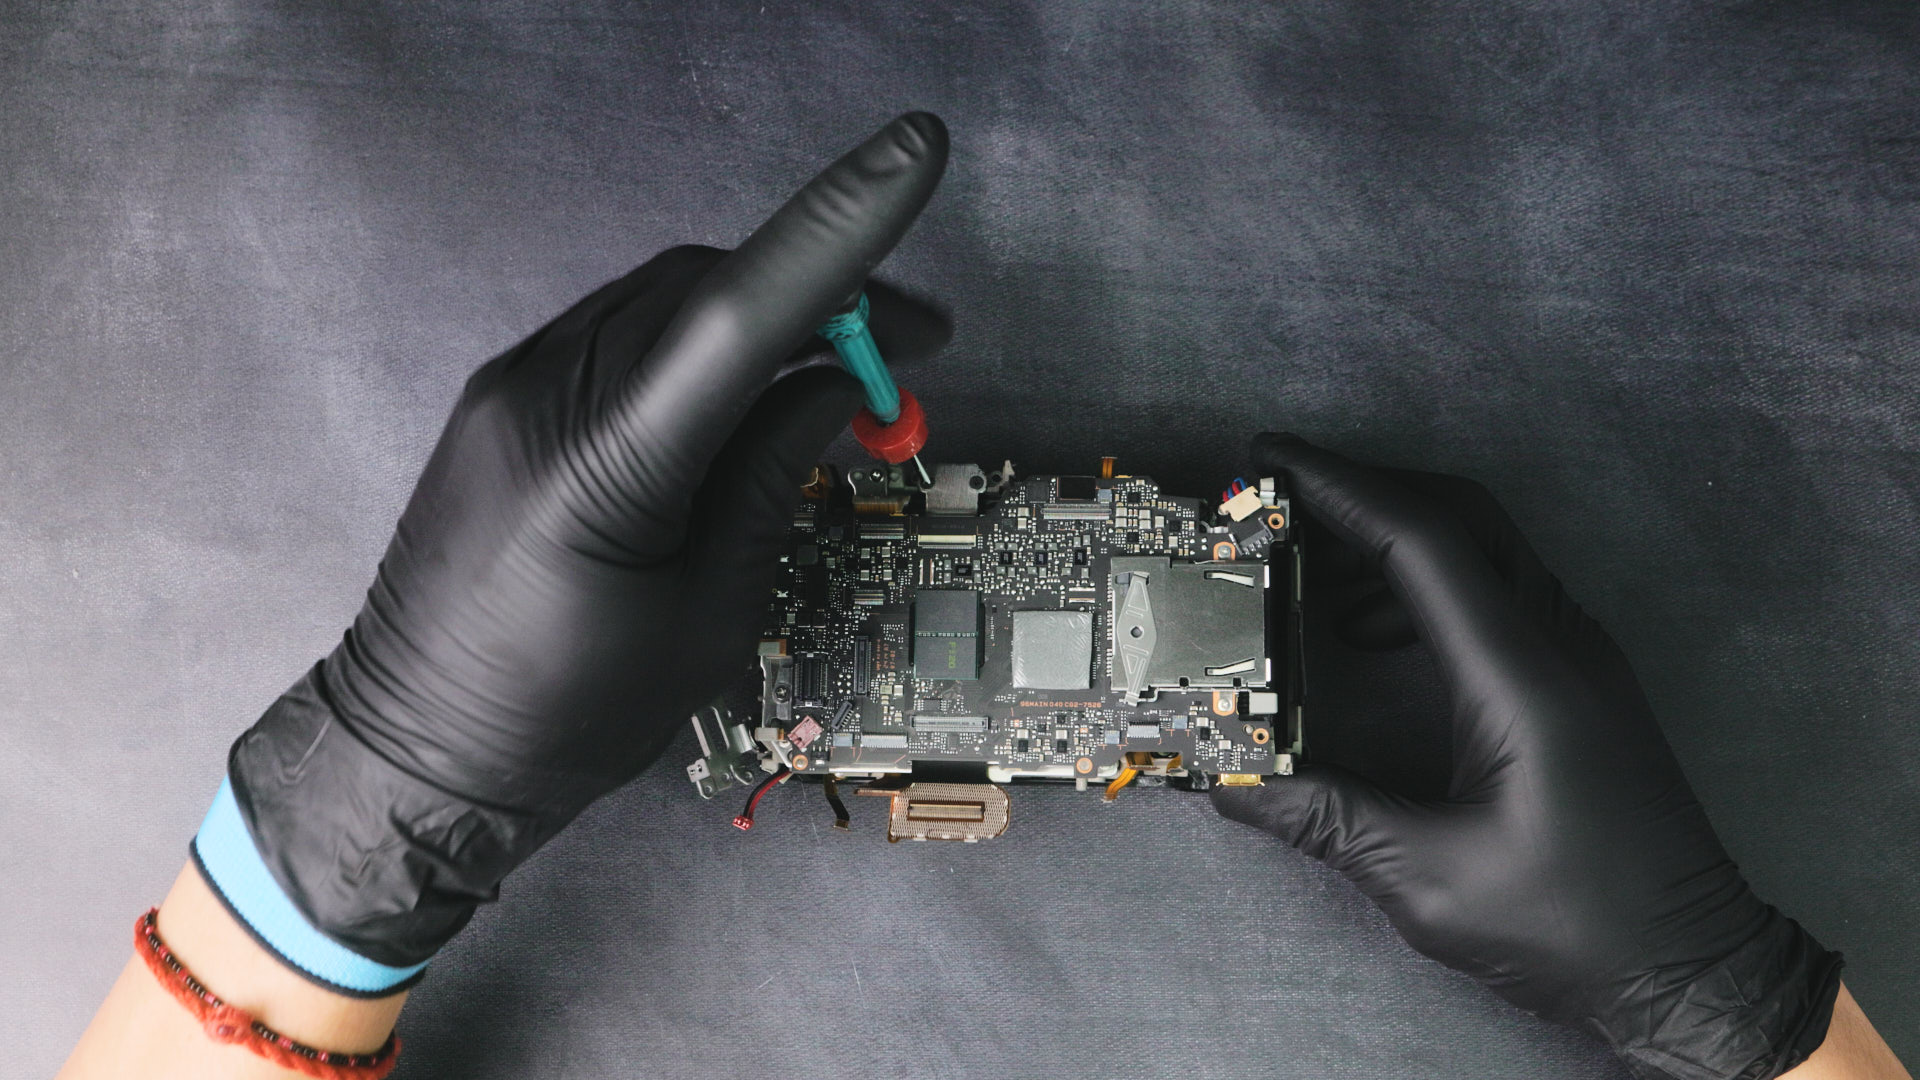
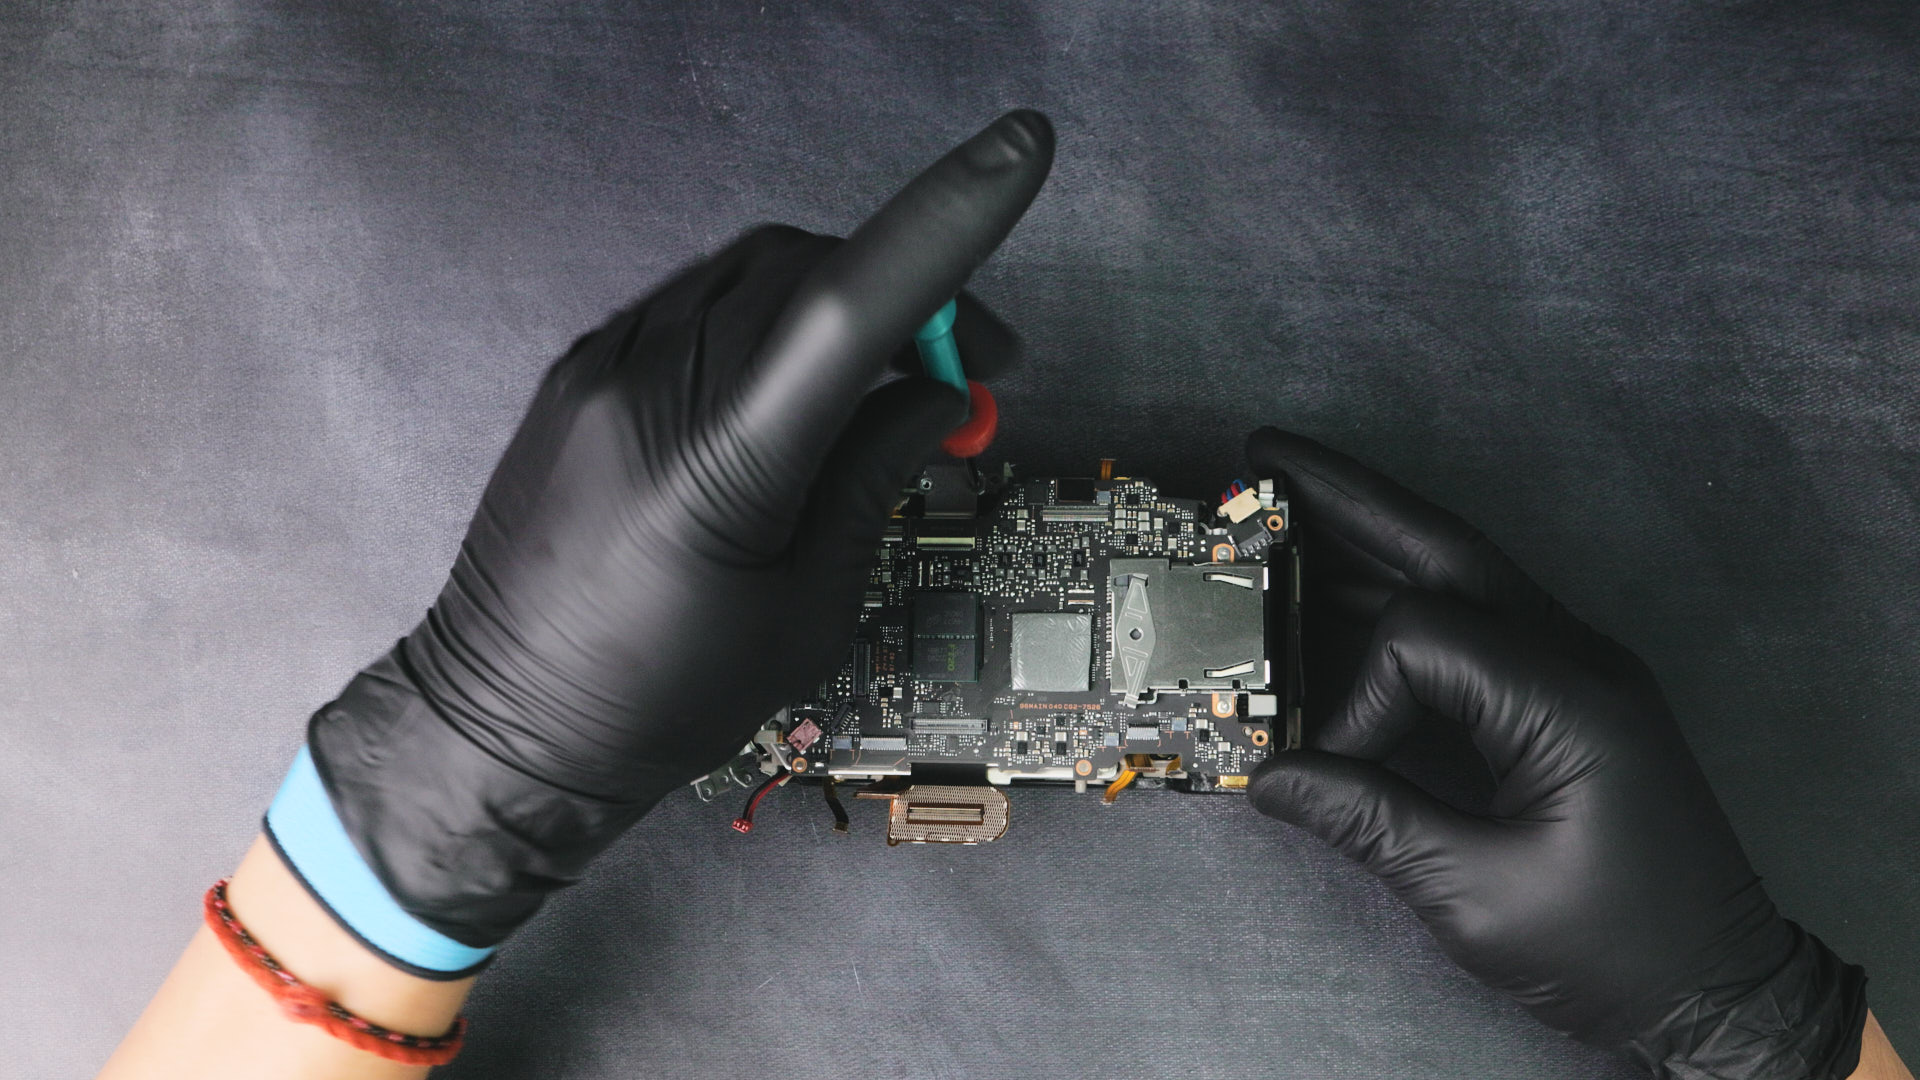
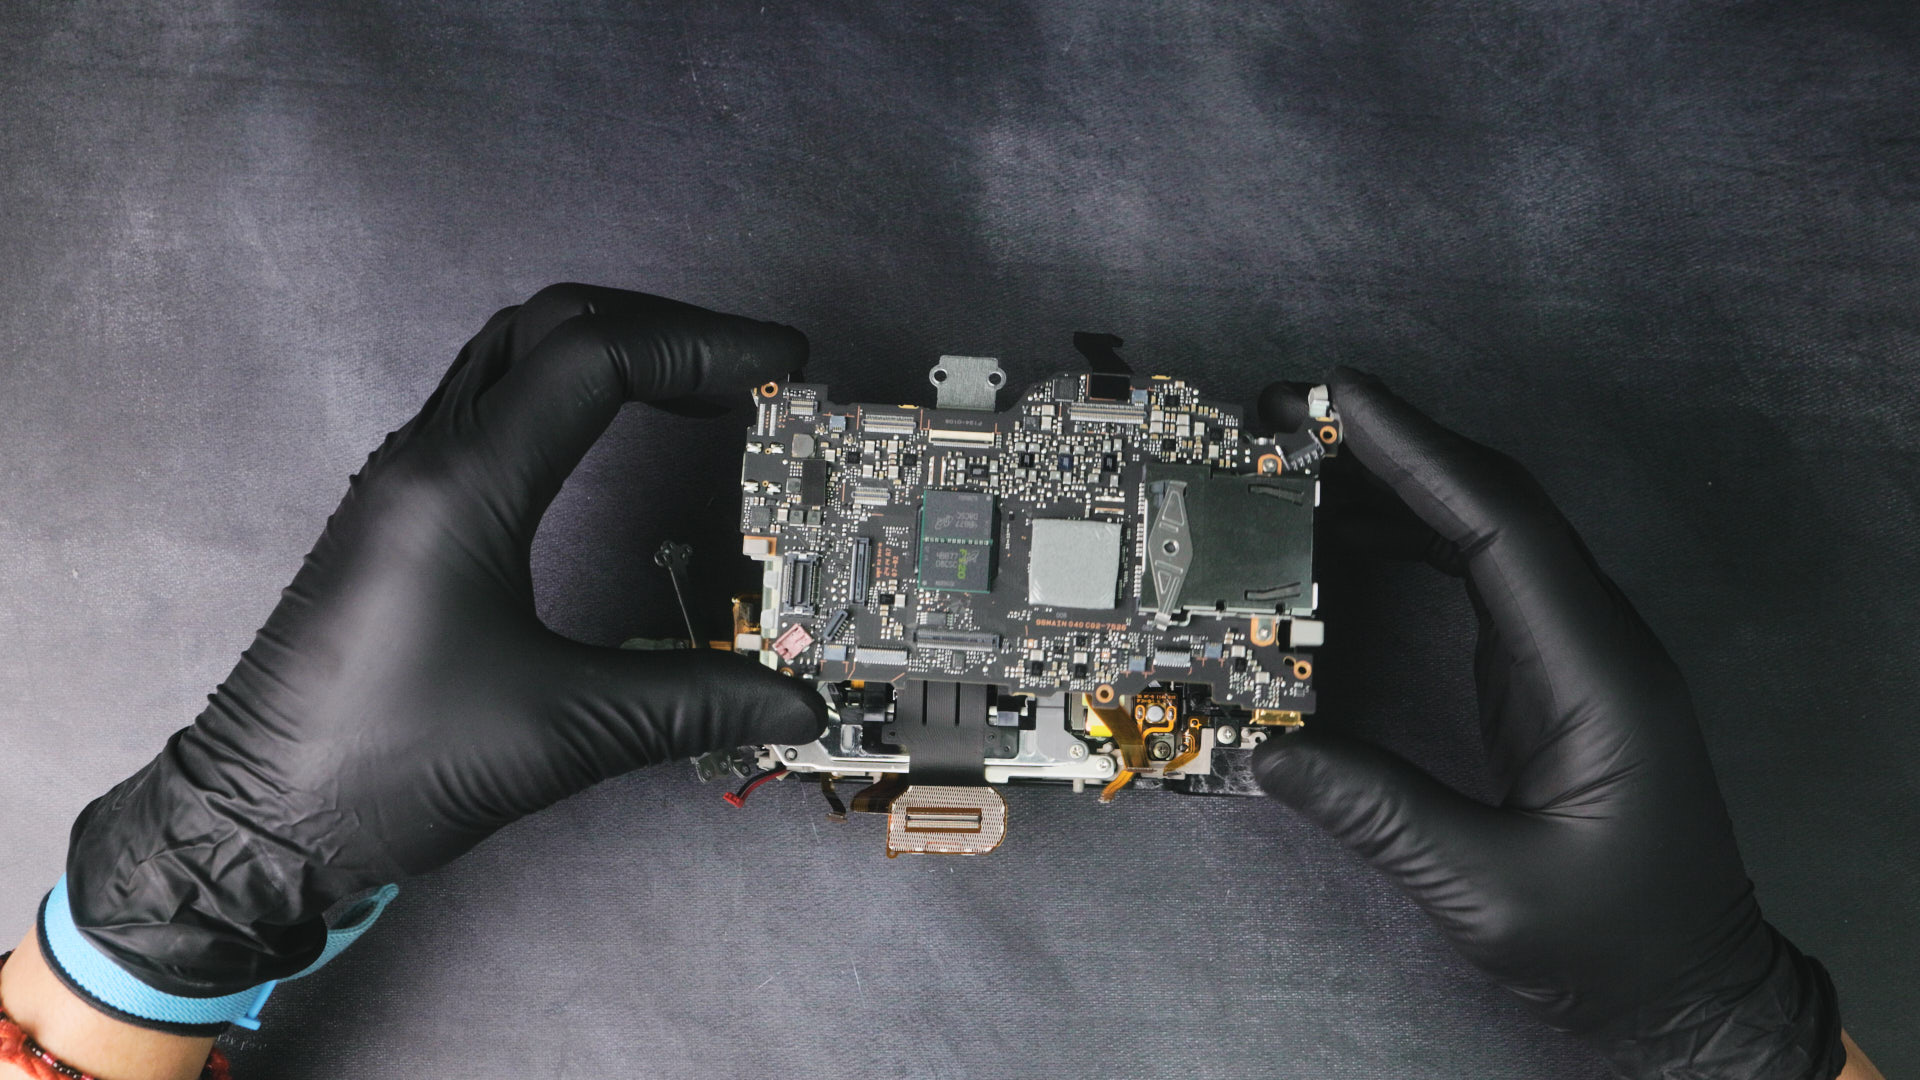
We disconnected twelve ribbon cables from the circuit board.
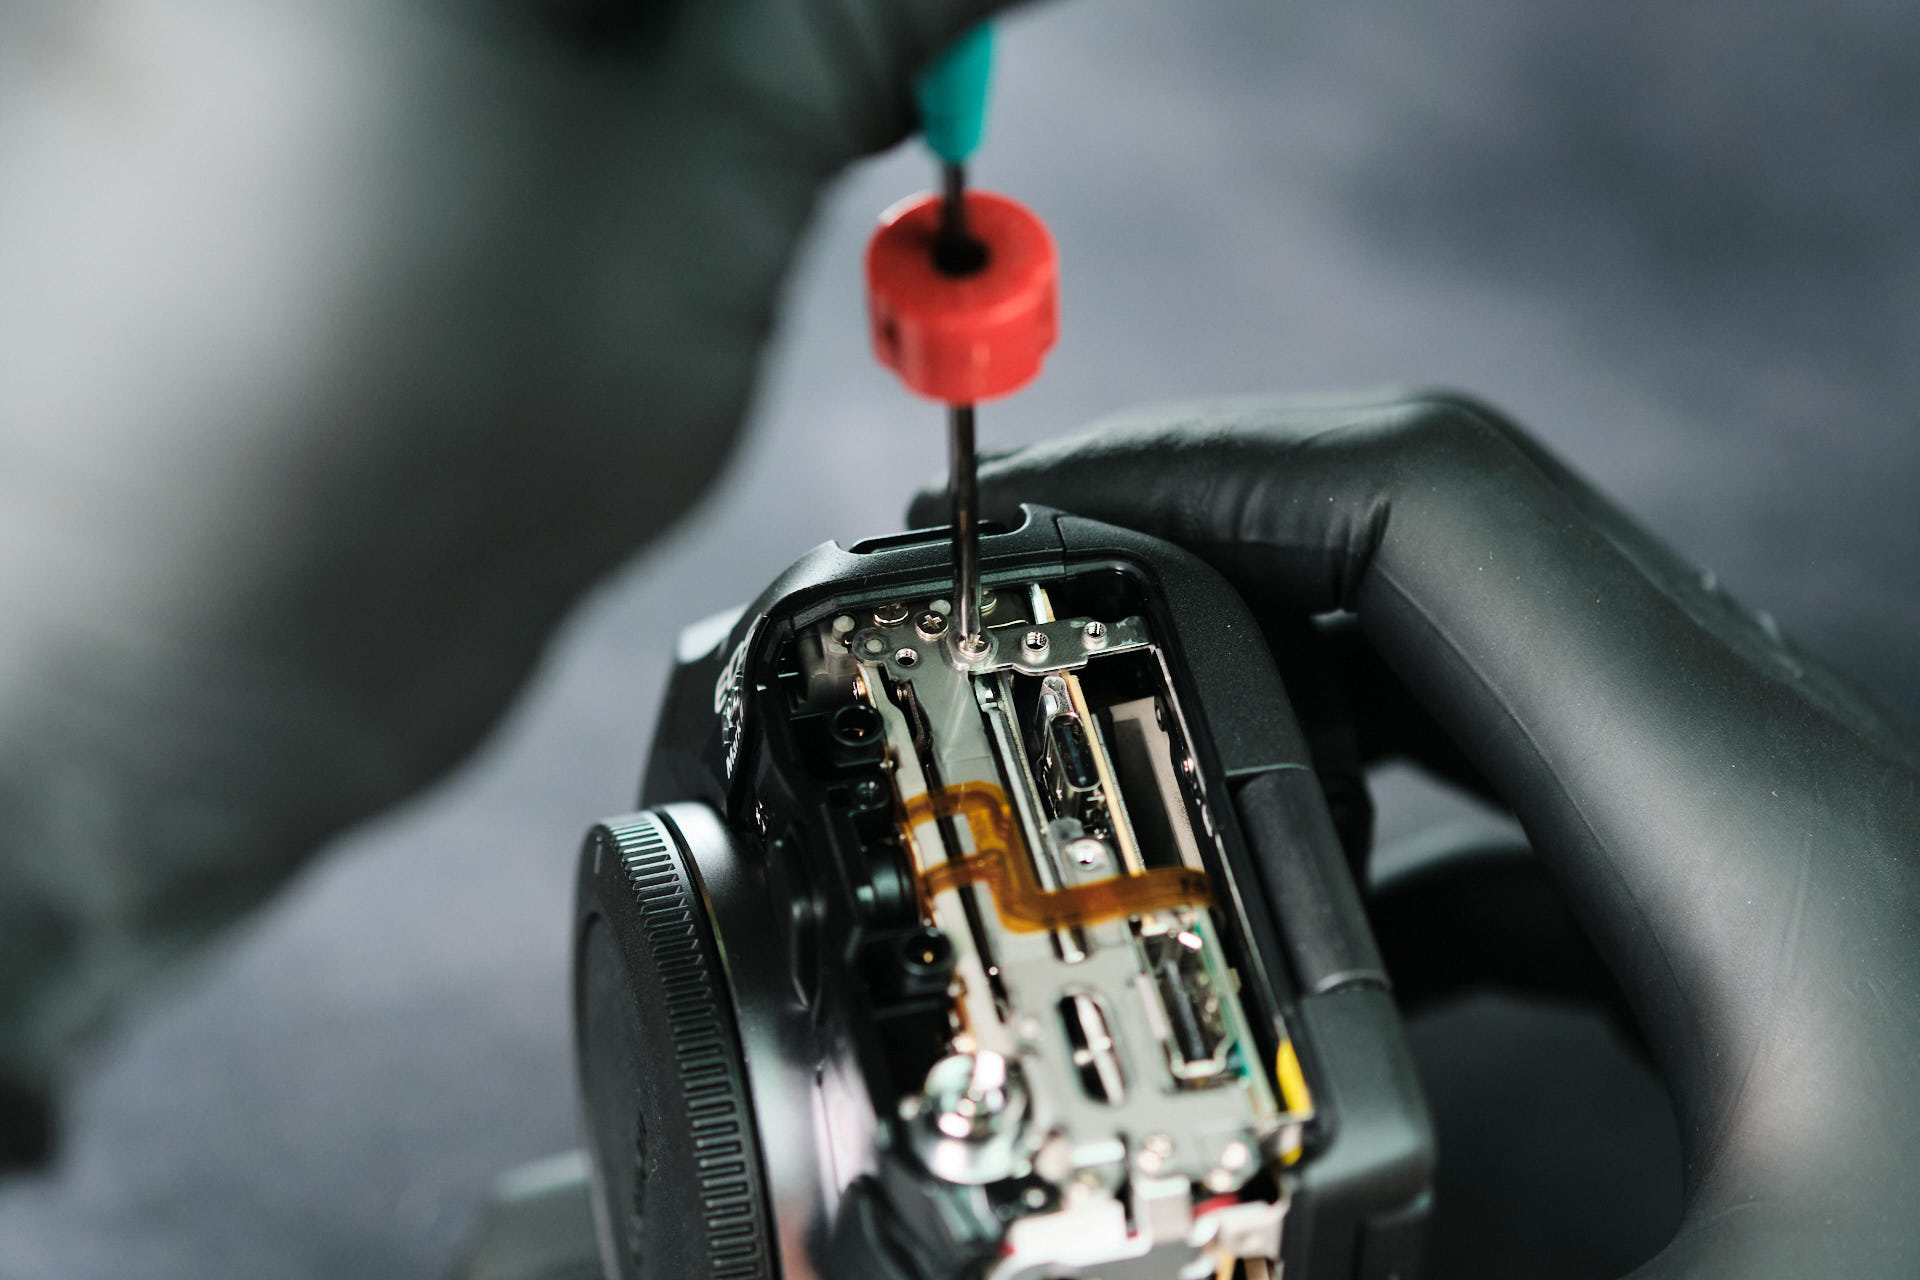
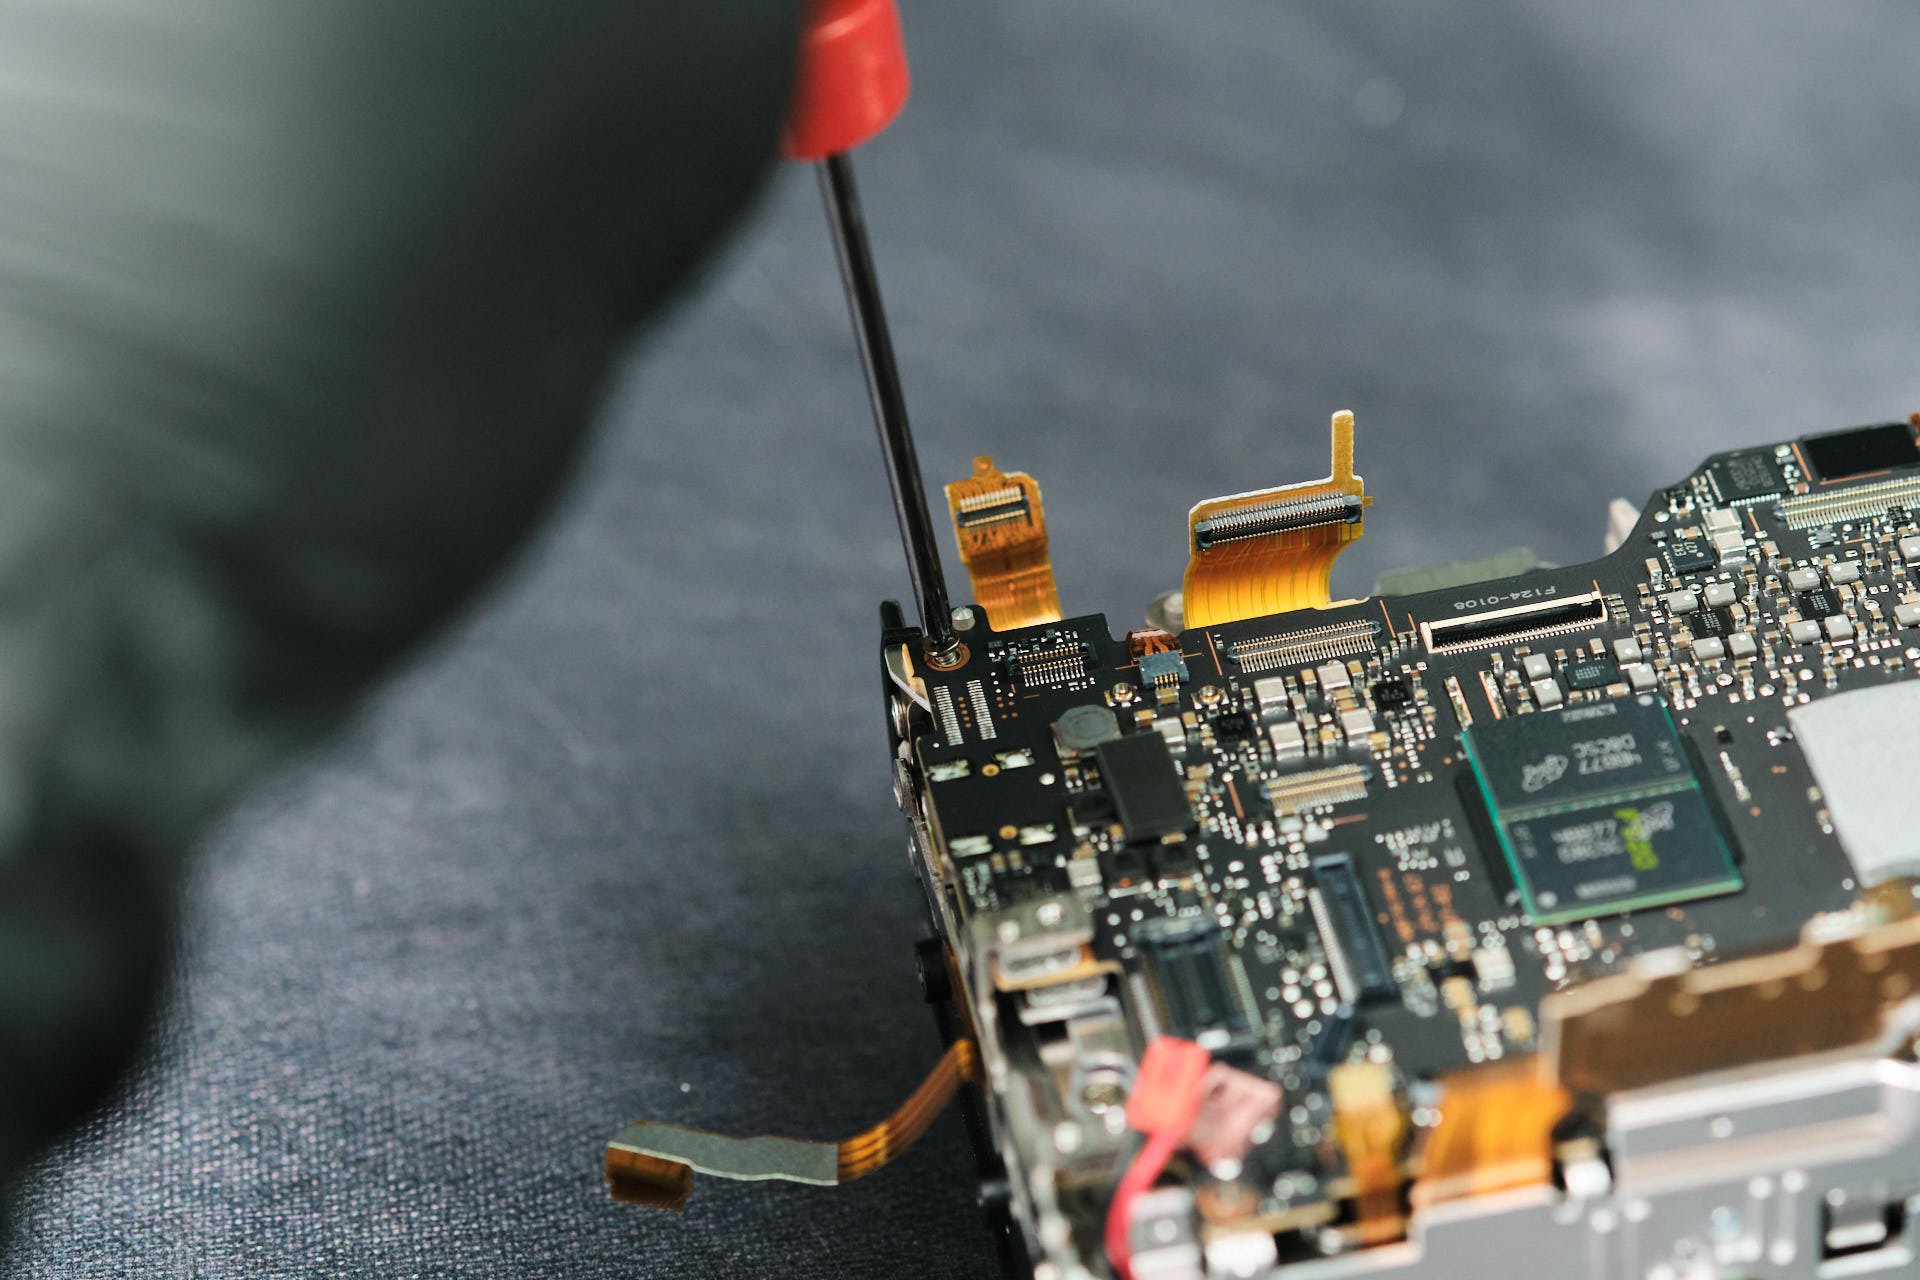
On the port side, two screws were removed.
Two screws secure the tripod mount.
This is the circuit board of the camera!
Removing Heat Transfer Tape Before Sensor Access
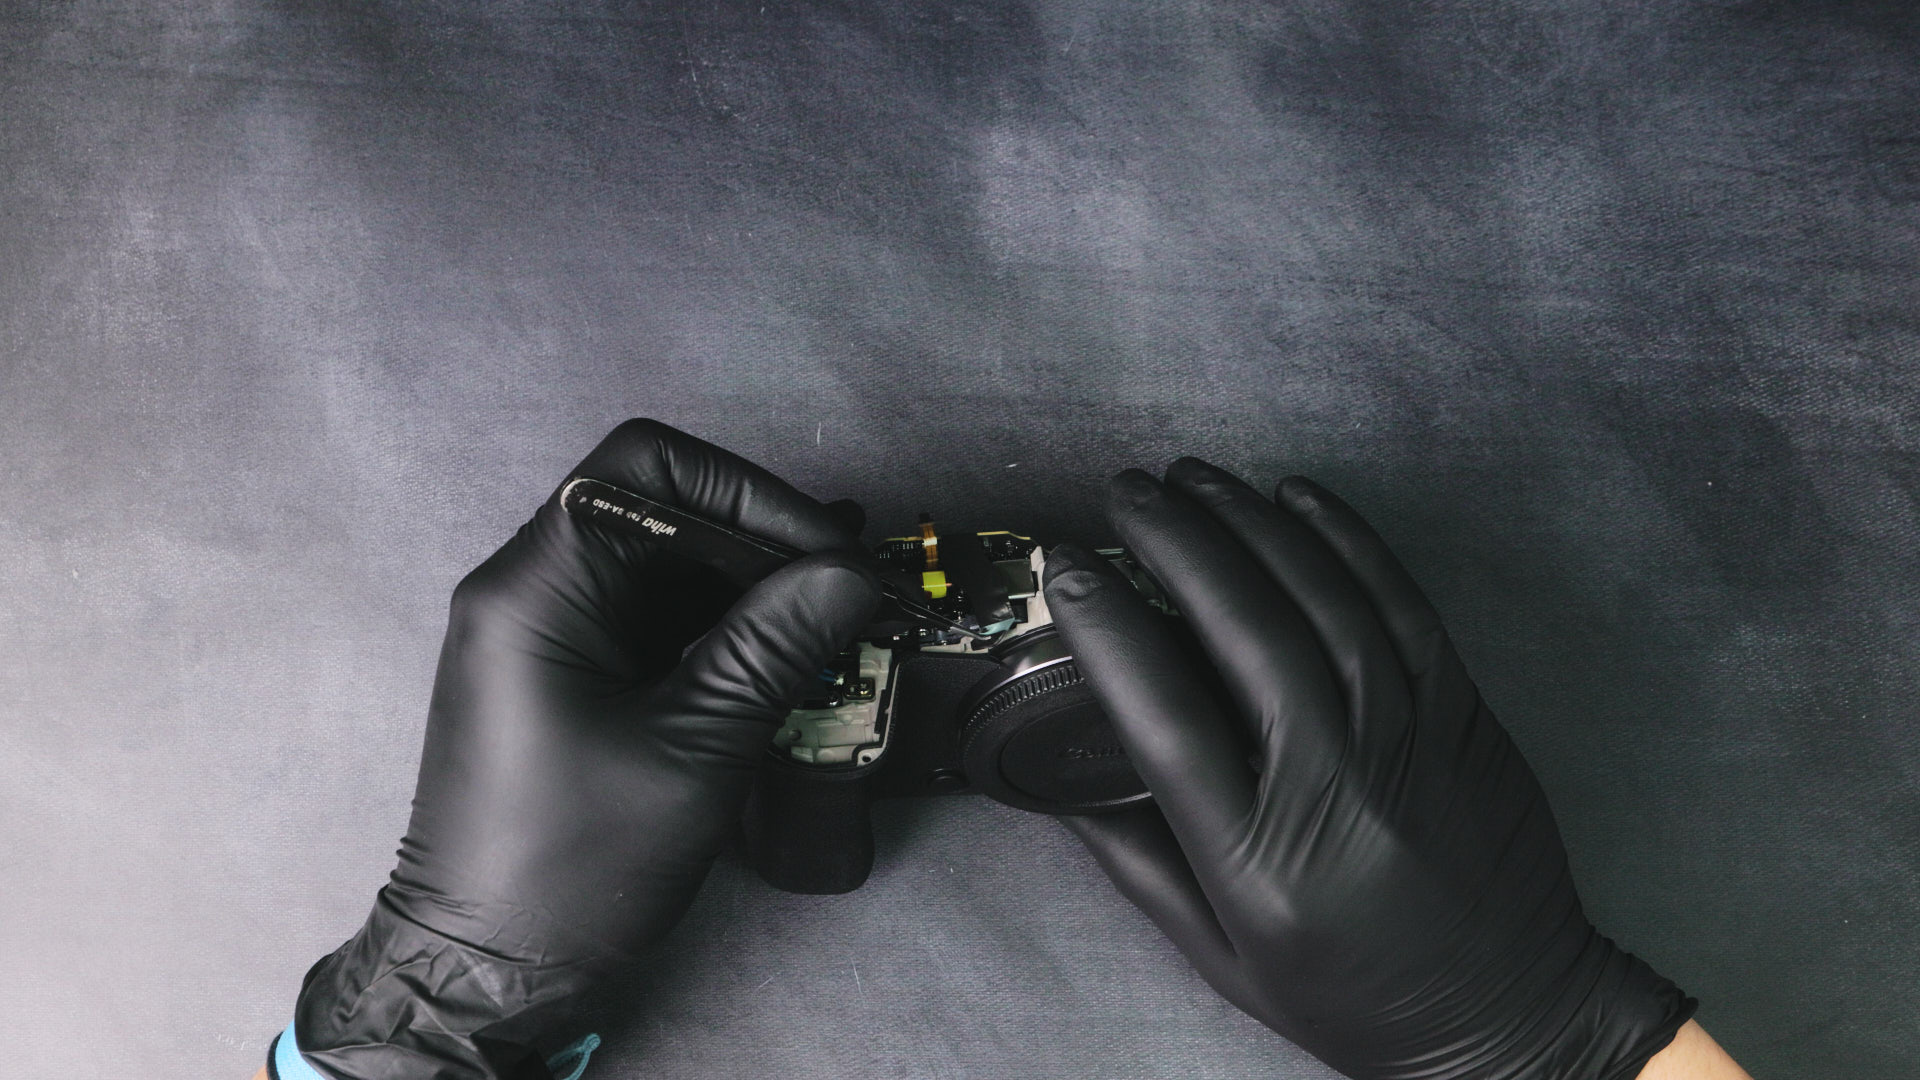
We disconnected the heat transfer tape from the front of the camera.
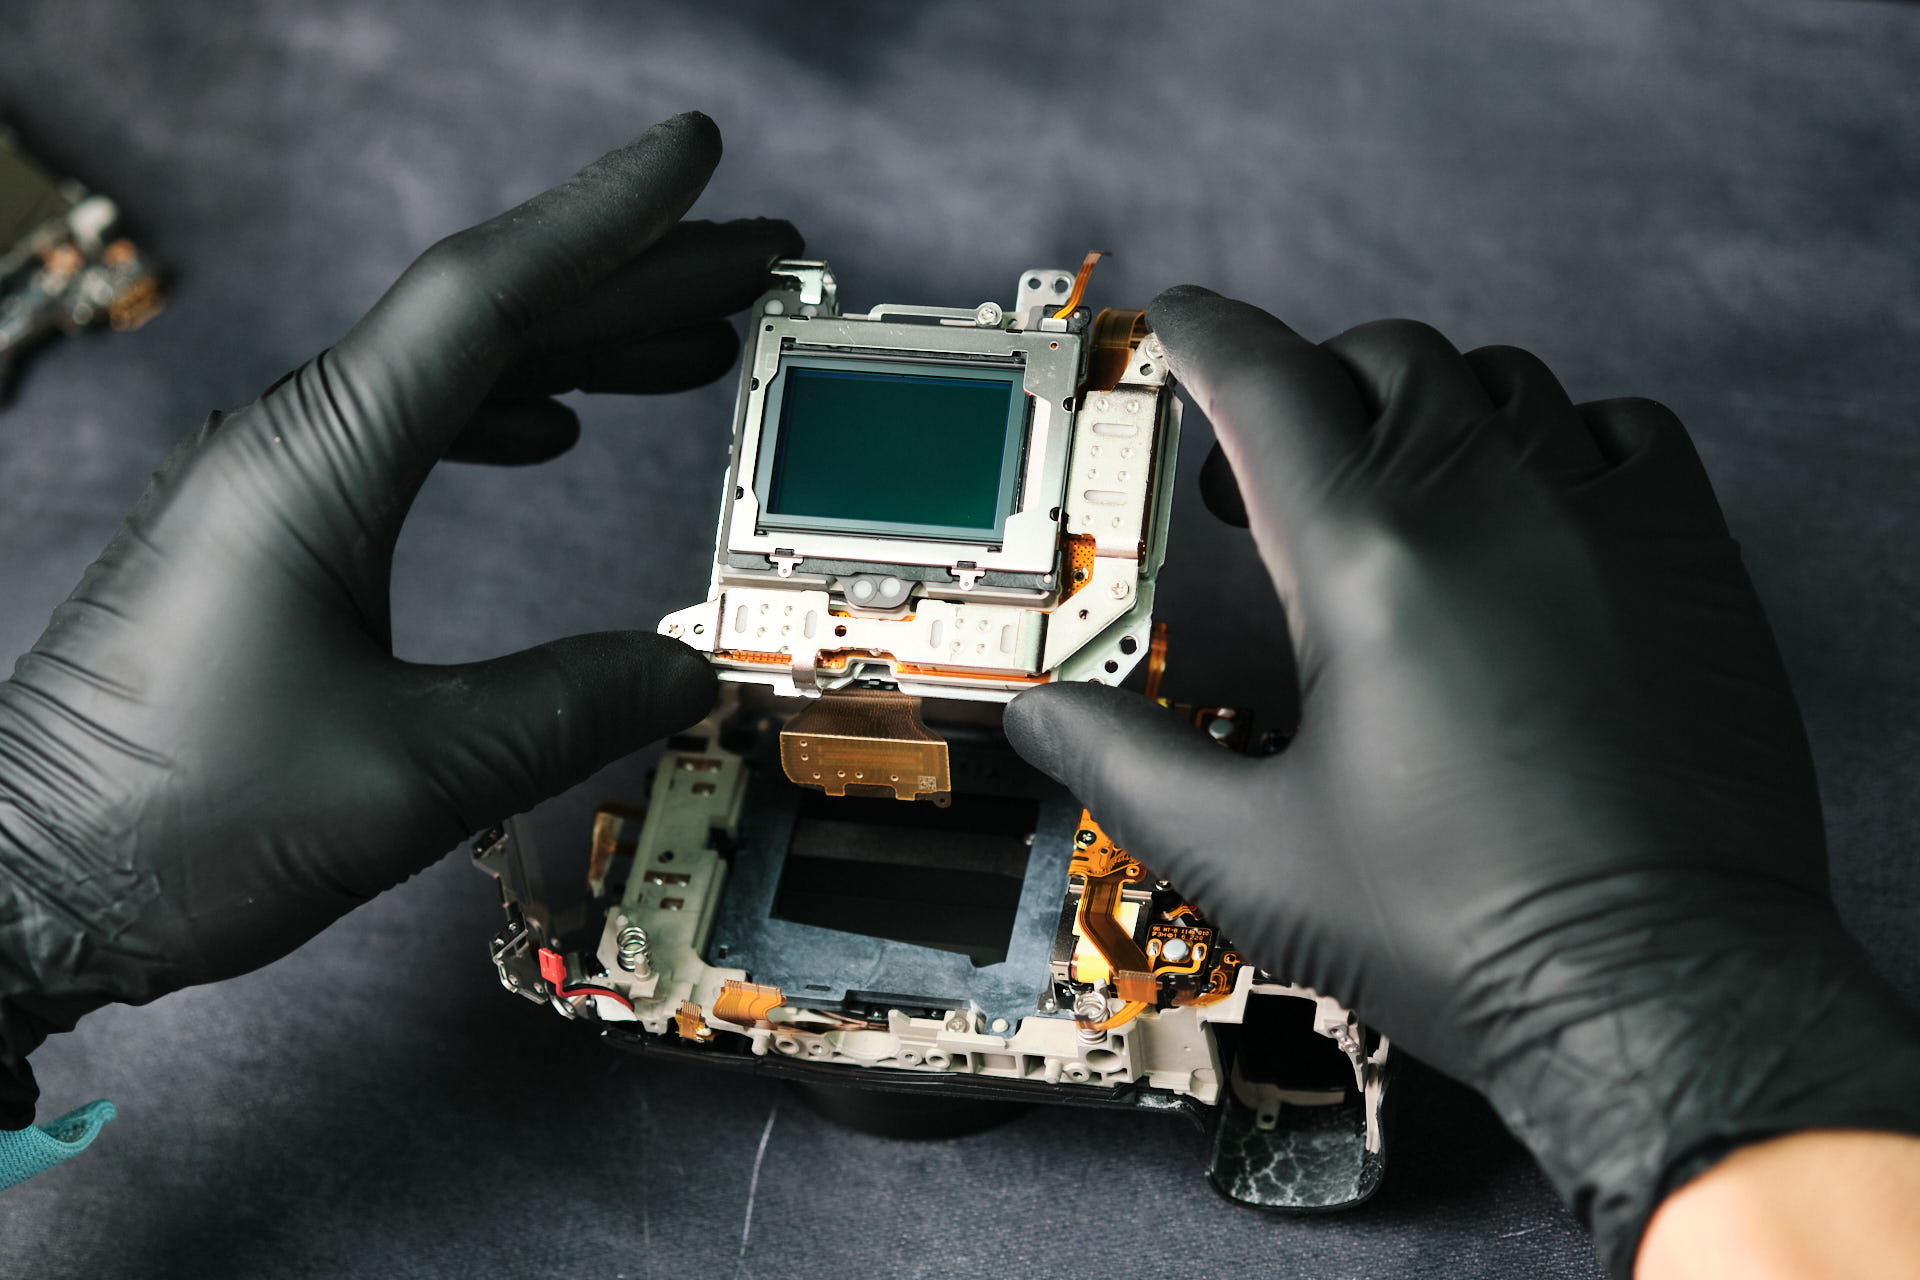
Removing the Canon R5 Mark II Camera Sensor
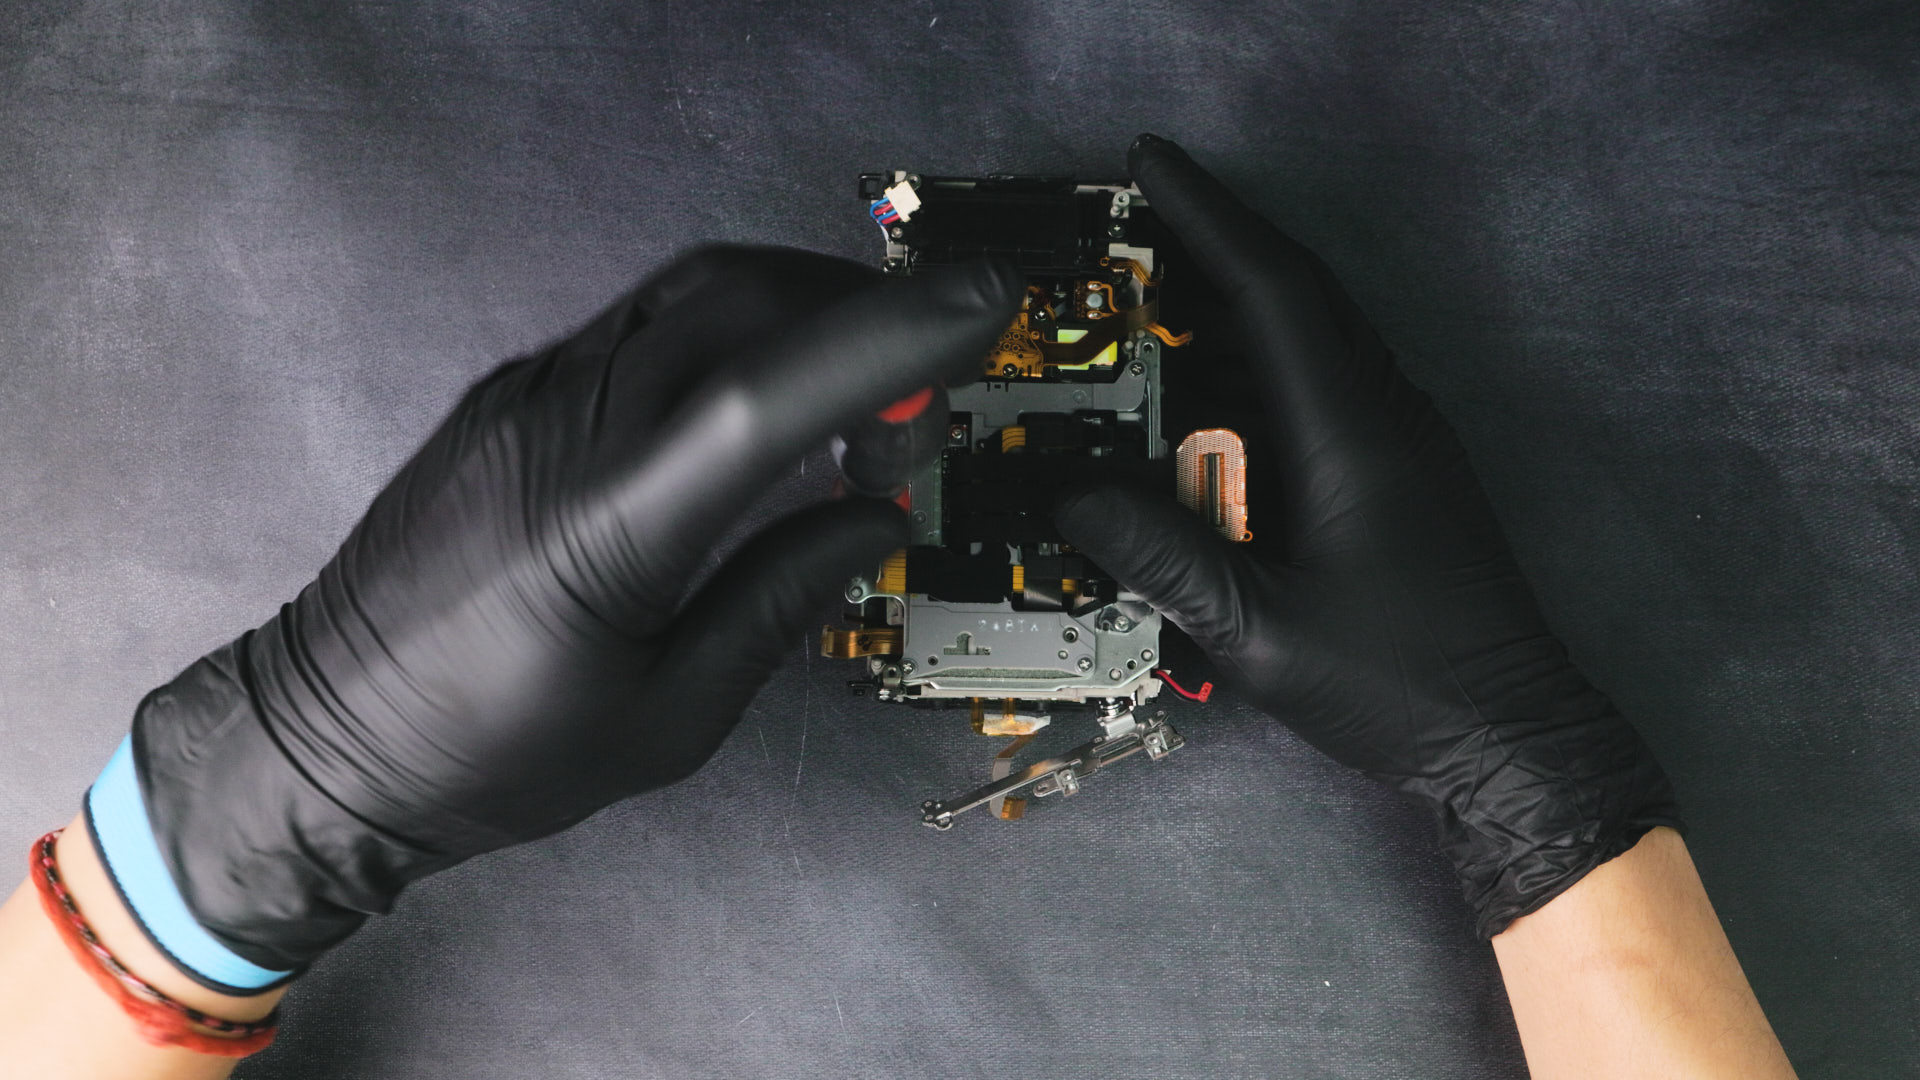
We used a T6 Torx screwdriver to remove three screws that secure the sensor.
Finally, the sensor could be removed. The Canon R5 Mk II uses a spring-loaded mechanism for focus calibration instead of shims.
Final Thoughts on the Canon R5 Mark II Teardown Difficulty
We consider the Canon R5 MK II camera a mid-difficulty camera to tear down. According to our camera tech it was slightly more complicated then the original R5 with more screws, a new EVF, and a new sensor. Canon also added heat transfer tape which adds one more step before reaching the sensor.
Thanks for reading. If you’re interested in more camera teardowns, we feature a new one every month. Be sure to sign up for our newsletter so you don’t miss them!
Frequently Asked Questions
How Do You Start Disassembling The Canon R5 Mark II?
The Canon R5 Mark II teardown starts by removing six screws from the camera’s baseplate. After that, the teardown continues around the port side, EVF, grips, strap mounts, memory card side, and battery compartment before the body panels can be removed.
Where Are The Hidden Screws On The Canon R5 Mark II?
The Canon R5 Mark II has several hidden screws under exterior grip pieces. The teardown found screws under the right hand palm grip, under the memory card side grip, under the shutter button, near the front of the battery compartment, under the left hand front grip, beneath the battery door, and under the R5 Mark II logo.
Are Kolari Magnetic Clip-in Filters Compatible With The Canon R5 Mark II?
Yes. The Canon R5 Mark II uses the Canon RF mount, which is compatible with Kolari Magnetic Clip-in Filters for Canon RF-mount cameras. It can also use an EF-EOS R Mount Adapter for compatibility with Kolari drop-in filters.
How Is The Canon R5 Mark II Circuit Board Removed?
The Canon R5 Mark II circuit board is removed after disconnecting twelve ribbon cables and removing five screws that secure the board. The teardown also removes the HDMI board, which is held down by two screws and one ribbon cable.
How Is The Canon R5 Mark II Camera Sensor Removed?
The Canon R5 Mark II sensor is reached near the end of the teardown. After the circuit board area is cleared and the heat transfer tape is disconnected, three T6 Torx screws are removed so the sensor can be detached. The camera uses a spring-loaded mechanism for focus calibration instead of shims.