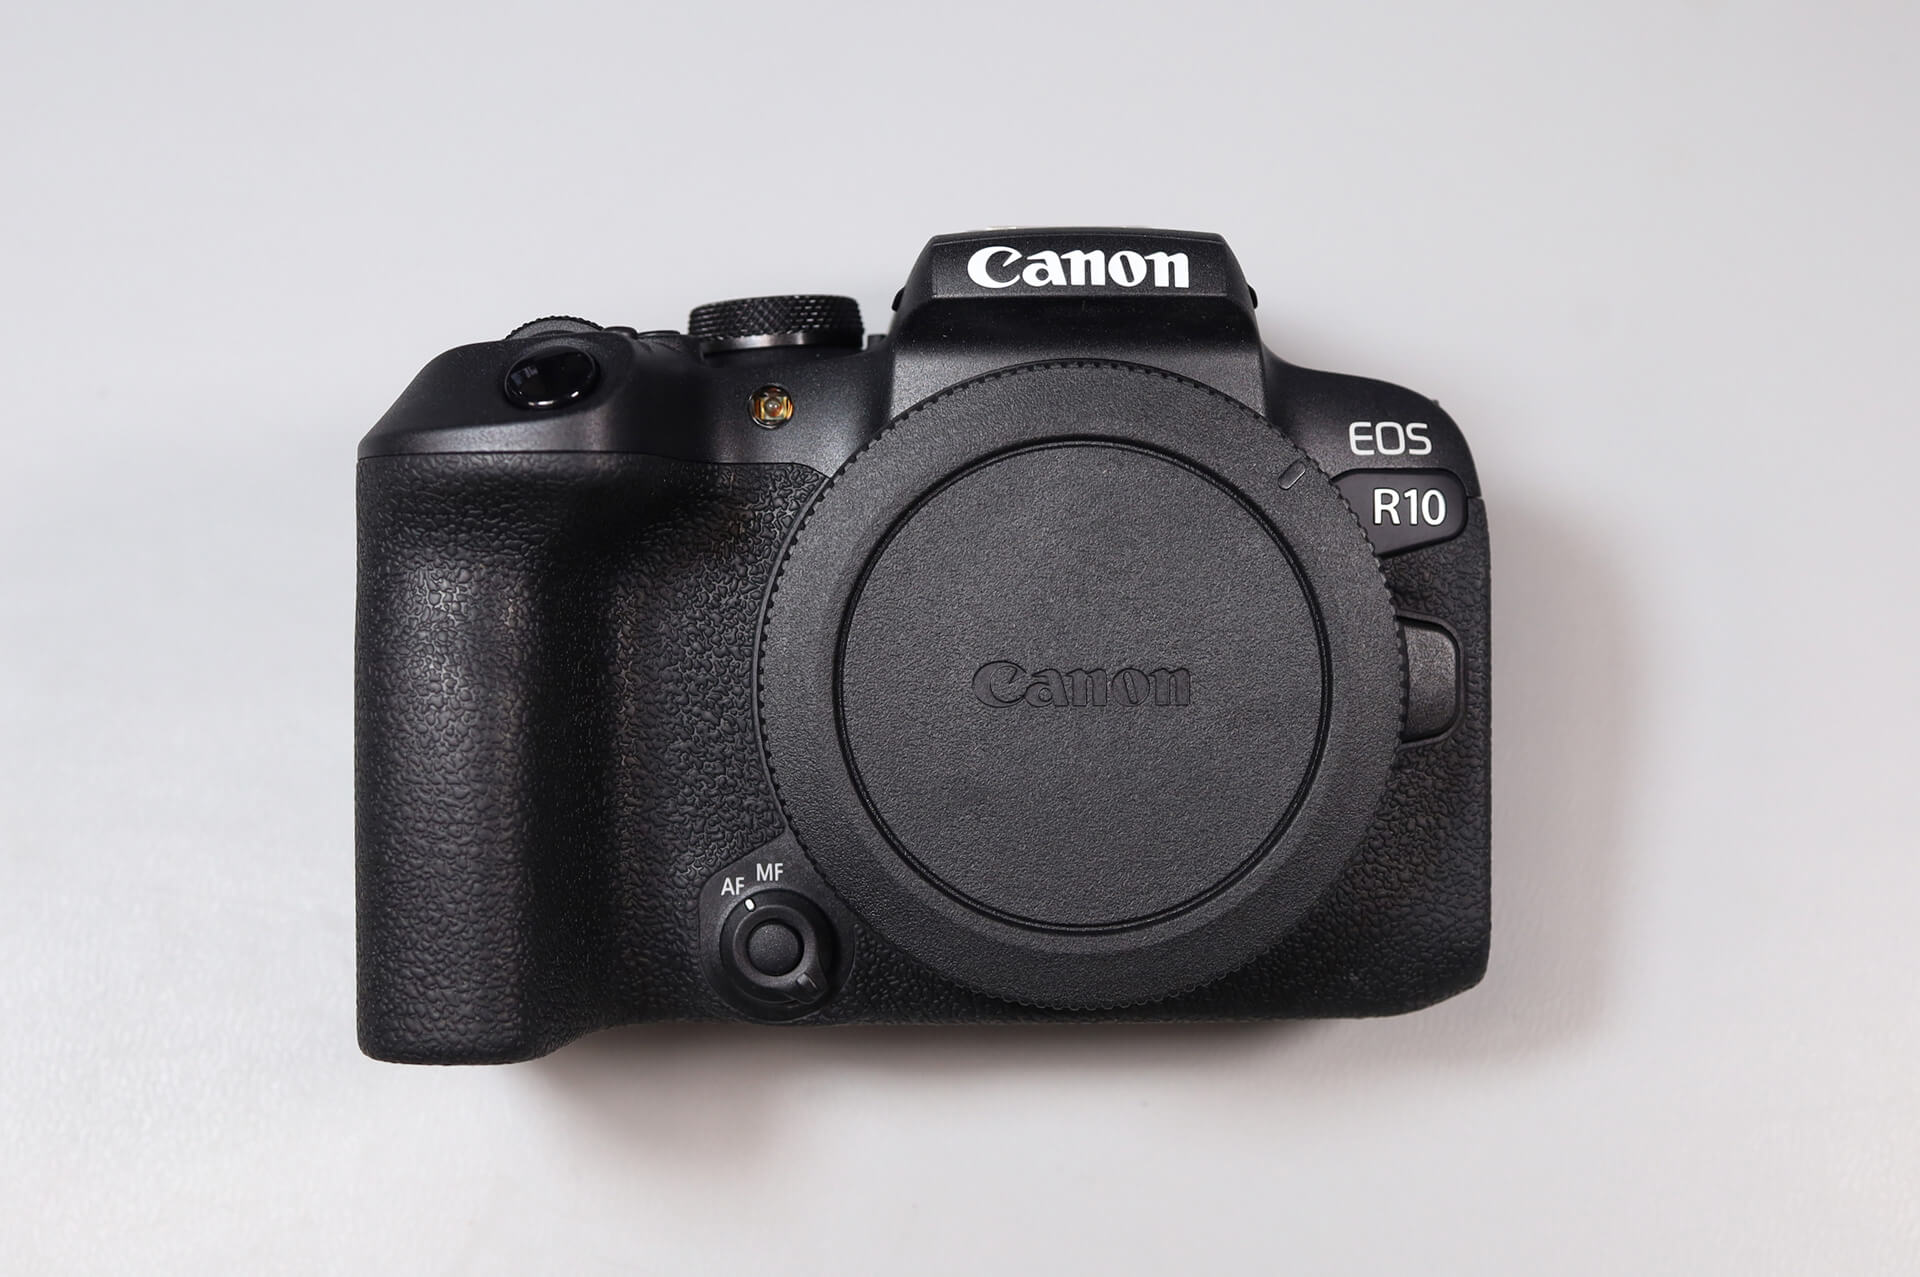
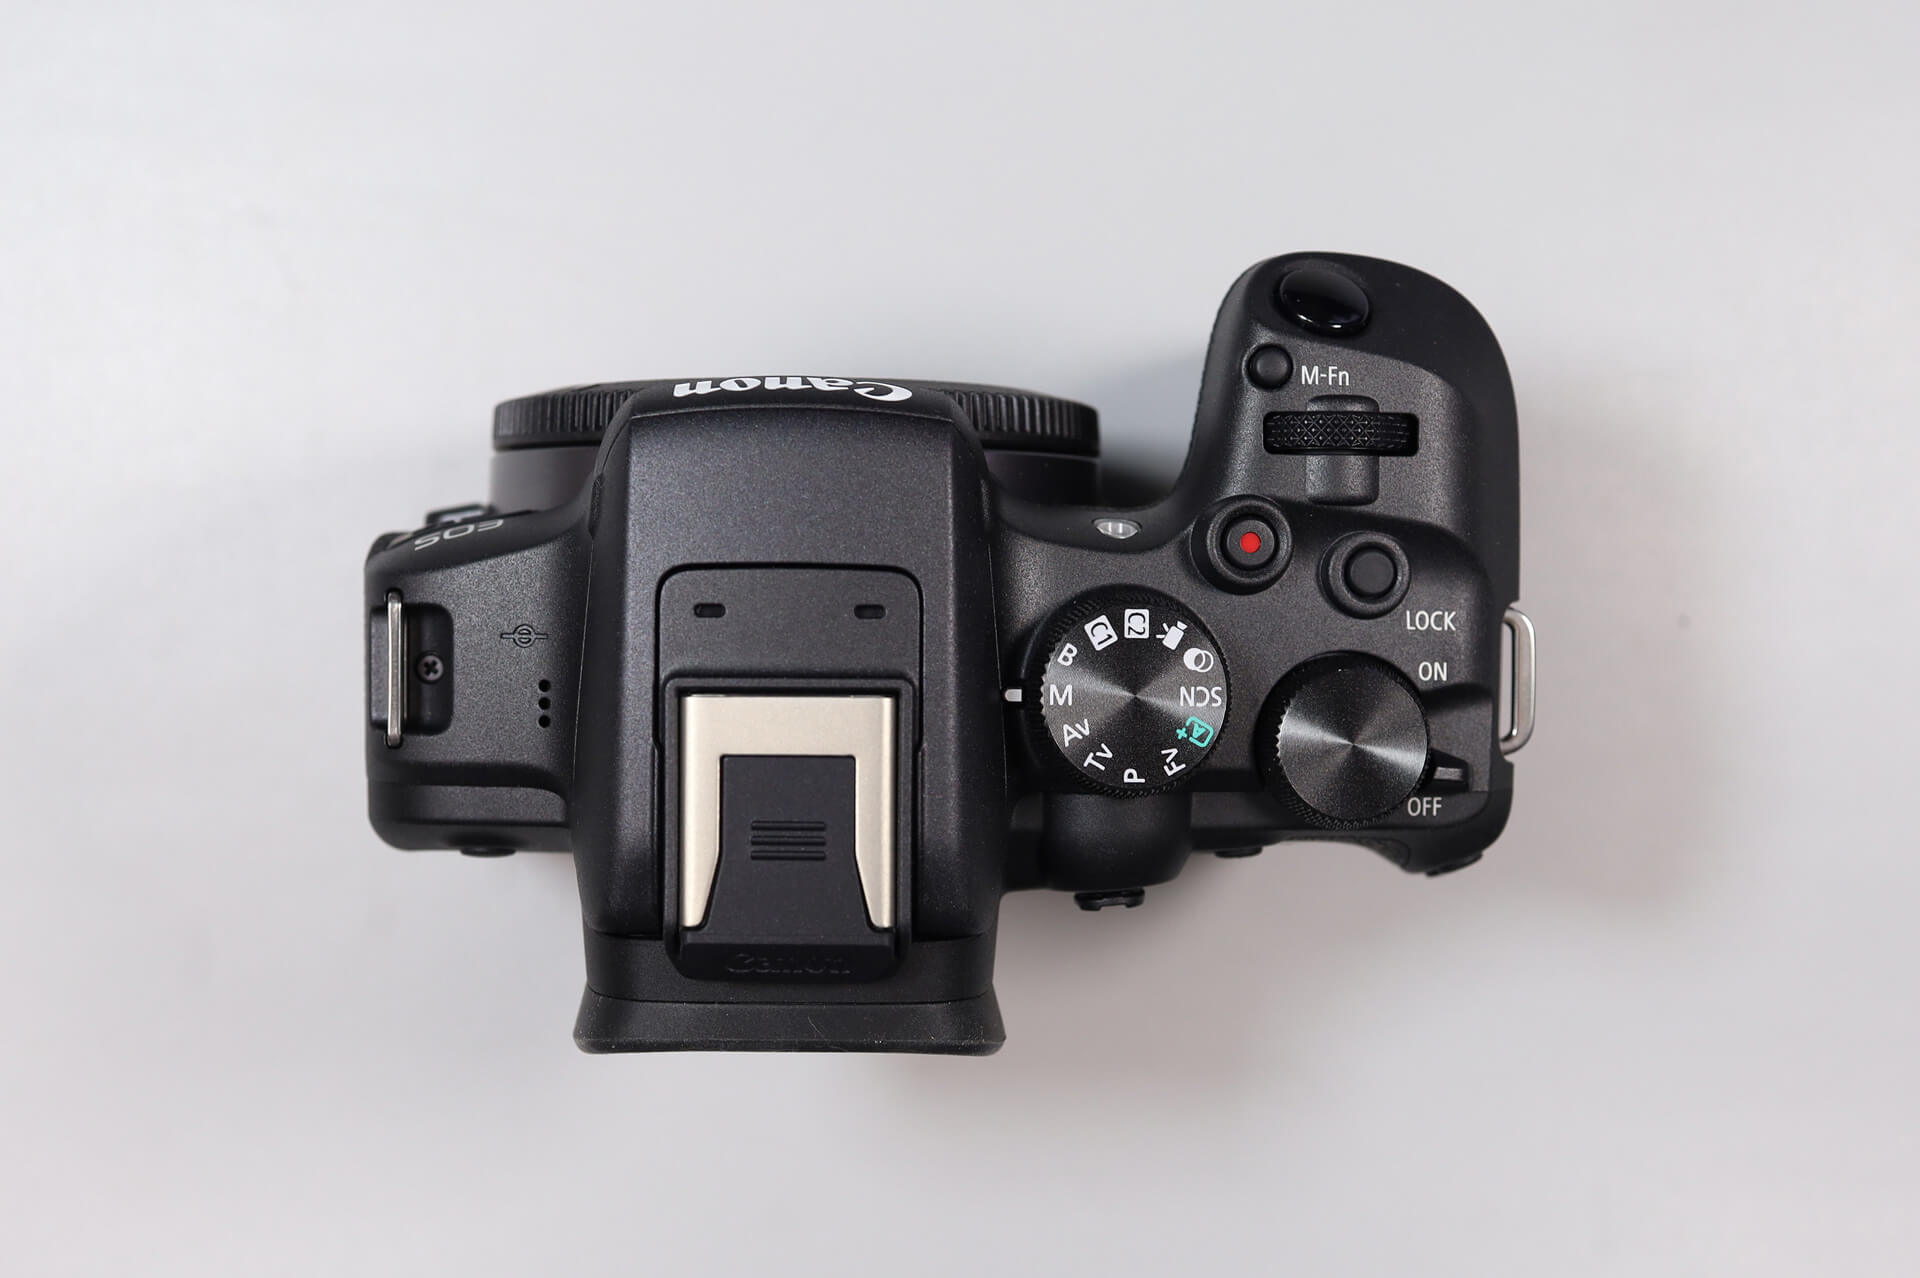
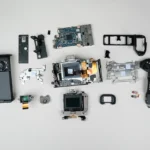
Canon continues their legacy by adding more improvements to their camera lineup. They’ve recently introduced the Canon EOS R10, a high-quality APS-C camera marketed as an entry-level model for photographers. The R10, however, is not a cheap run-of-the-mill camera. Before going into the teardown, let’s talk about specifications.
Canon R10 Specs and APS-C RF-Mount Design
The R10 sports a familiar look to the rest of the Canon R series cameras, though it has one major difference. This camera—along with its R7 sibling—has an APS-C format 24 MP CMOS sensor housed in a compact size body. All of the other R series cameras come in full-frame formats. Other features include oversampled 4k up to 30p (4k/60p with crop), an improved Dual Pixel autofocus system, a 2.36M dot OLED viewfinder, and a 1.04M dot fully-articulating rear touchscreen. Interestingly, it houses only one UHS-II SD slot and a built-in pop-up flash.
Starting the Canon R10 Teardown
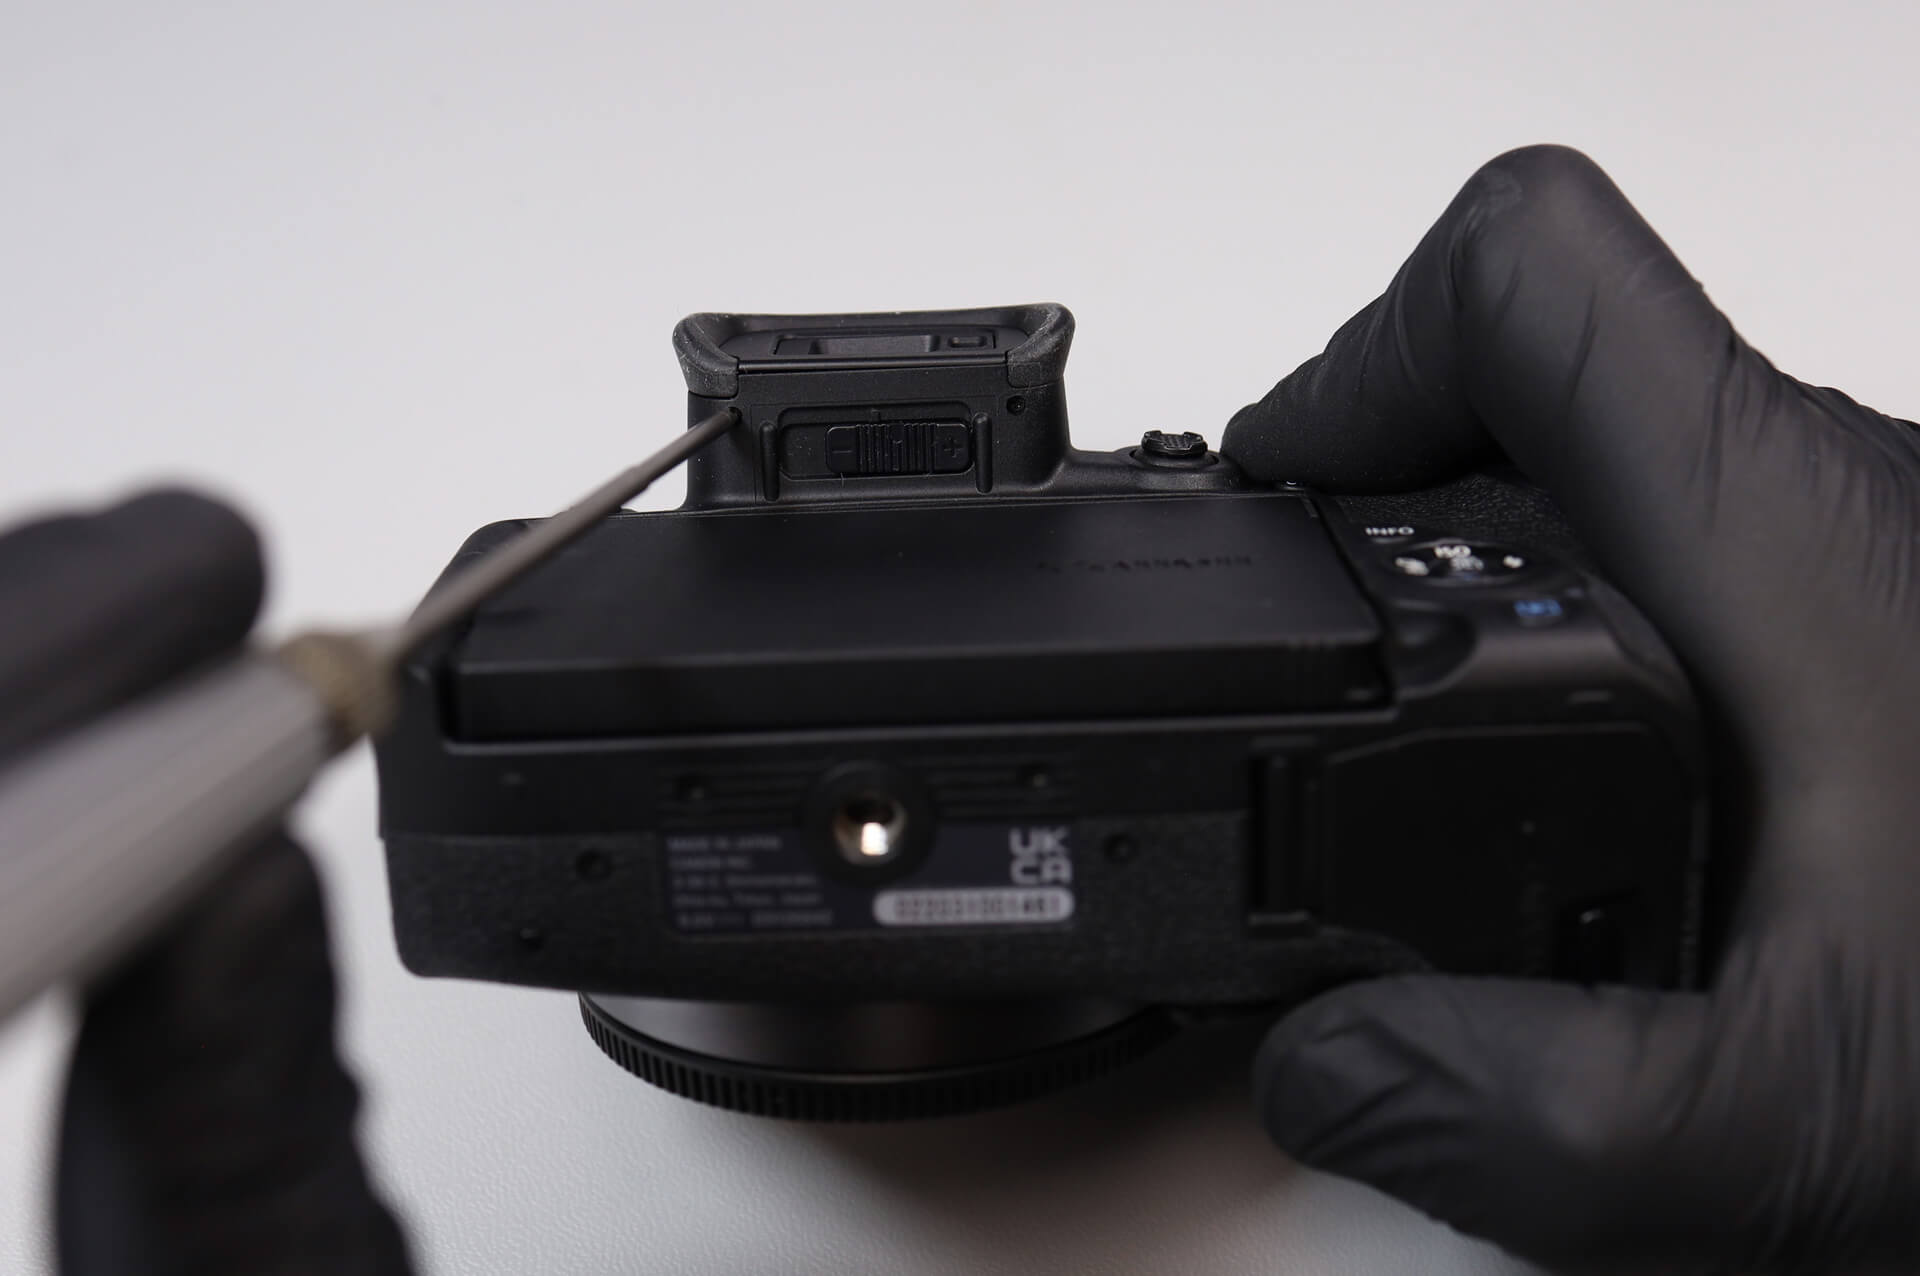
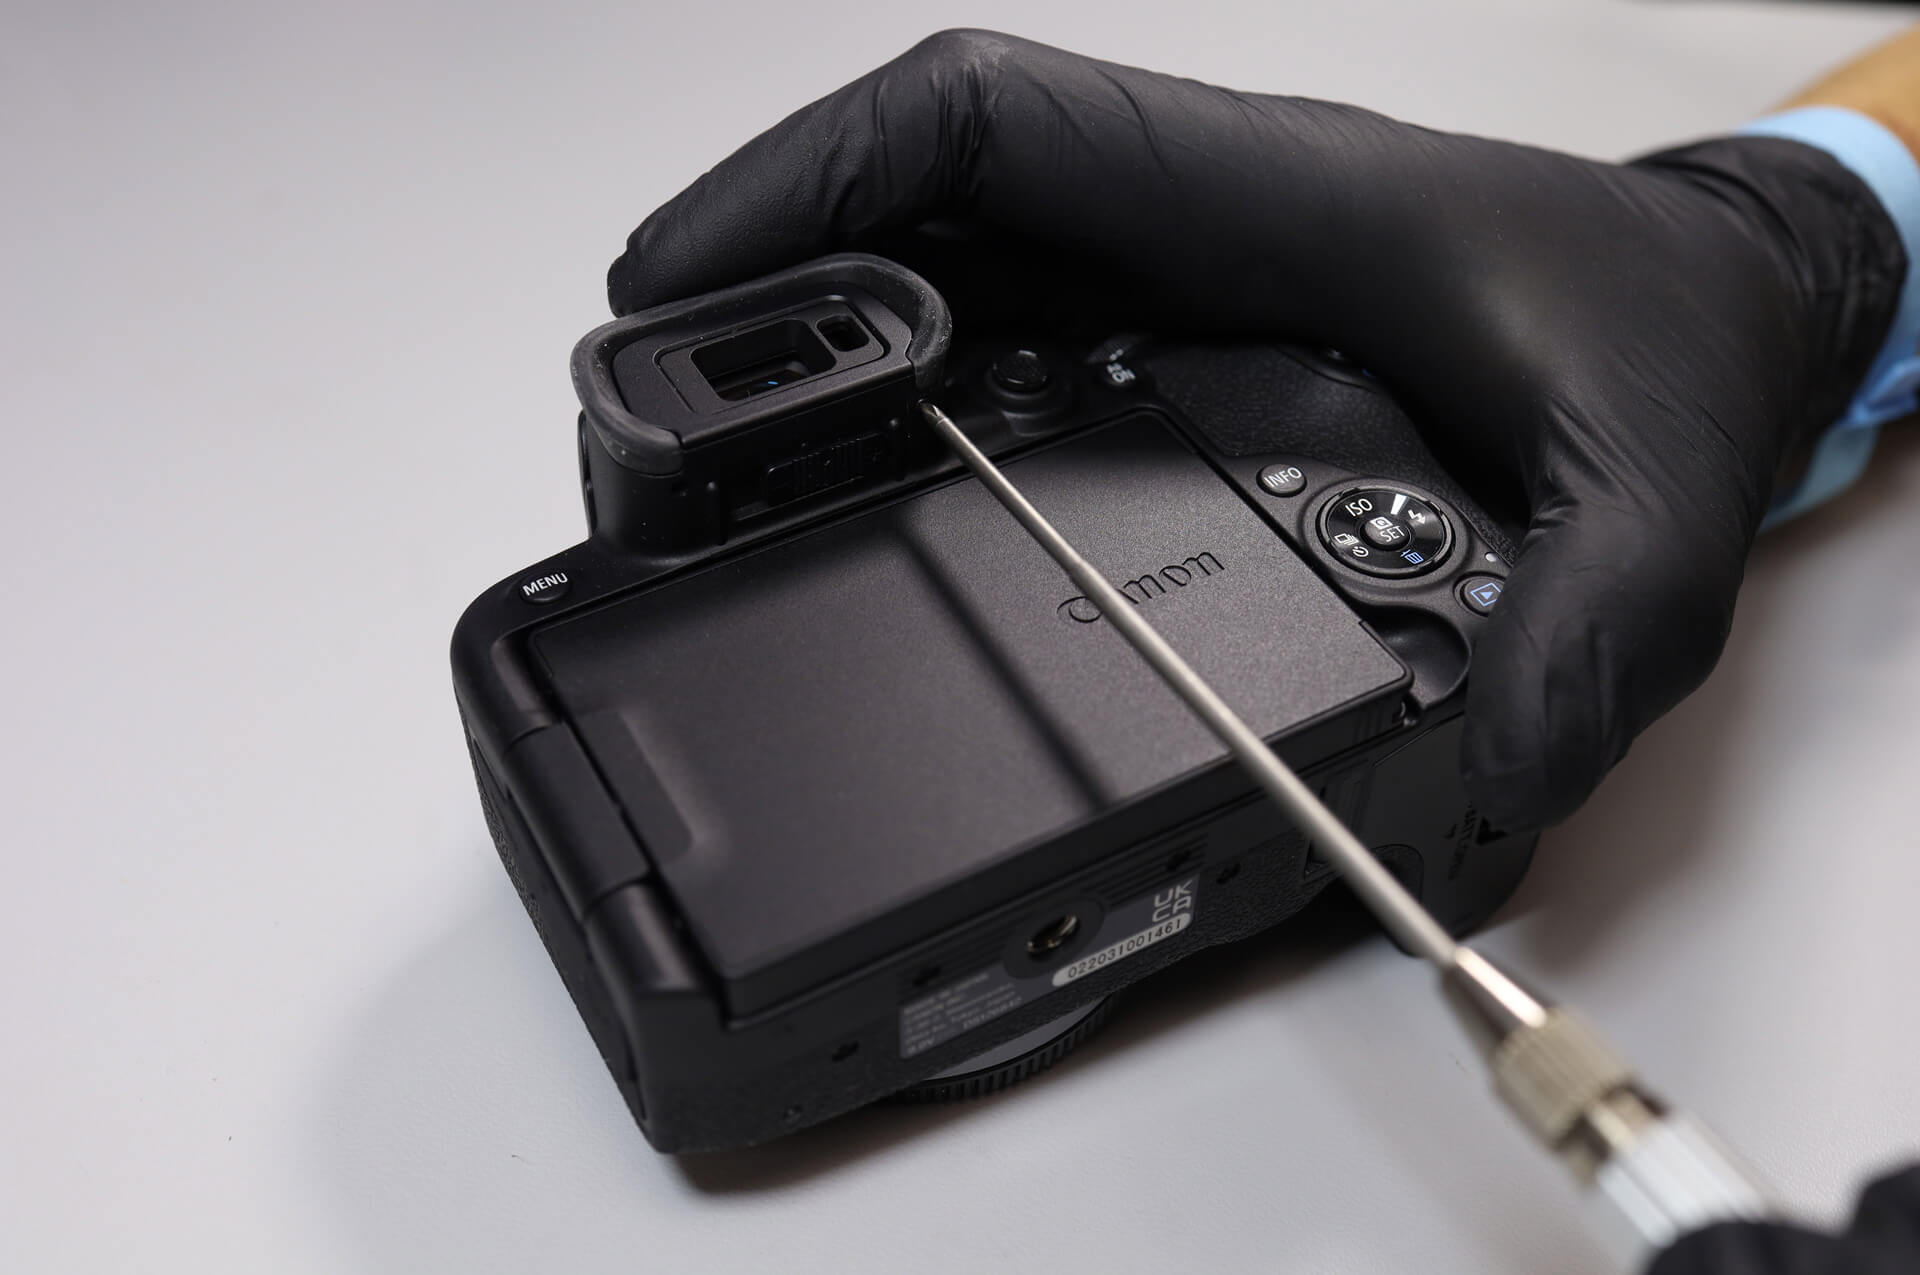
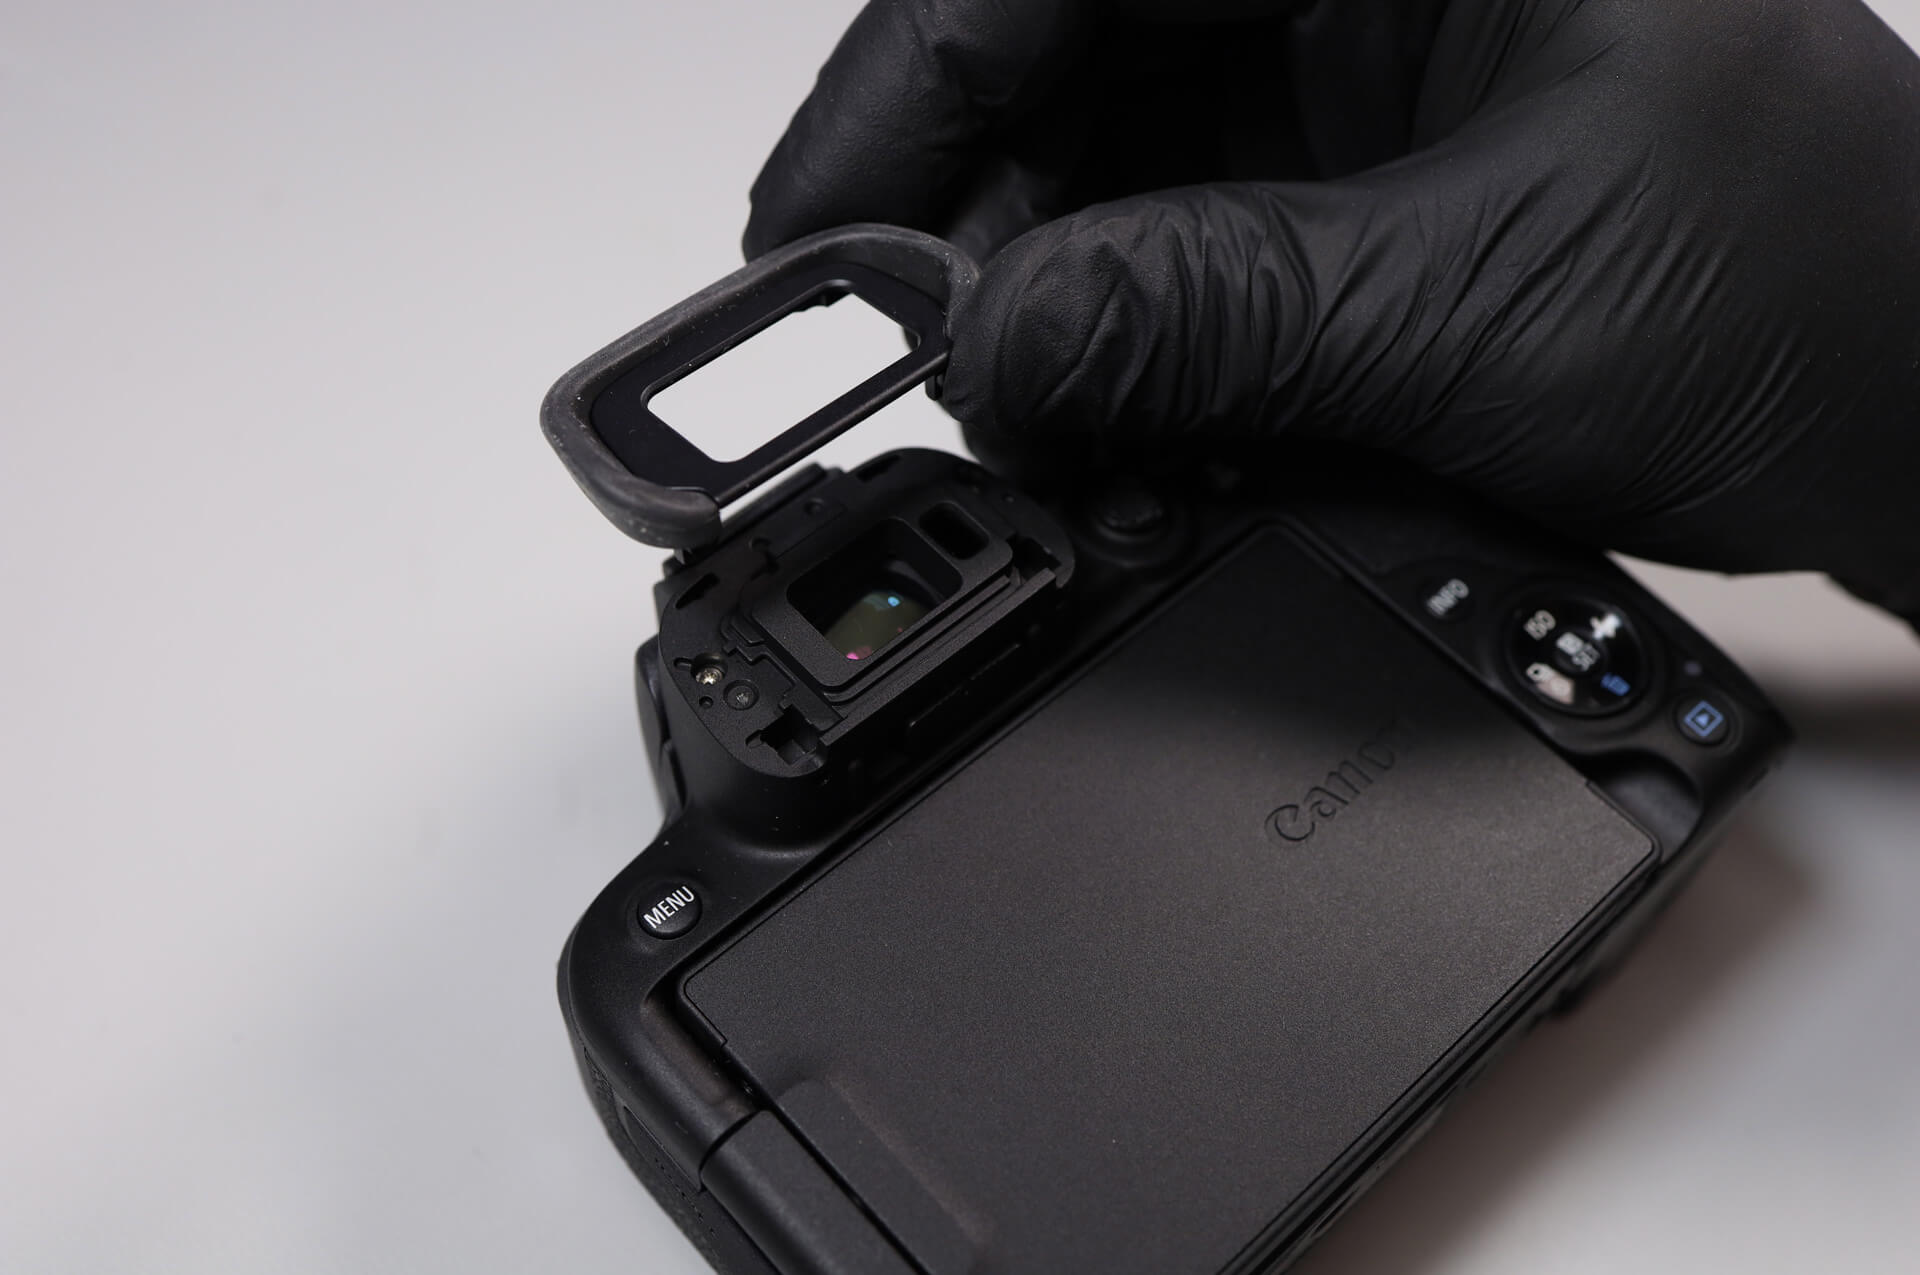
To start, we remove two screws holding the eye cap to take off the eyepiece.
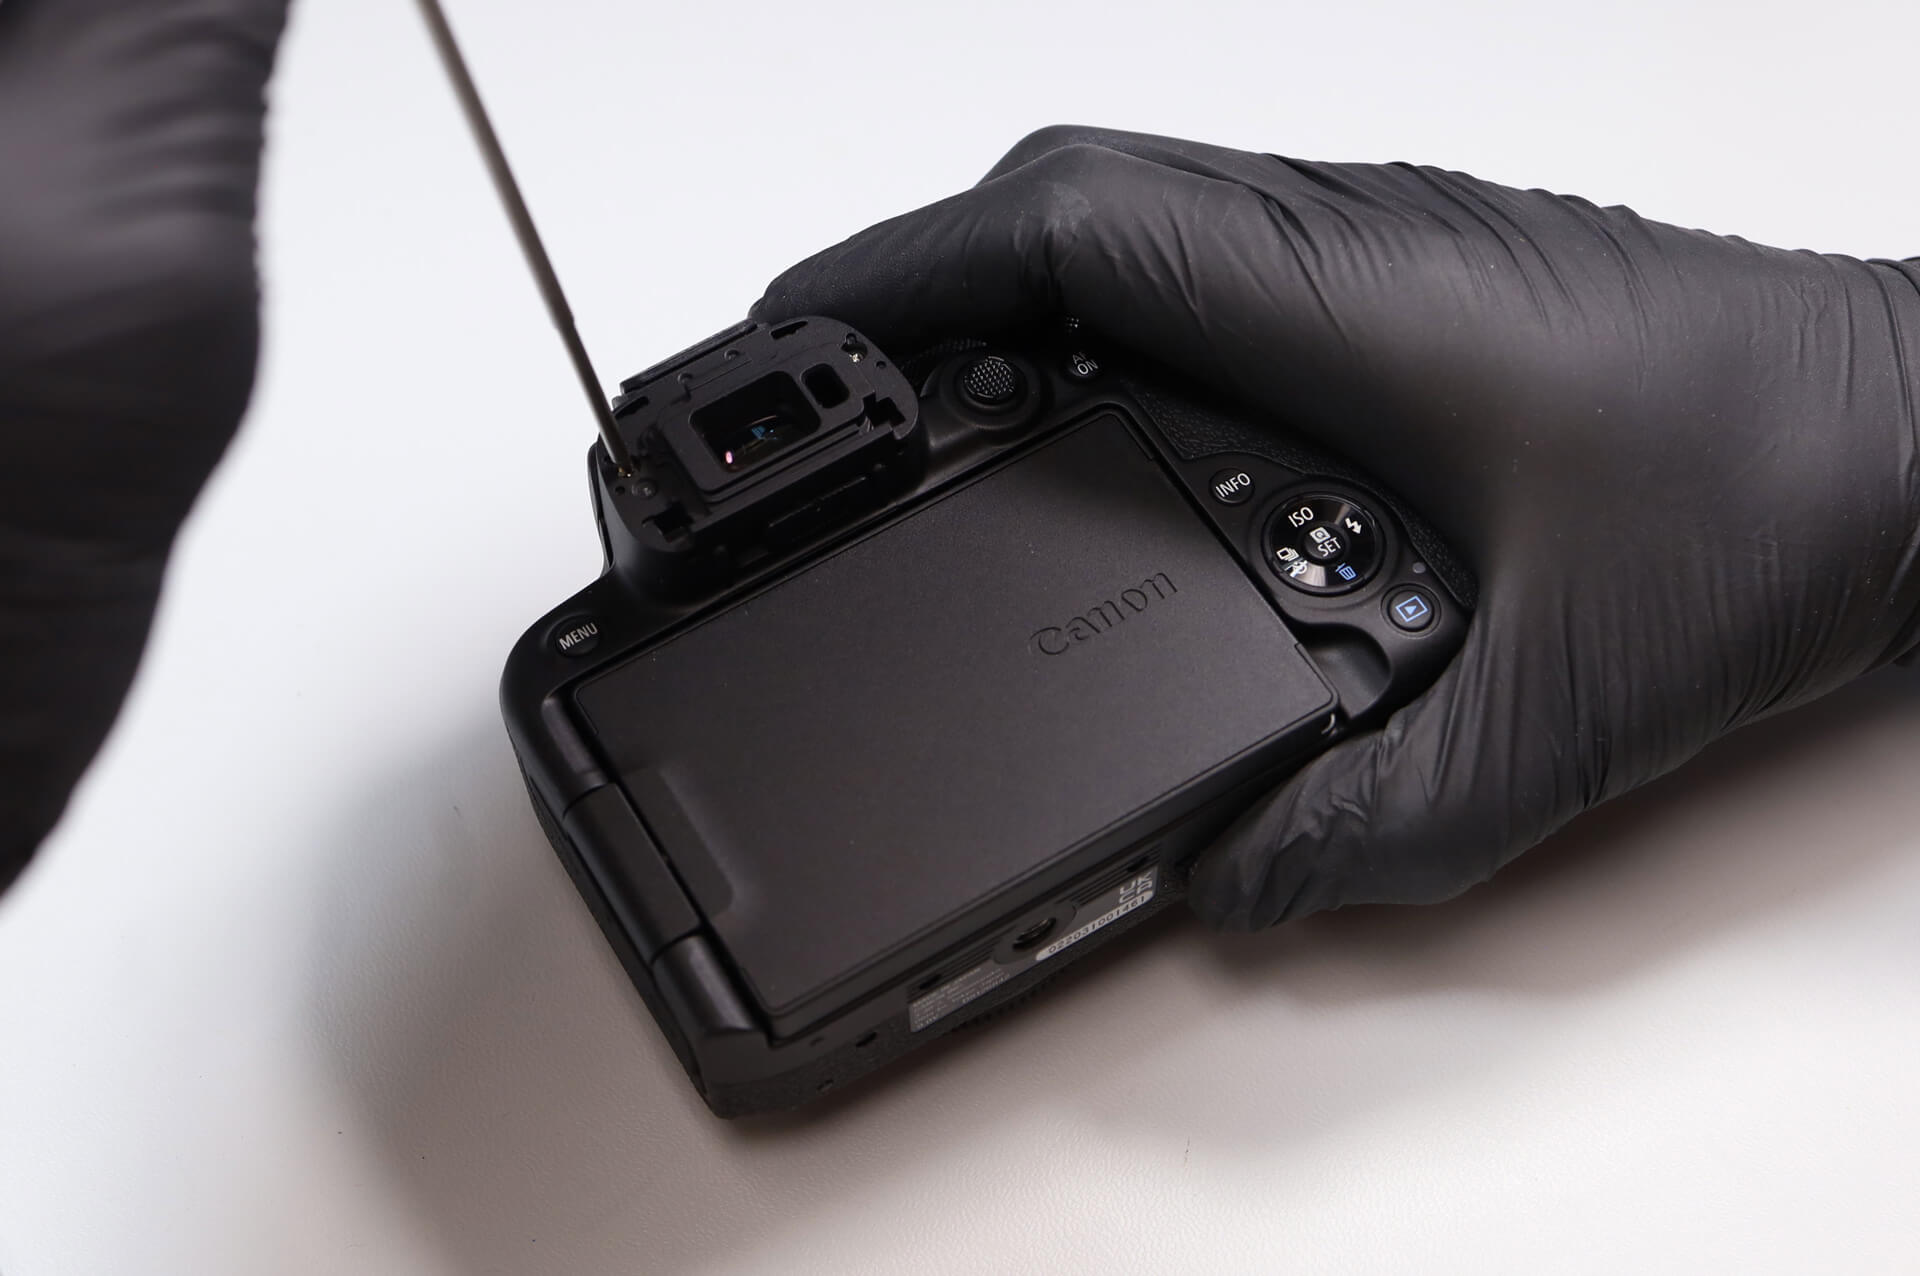
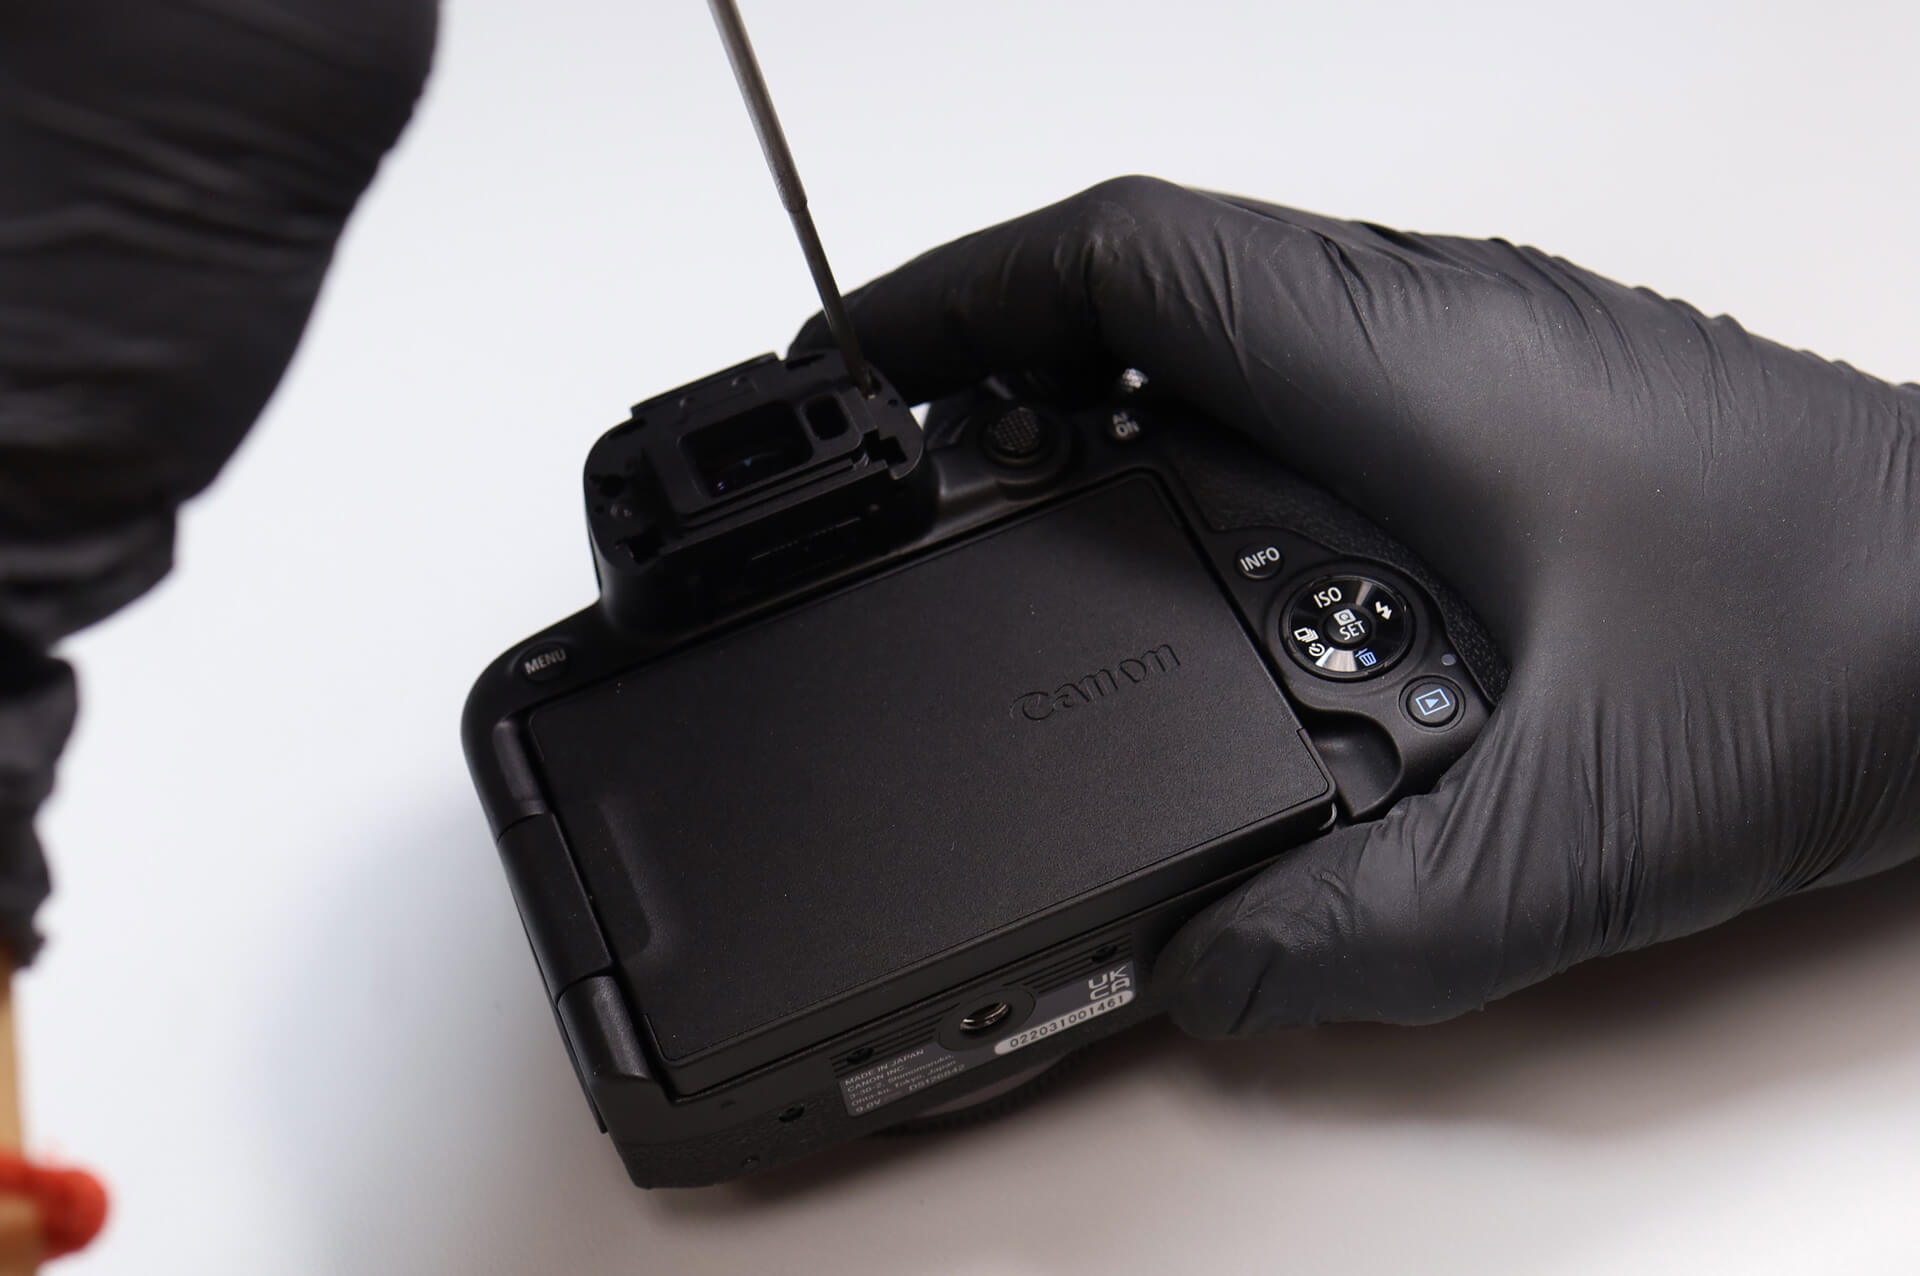
Then three screws near the electronic viewfinder. We have to be careful here, as it’s easy to scratch the glass on the EVF.
Removing Exterior Screws and Hidden Grip Screw
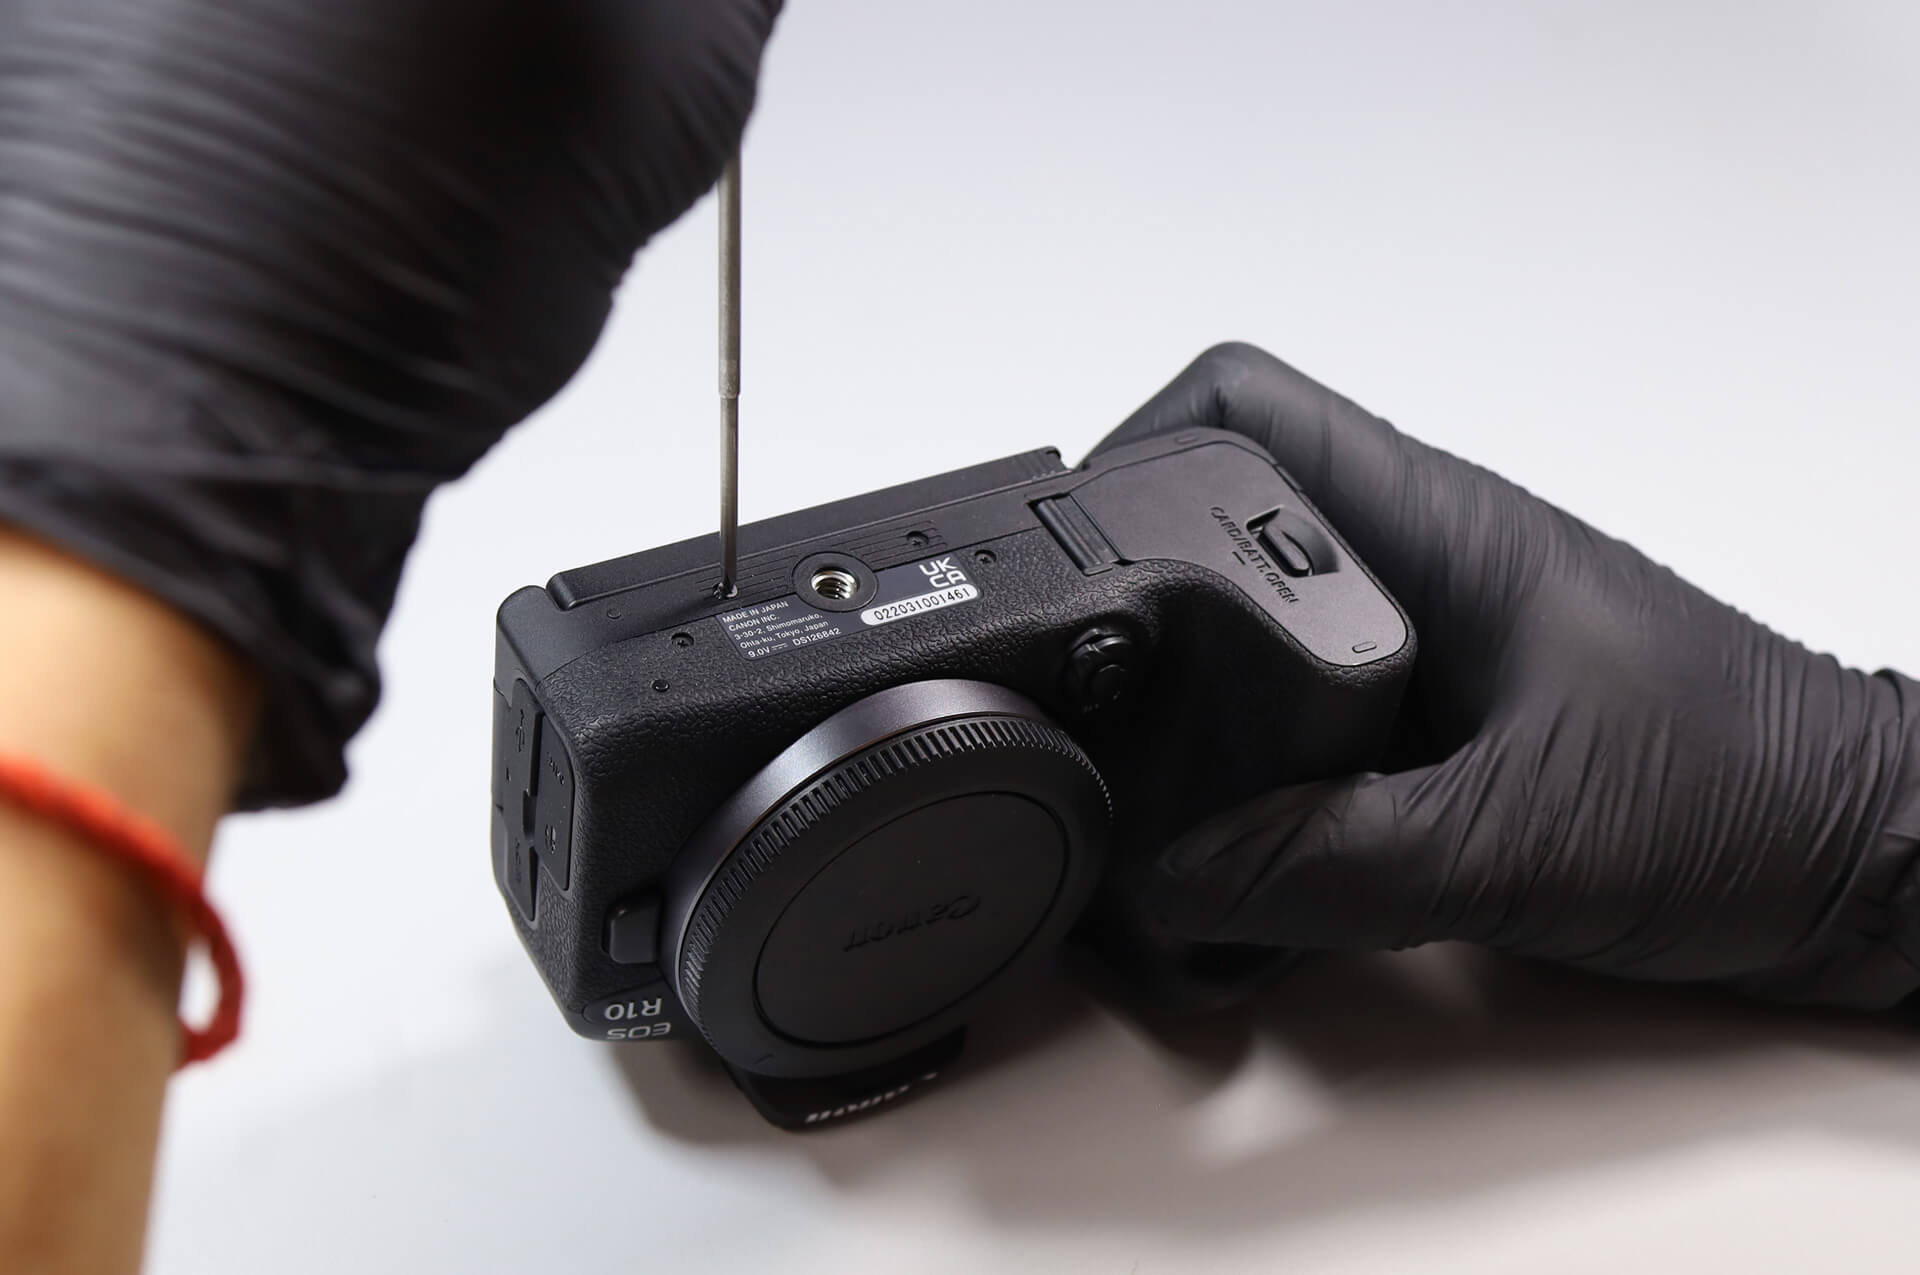
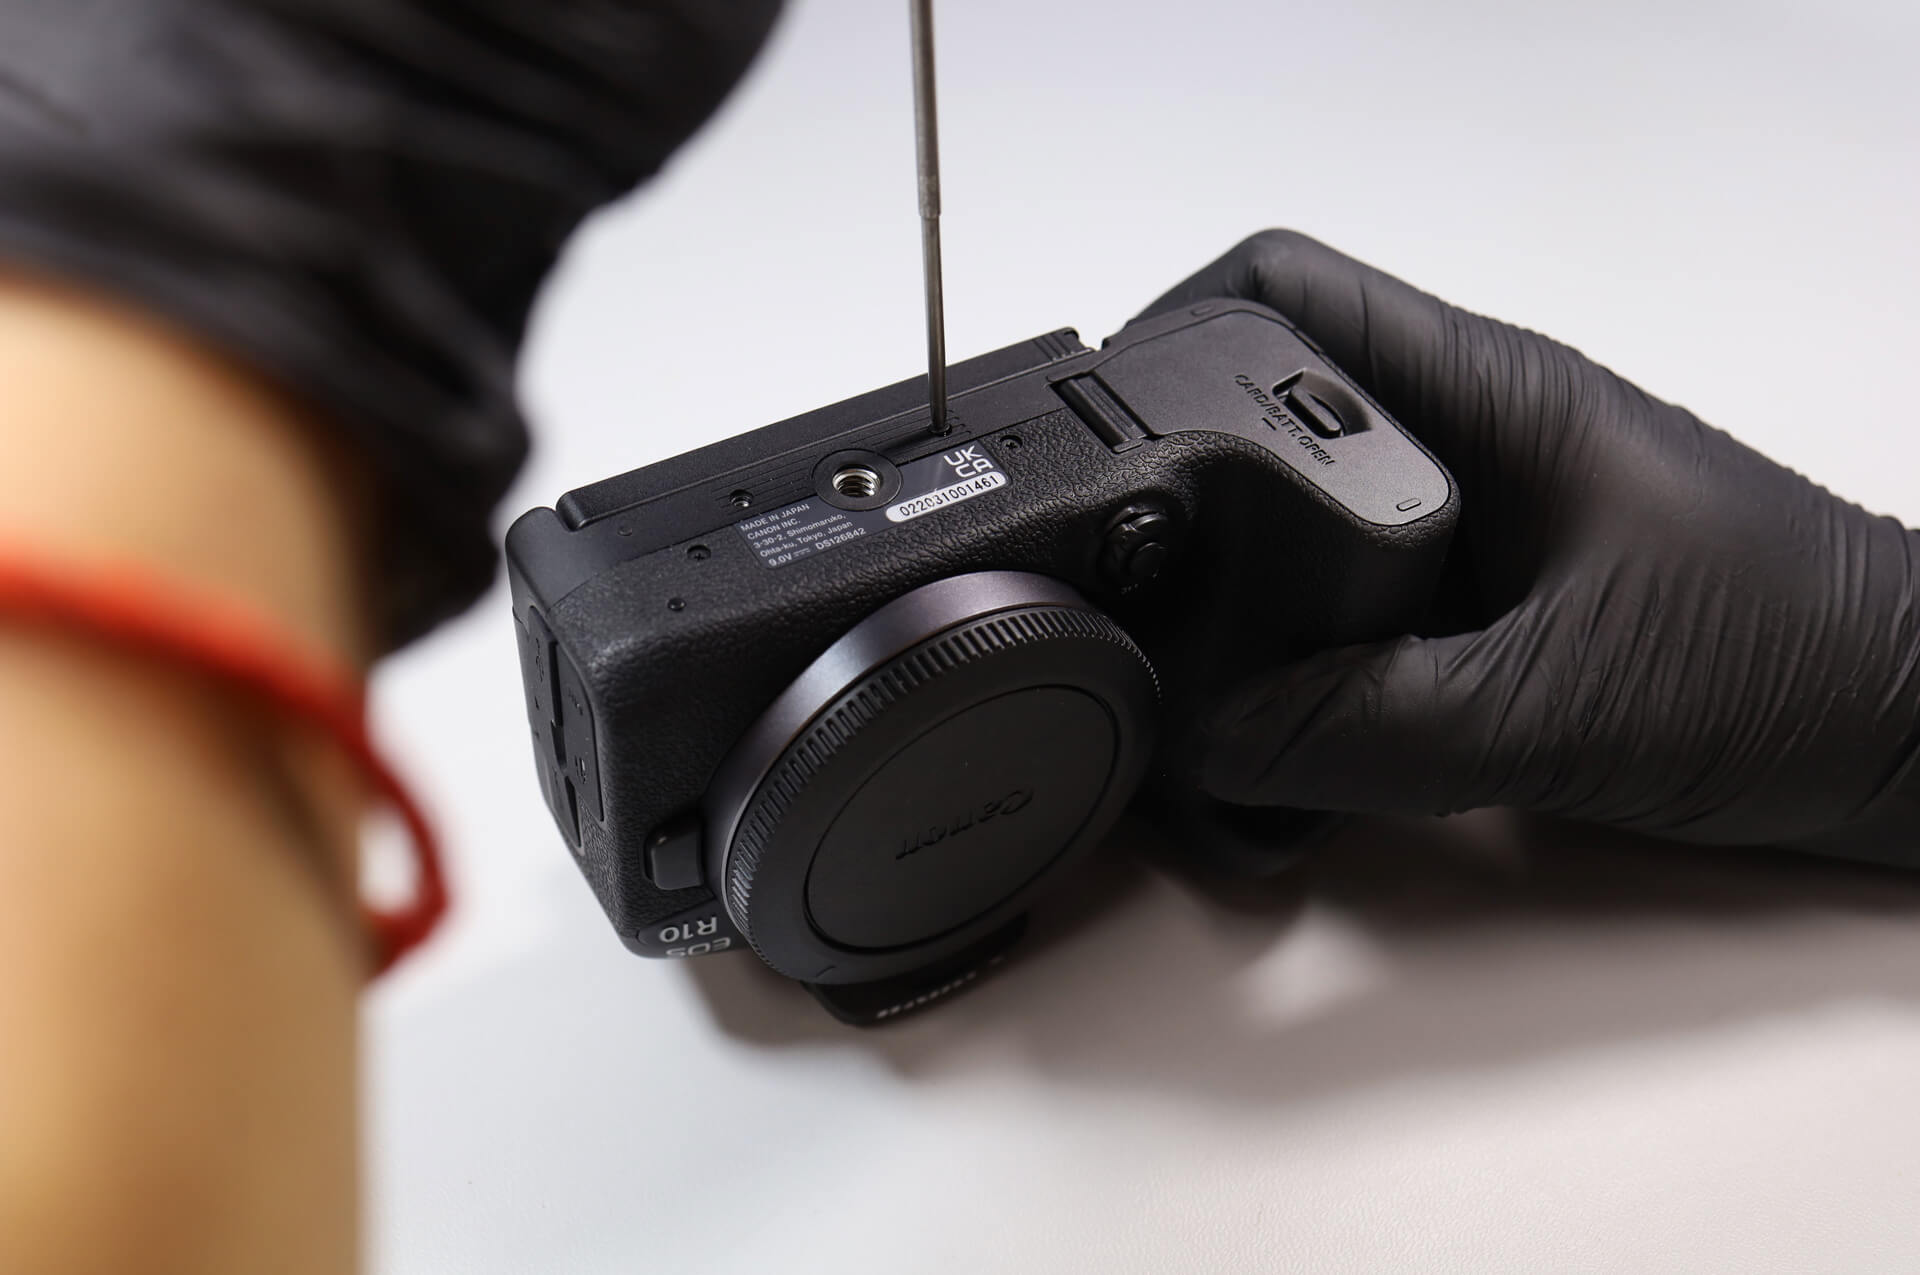
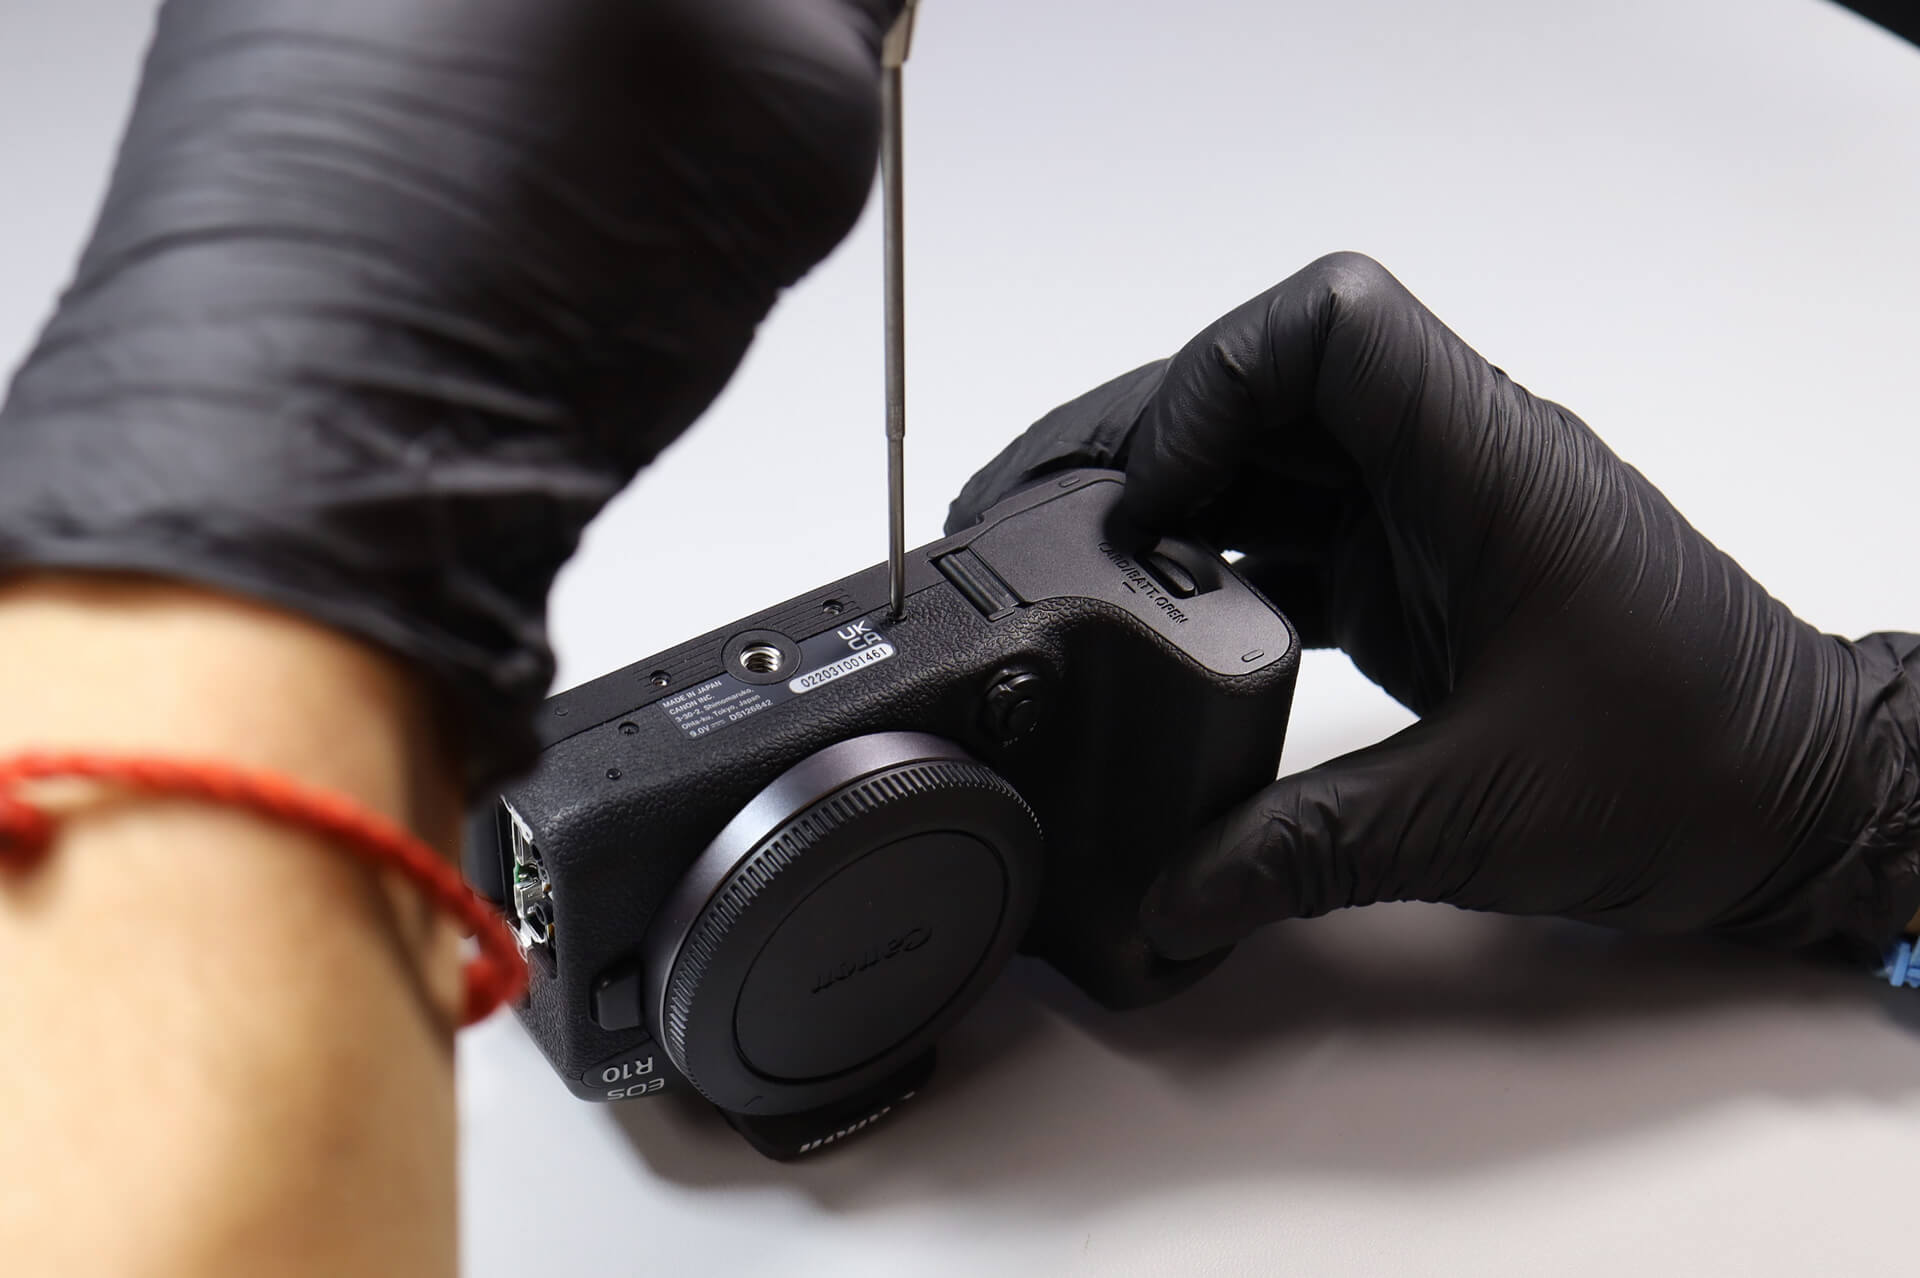
We remove another three screws on the bottom of the camera.
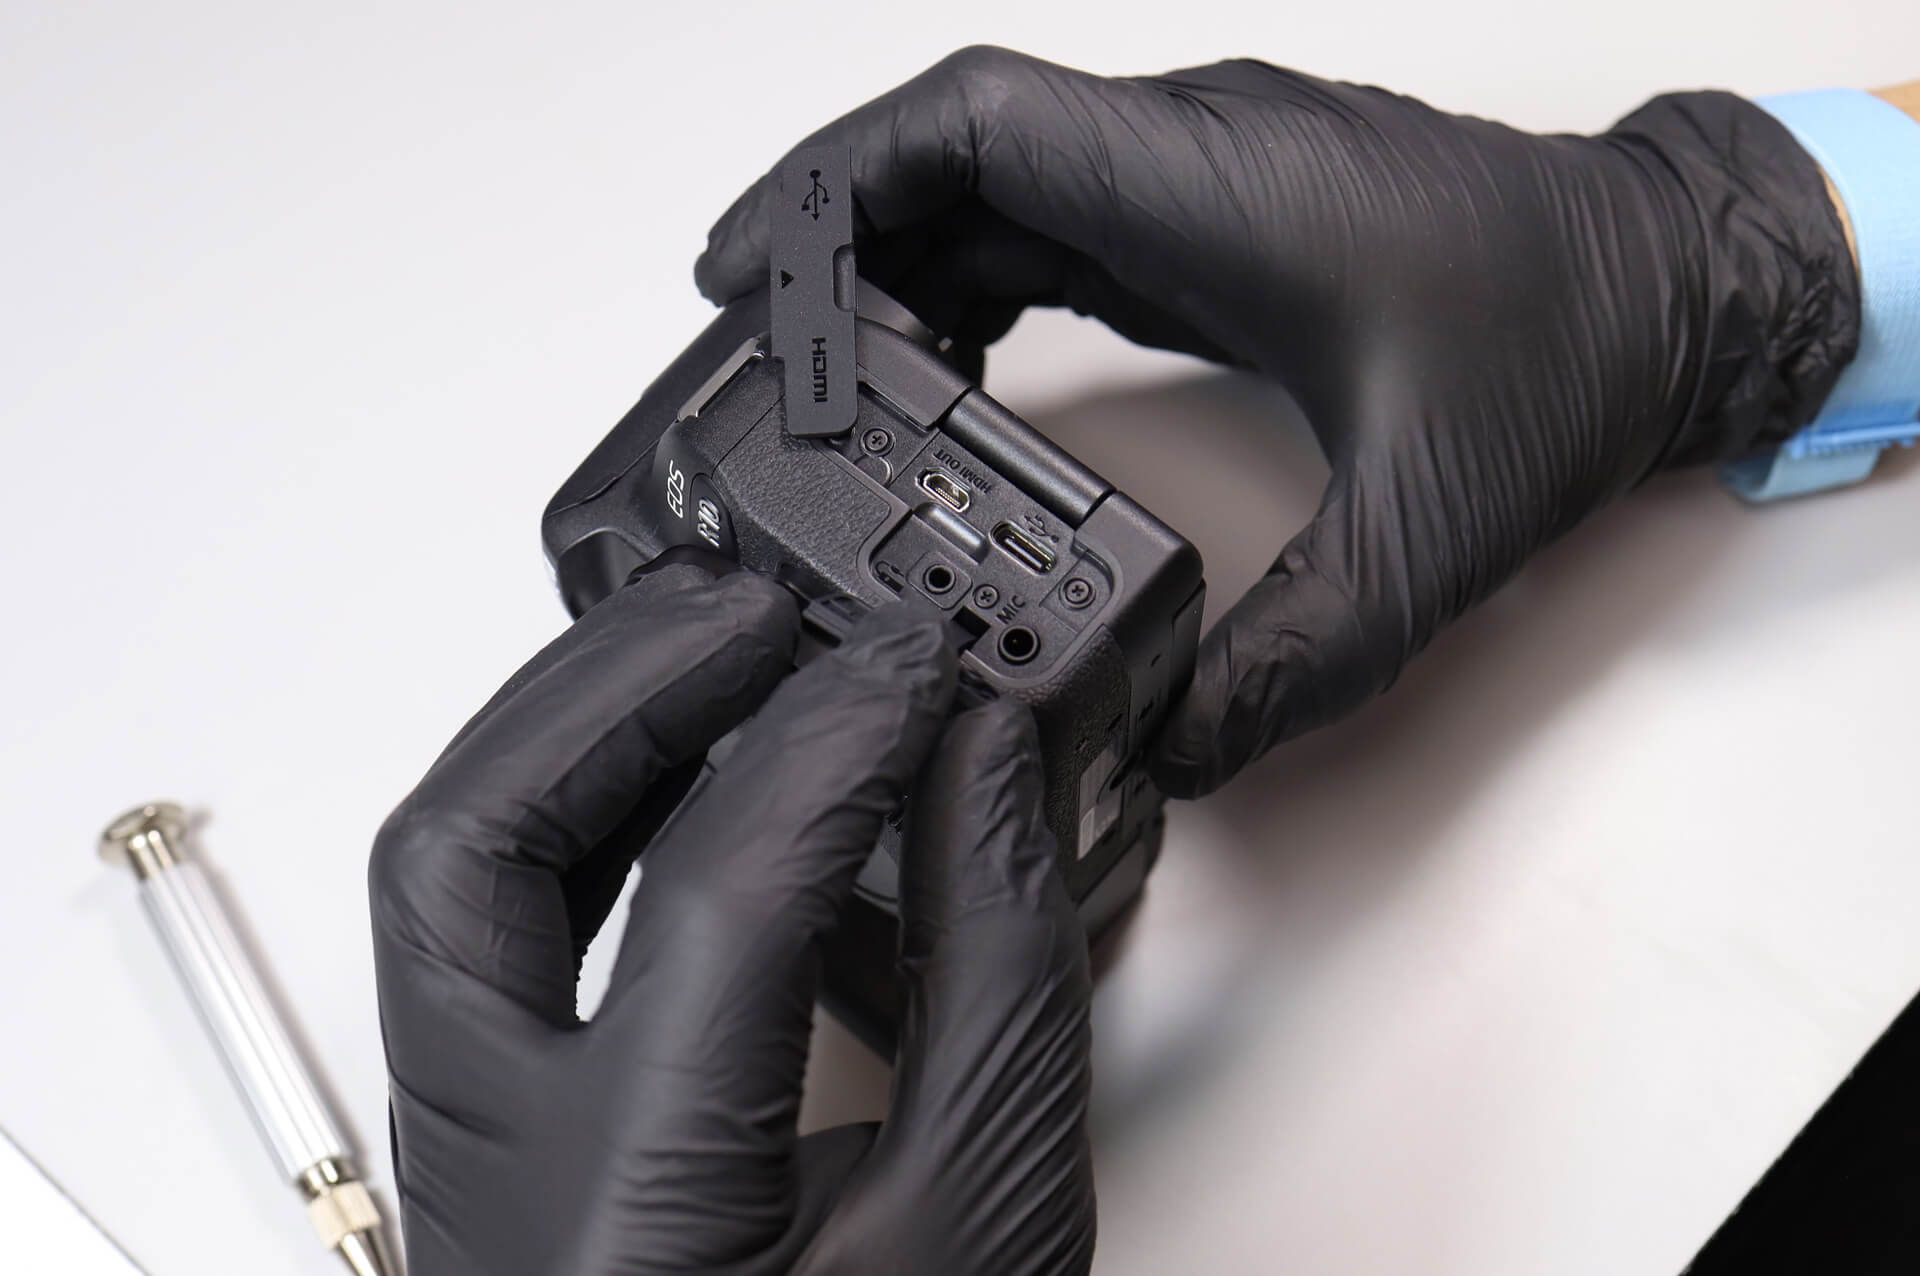
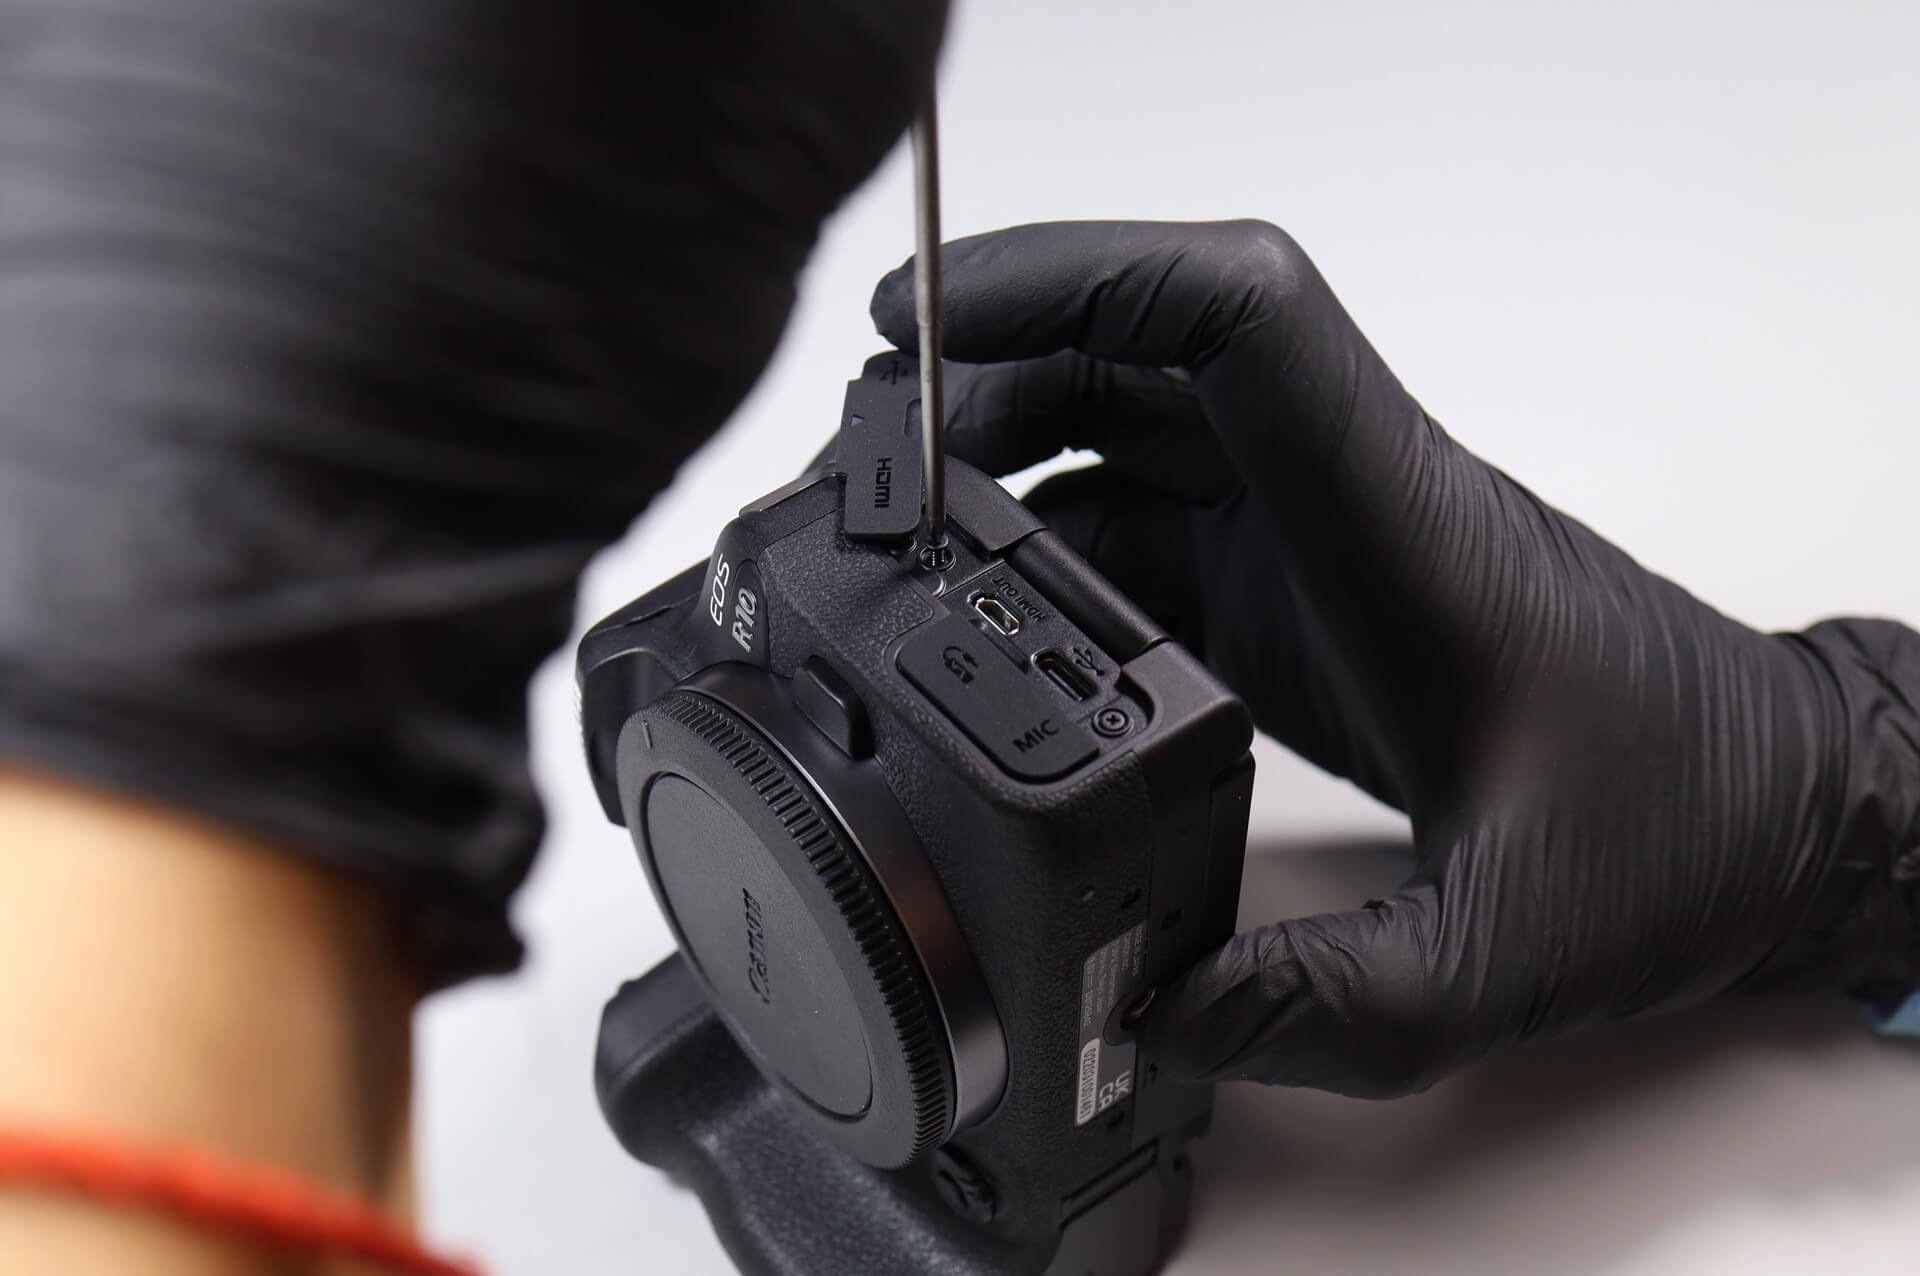
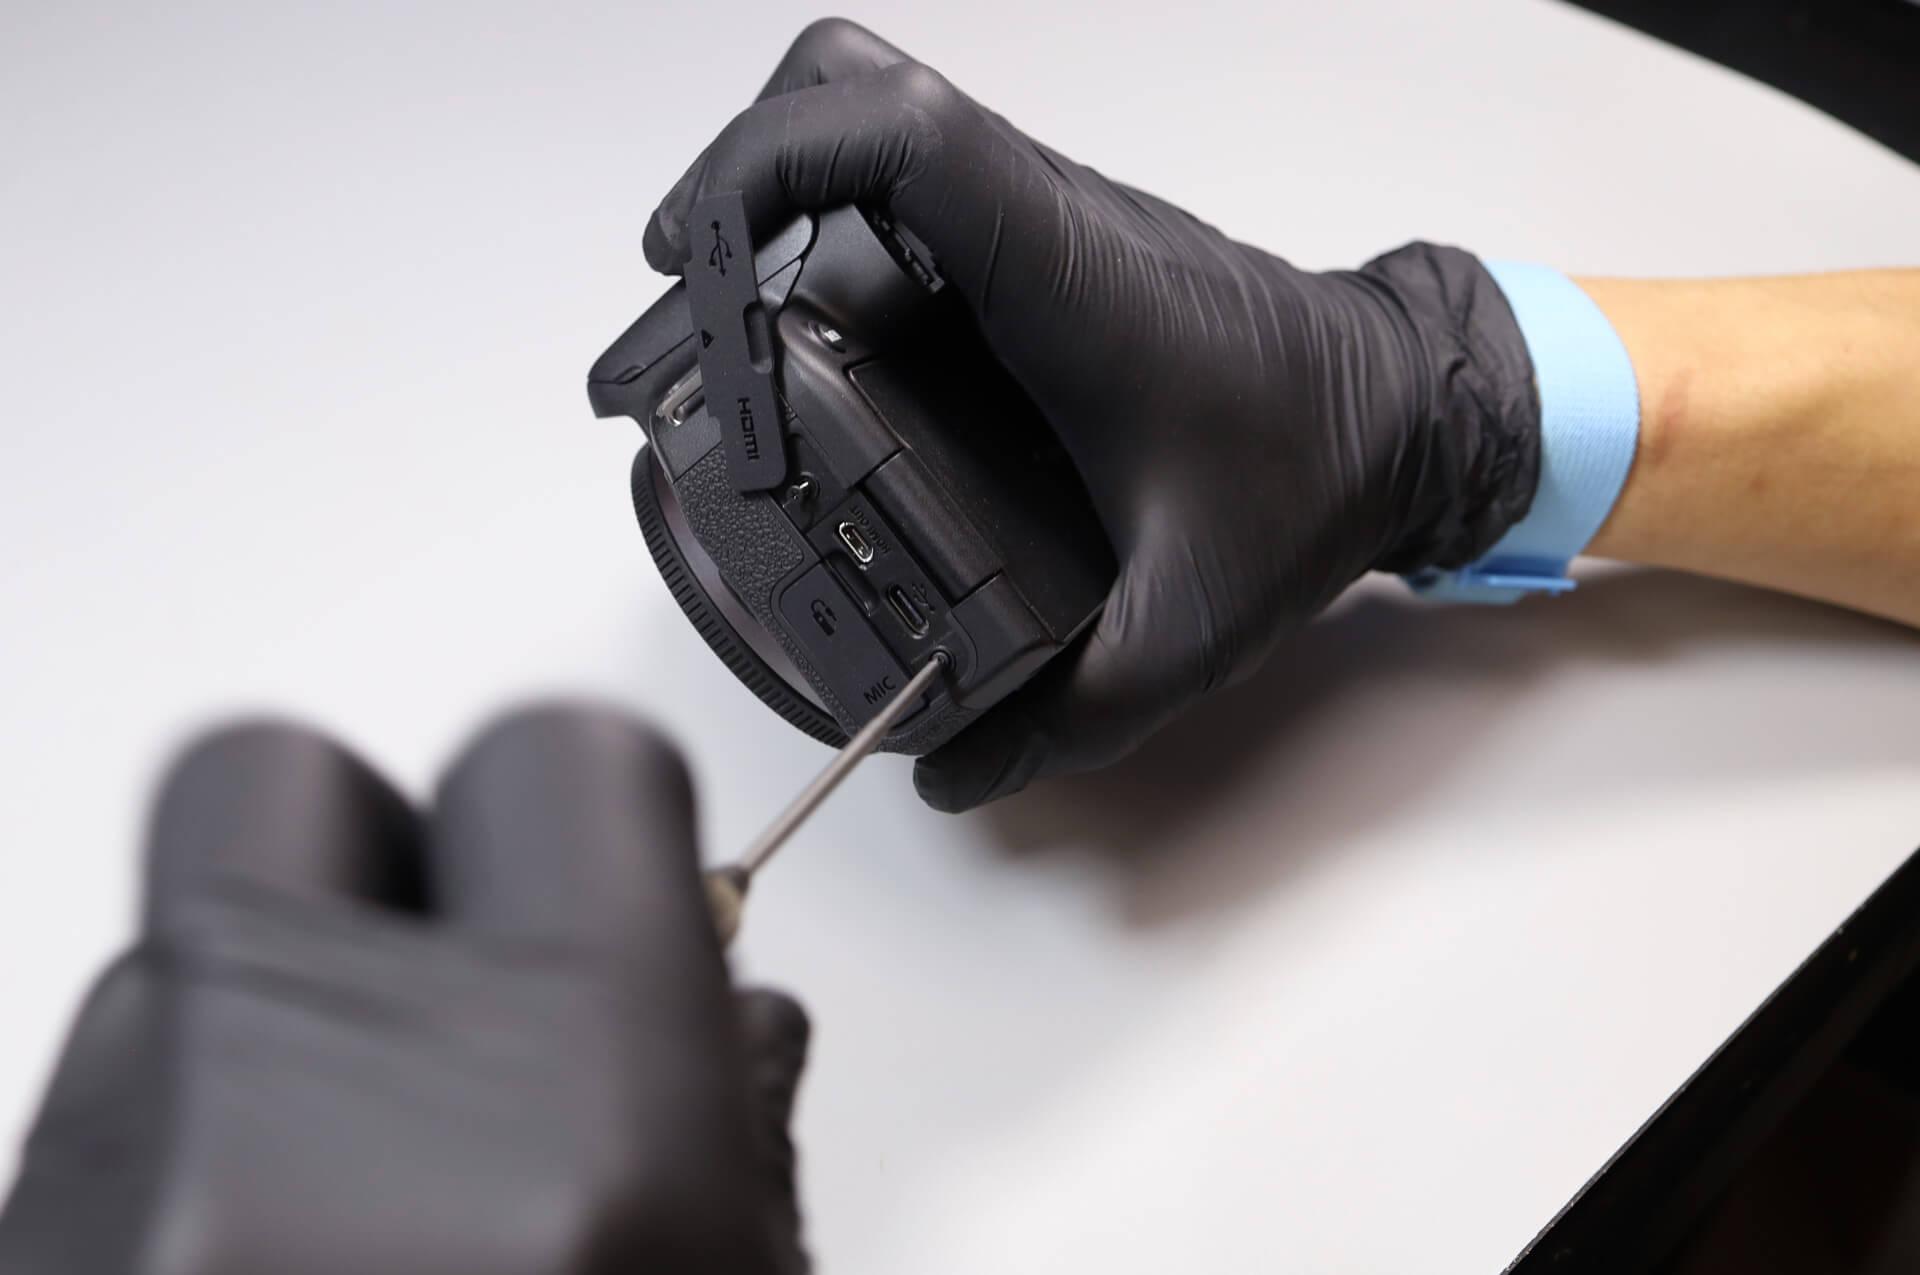
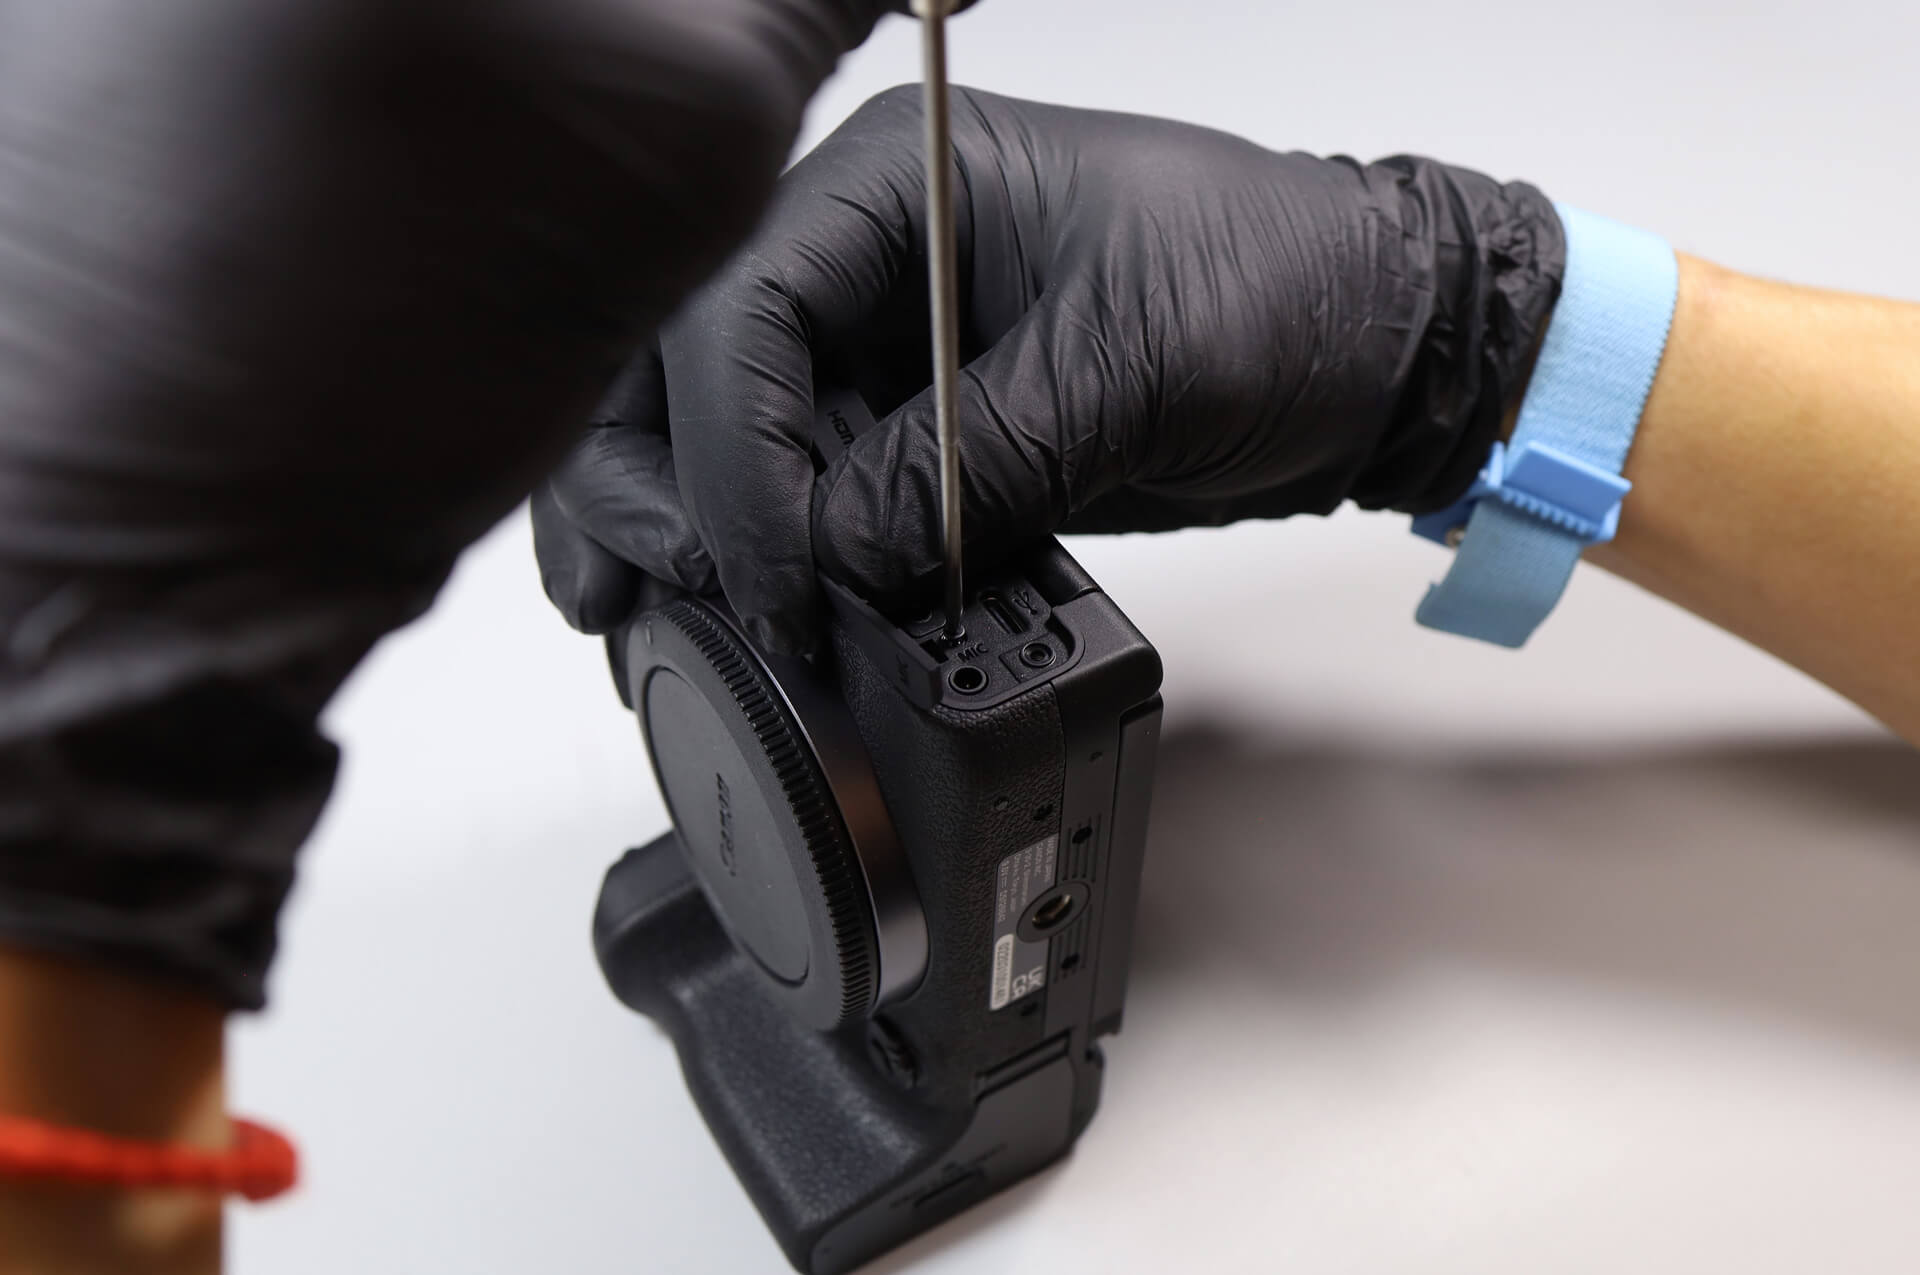
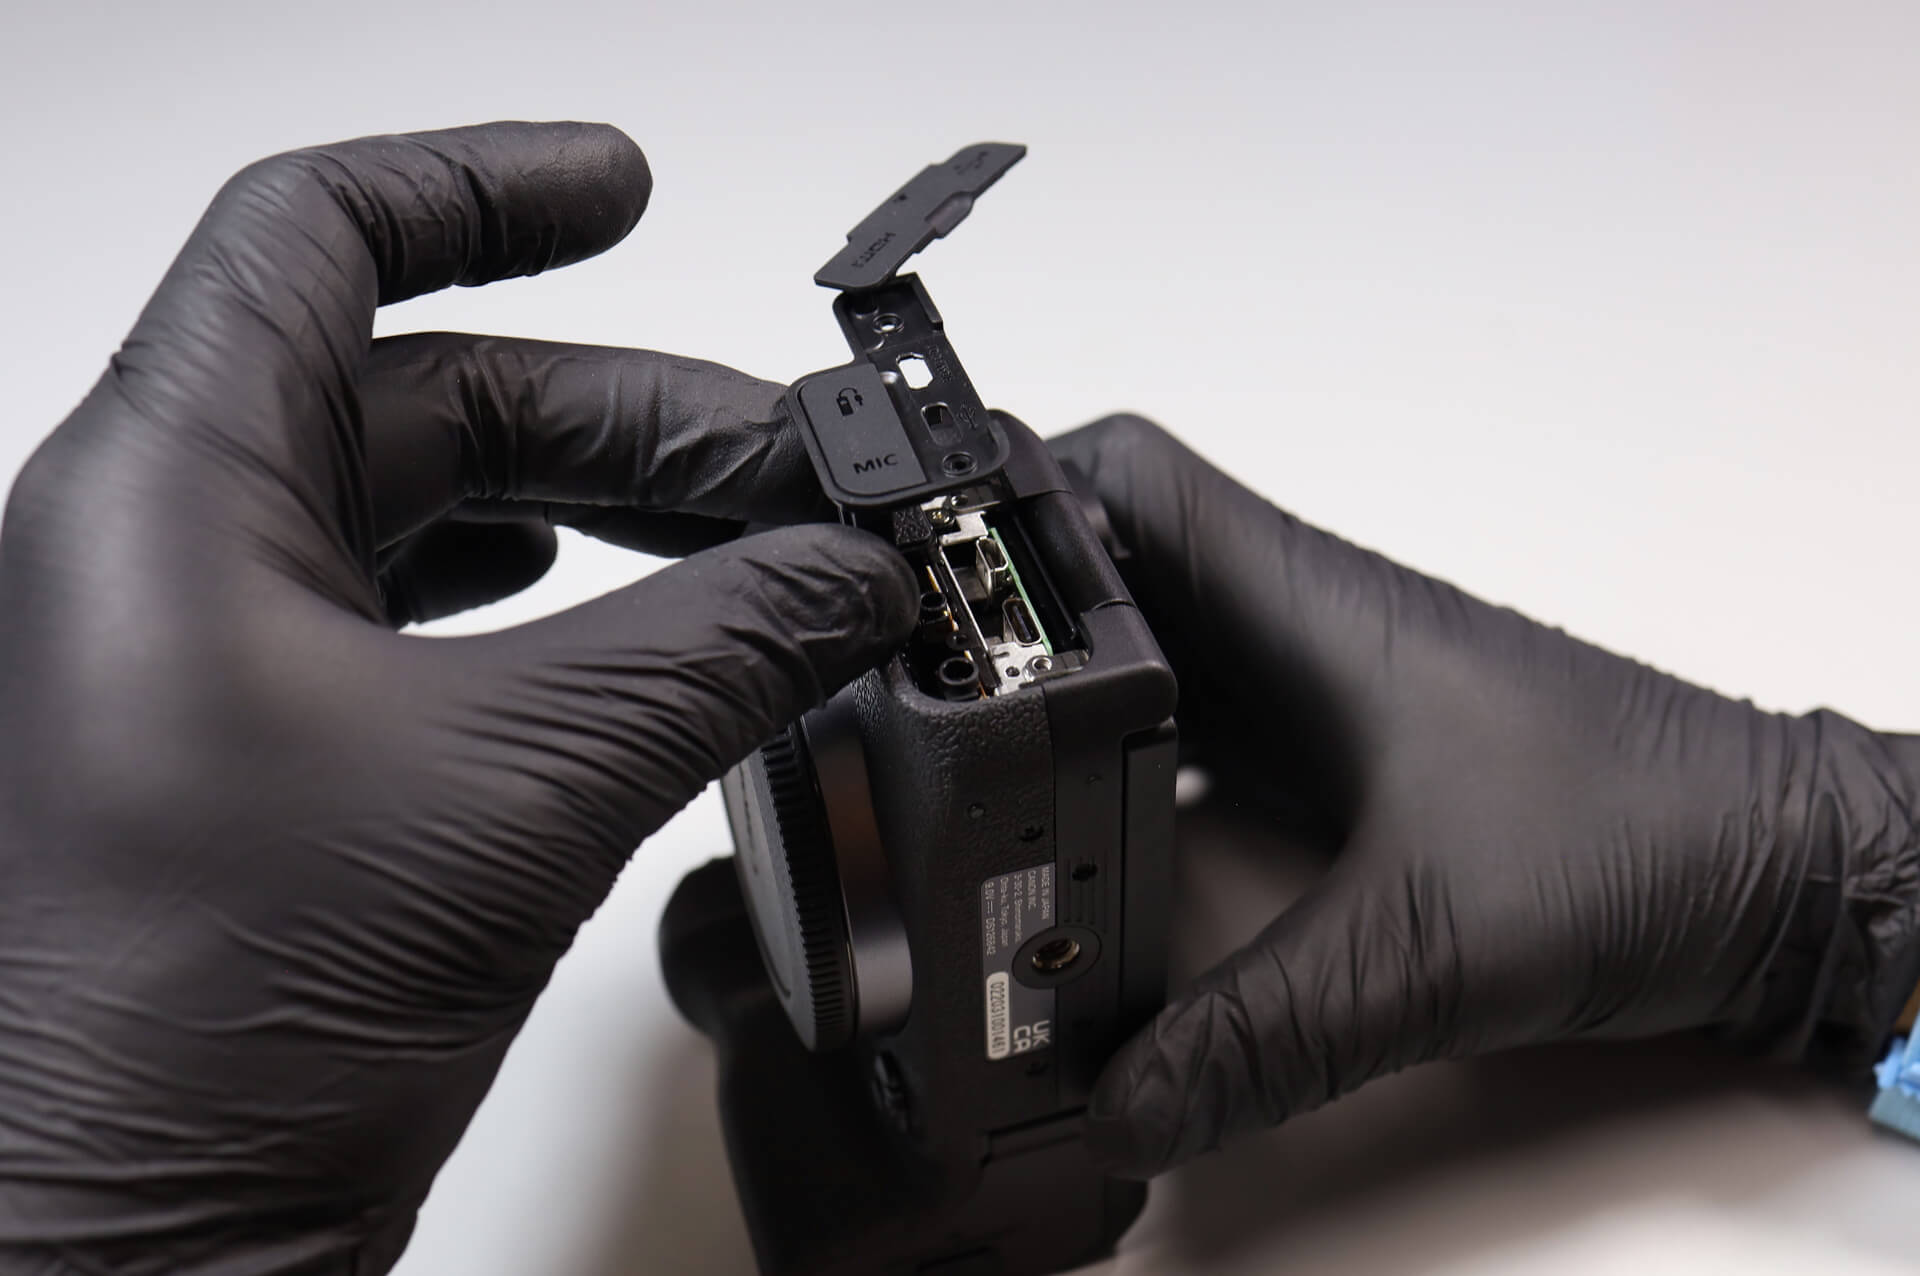
We pop off the dust covers on the port side to remove three Philips screws. With the screws removed, the port side cover easily comes off.
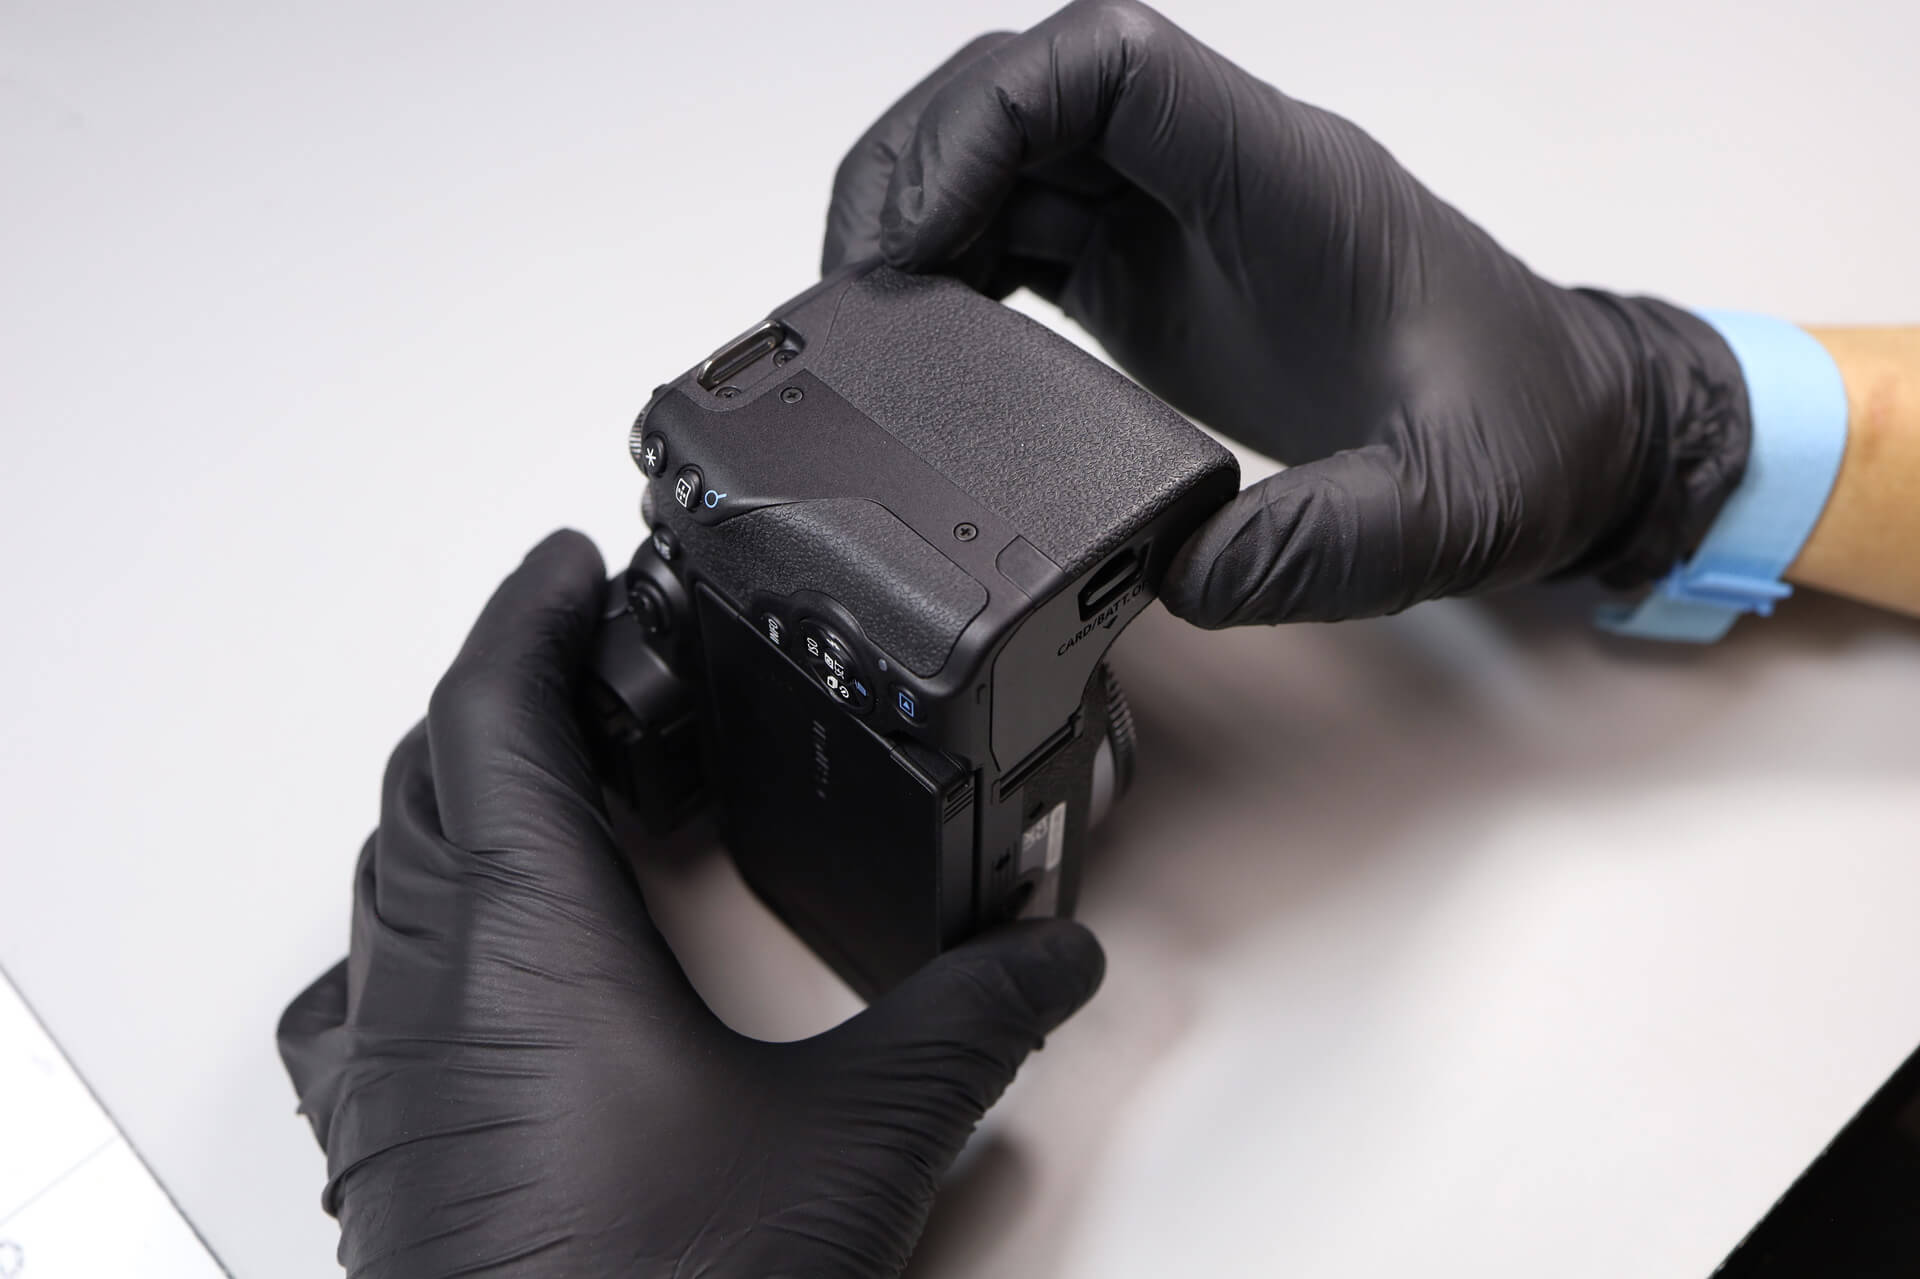
On the right side of the camera, there are two screws to remove.
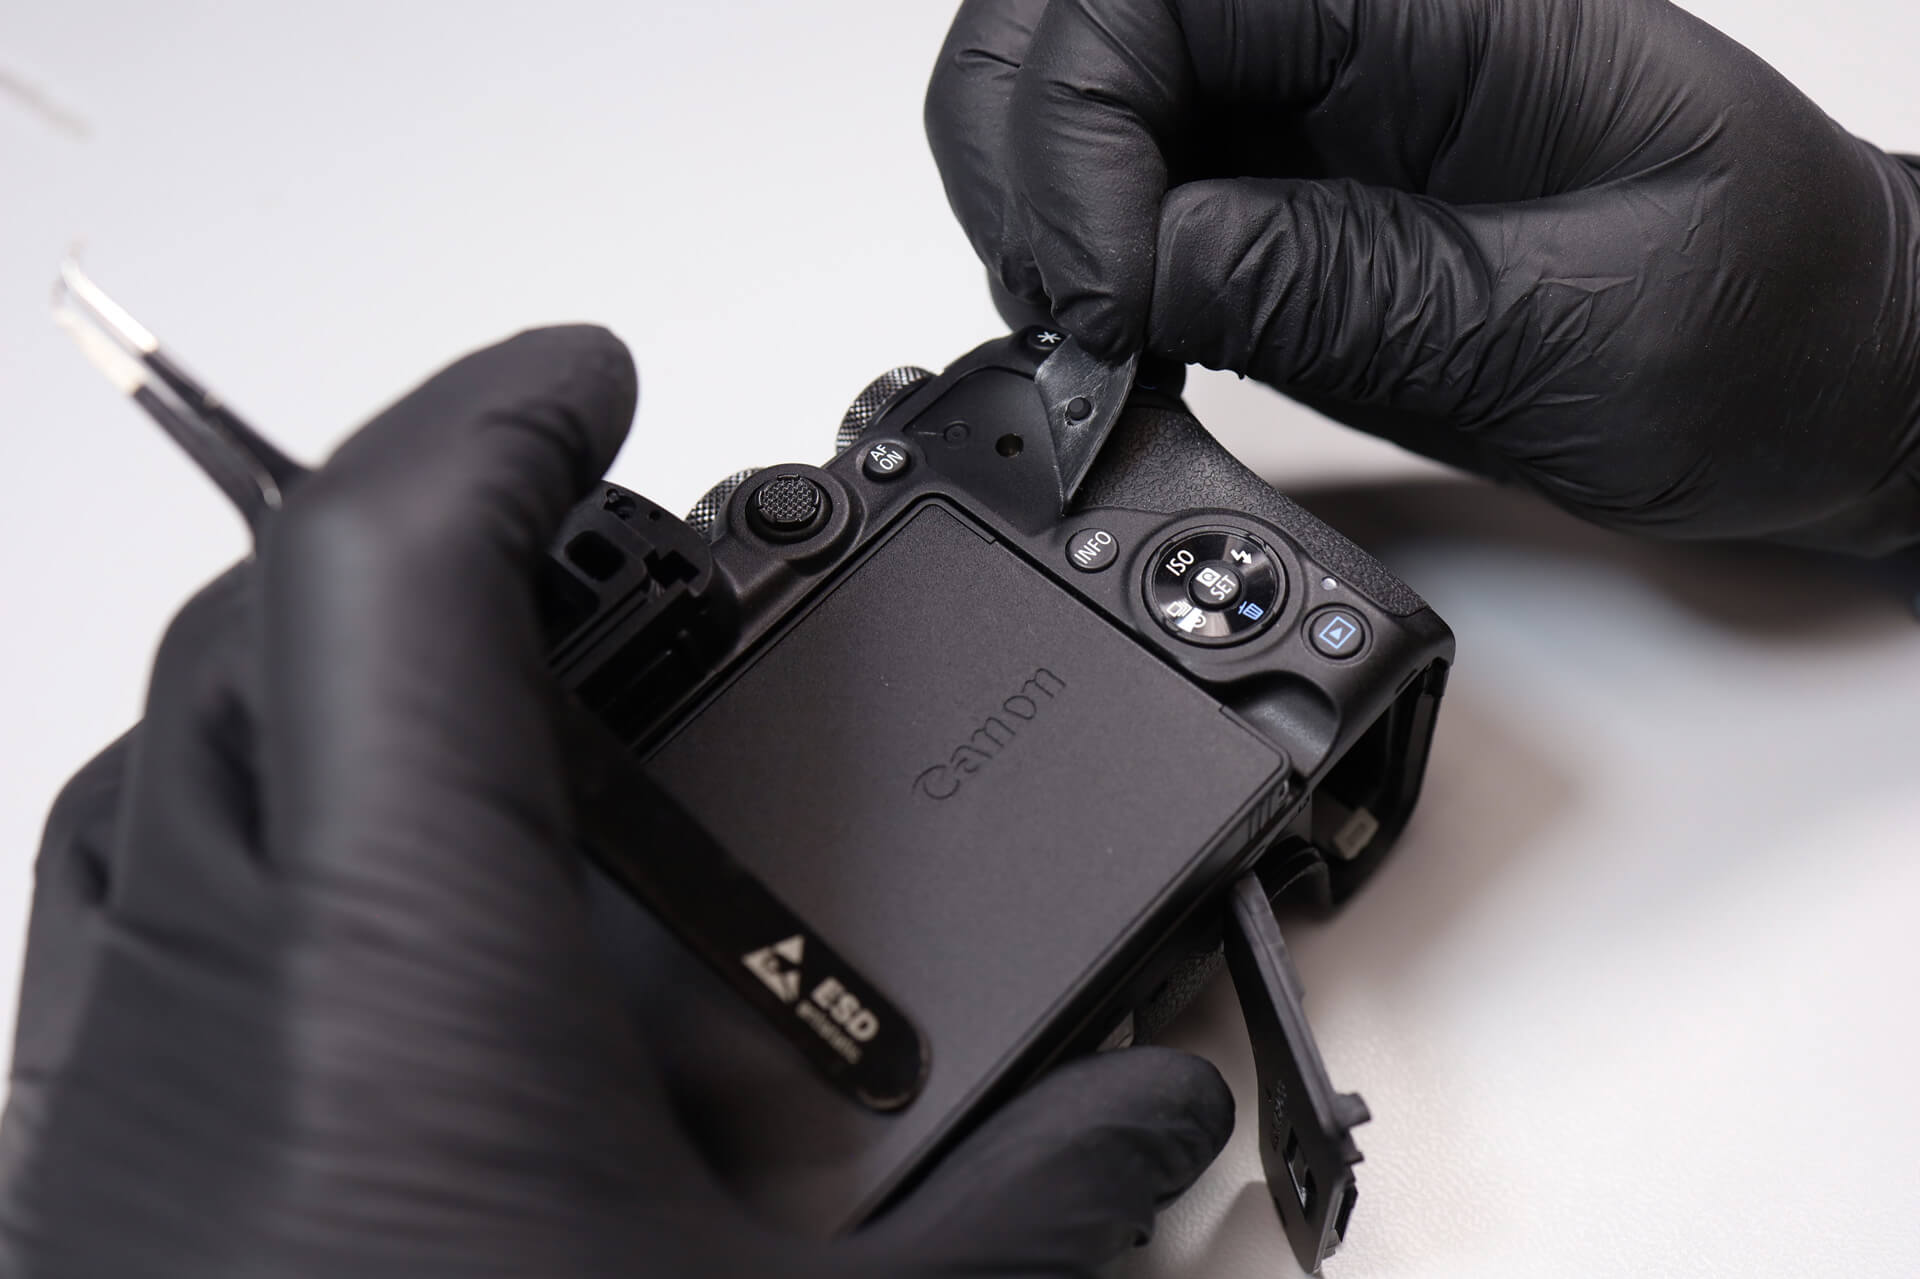
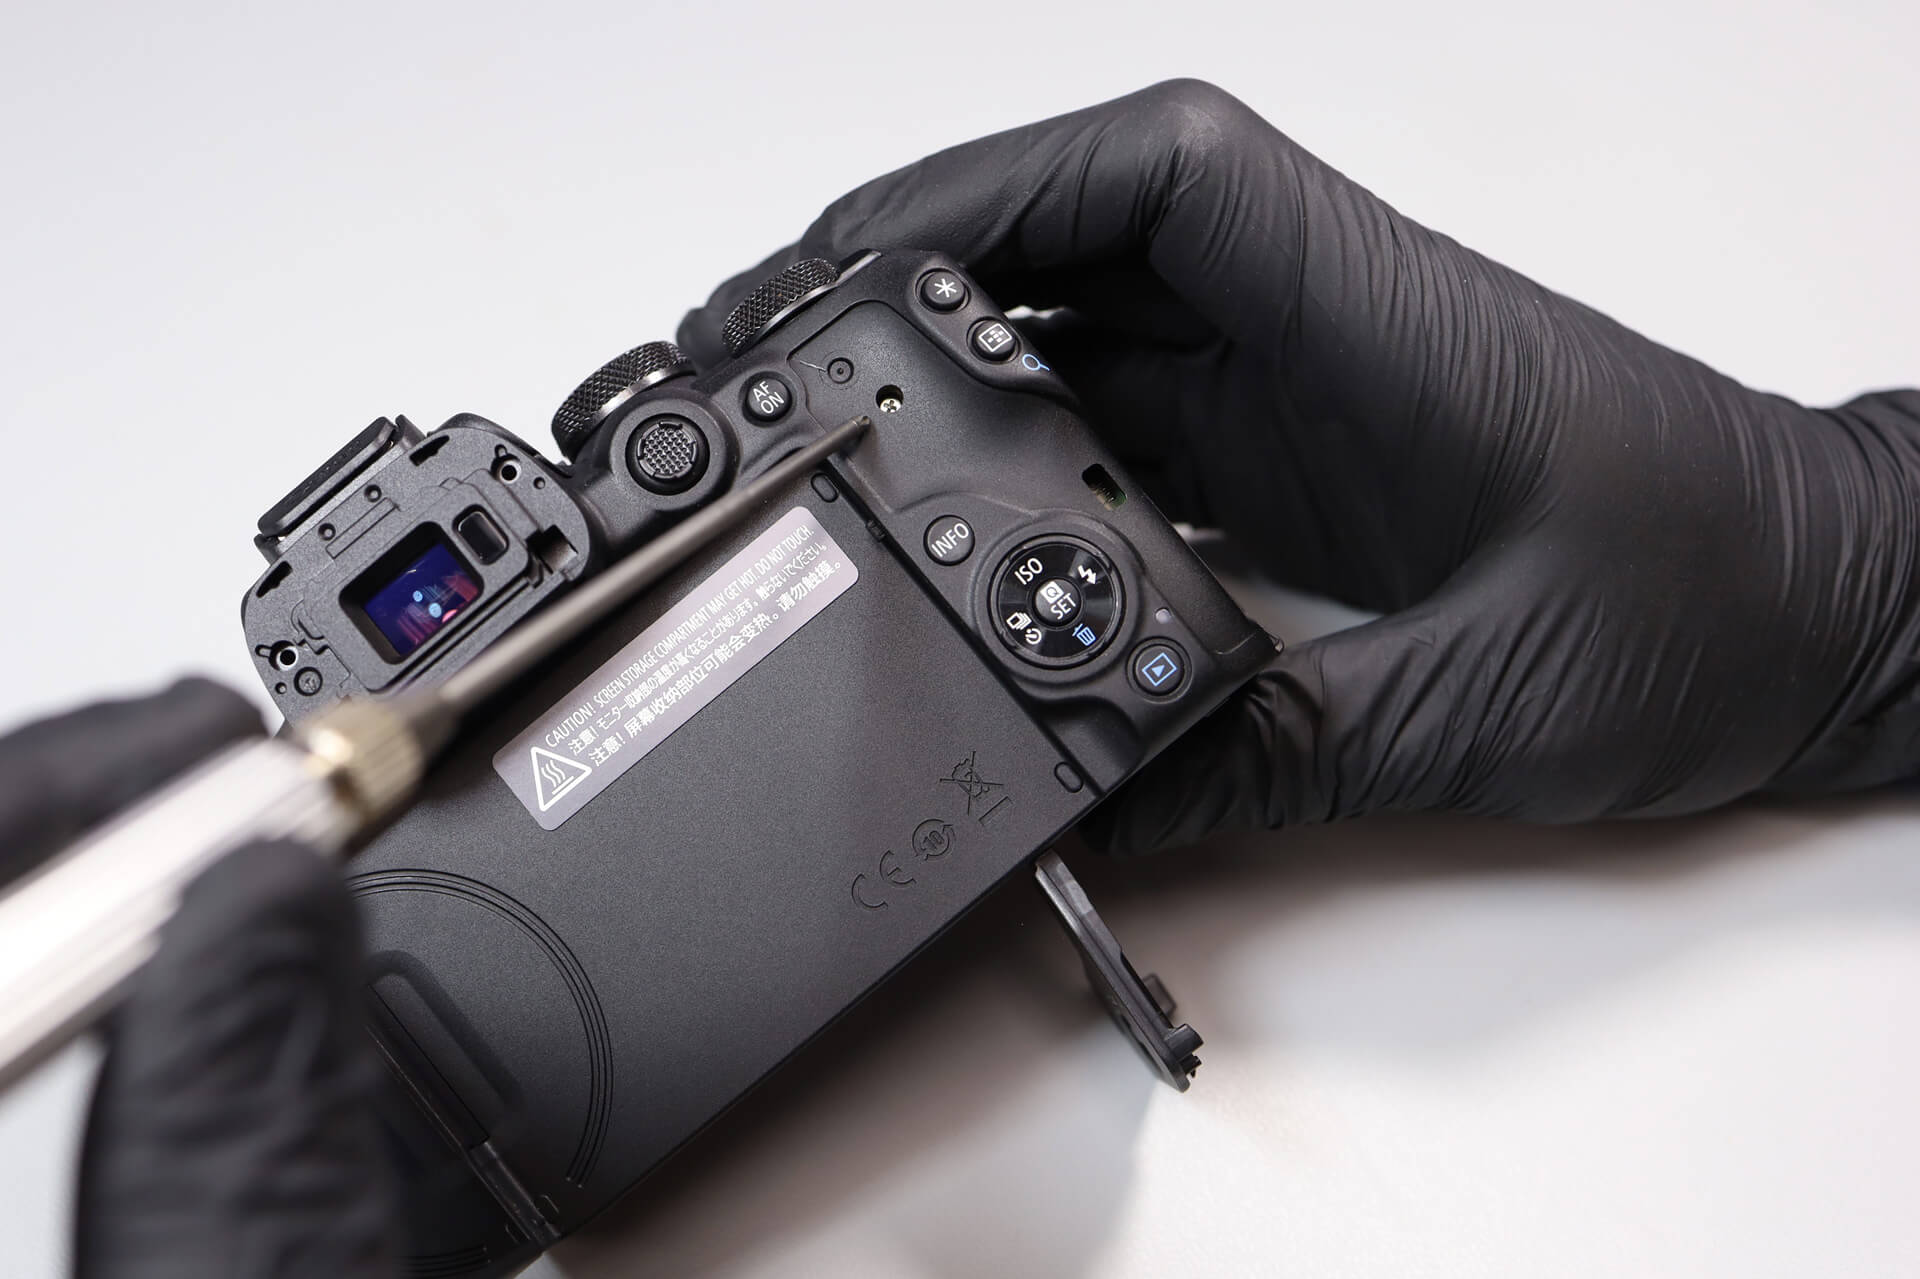
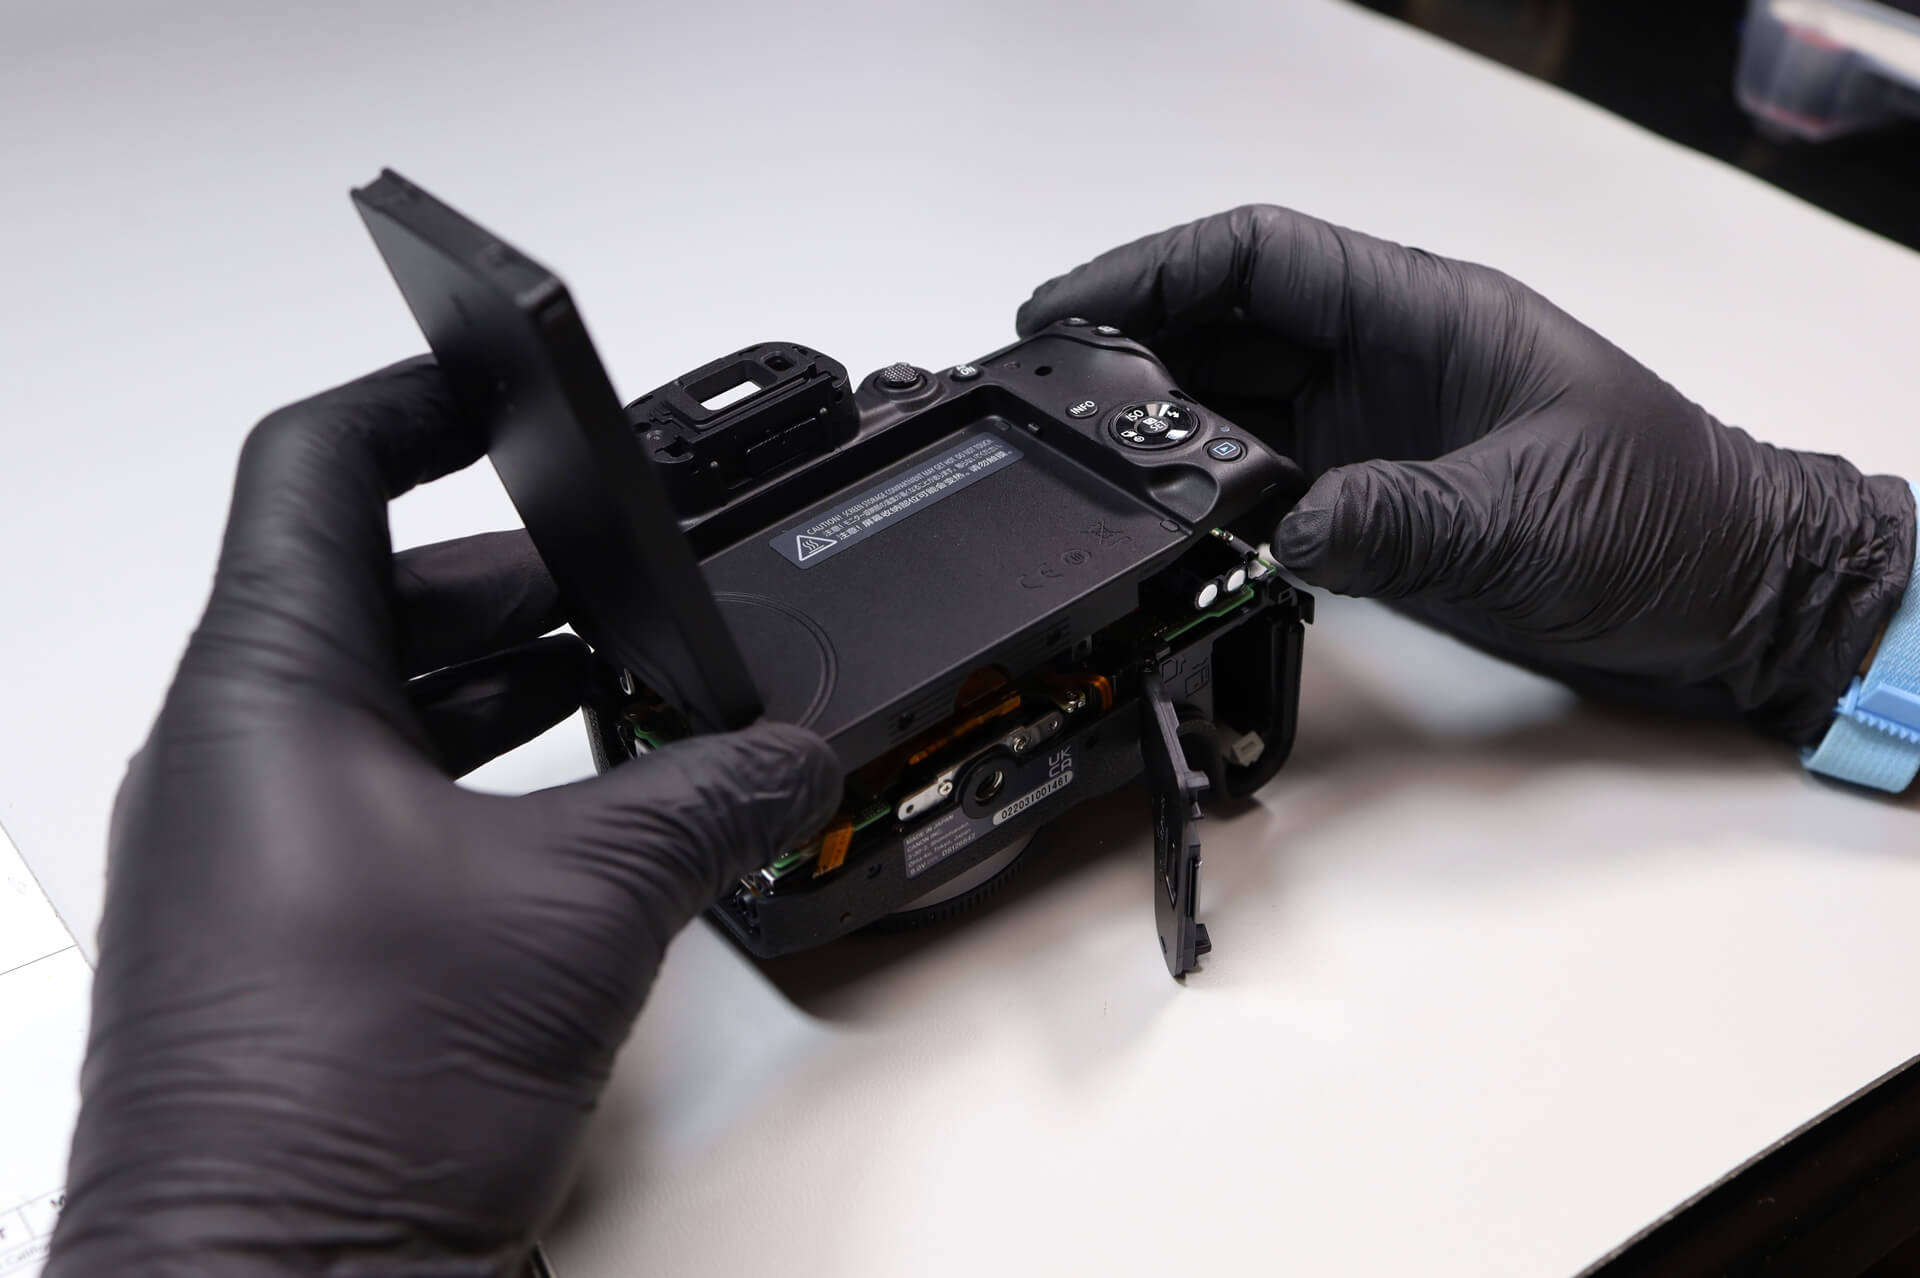
Peeling back the rubber grip on the rear panel reveals one silver screw.
Removing the Rear Panel and Ribbon Cable
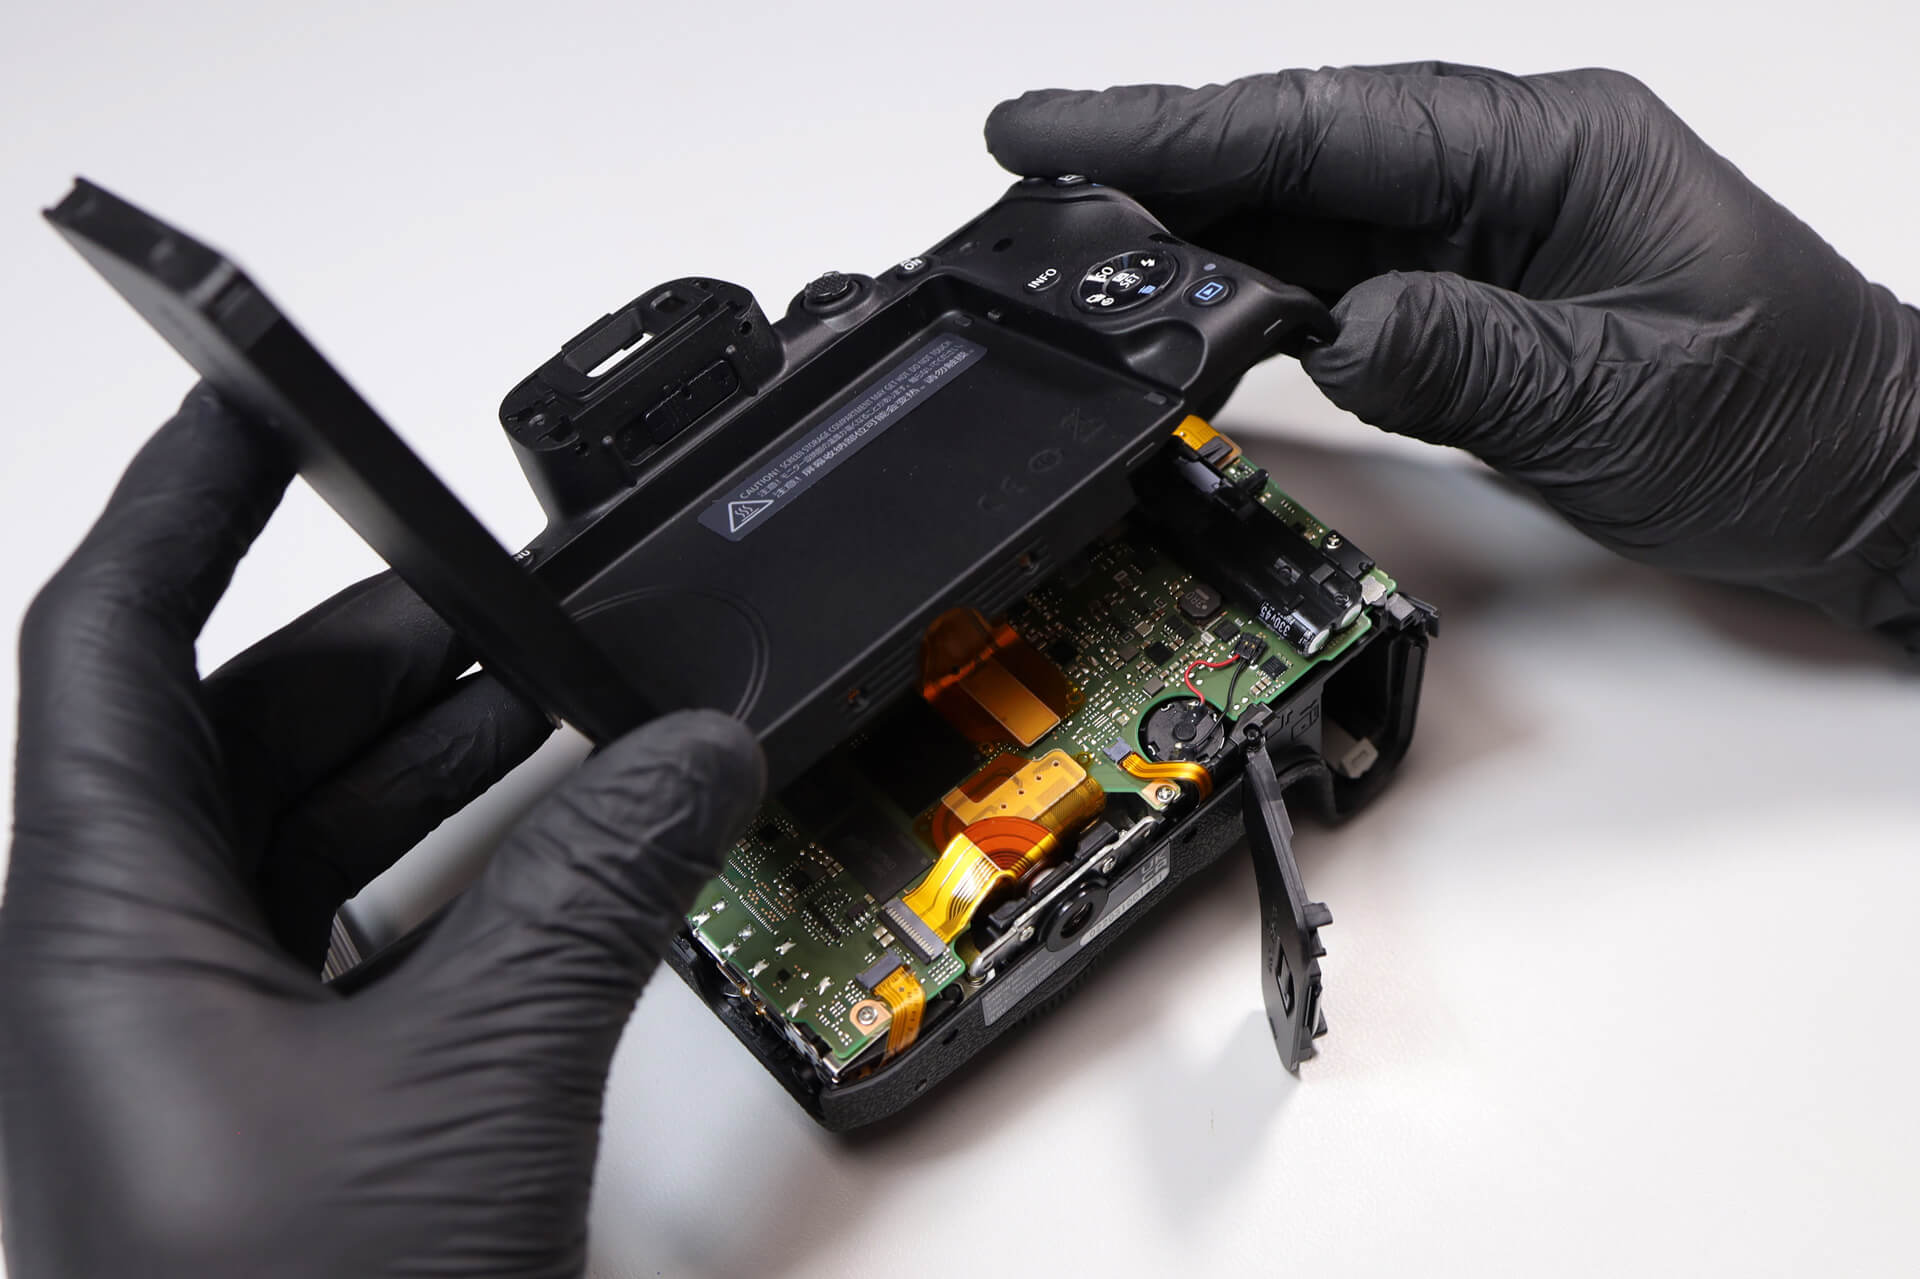
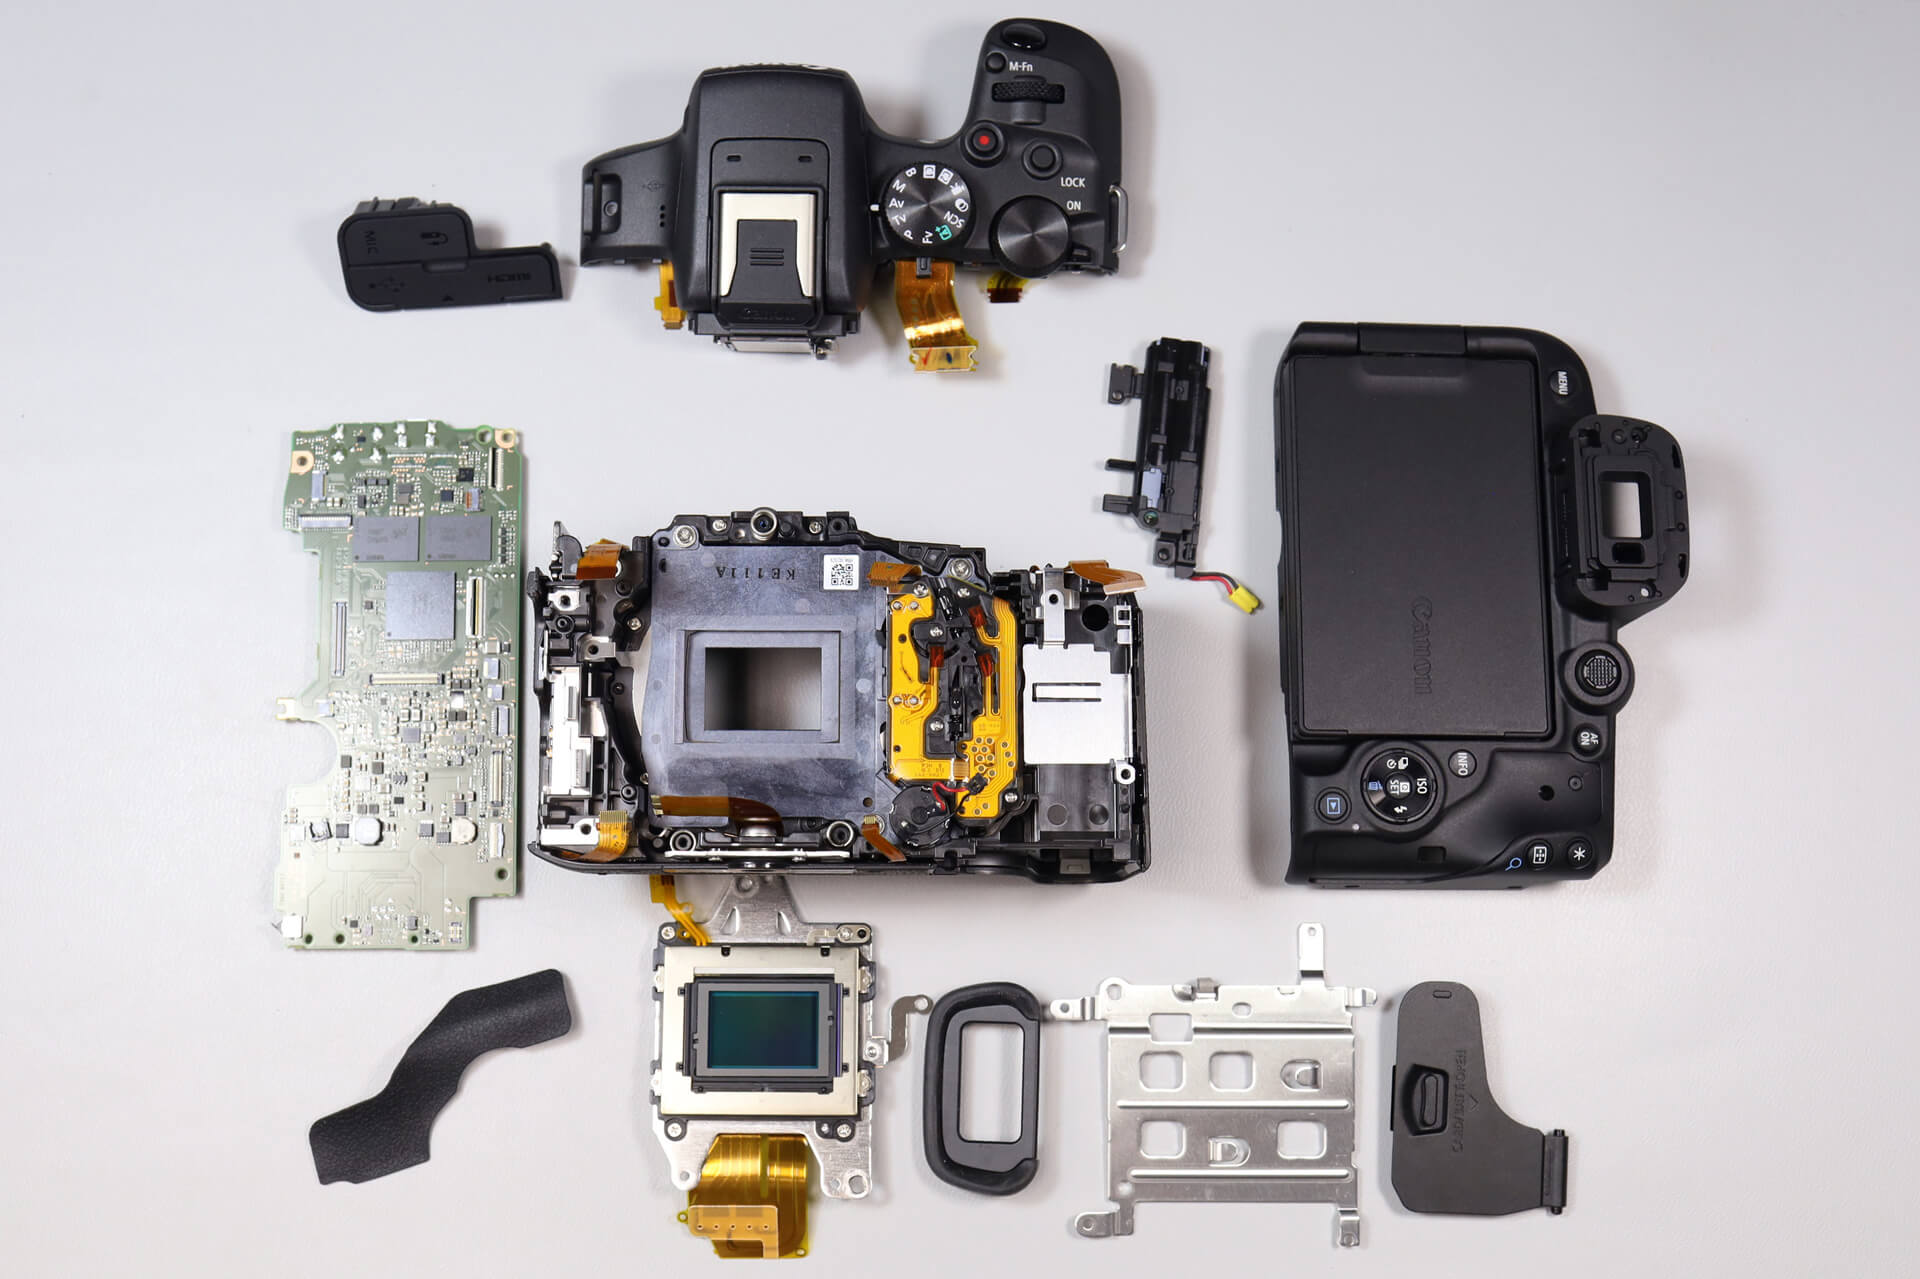
With all the screws removed, we can carefully lift the rear panel. However, the ribbon cable that connects the rear panel to the circuit board prevents us from removing it entirely.
Accessing the Circuit Board and Internal Flash Battery Pack
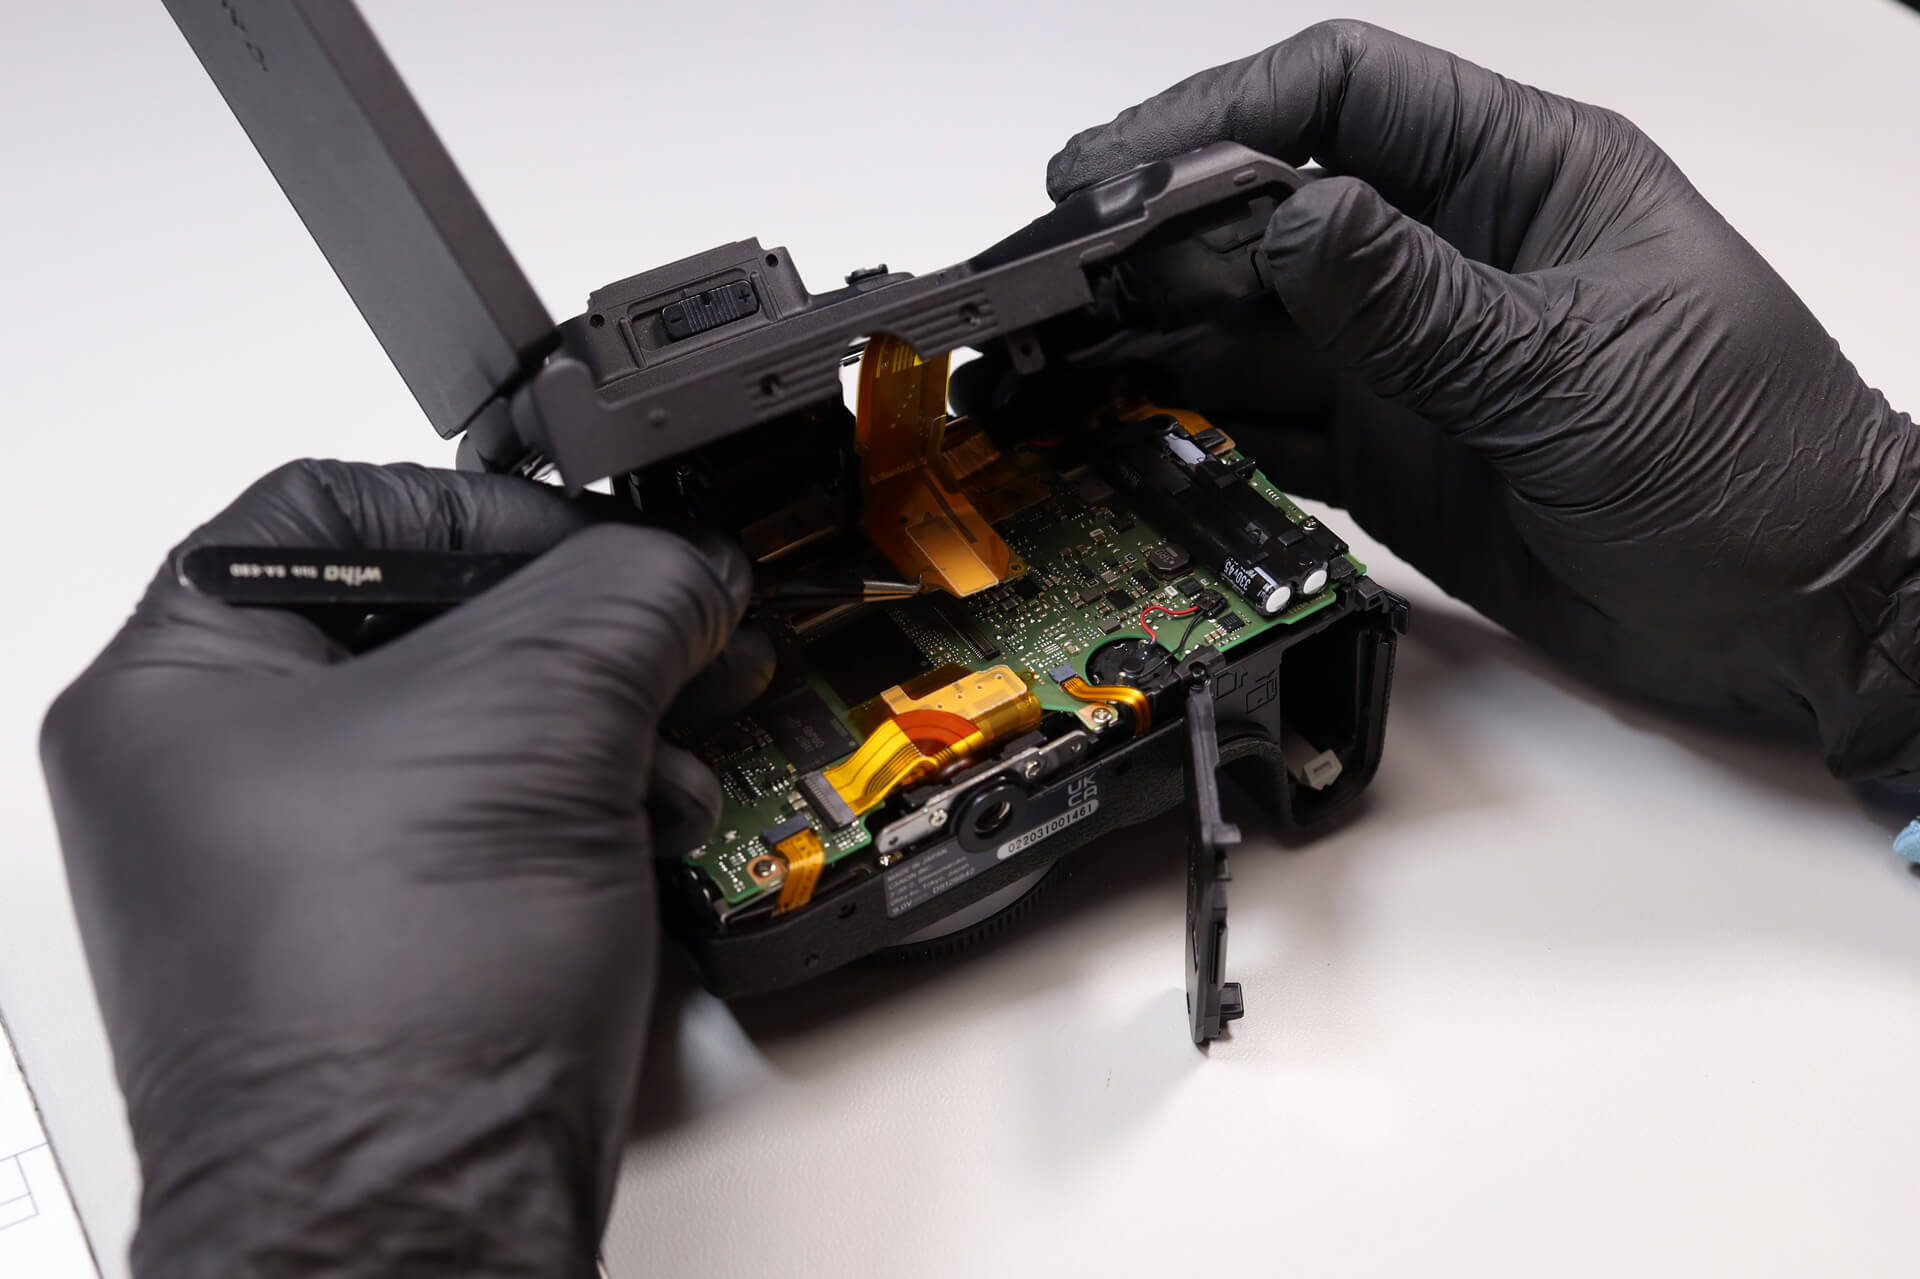
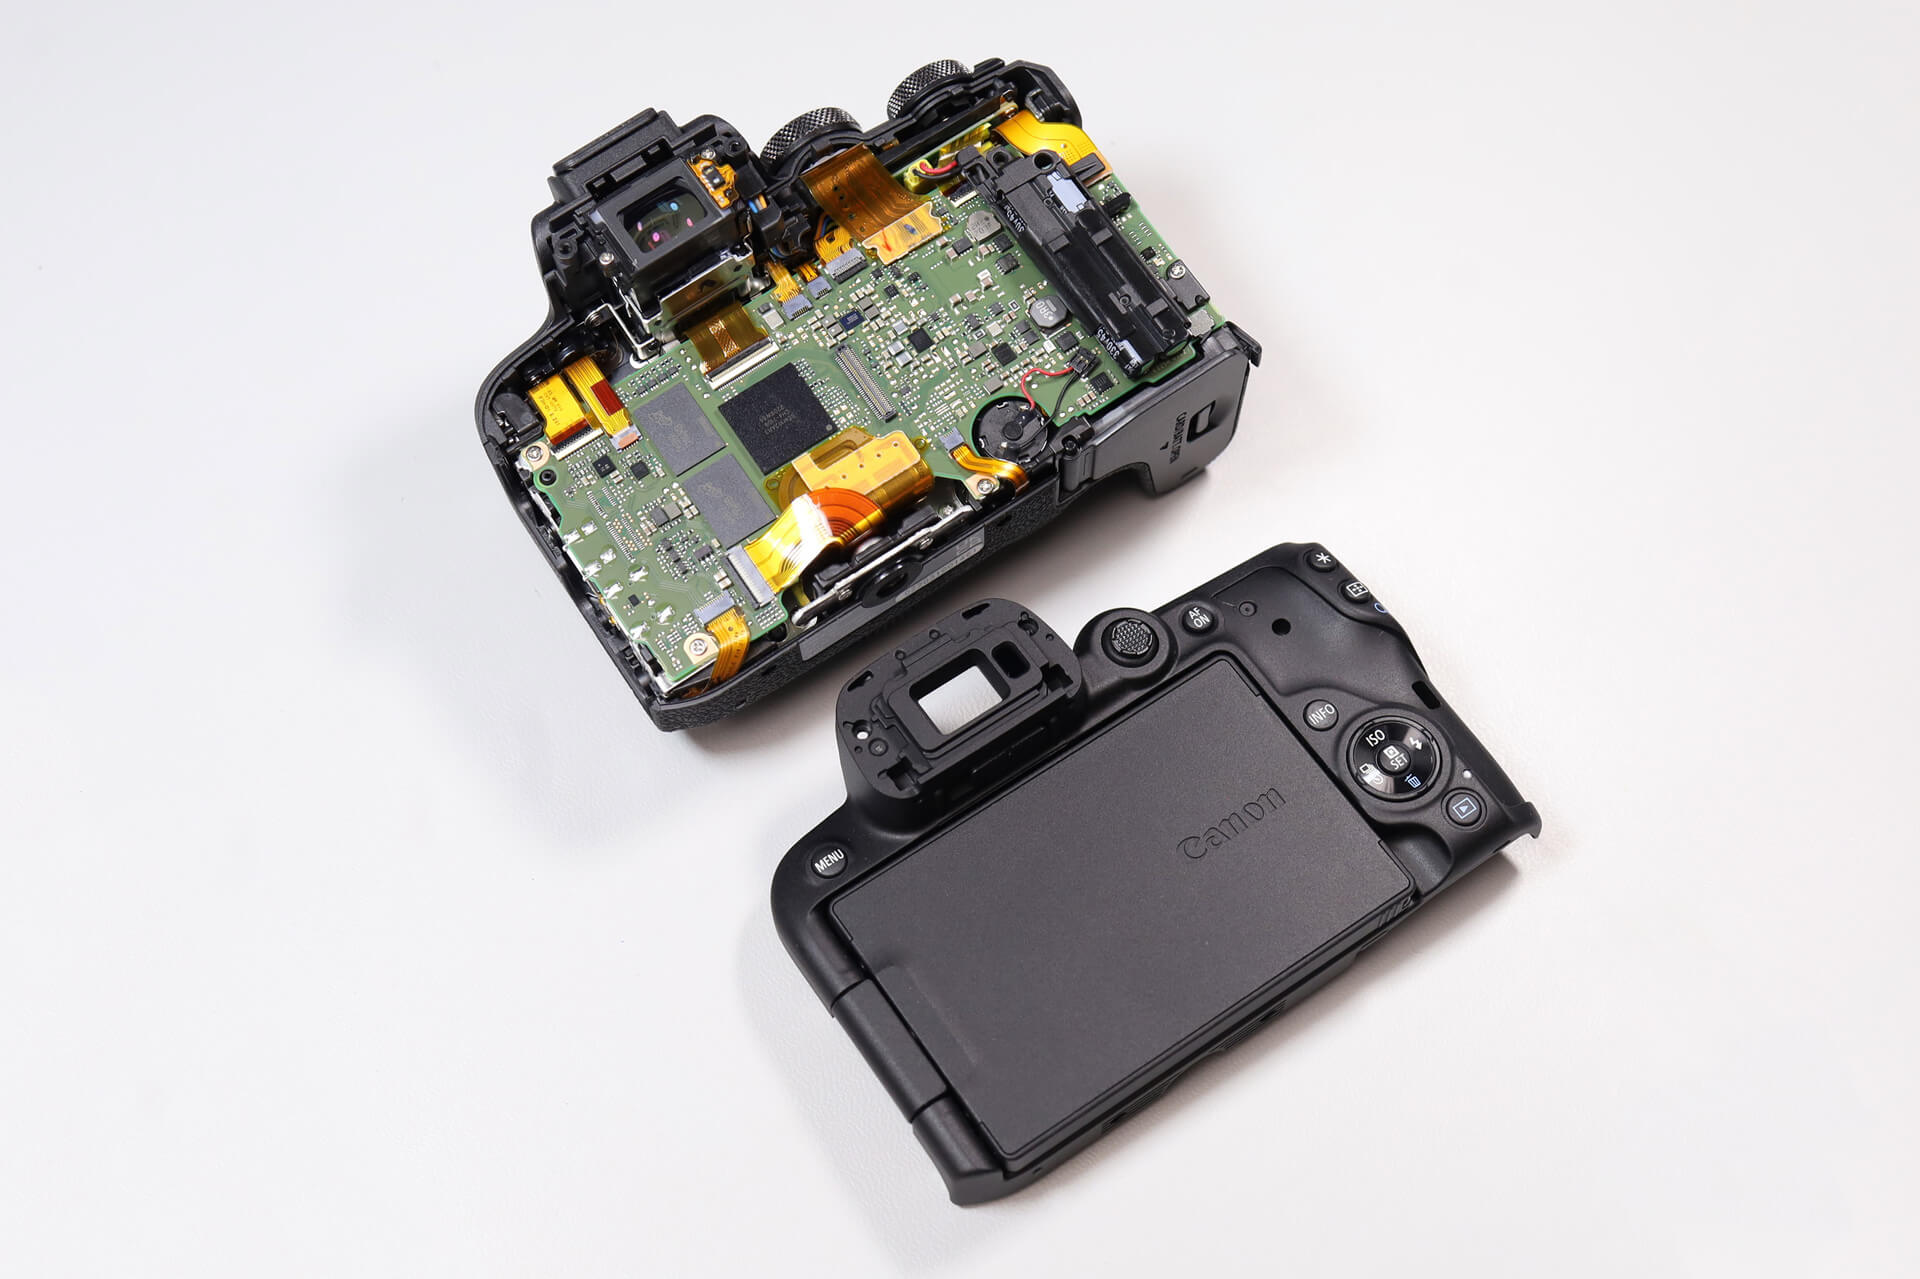
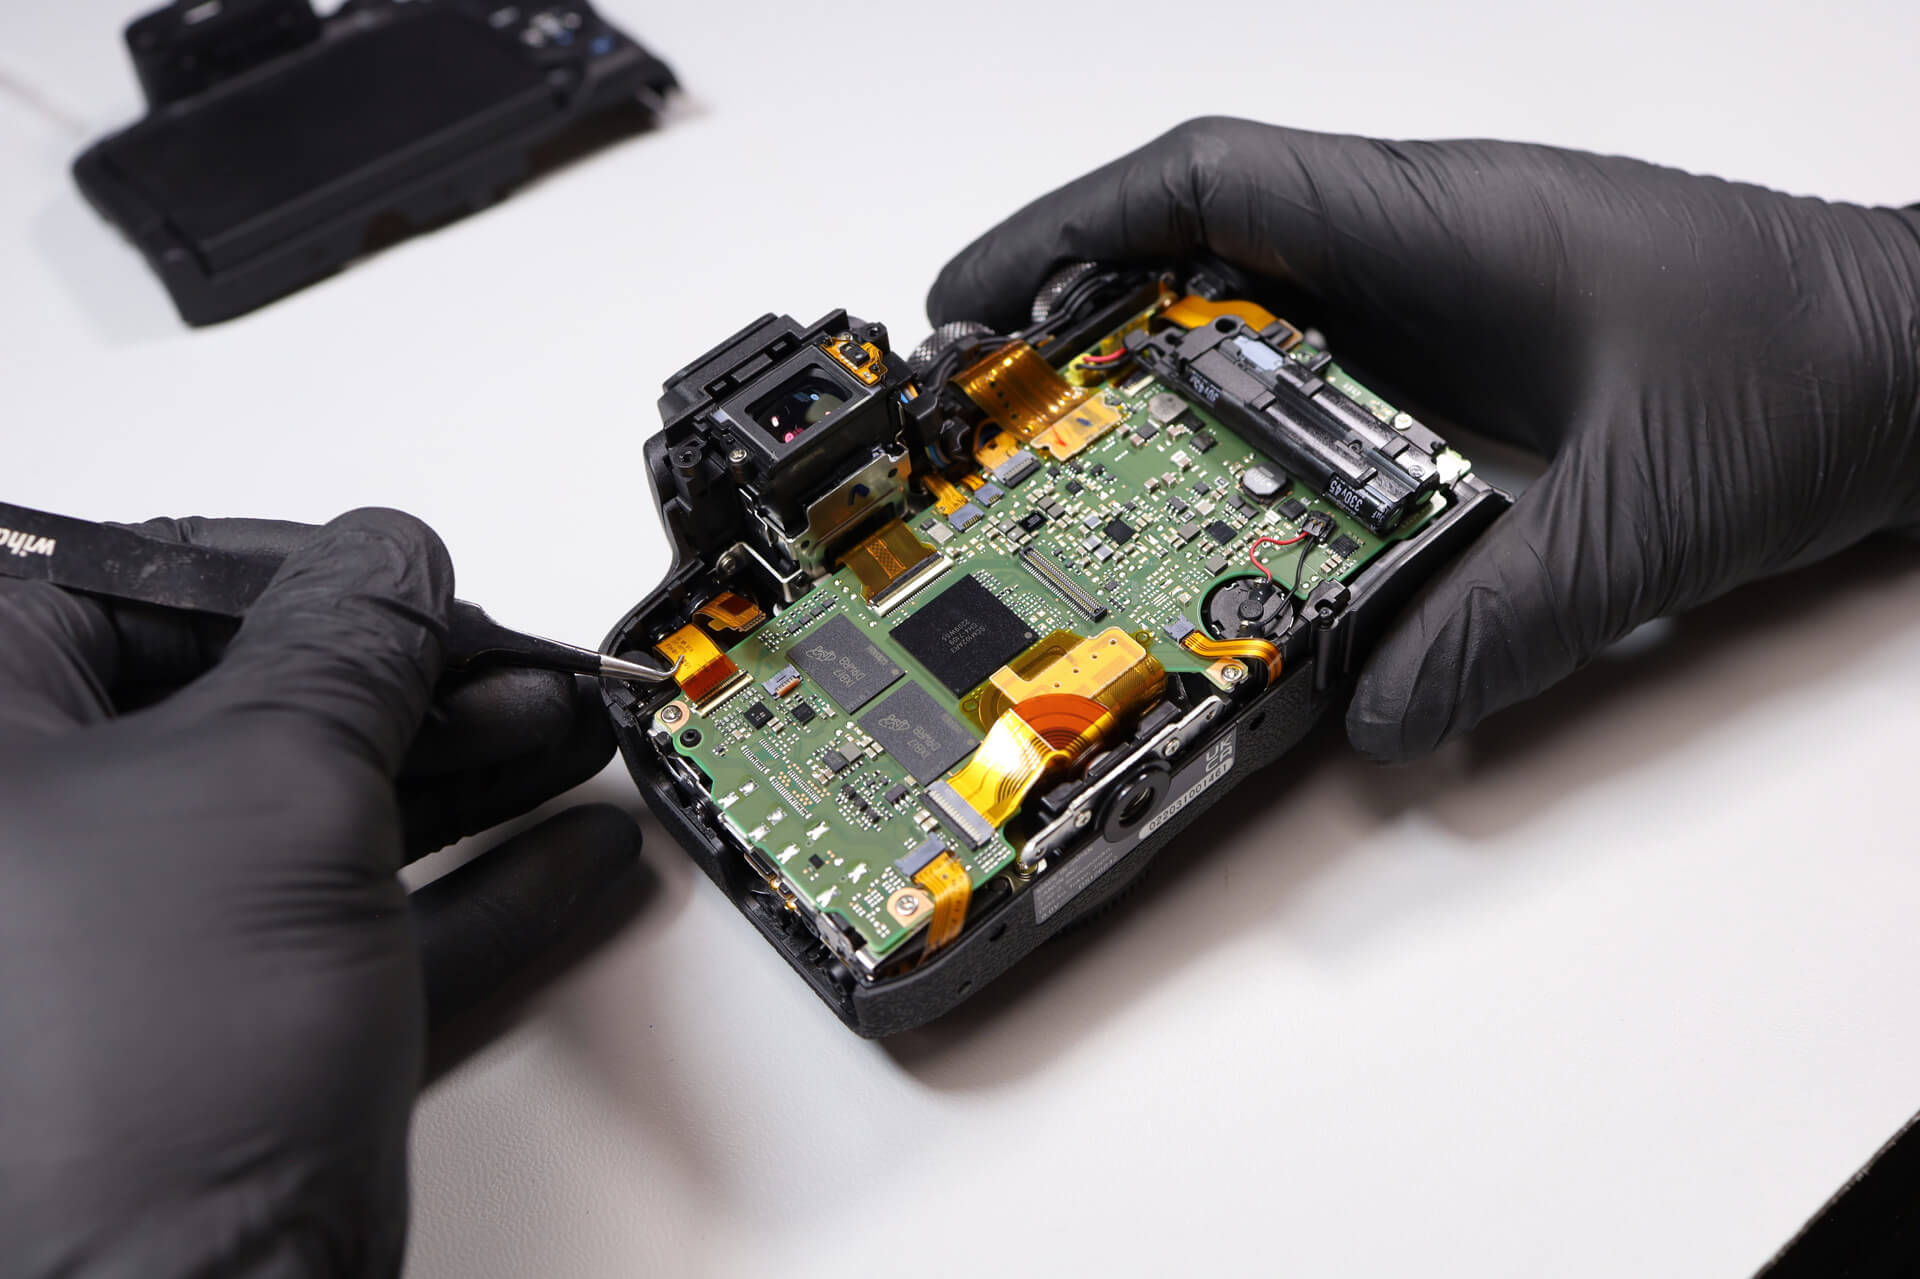
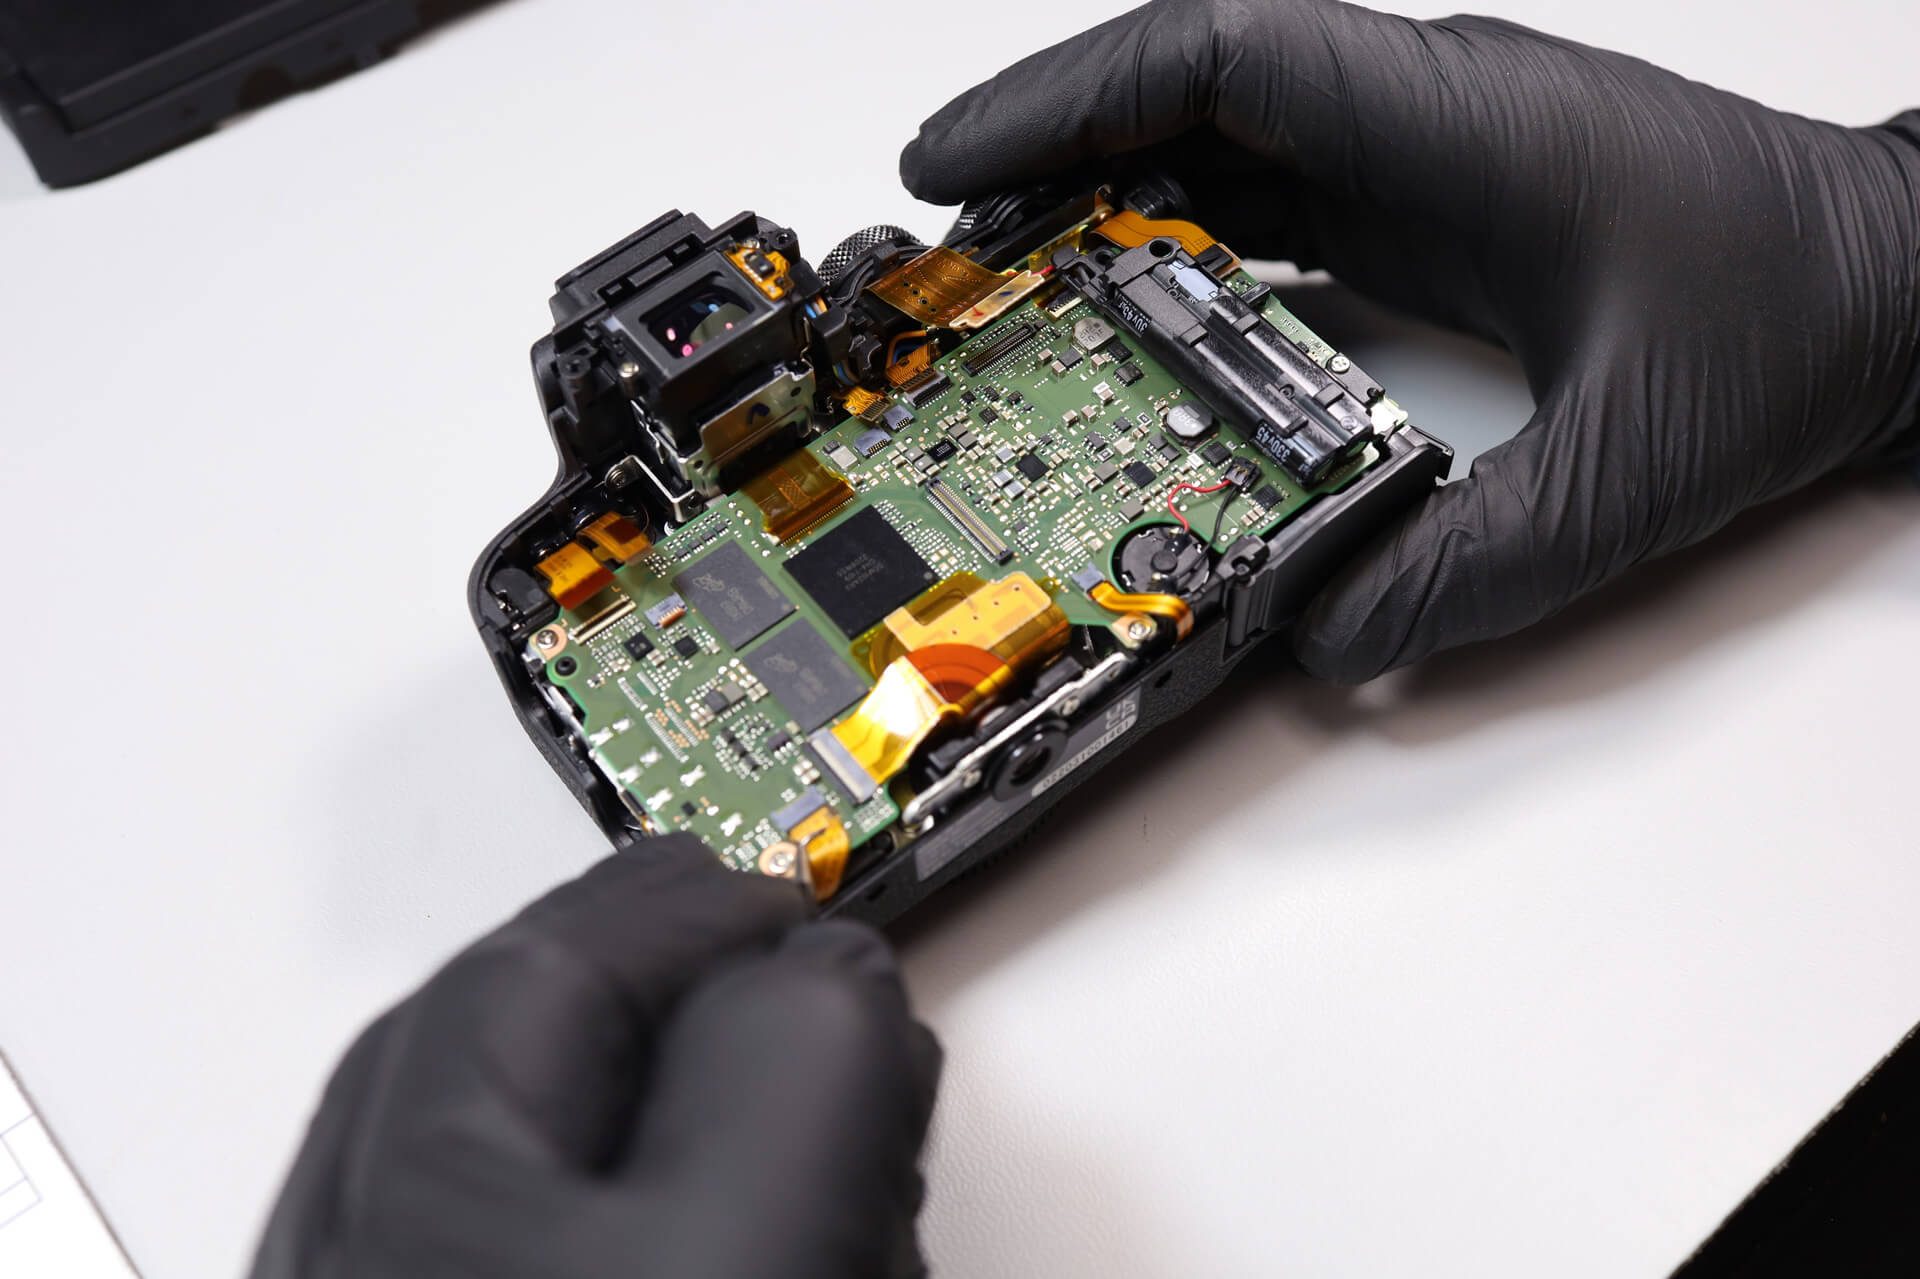
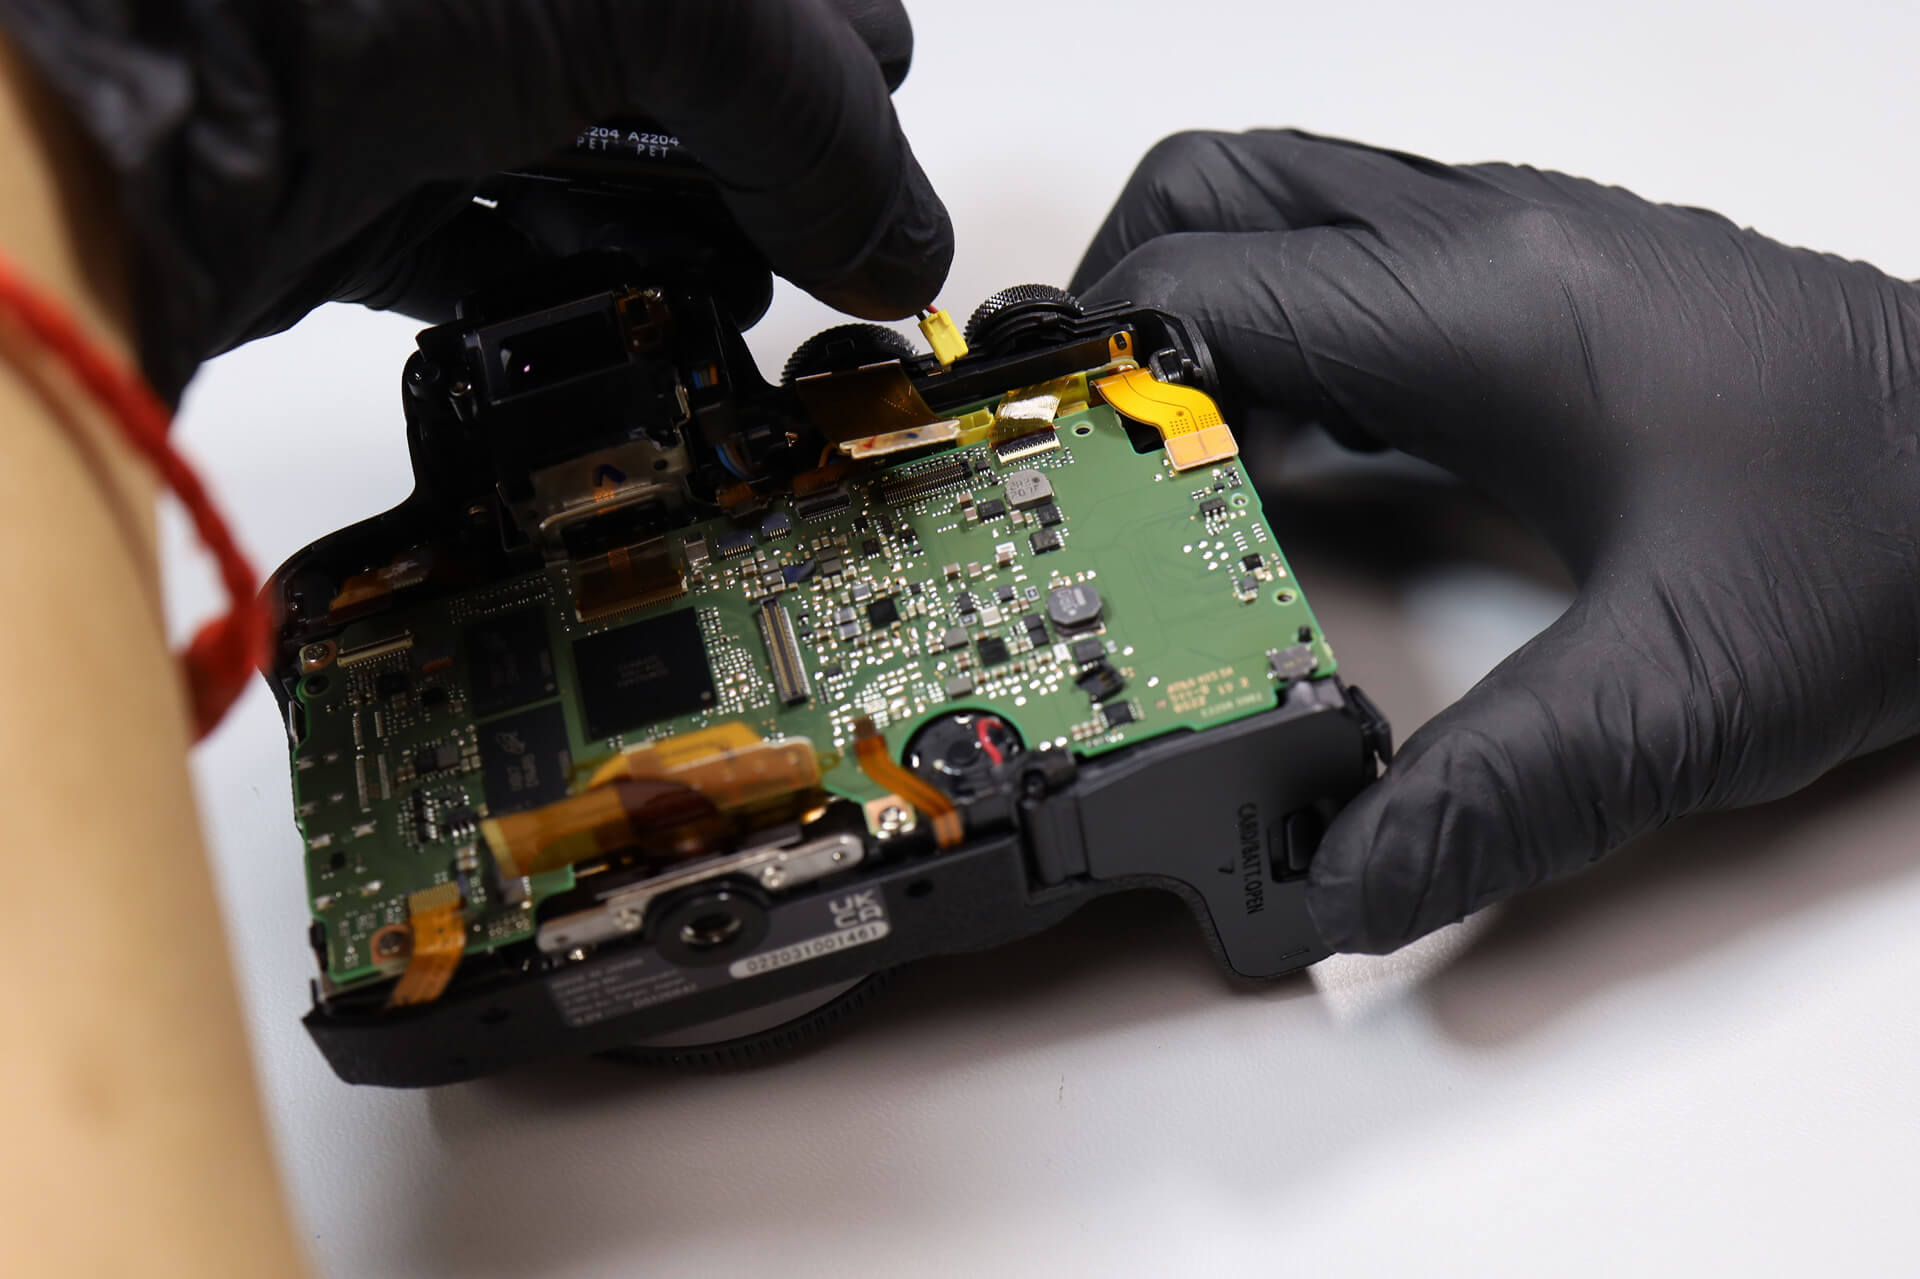
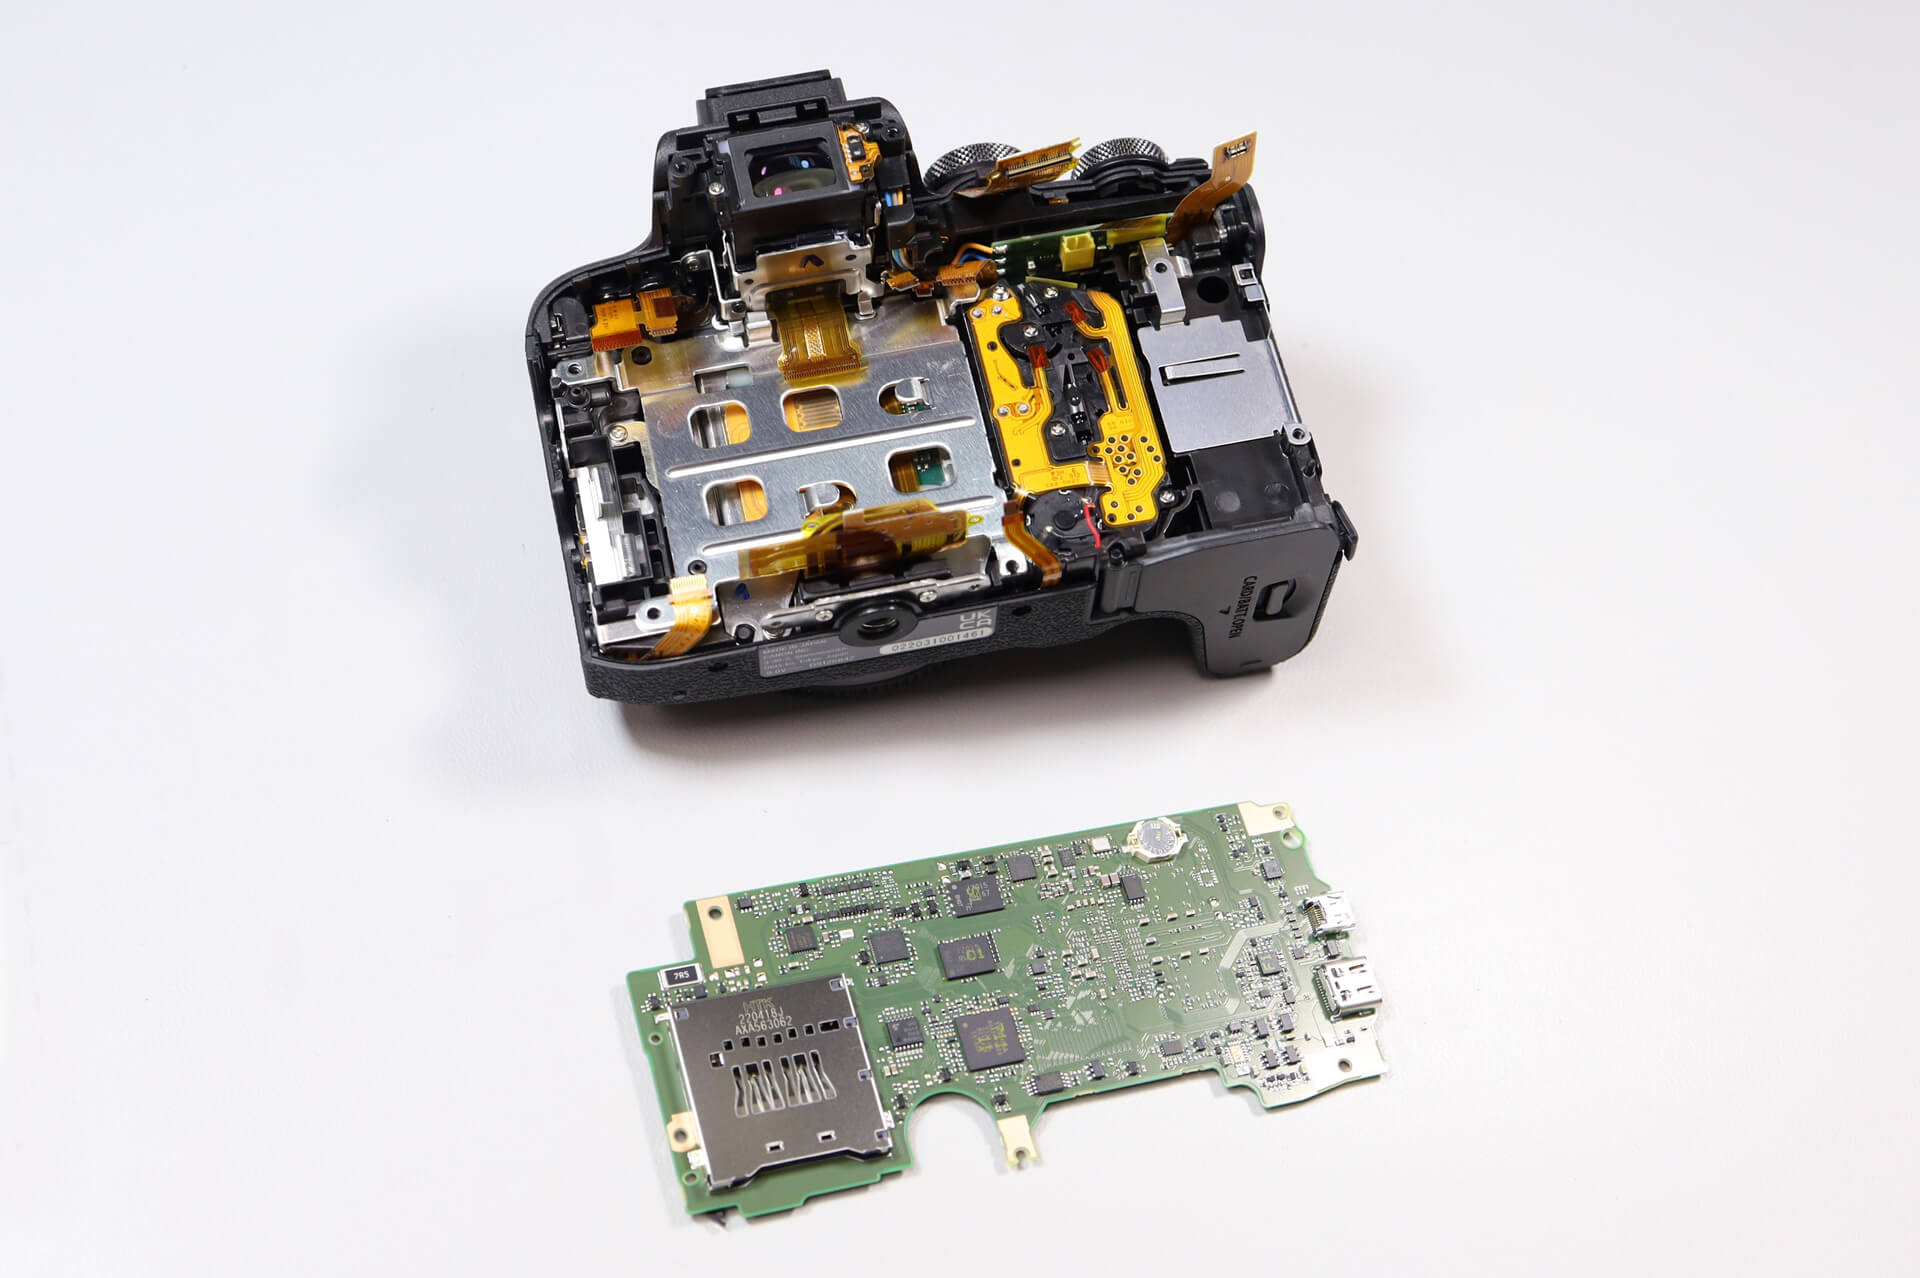
We carefully detach the ribbon cable to remove the rear panel. Once that’s done, we unplug all the other ribbon cables connected to the circuit board.
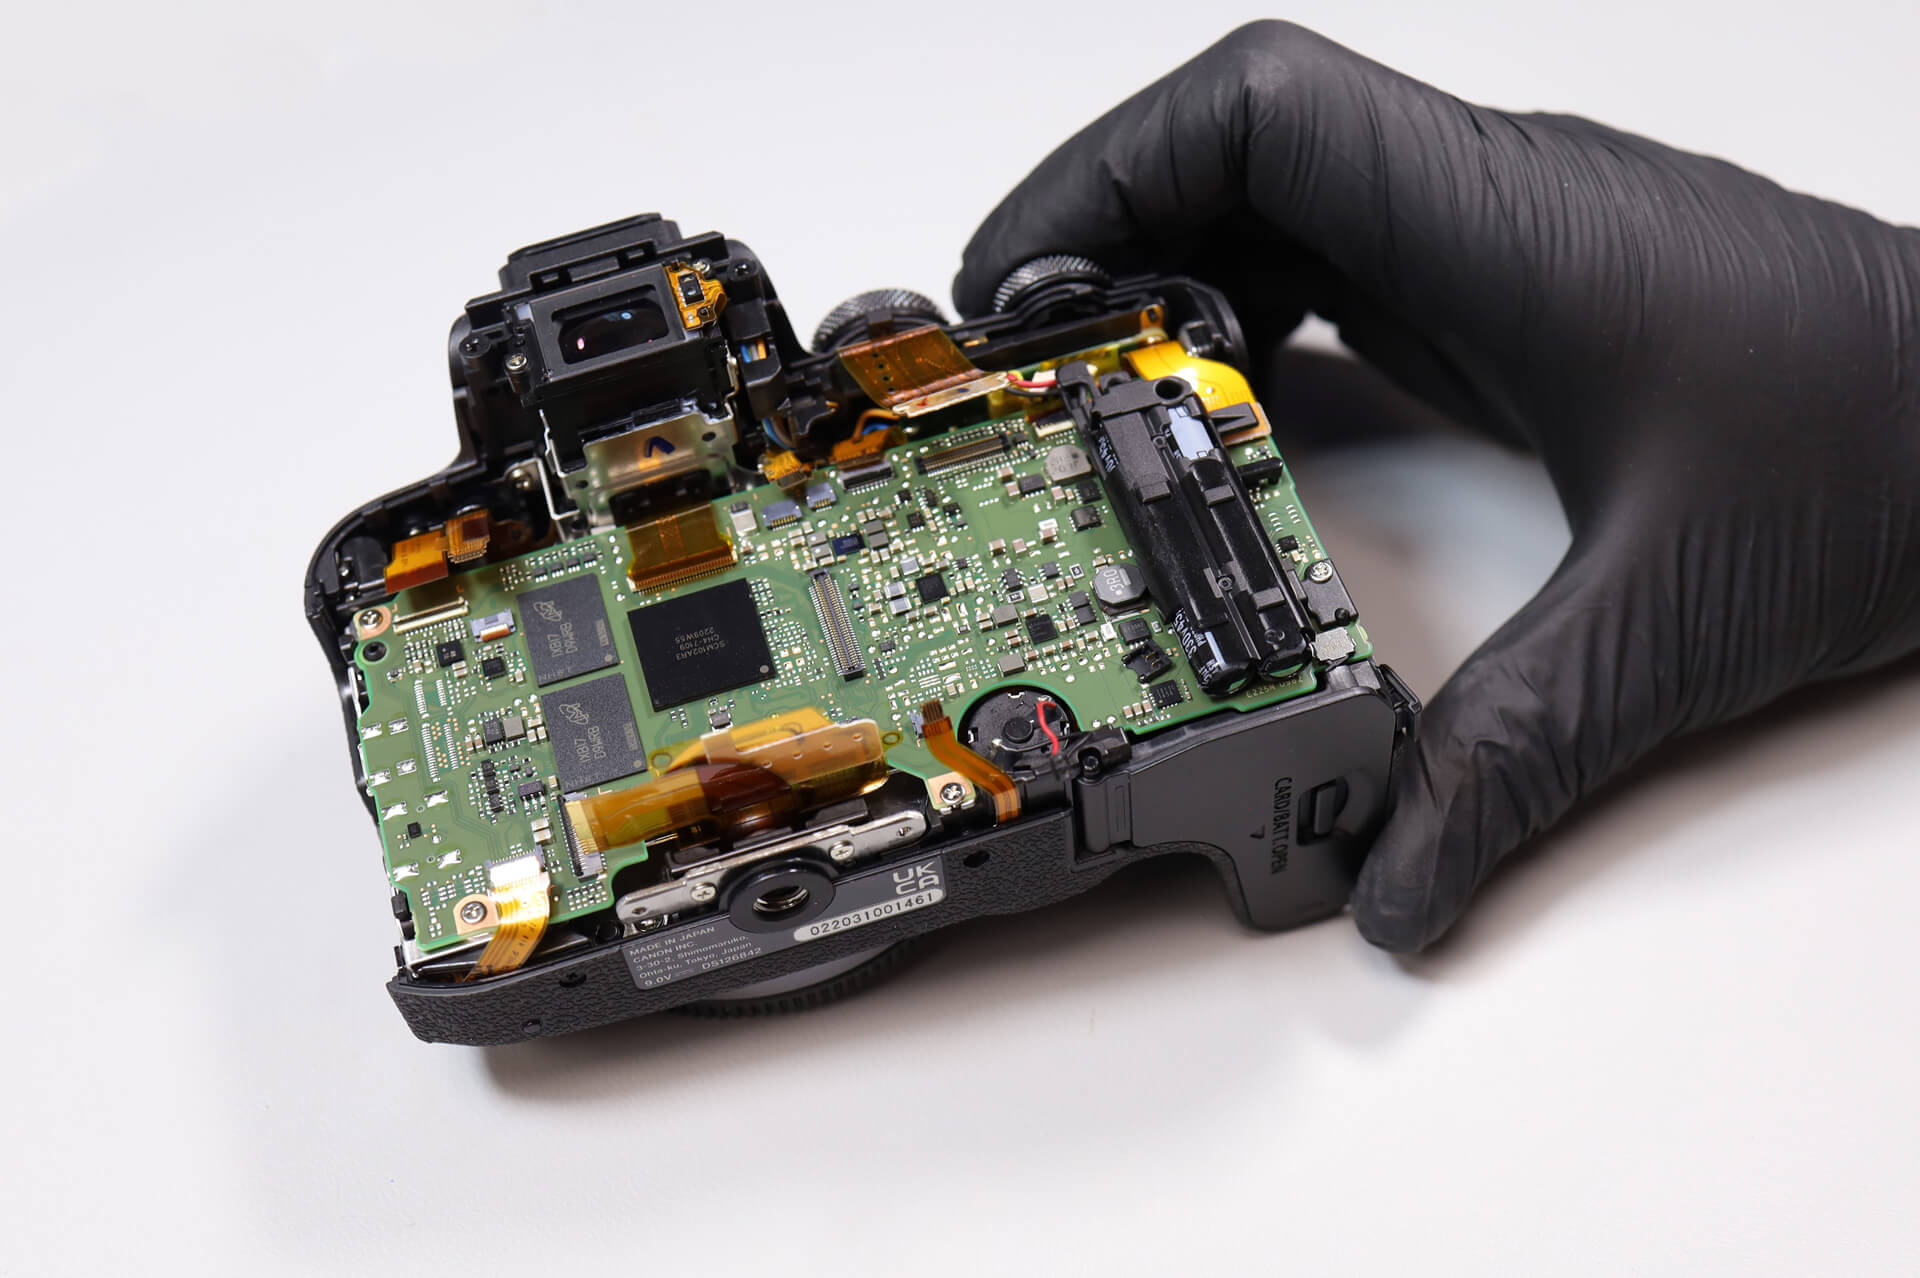
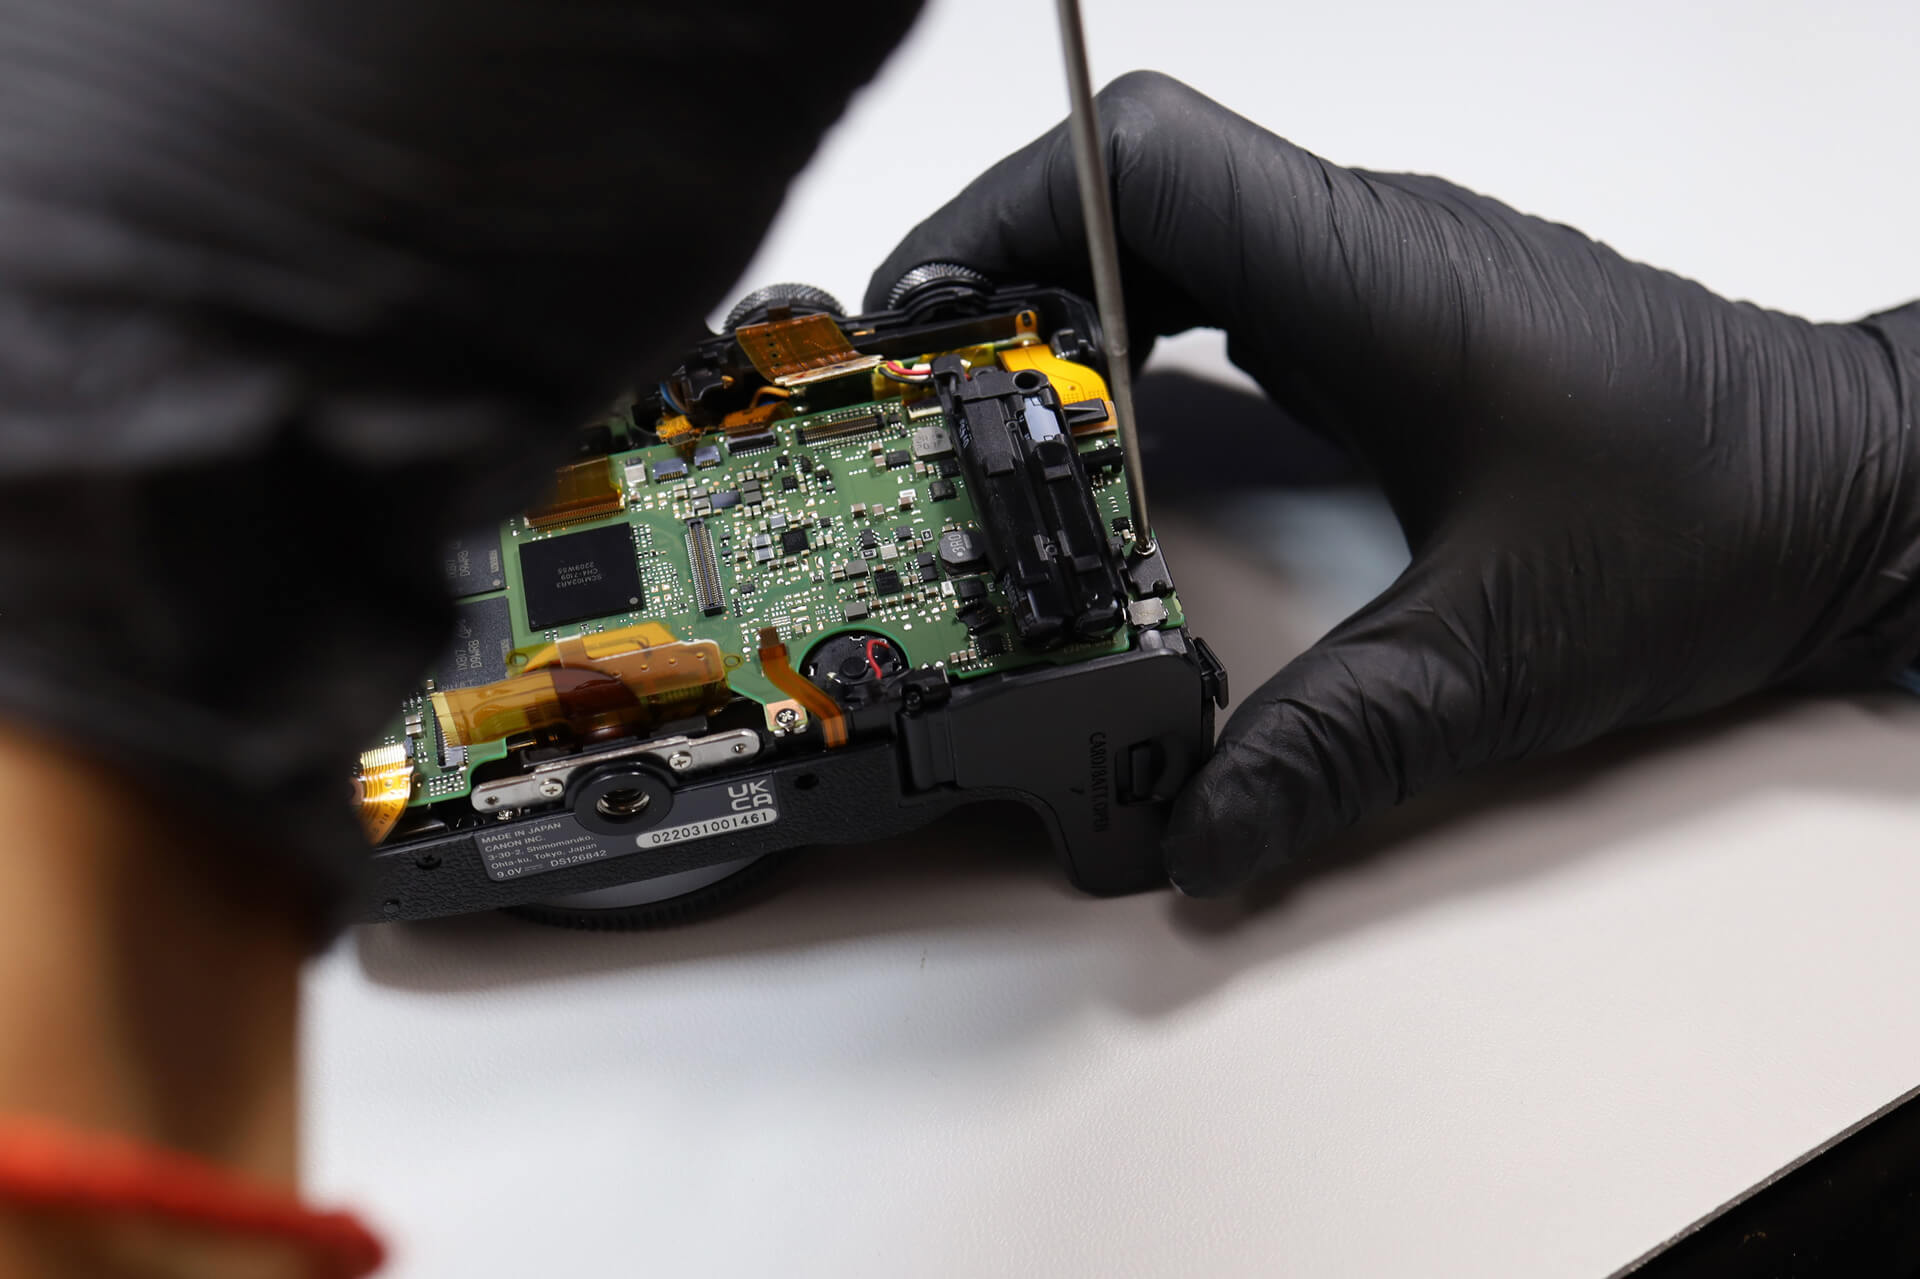
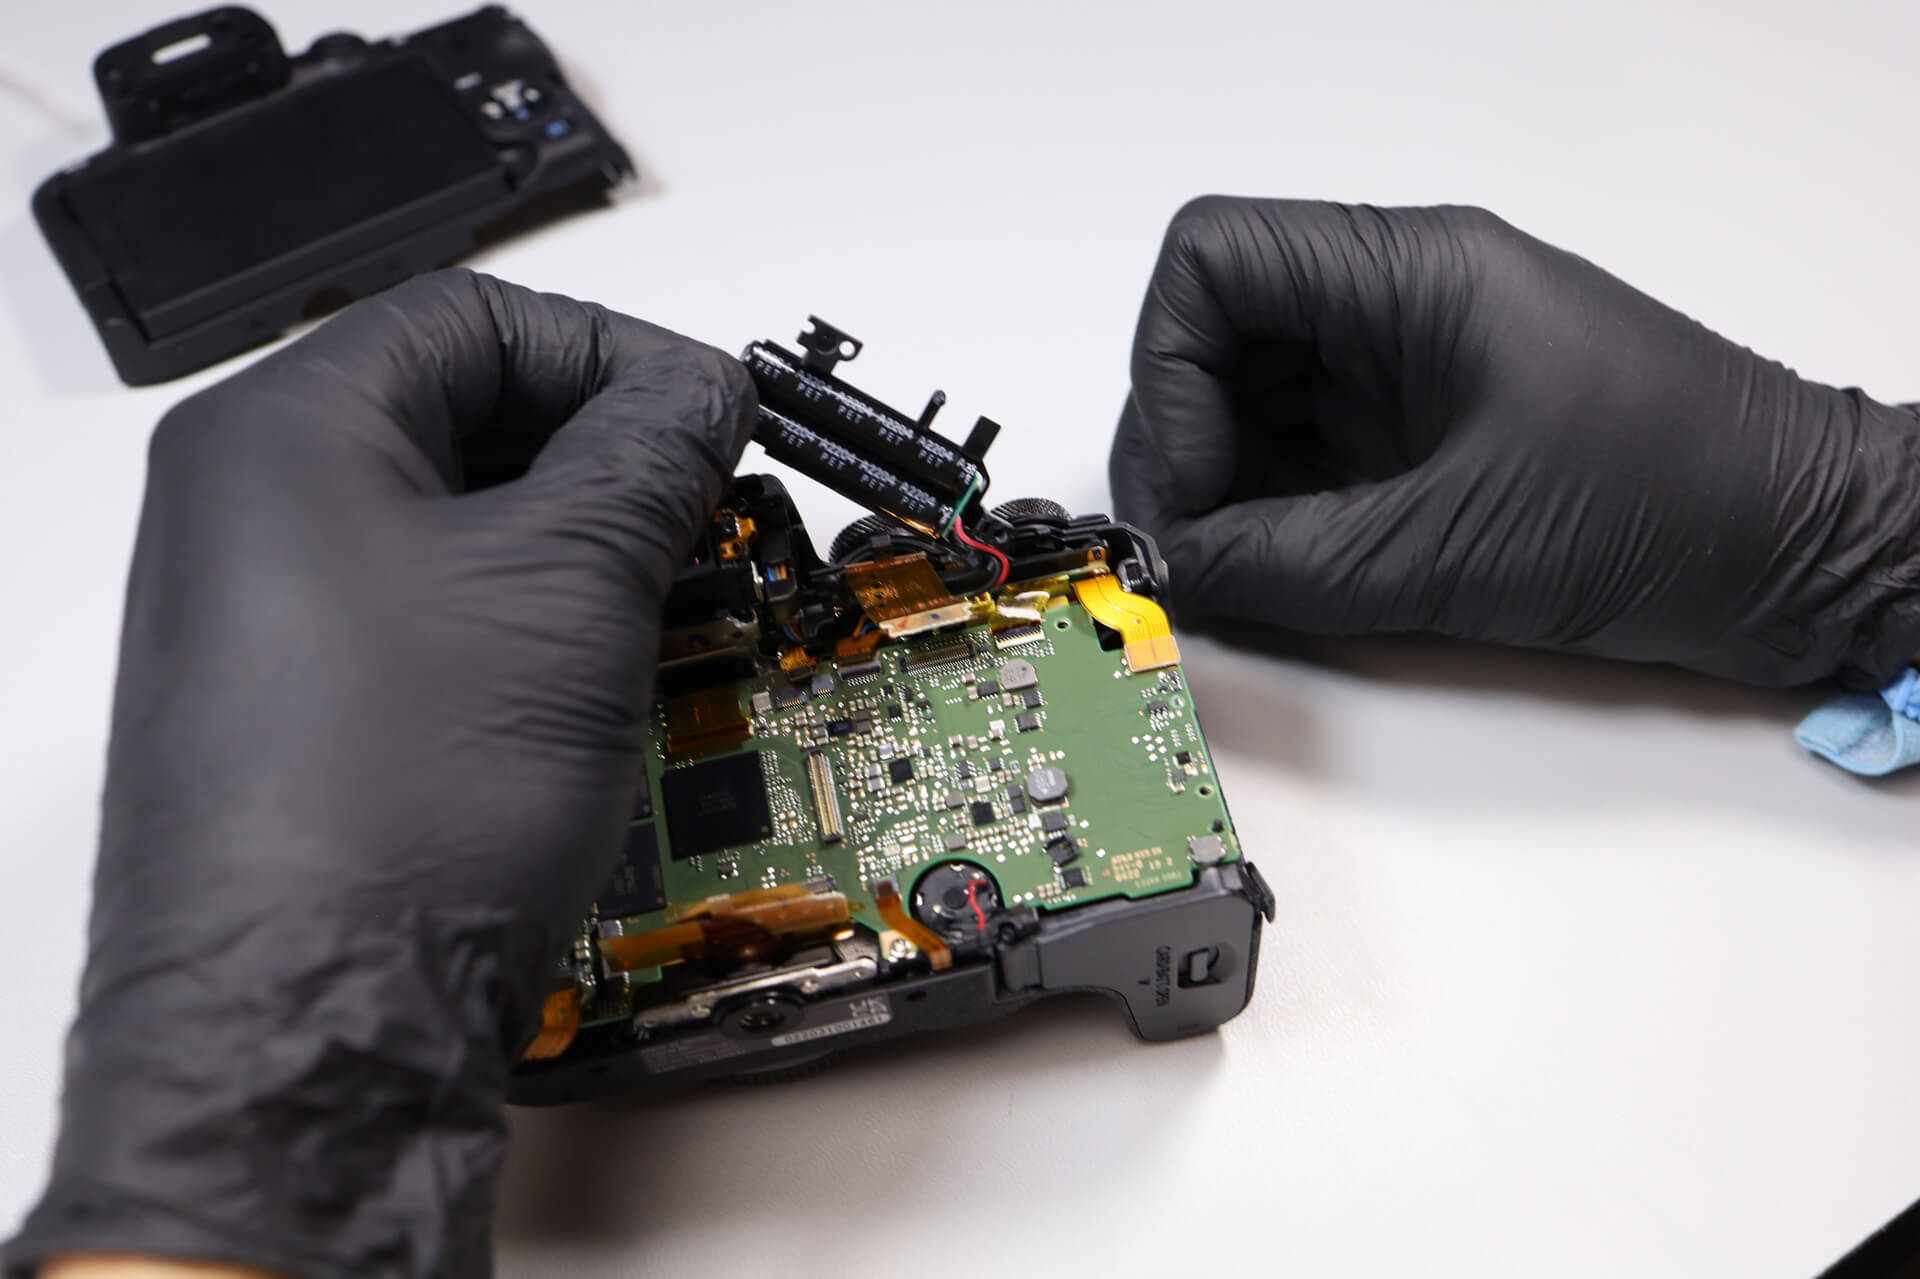
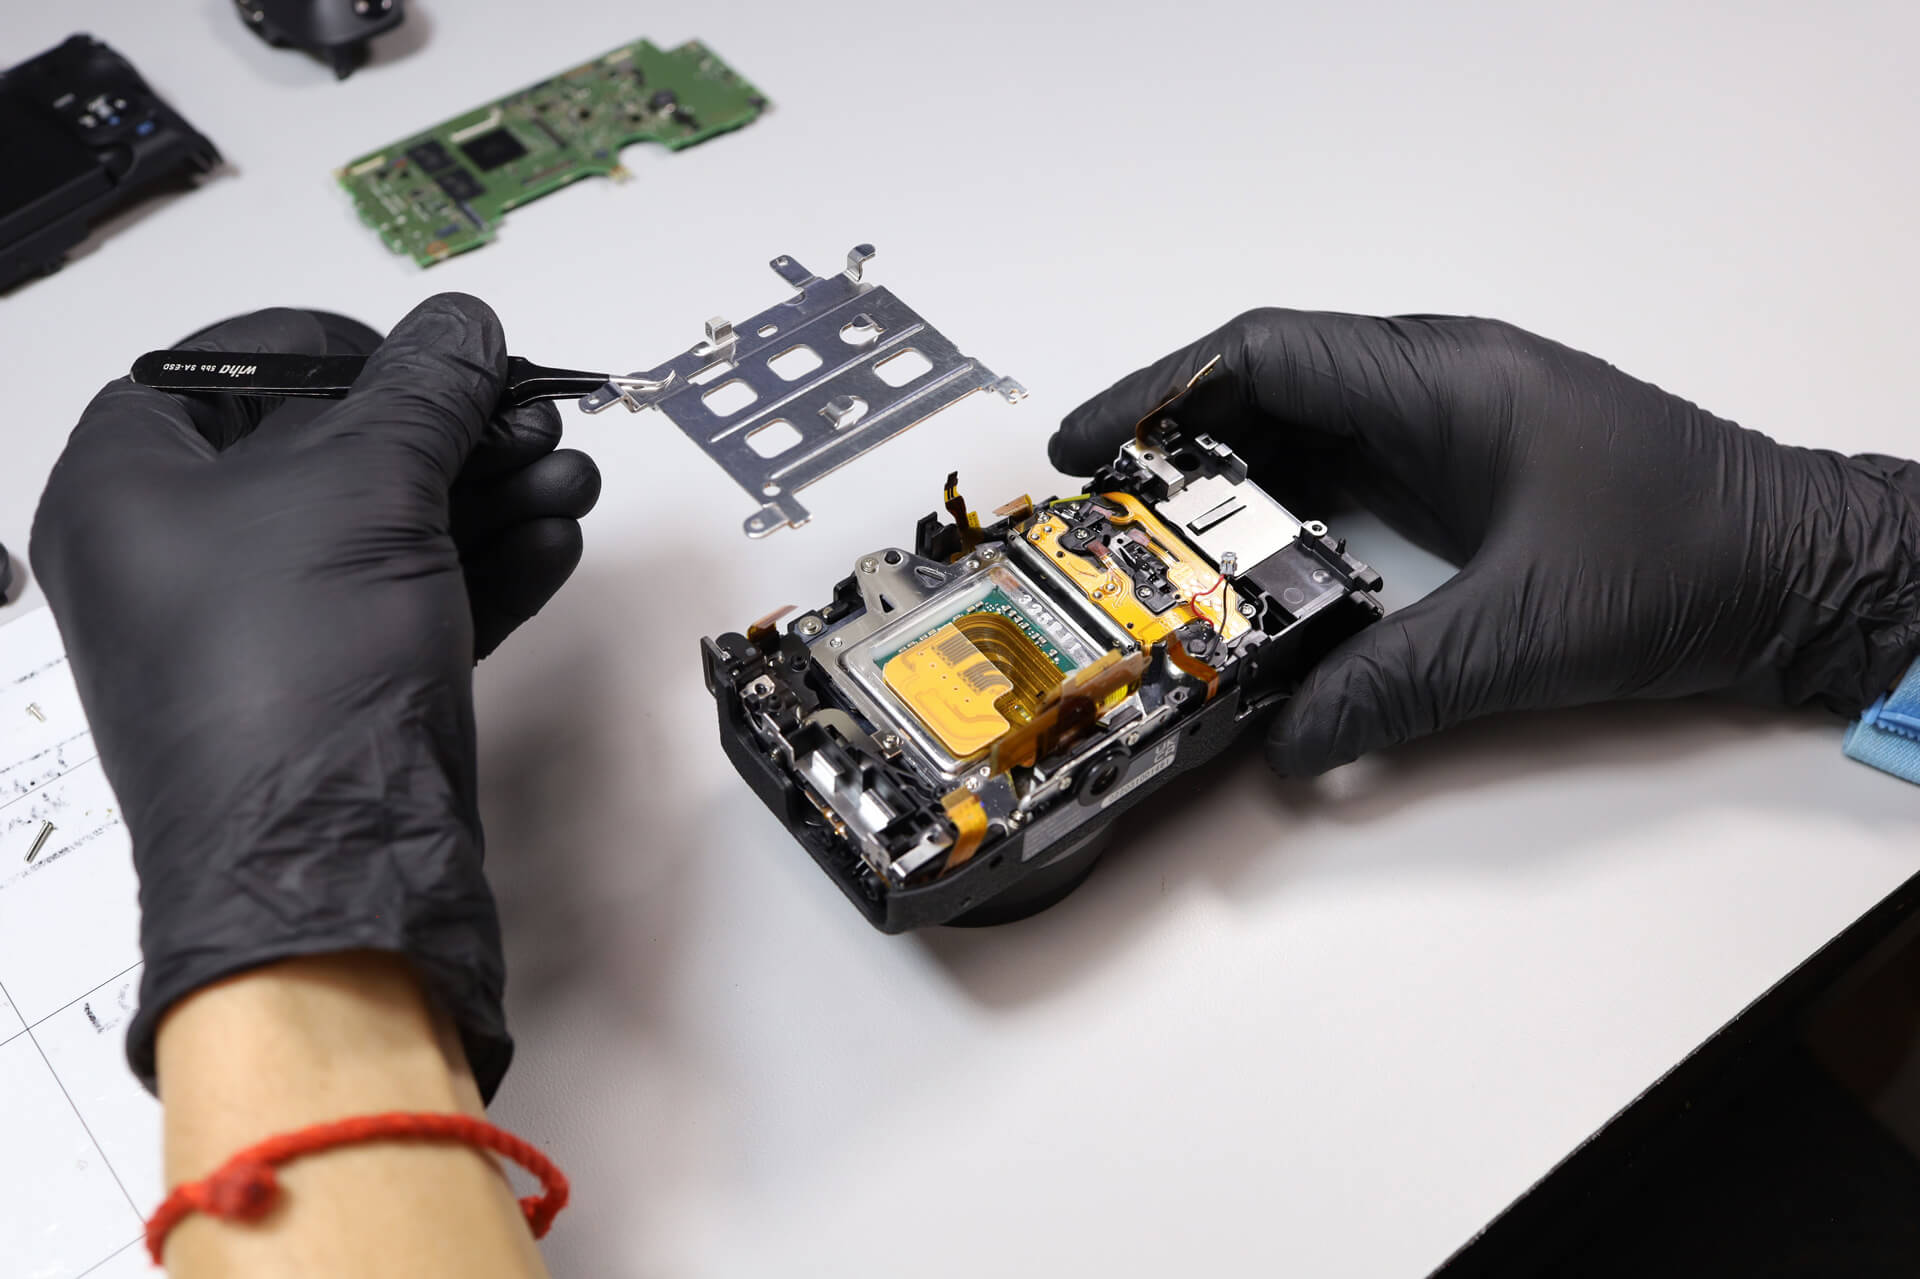
The internal flash battery pack is in the way of removing the circuit board. Only one silver screw holds it in place, so it’s easy to remove.
Removing the Circuit Board and Top Panel
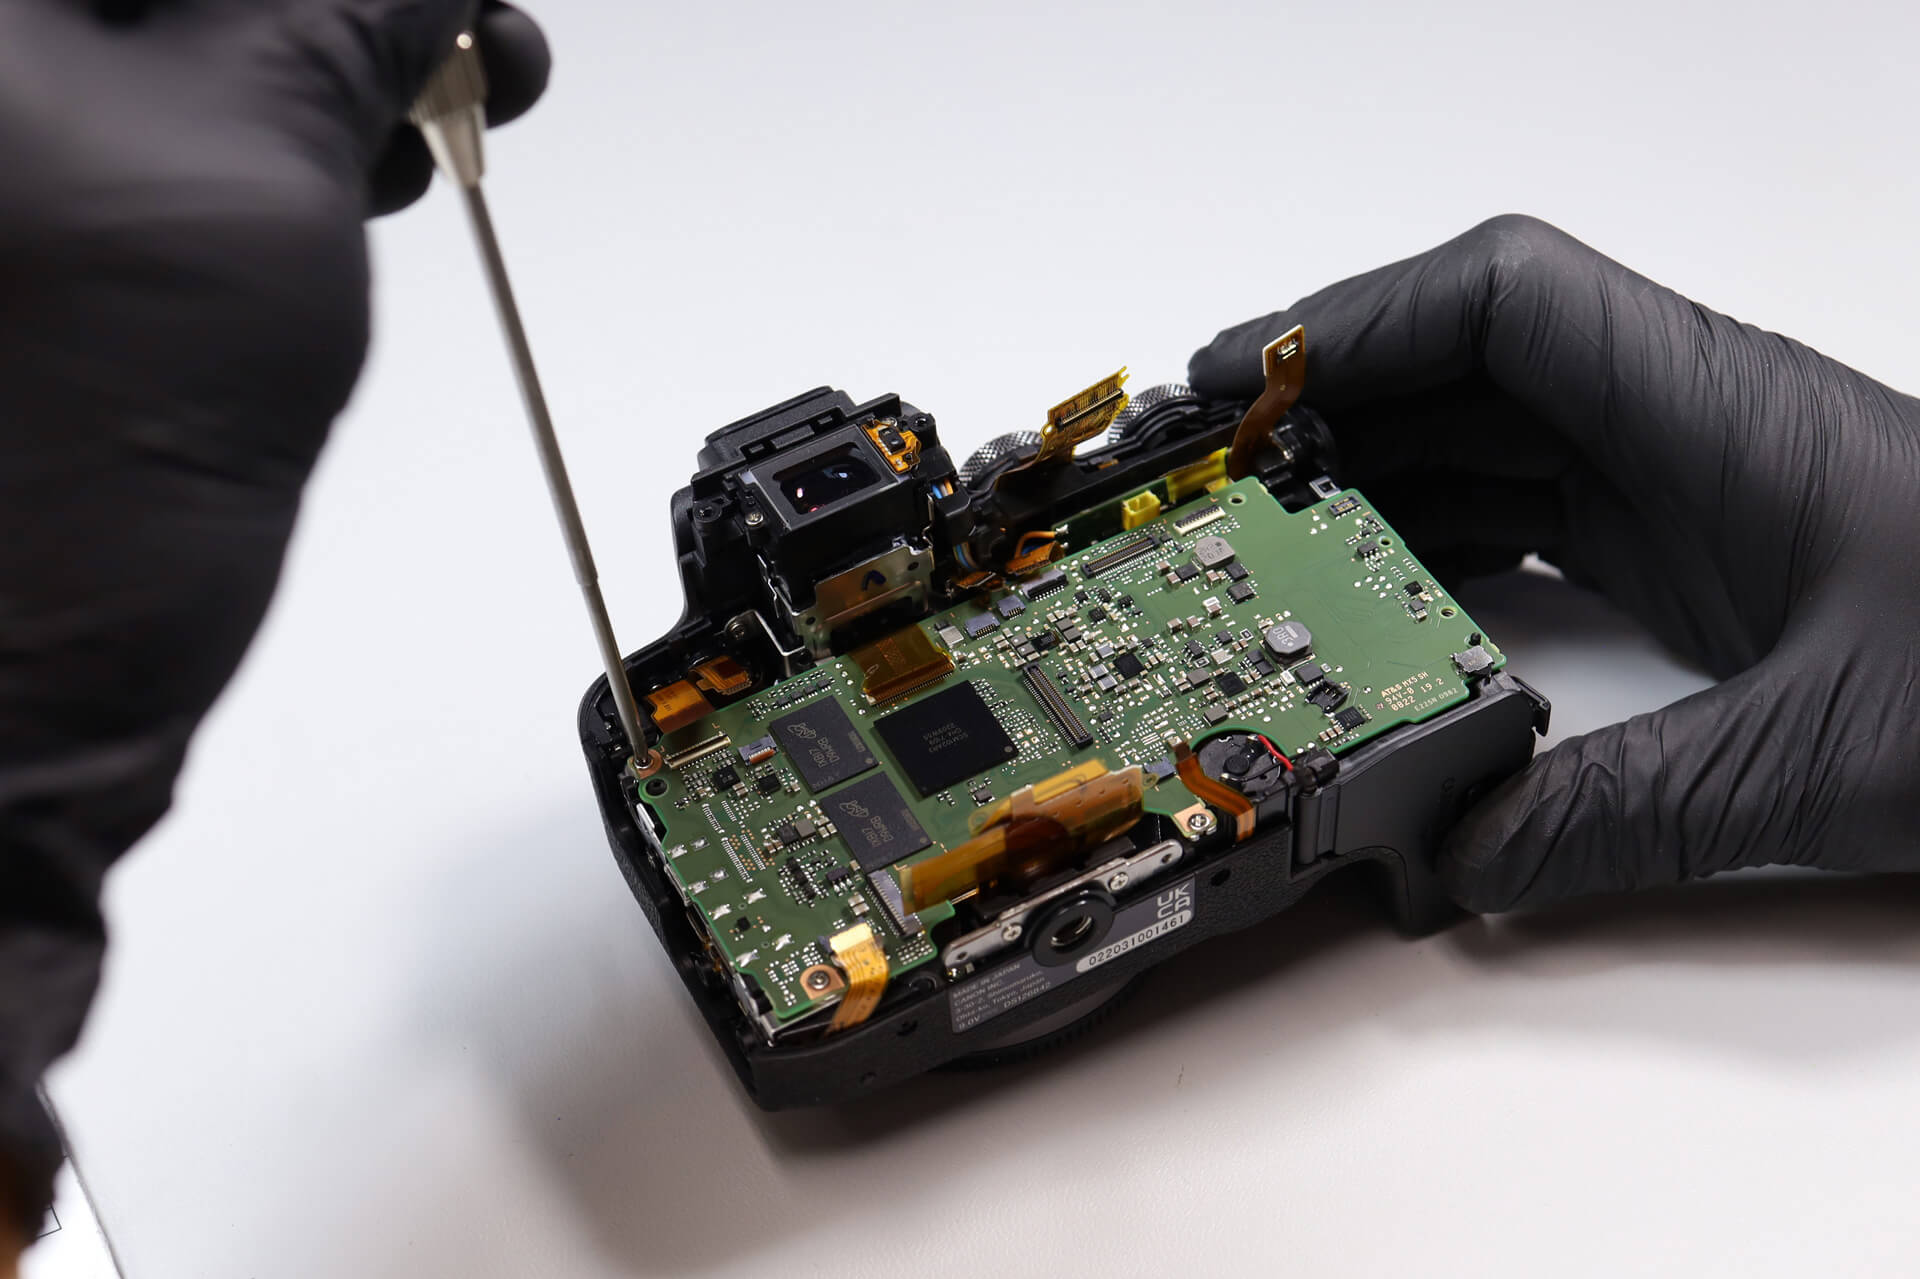
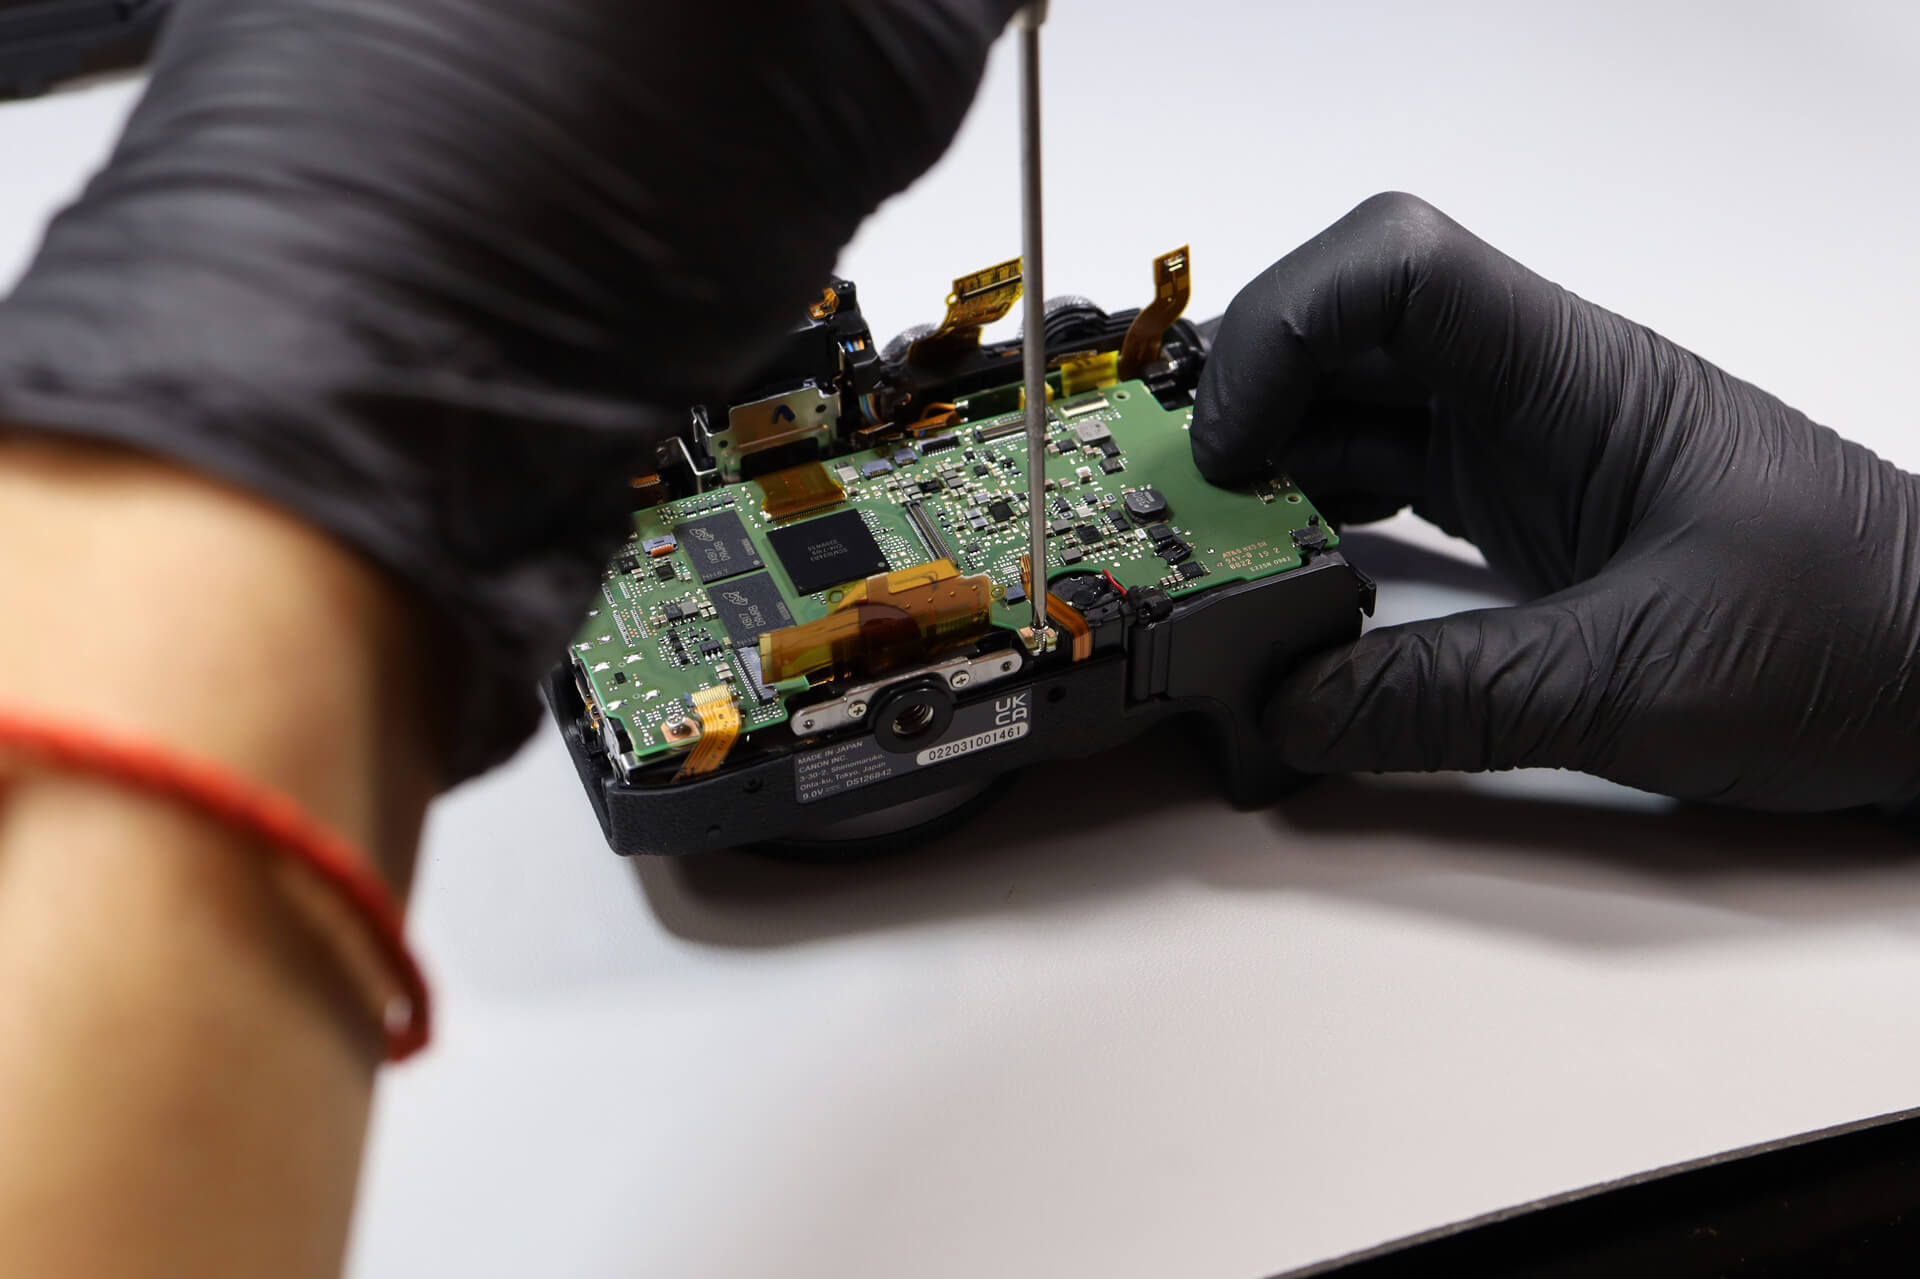
Next, we remove all remaining screws holding down the circuit board.
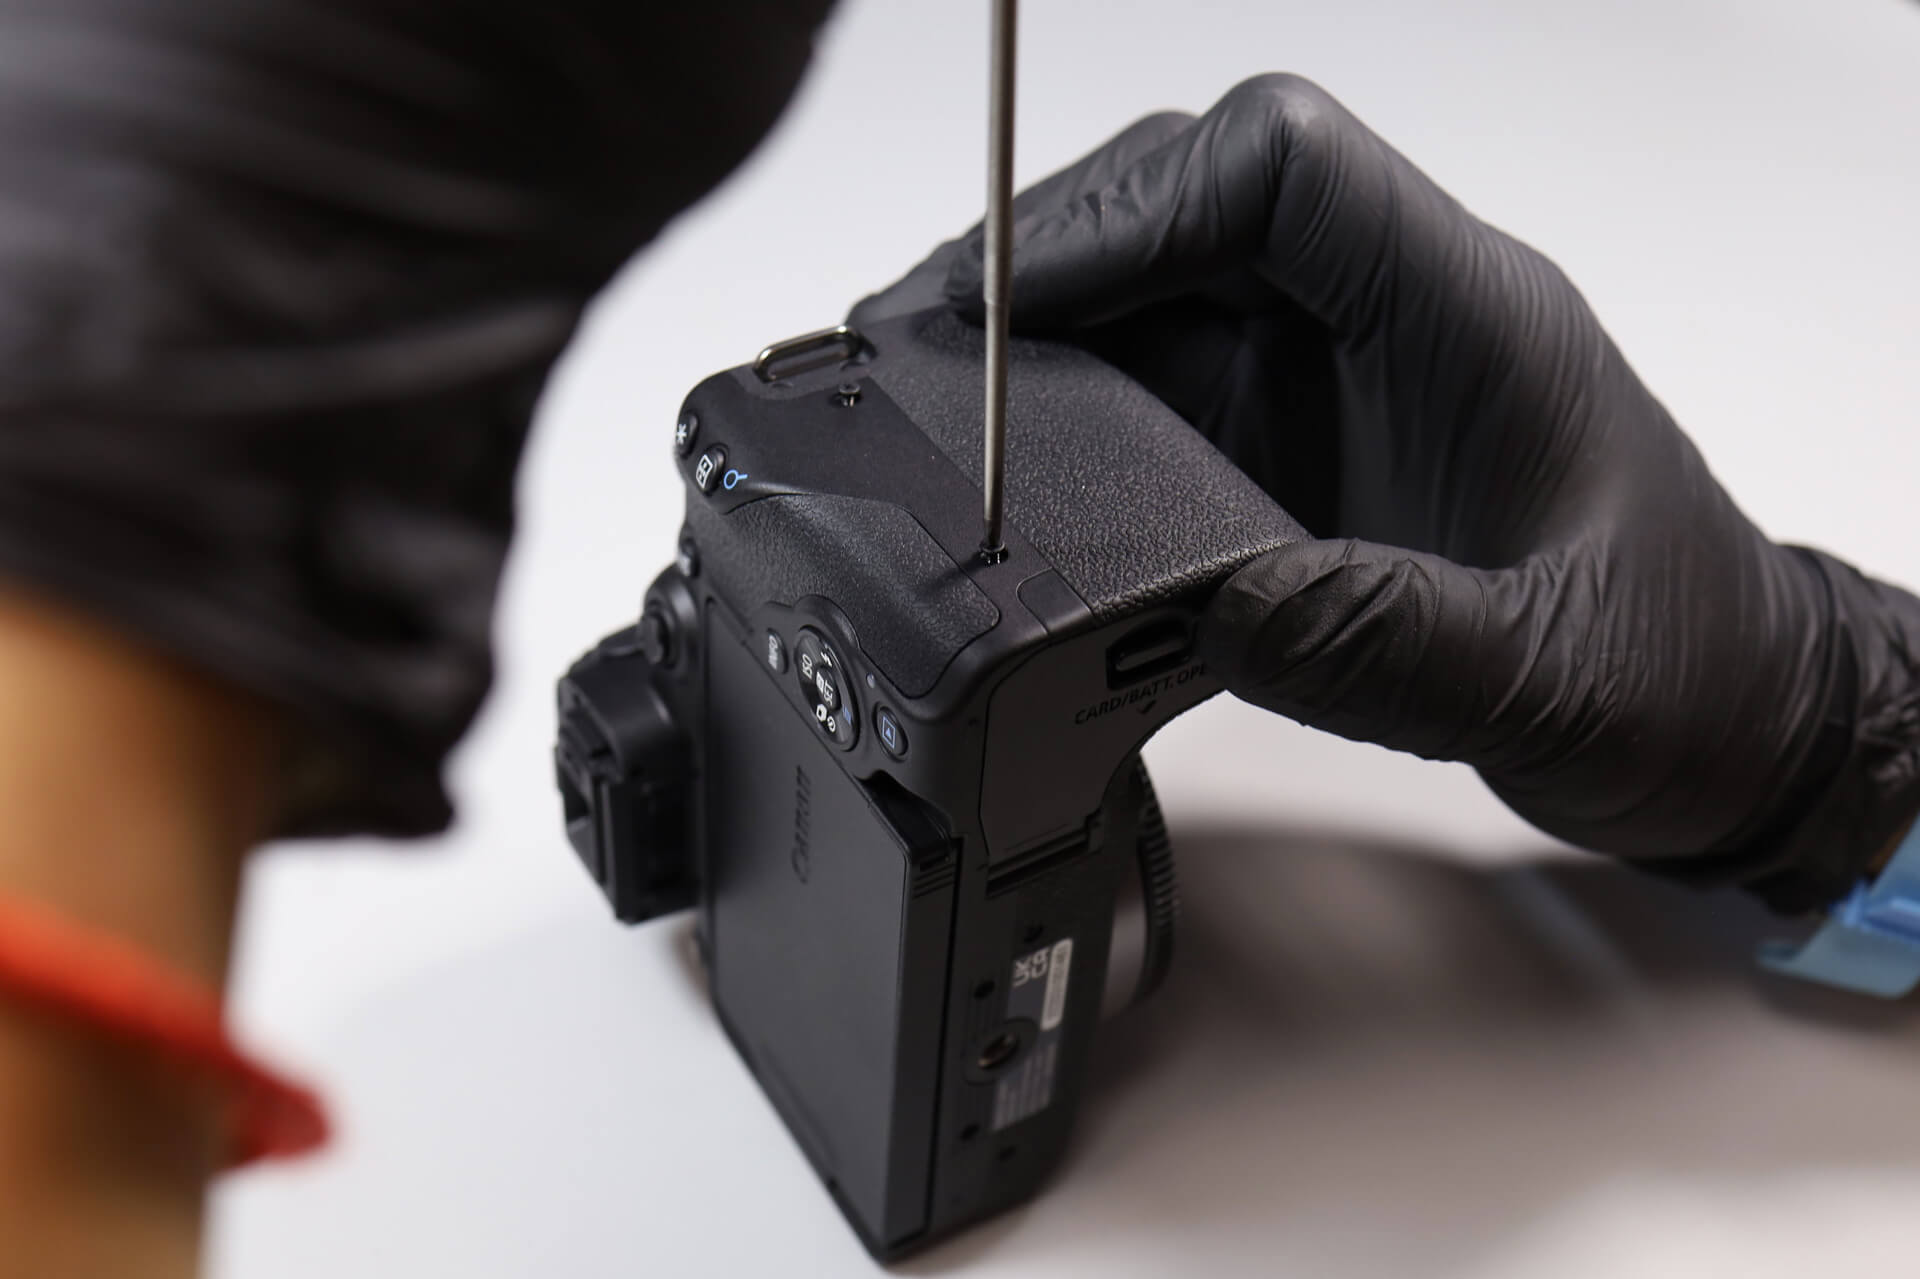
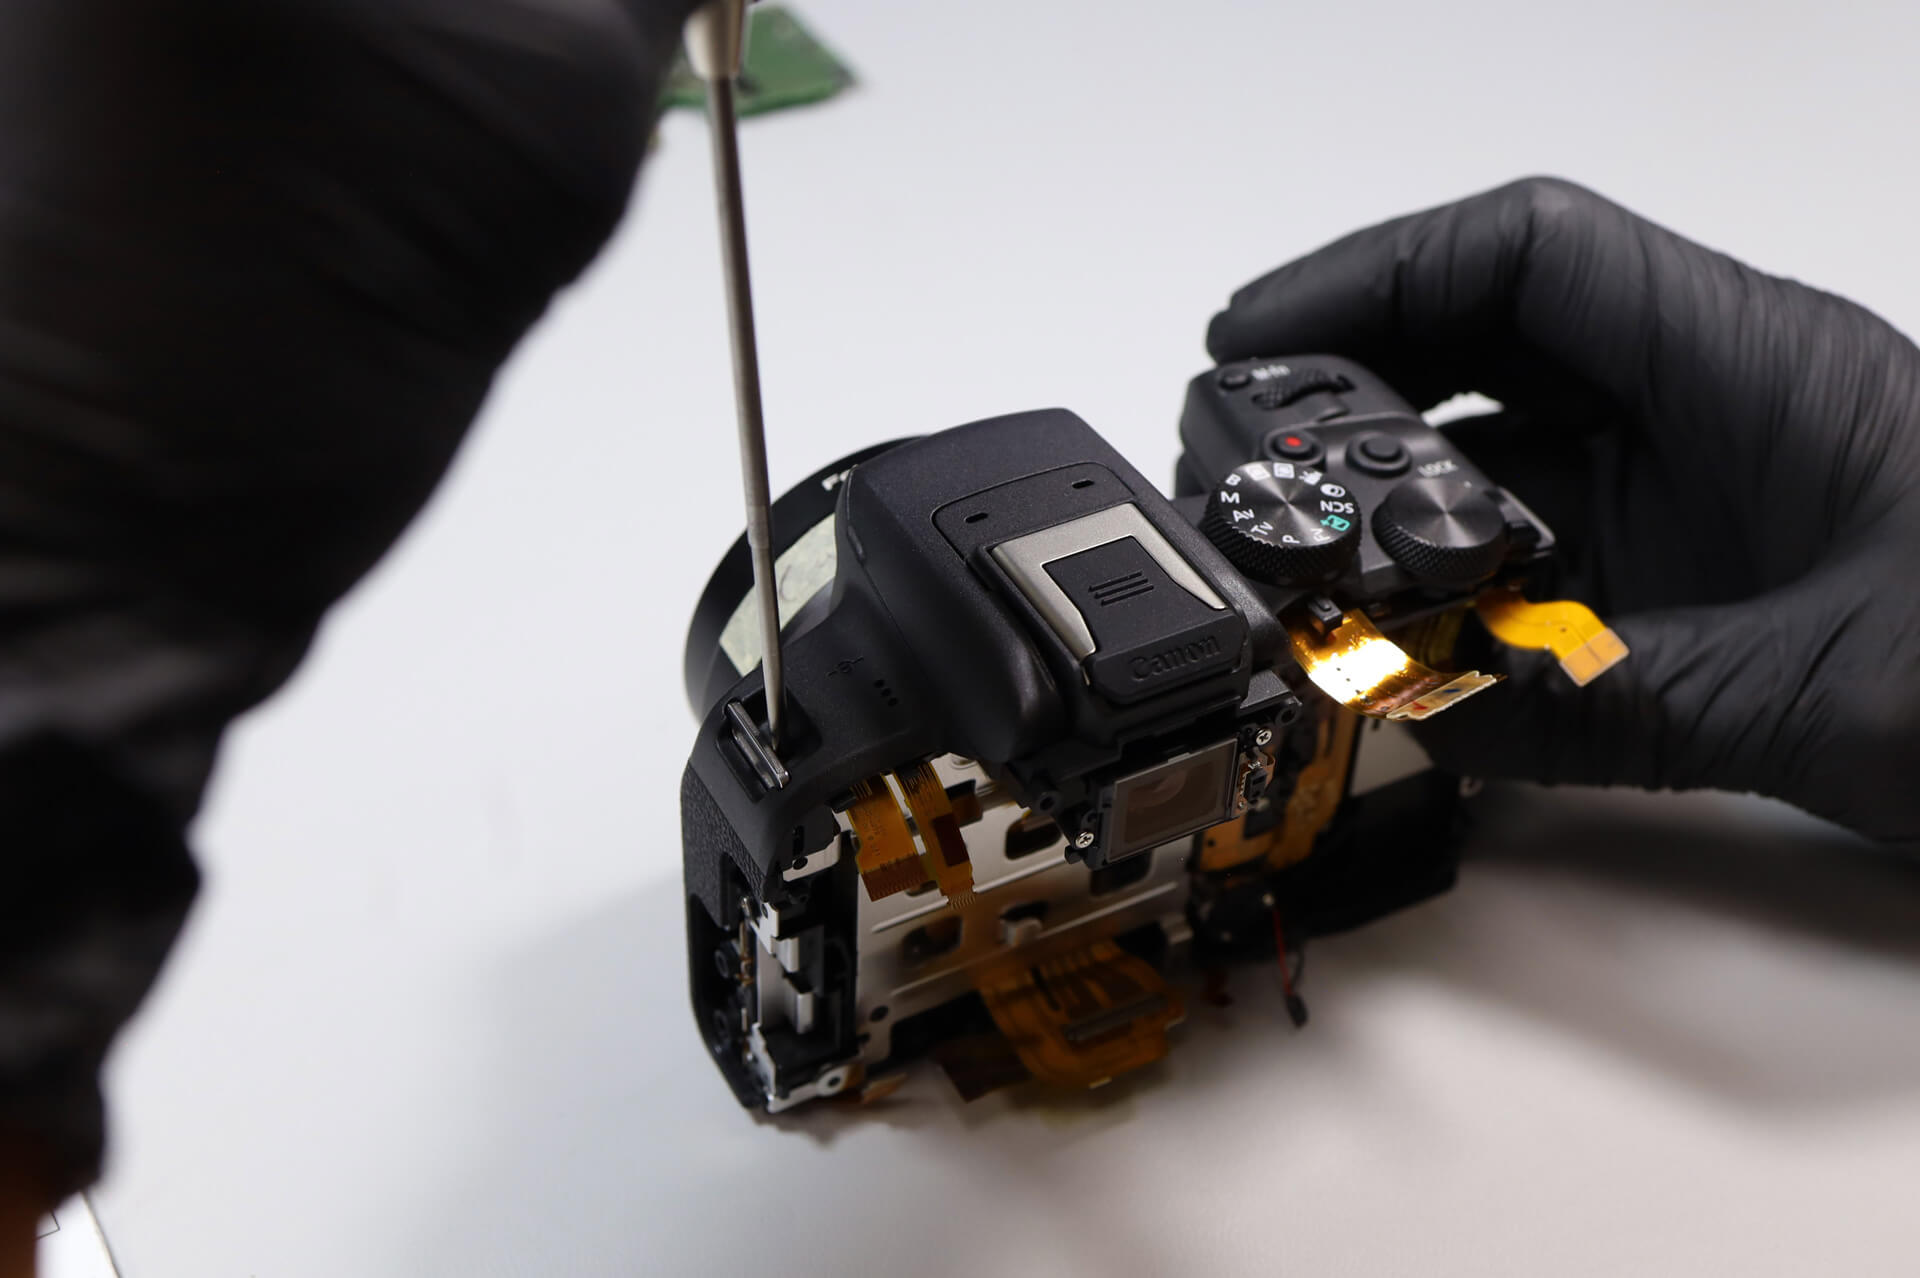
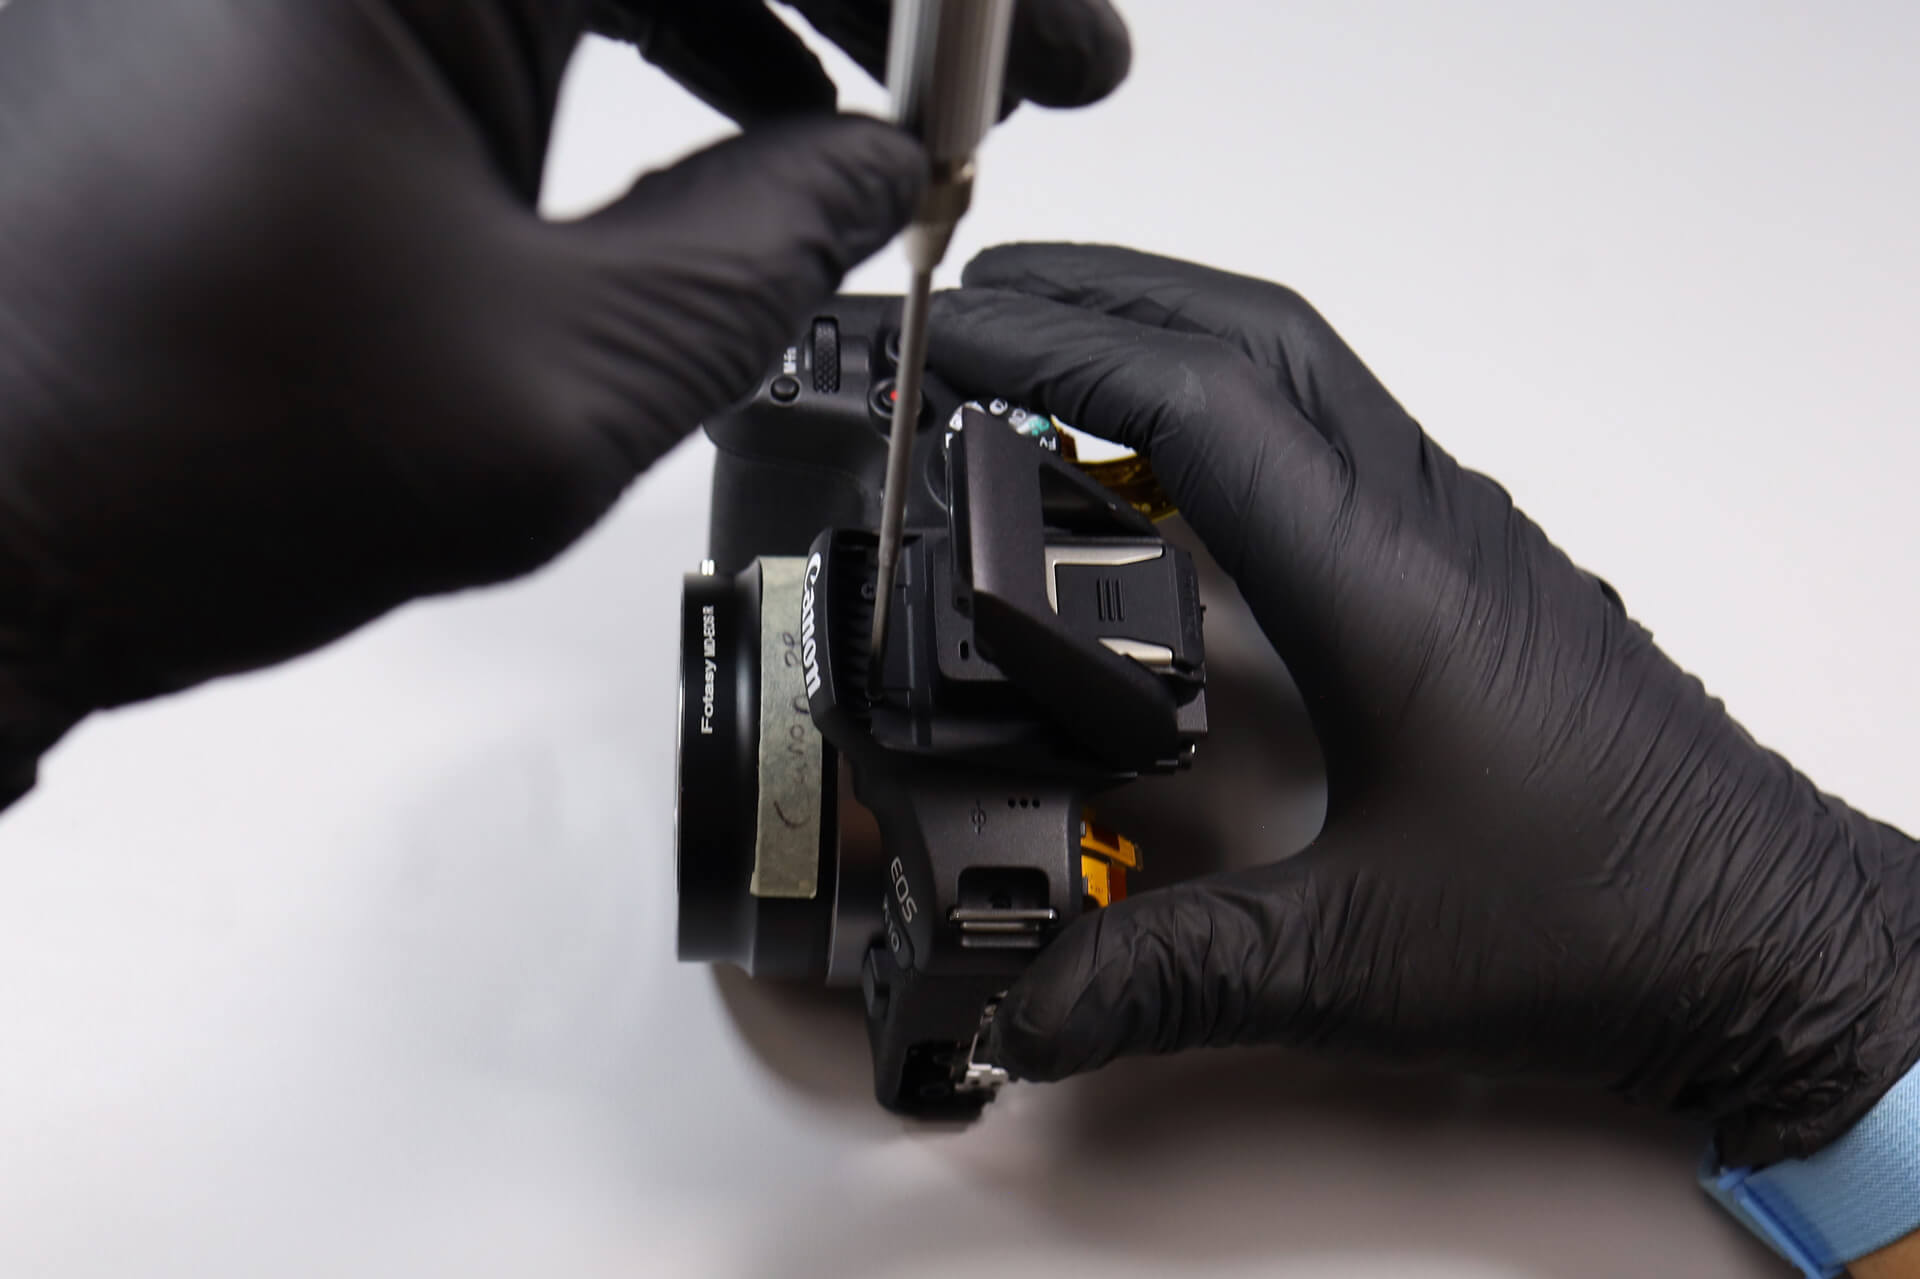
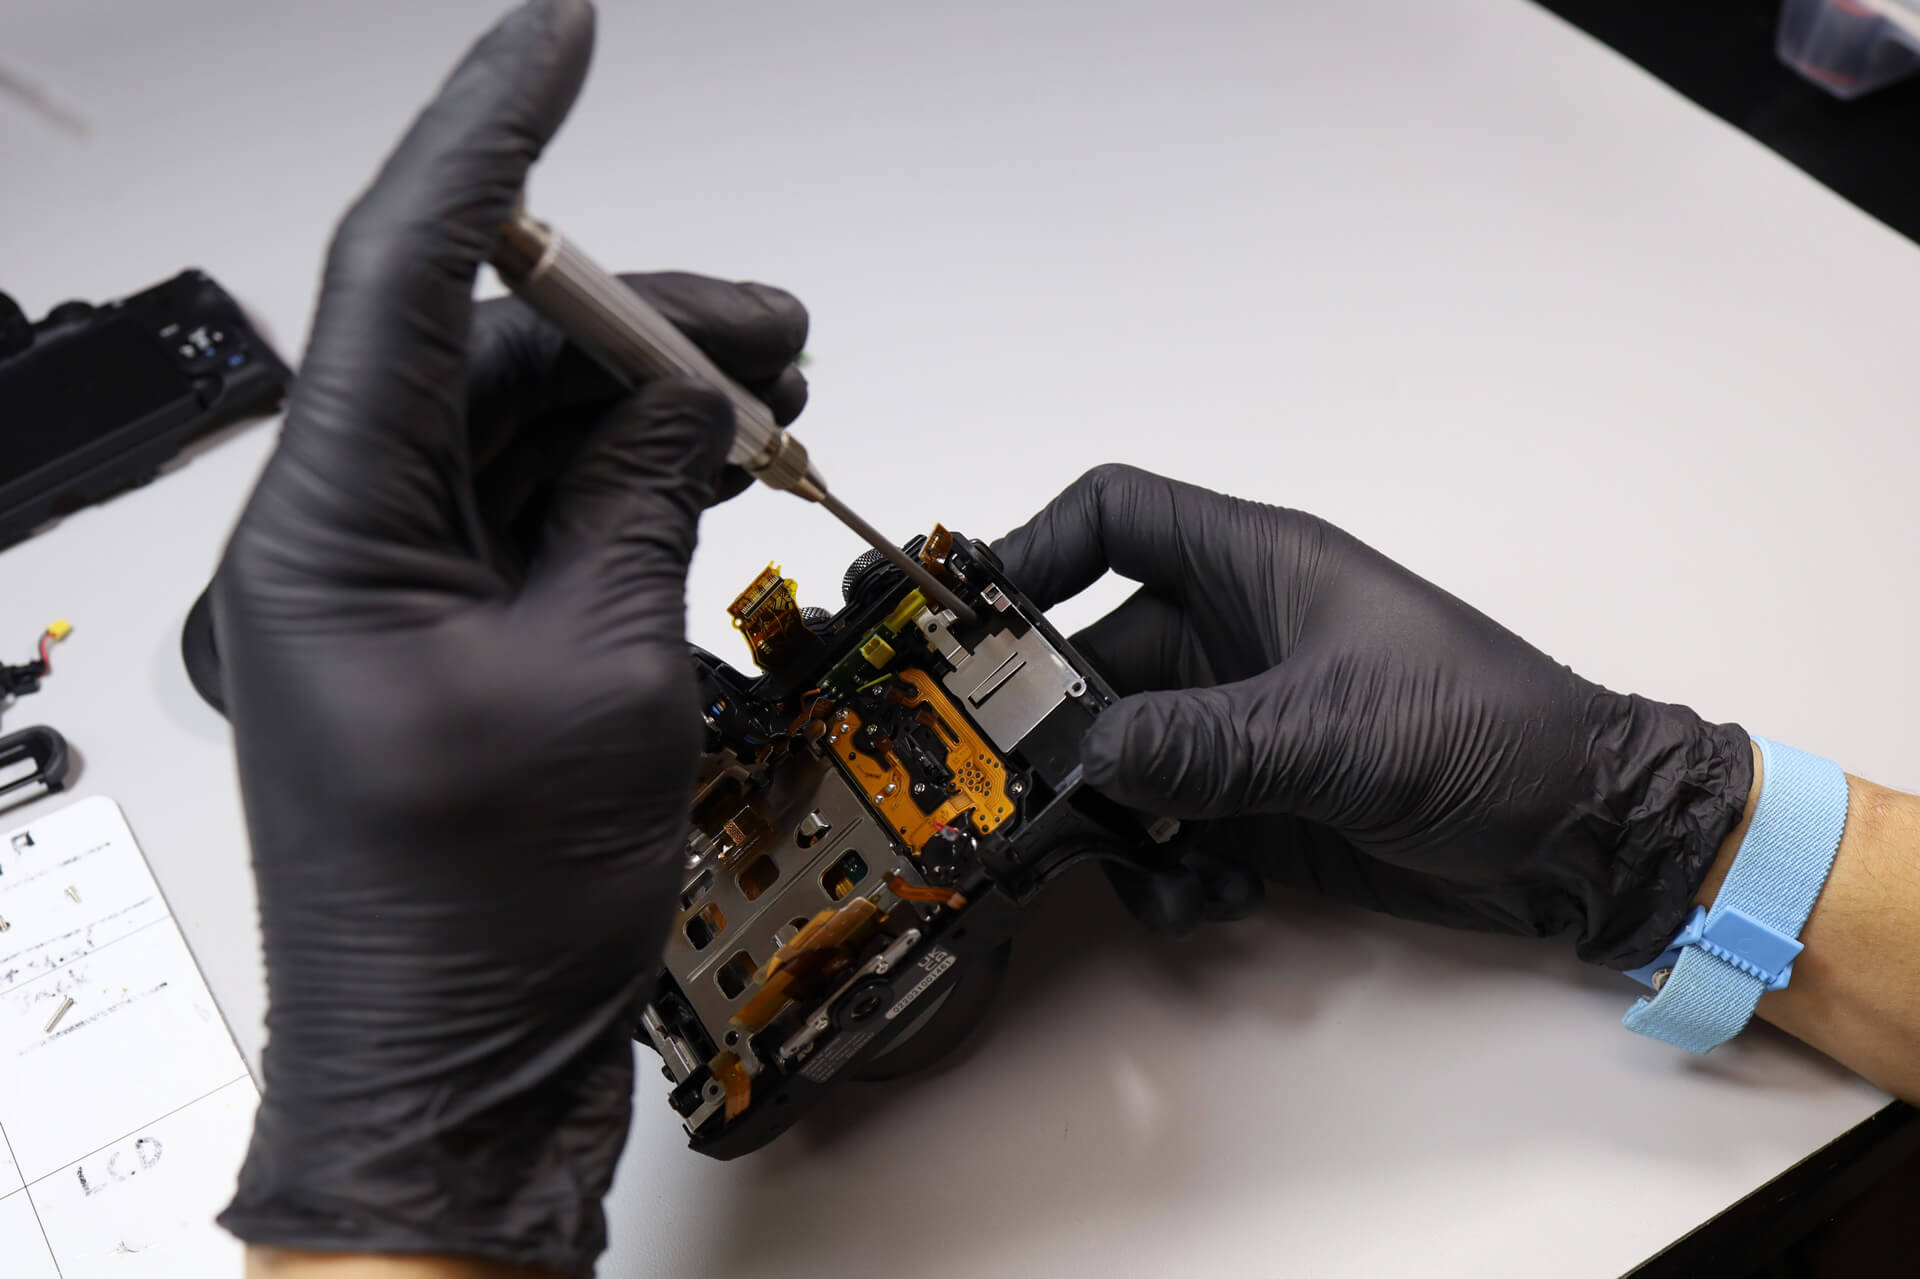
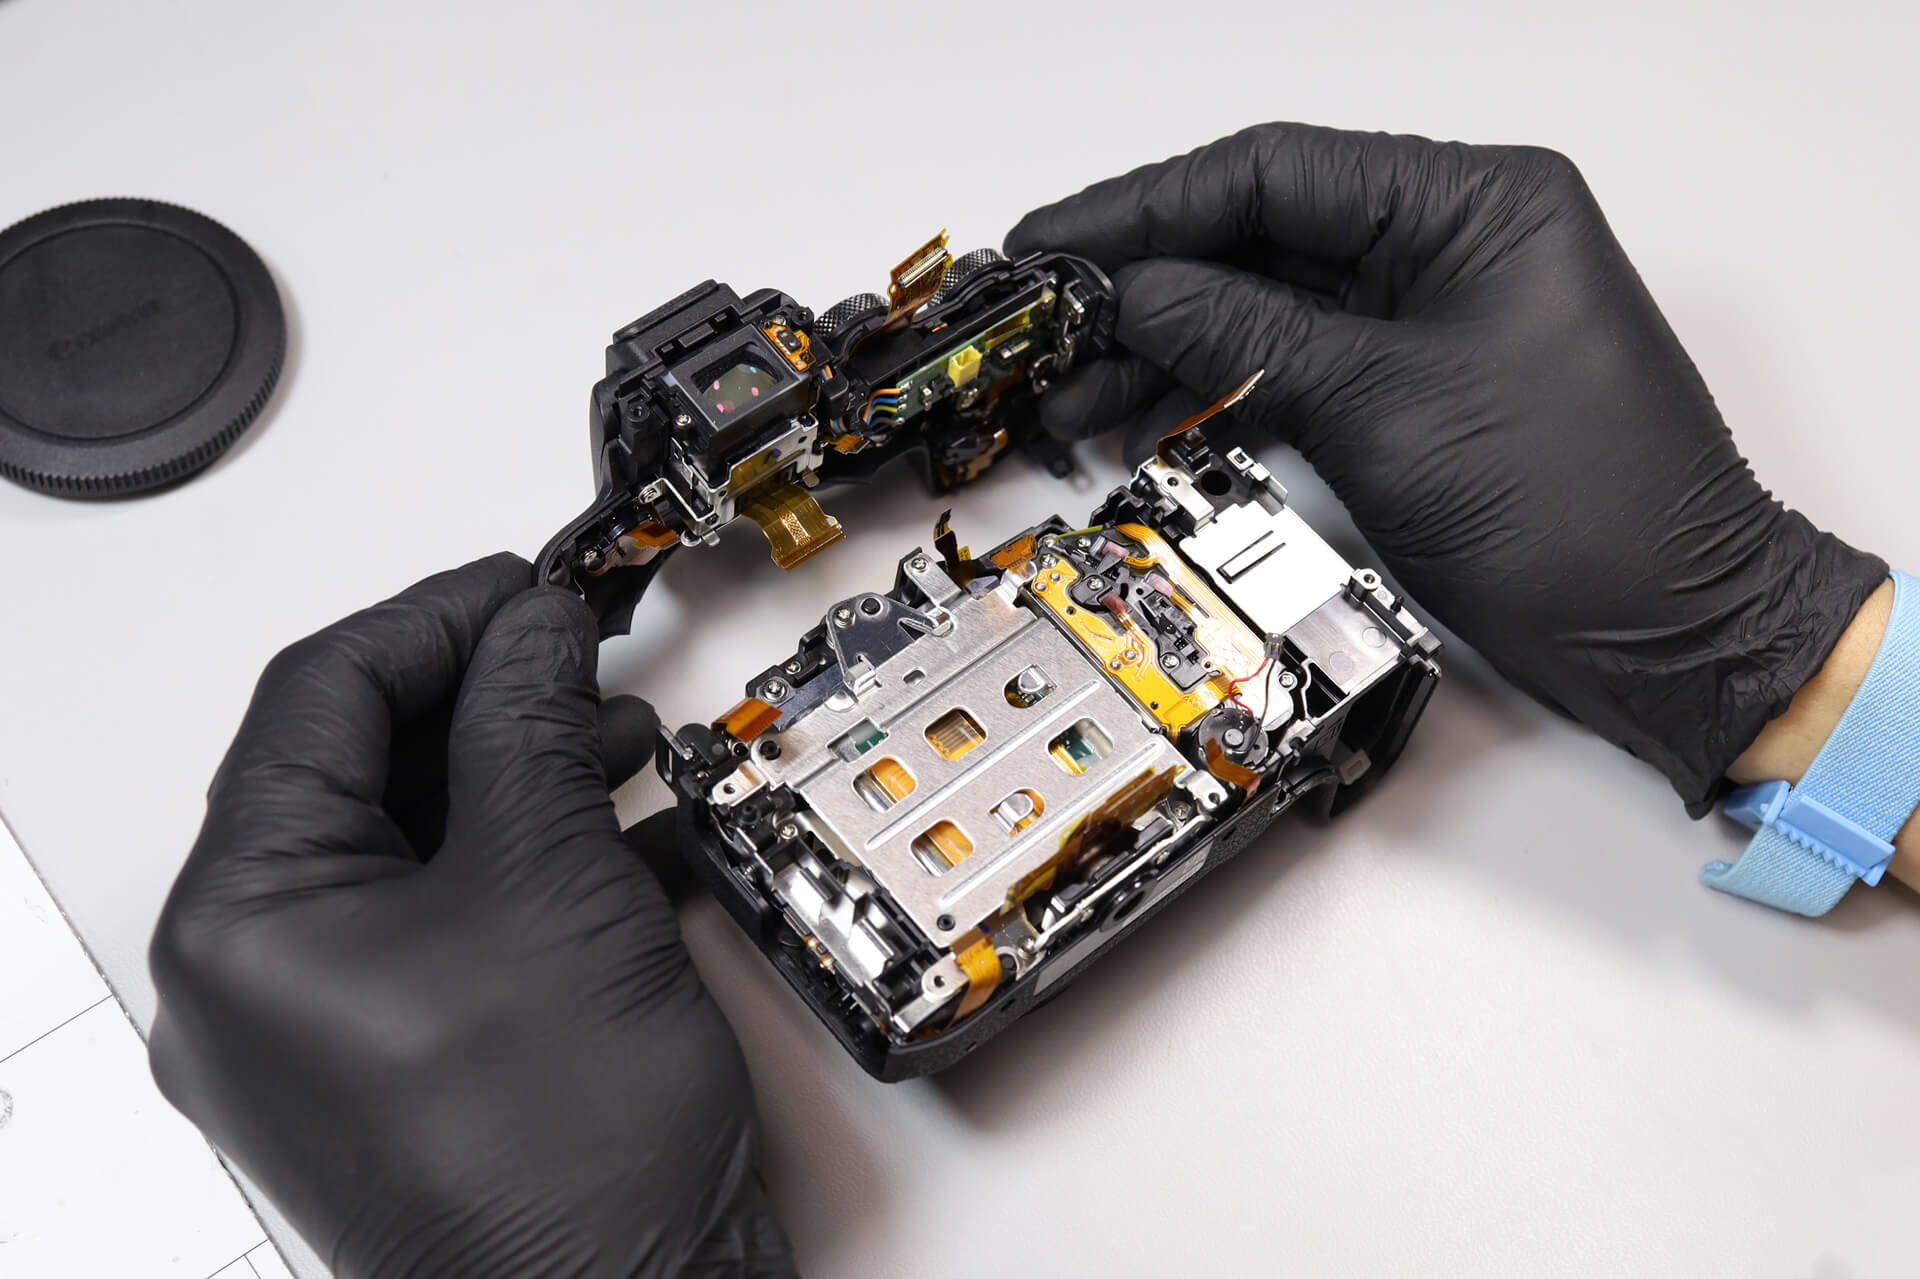
We have to remove the top panel to reach the sensor. There are two screws near the strap mounts and two more hiding underneath the built-in flash.
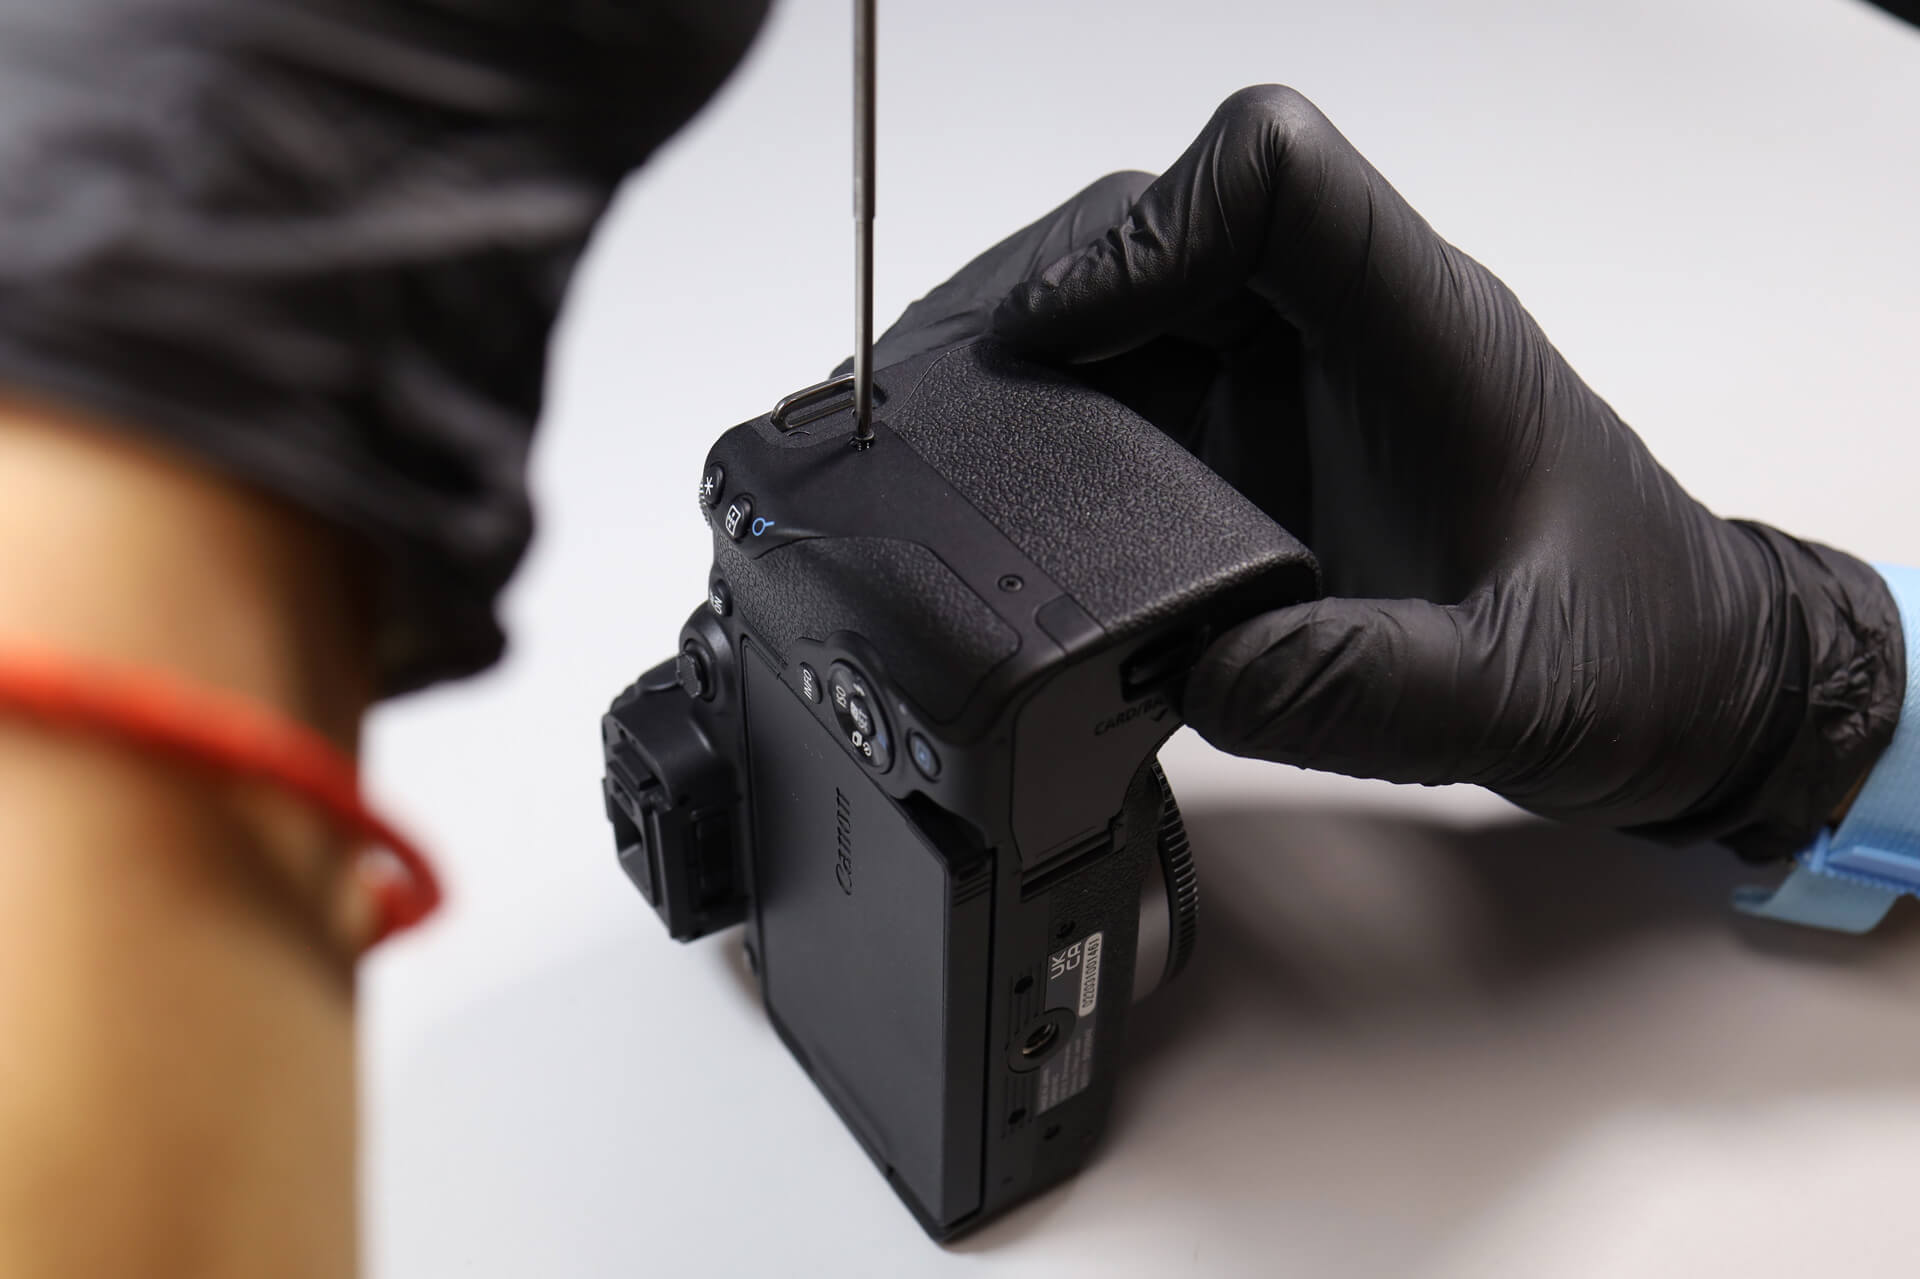
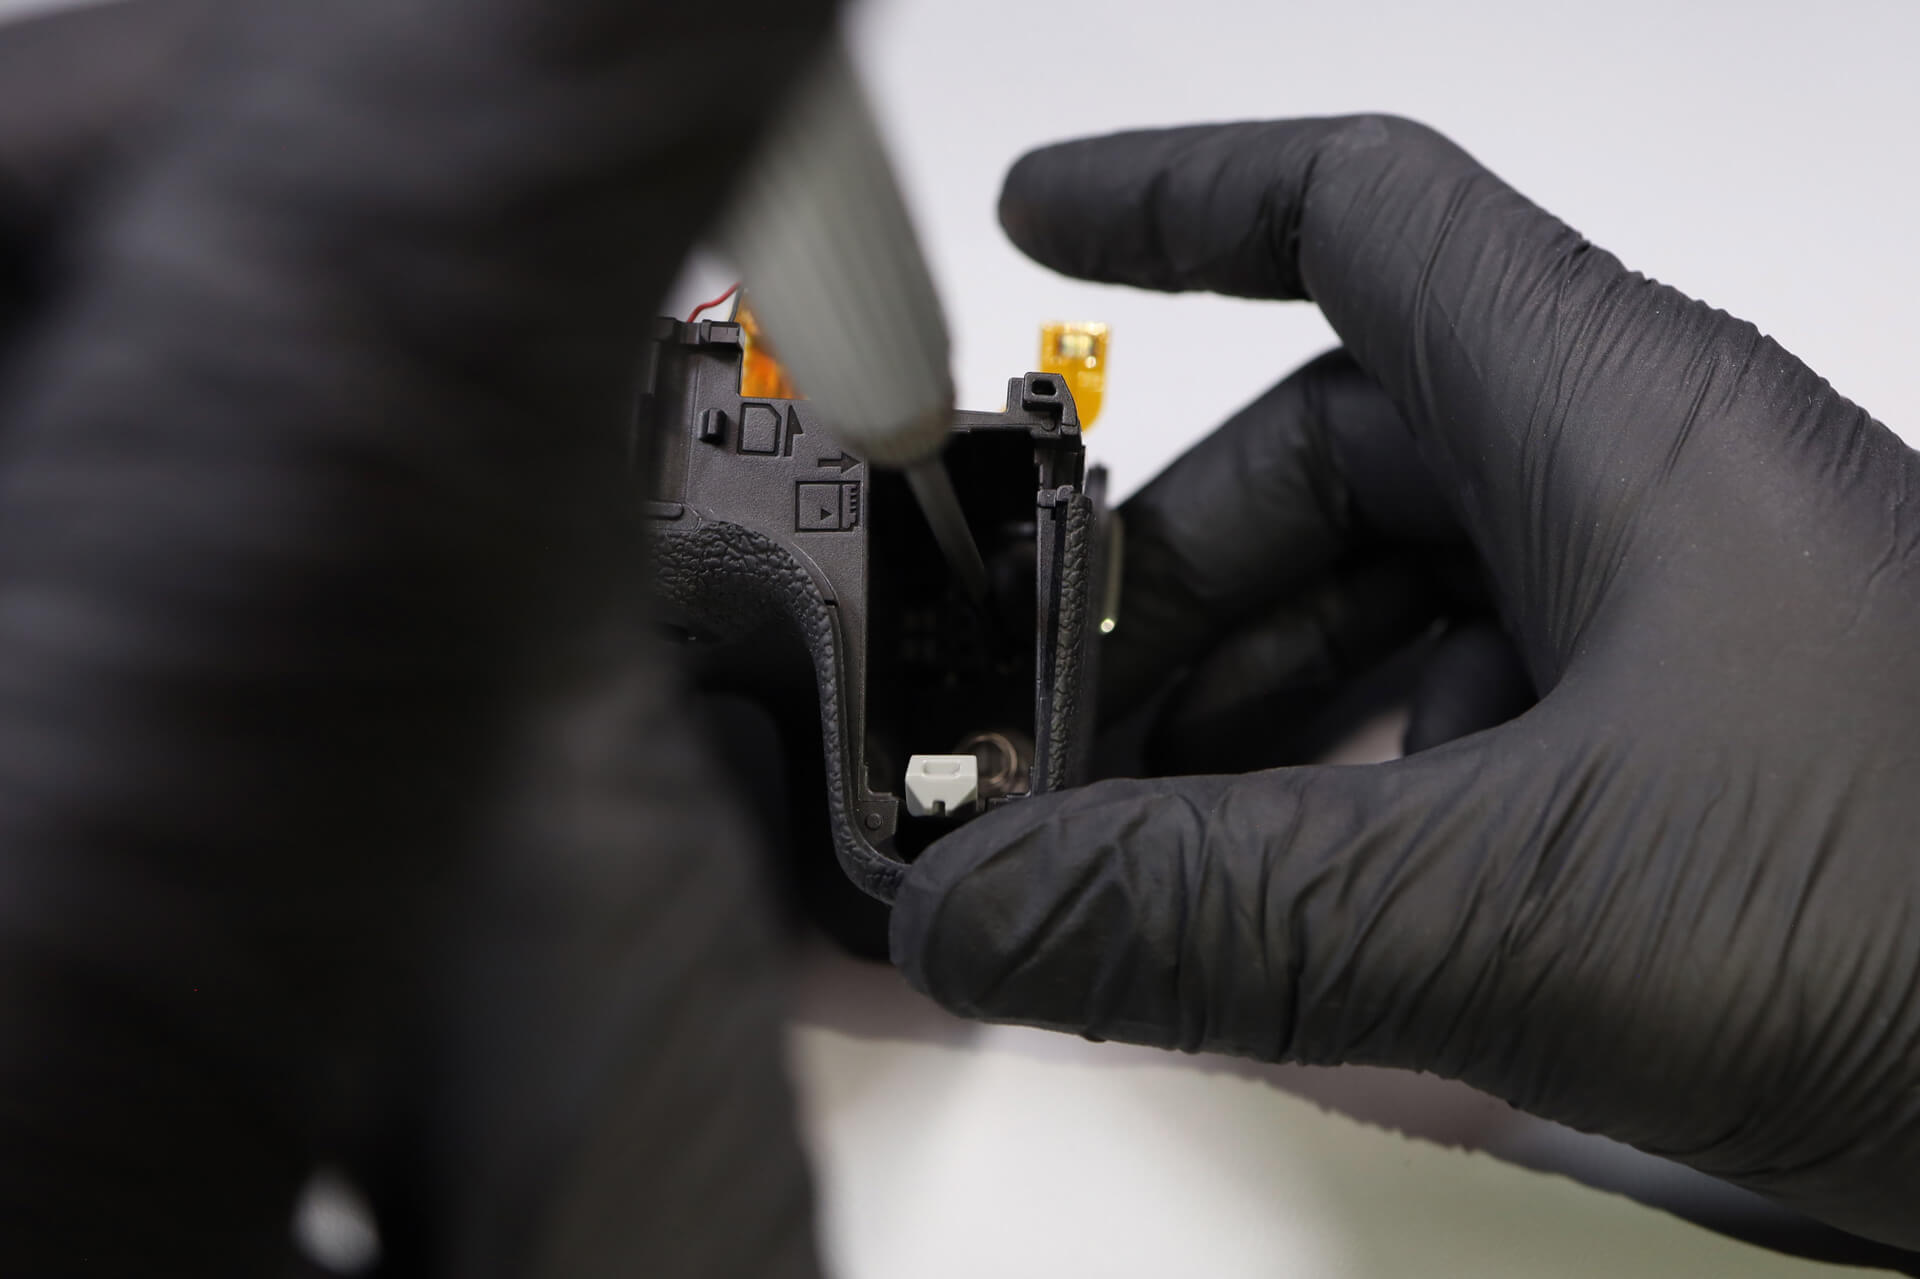
Canon left some hidden screws—one in the battery slot and another above the battery compartment.
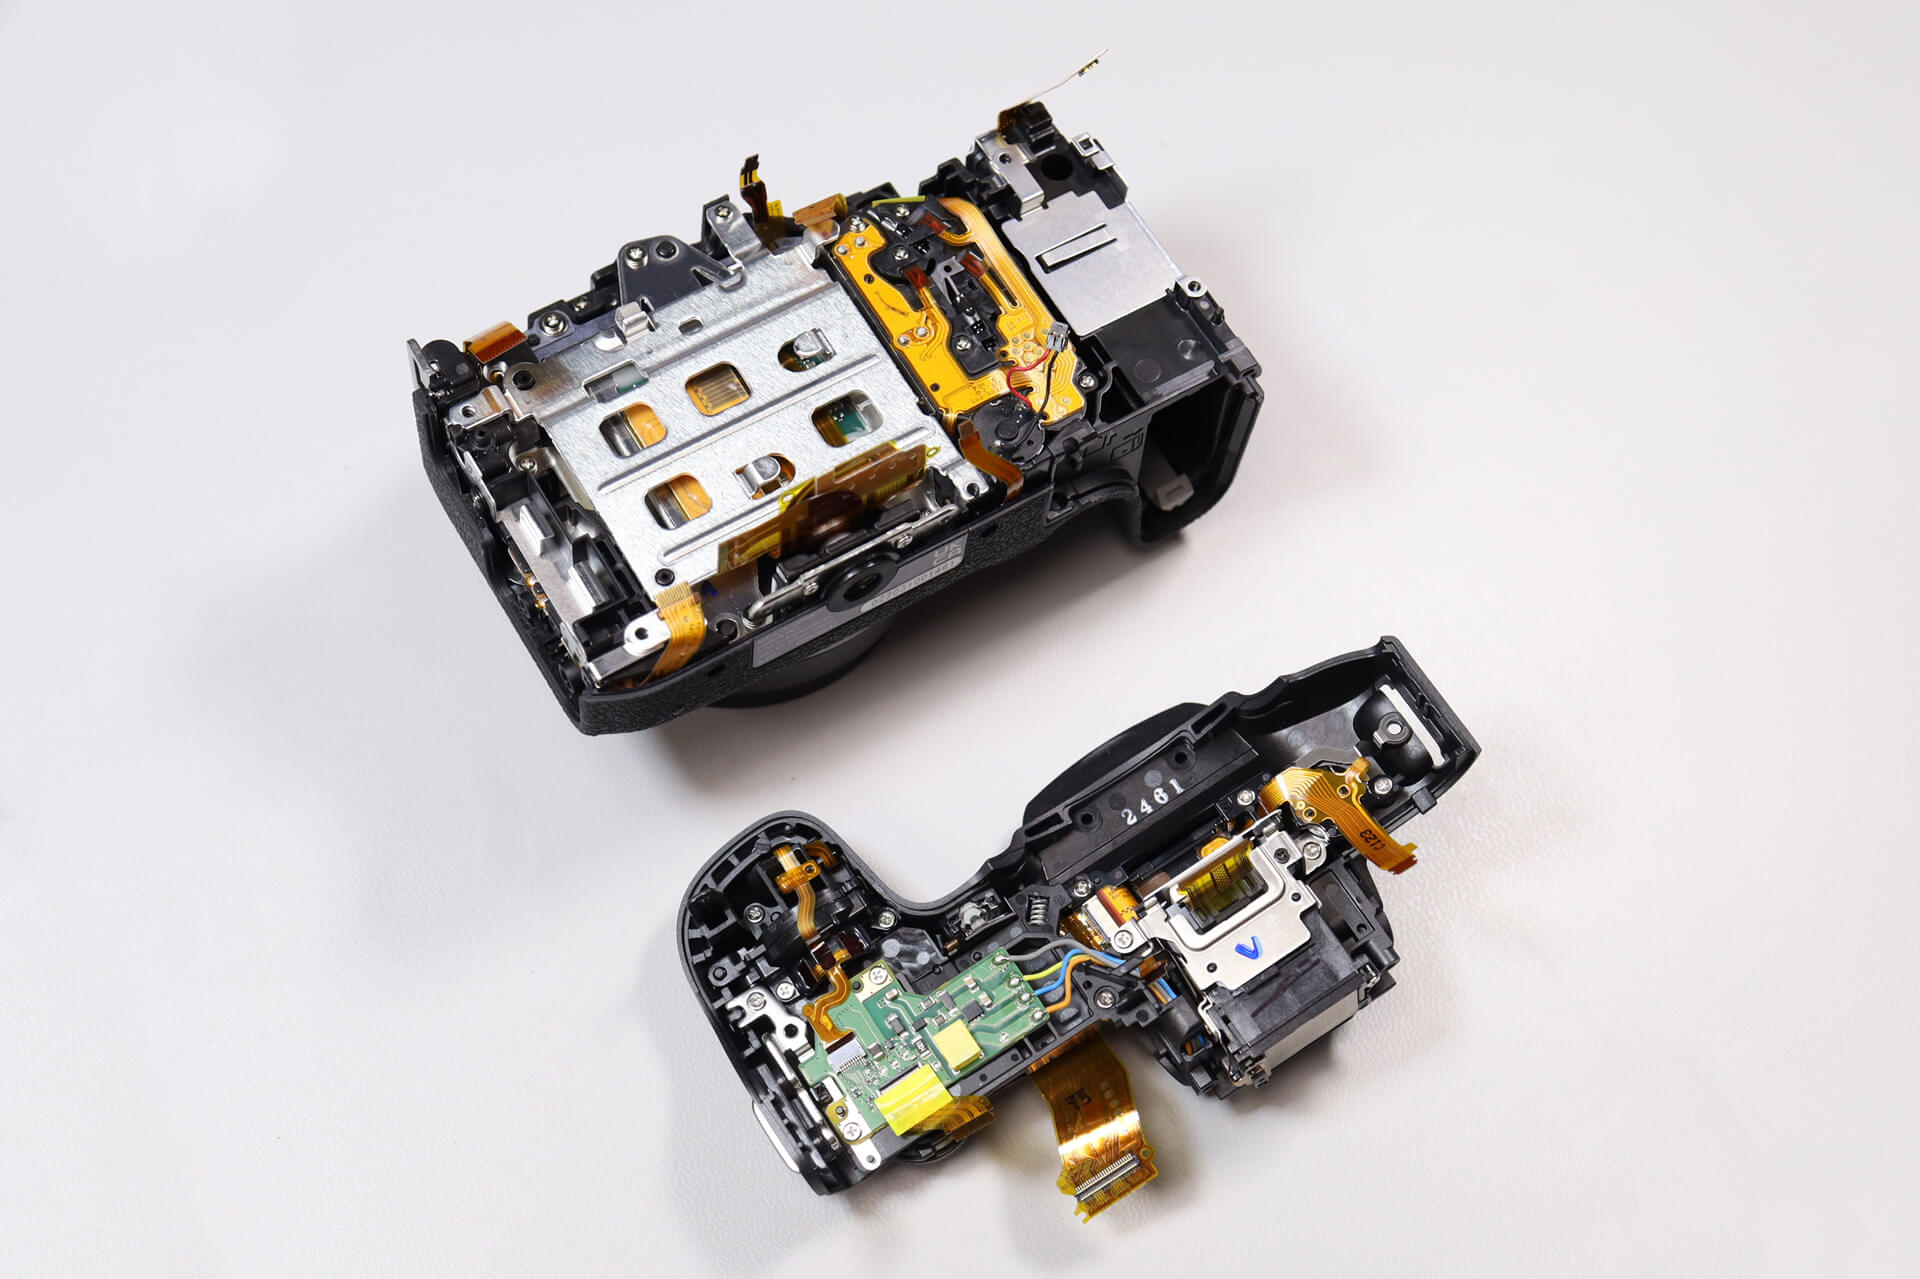
Once all the screws are removed, the top panel comes off. The EVF is attached to the top panel, so we must be careful not to damage the ribbon and surrounding parts.
Accessing the Sensor Bracket and Sensor Assembly
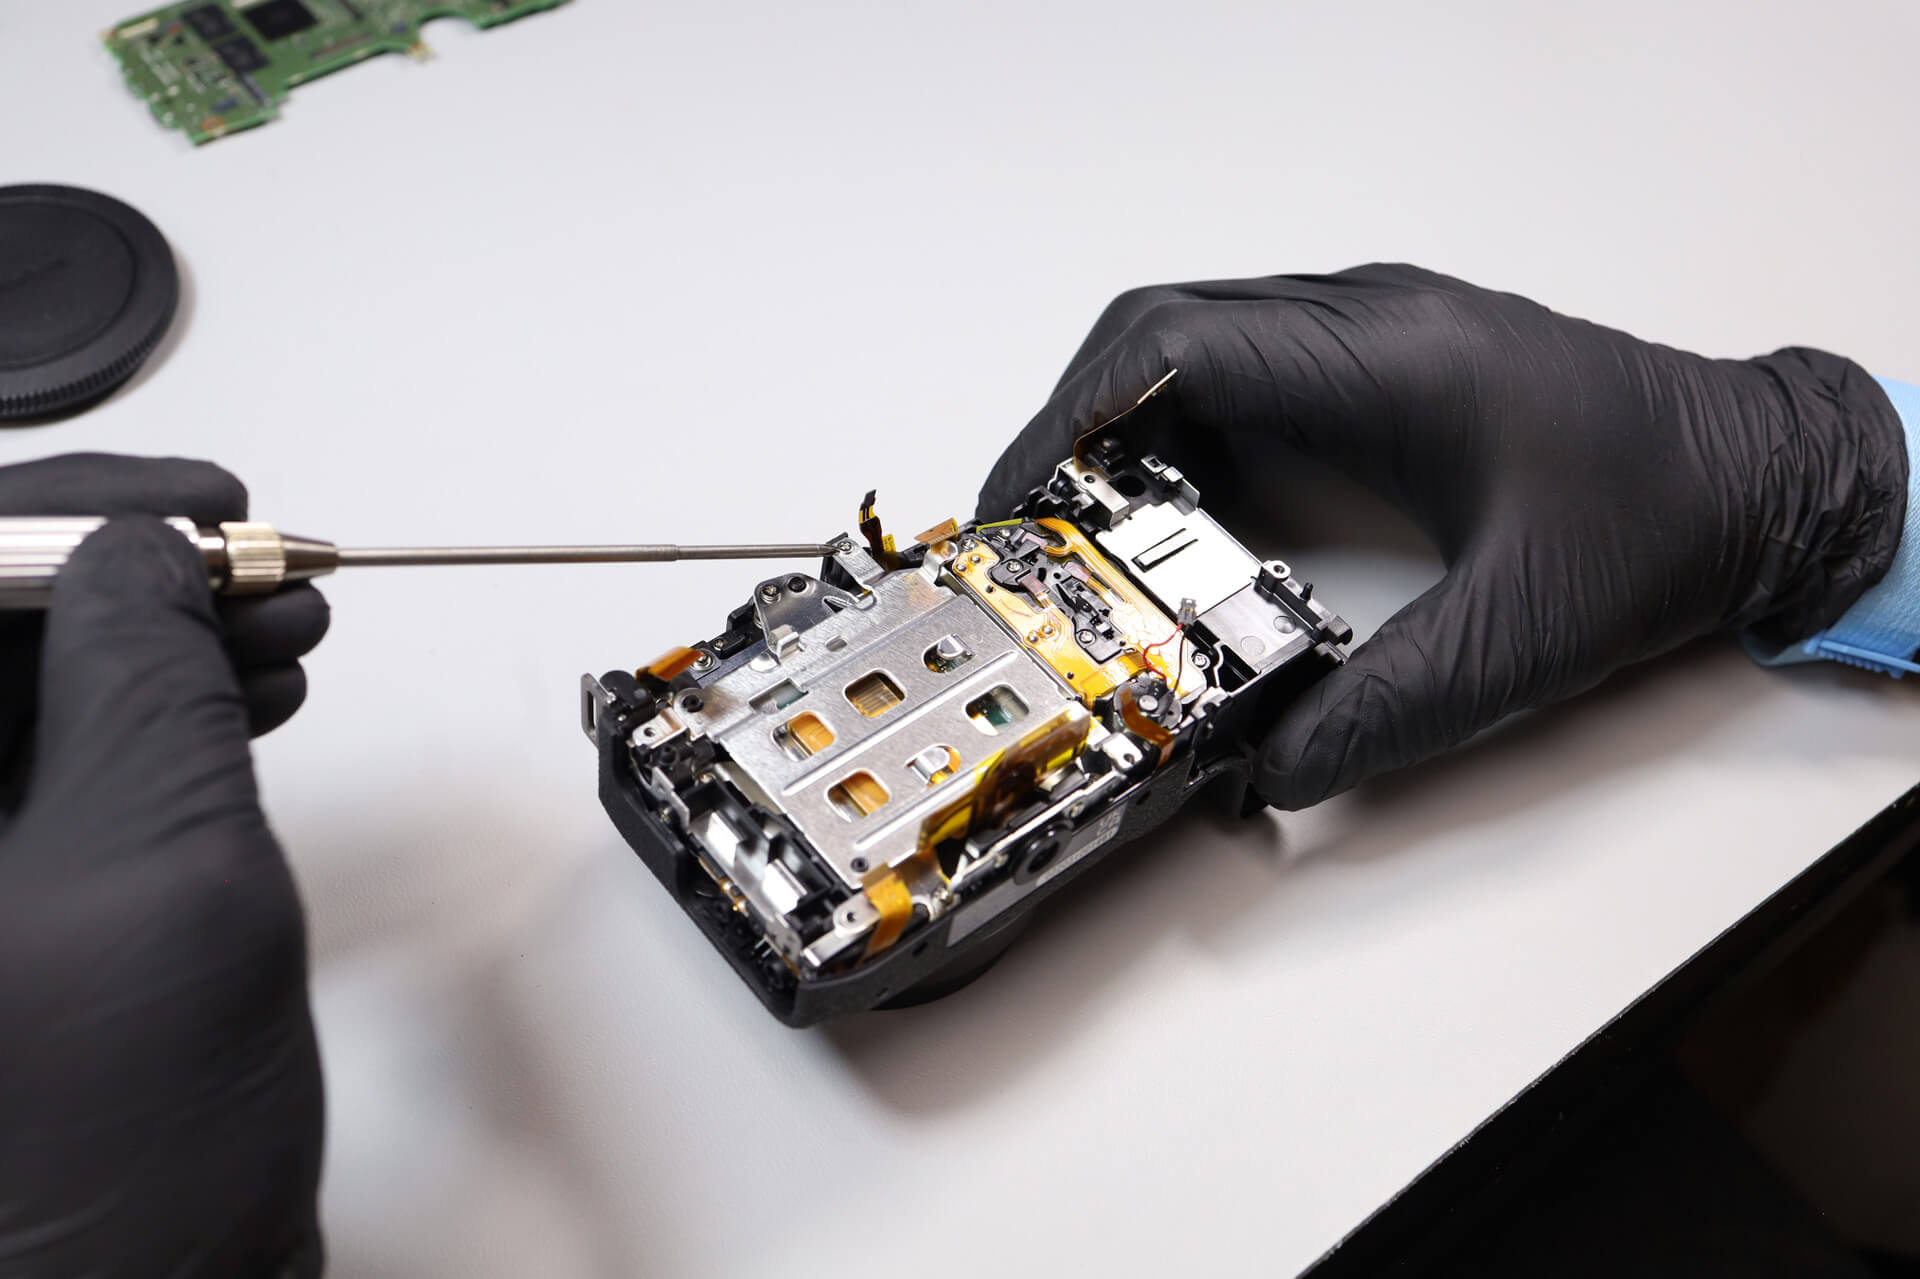
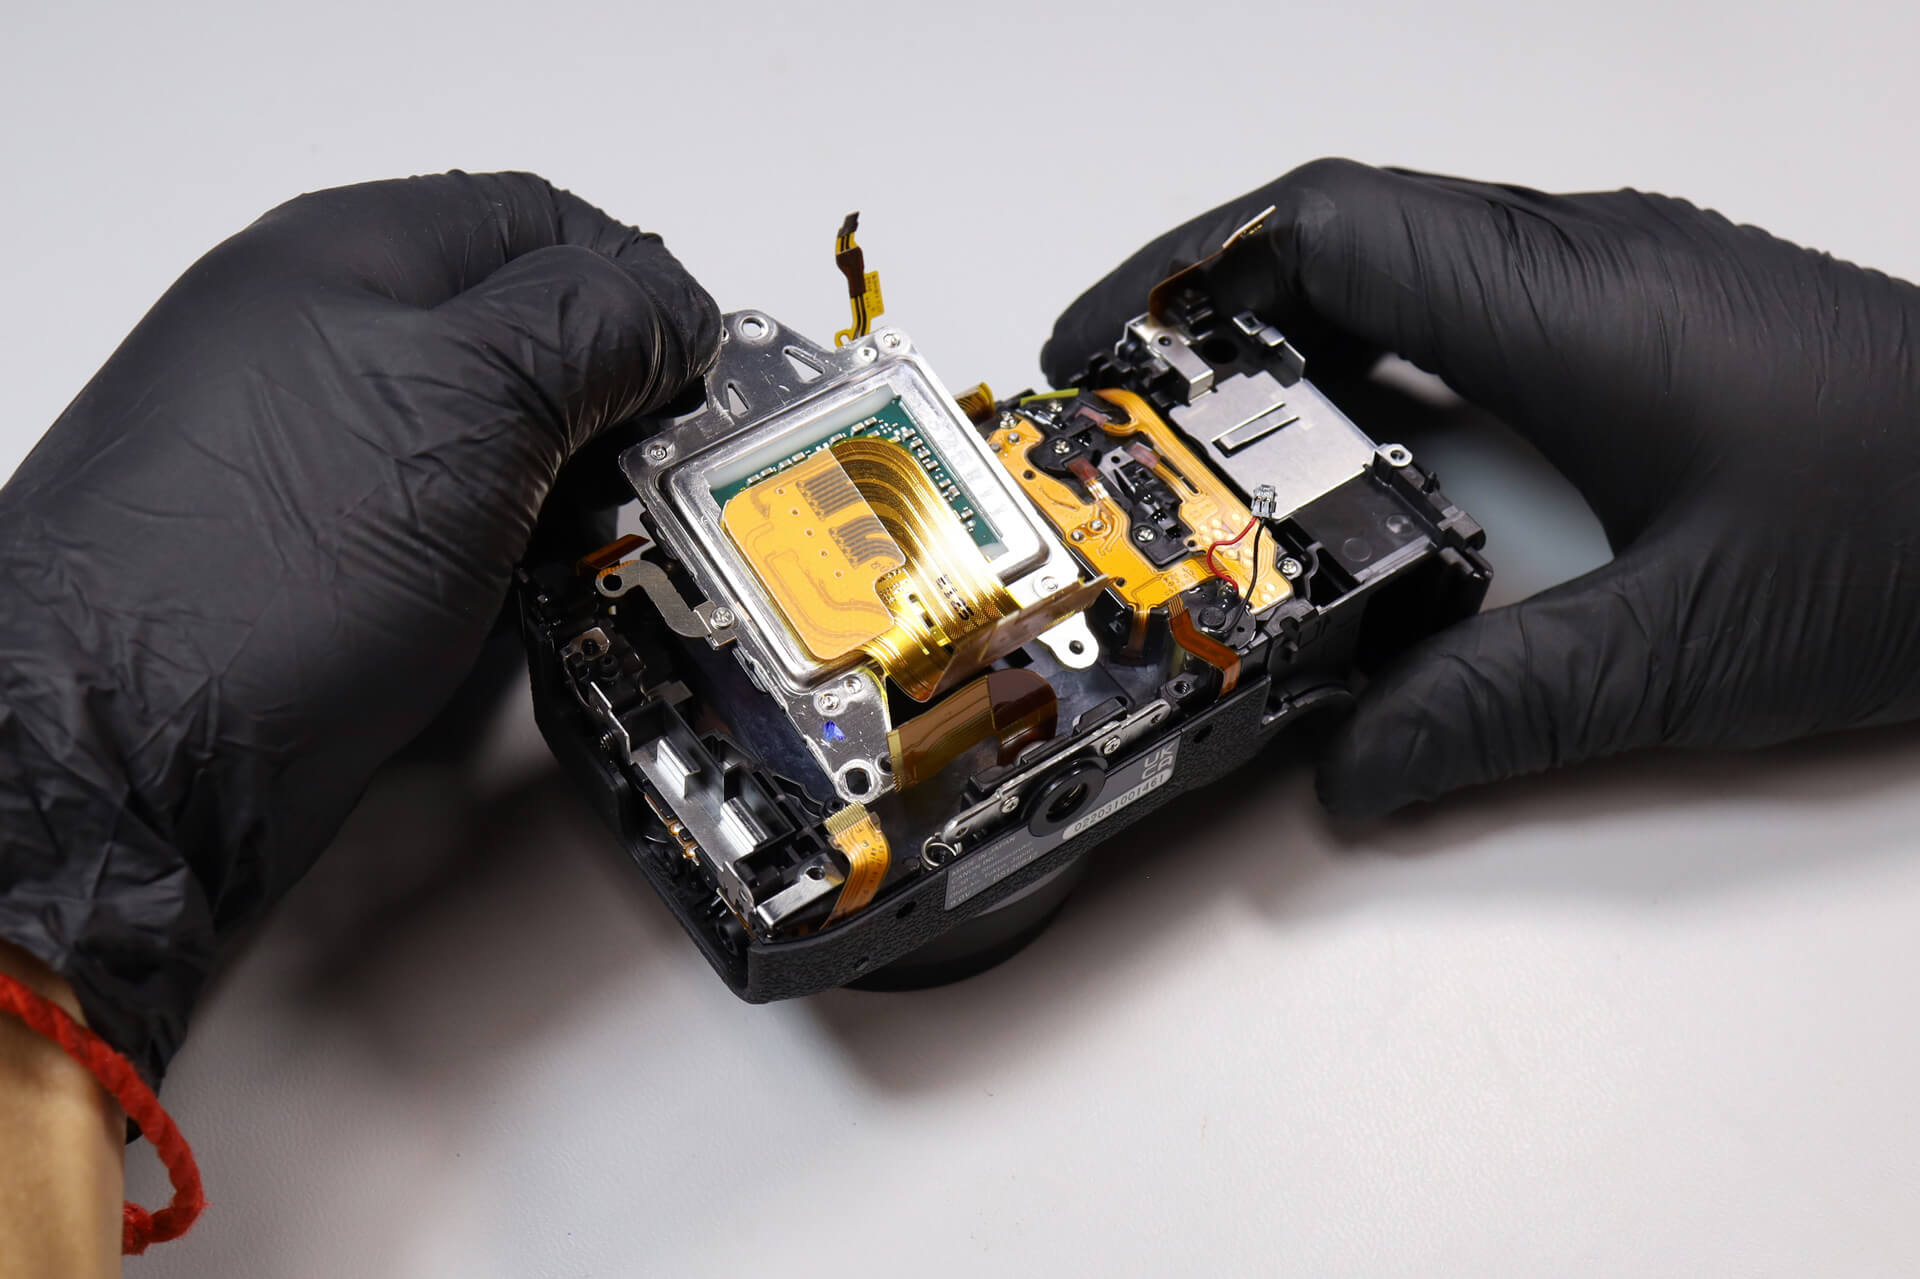
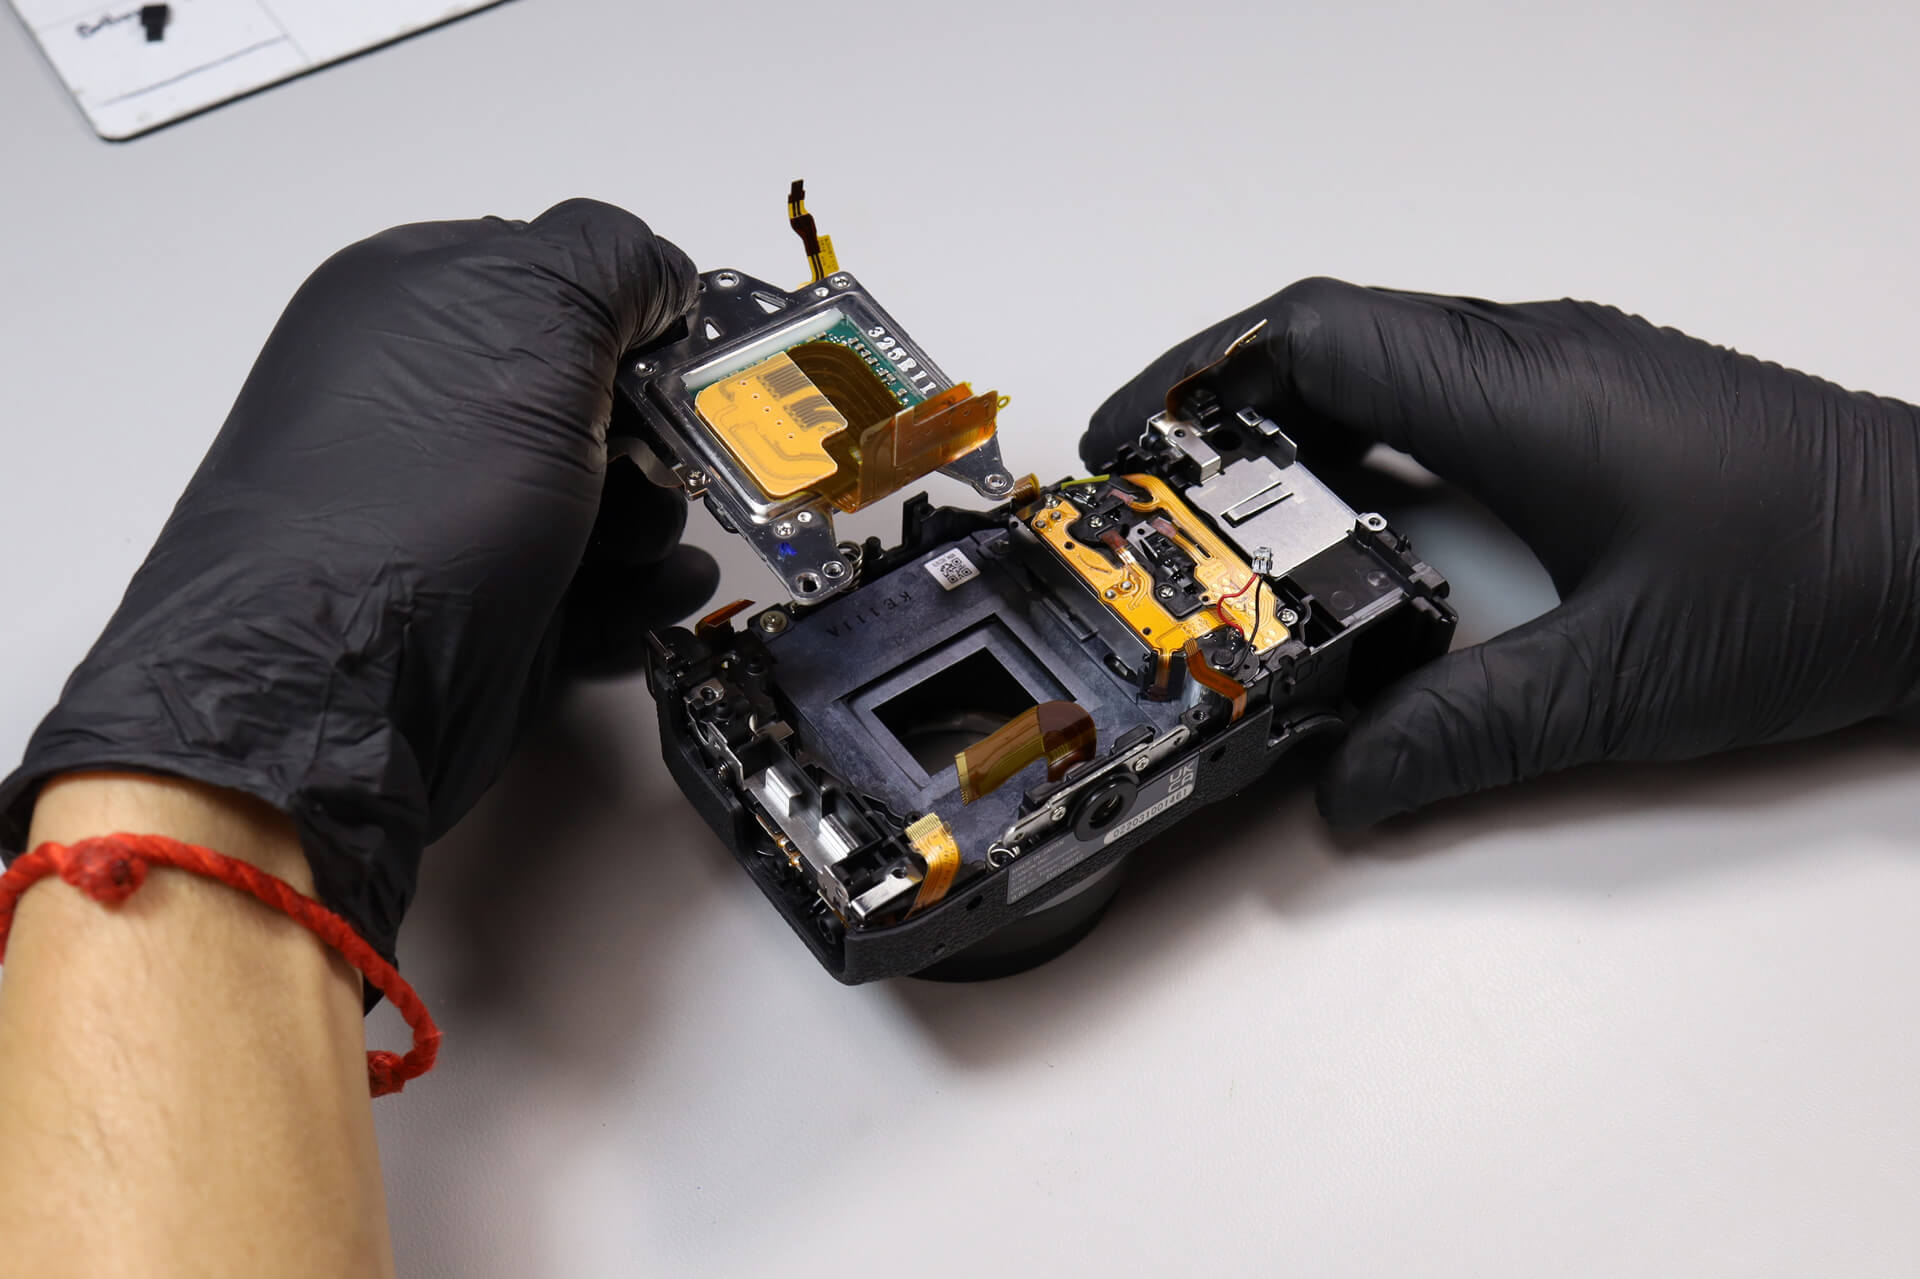
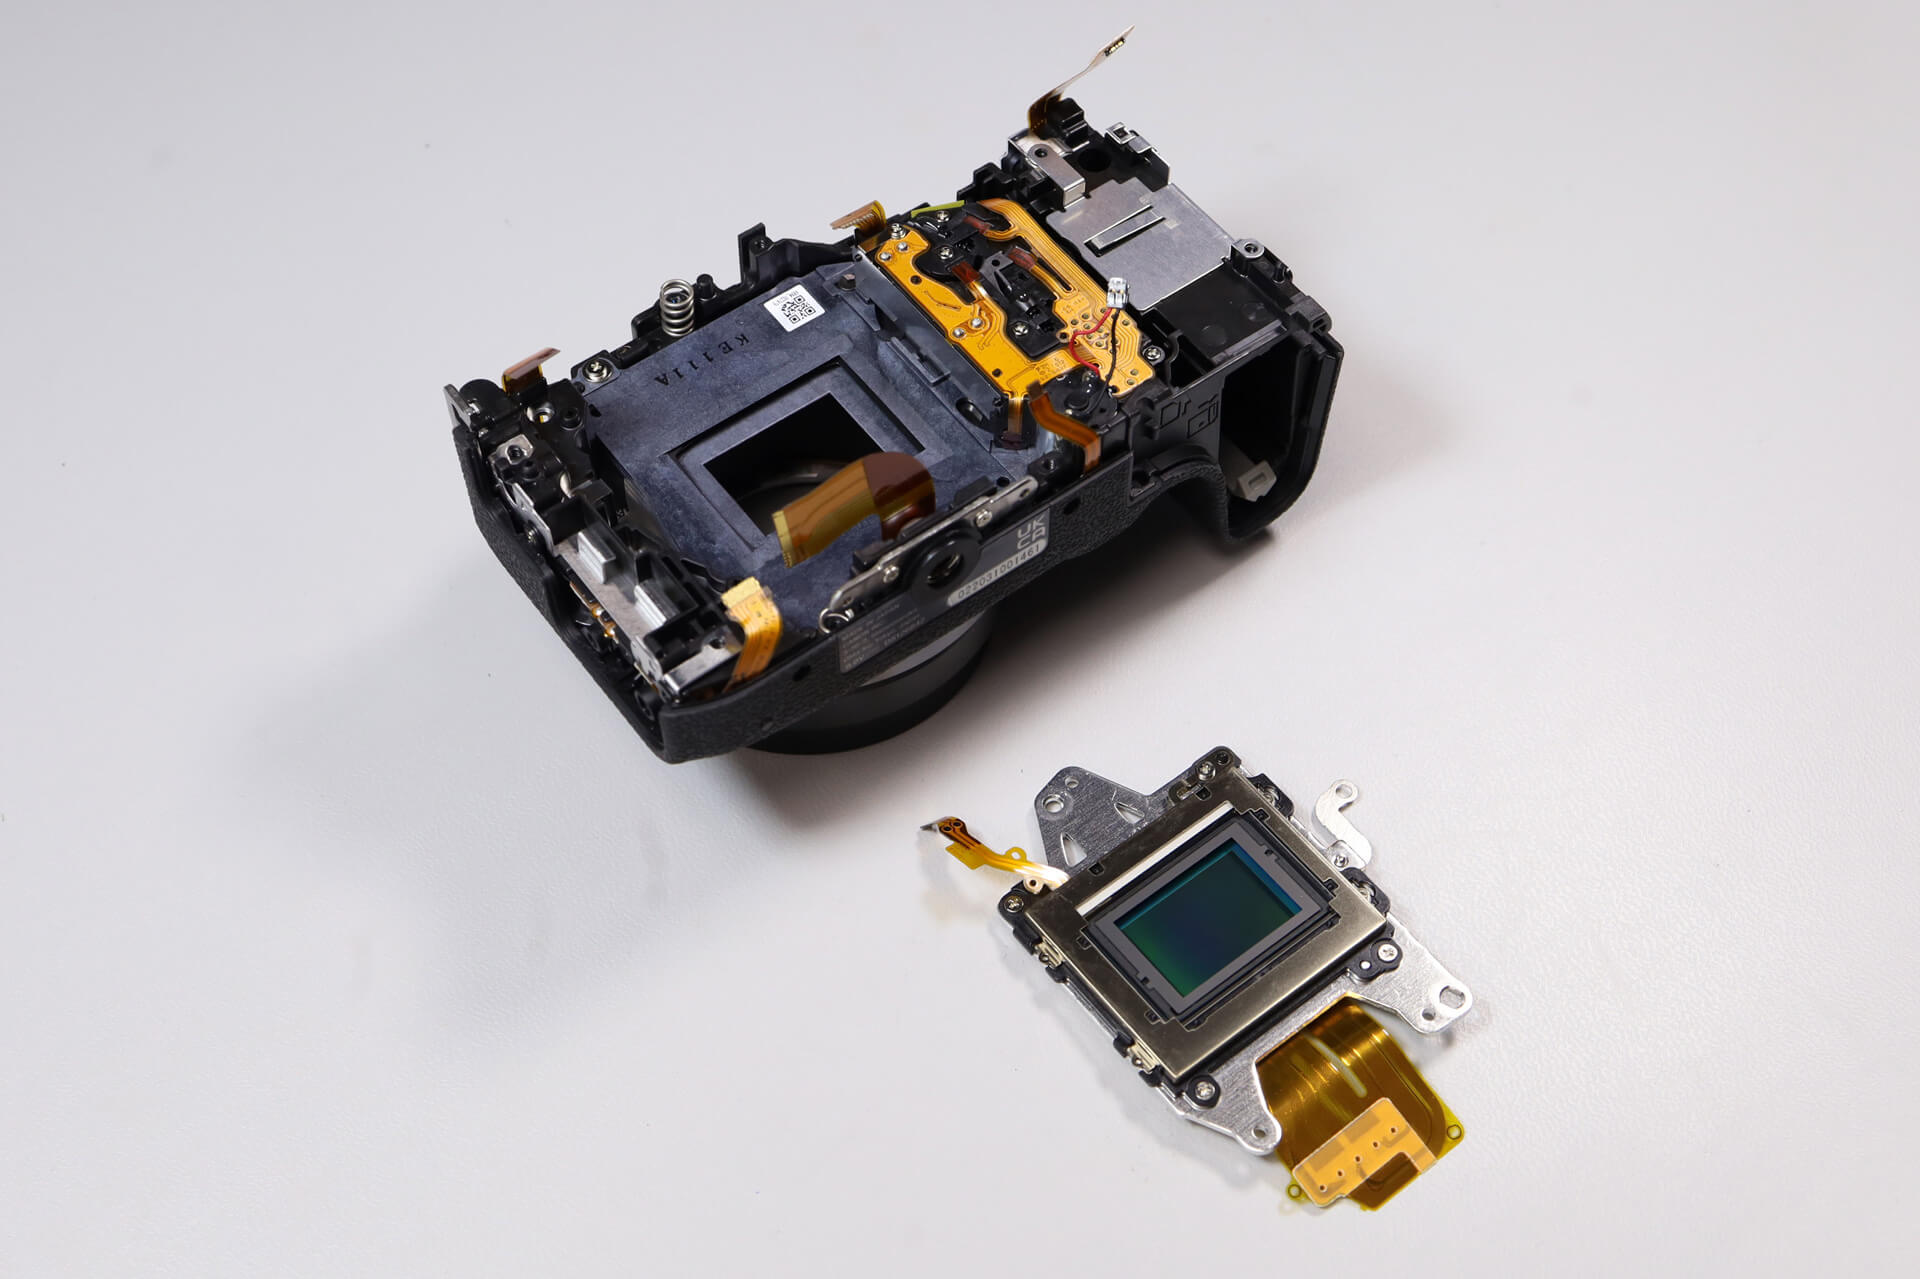
This bracket over the sensor is held down with two screws.
The sensor is calibrated using springs, which means custom lens calibration will be easy.
Canon R10 Teardown Difficulty and Final Thoughts
The Canon EOS R10 was a fairly easy teardown. We found the construction to be similar to the Canon EOS RP—fewer elements to remove compared to other Canon cameras. According to our camera technician Jared, the size of the camera was reminiscent of a Canon T3i.
Thanks for reading. If you’re interested in more camera teardowns, we feature a new one every month. Be sure to sign up for our newsletter so you don’t miss them!
Frequently Asked Questions
How Do You Start Disassembling The Canon R10?
The Canon R10 teardown starts by removing the eye cap screws and screws around the electronic viewfinder. After that, the disassembly continues through the bottom screws, port side screws, right side screws, and hidden rear grip screw.
Where Is The Hidden Screw On The Canon R10?
The Canon R10 has a hidden silver screw underneath the rubber grip on the rear panel. This screw needs to be removed before the rear panel can be lifted from the camera body.
How Is The Canon R10 Rear Panel Removed?
The Canon R10 rear panel can be carefully lifted after the exterior screws and hidden grip screw are removed. A ribbon cable connects the rear panel to the circuit board, so it must be detached before the rear panel can fully separate.
How Is The Canon R10 Circuit Board Removed?
The Canon R10 circuit board is removed after the rear panel ribbon cable and other circuit board ribbon cables are disconnected. The internal flash battery pack also blocks access to the board, so it needs to be removed before the remaining circuit board screws can be taken out.
How Difficult Is The Canon R10 Teardown?
The Canon R10 is described as a fairly easy teardown. Its construction is similar to the Canon EOS RP, with fewer parts to remove compared to many other Canon cameras.