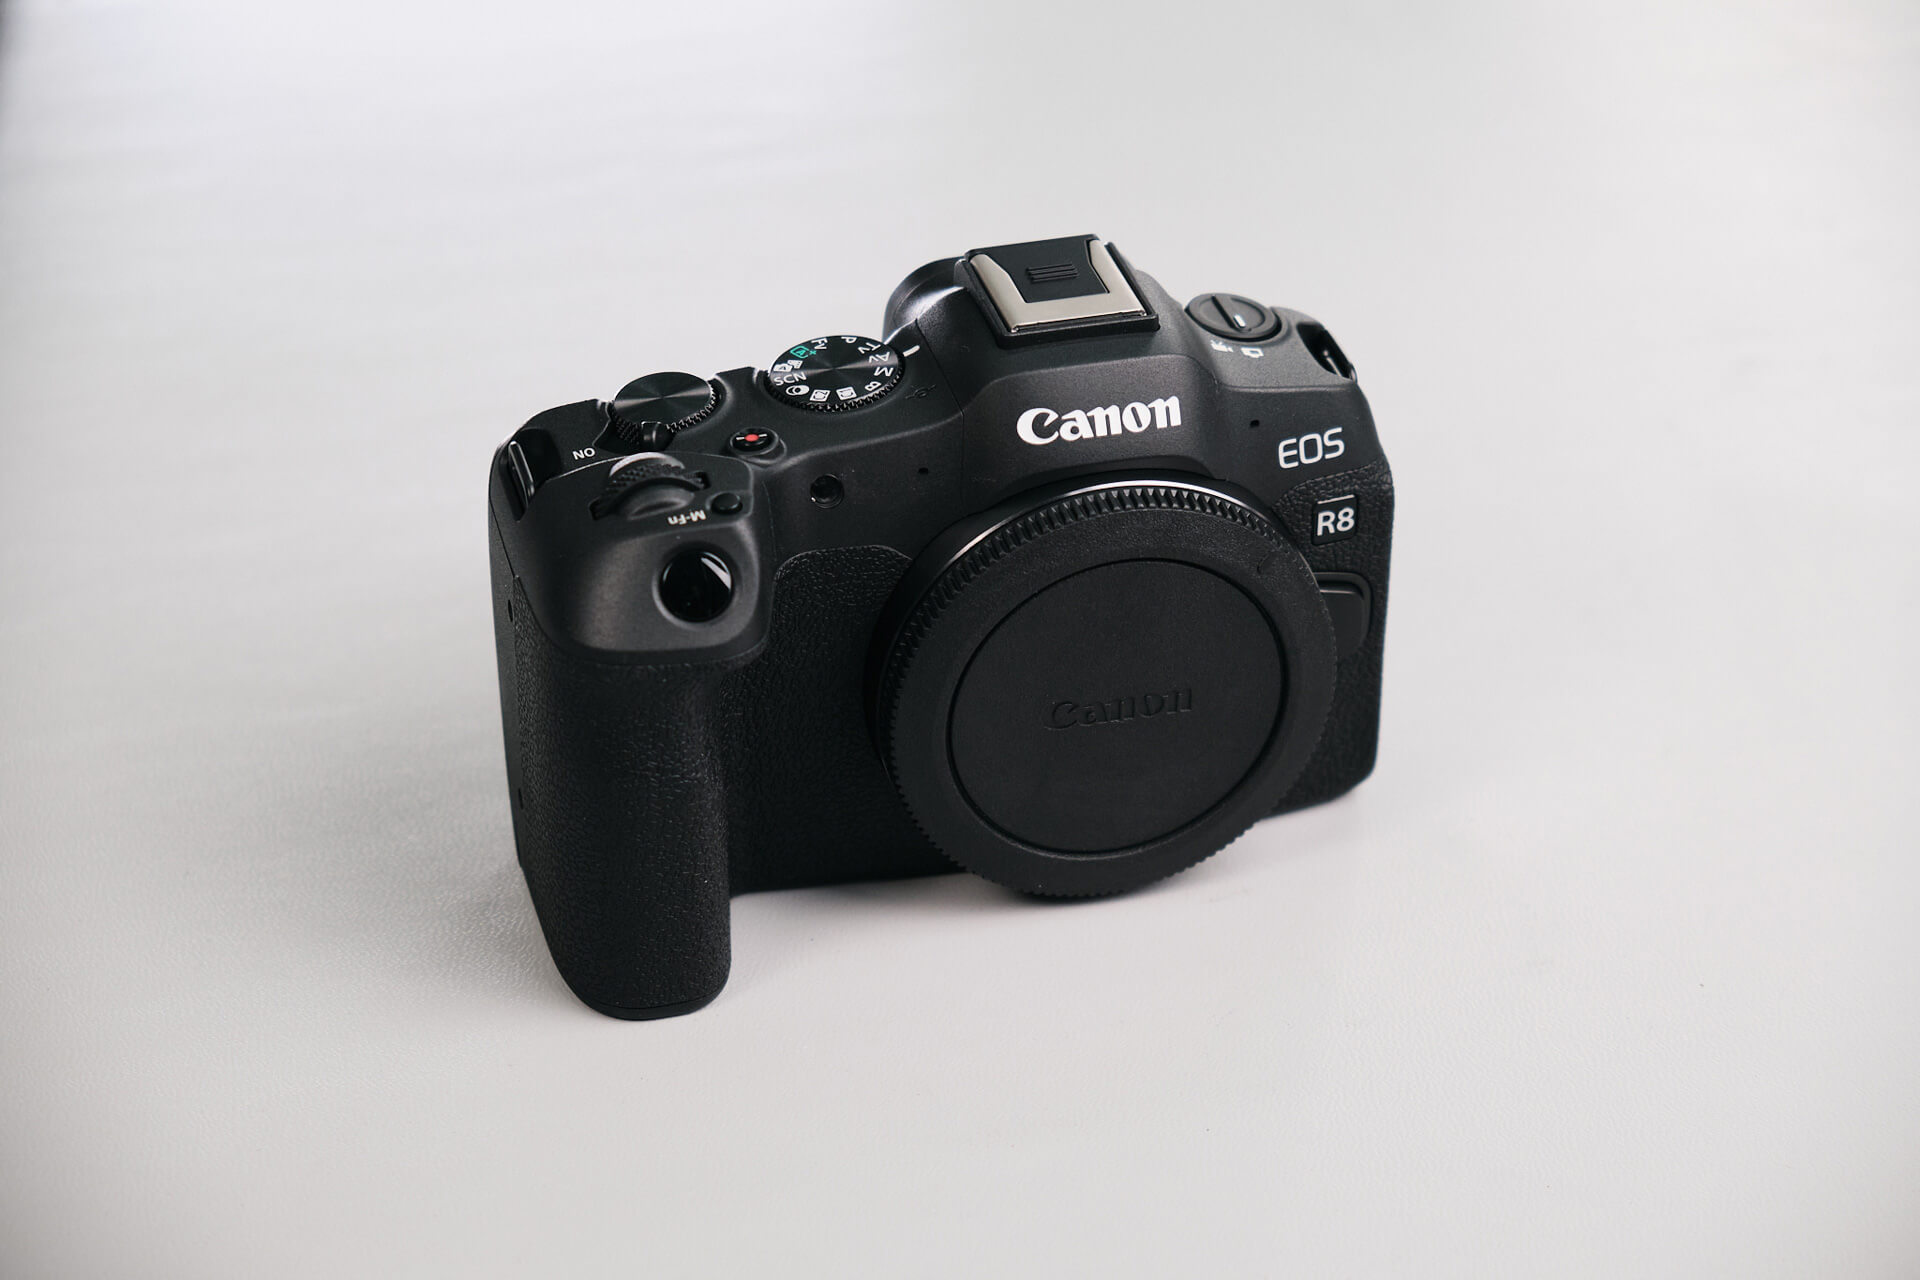
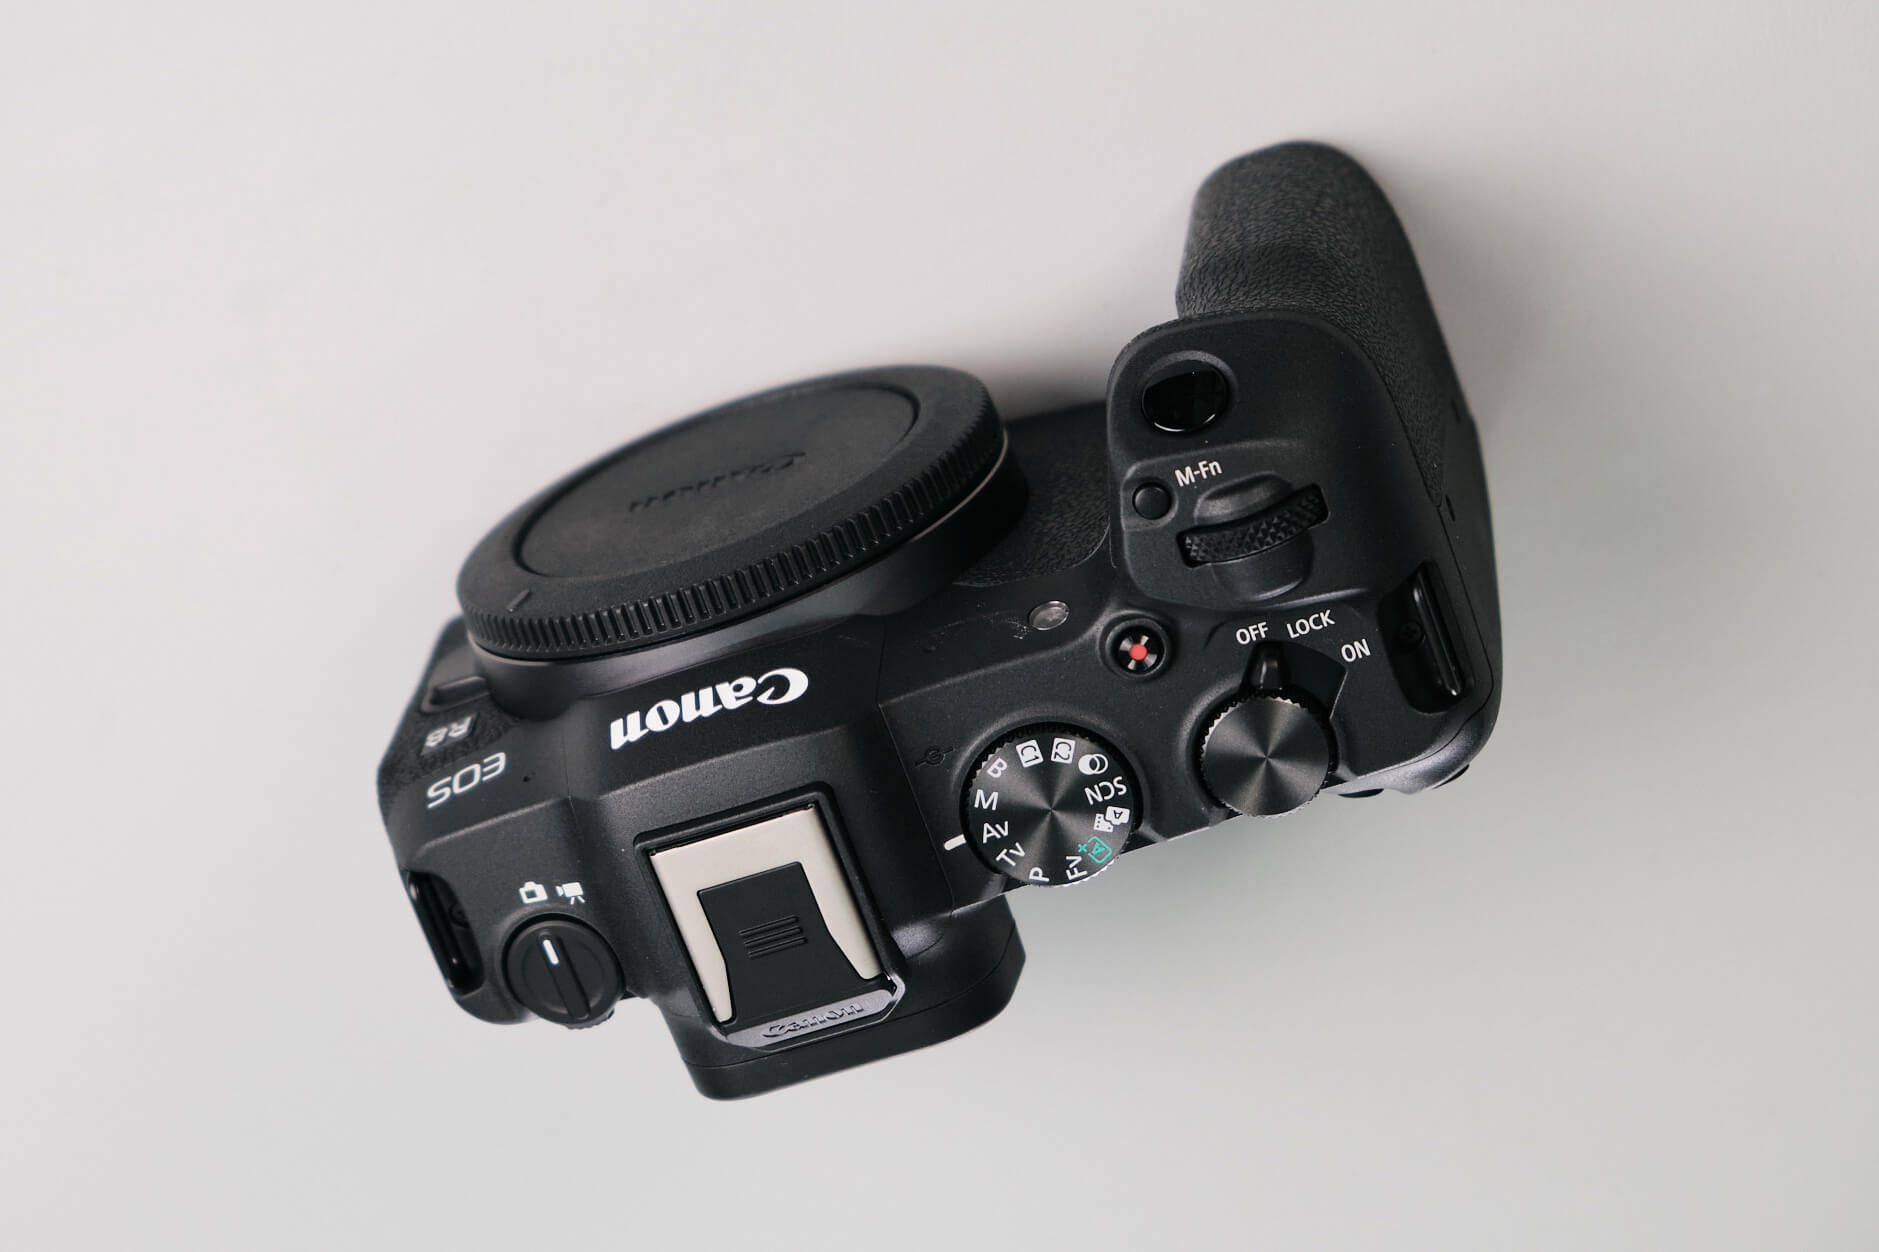
Canon released the Canon EOS R8 in April 2023. The R8 is remarkably similar to the Canon EOS RP and EOS R. However, the power switch is now positioned on the right side of the camera, allowing for easy one-handed operation. Before getting into our teardown, let’s discuss technical specifications.
Canon R8 Specs and Full-Frame RF-Mount Design
This camera has a full-frame format 24.2 MP CMOS sensor housed in a compact body. Other features include a Canon RF lens mount, video in 4k up to 60p (6k oversampled) and 1080p up to 180fps, a Dual Pixel autofocus system, a 2.36M dot OLED viewfinder, and a 1.62M dot fully-articulating rear touchscreen. It houses only one UHS-II SD slot, which may come as a downside, especially for a camera with its capabilities.
With that out of the way, let’s take this camera apart!
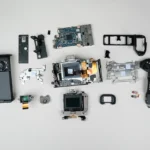
Starting the Canon R8 Teardown
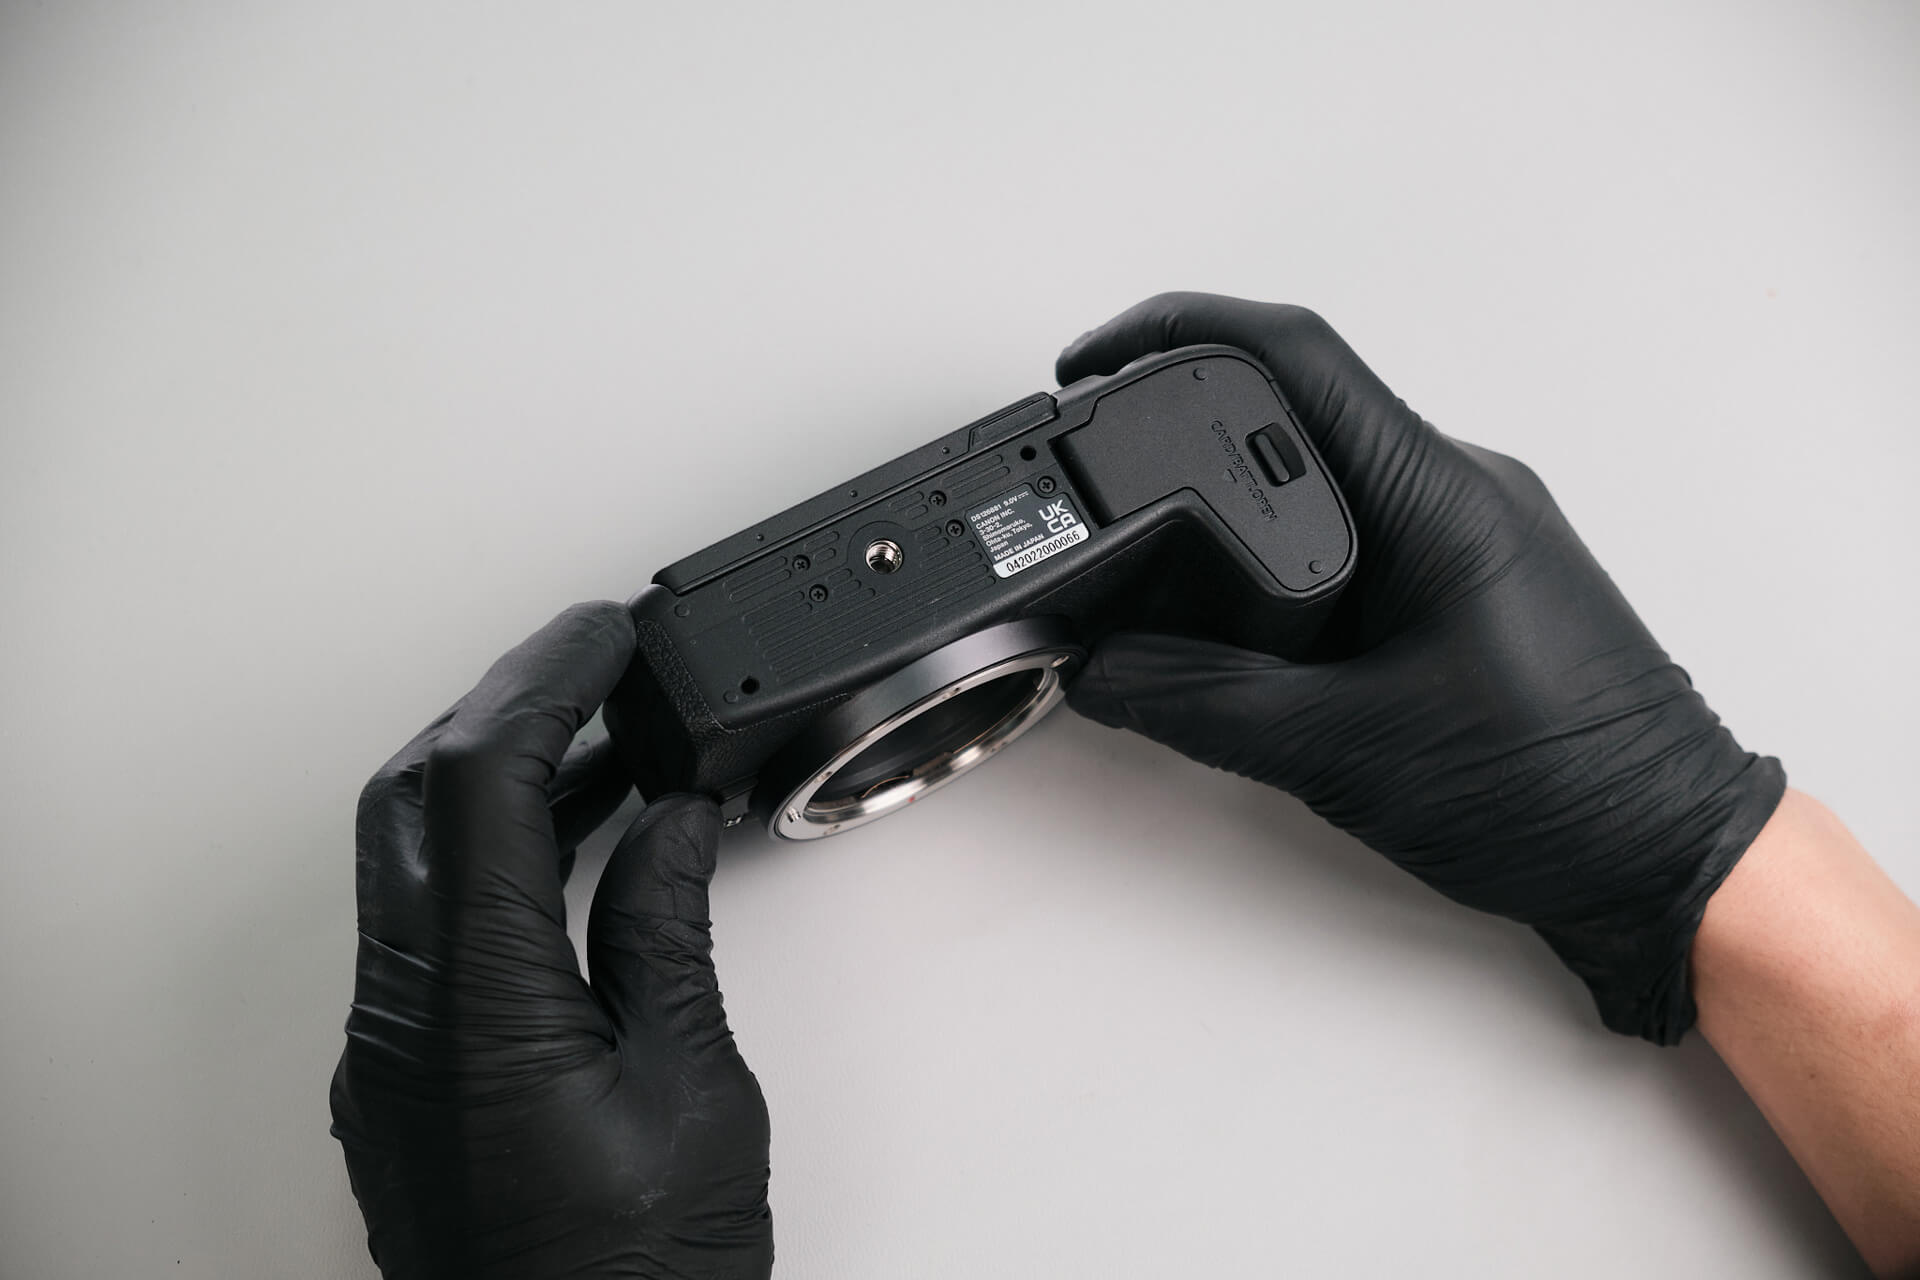
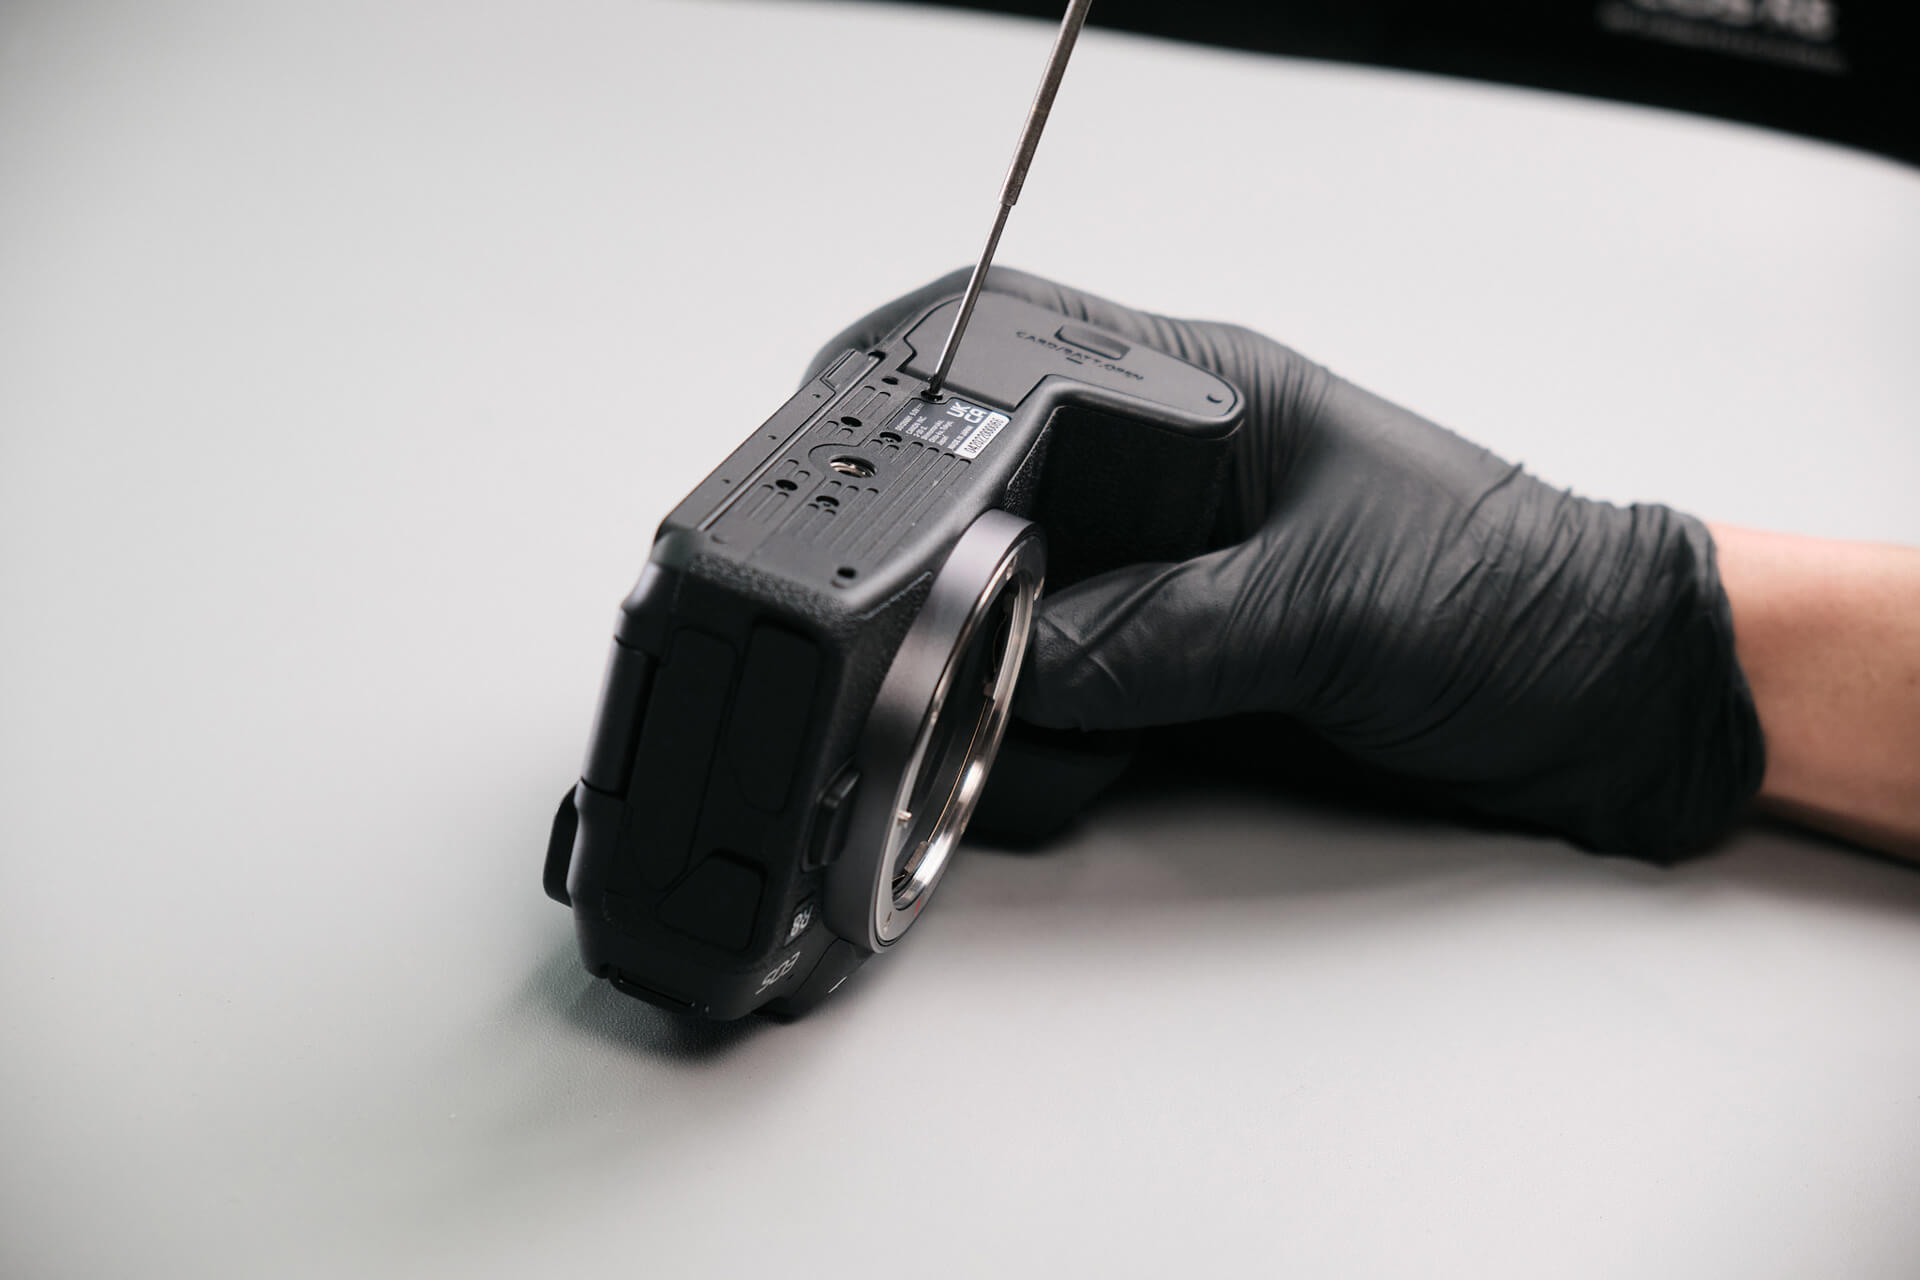
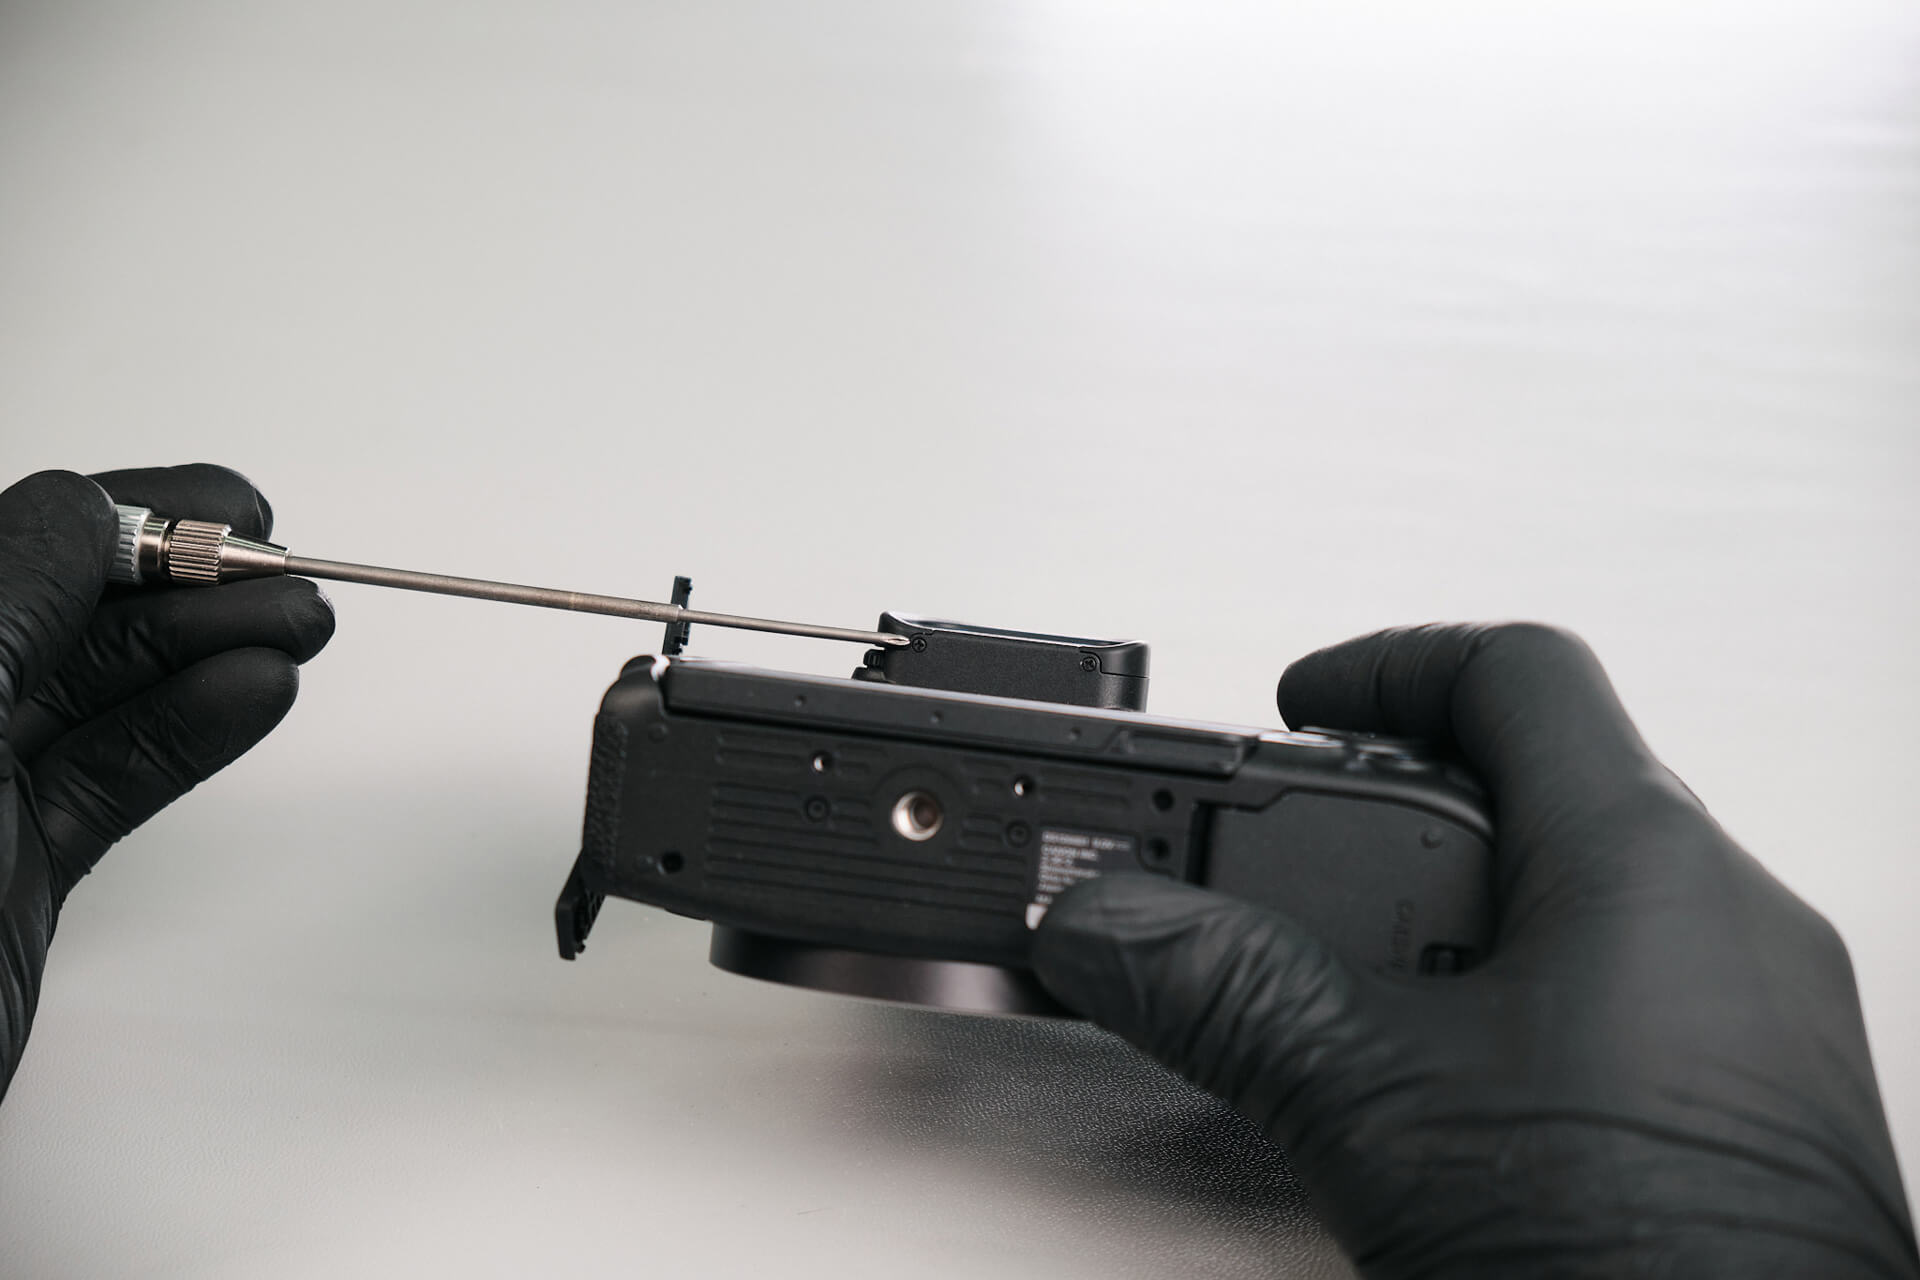
Like the Canon RP, we first targeted the camera’s baseplate and removed three screws. This was the first point of access that allowed us to reach the inside of the camera.
Removing Exterior Screws and Hidden Grip Screws
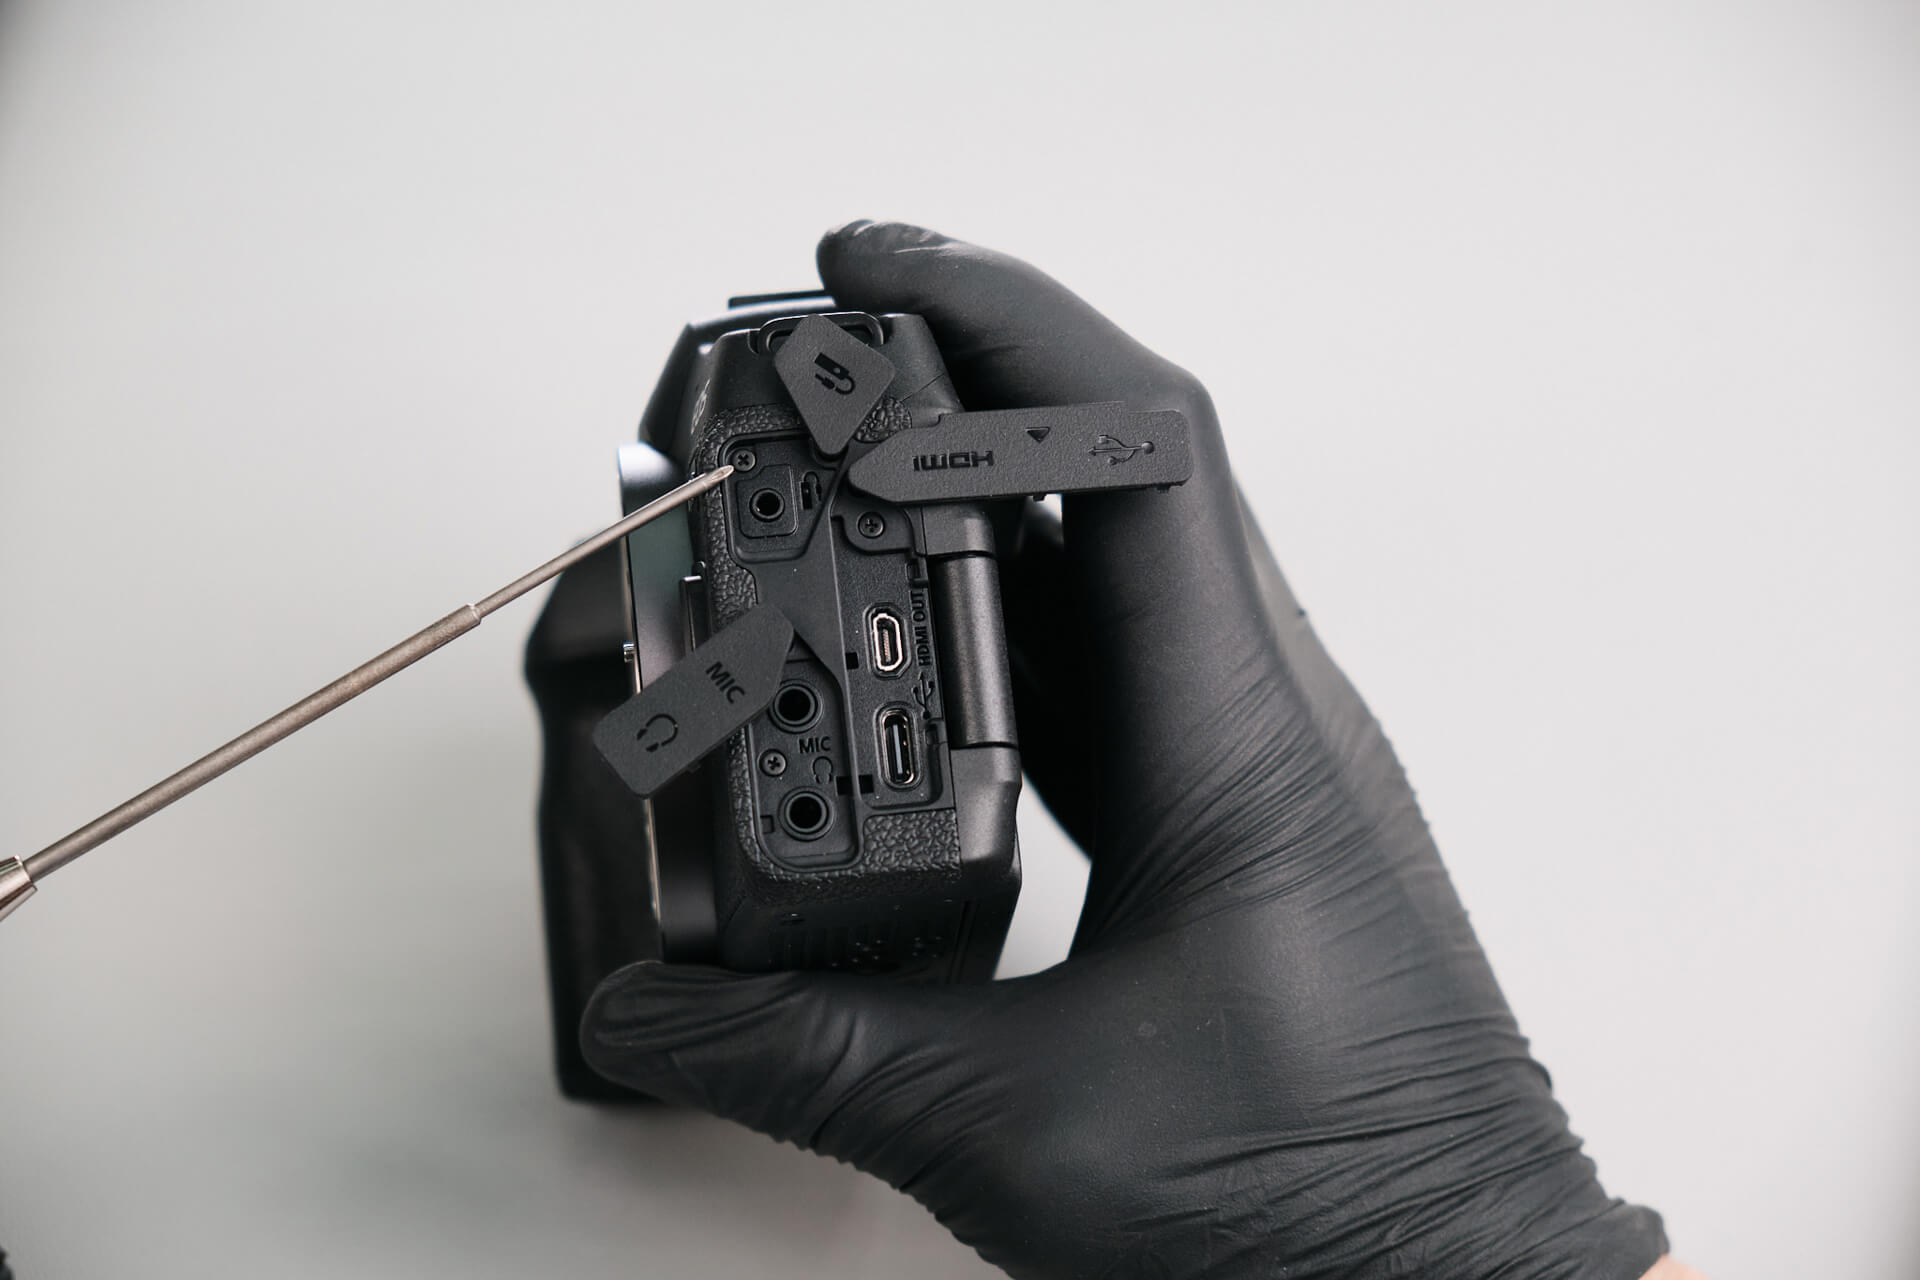
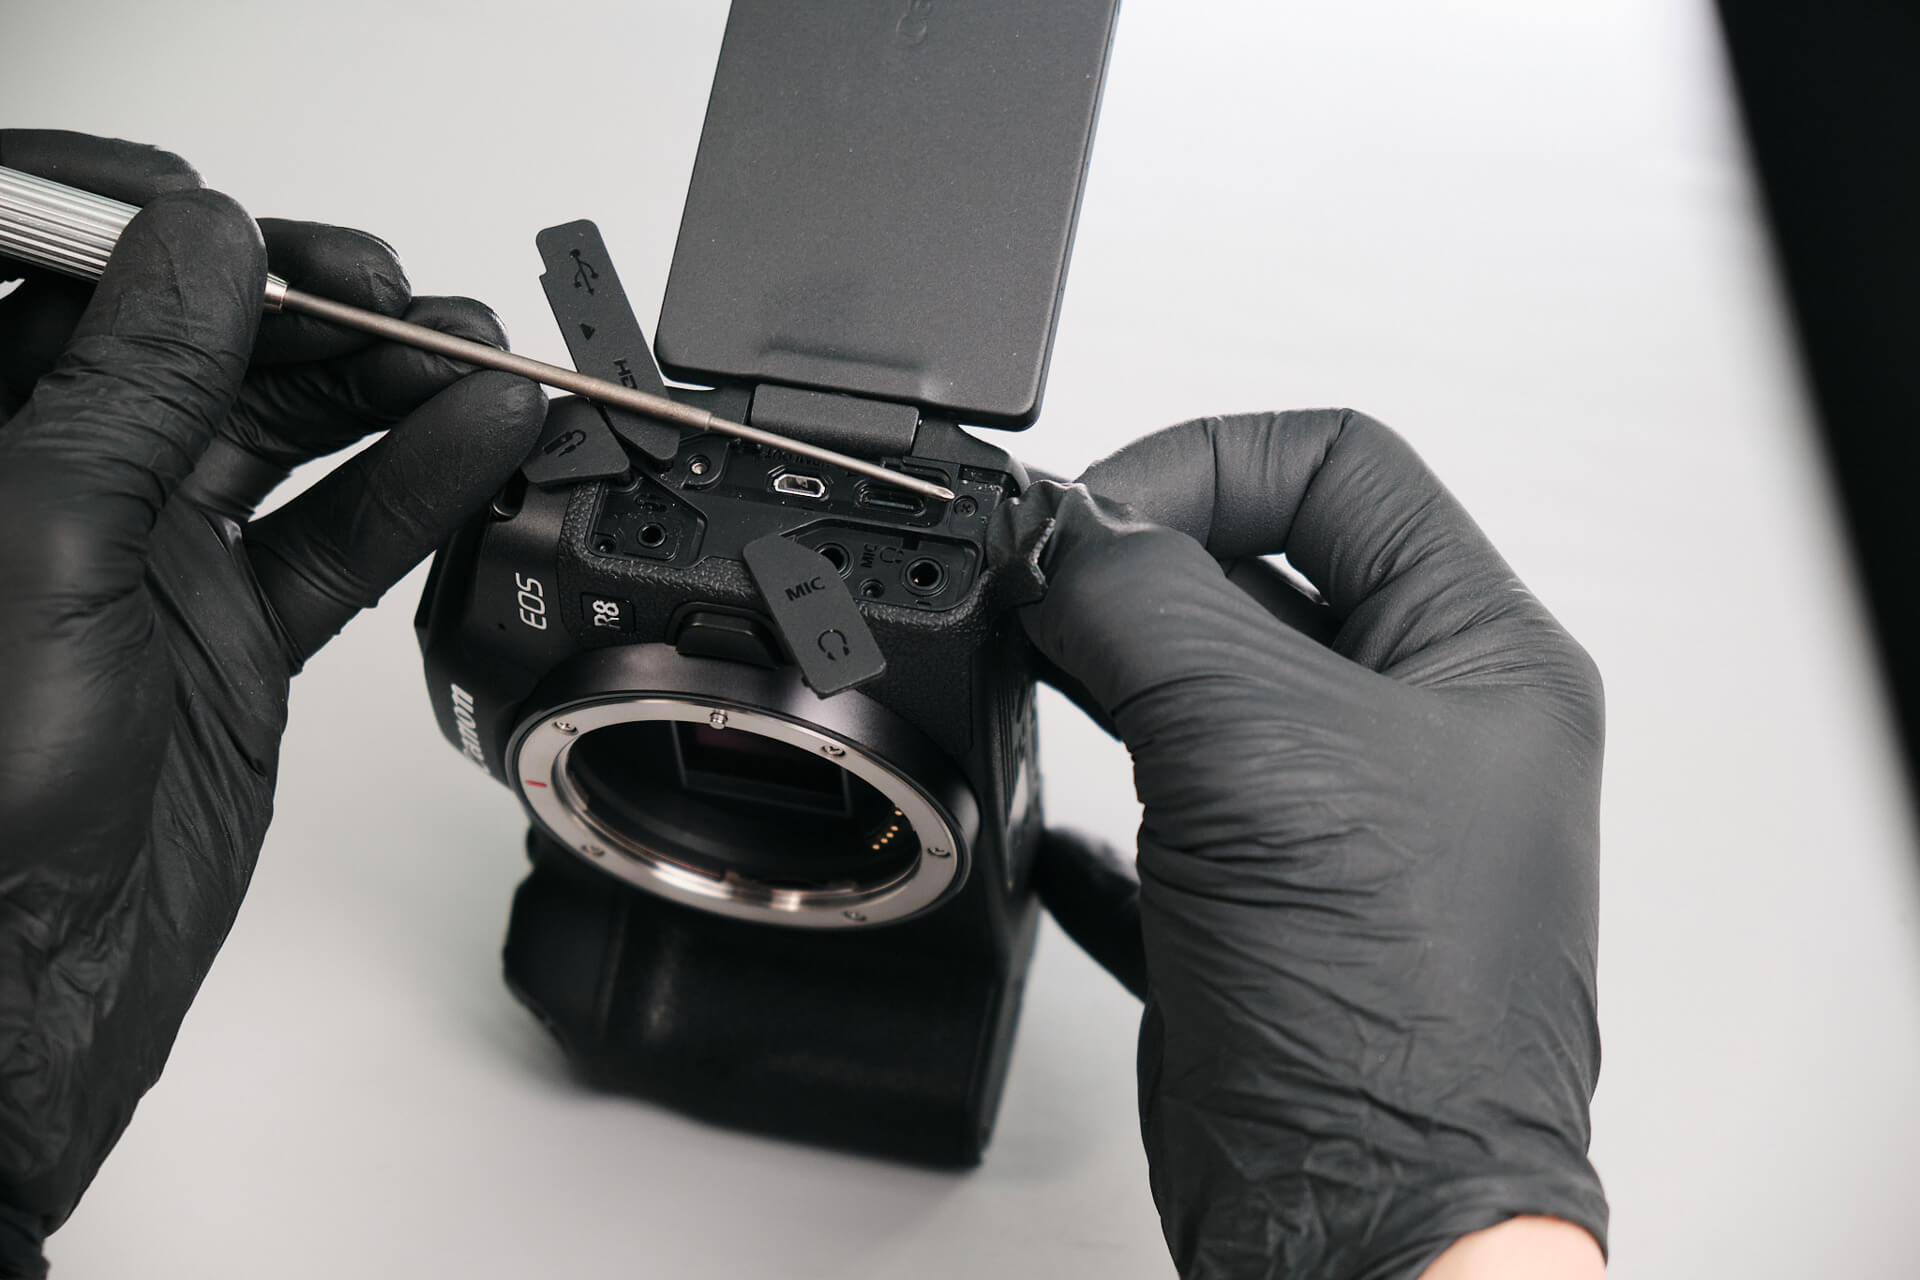
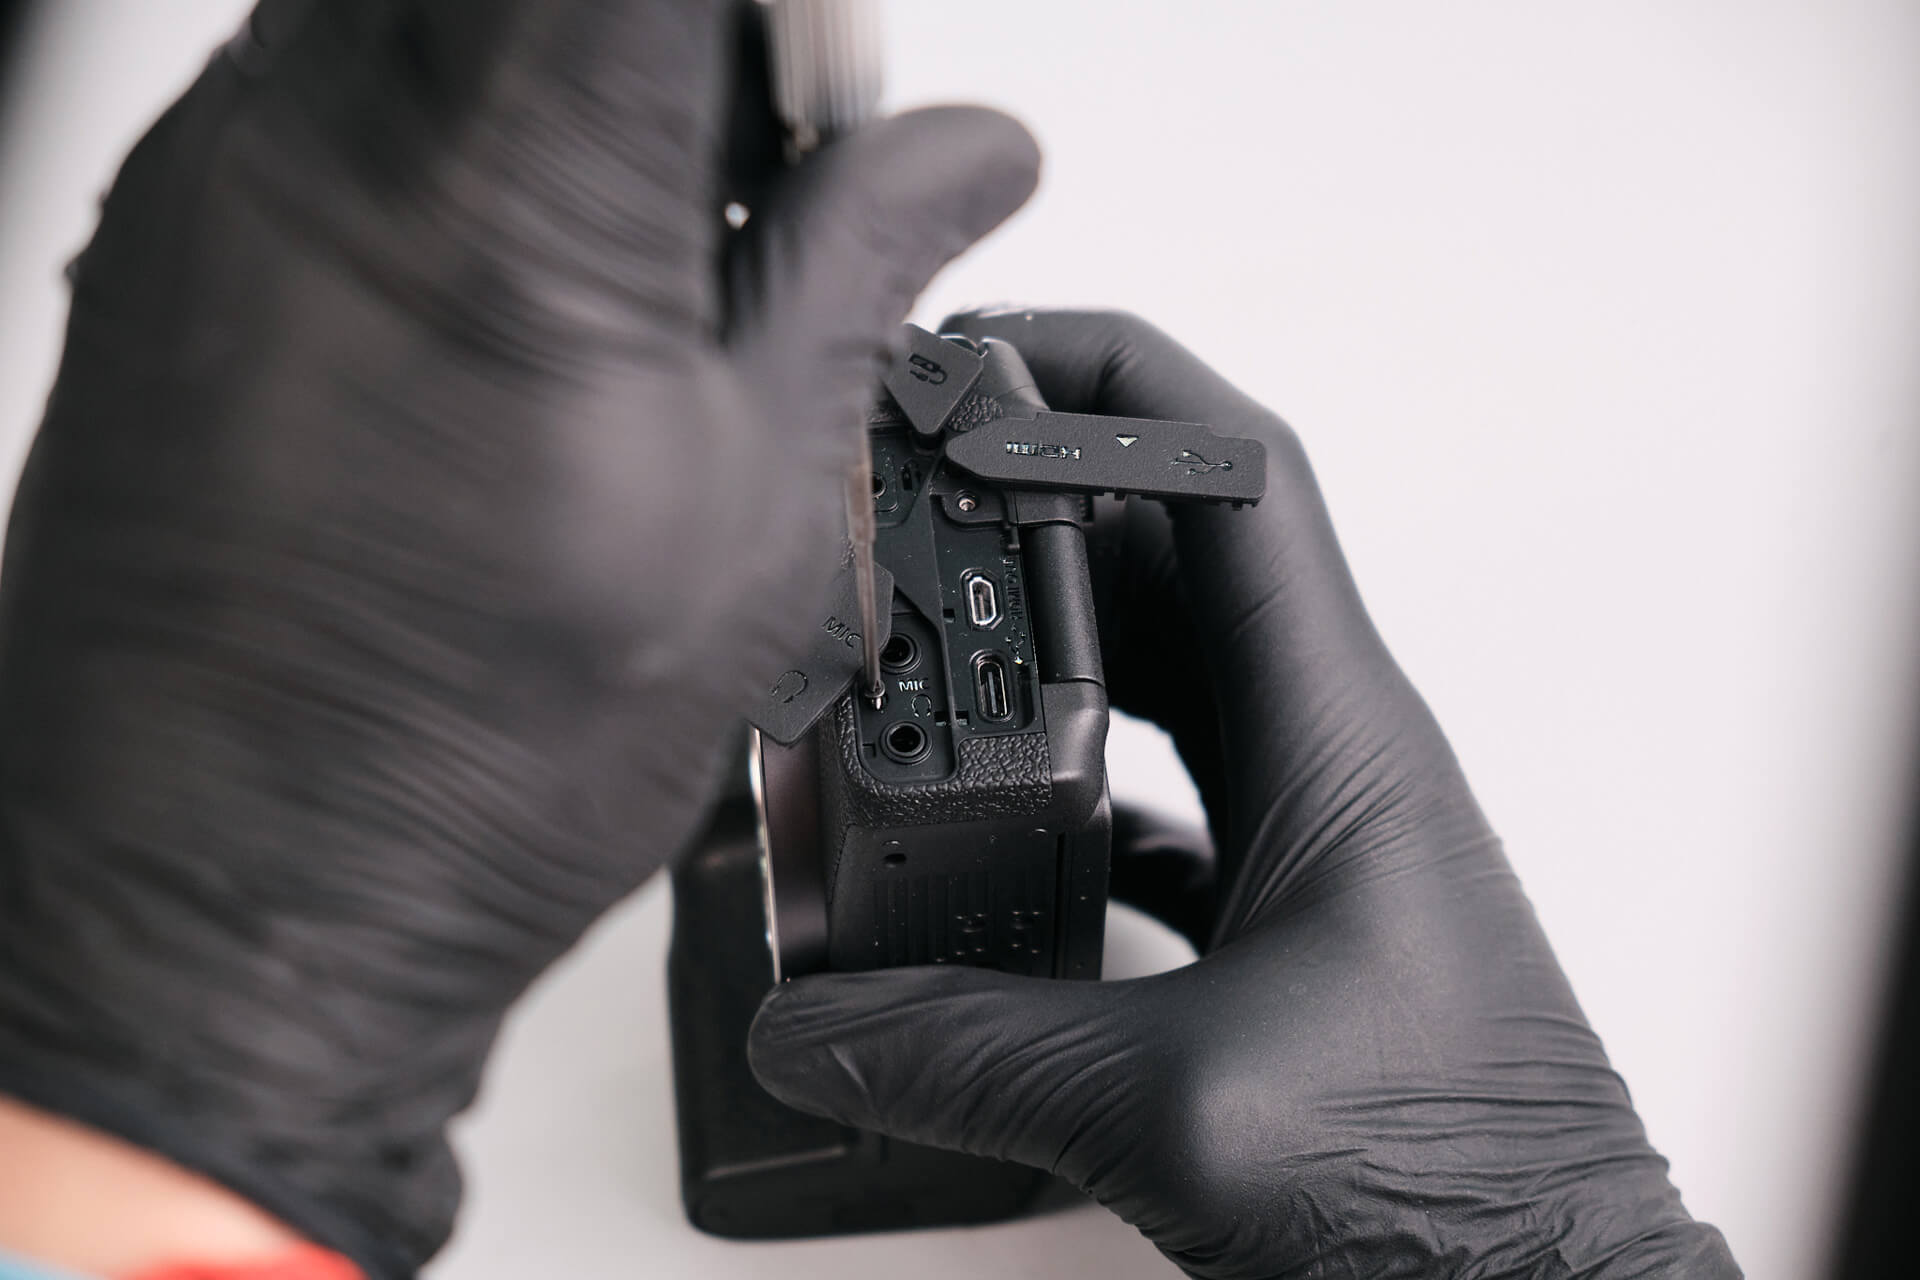
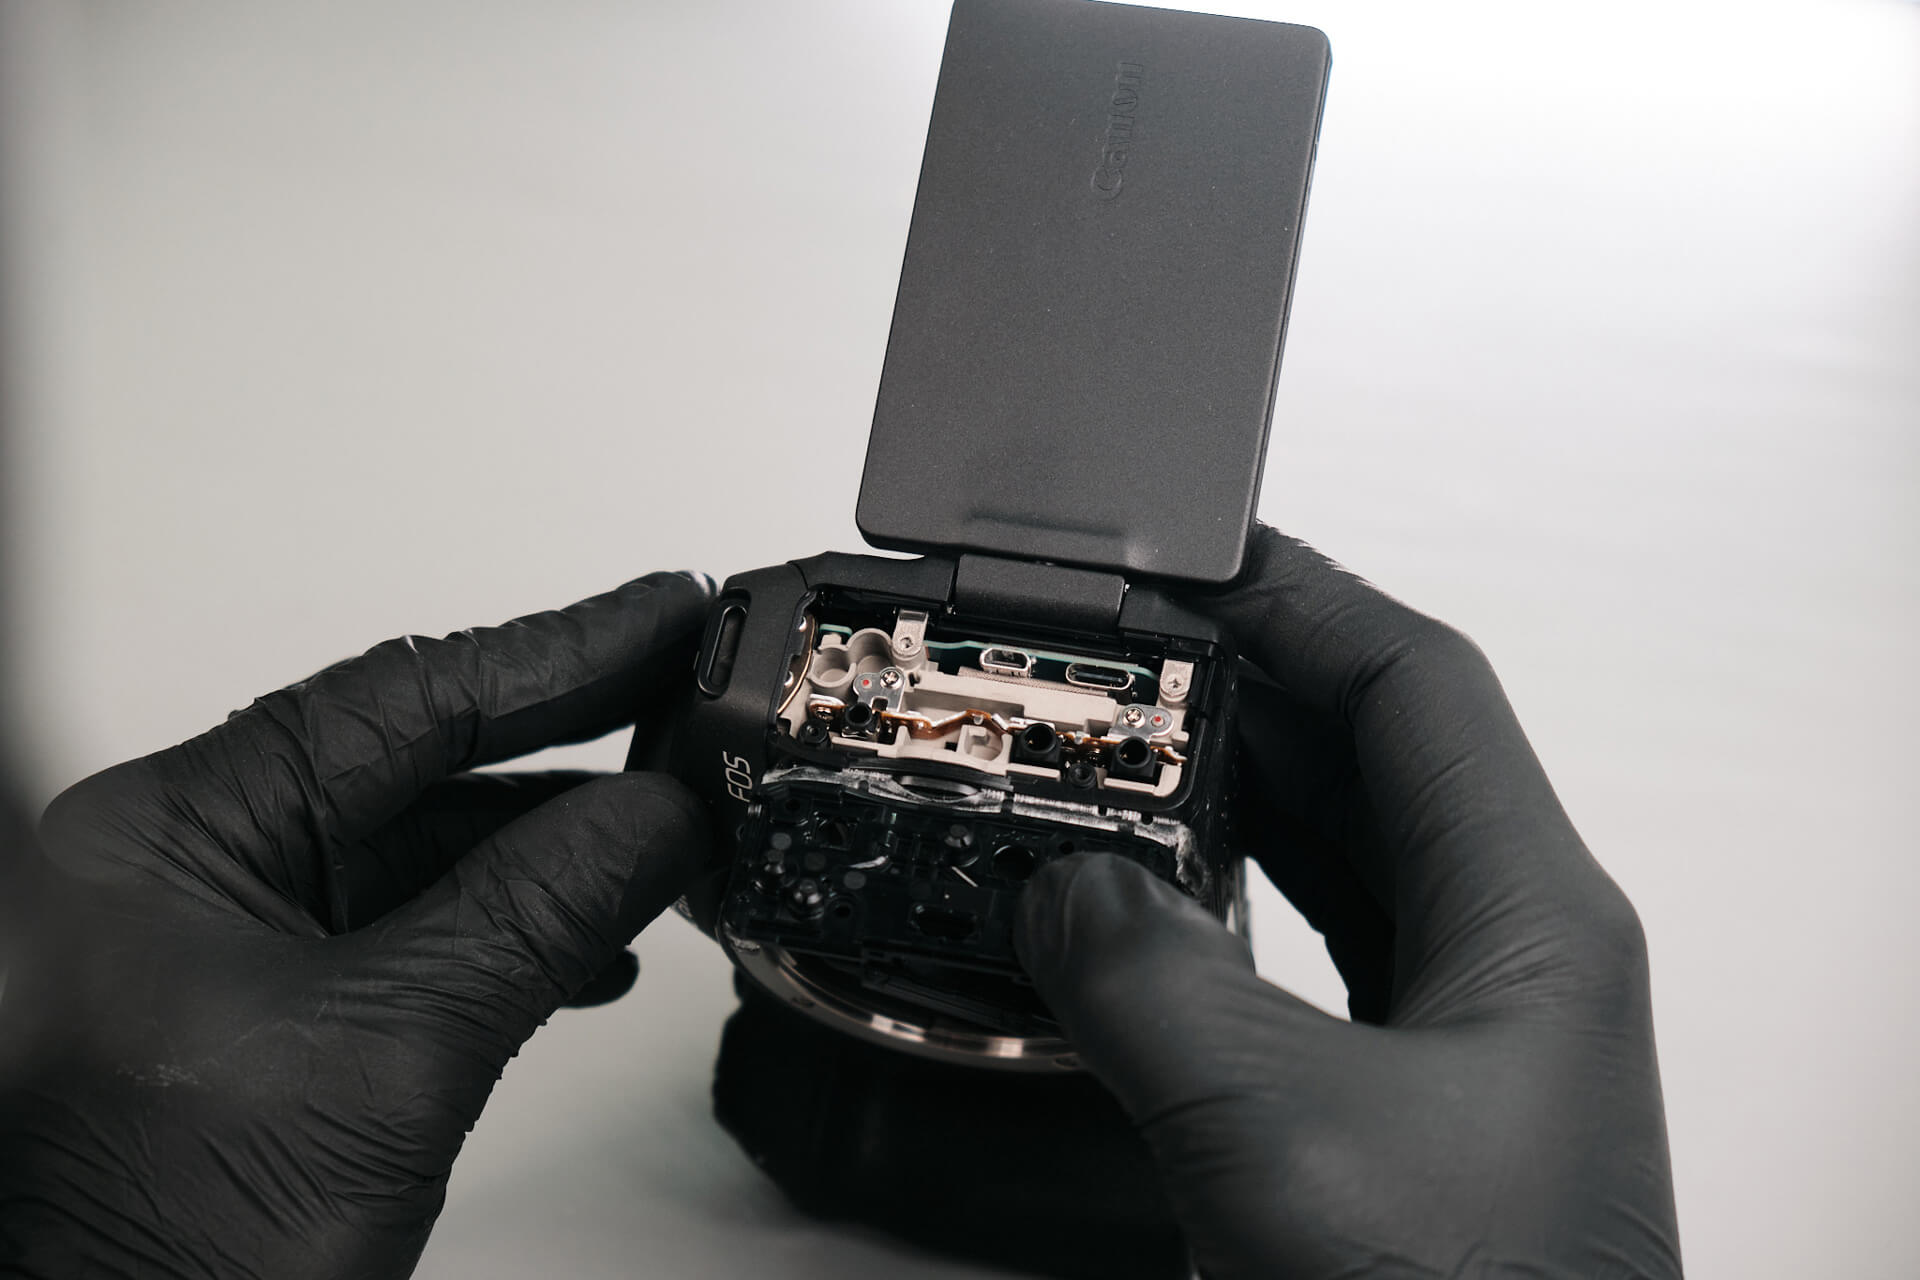
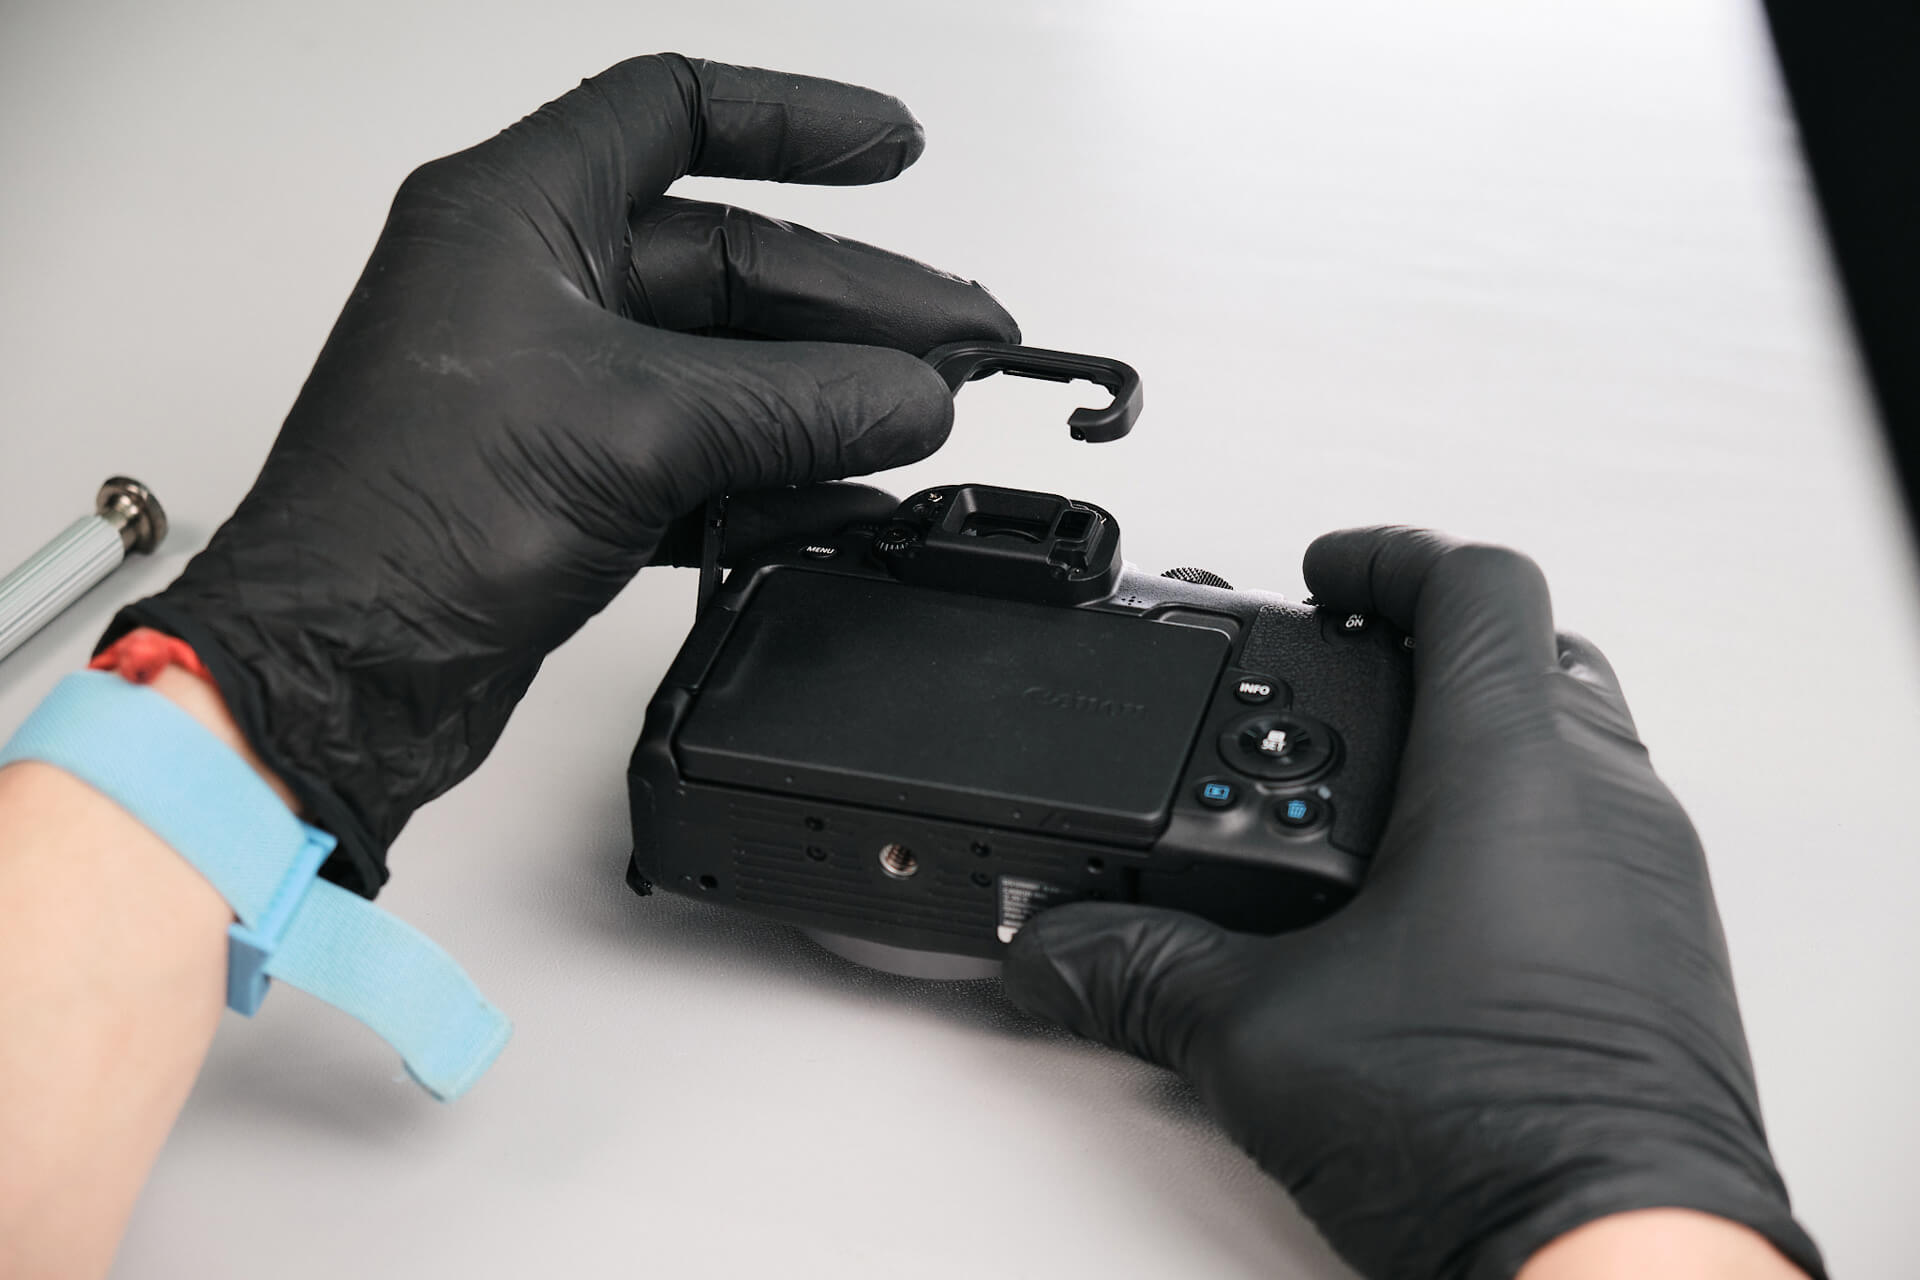
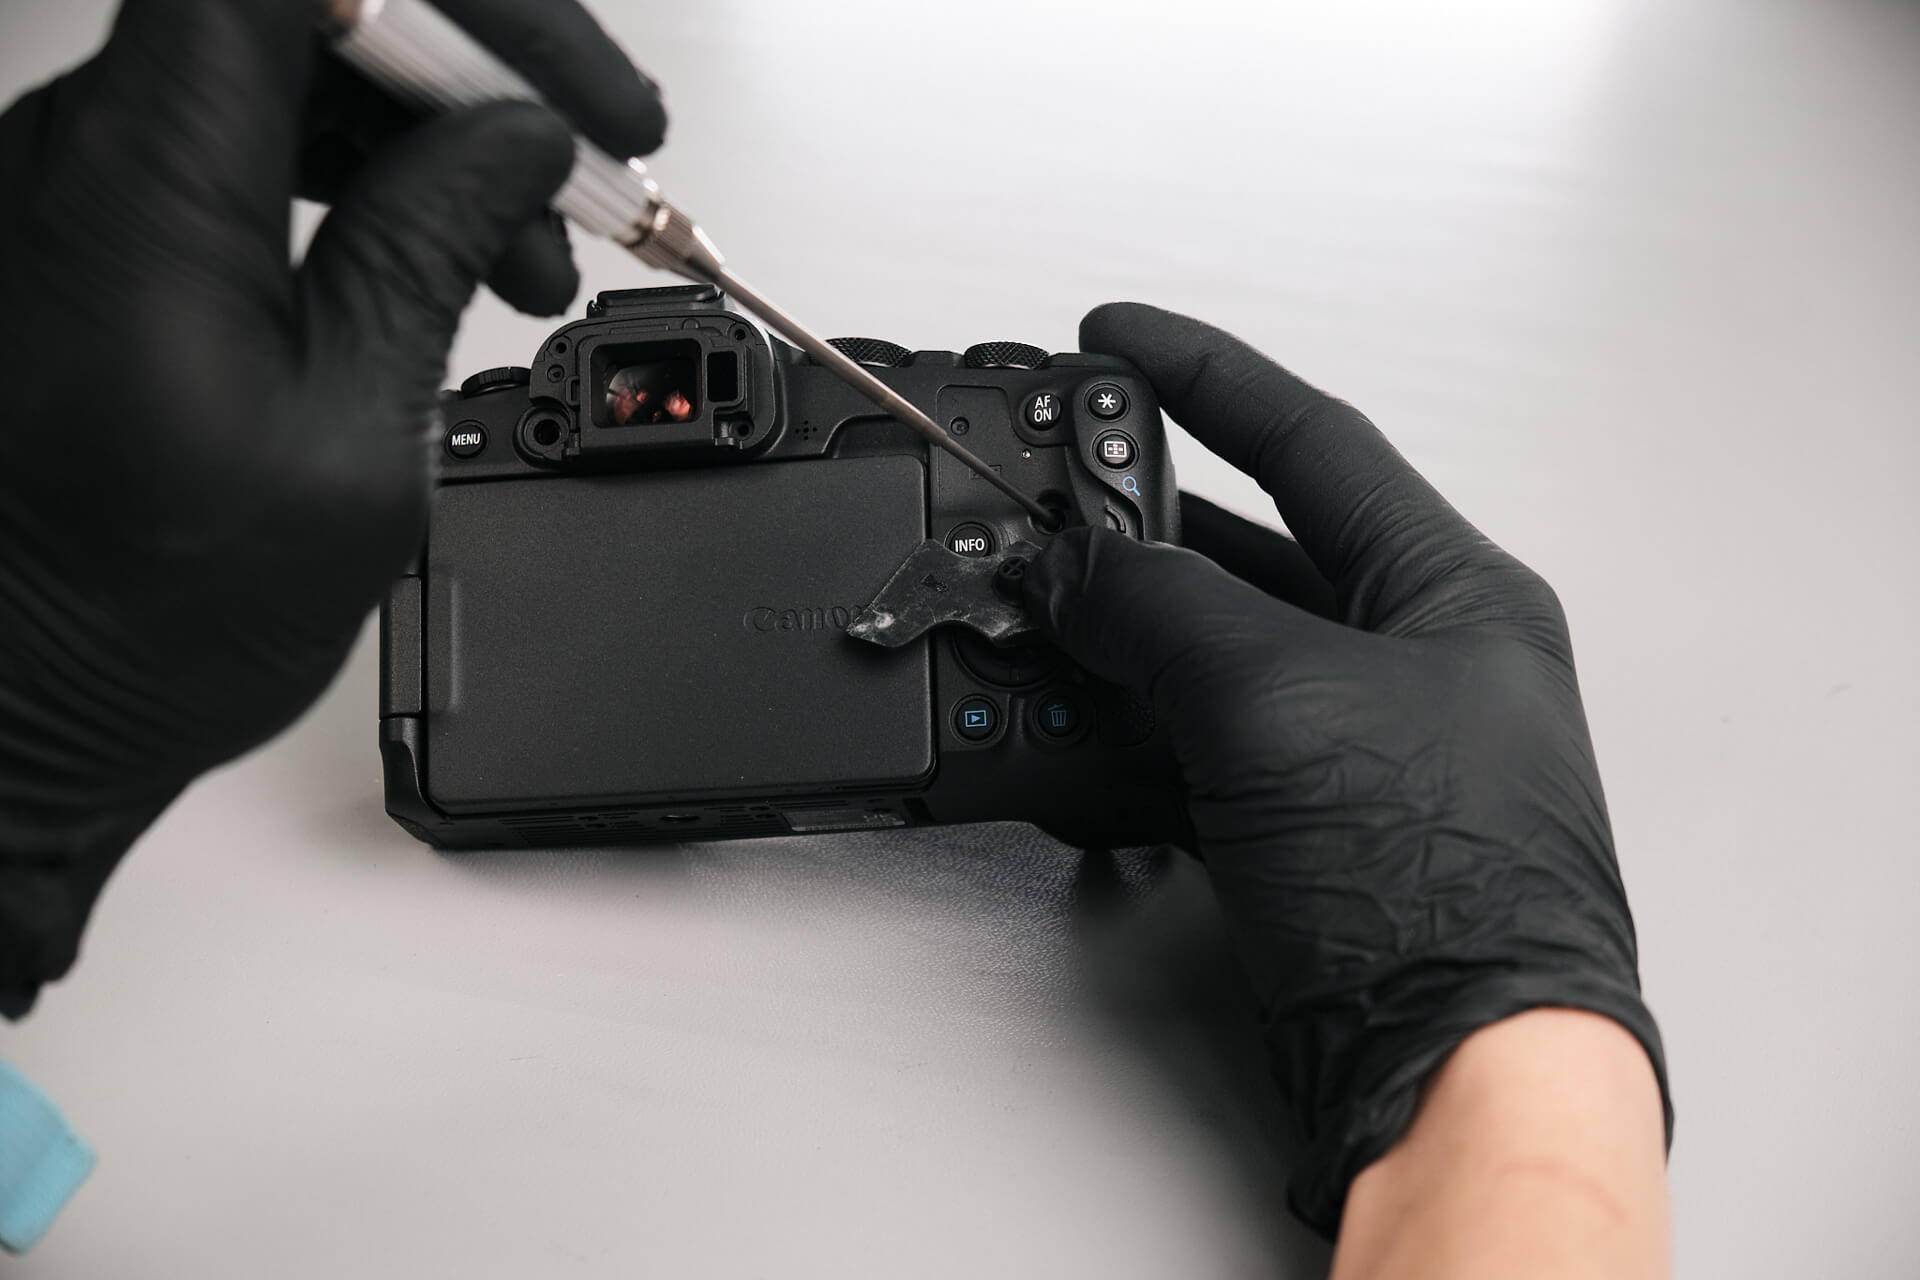
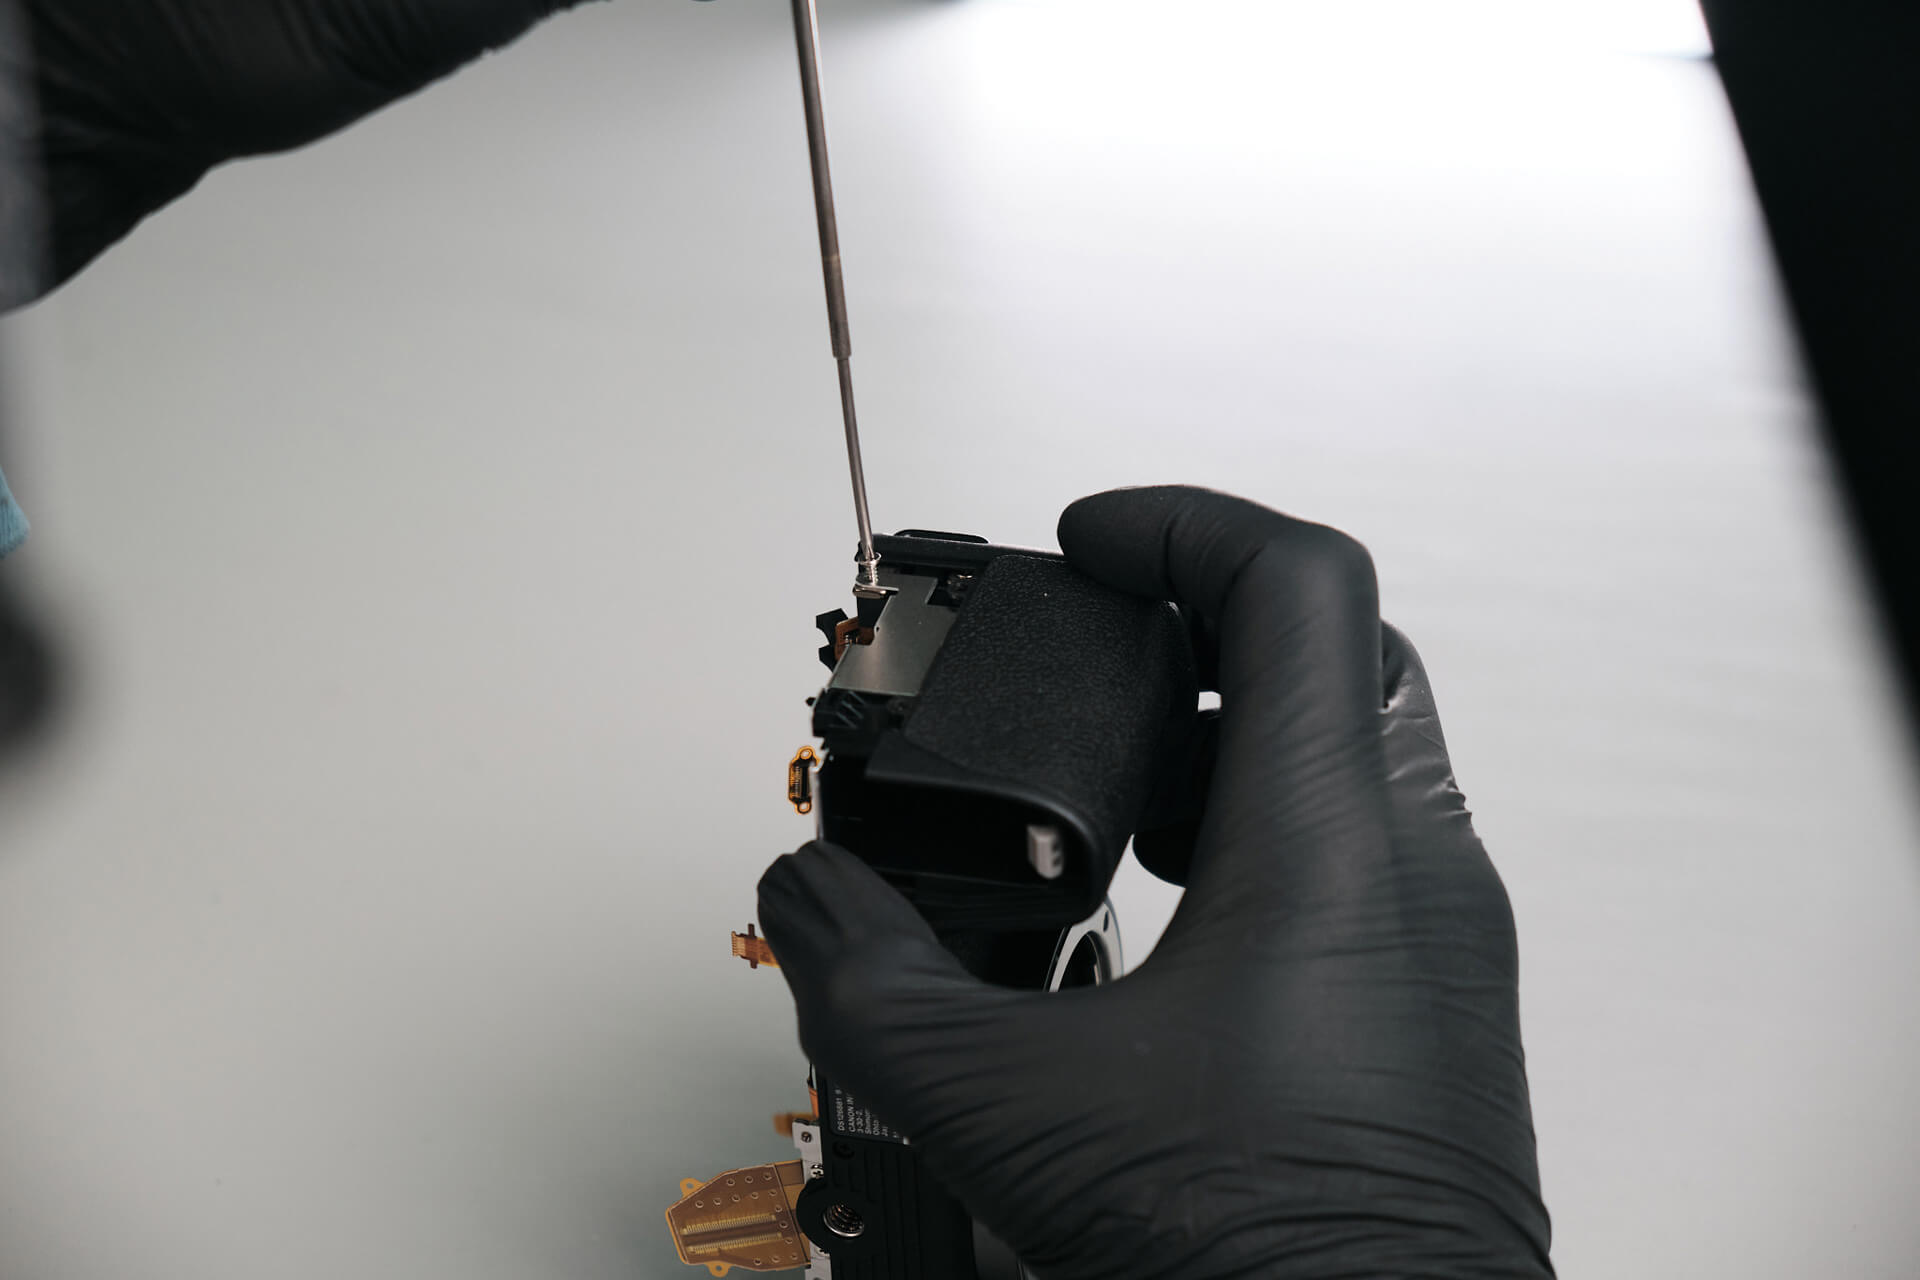
We removed three screws under the dust cover of the port side of the camera. Many screws holding the camera body together are underneath the rubber grip; we gently peeled it back to find only one.
Removing the Viewfinder and Rear Panel
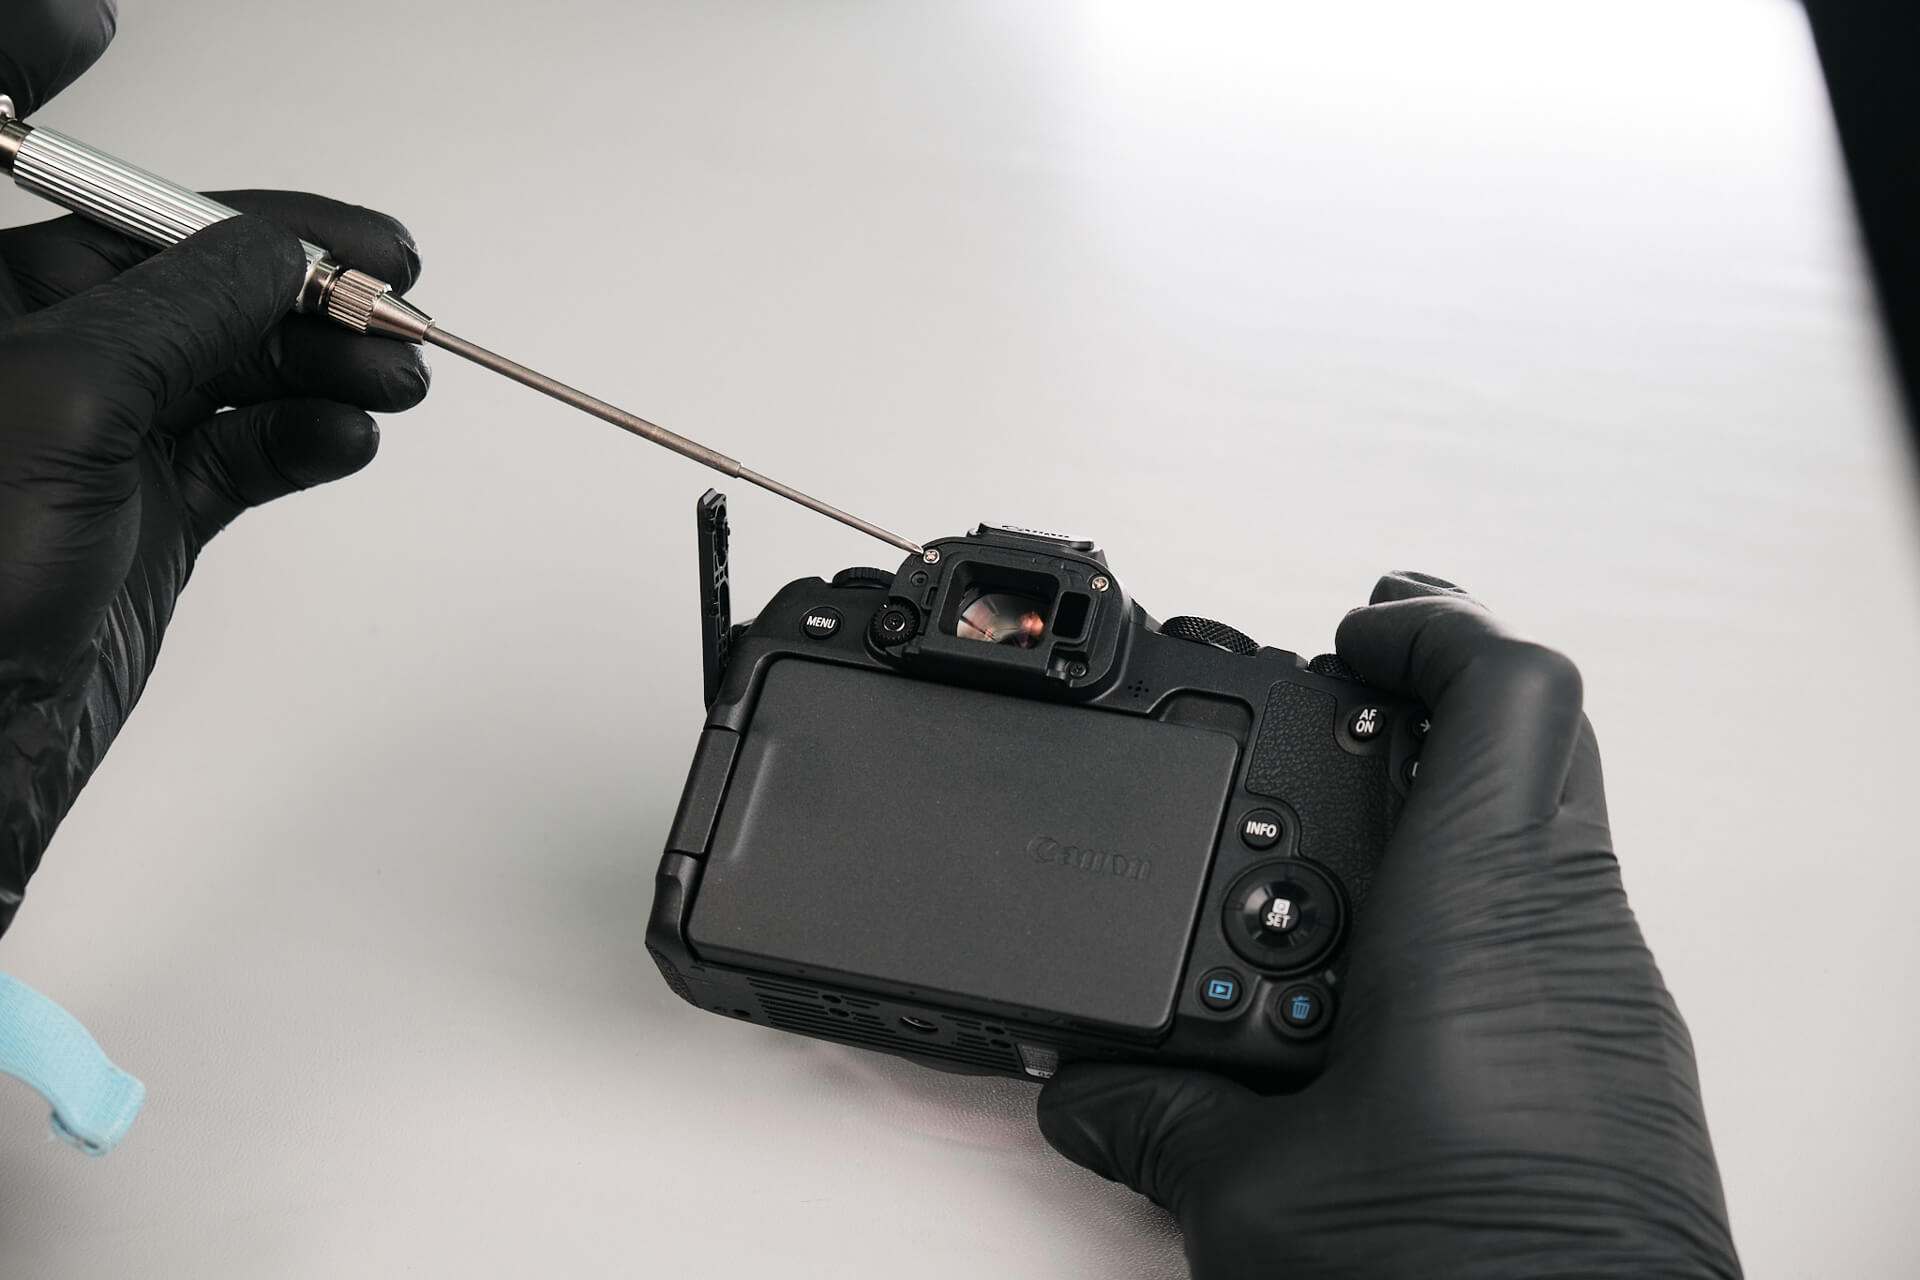
There are multiple screws around the viewfinder. Right below the eyepiece, there are two. The eyepiece could come off after removing those screws.
Under the eyepiece, we removed two silver screws that hold the entire viewfinder in place, the diopter screw and adjustment knob, and one black screw.
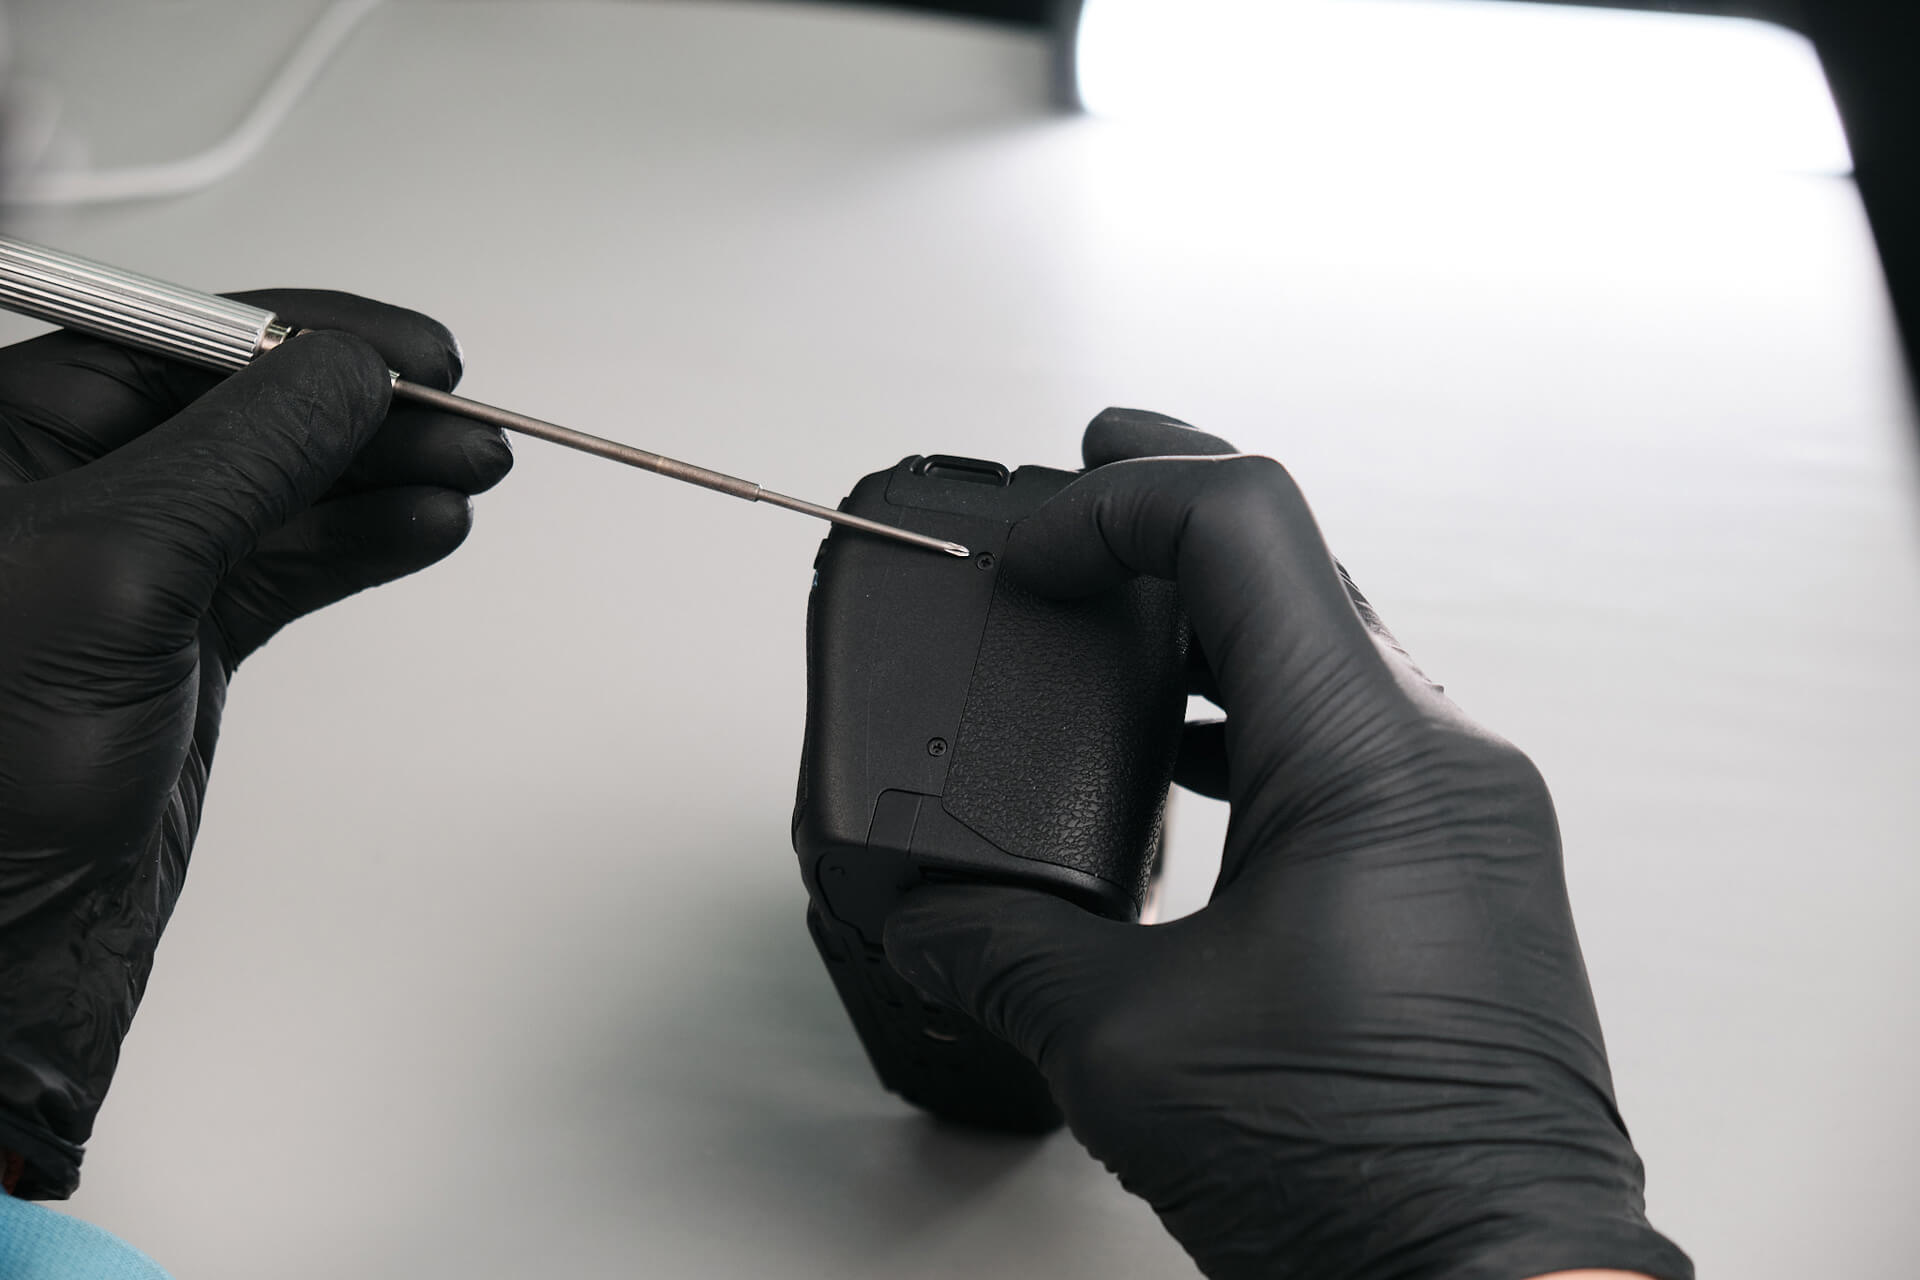
On the right side of the camera, we removed two more screws.
We removed the rubber handgrip on the rear panel and found one screw.
Disconnecting Rear Panel and EVF Ribbon Cables
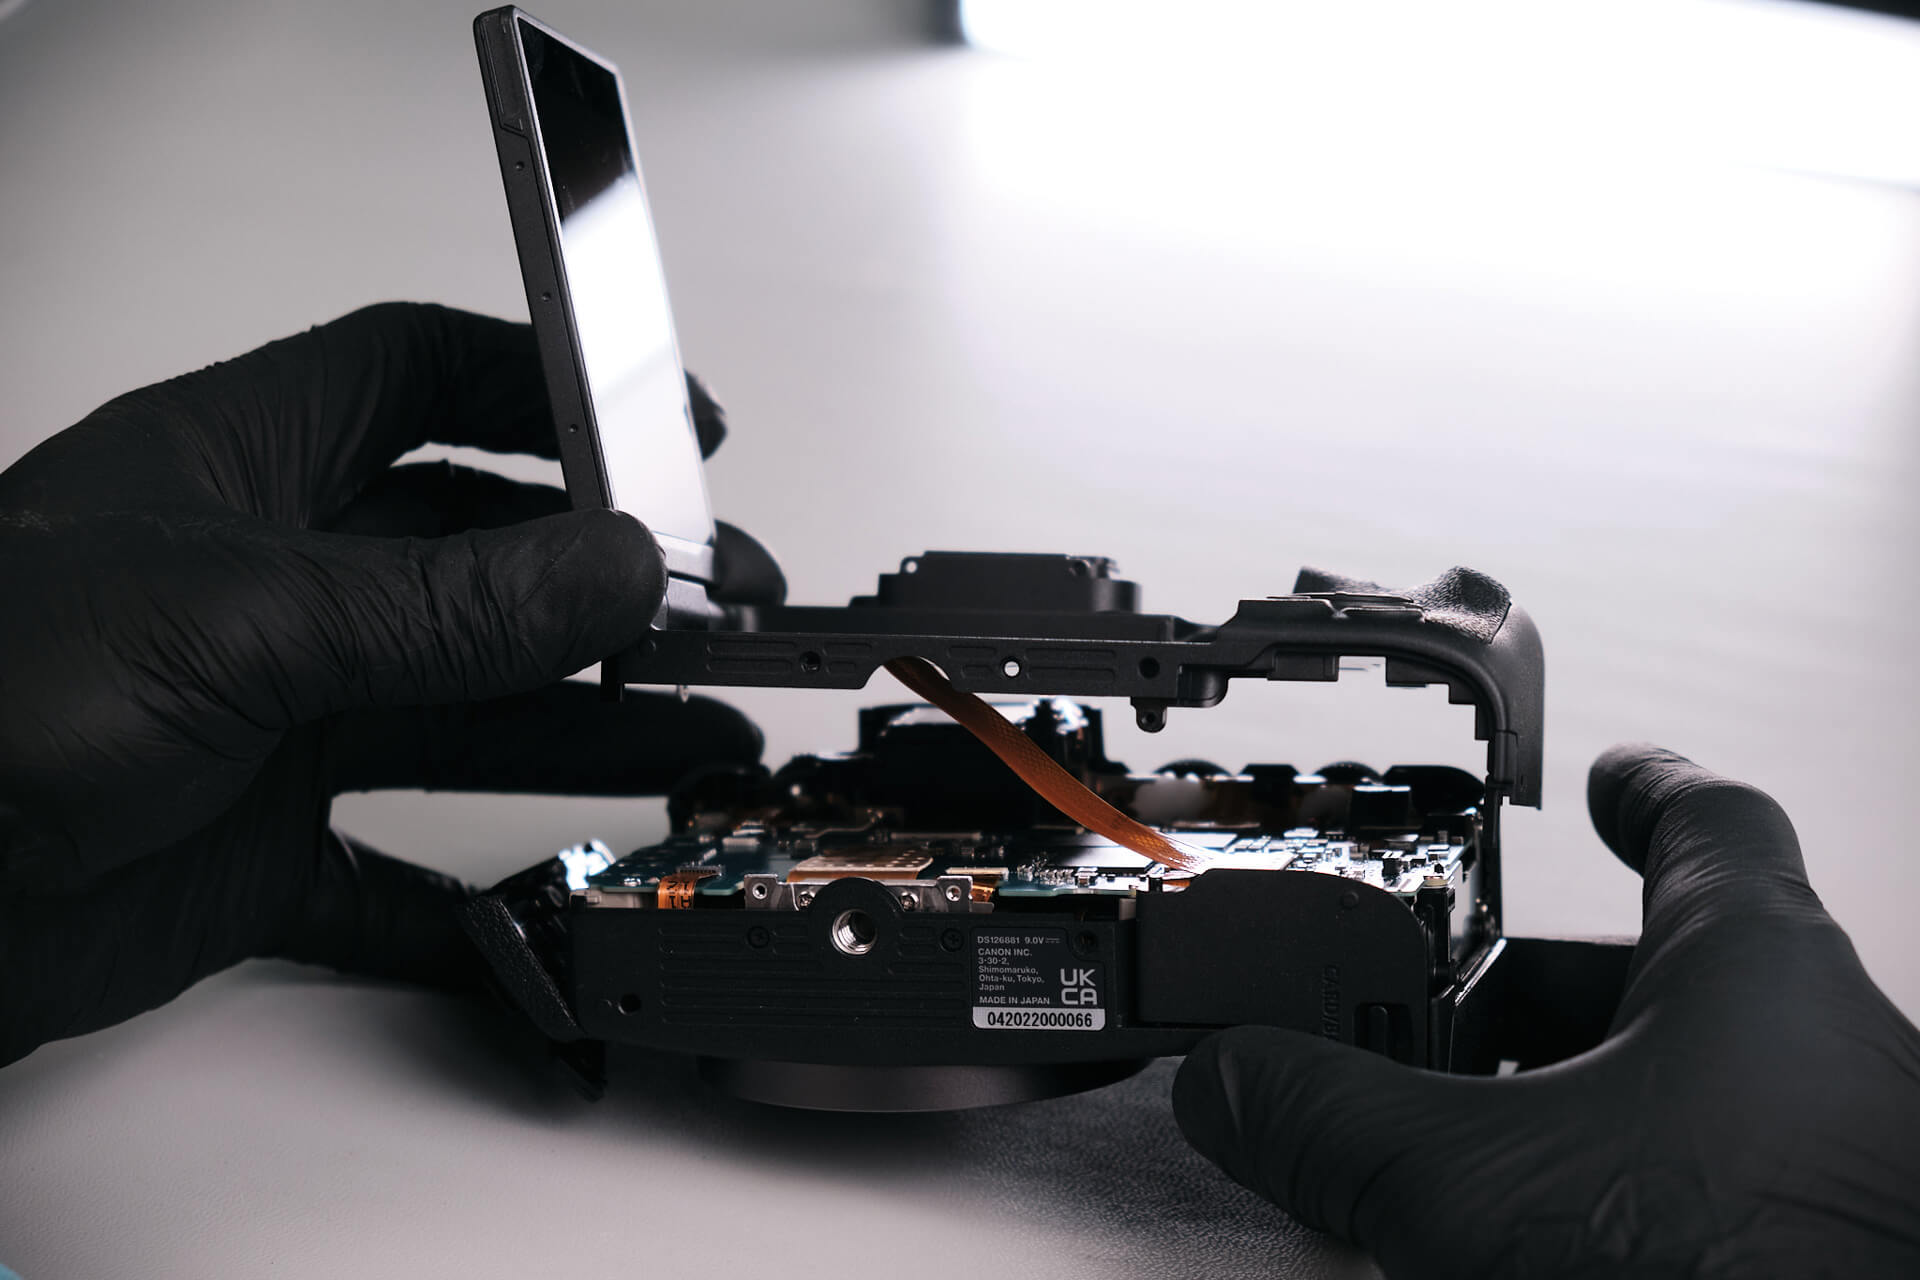
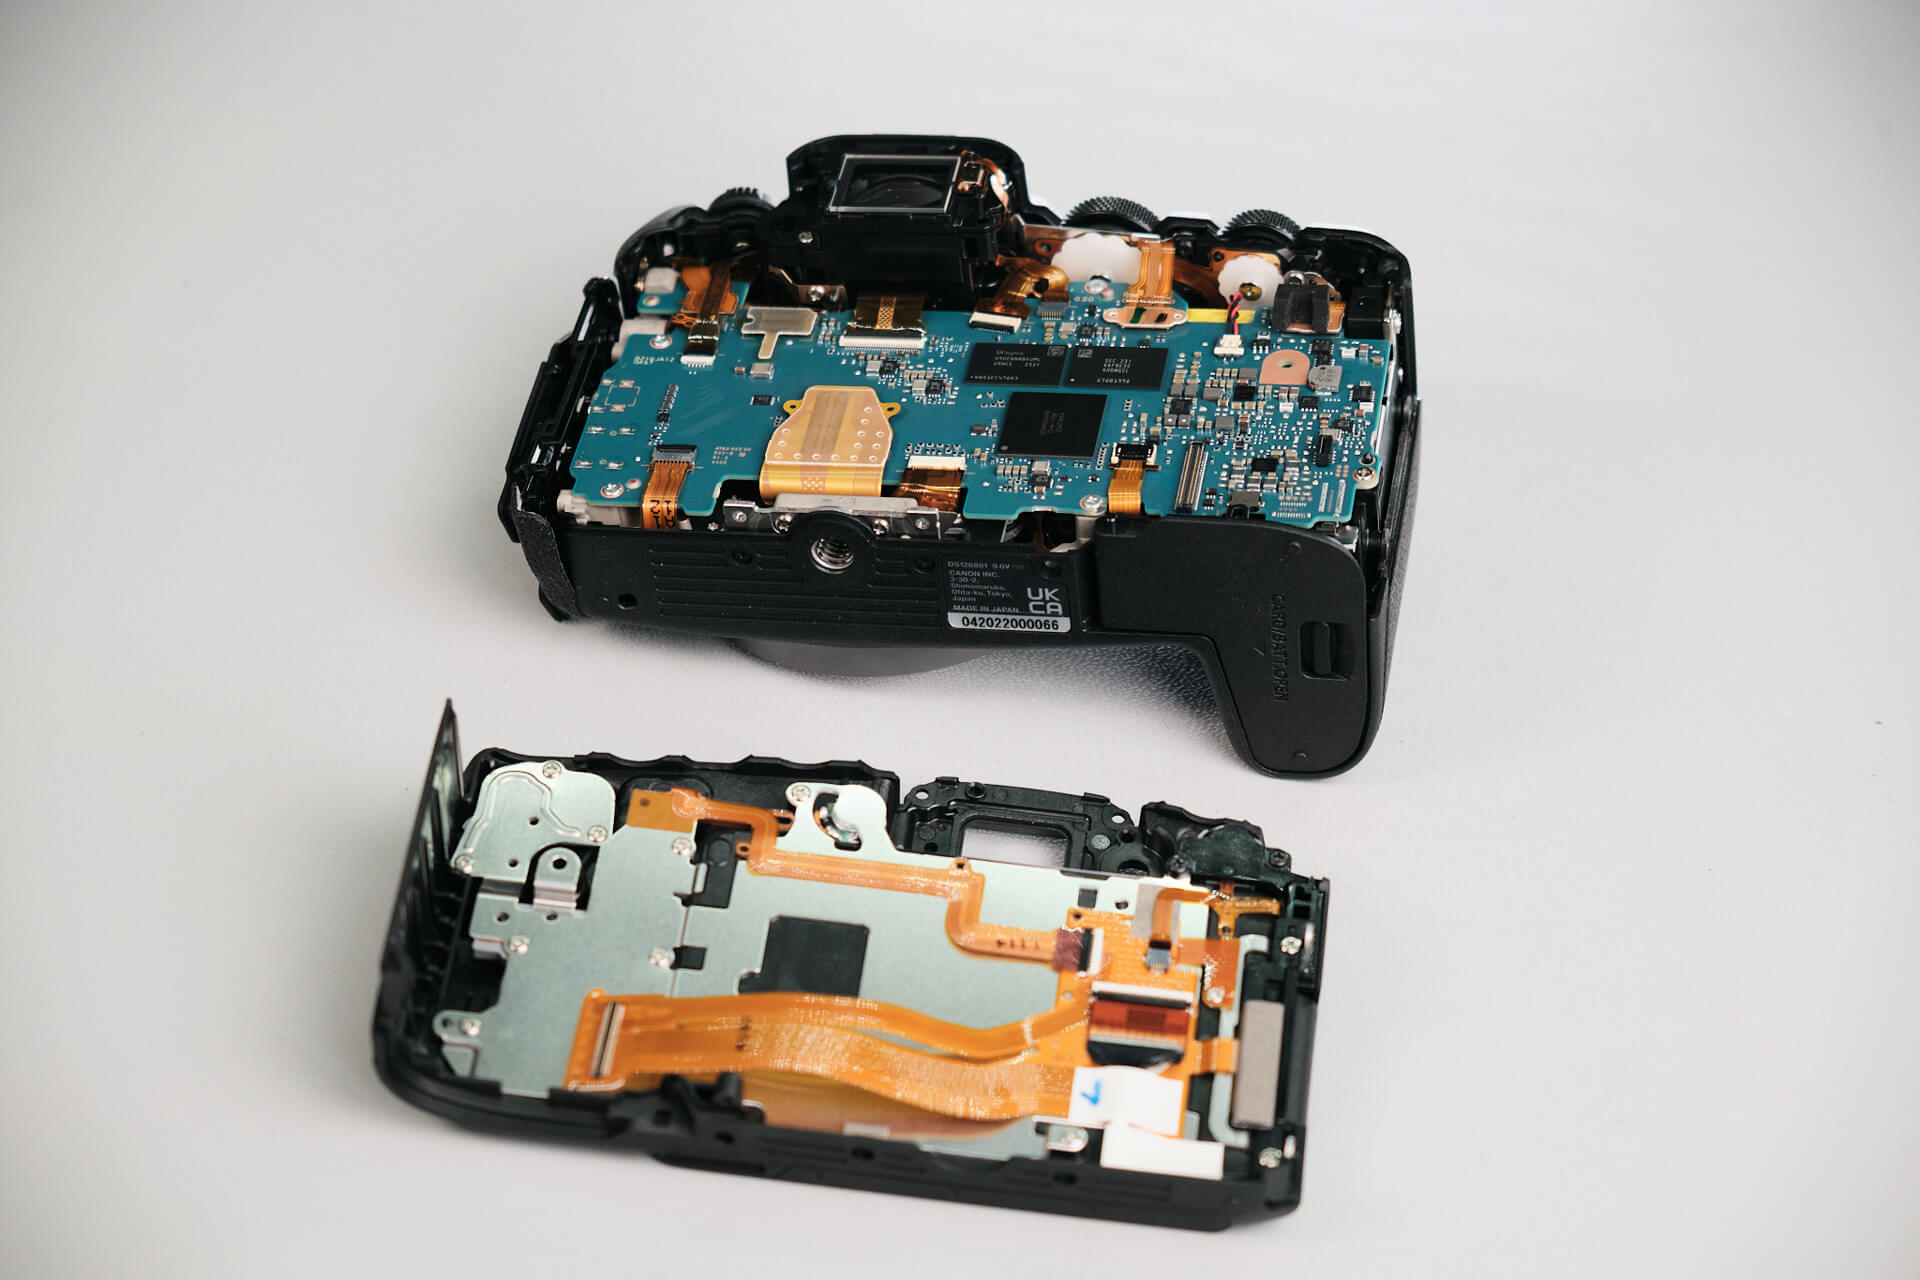
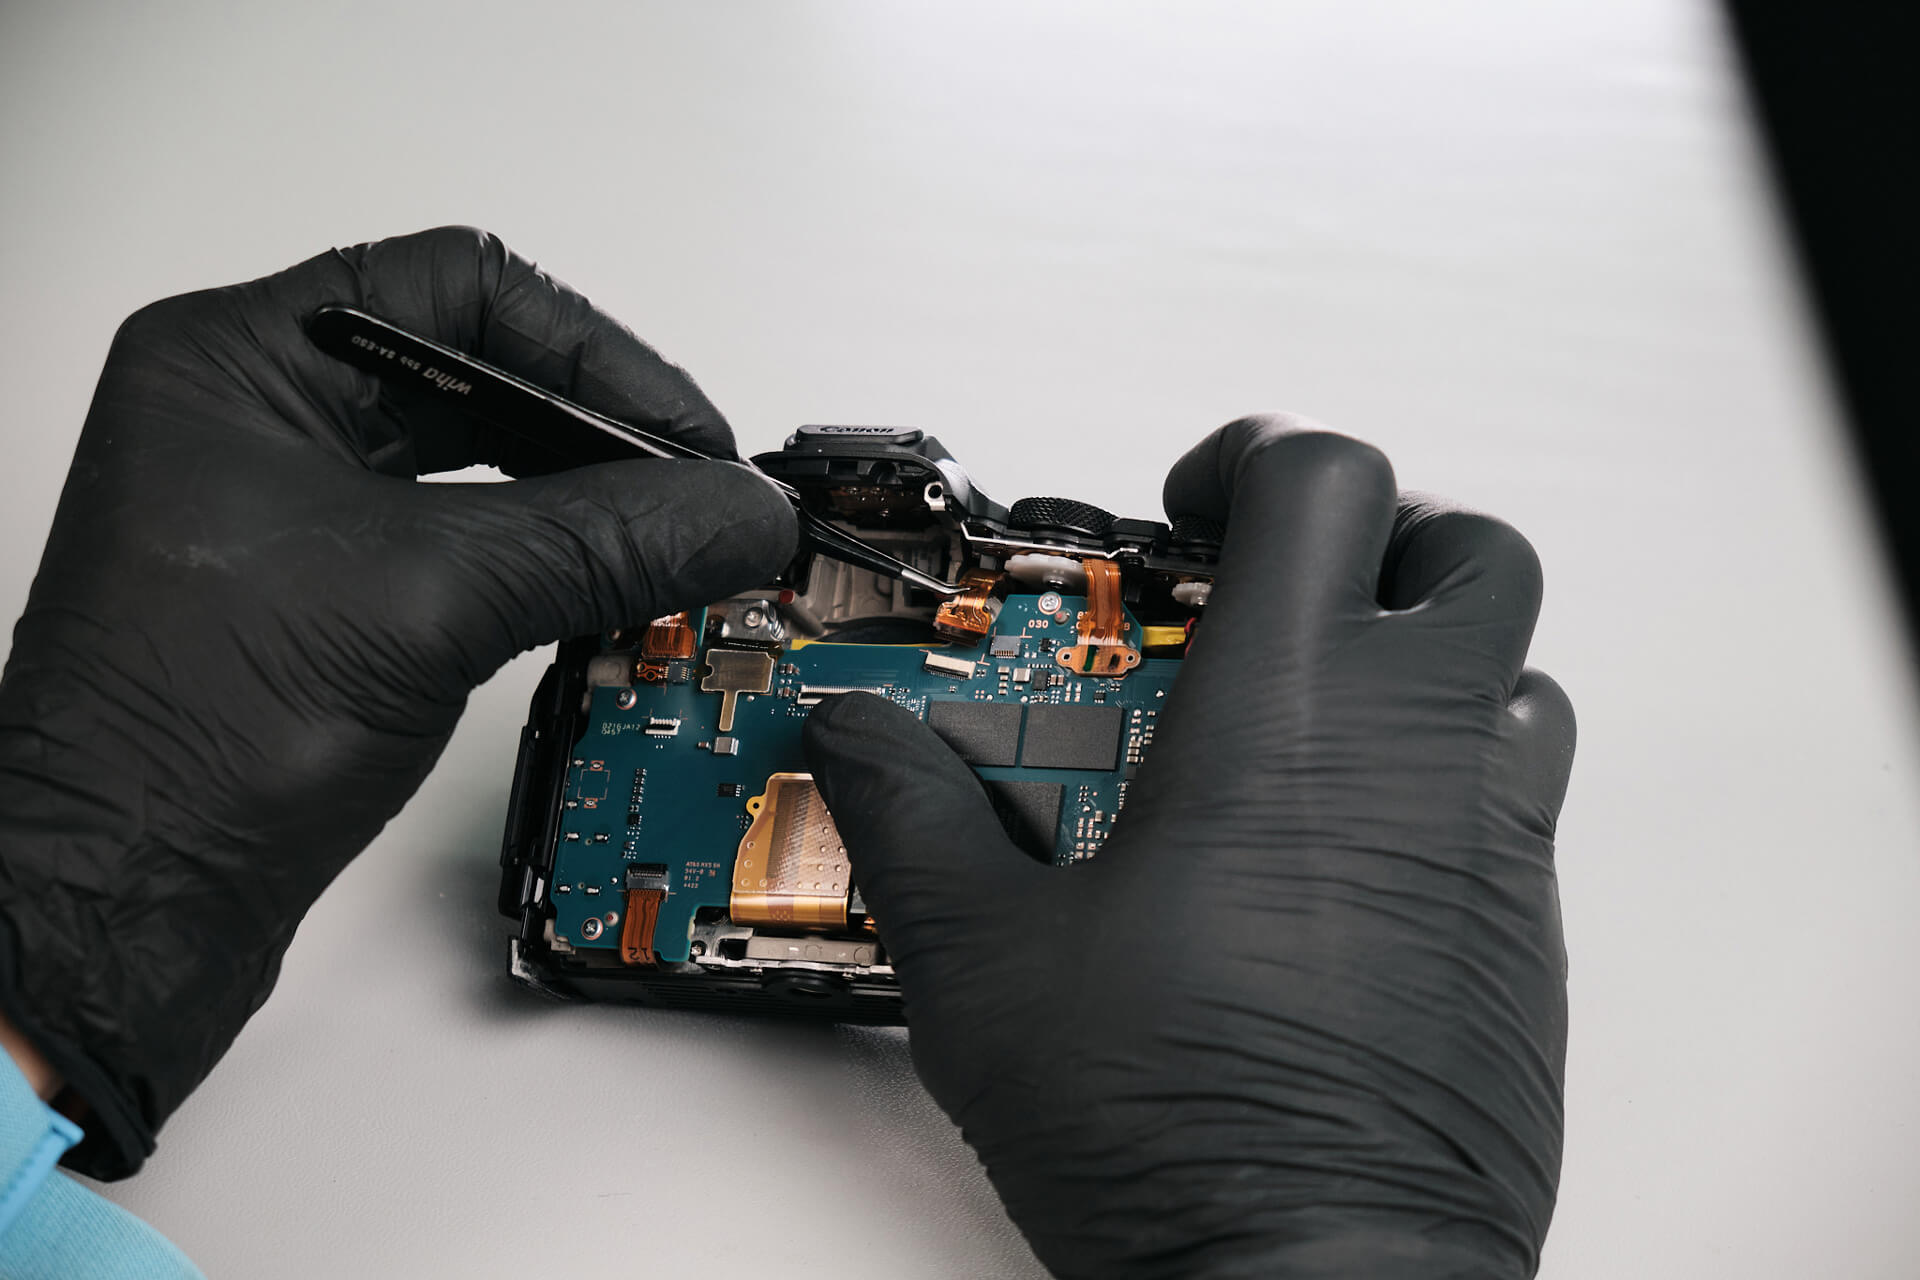
After removing all of the aforementioned screws, we were able to lift the entire rear panel. In the first photo, you’ll see that a ribbon cable connects the panel to the camera body. This must be detached to fully separate the panel from the body.
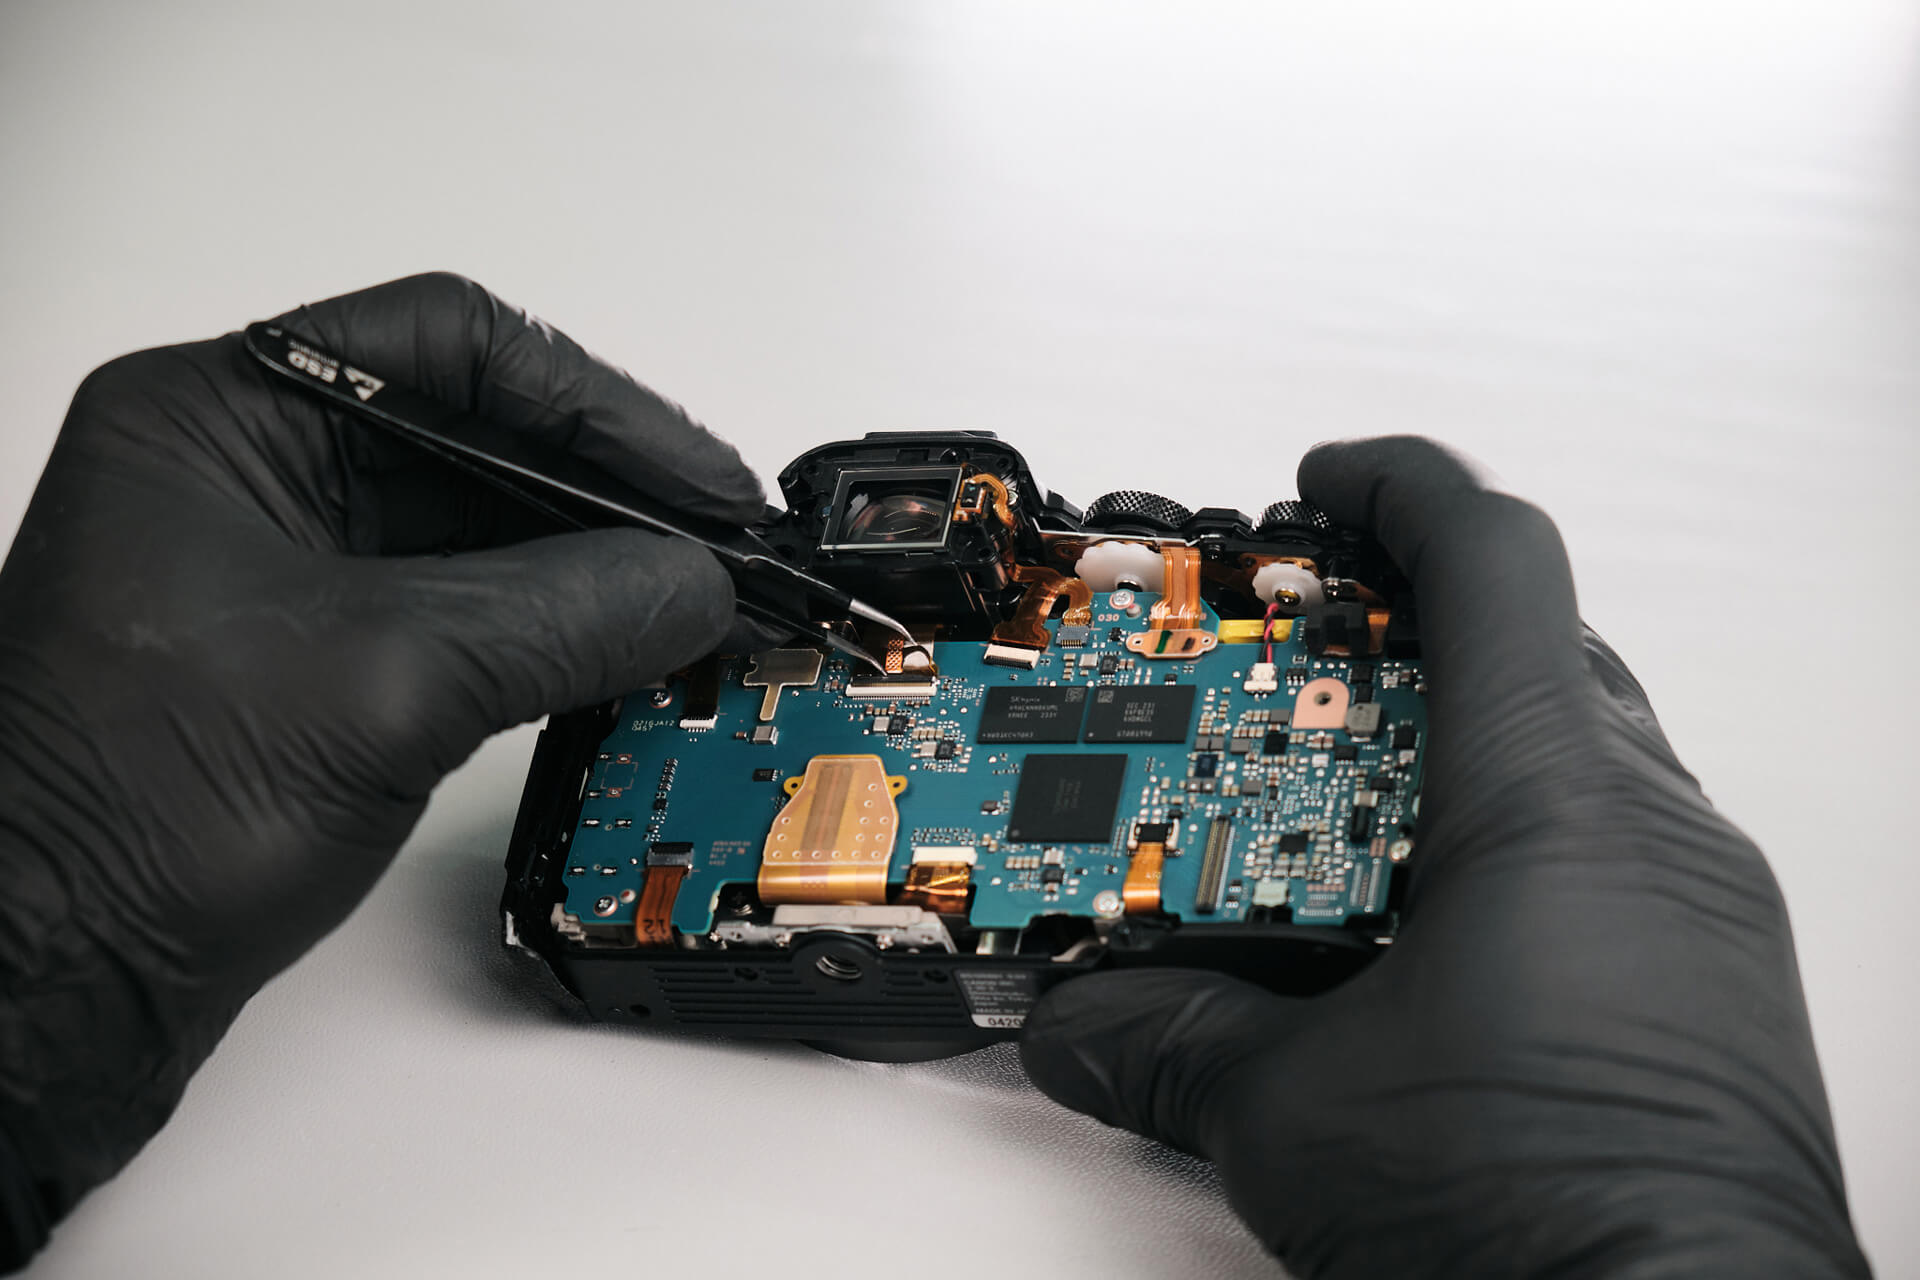
Next, we needed to unlatch the EVF ribbon cable. It was thin and fragile, so we had to be extremely careful with it in order to remove the viewfinder mechanism.
Removing the Canon R8 Circuit Board
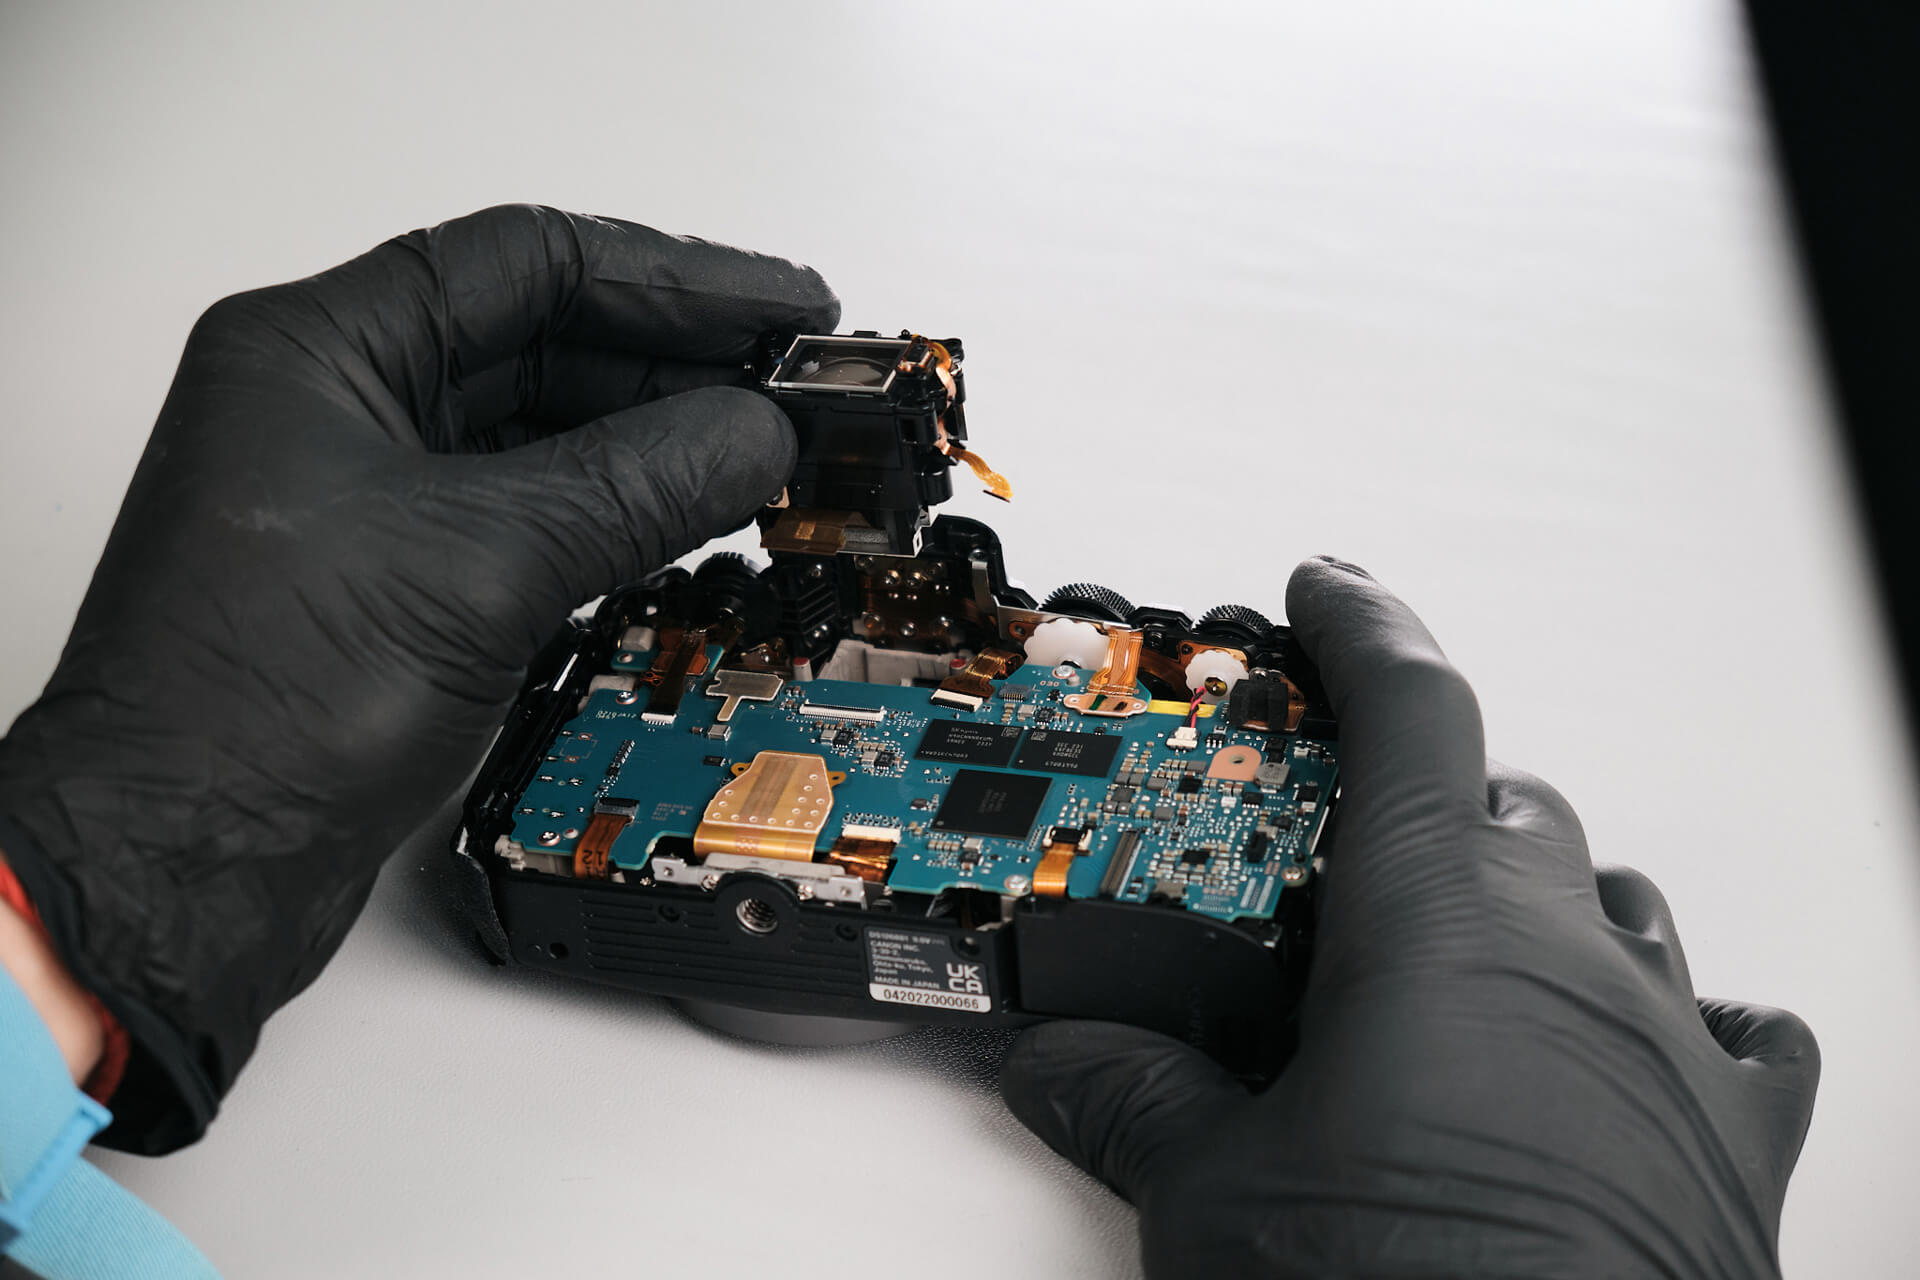
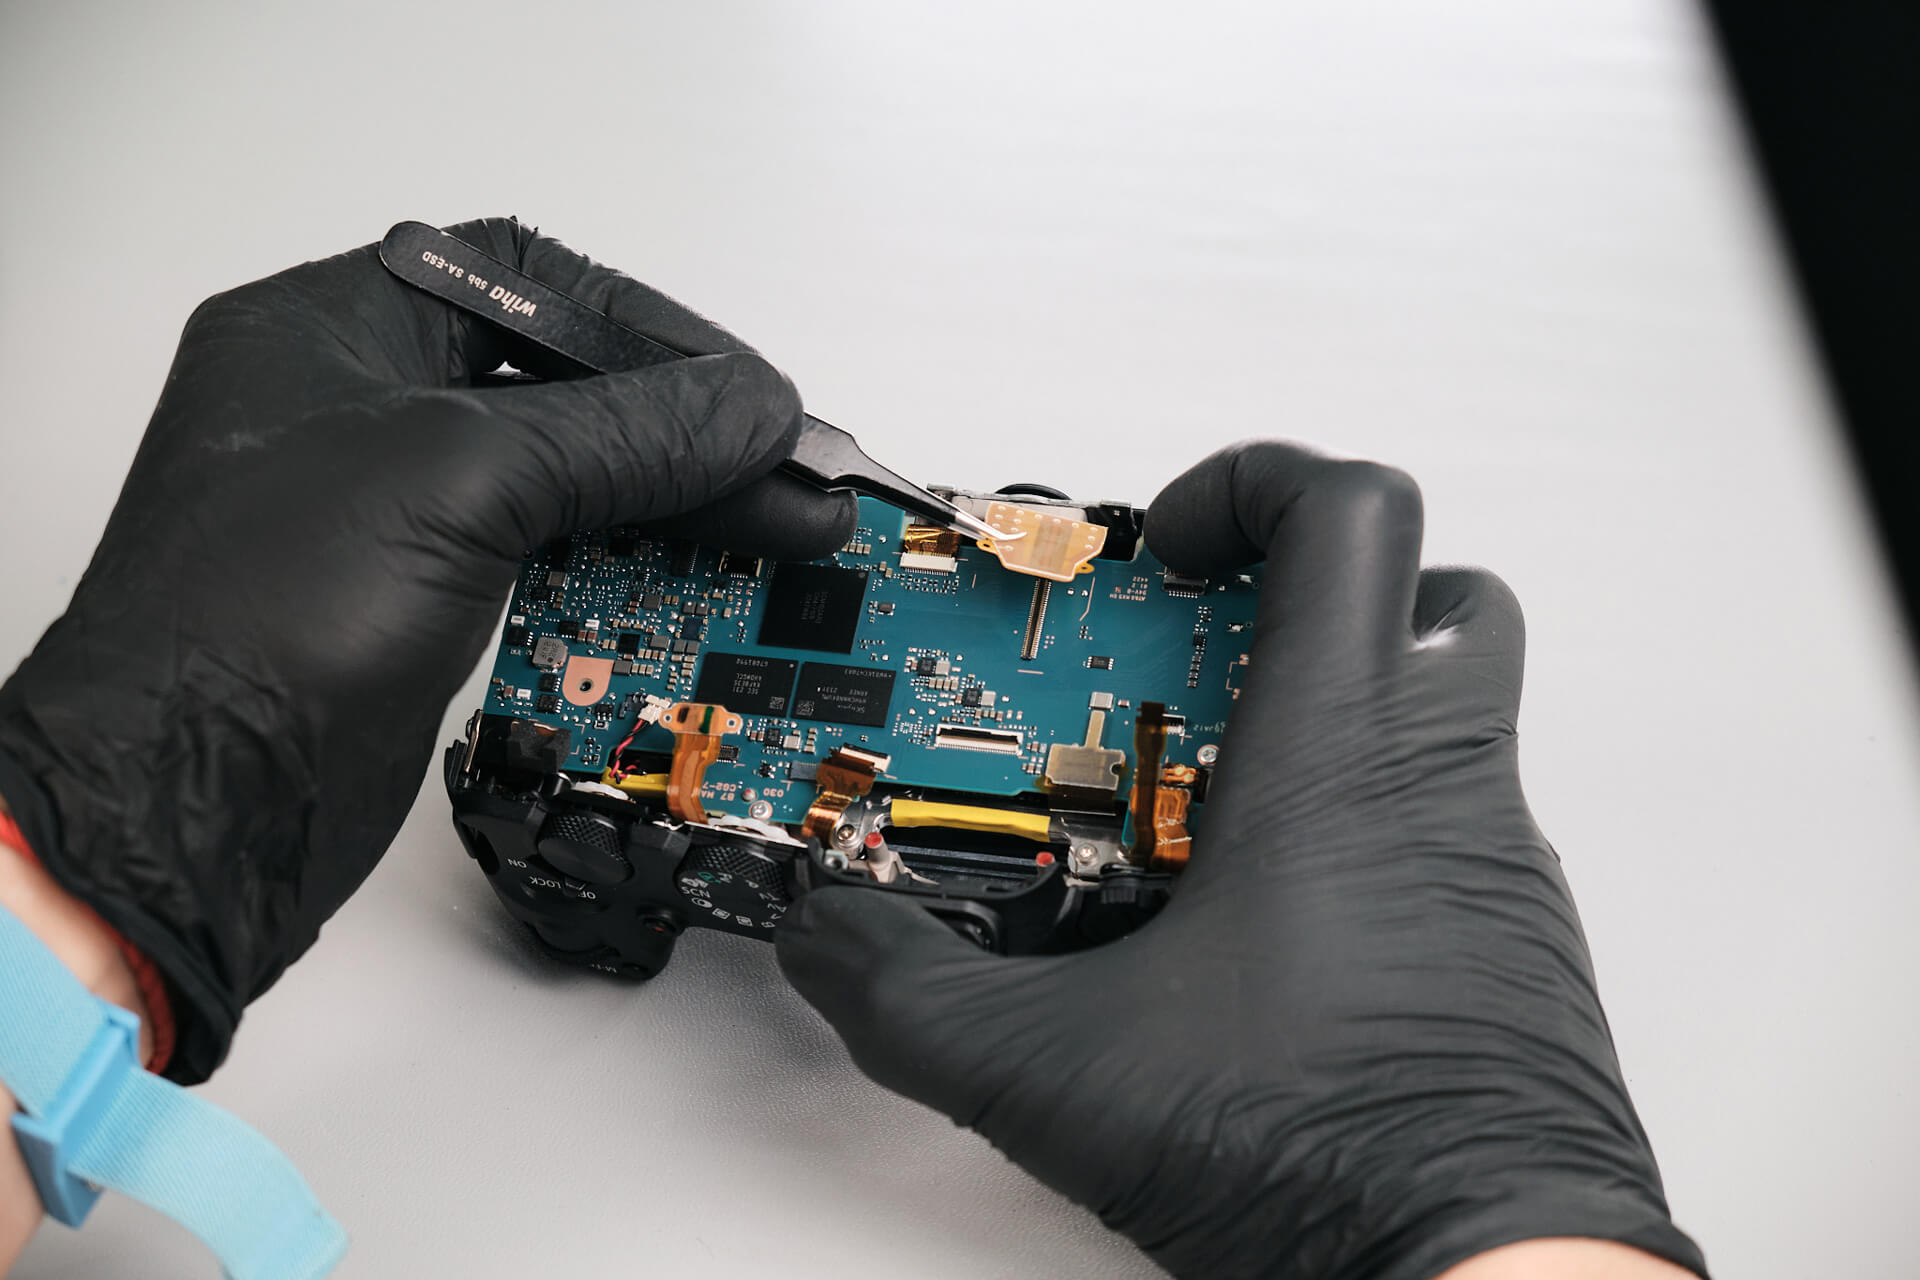
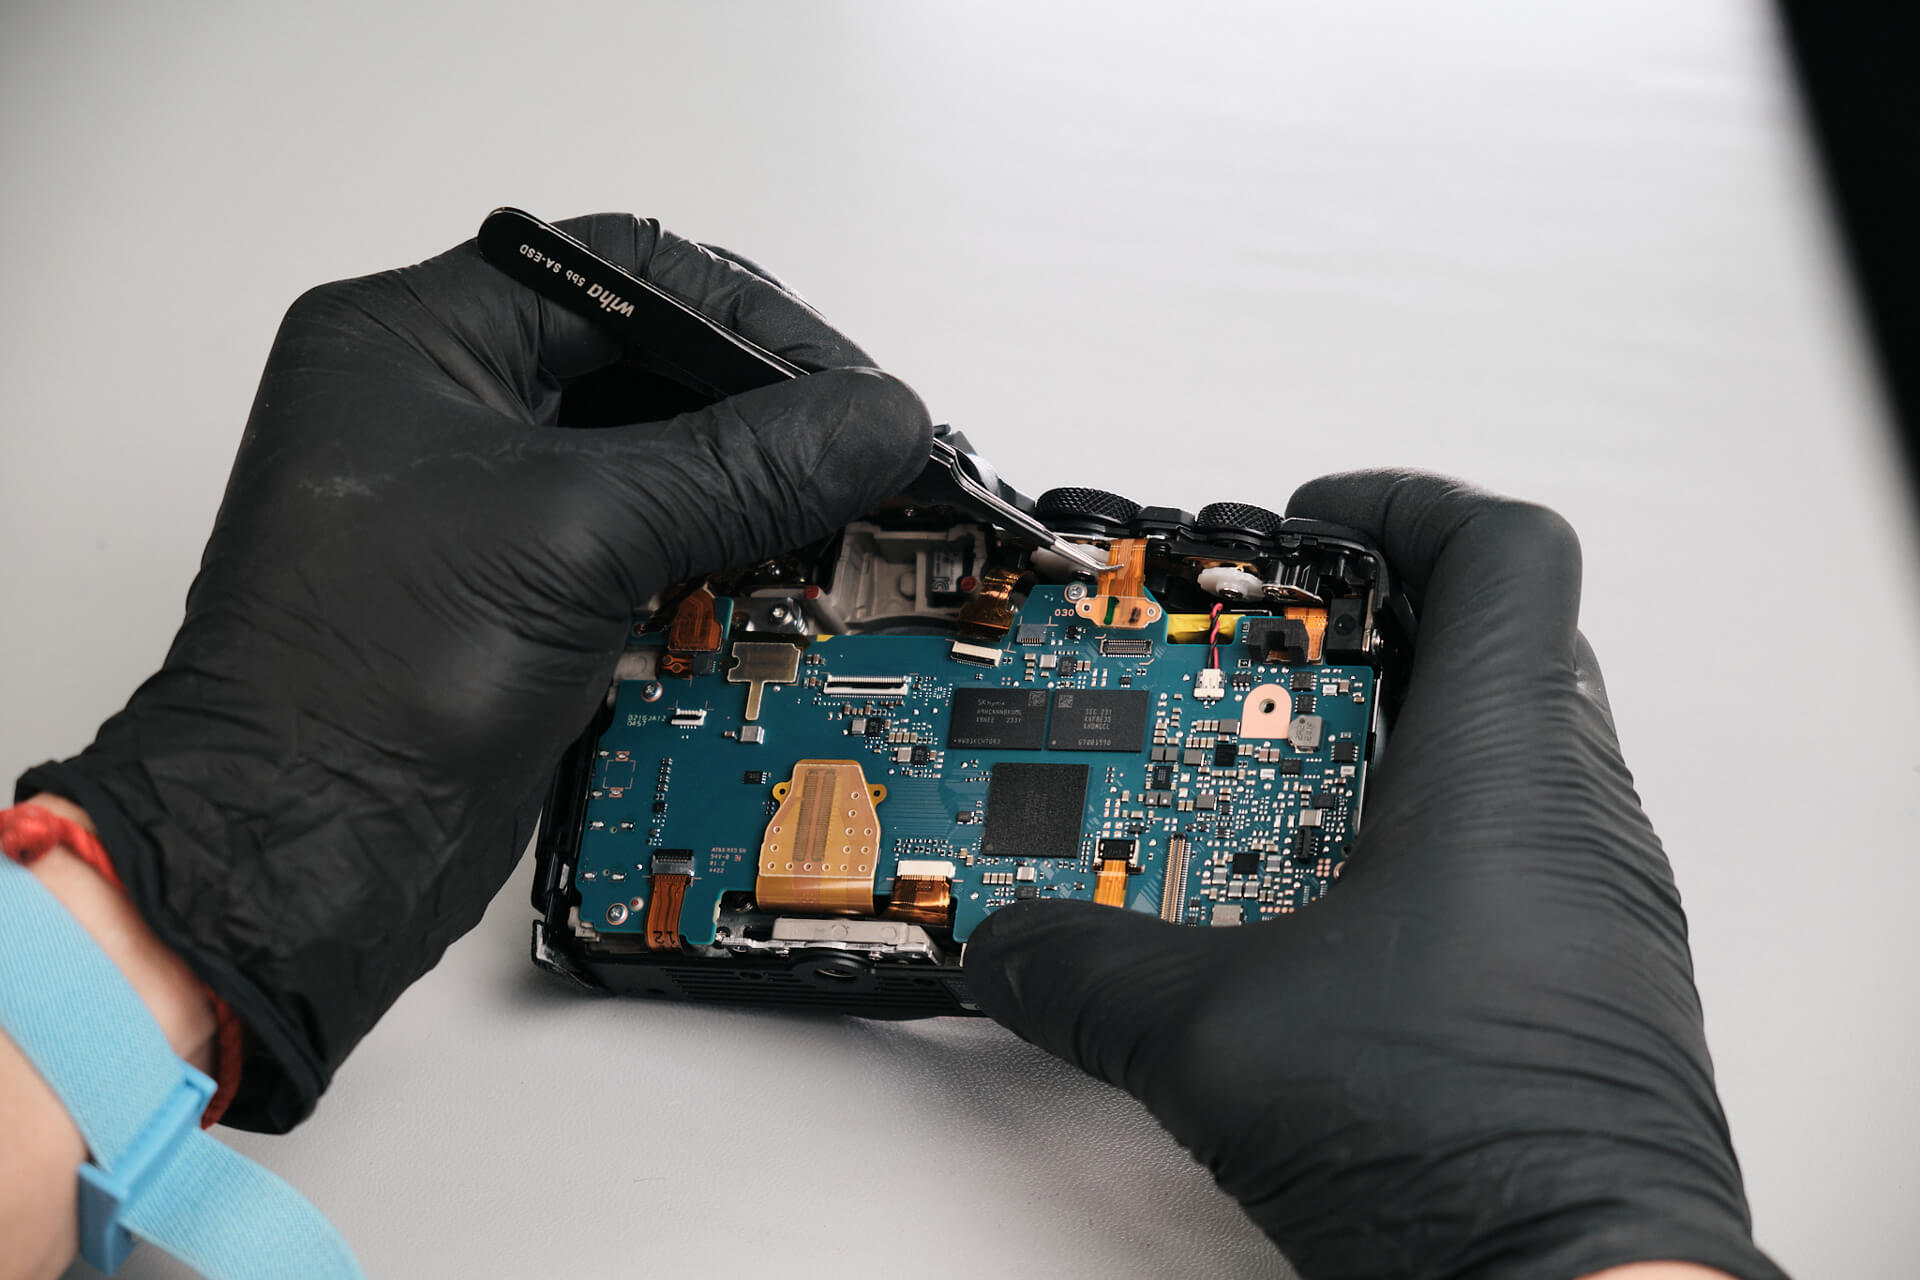
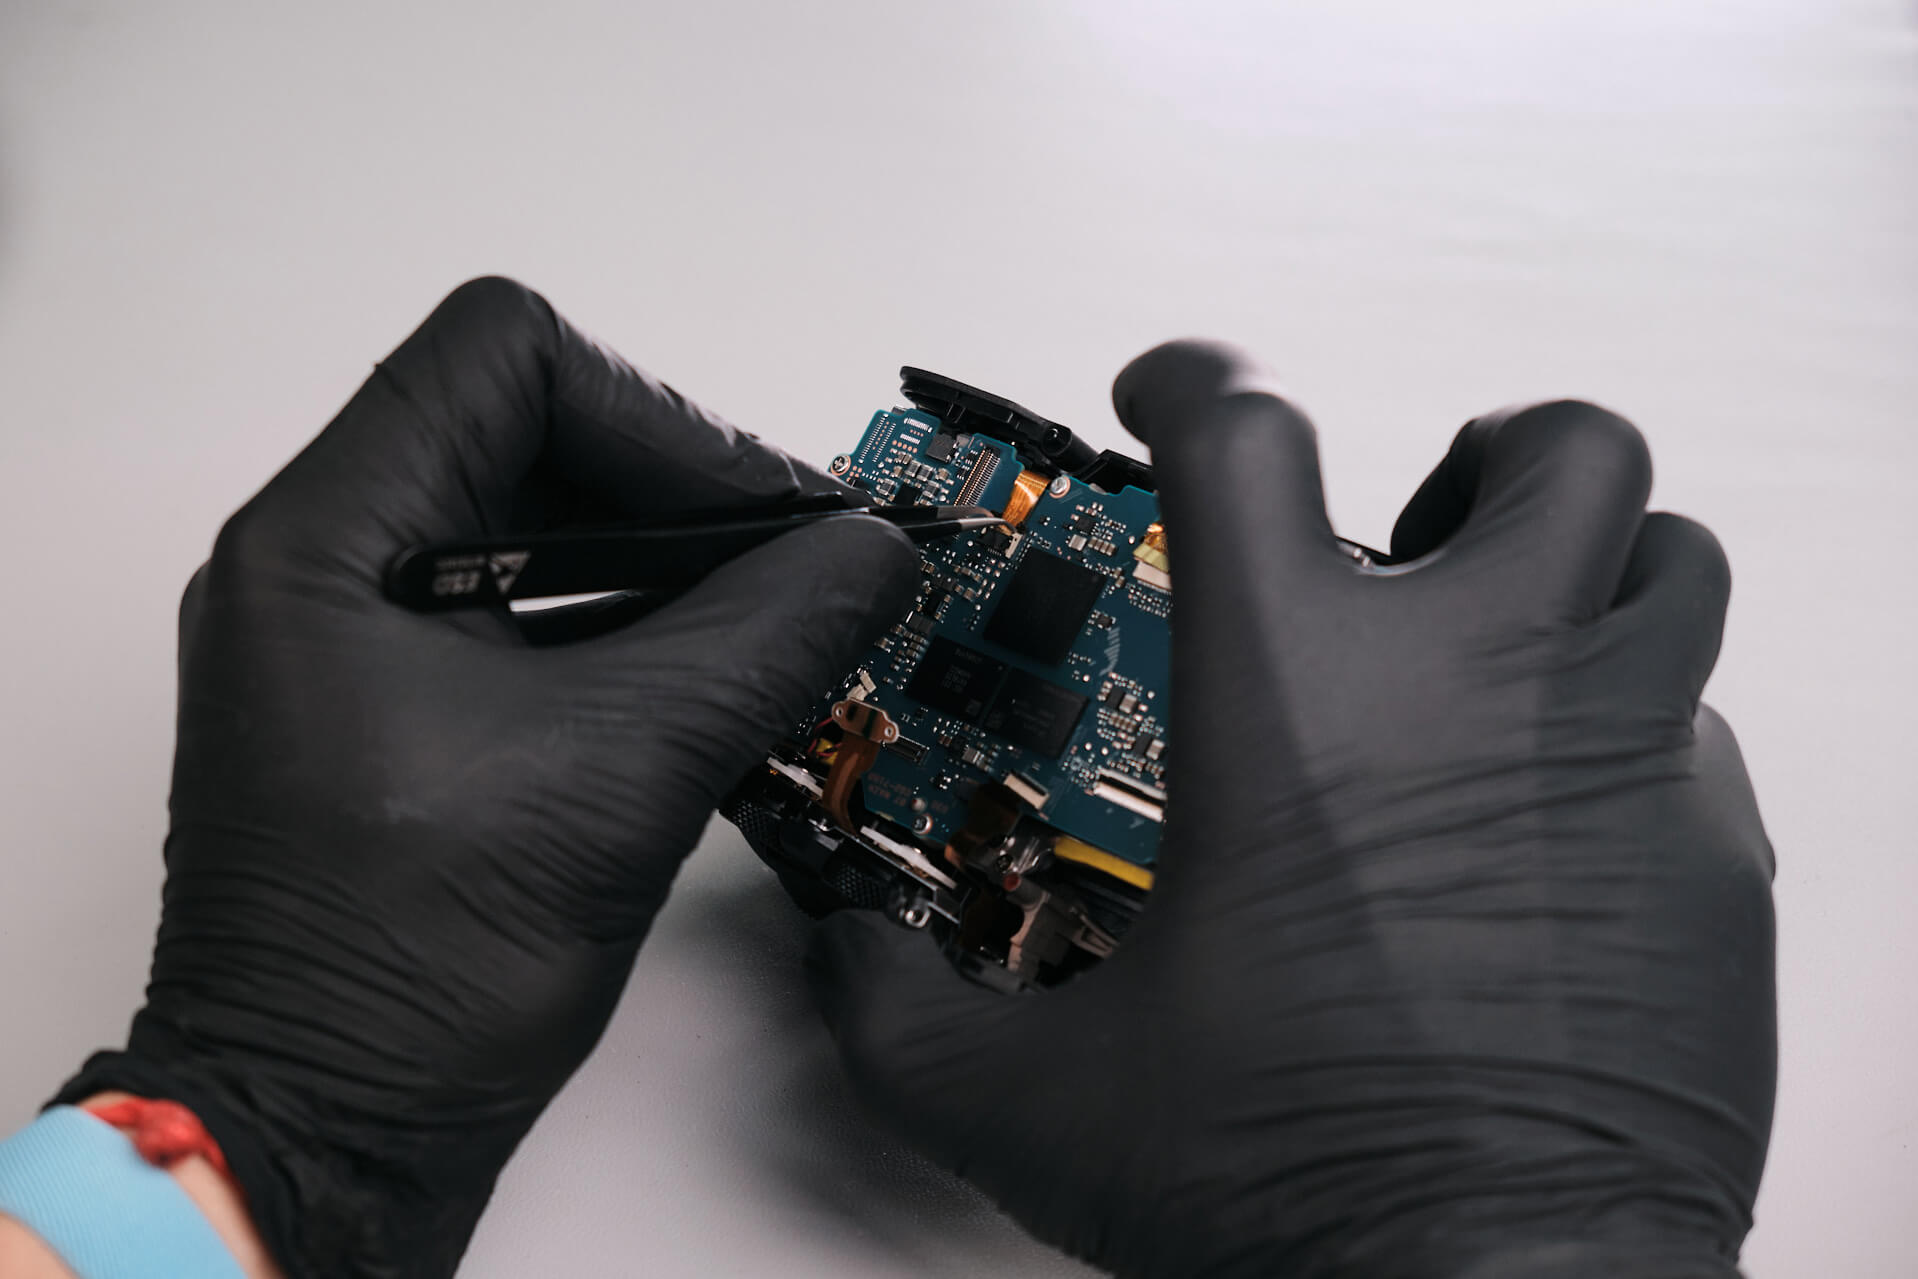
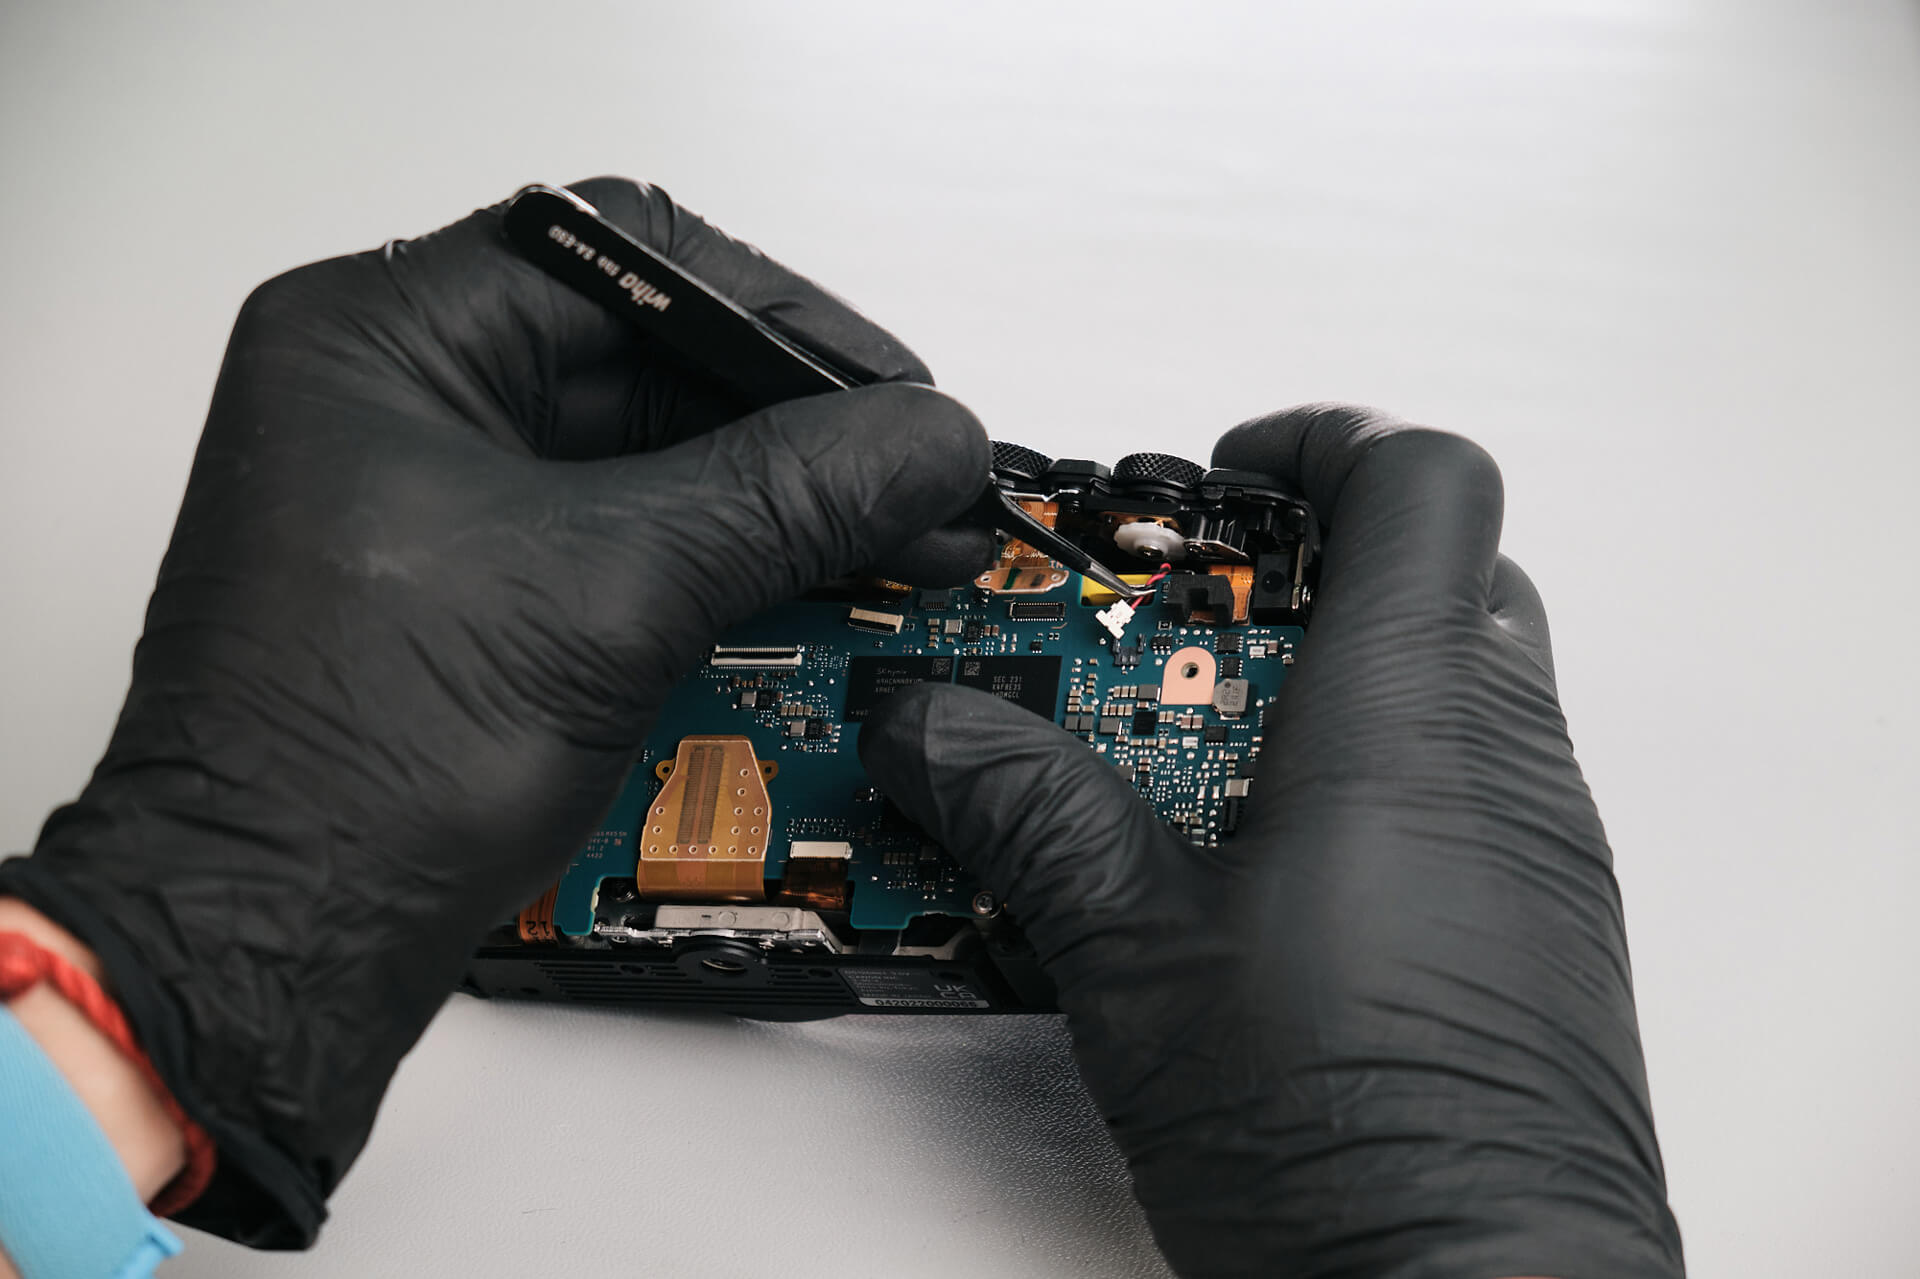
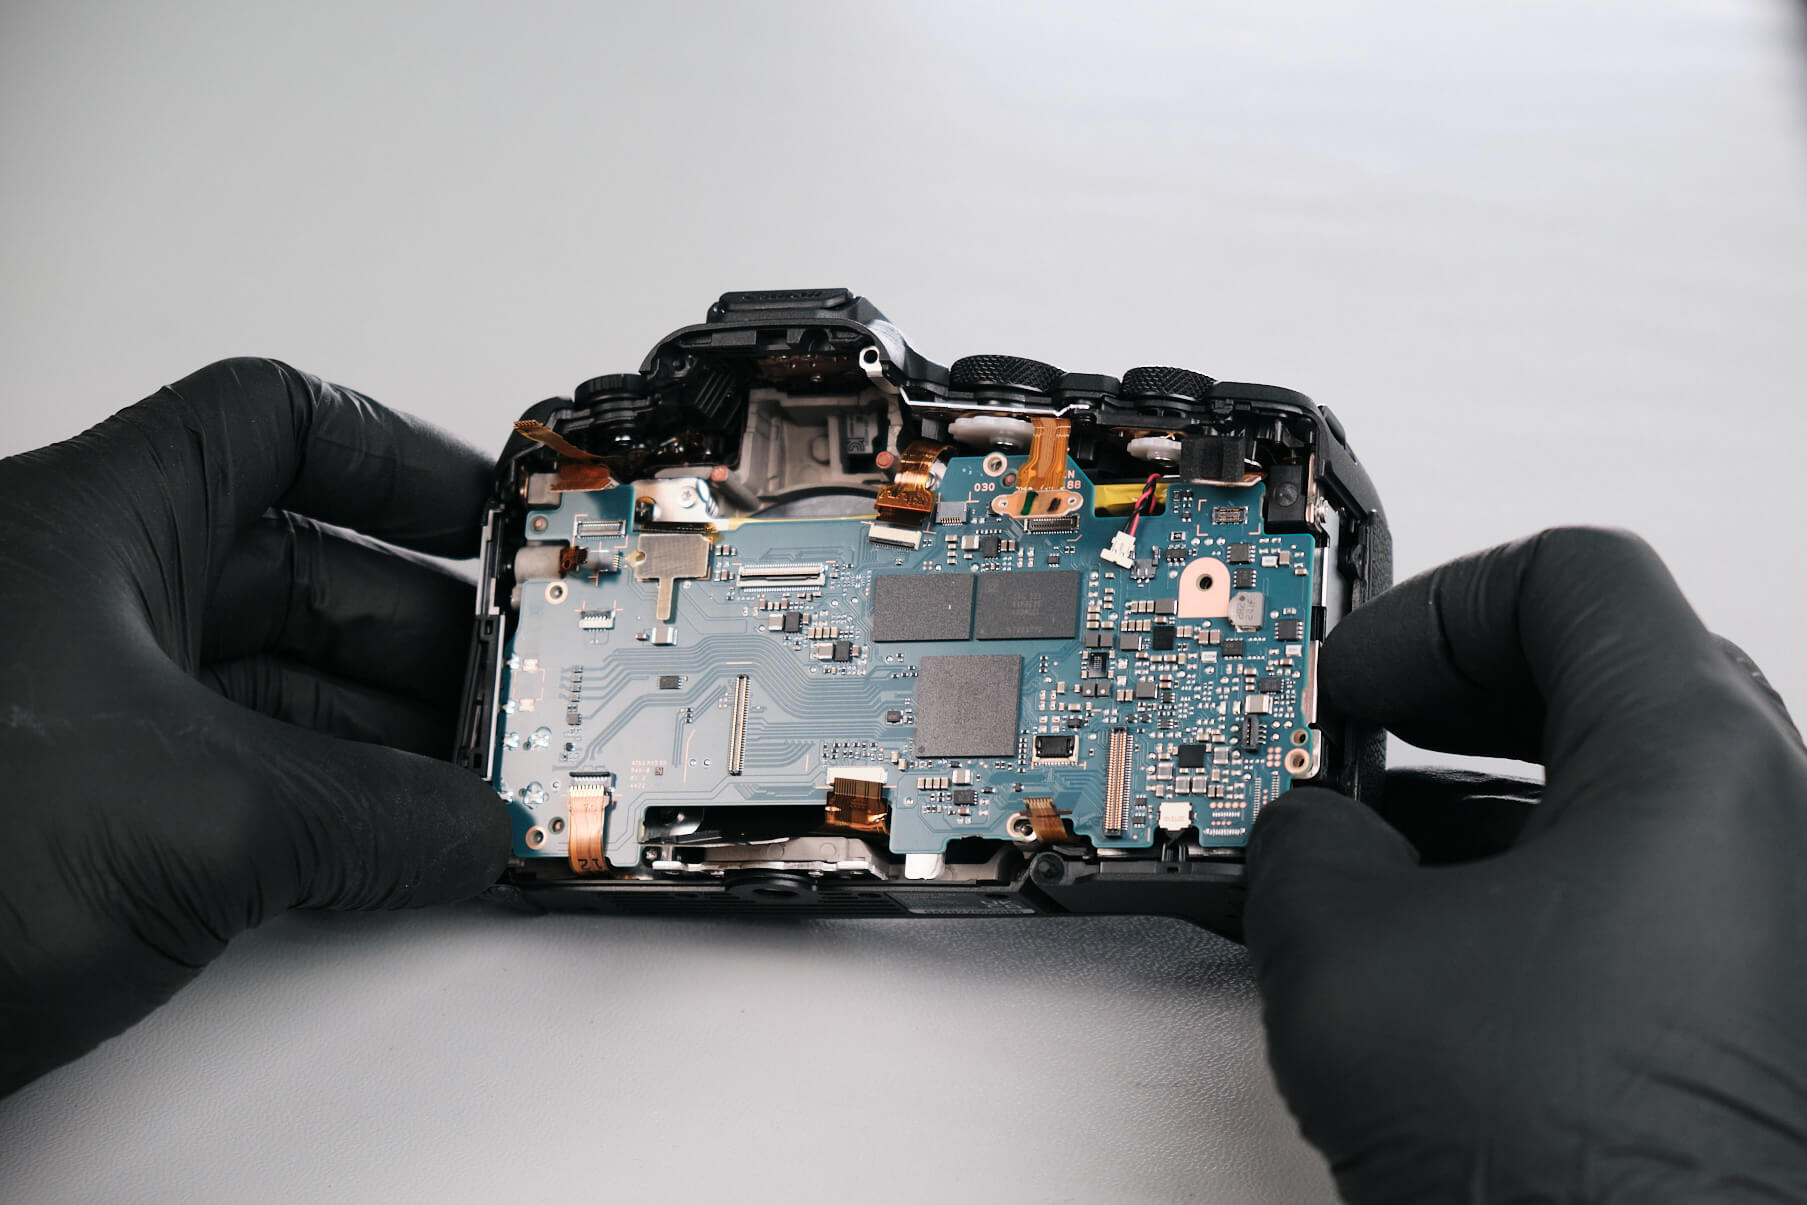
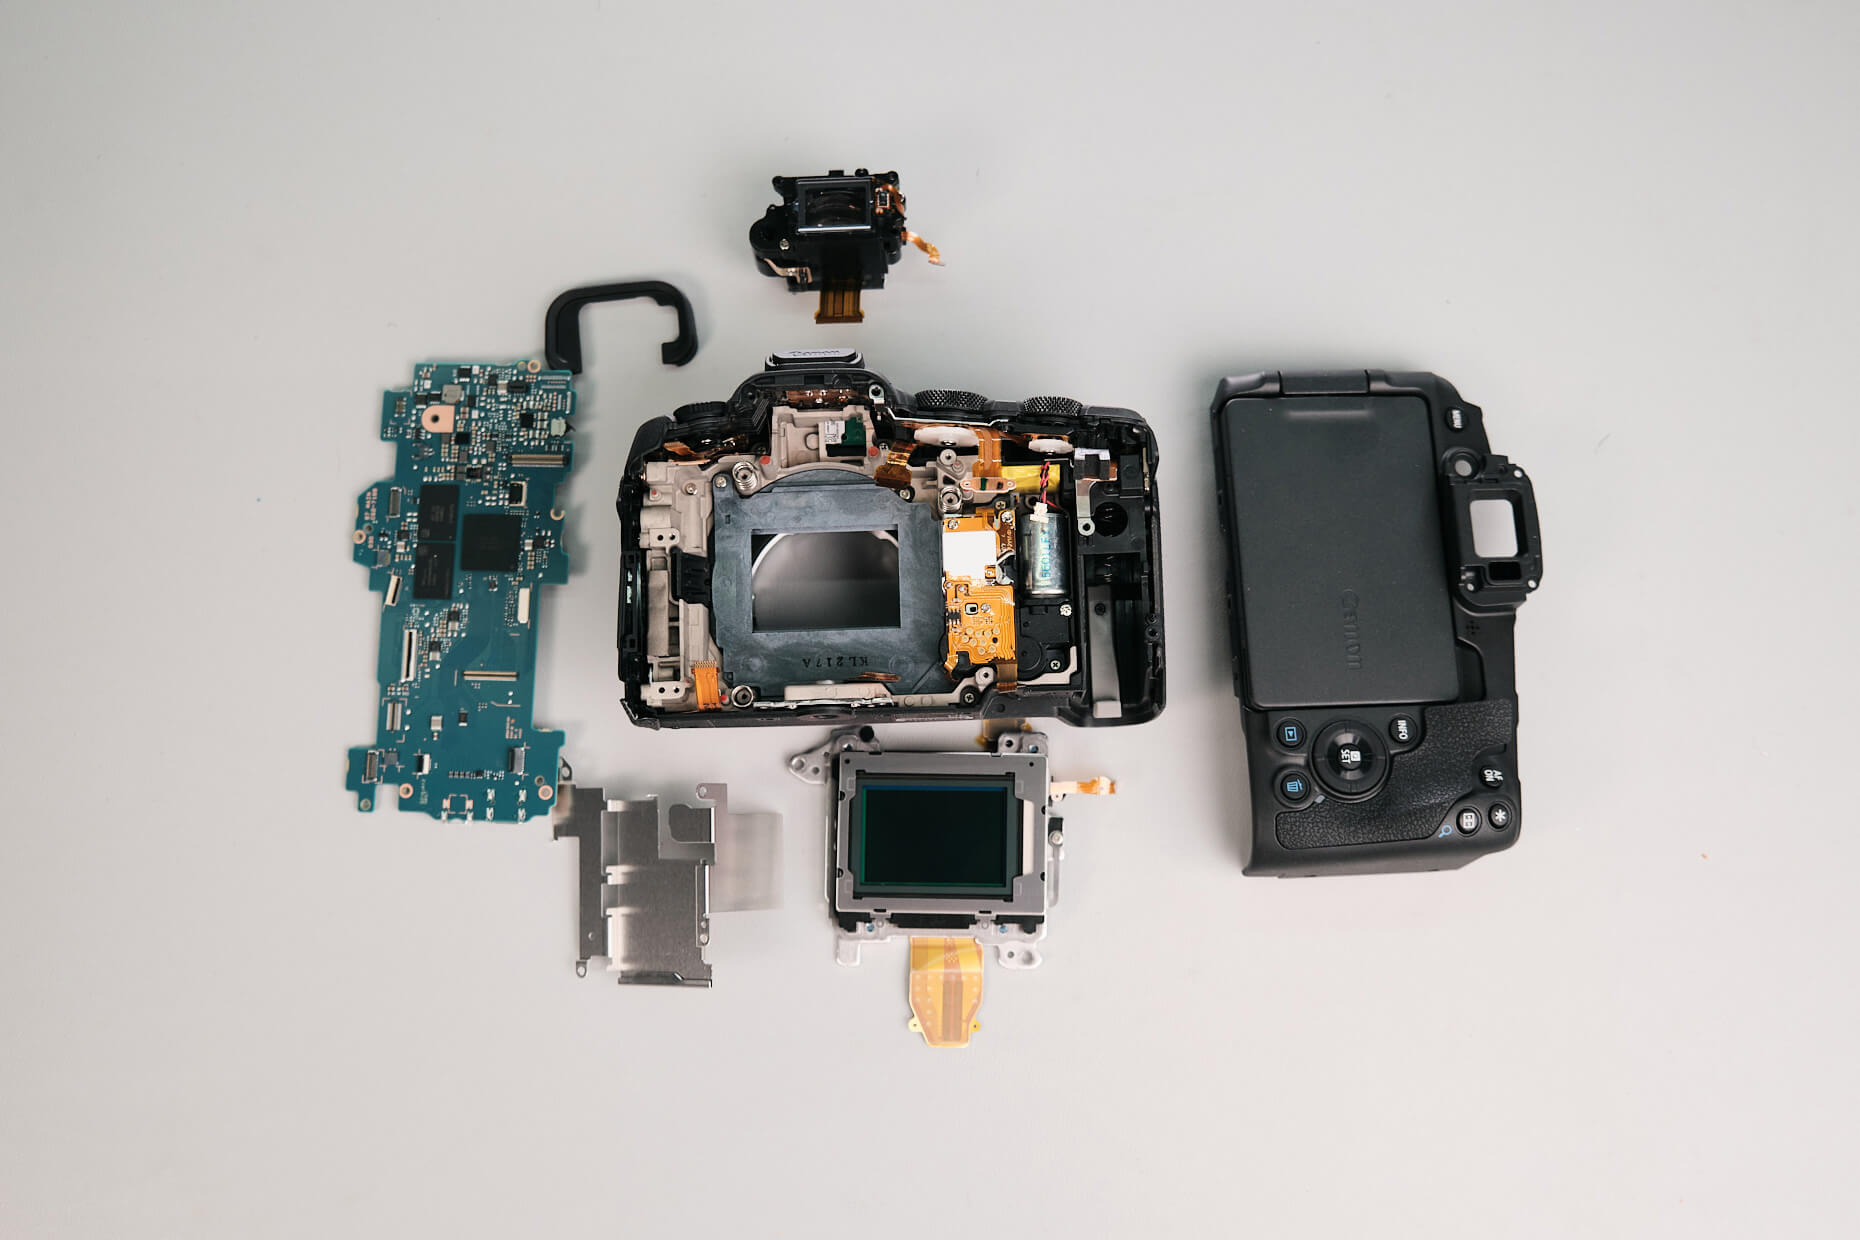
We found a total of fourteen ribbon cables within the Canon R8 (excluding the LCD rear screen cable) that had to be removed to extract the circuit board. The board and ribbon layout were similar to the RP and R.
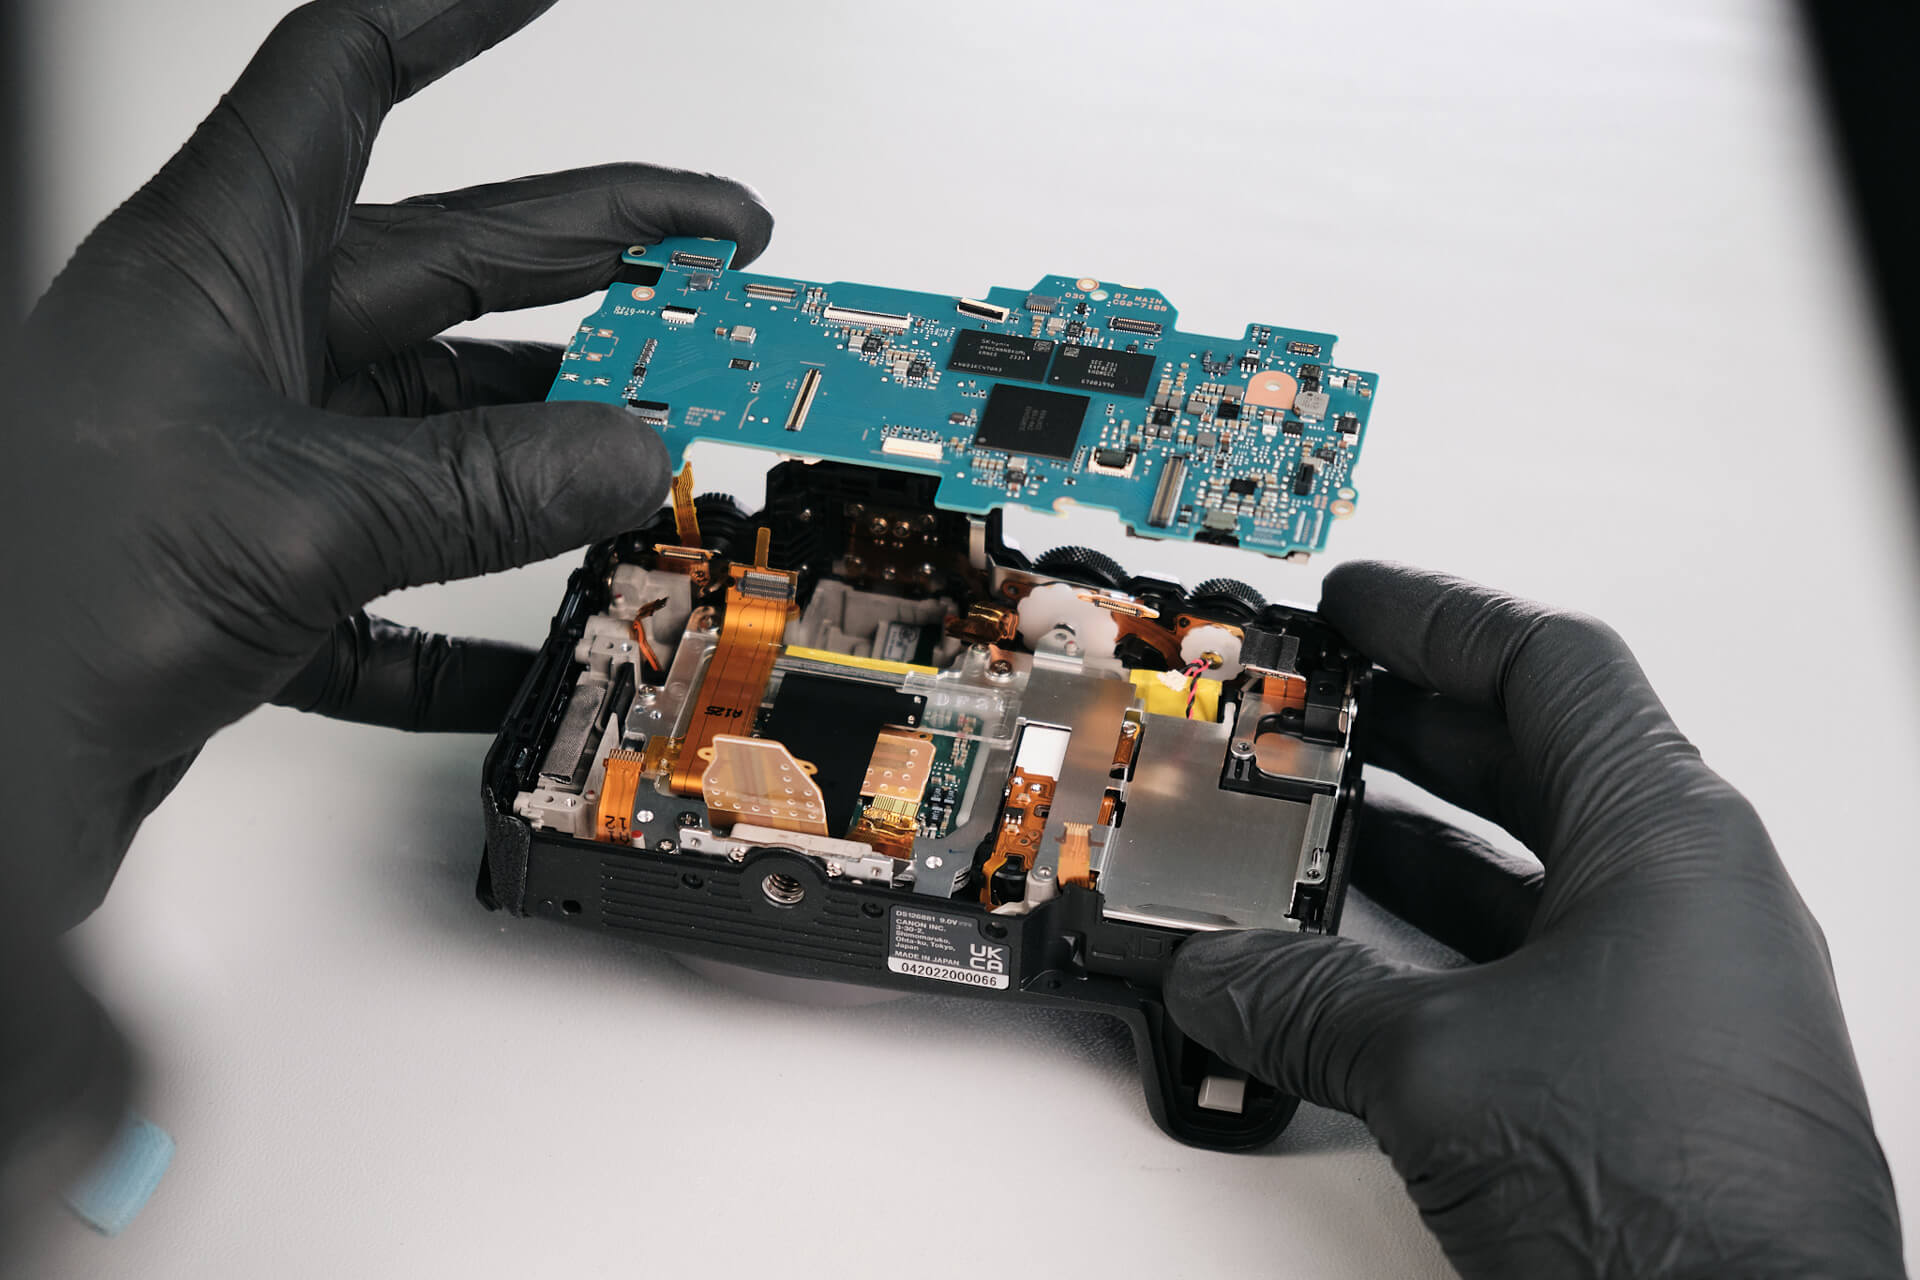
With all circuit board ribbons and screws removed, we could take out the circuit board. There is an interlocking switch at the bottom right of the board—one wrong move, and the board would have to be repaired or entirely replaced.
Accessing and Removing the Canon R8 Sensor
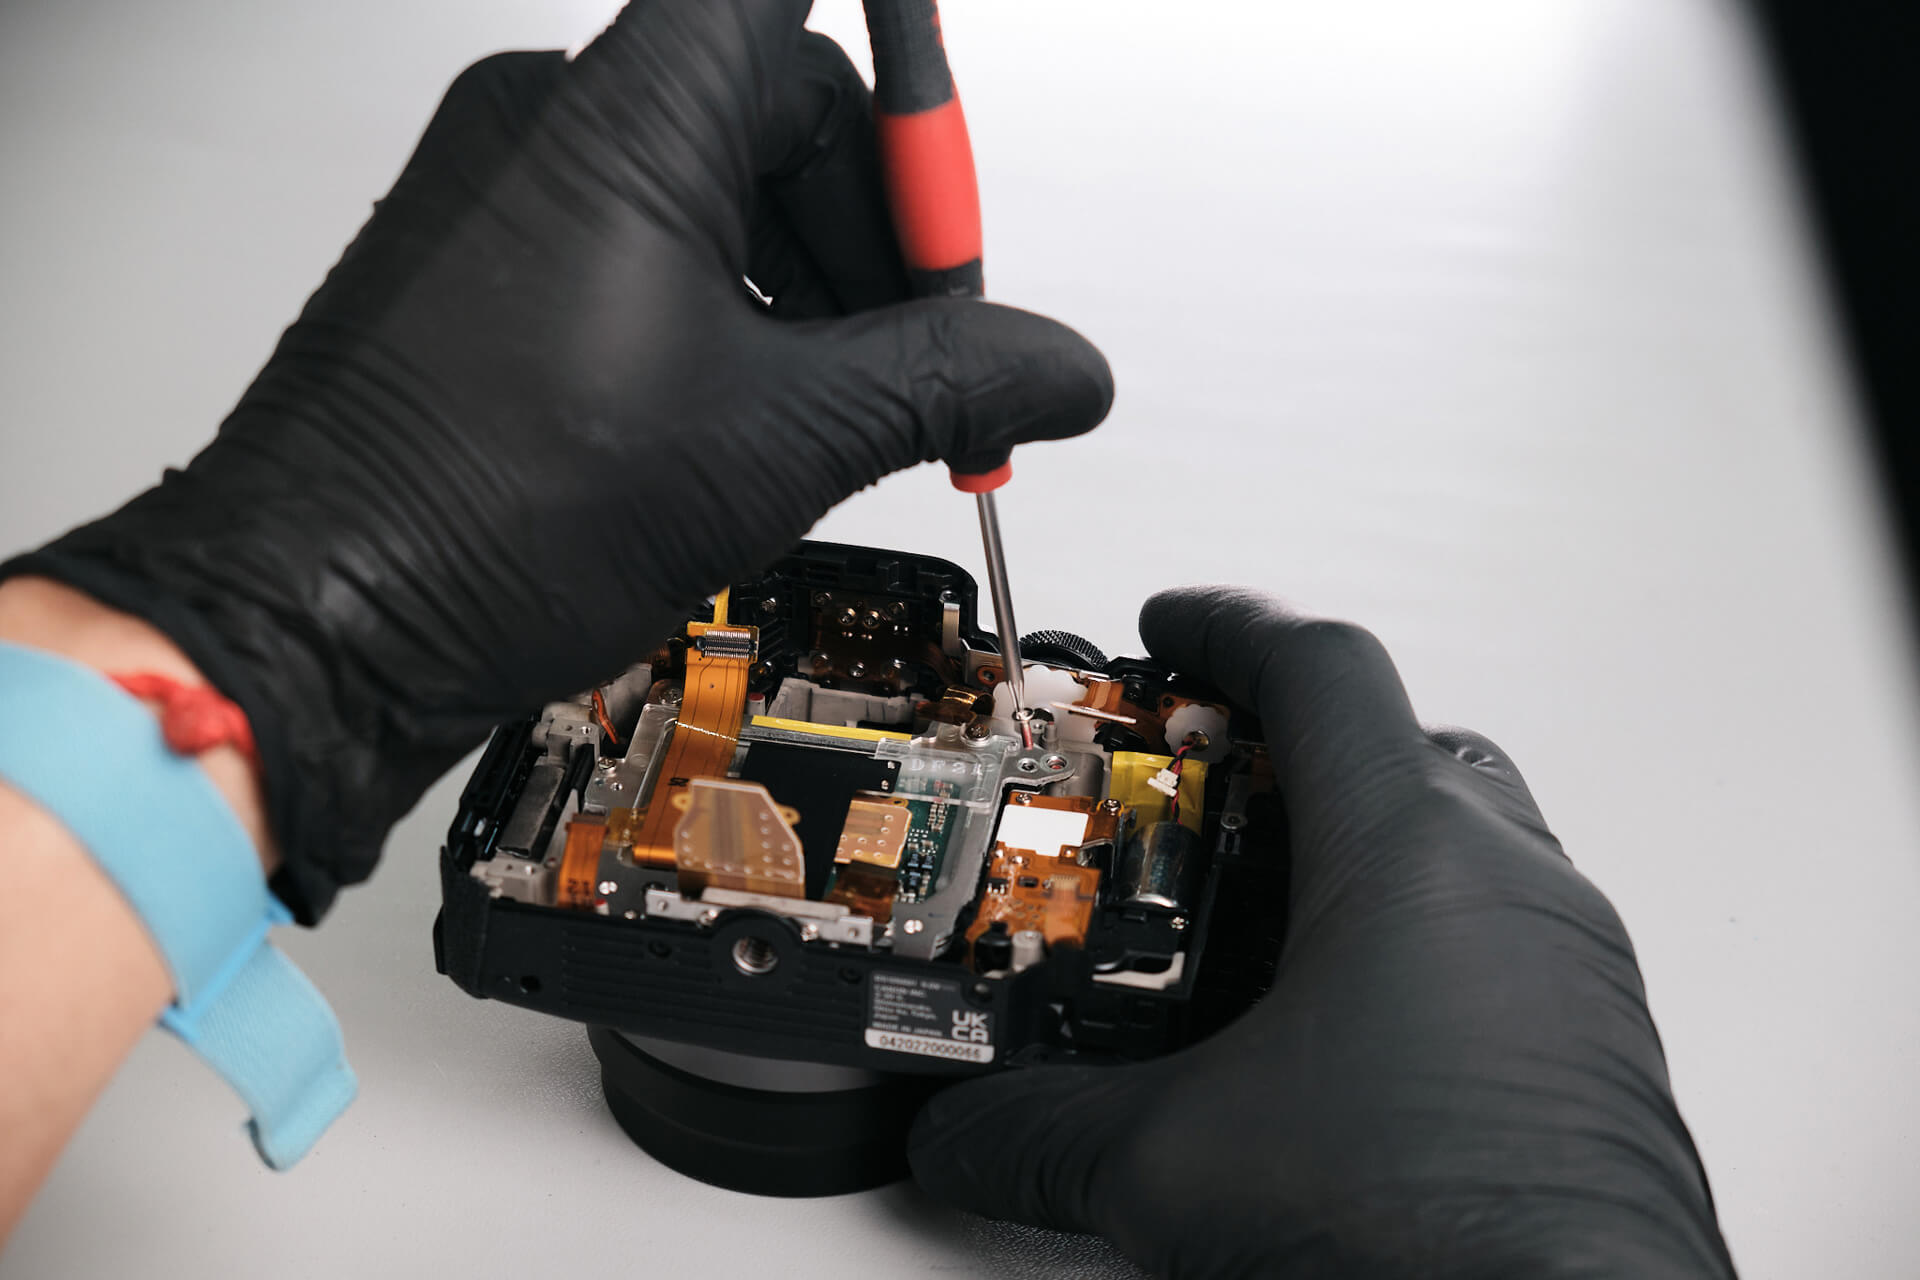
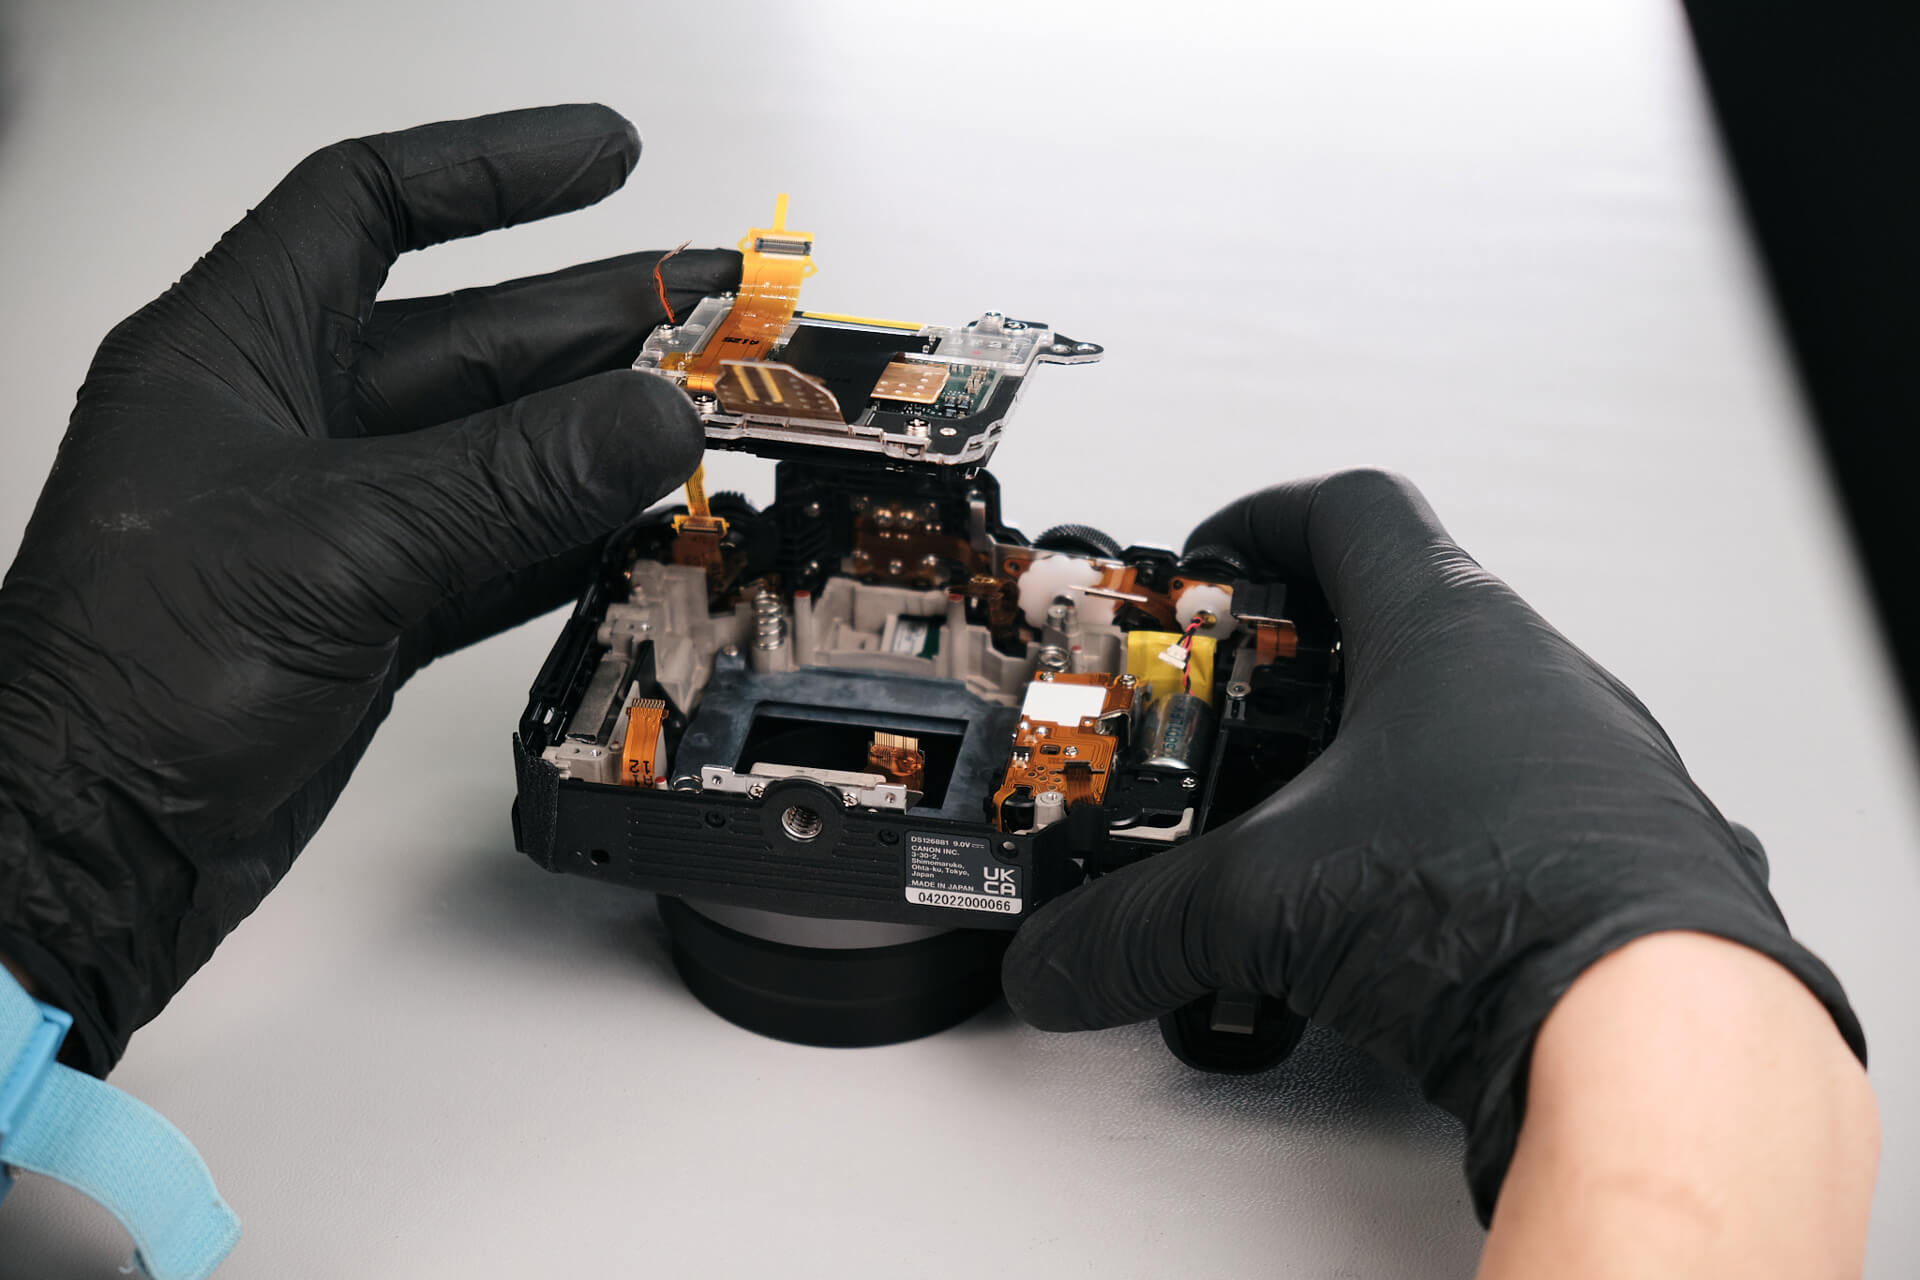
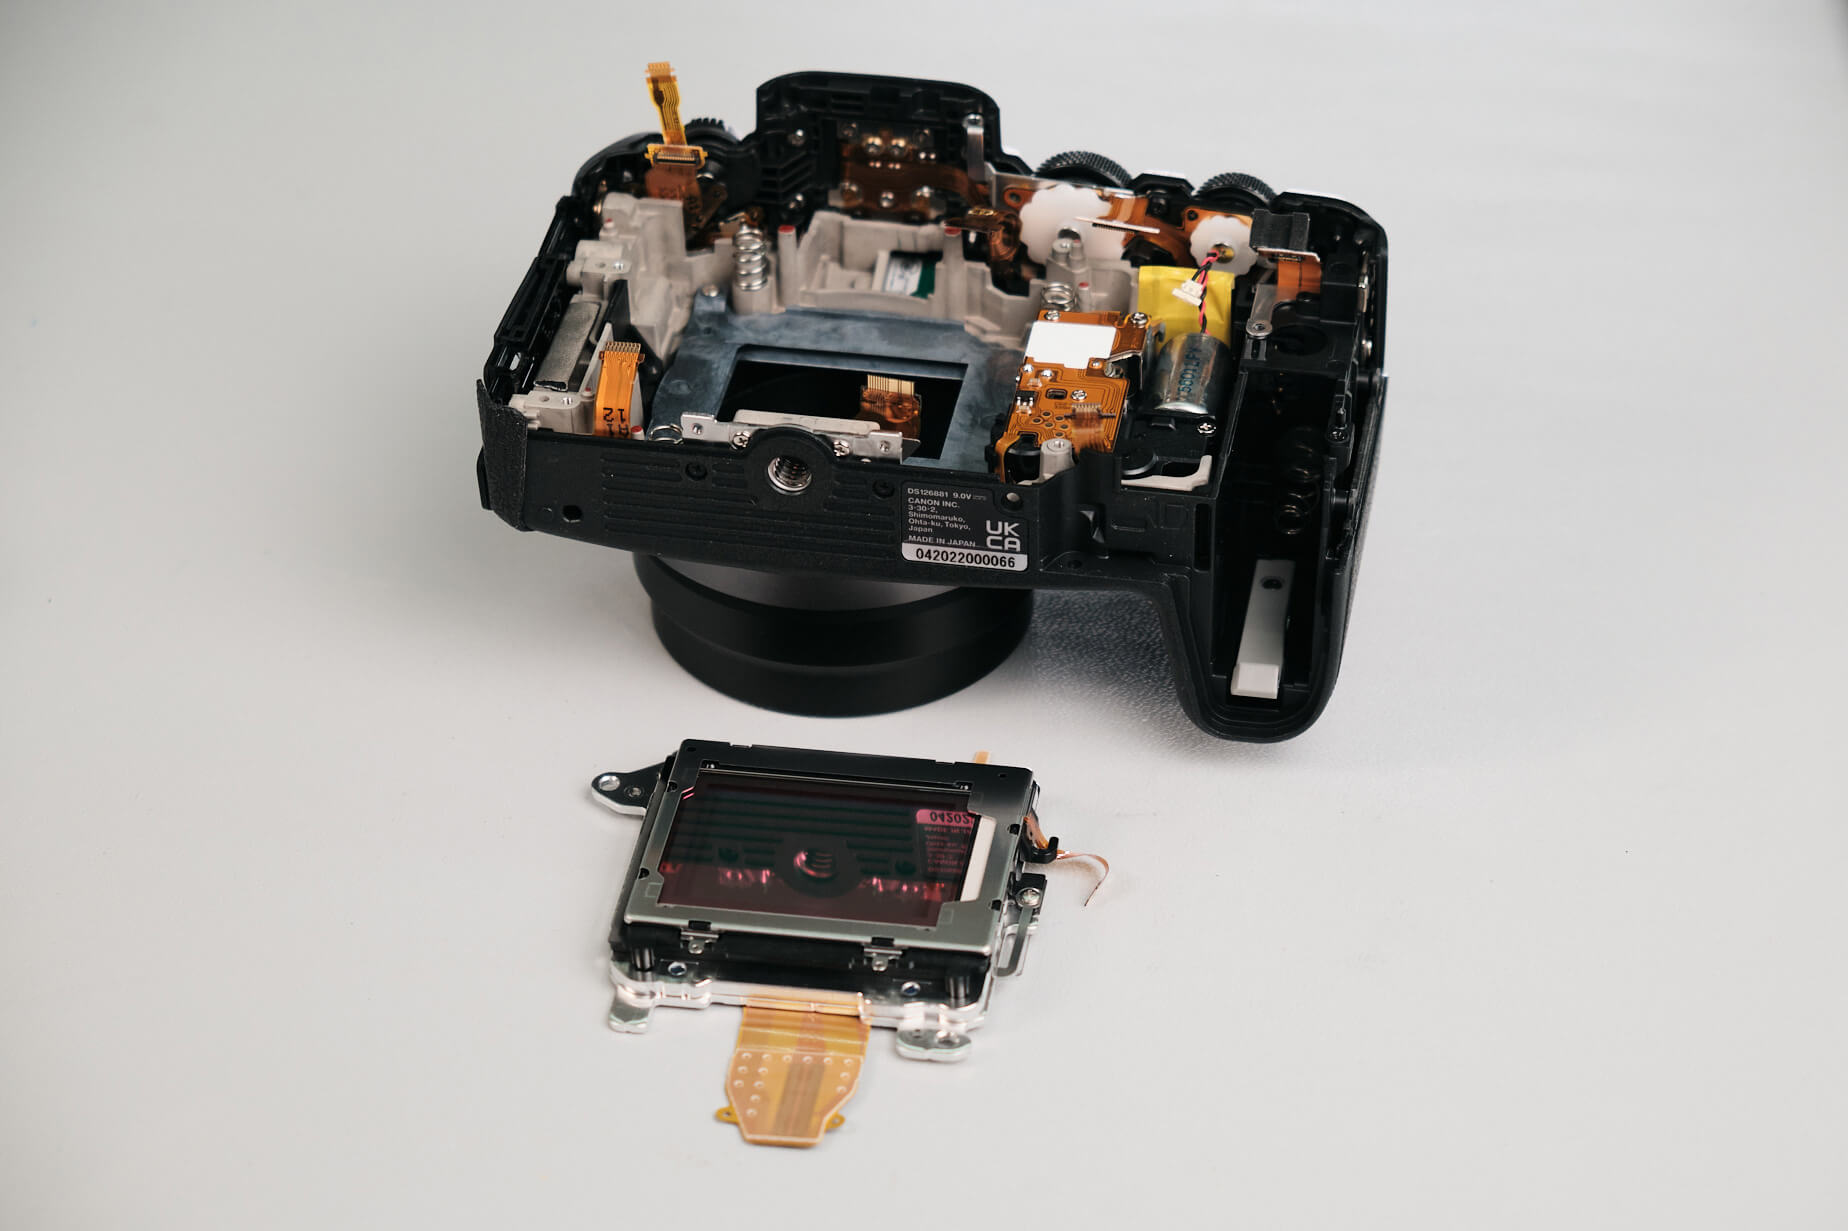
Under the circuit board, there’s a metal faceplate that covers a sensor screw. The faceplate needed to be removed to access the sensor screw.
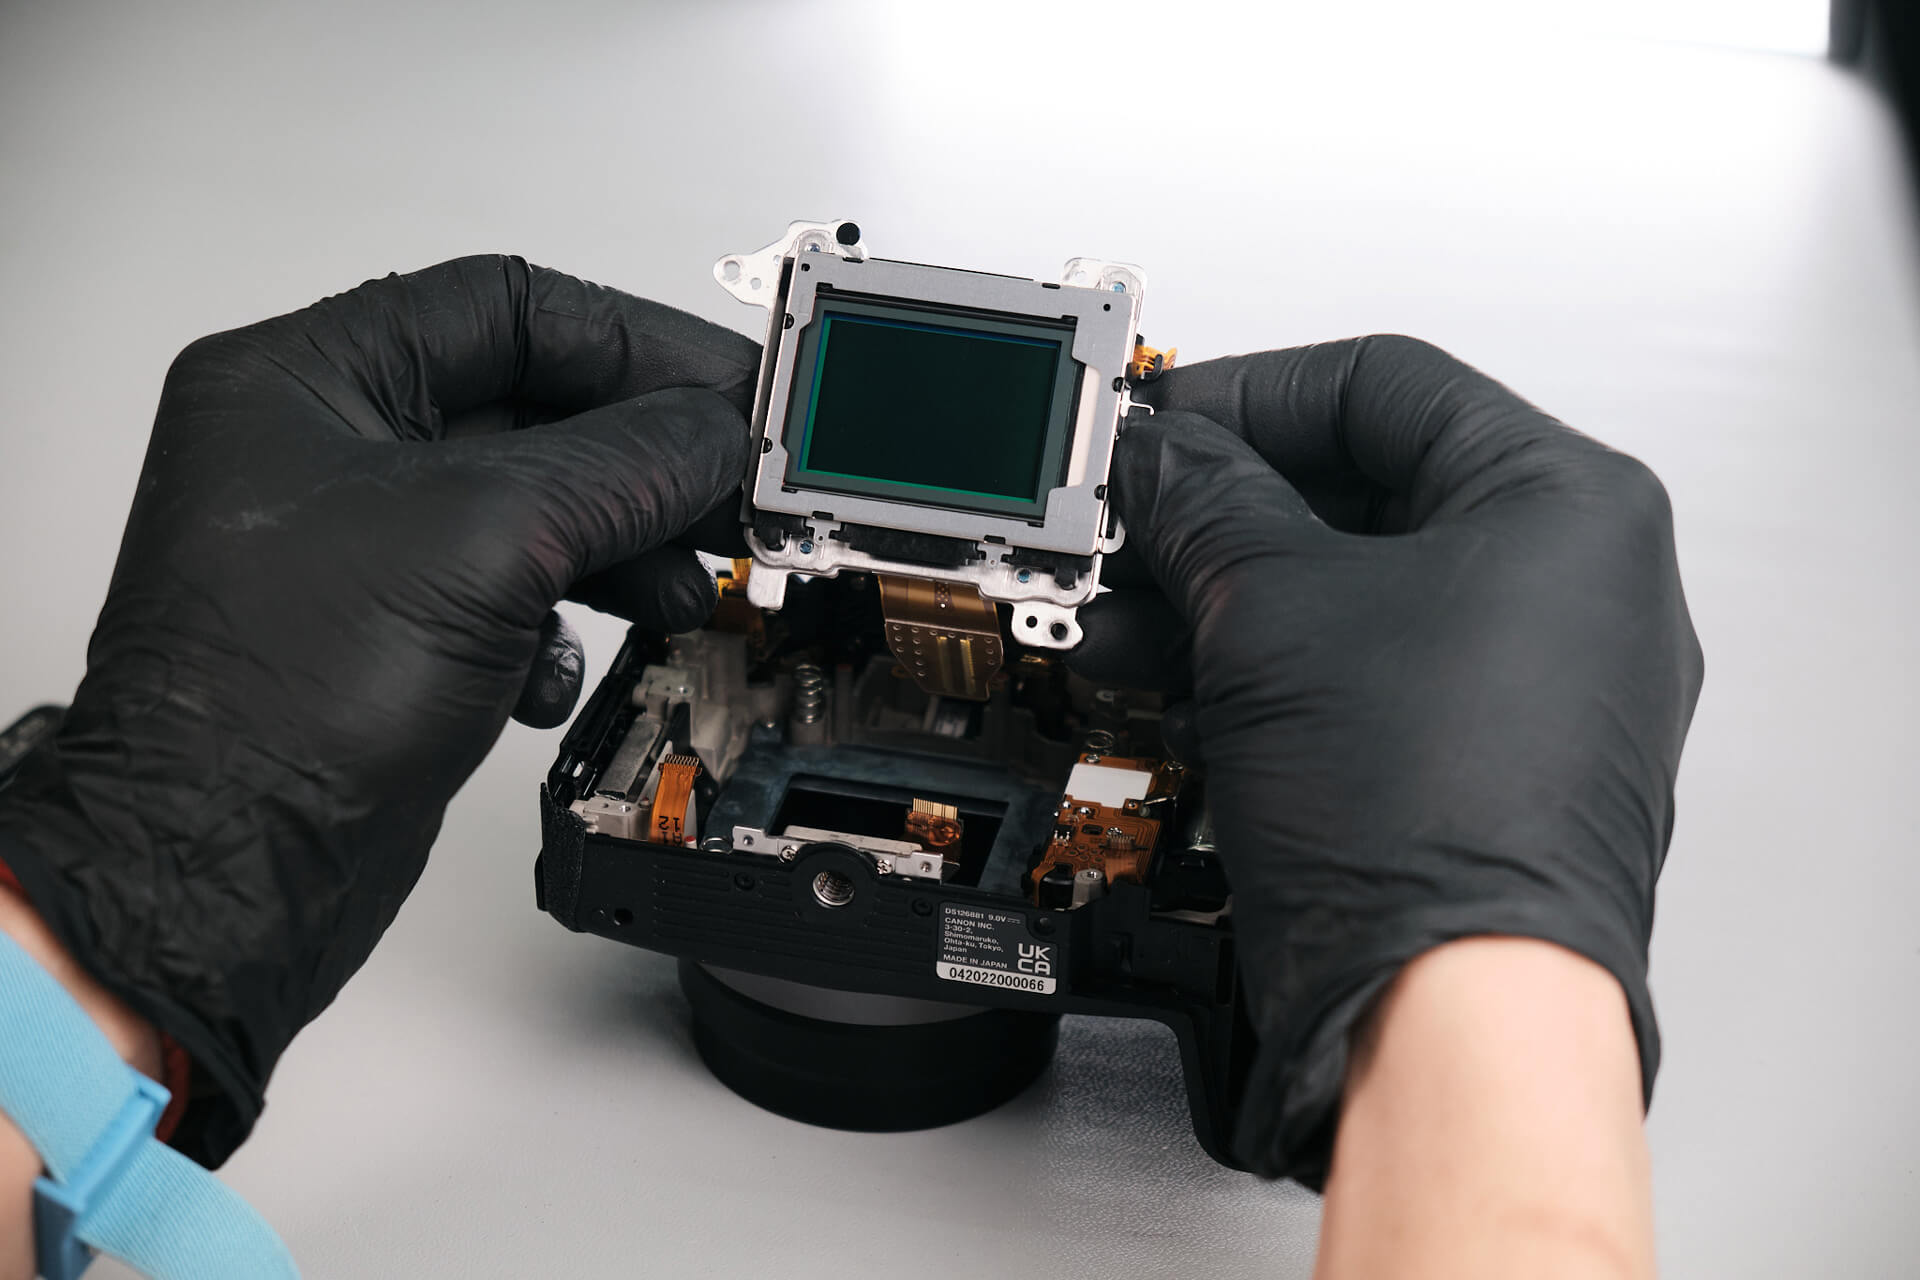
The Canon R8 uses springs for focus adjustment. To remove the sensor, we needed a T6 torx screwdriver to remove three sensor screws.
Canon R8 Internal Design and Teardown Difficulty
Interestingly, the Canon R8 seems to take bits and pieces from the RP and the R—the inside resembles an R, while the exterior is similar to the RP. This makes it a sort of “middle-ground” of the two cameras. According to our lead camera technician, the R feels more expensive and seems to be built with higher-quality materials. Overall, the Canon R8 was an easy camera to disassemble.
Frequently Asked Questions
How Do You Start Disassembling The Canon R8?
The Canon R8 teardown starts by removing three screws from the camera’s baseplate. This gives the first access point before moving on to the port side screws, grip screws, viewfinder screws, and rear panel.
Where Are The Hidden Screws On The Canon R8?
The Canon R8 has hidden screws beneath rubber grip areas. In this teardown, one screw was found under the port-side rubber grip, and another screw was found under the rubber handgrip on the rear panel.
How Is The Canon R8 Rear Panel Removed?
The Canon R8 rear panel can be lifted after the exterior body screws and viewfinder-area screws are removed. A ribbon cable connects the rear panel to the camera body, so it must be detached before the panel can fully separate.
How Is The Canon R8 Circuit Board Removed?
The Canon R8 circuit board is removed after disconnecting fourteen ribbon cables, excluding the LCD rear screen cable. Once the circuit board ribbons and screws are removed, the board can be taken out carefully because an interlocking switch at the bottom right can be damaged.
How Is The Canon R8 Camera Sensor Removed?
The Canon R8 sensor is reached after the circuit board is removed. A metal faceplate beneath the circuit board covers one sensor screw, and after that faceplate is removed, three T6 Torx screws can be taken out to remove the sensor.