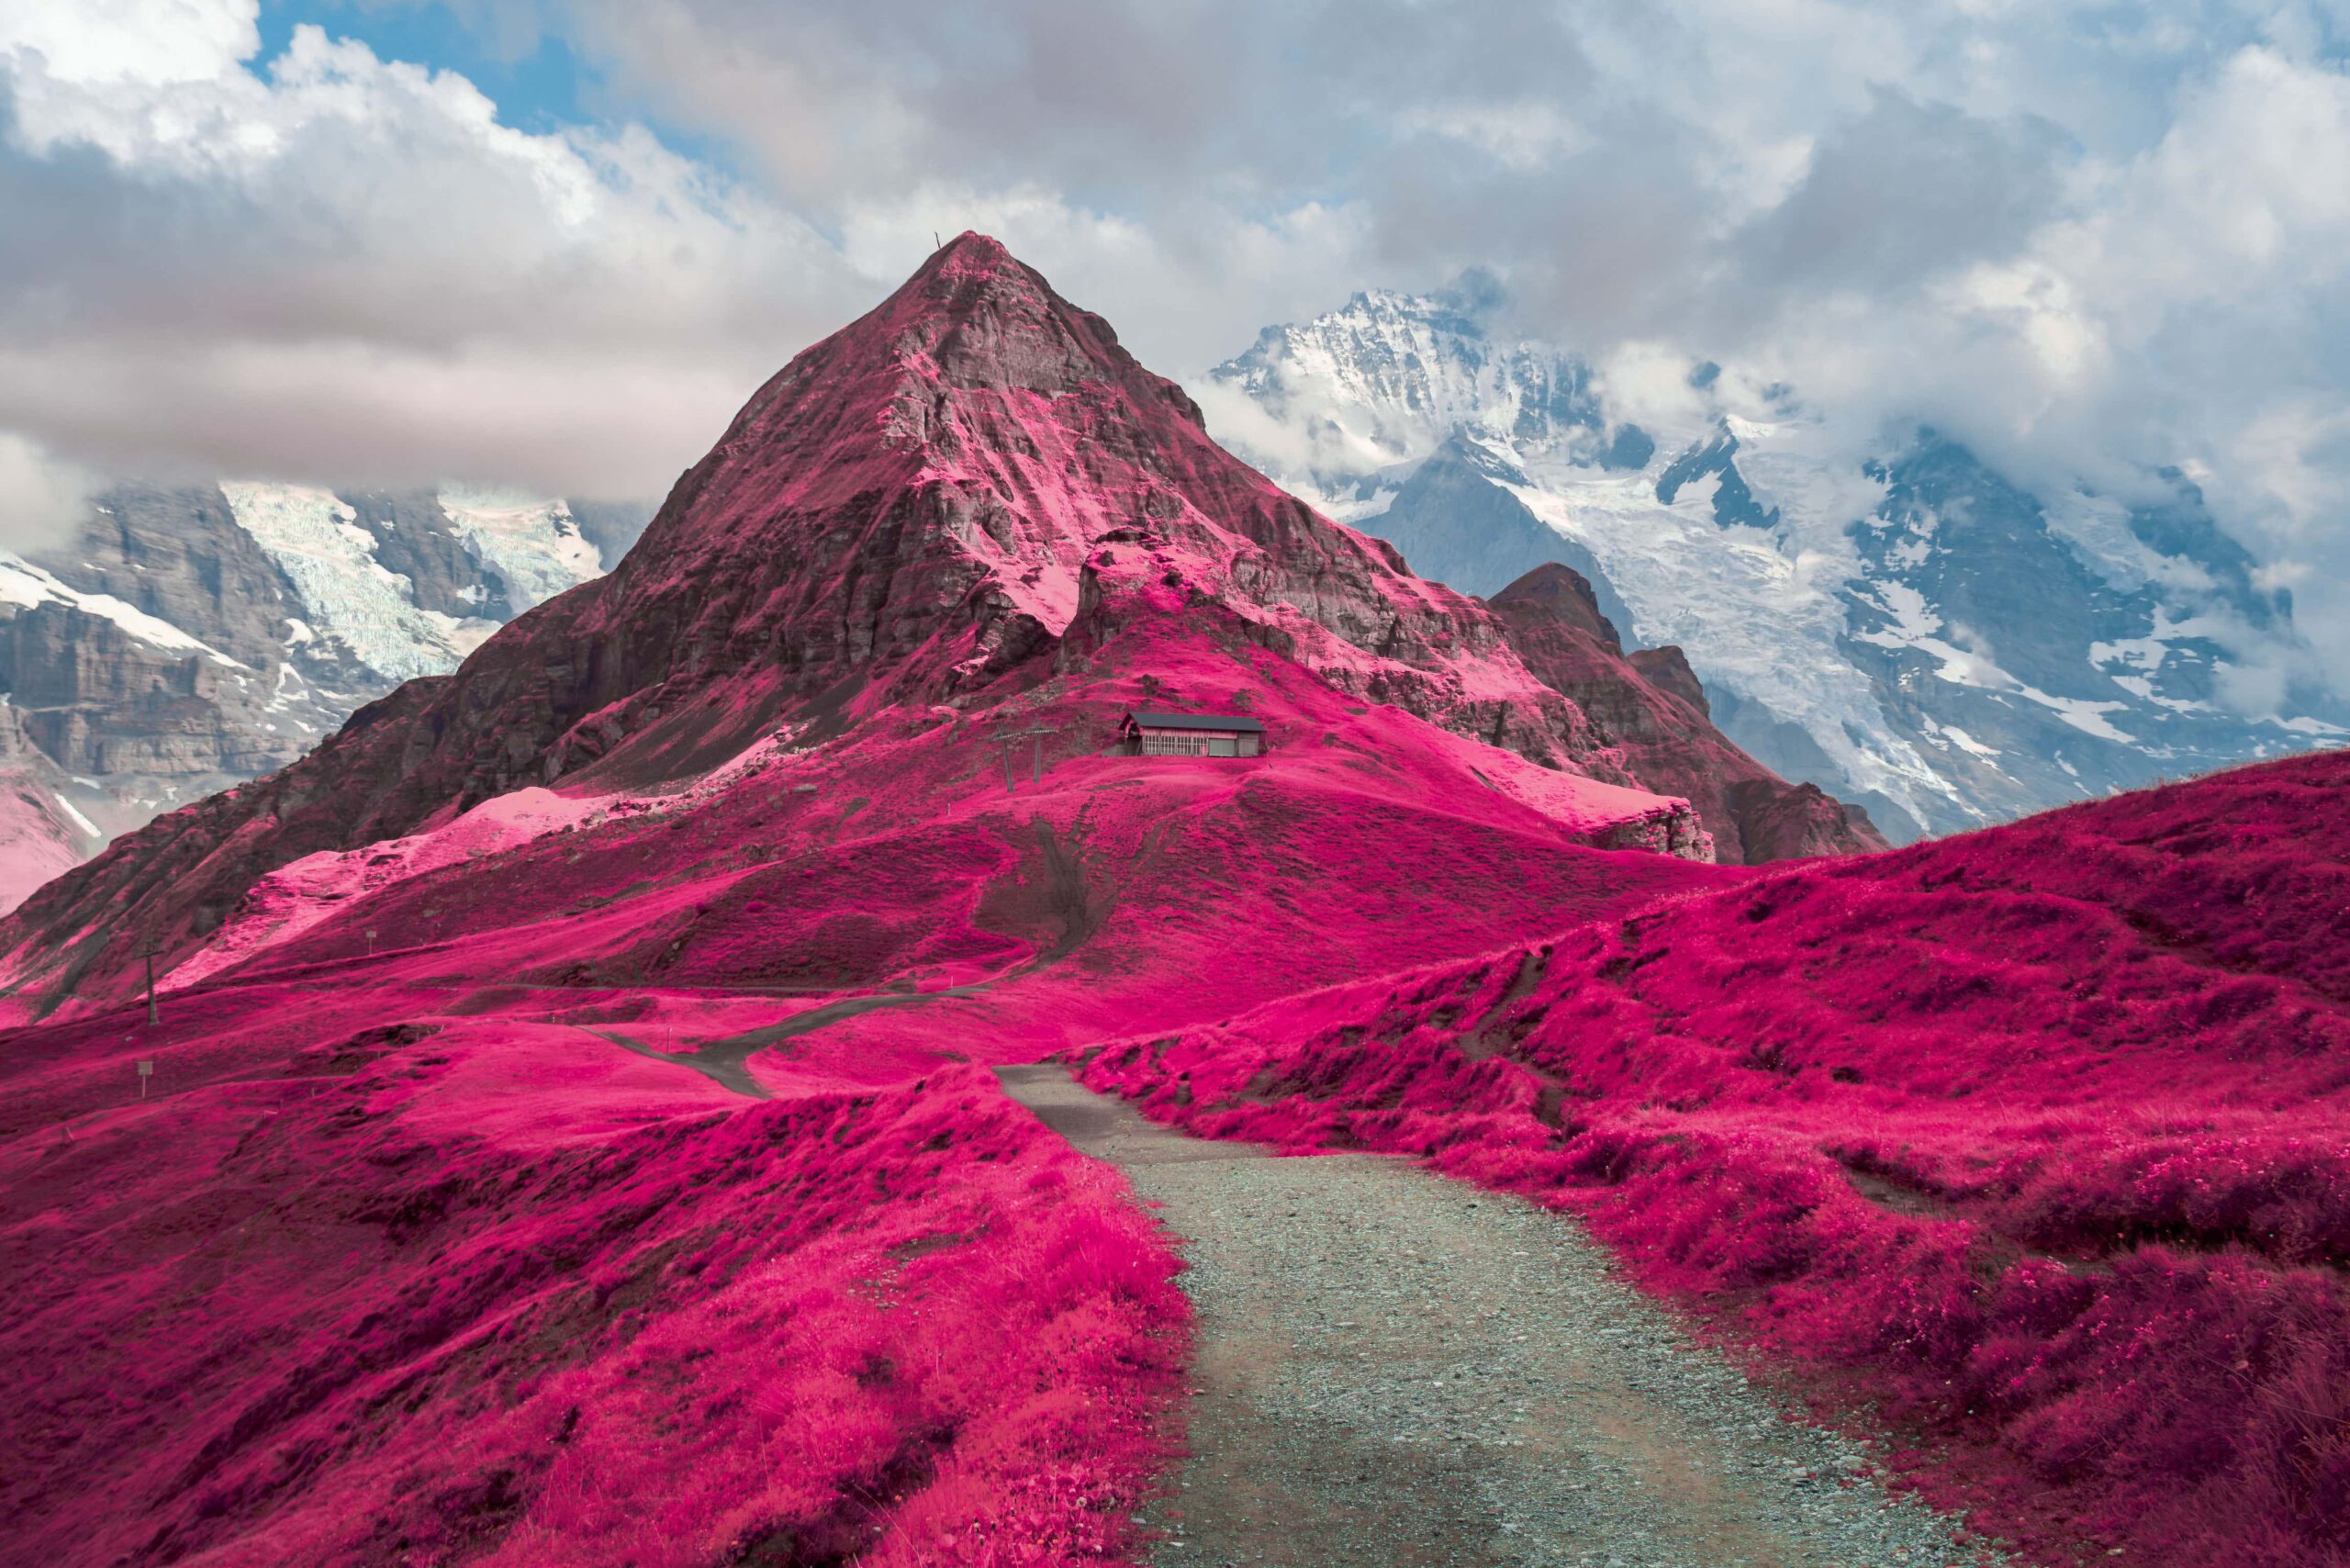
Infrared photography pre-dates digital photography, and for those old enough to remember, with Ilford, Agfa, and Kodak emulsions, one’s worse issue was keeping things steady with the ultra slow effective ASA ratings.
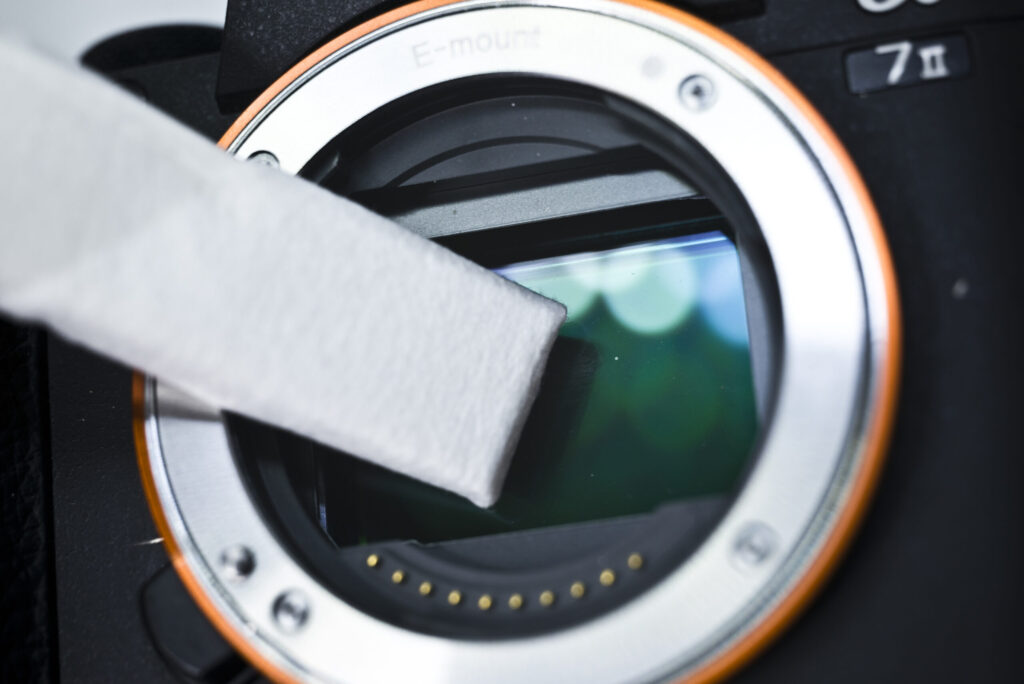
Digital imaging brings its own challenges, especially with mirrorless cameras. The high reflectivity of the flat sensor (compared to film) and close proximity of rear lens element surfaces increase the likelihood of hotspots on your images. The reflectivity is worse in the infrared, and since there is no IR blocking filter in the way, the hotspot is more apparent in this application.
Extreme Sensor Abuse
Astrophotographers have long battled with extreme-case usage of digital sensors. A simple evaluation can show that some amateur deep-sky images cope with subject light intensities of 1,000,000,000x lower than a typical studio portrait. After hours of exposure, they have to stretch the image aggressively to reveal faint details. At the same time, these stretches transform the slightest vignetting, grain unevenness, dust spots, or reflections into unsightly problems. For that reason, astrophotographers calibrate their sensor images, removing various consistent sensor anomalies and defects in the optical system. One of those calibrations ‘flat-fields’ each exposure, removing all the unevenness. We can use this to remove hotspots in infrared images as well. This requires the photographer to photograph a uniformly-lit target (a diffuser held over the lens) at the same aperture (and filtration) as the image and apply some simple maths to each of the image pixels. This image is called a flat frame.
Math
Before you go running to the hills, the math is very simple. In the case of astrophotography, many specialized editors do flat field corrections with specialty tools. Fortunately, we are only considering pixel multiplication and division; as luck would have it, multiply and divide are layer blending mode options in Adobe Photoshop and Affinity Photo.
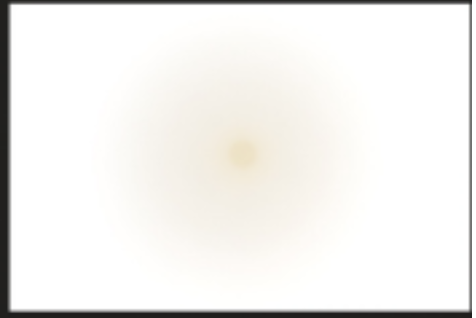
In this example, taken with a Fuji 27mm f/2.8 lens at f/8, with a Red (25A) filter, the flat frame was an automatic exposure through an ExpoDisc™ (any white diffuser should work too). You can see the hotspot in both the raw image and the flat frame.
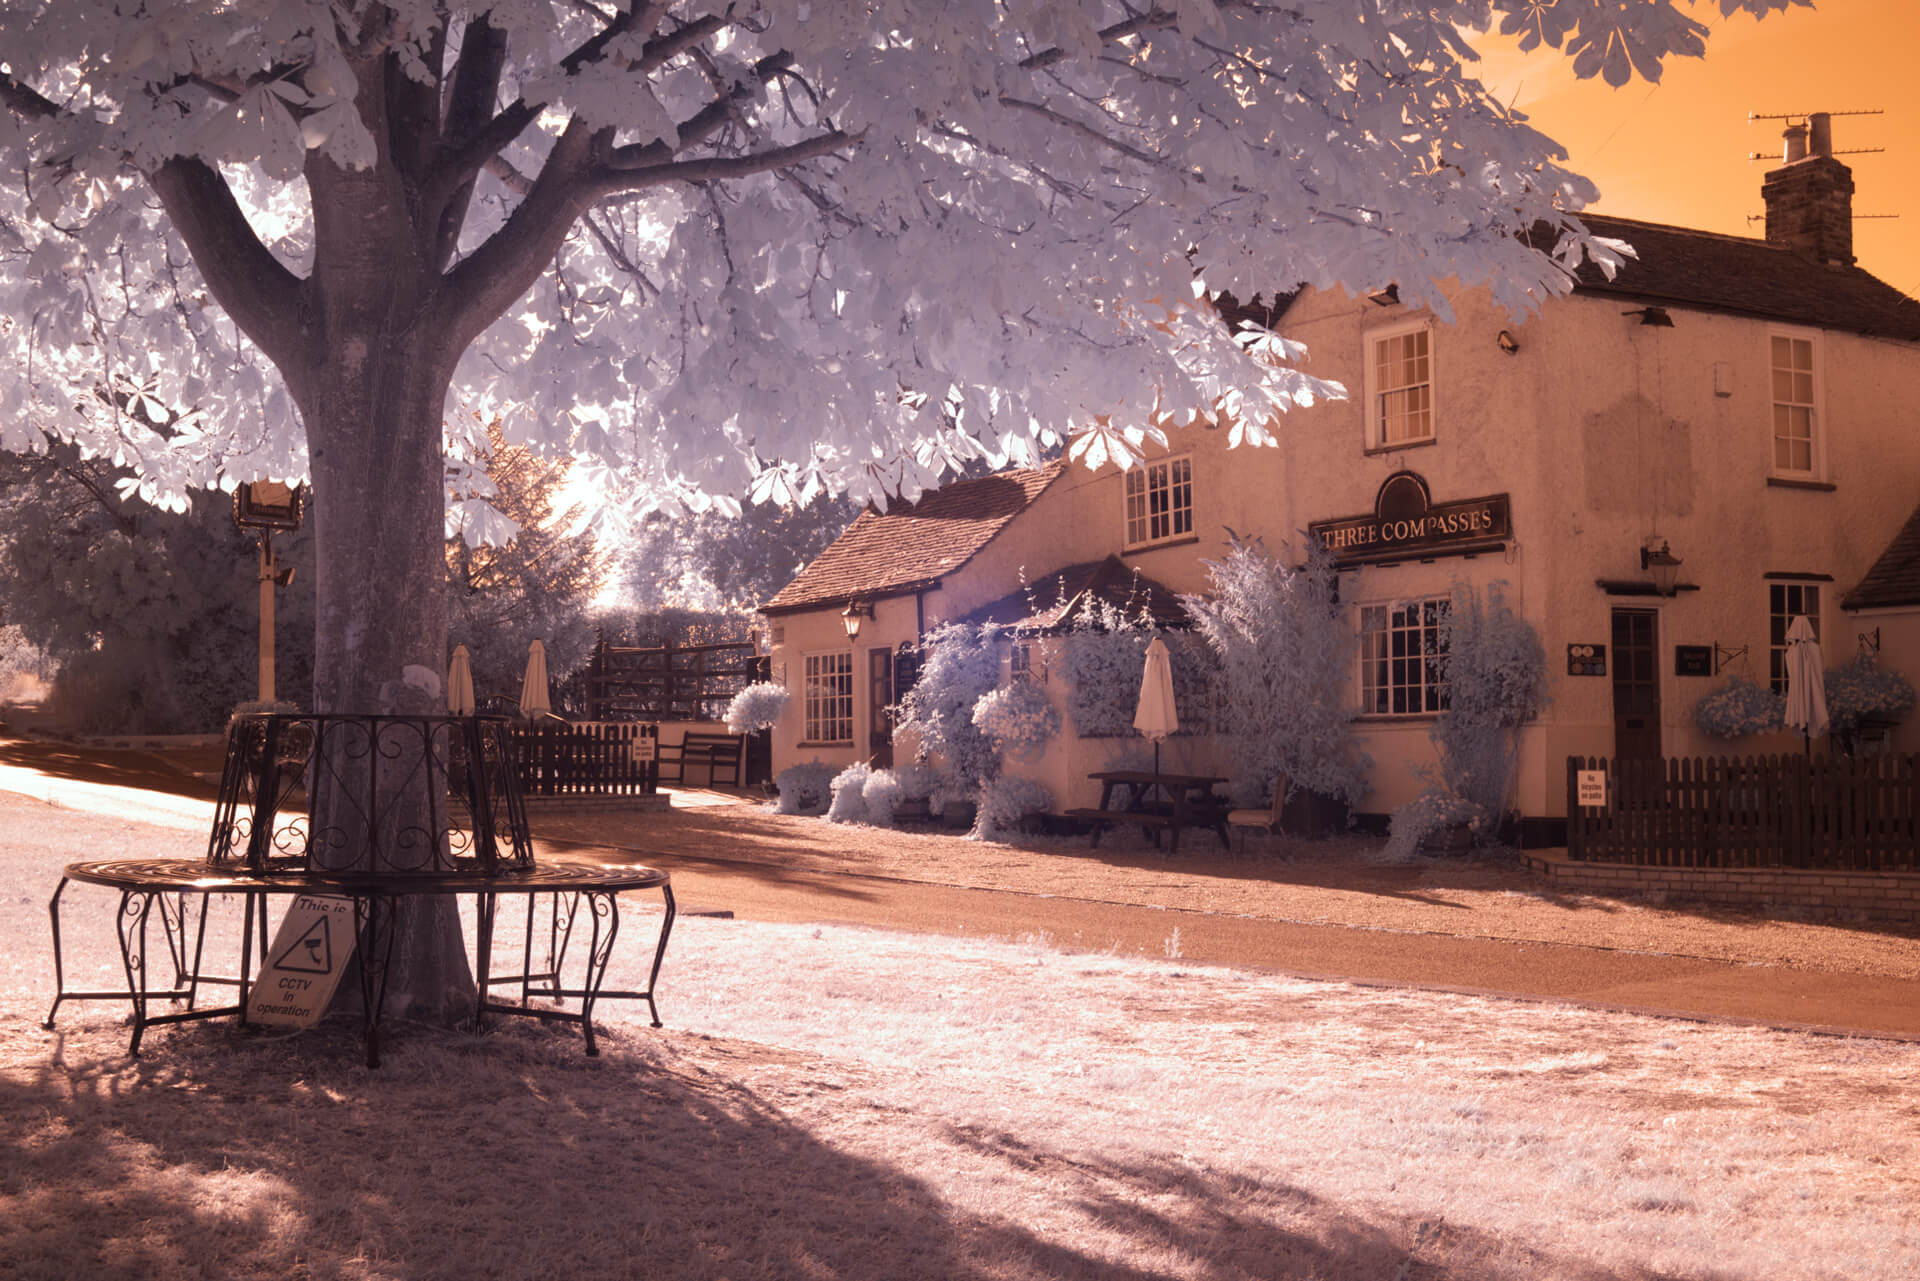
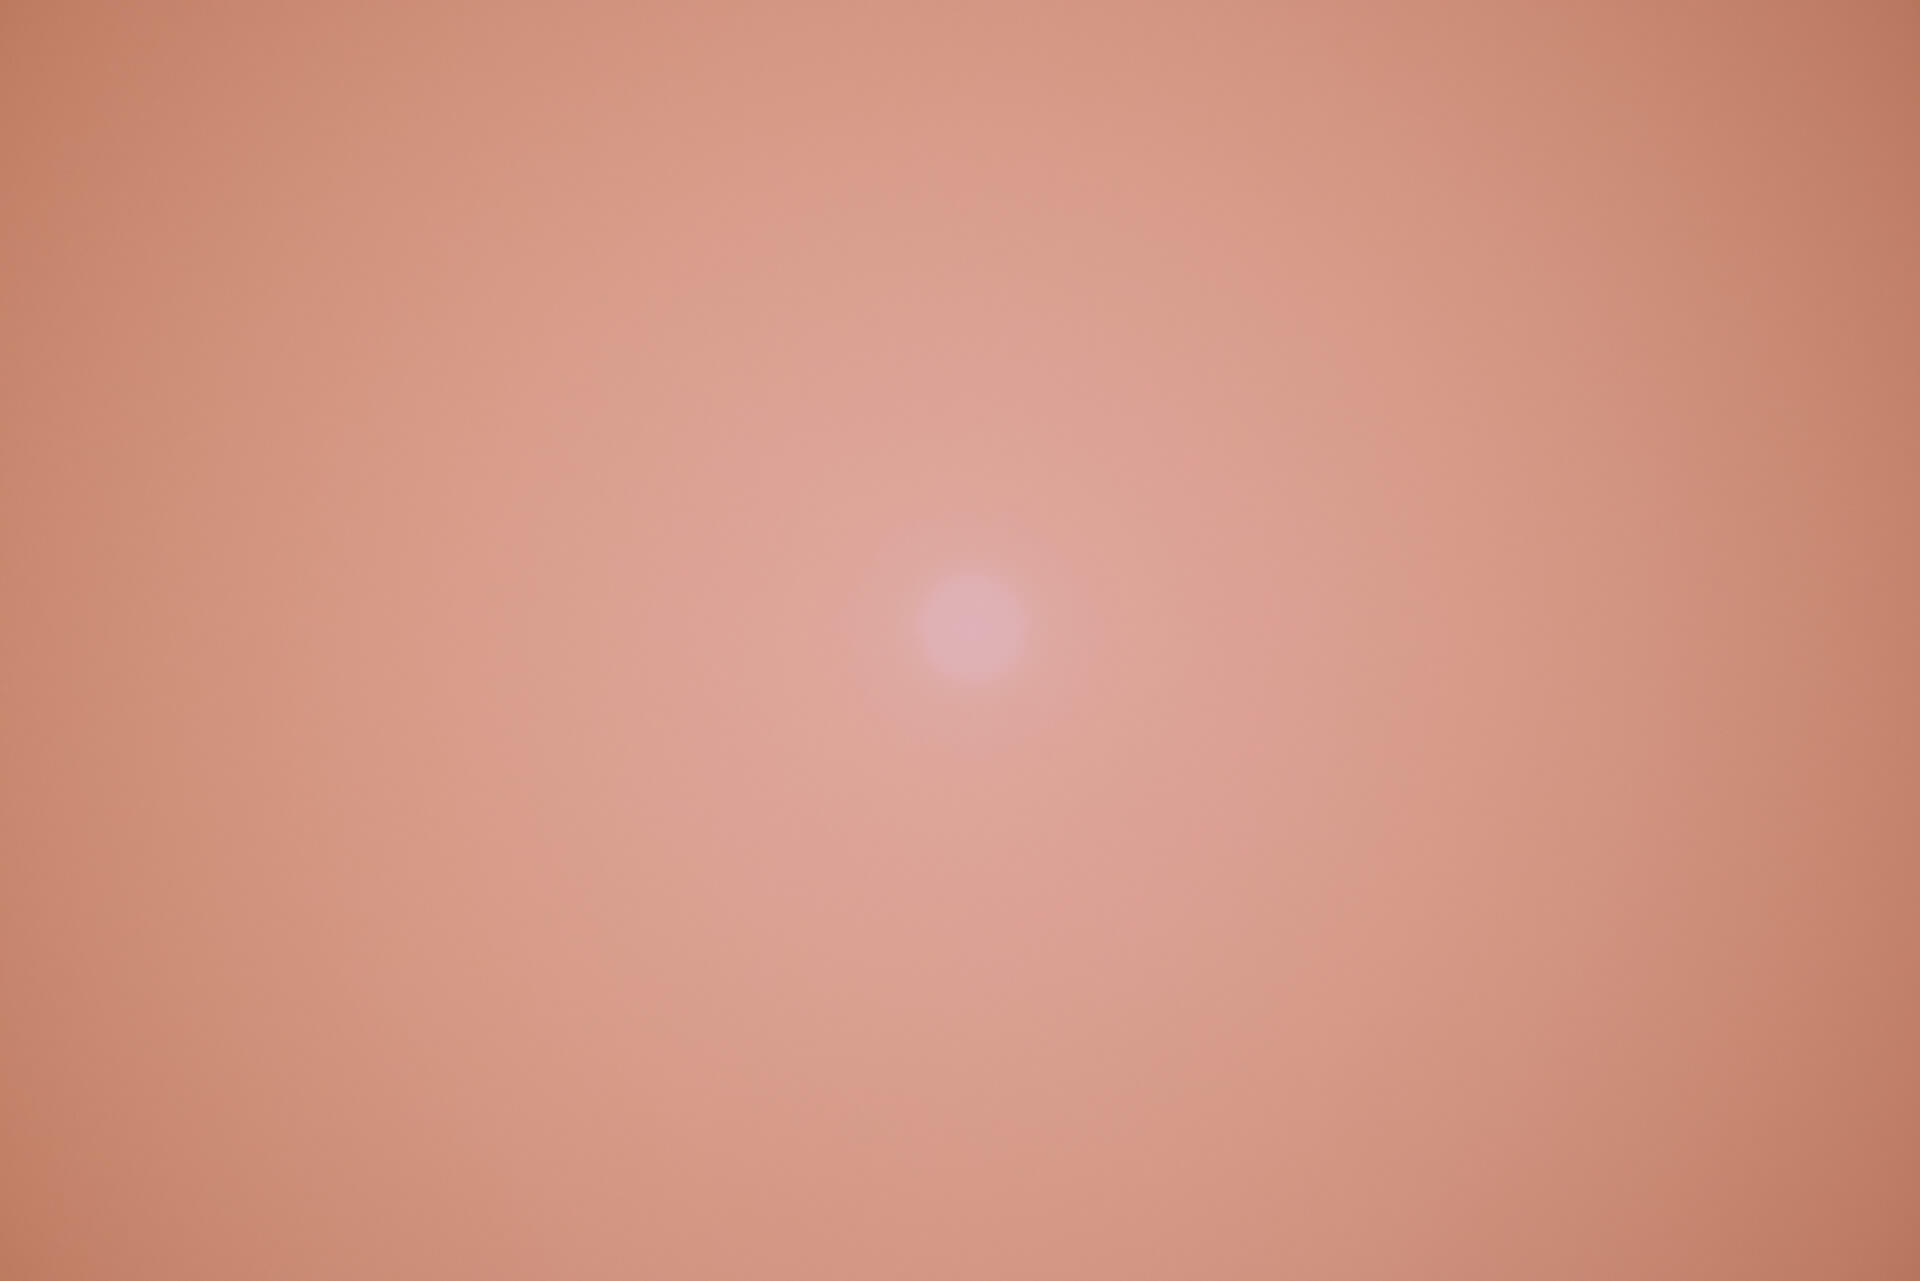
The equation for the correction is: corrected image = image x (average flat frame / flat frame)
Don’t worry; any capable photo editor’s layer blending modes can do this for us. Blending modes have always confused me, and while they are powerful, it takes some time and experimentation to remember which one does what.
If you follow the steps below, you should be able to fully correct hotspots, dust spots, and vignetting.
Layers and Blending Modes
In the photo editor, open the flat frame and duplicate it. Select the bottom layer and, using the color picker, select a part of the image about halfway out from the center. Now, select all, and fill the bottom layer with the primary color, creating a uniform grayish image. Now select the top layer and set its blending mode to divide. The blended image will be almost white with a faintly colored spot in the middle. If you have several photos to correct, you can merge them down to a single layer and save this correction image for later use.
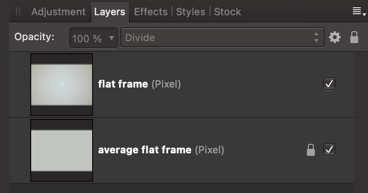
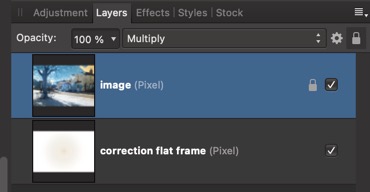
With this near-white correction image in your editor, open your picture image, select (Ctrl/Cmd A) and copy it (Ctrl/Cmd C,) and paste on the top layer of your correction image (Ctrl/Cmd V). Select the image layer and change its blending mode to Multiply.
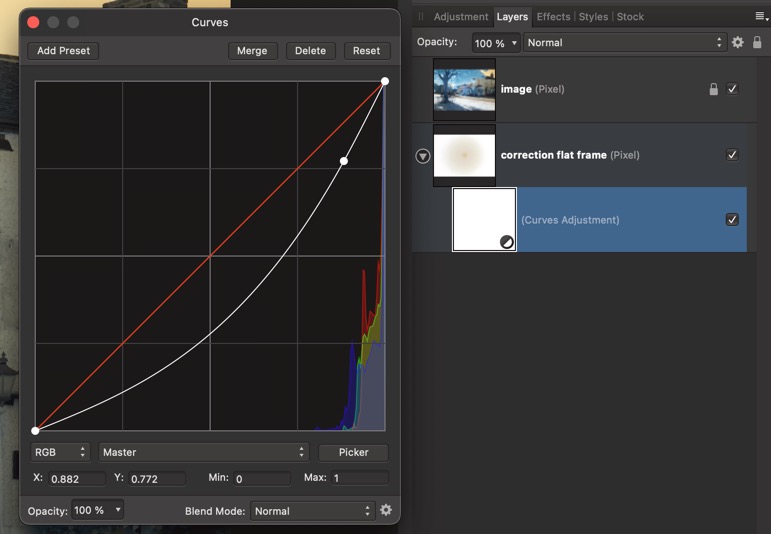
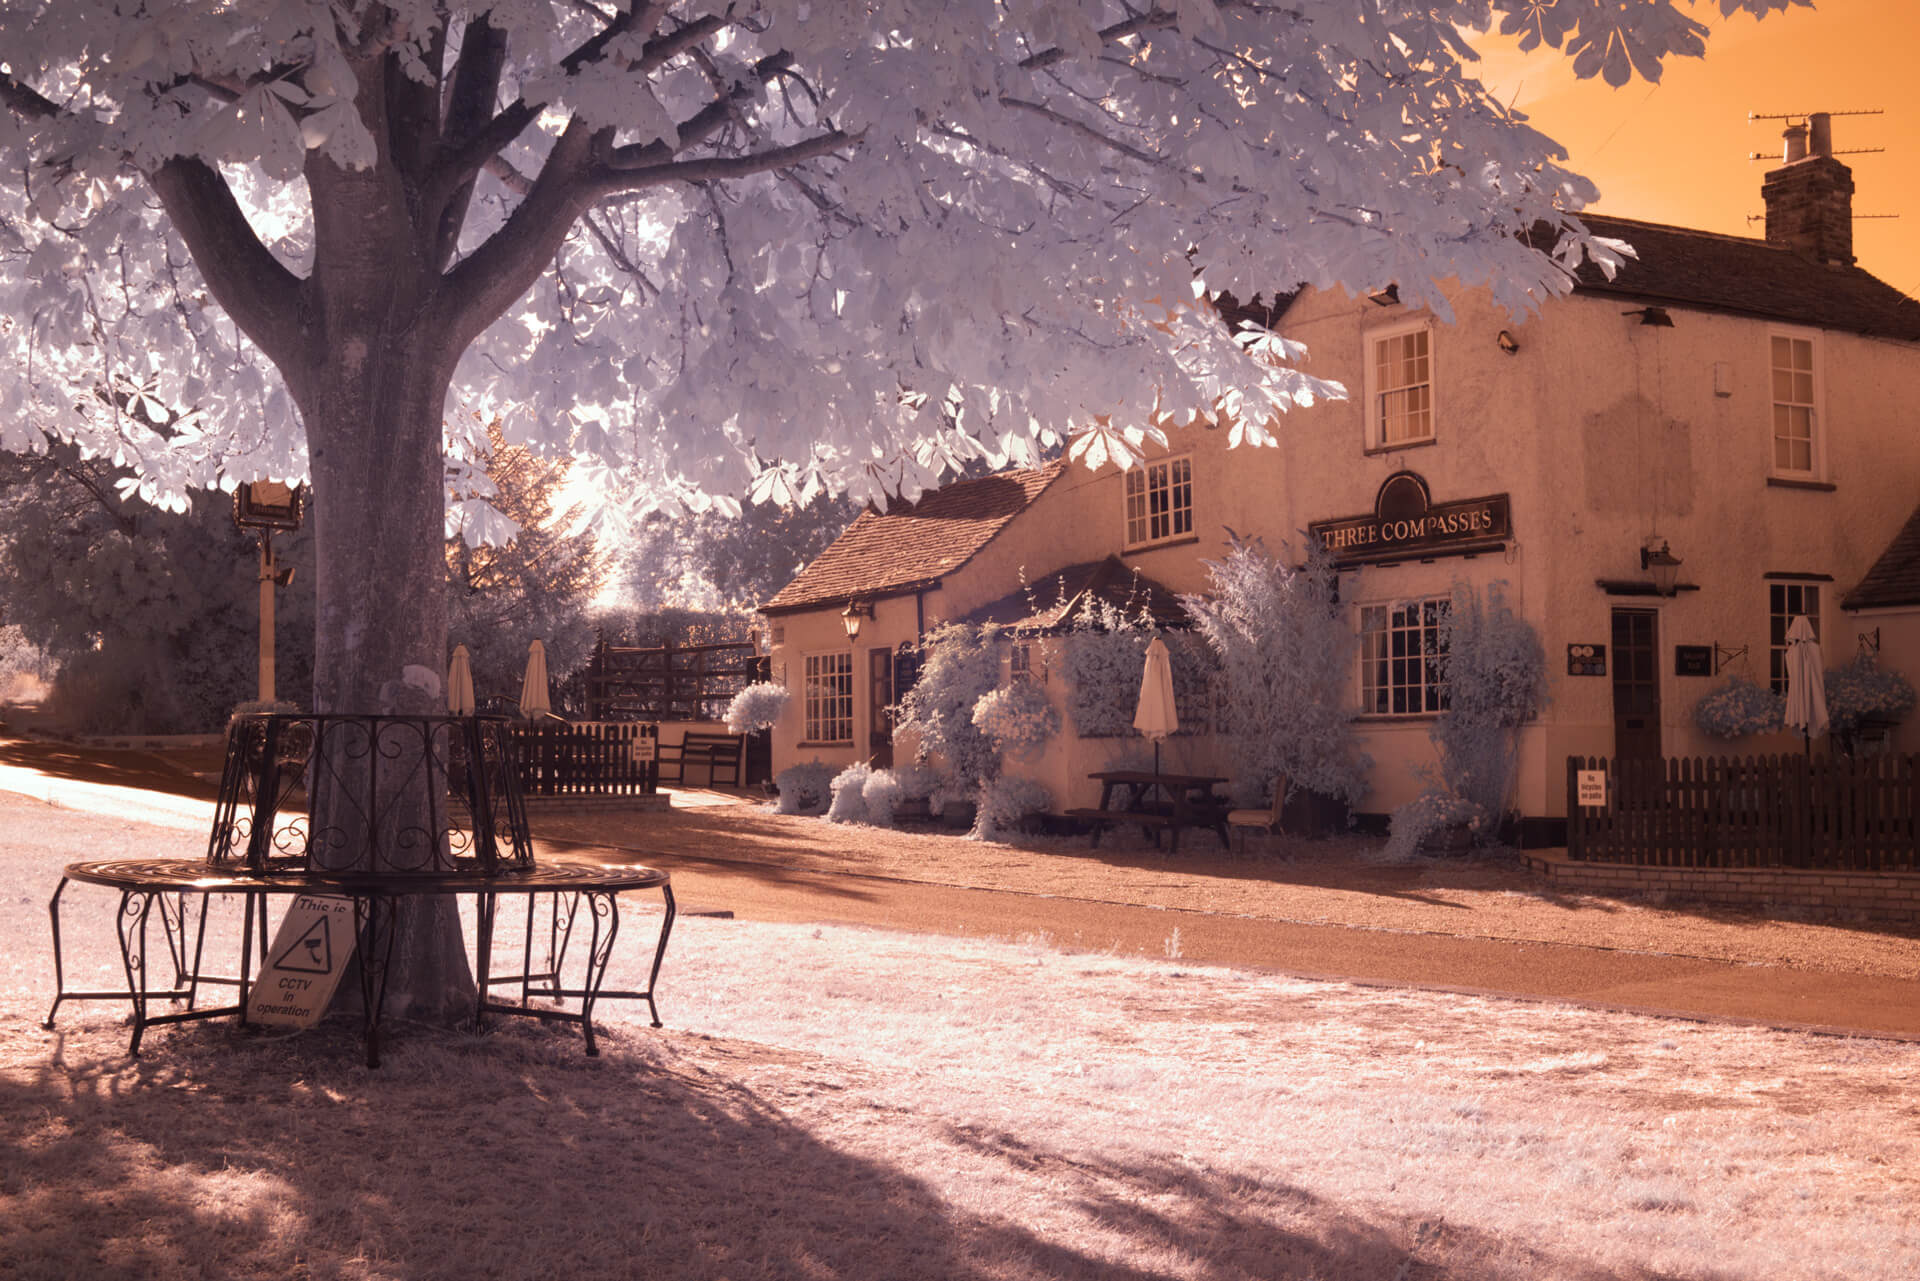
There may be more IR content in one image than the other, and if the hot spot is not entirely corrected, add a curve adjustment to the correction flat frame layer and drag a midpoint until the image is good (below). In the final image, I merged the layers and applied a quick S-curve to boost contrast and confirm the issue had been entirely removed.
Building a Lens, Filter, and Aperture Correction Library
This technique opens the possibility of using virtually any lens for digital infrared photography. It should also be possible to store a library of correction images for each lens/ filter/aperture combination. One thing to watch out for, though, the hotspot is not always perfectly centered, and if you take portrait images, you need to be careful to rotate the correction image the right way!!
Enjoy!
Infrared Hotspots FAQs
What Are Infrared Hotspots?
Infrared hotspots are bright or uneven circular areas that can appear in infrared photos, usually near the center of the frame. The article explains that digital sensors are more reflective than film, and infrared reflectivity can make these hotspots more visible.
Why Do Infrared Hotspots Happen More With Digital Cameras?
Infrared hotspots happen more with digital cameras because the flat sensor surface is reflective, and the rear lens element can create internal reflections. The article notes that this is especially noticeable in infrared because there is no IR-blocking filter in the way after conversion.
How Can Astrophotography Techniques Fix Infrared Hotspots?
Astrophotography flat-frame correction can fix infrared hotspots by photographing a uniformly lit target at the same aperture and filtration as the real image. That flat frame records unevenness, dust spots, vignetting, and hotspot behavior so it can be used as a correction layer.
Can You Remove Infrared Hotspots In Photoshop Or Affinity Photo?
Yes. The article explains that Photoshop and Affinity Photo can use layer blending modes like Divide and Multiply to apply flat-frame correction. This workflow can reduce or remove hotspots, dust spots, and vignetting without needing specialized astrophotography software.
Can You Reuse Infrared Hotspot Correction Images?
Yes, correction images can be saved and reused, but they should match the same lens, filter, and aperture combination. The article also warns that hotspots are not always perfectly centered, so portrait-orientation images may require rotating the correction image correctly.