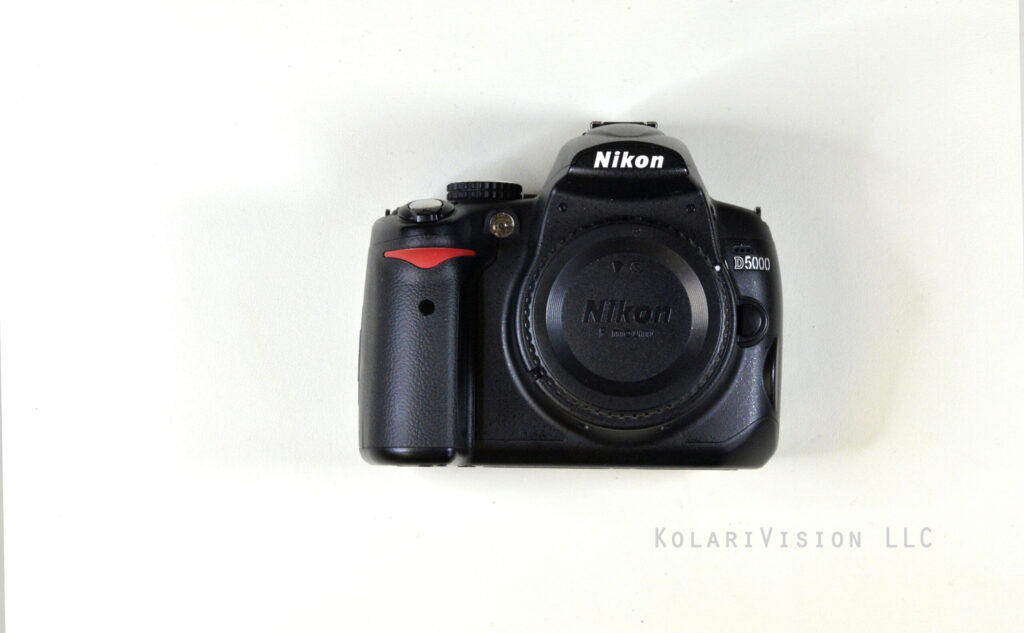
Welcome to the DIY tutorial of the Nikon D5000. Be sure to be grounded before you start to avoid any static damage to electronic components.
1
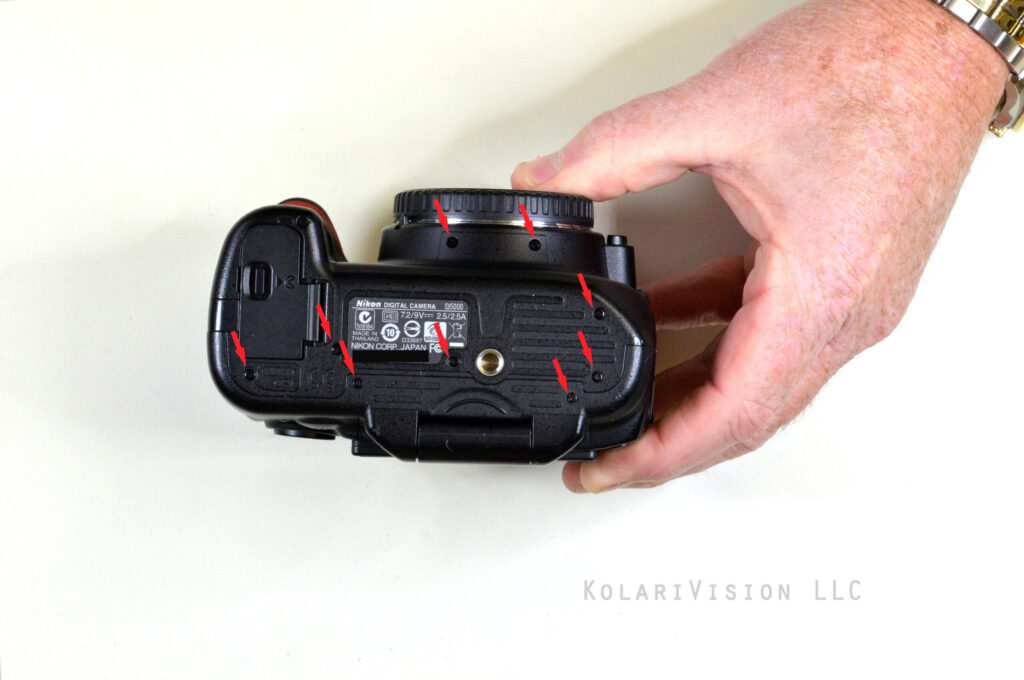
Step 1
Let’s get started with the bottom panel. Remove the 9 screws as indicated and remove bottom panel.
2
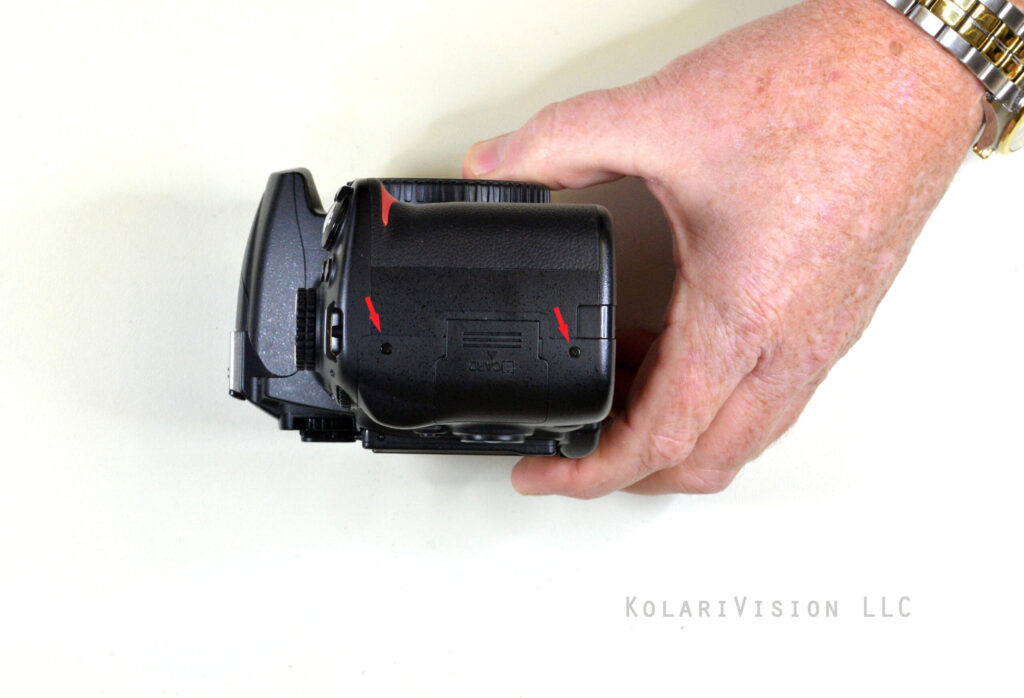
Step 2
Turn camera to the SD card side and remove 2 screws as indicated.
3
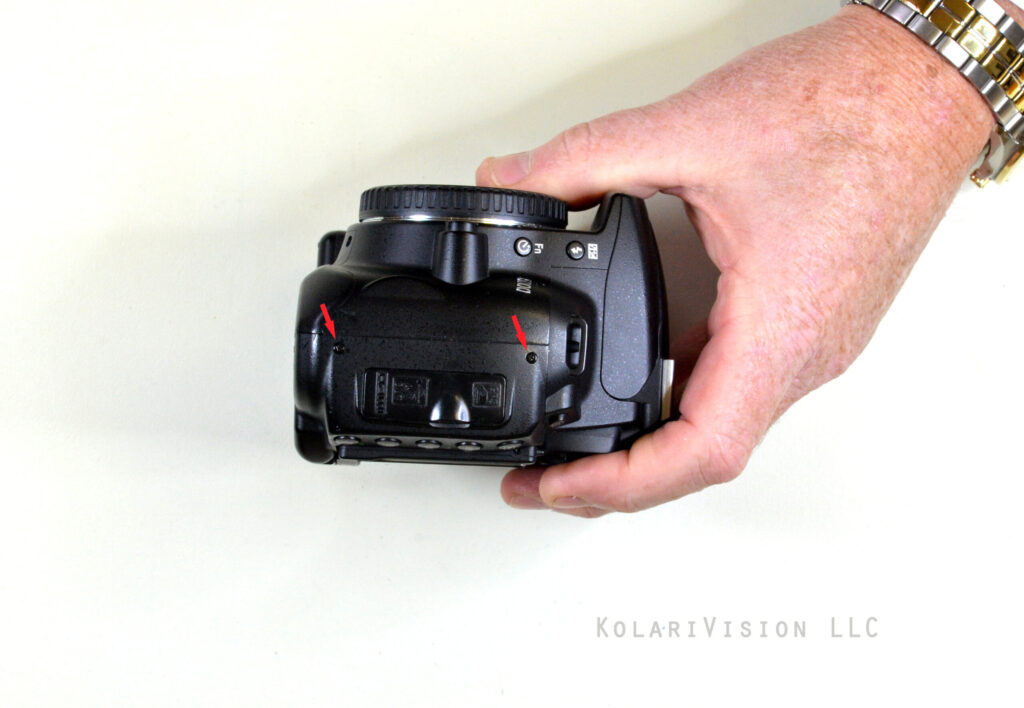
Step 3
Now turn to the AV OUT side and remove 2 screws as indicated.
4
Step 4
Before you can remove the back panel, there are two screws under the EVF eye cover. Slide the EVF cover up and you will find the two screws. Then, you can remove LCD panel but be sure to remove 2 cable connectors that are linked to the LCD panel before completely removing.
5
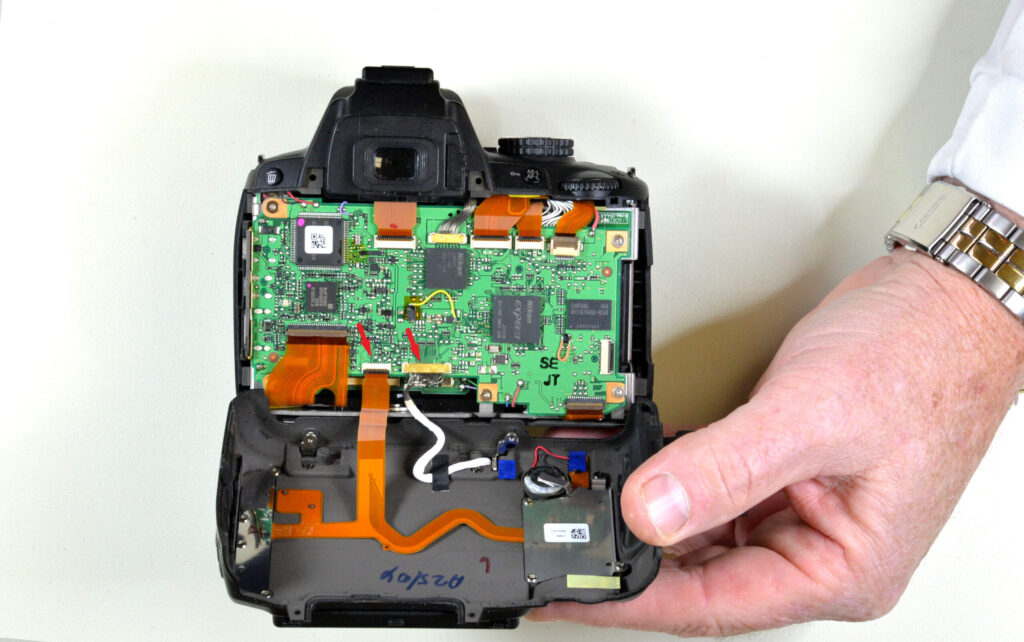
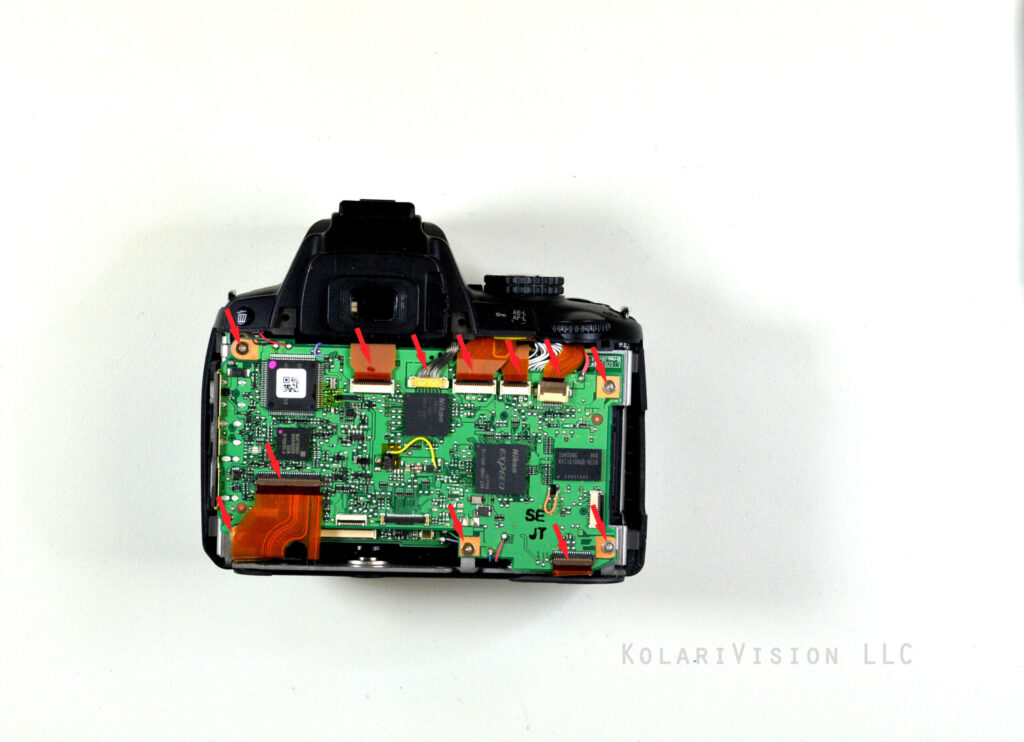
Step 5
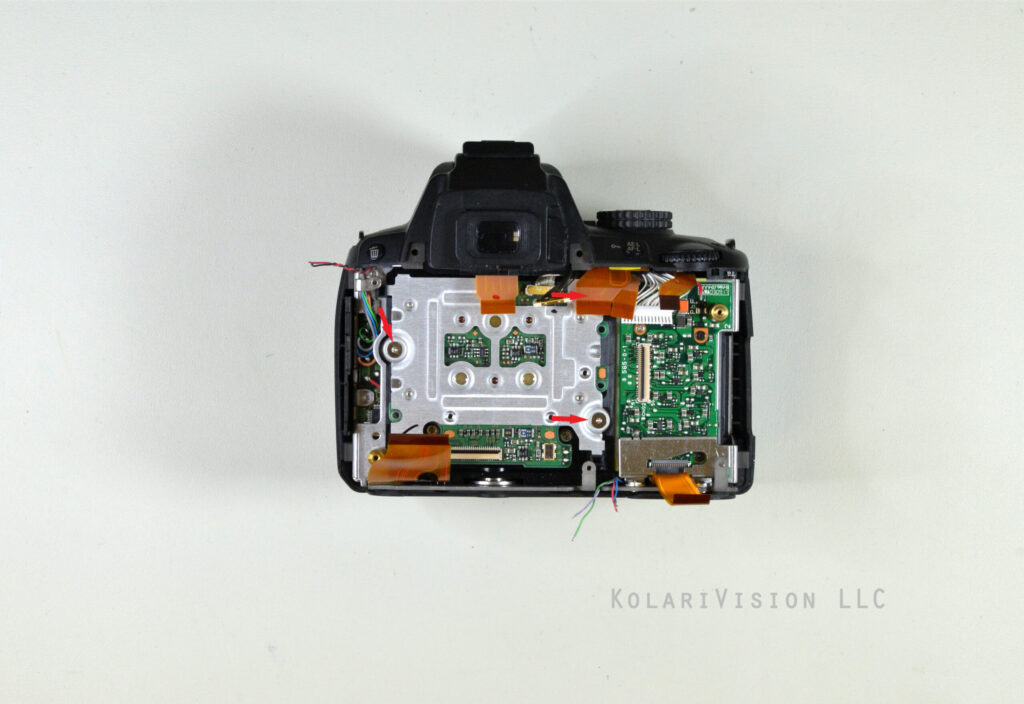
Once you have successfully removed the back, you will see the main PC Board. Release indicated cables and remove screws. This procedure should now release the main PC board.
6
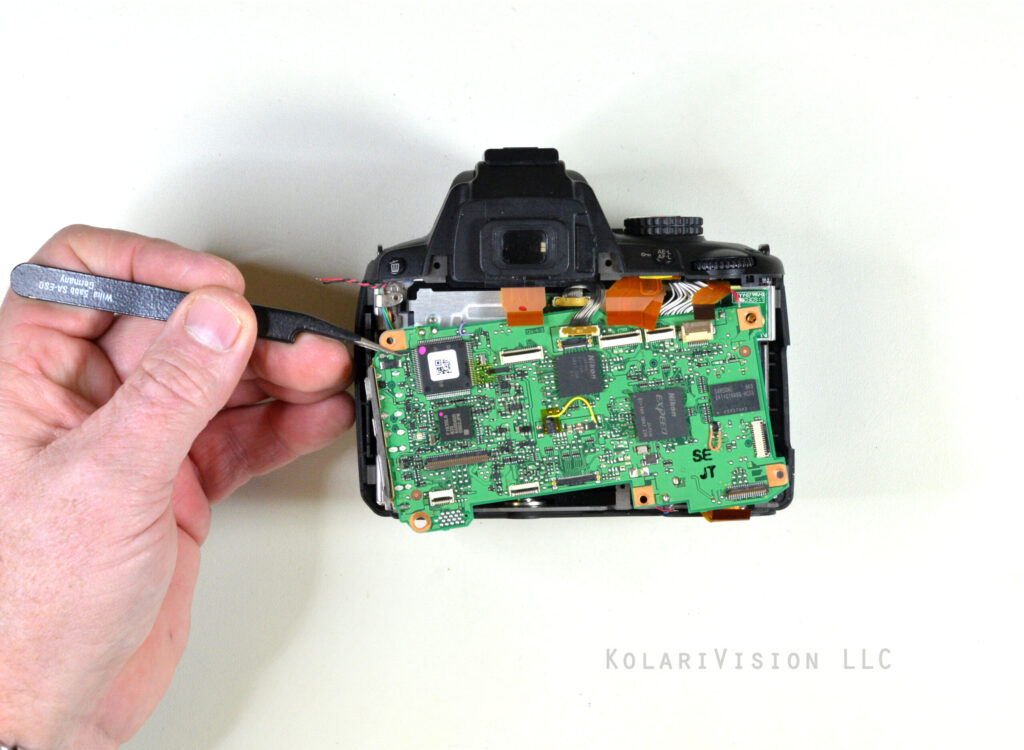
Step 6
Remove main PC board. Be careful of cables.
7
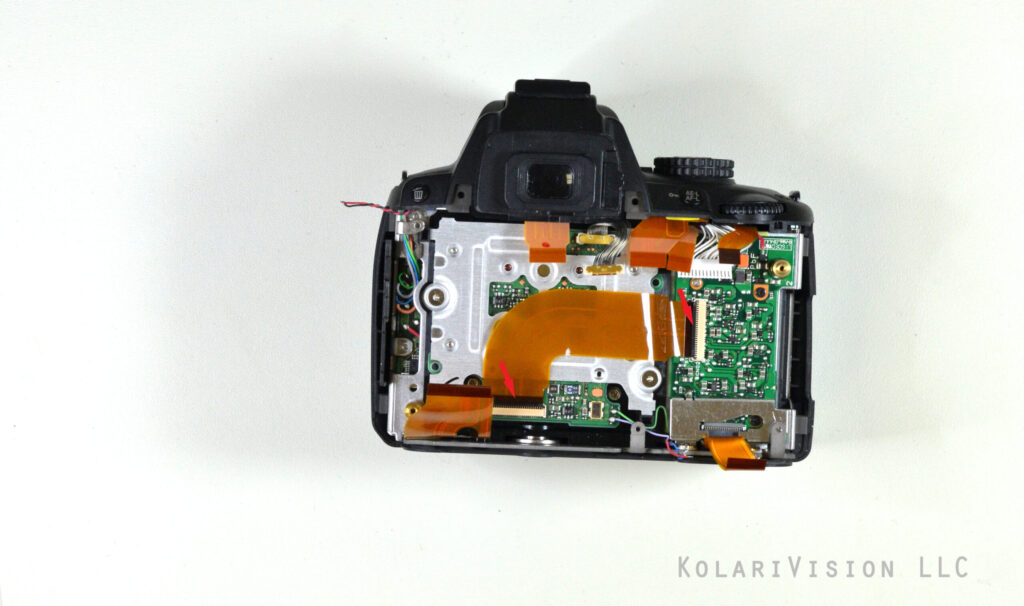
Step 7
Release sensor cable from connector.
8
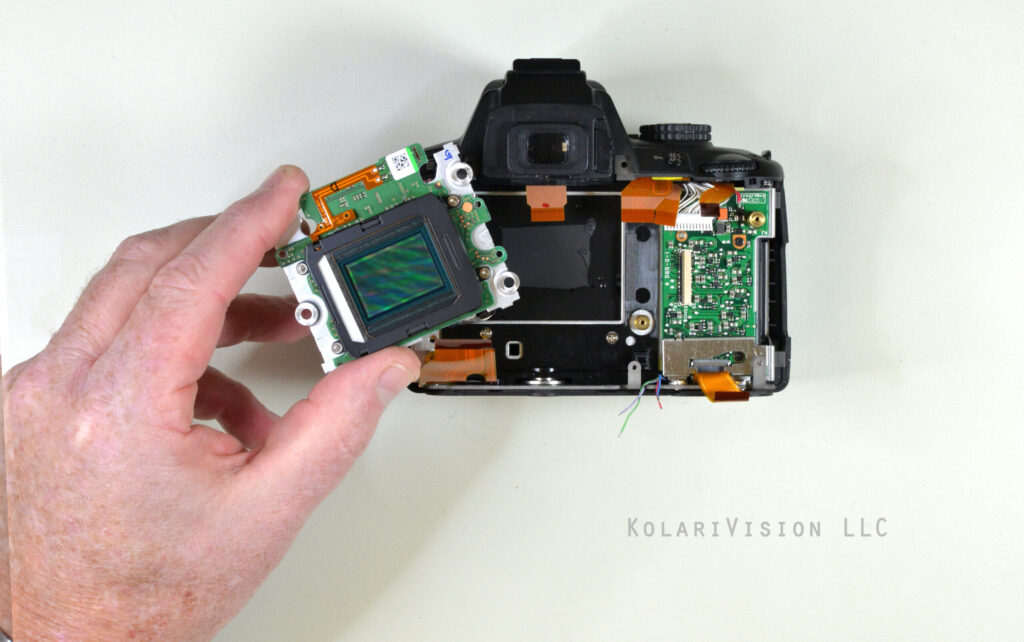
Step 8
Remove 3 sensor screws. One is hidden under cable as indicated.
9
Step 9
Lift off sensor carefully.
10
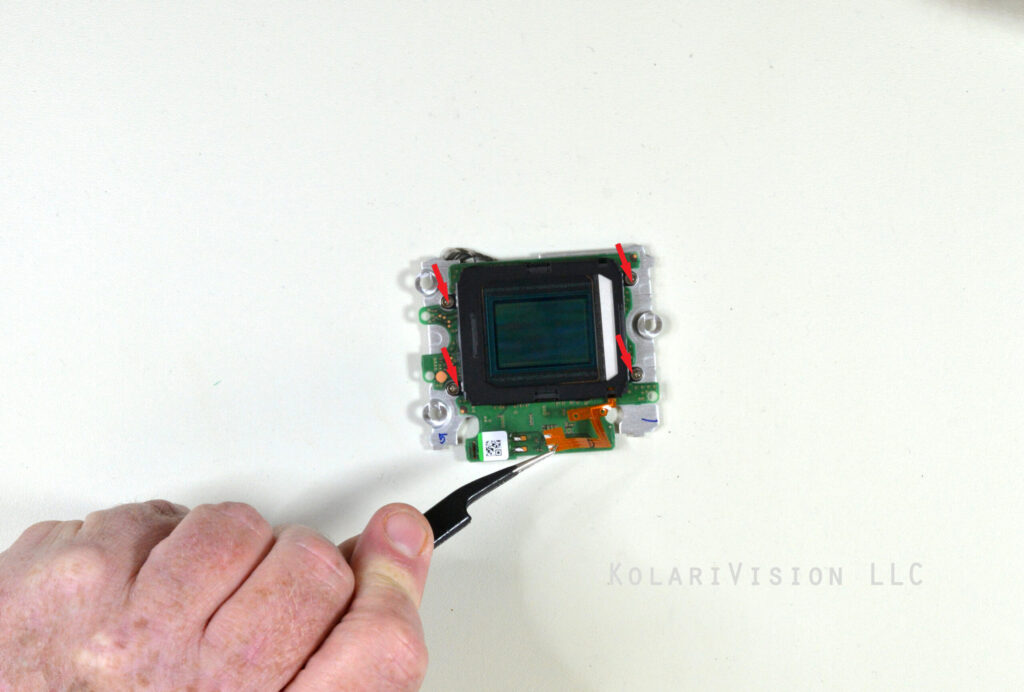
Step 10
Unsolder dust filter cable from sensor and also remove 4 screws as indicated which will release the black frame from filter. The outer frame is clipped together, separate this retainer to remove the outer filter. This now gives you access to the inner filter which you will replace with our drop in DIY filter.
11
Step 11
Our DIY filter is held in by the black retainer. Make sure to remove both original filters, they both block infrared.
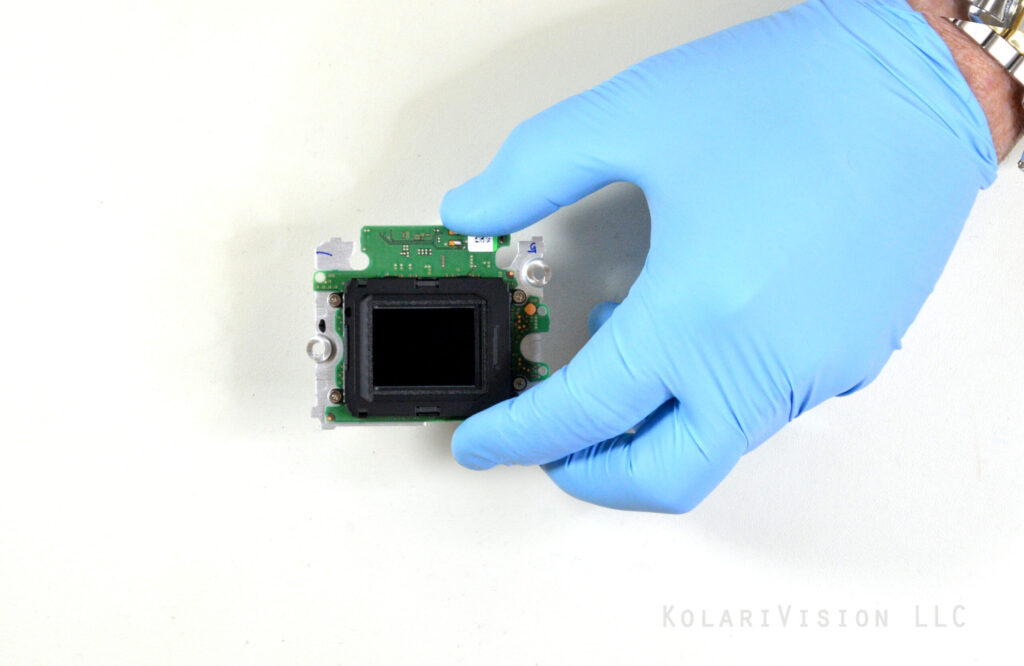
Before putting in the new filter, be sure to check for any trapped dust on filter and sensor before installing.
12
Step 12
Congratulations! You have now converted your camera. Now, work backwards to reassemble camera.