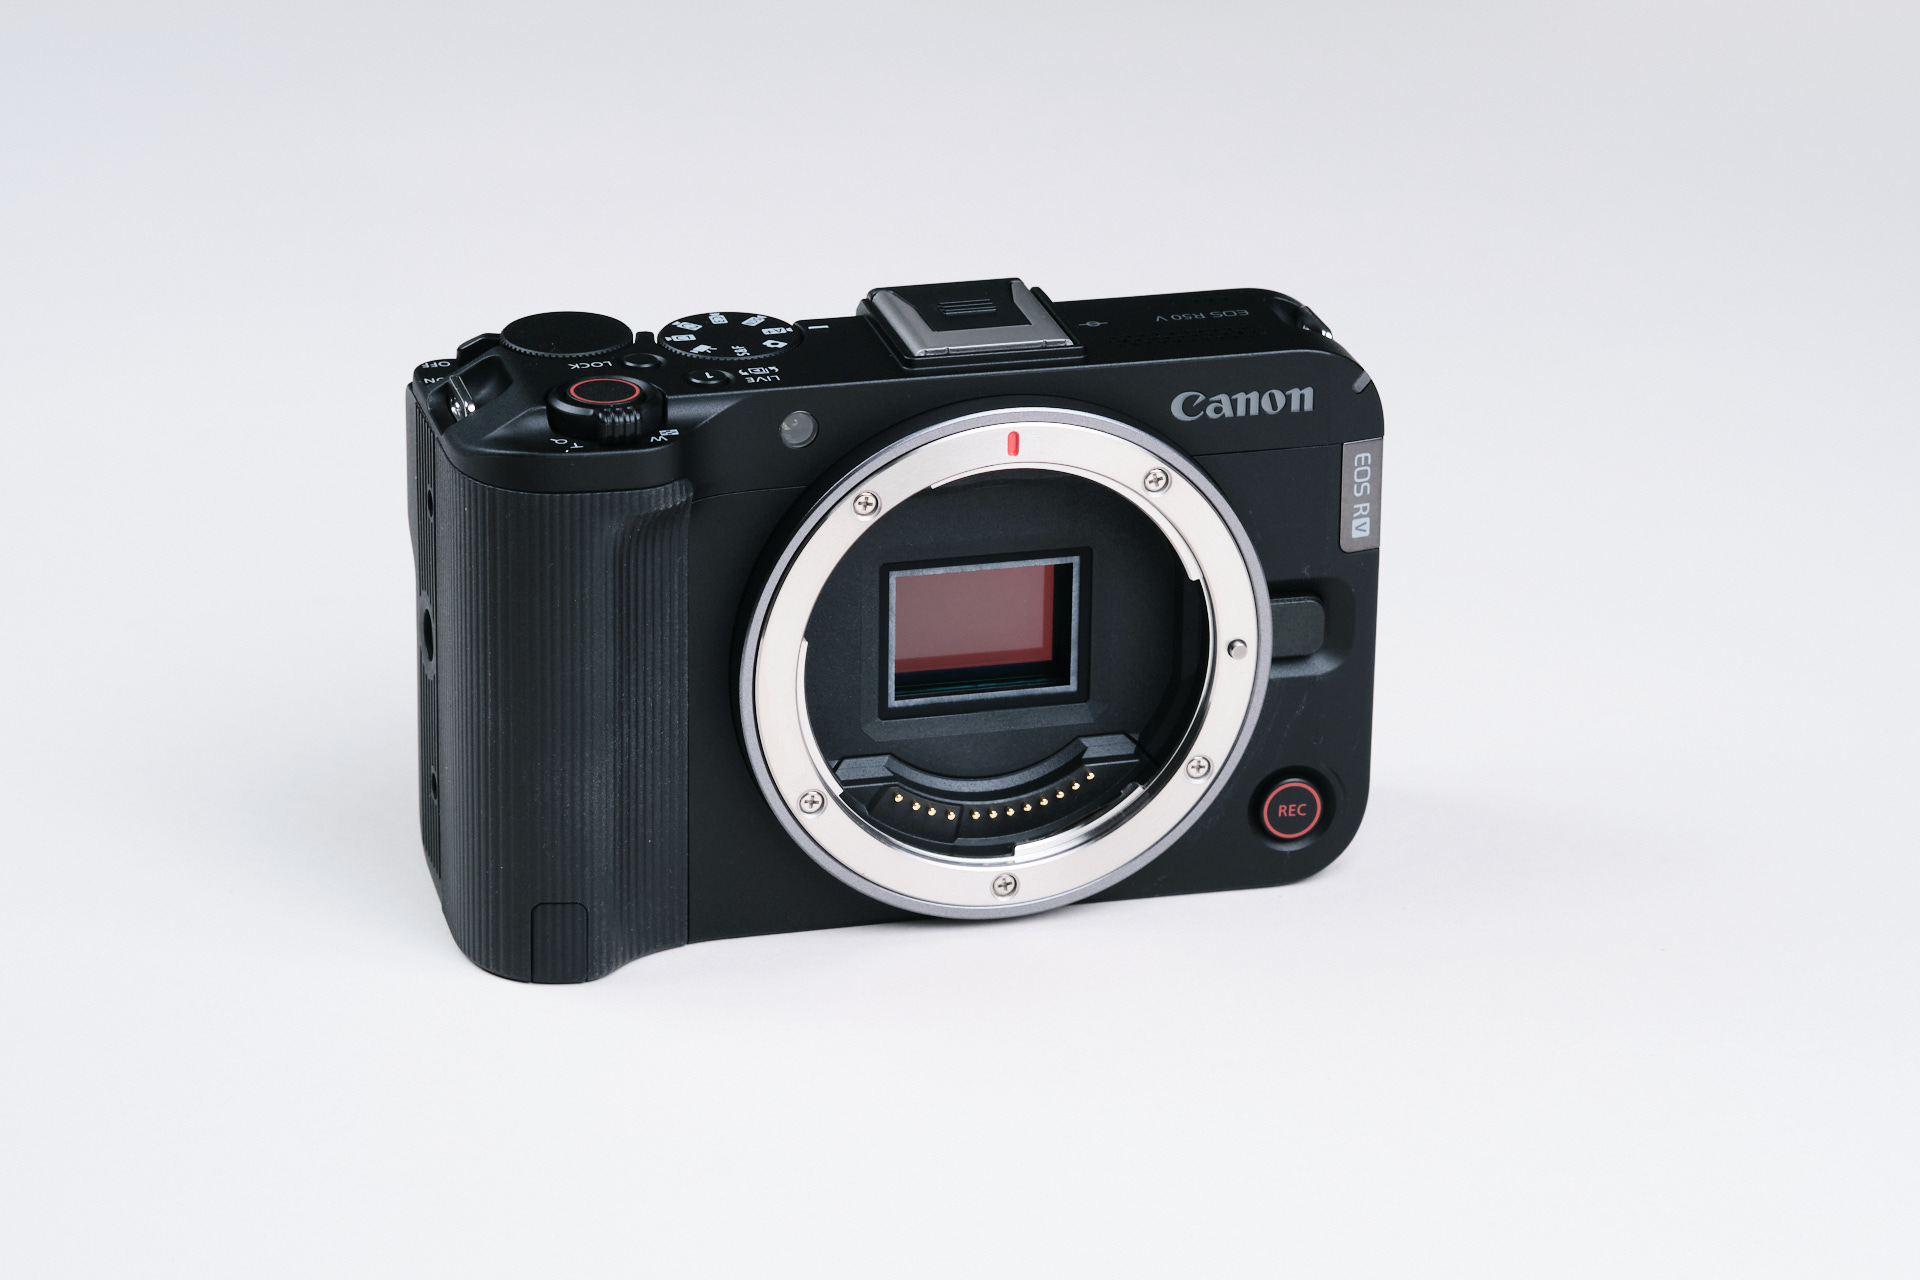
Canon EOS R50V Camera Overview
The Canon EOS R50V mirrorless camera is the company’s most recent camera release (as of its release in April 2025). It is a highly compact and affordable option for cinematographers and content creators, starting at $649.99 for the body at the time of this article publication. The R50V is positioned as a possible contender to the Sony FX30 and FX3 since it is branded as a video-focused mirrorless camera. The R50V is capable of being converted for infrared shooting through our full-spectrum conversion service.
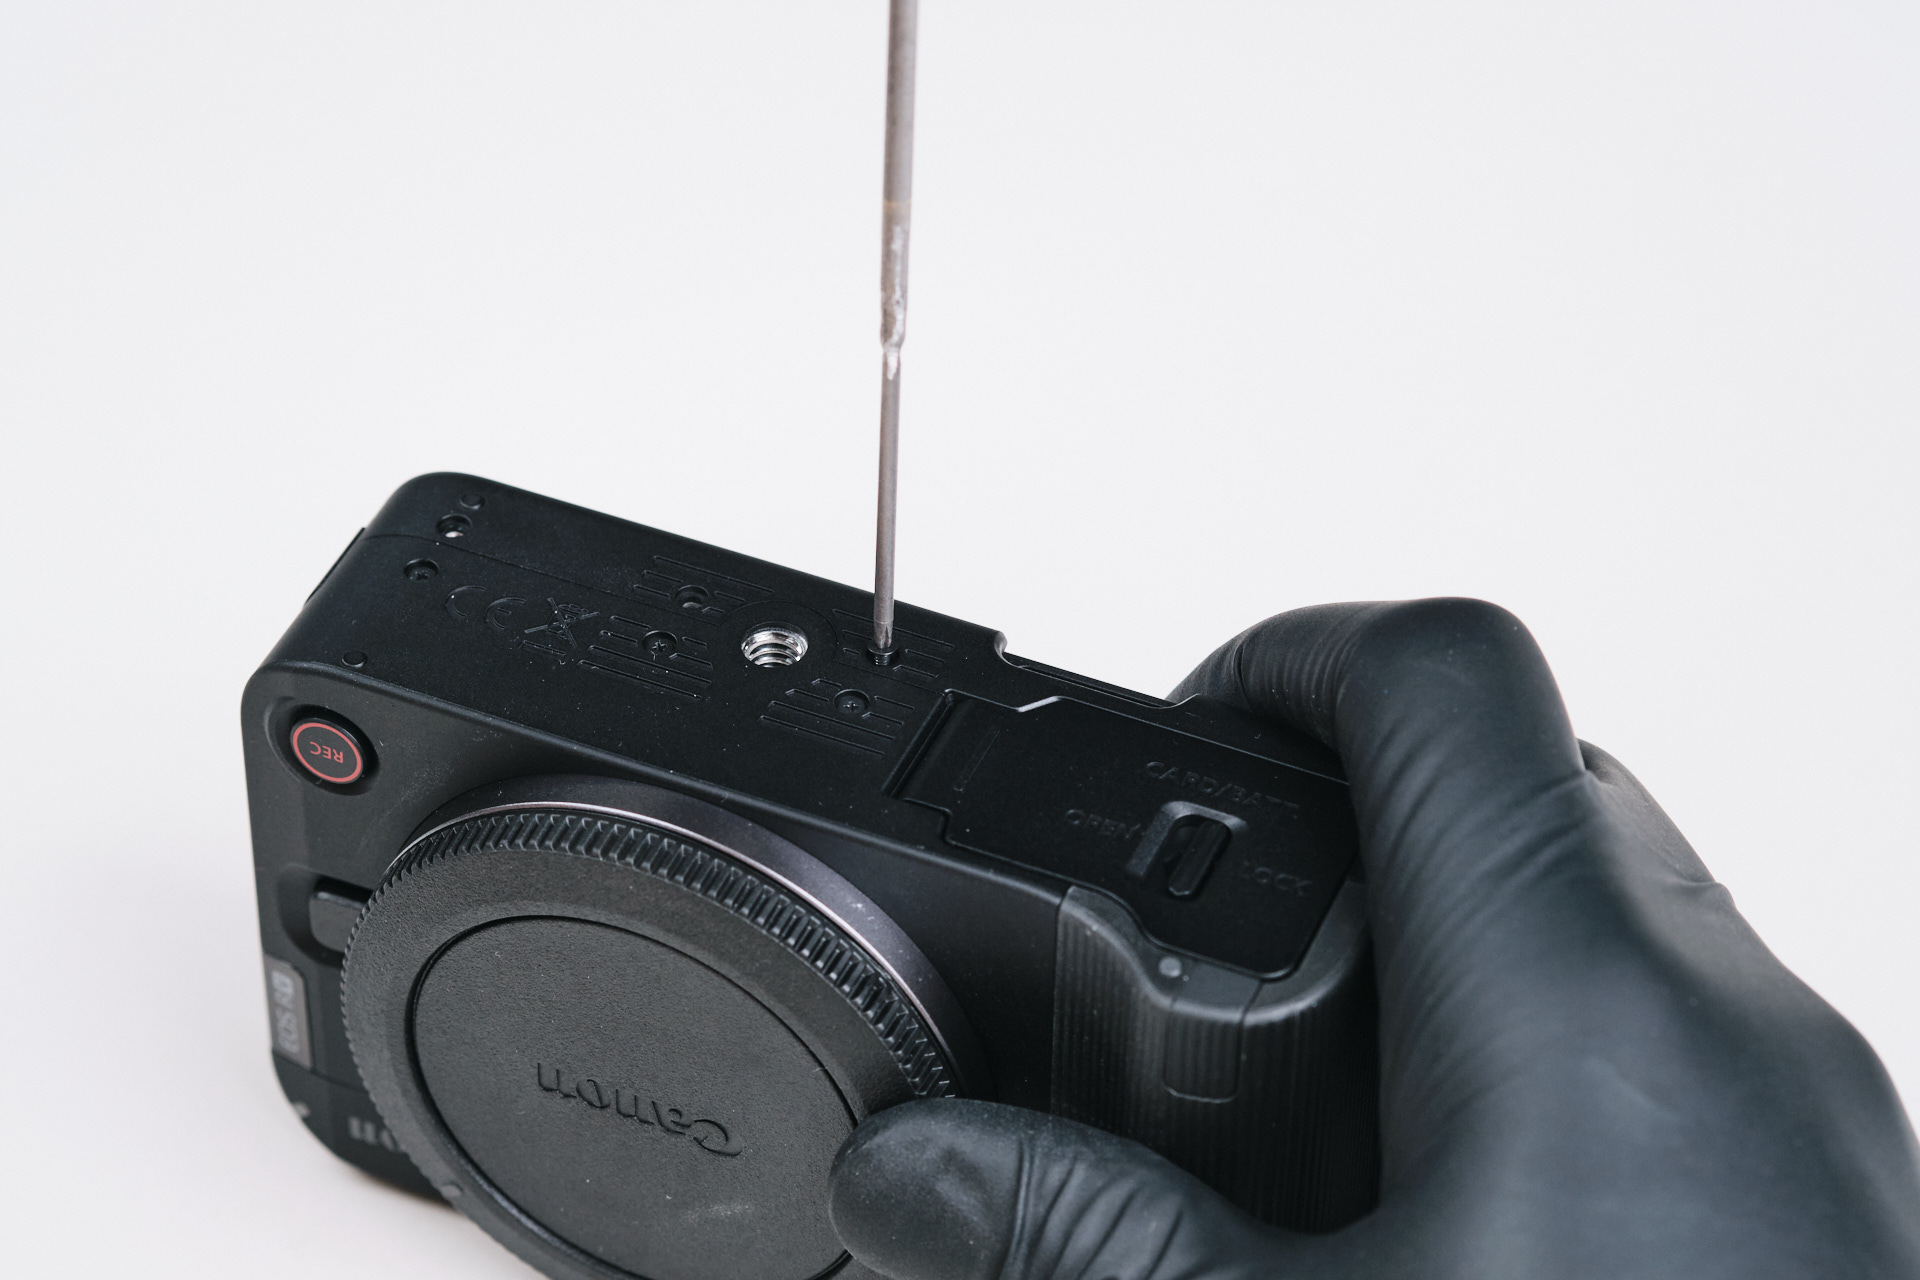
Starting the Canon EOS R50V Teardown
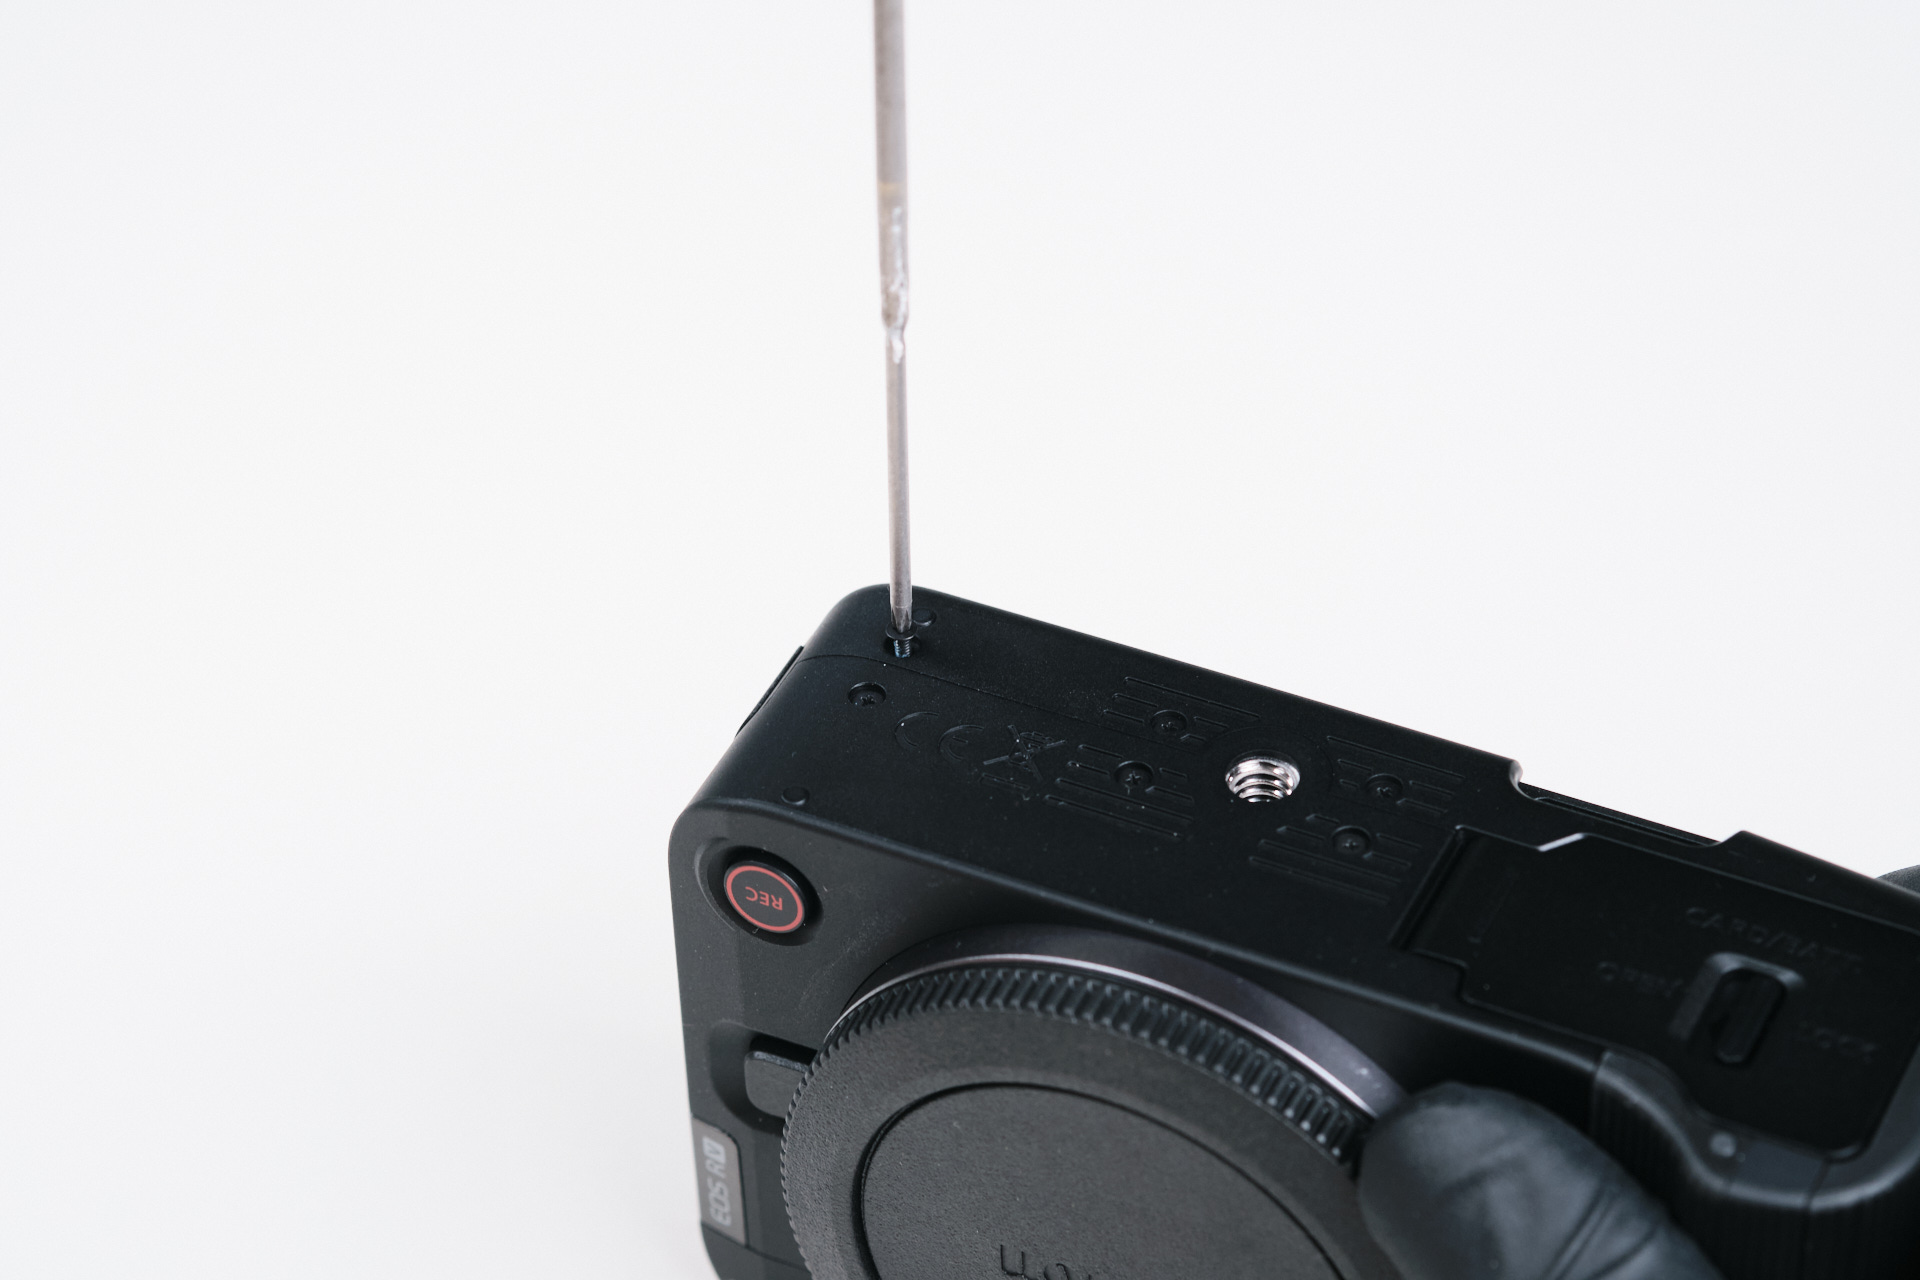
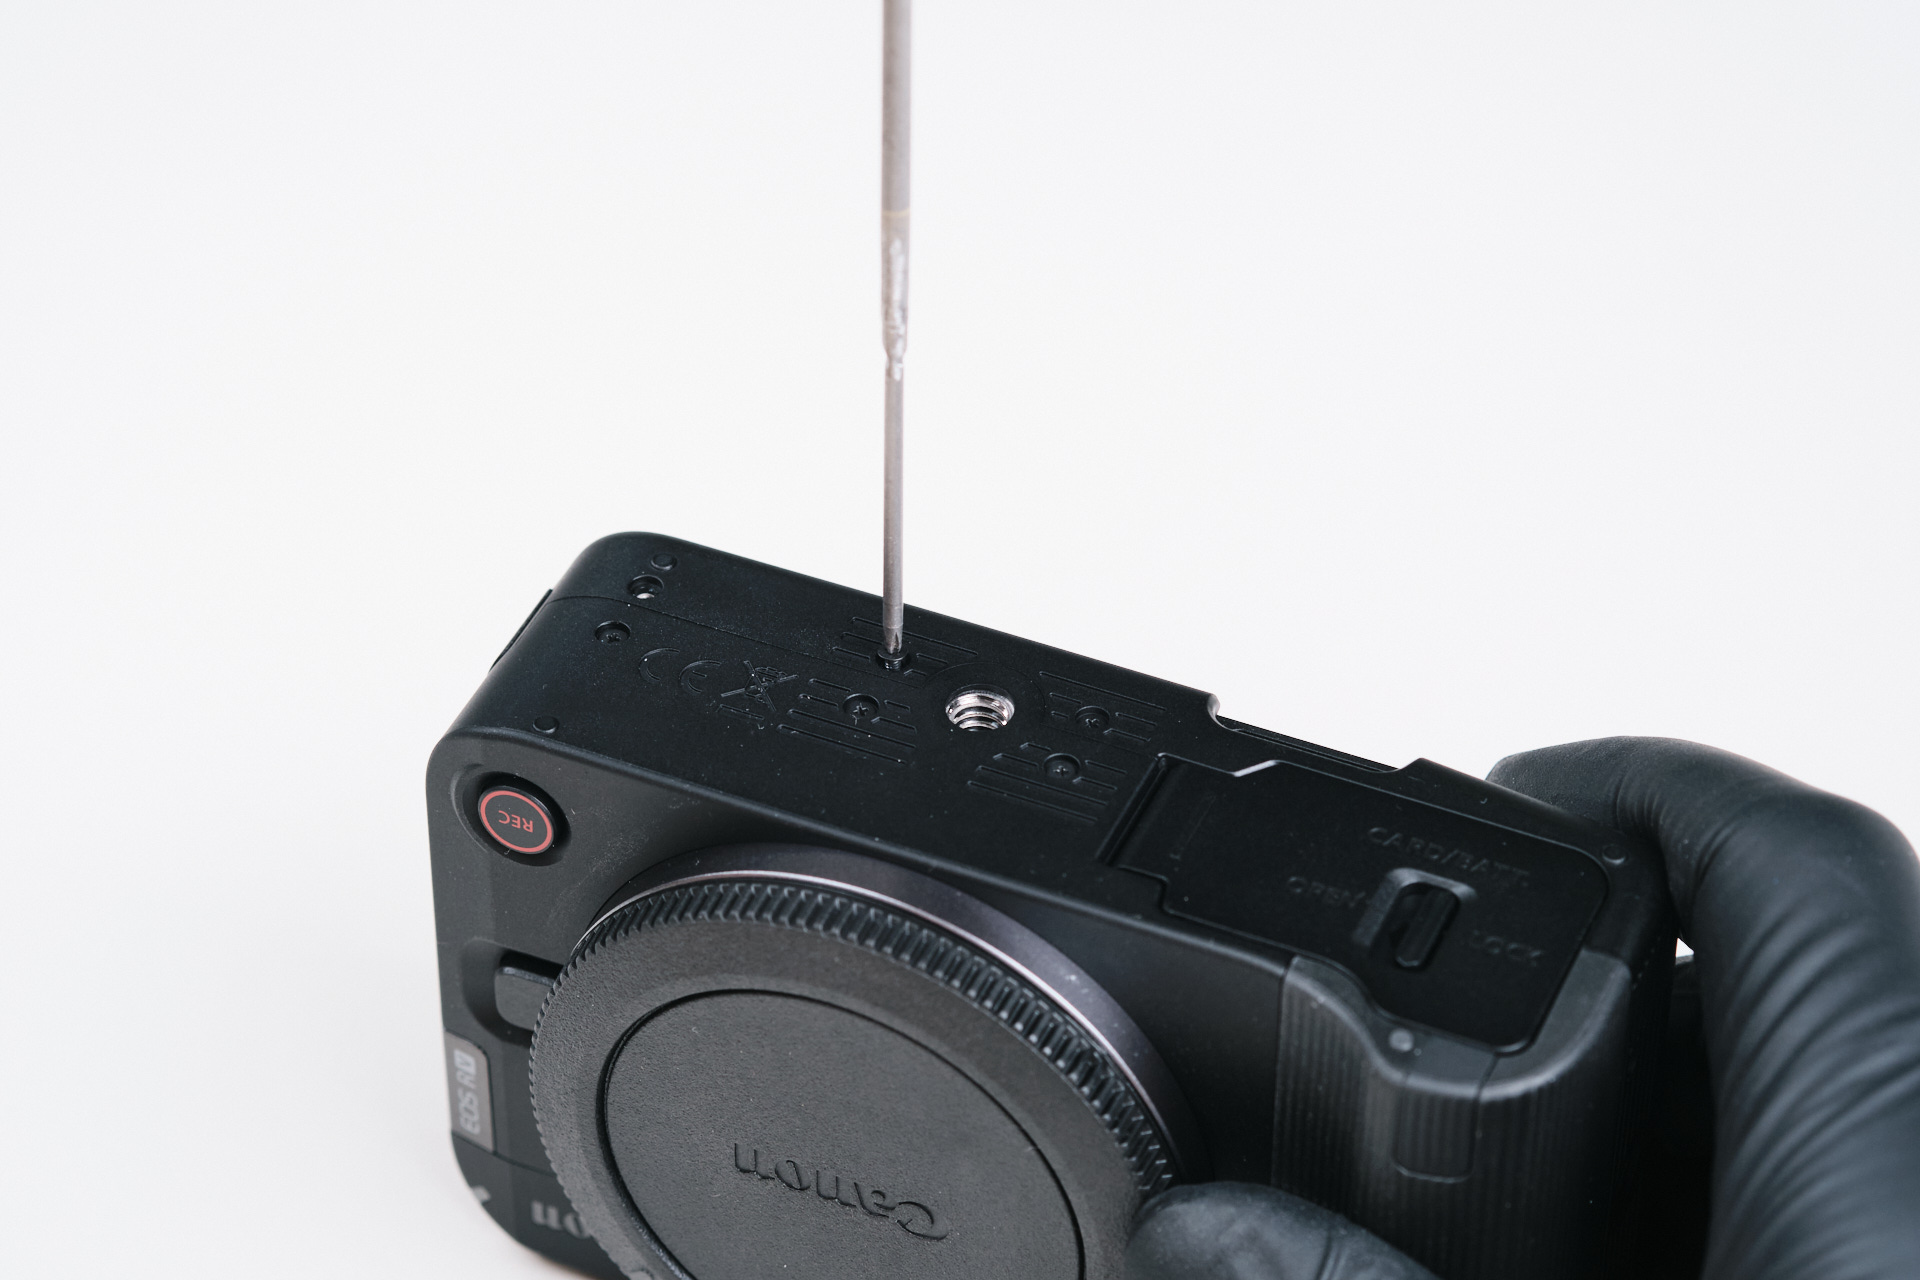
As with all of our teardowns, we targeted the baseplate first. It seems that most smaller cameras don’t have a dedicated baseplate—they opt to sandwich a front and back panel together to comprise the entire camera’s body, and the Canon R50V is no different. That said, we still removed three screws from the bottom of the camera’s frame to start.
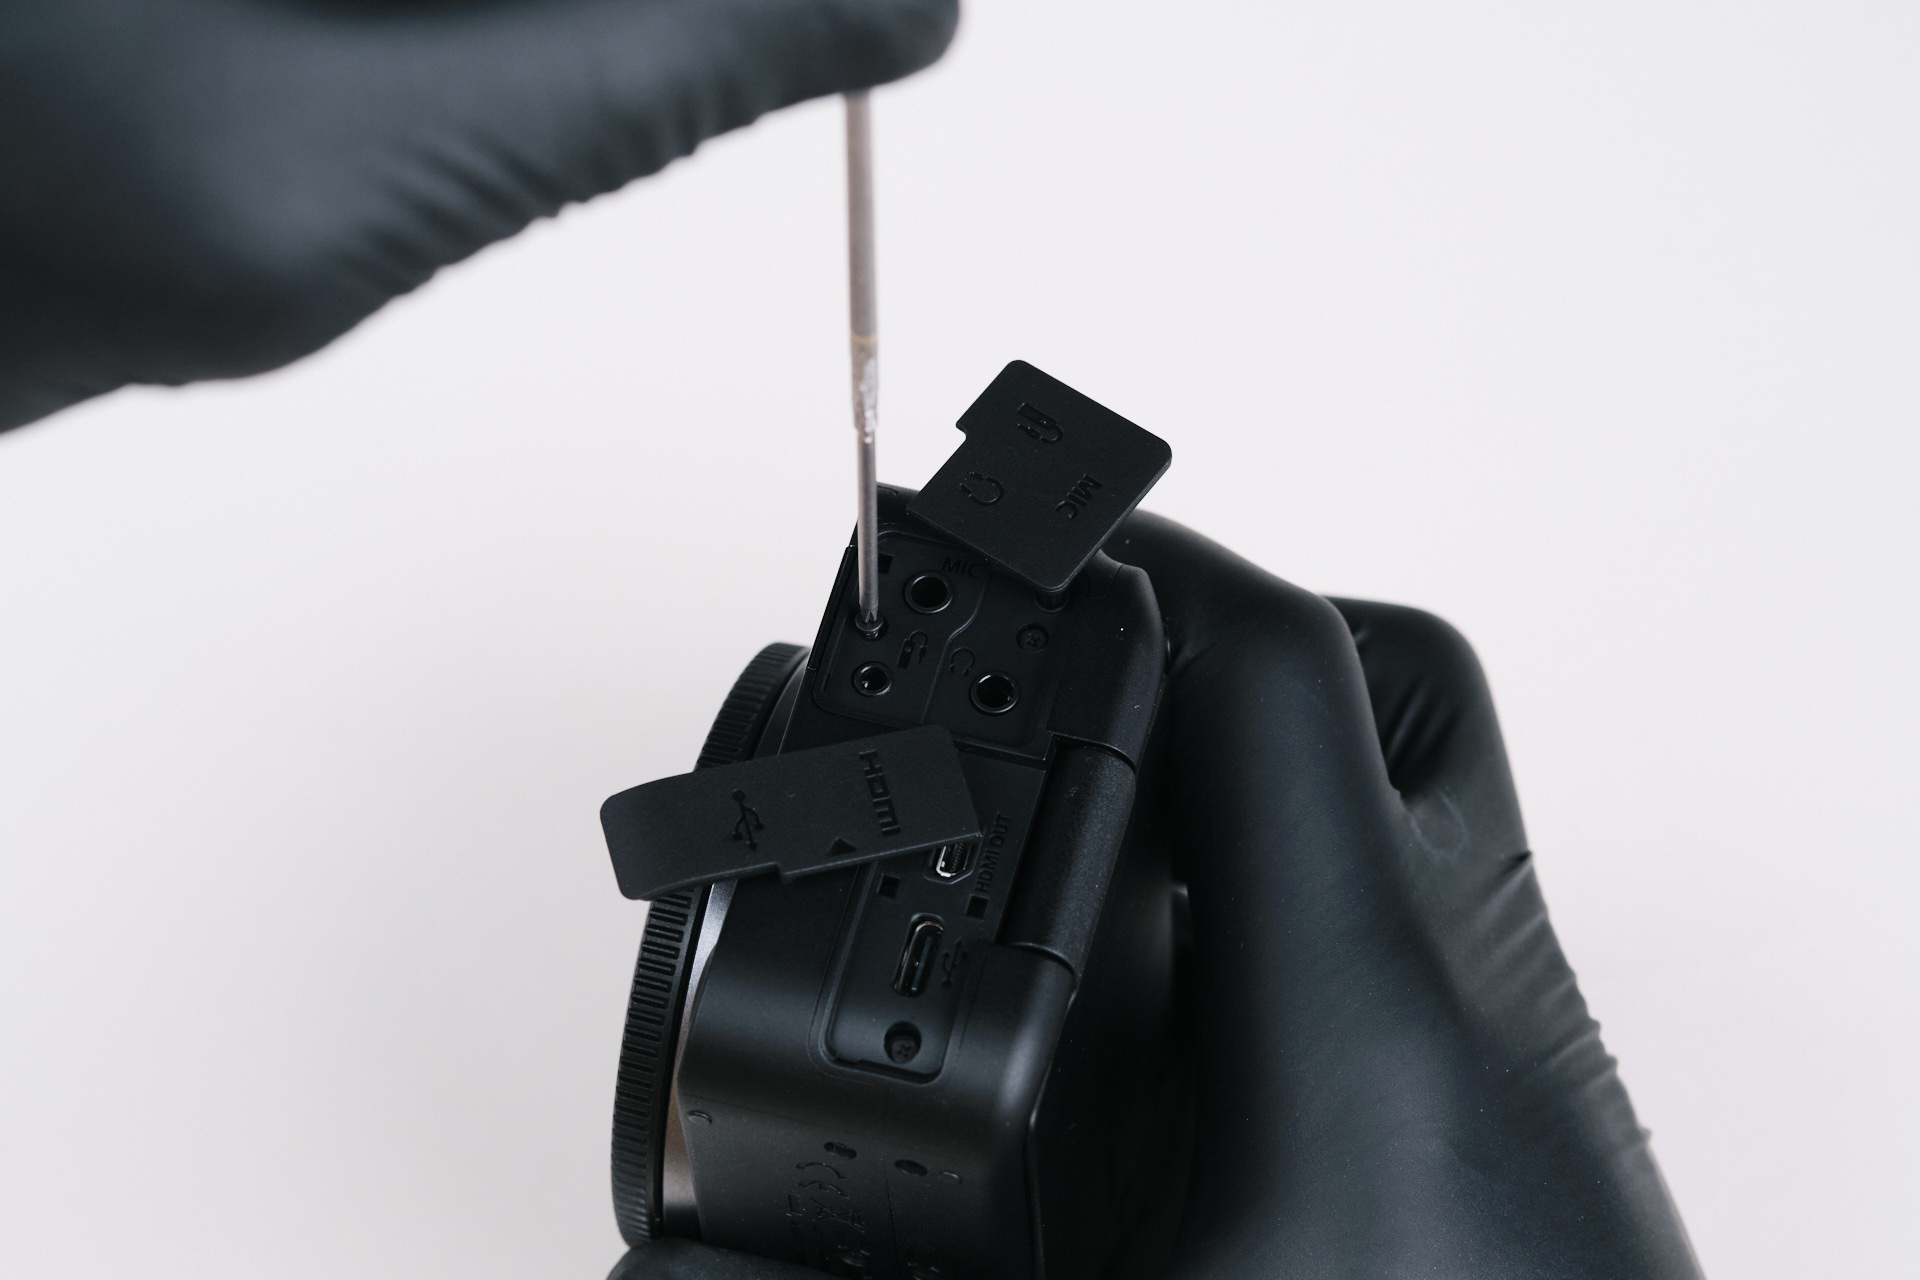
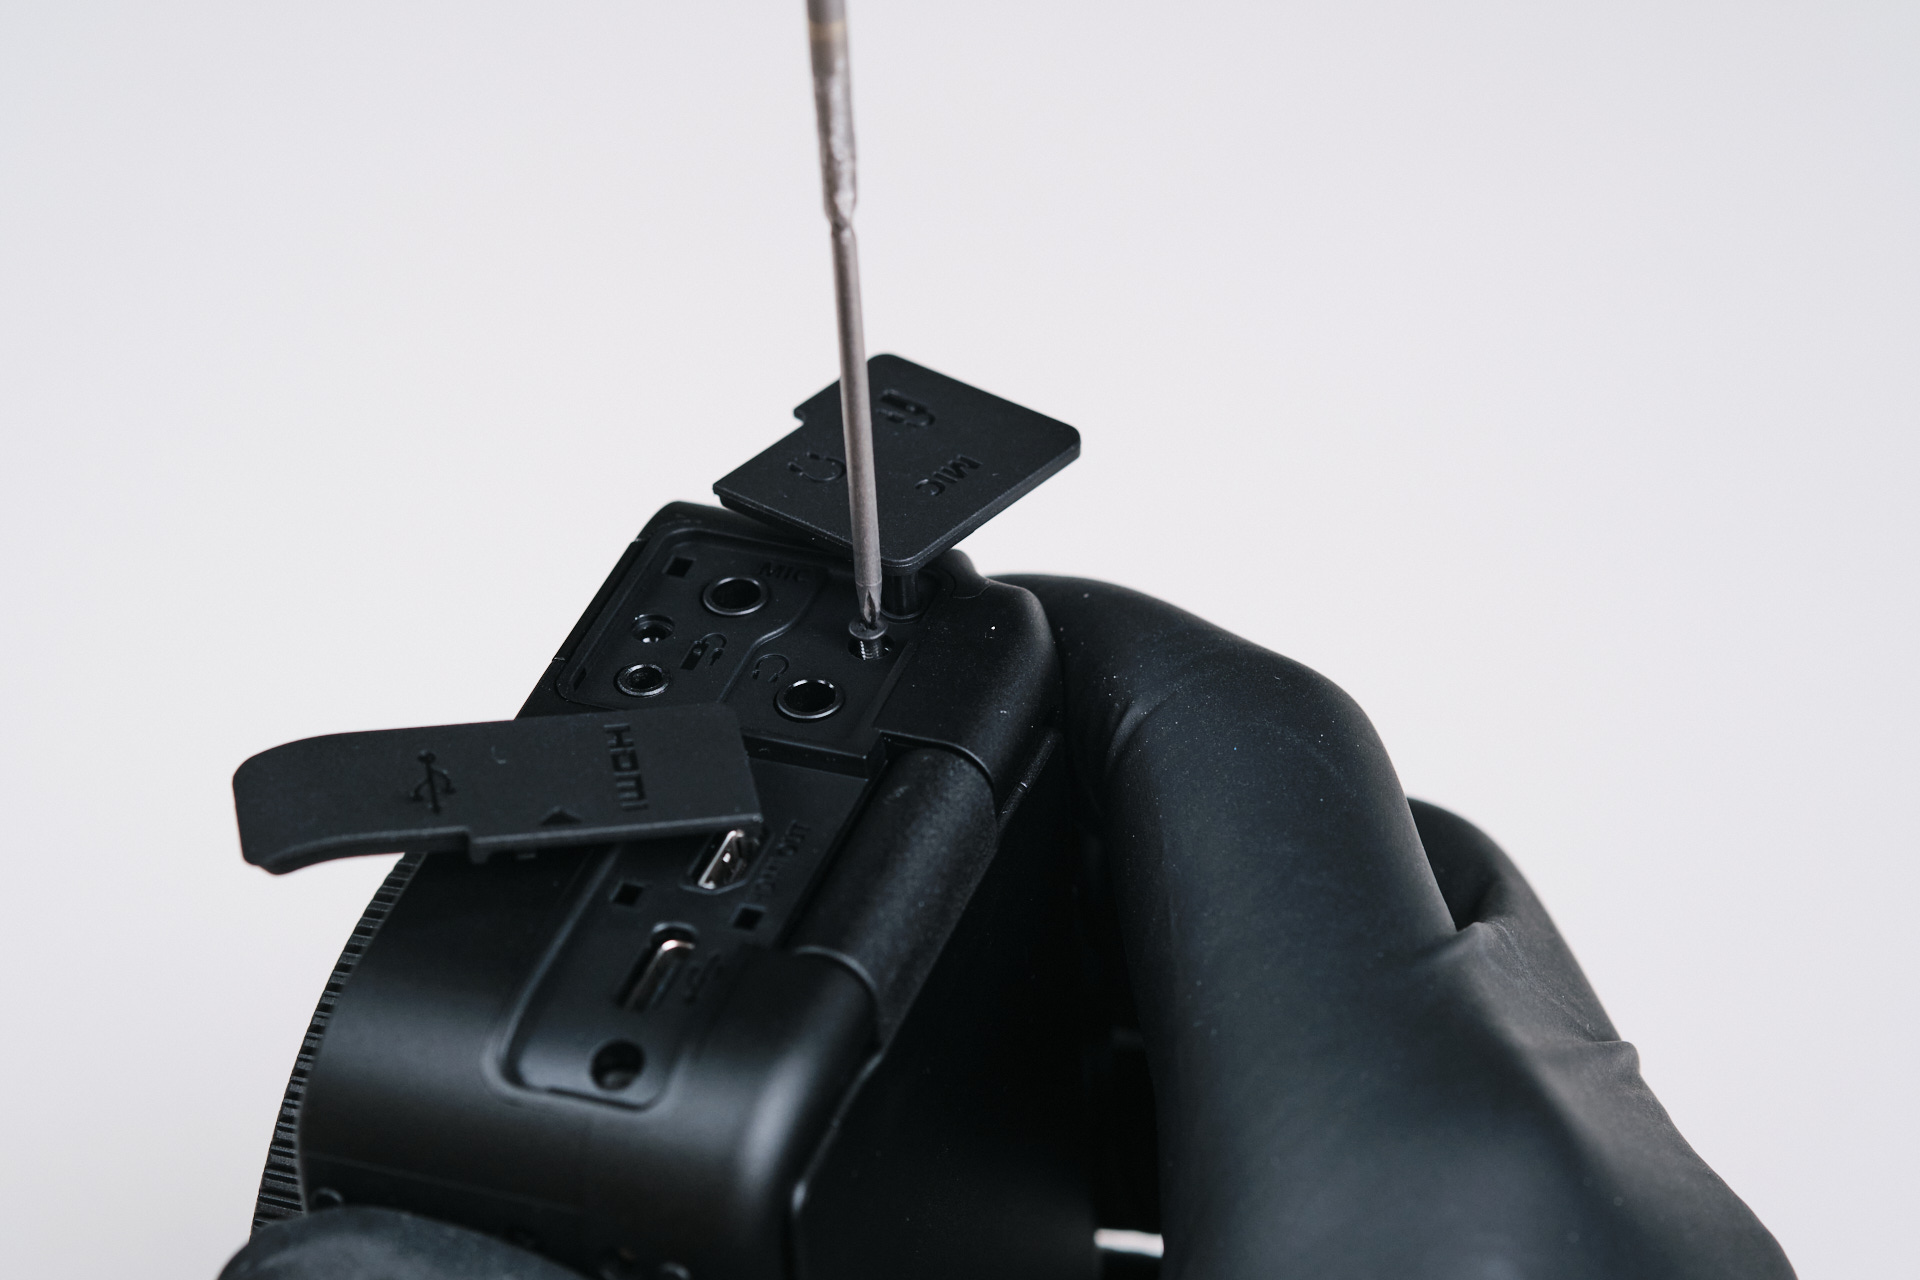
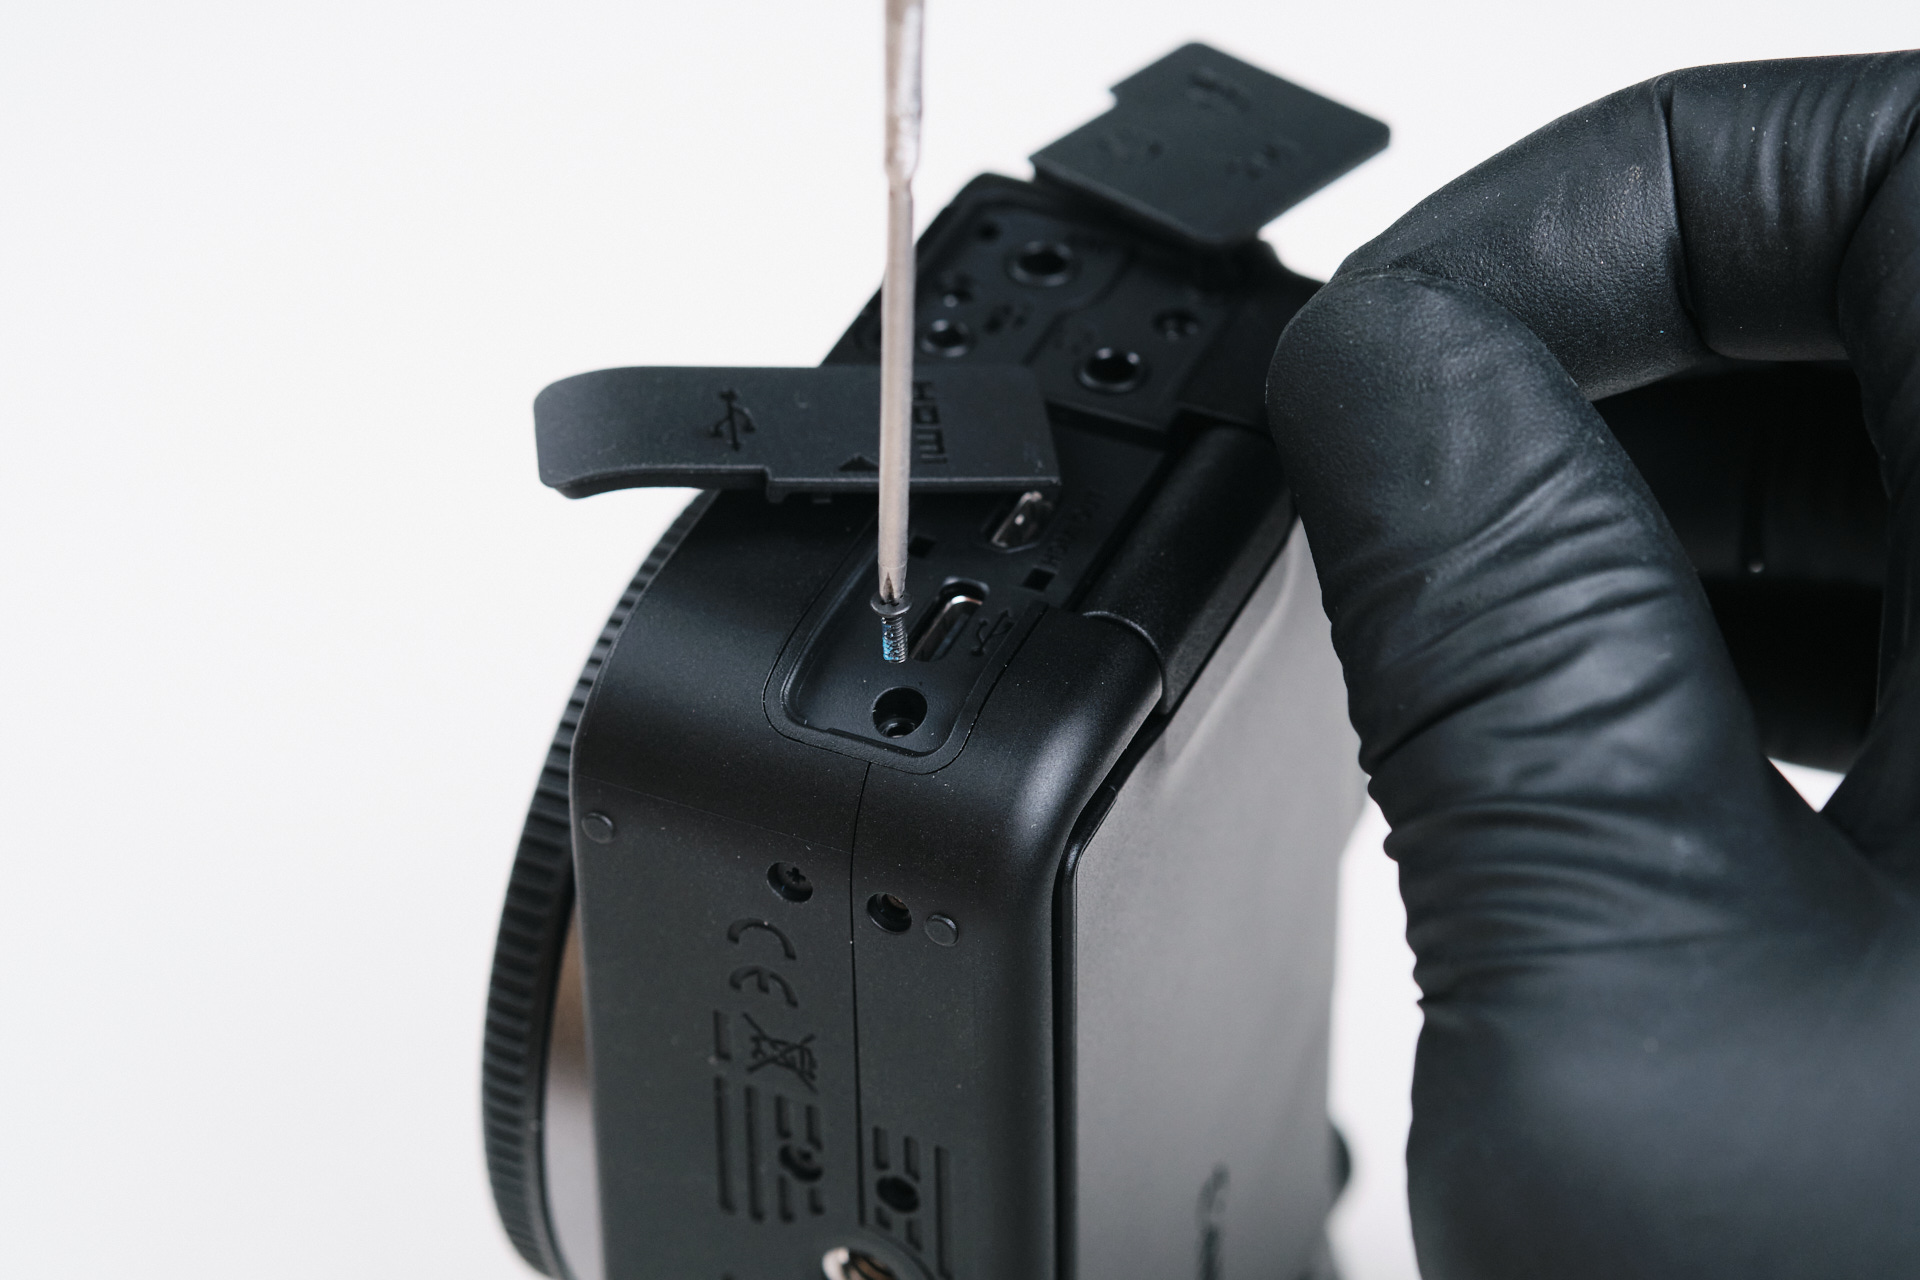
Removing Port Side Screws on the Canon EOS R50V
The camera’s port side contained three screws beneath the covers. The port side is one of the easiest spots to uncover screws as they are easily accessible beneath the input jack covers.
Removing Right Side and Hidden Exterior Screws
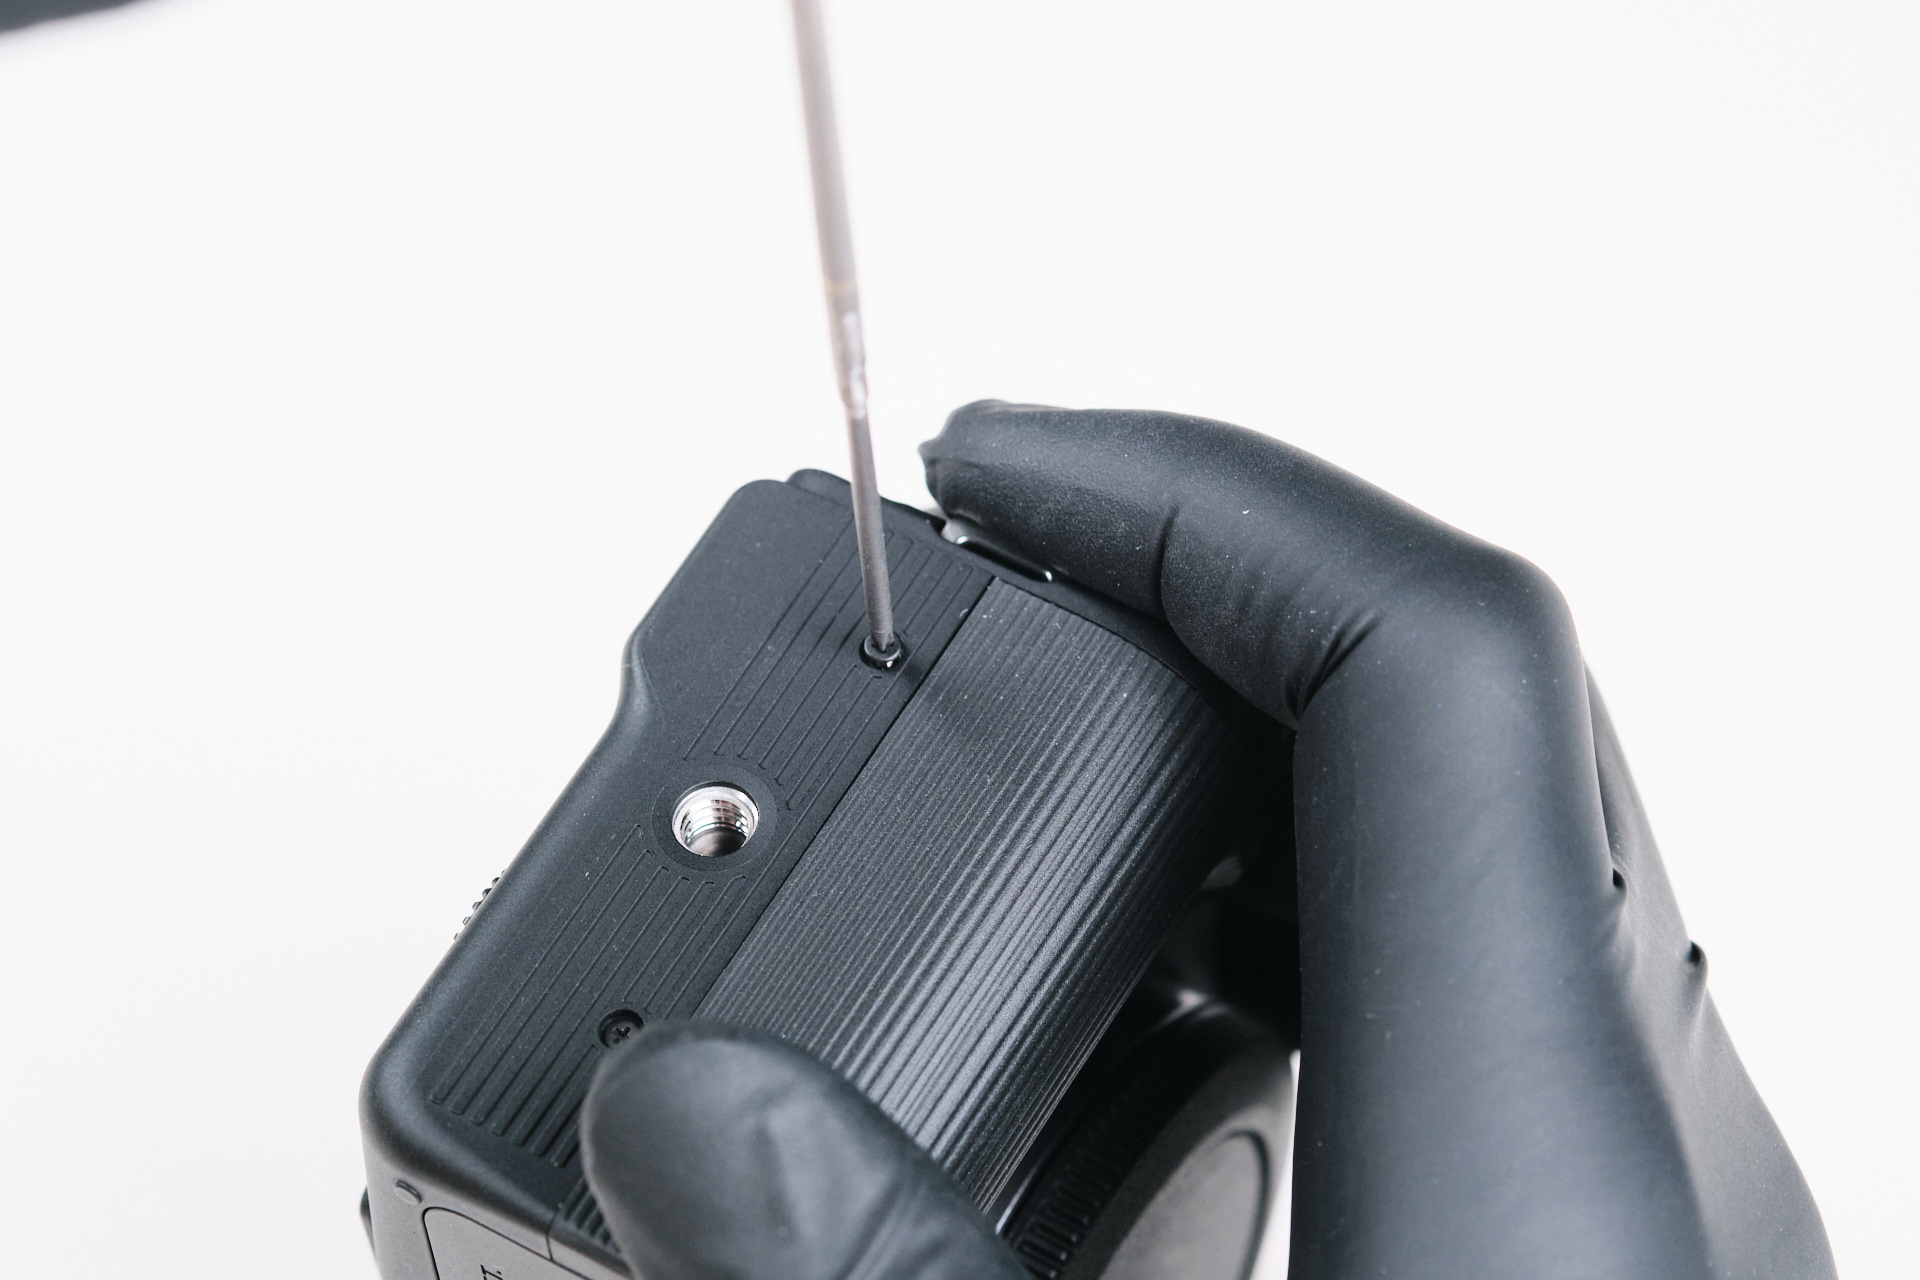
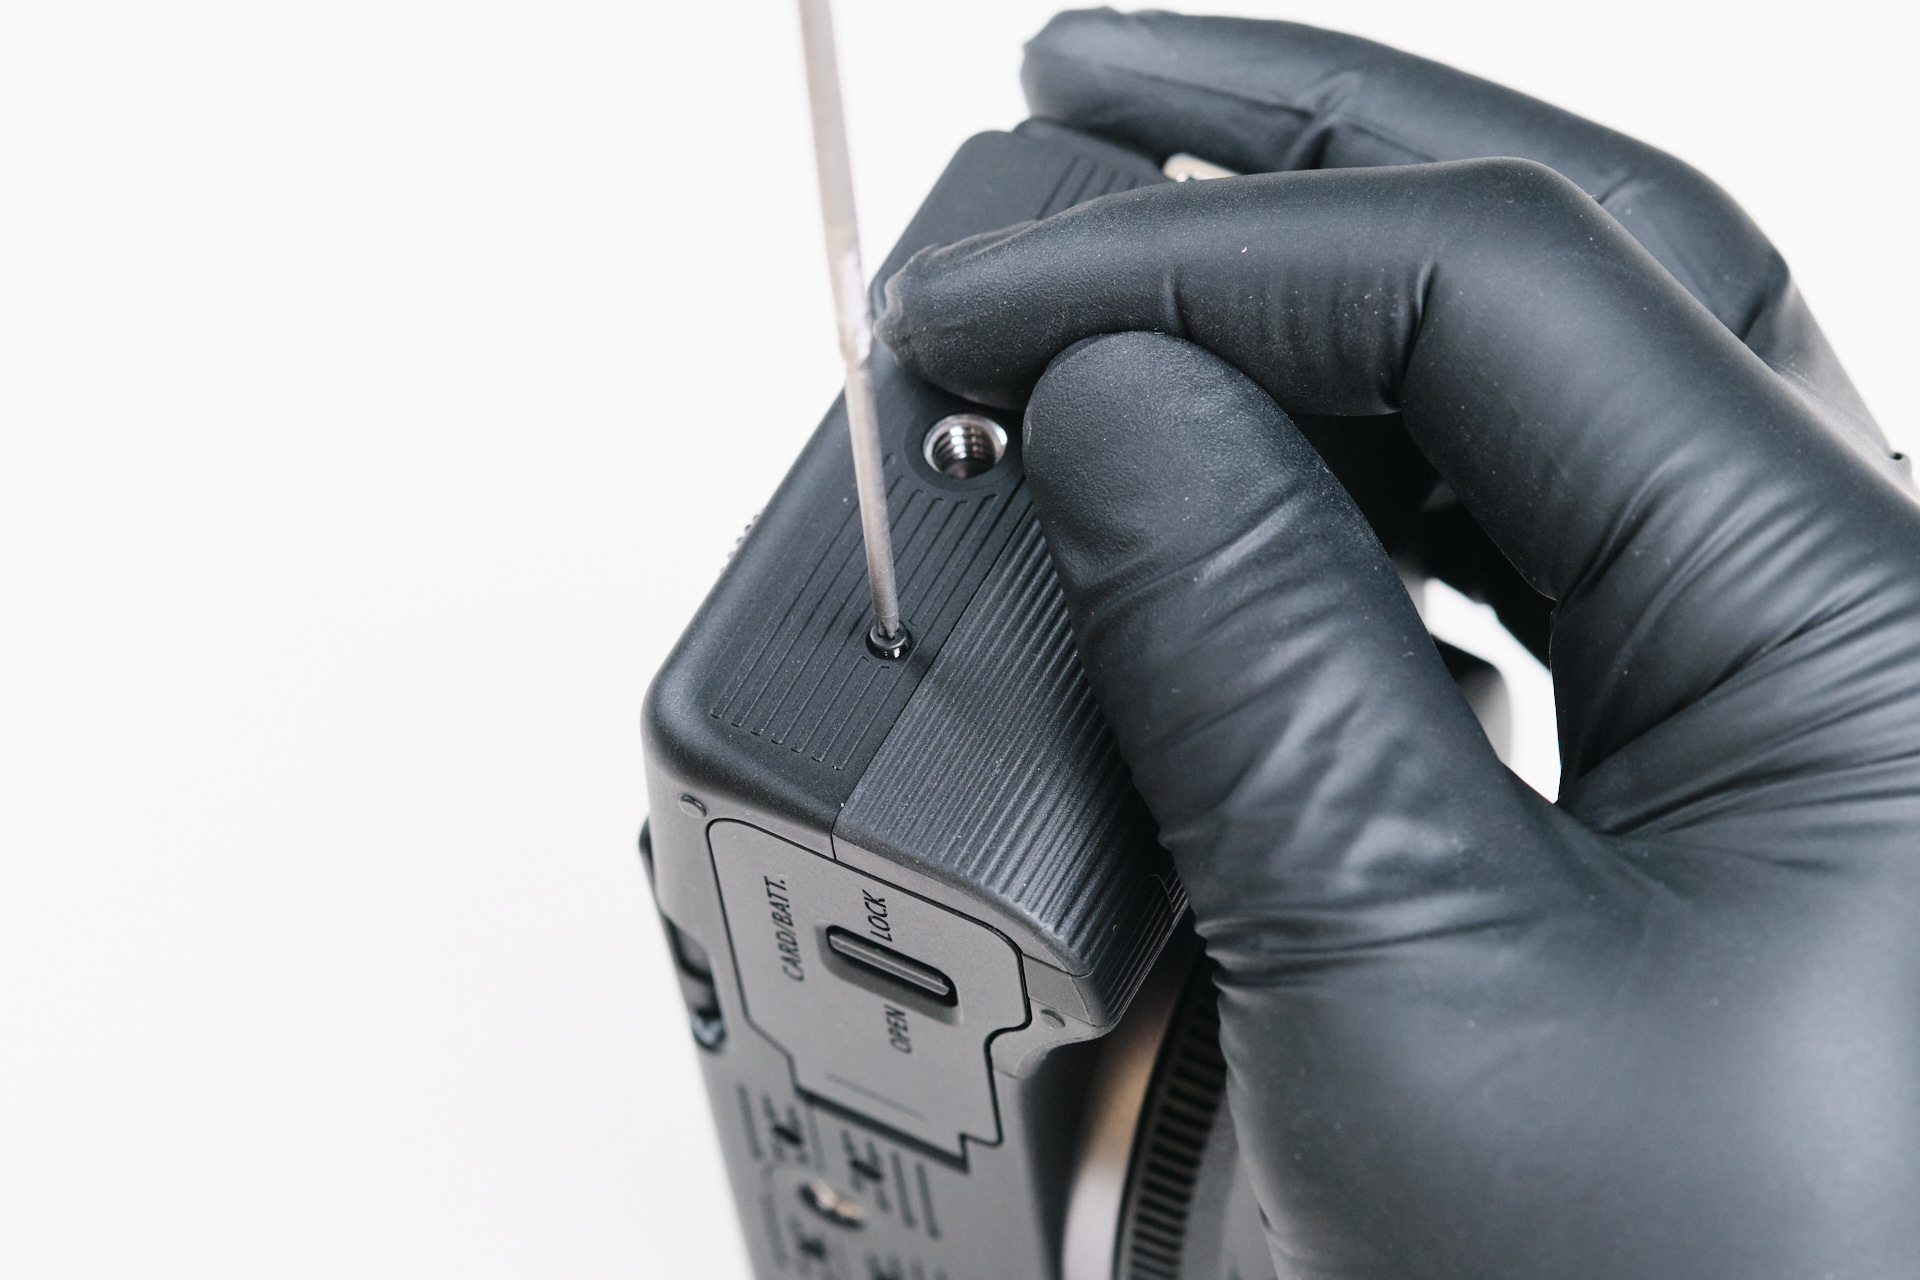
There are two screws on the right side of the camera.
Finding the Remaining External Screws
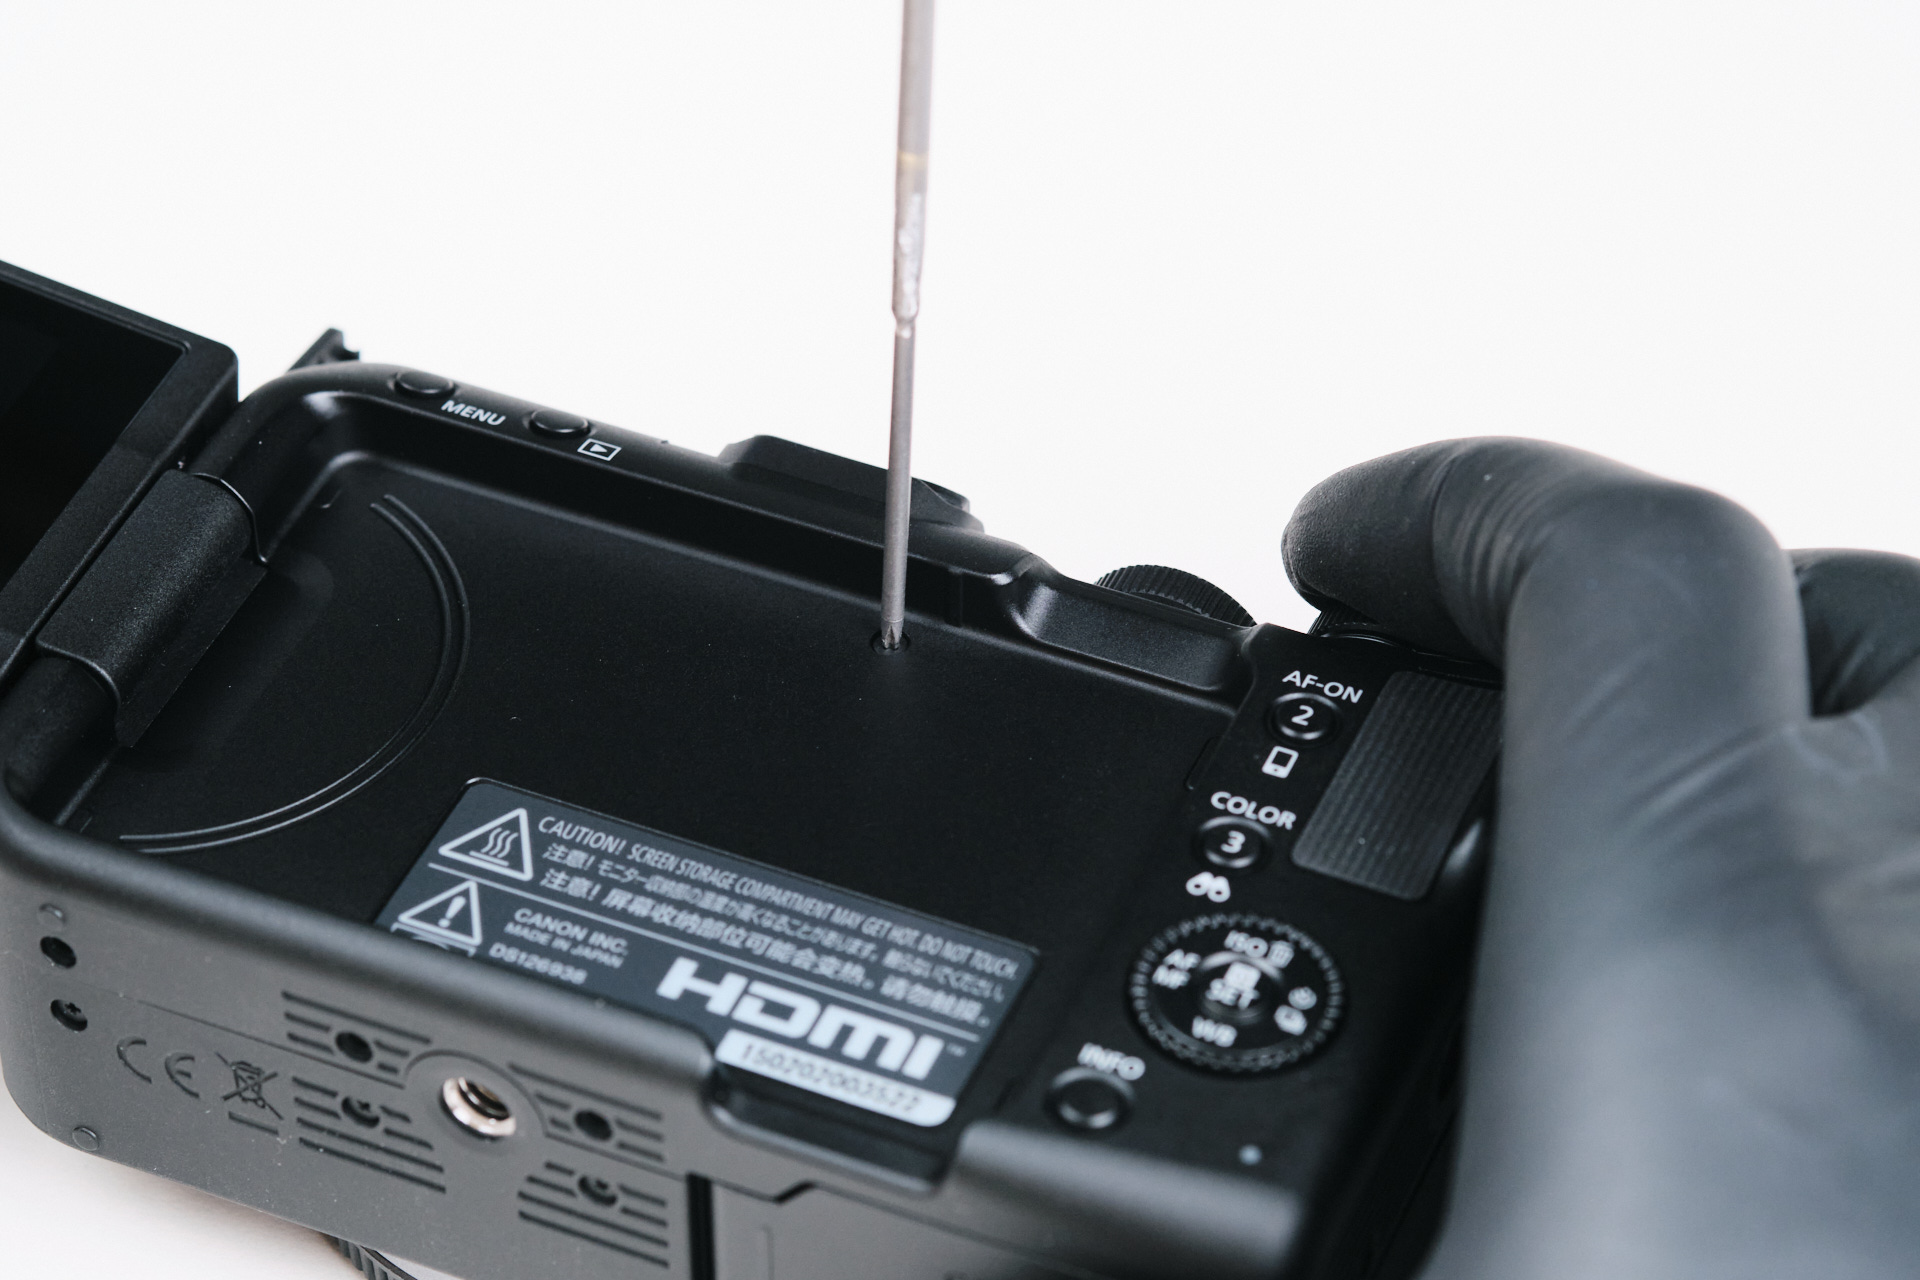
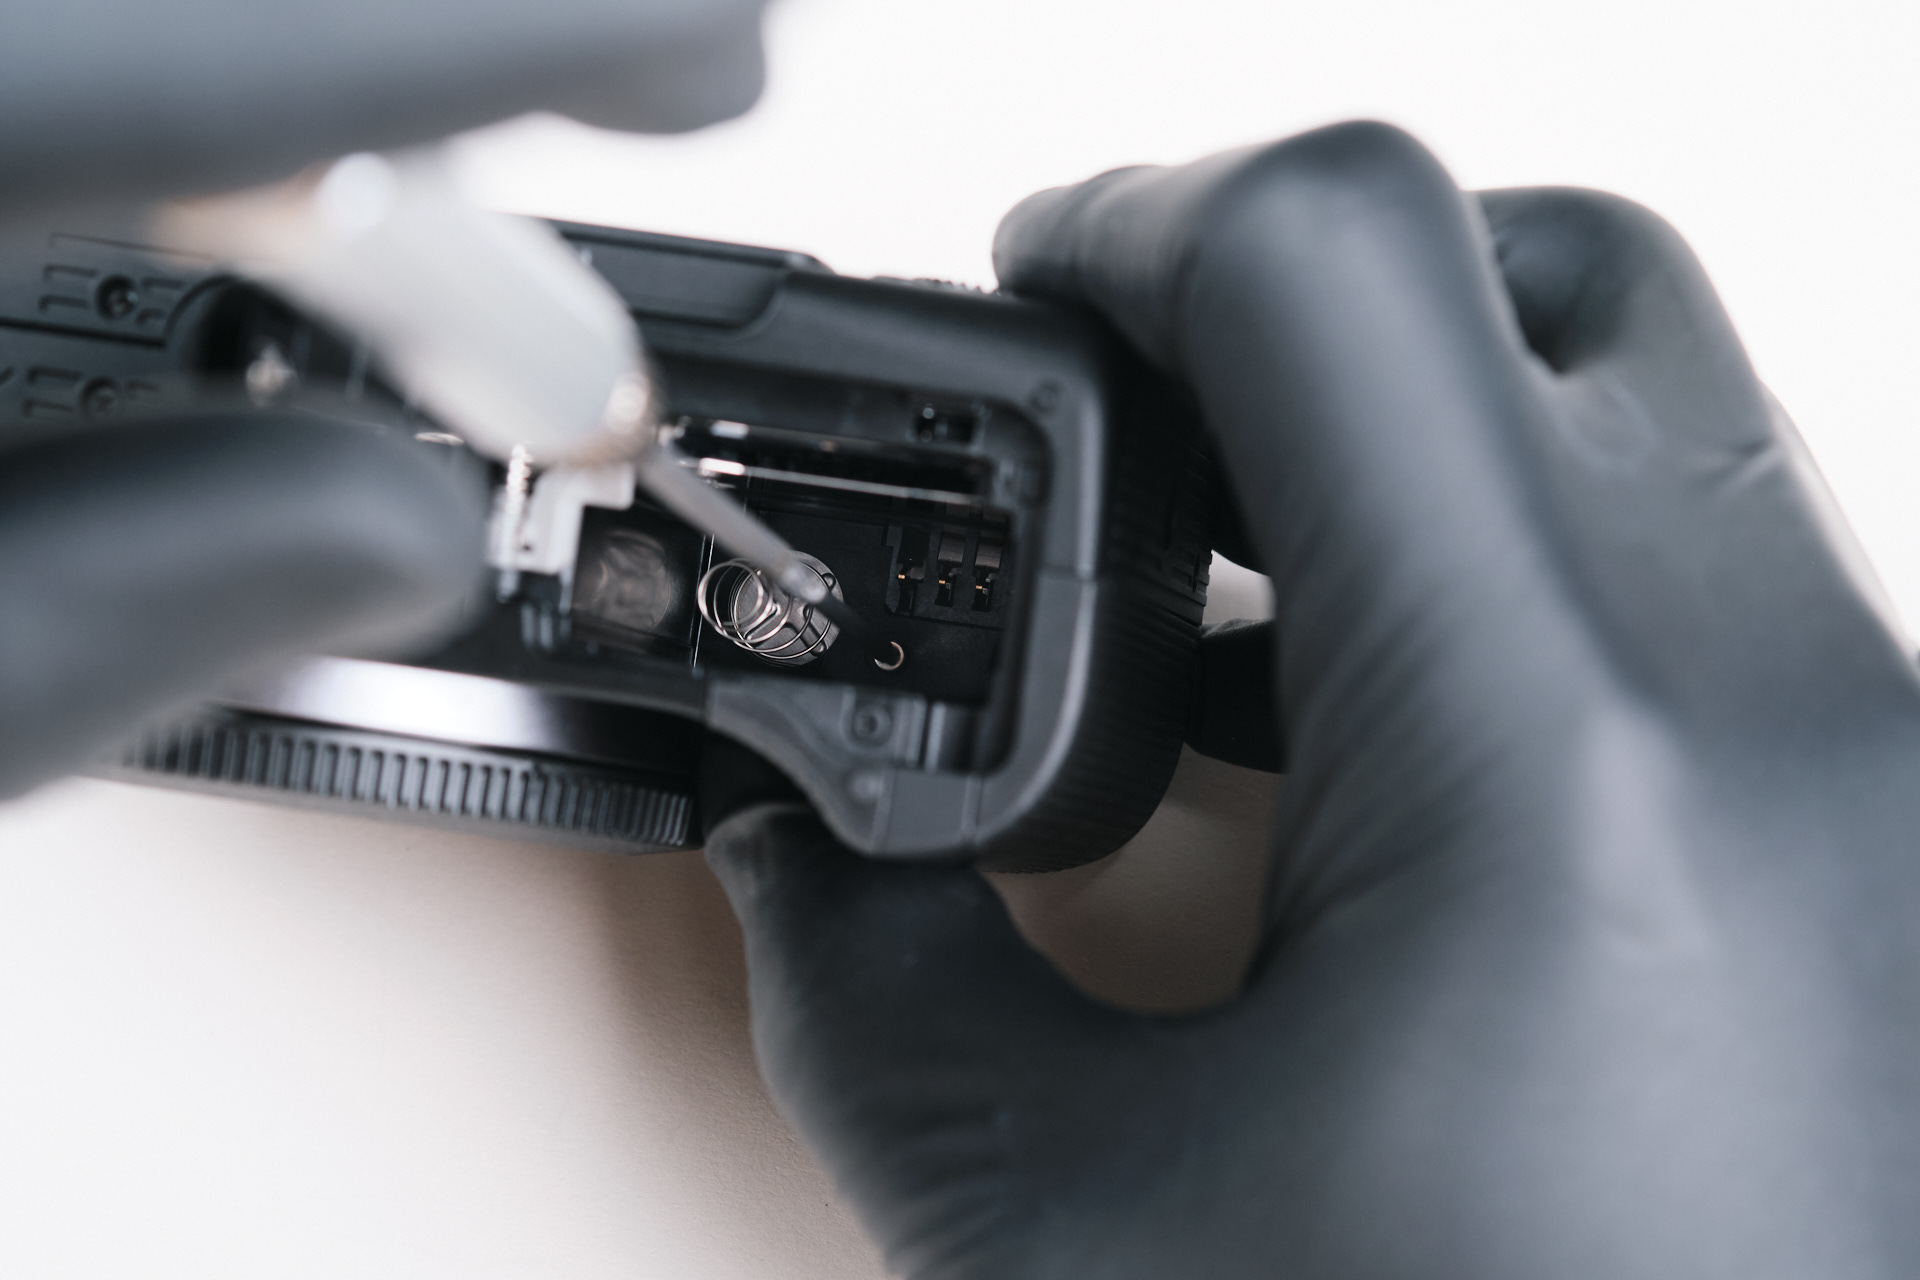
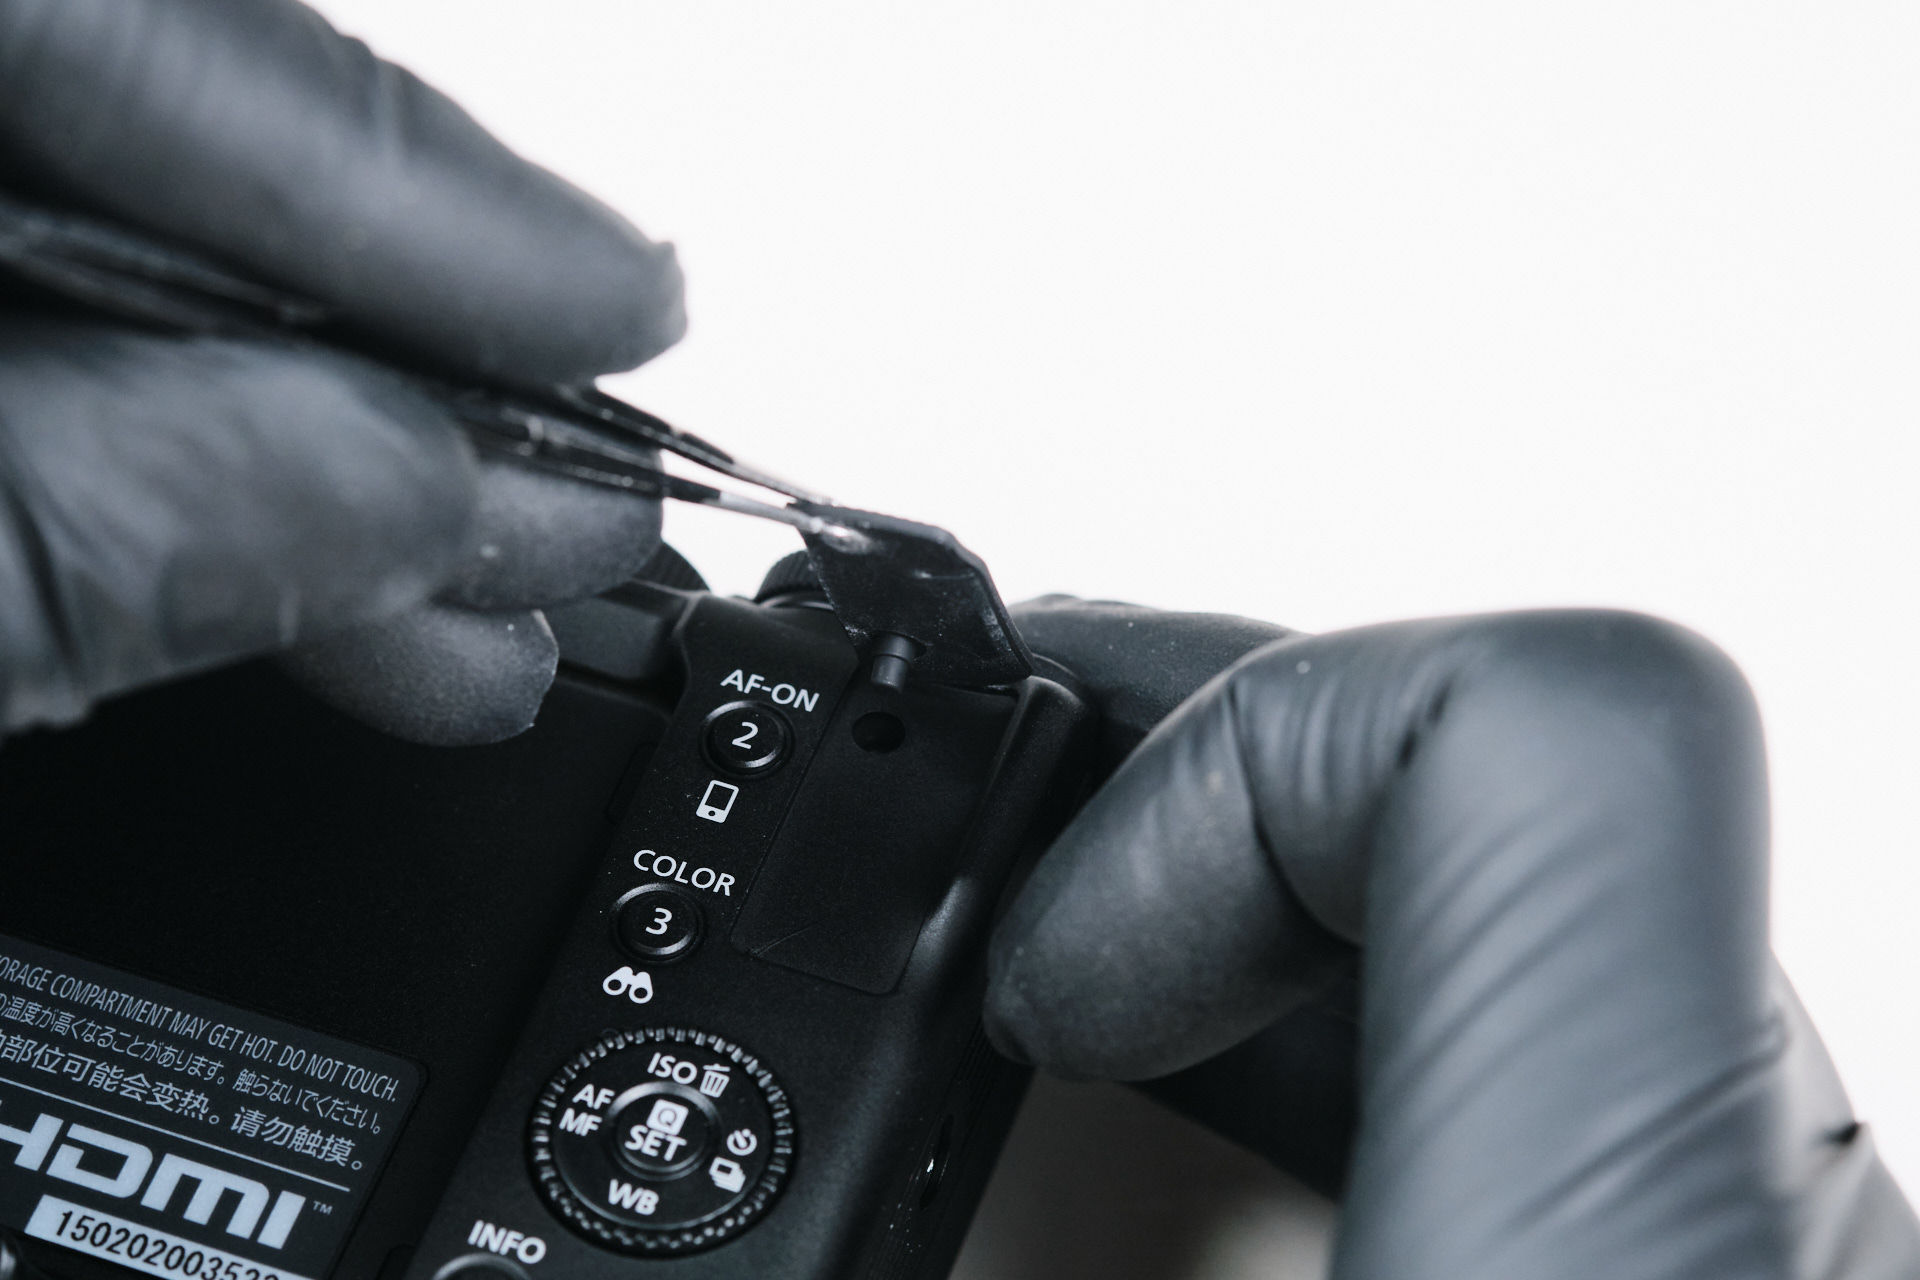
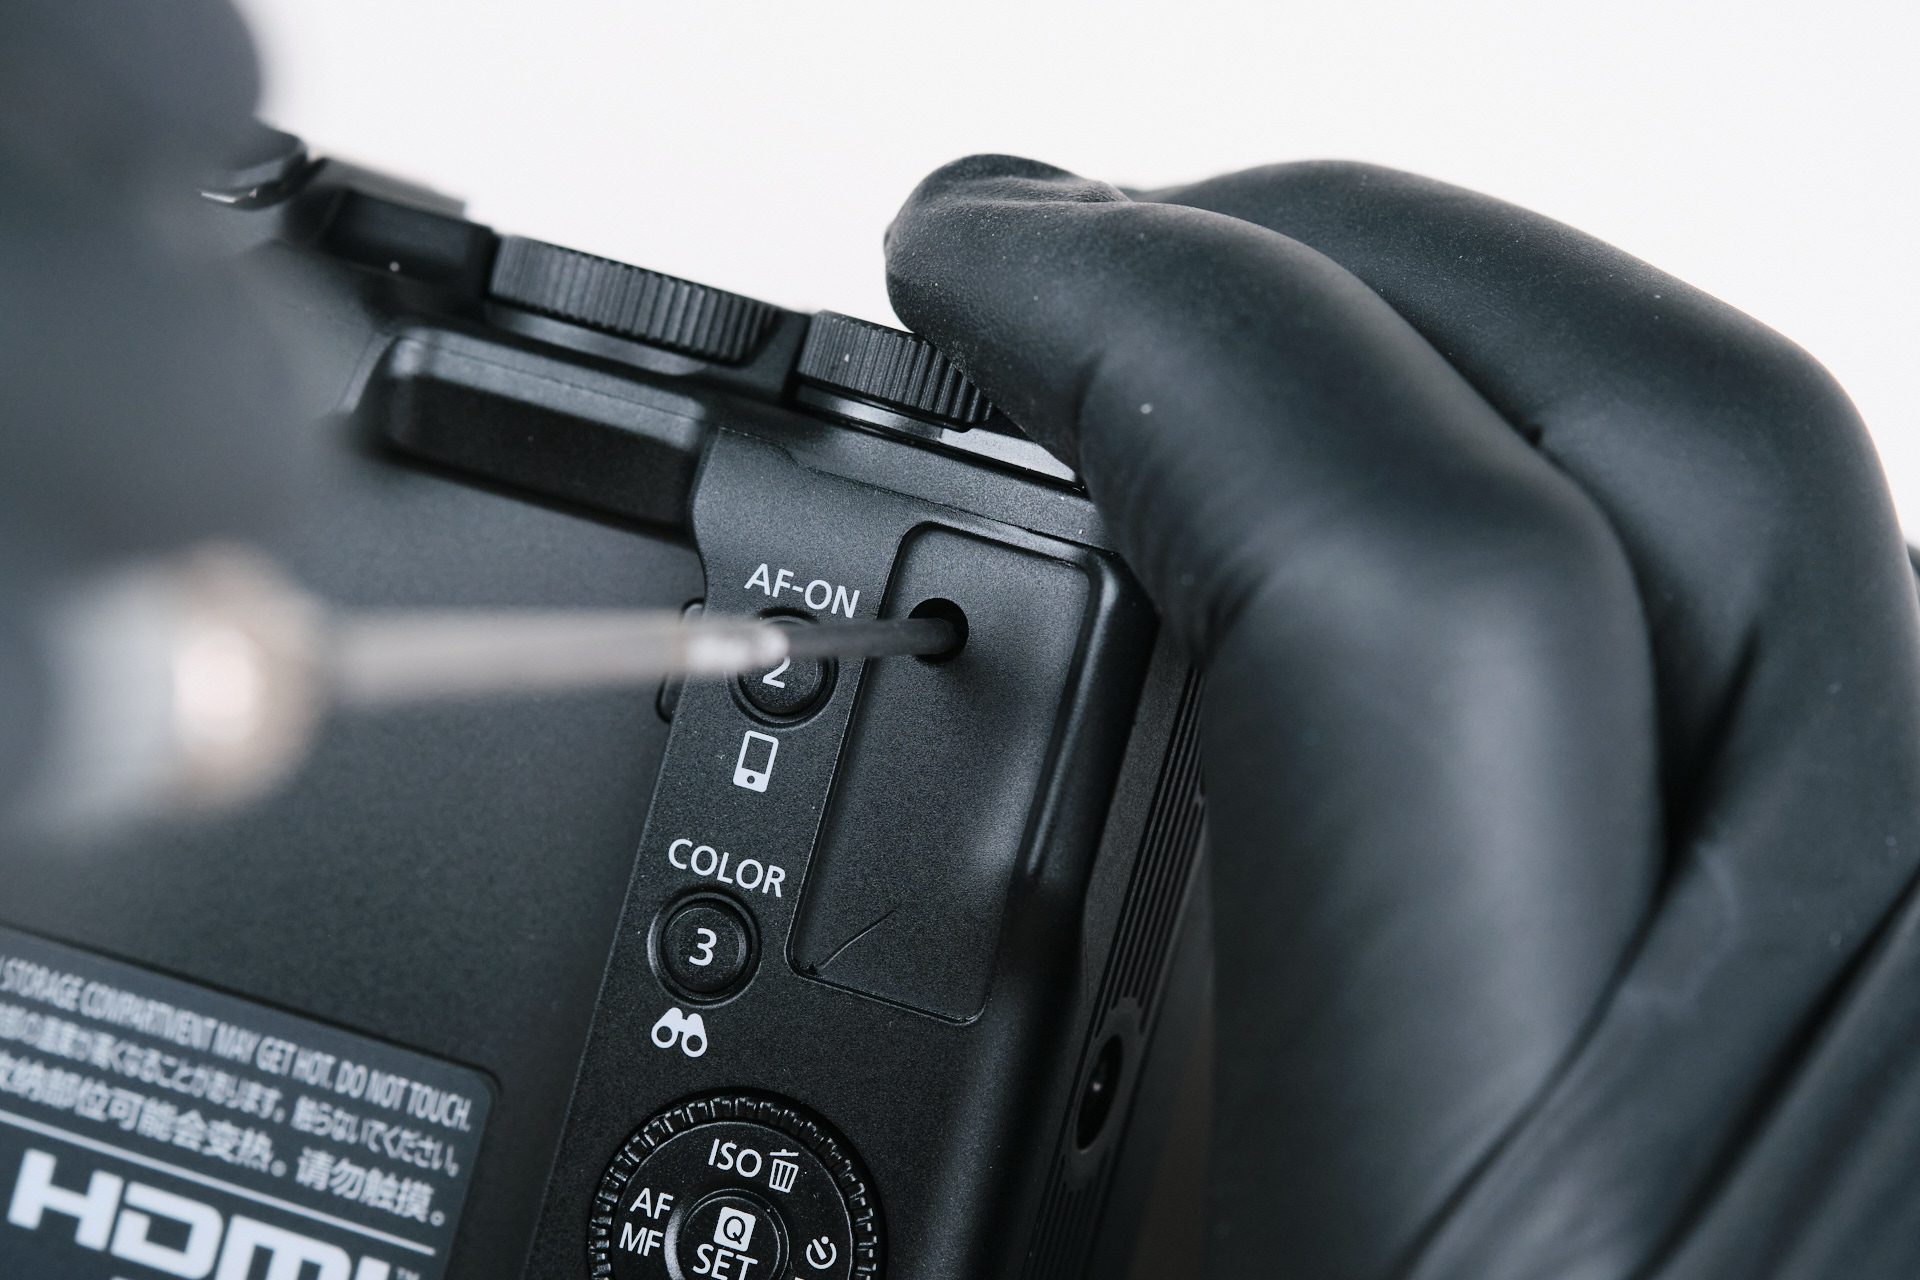
Since the Canon EOS R50V is small, there weren’t many screws to uncover. The remaining external screws included one behind the LCD screen, one within the battery compartment, and another hidden under the right thumb grip cover.
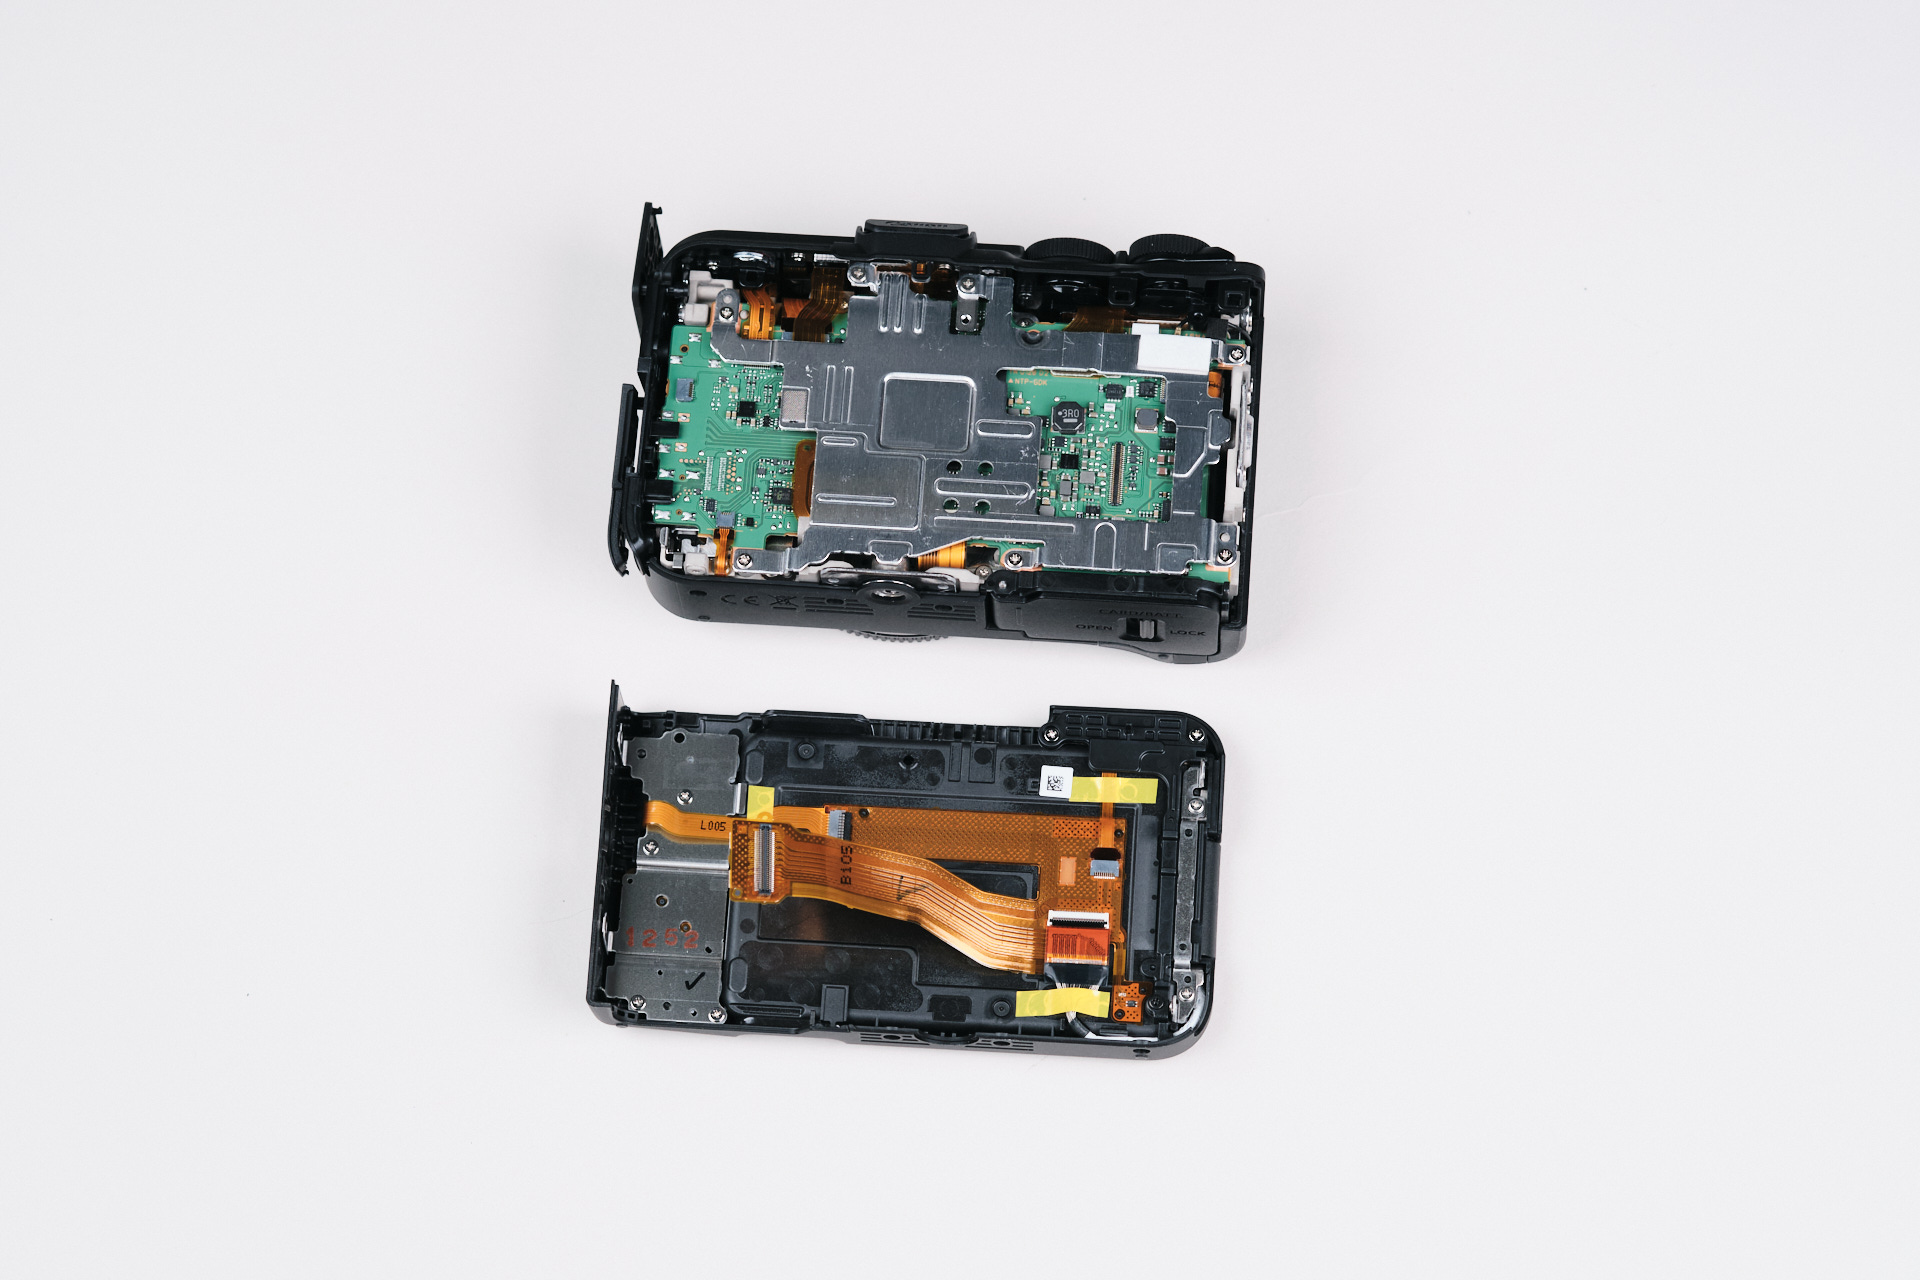
Separating the Front and Back Camera Panels
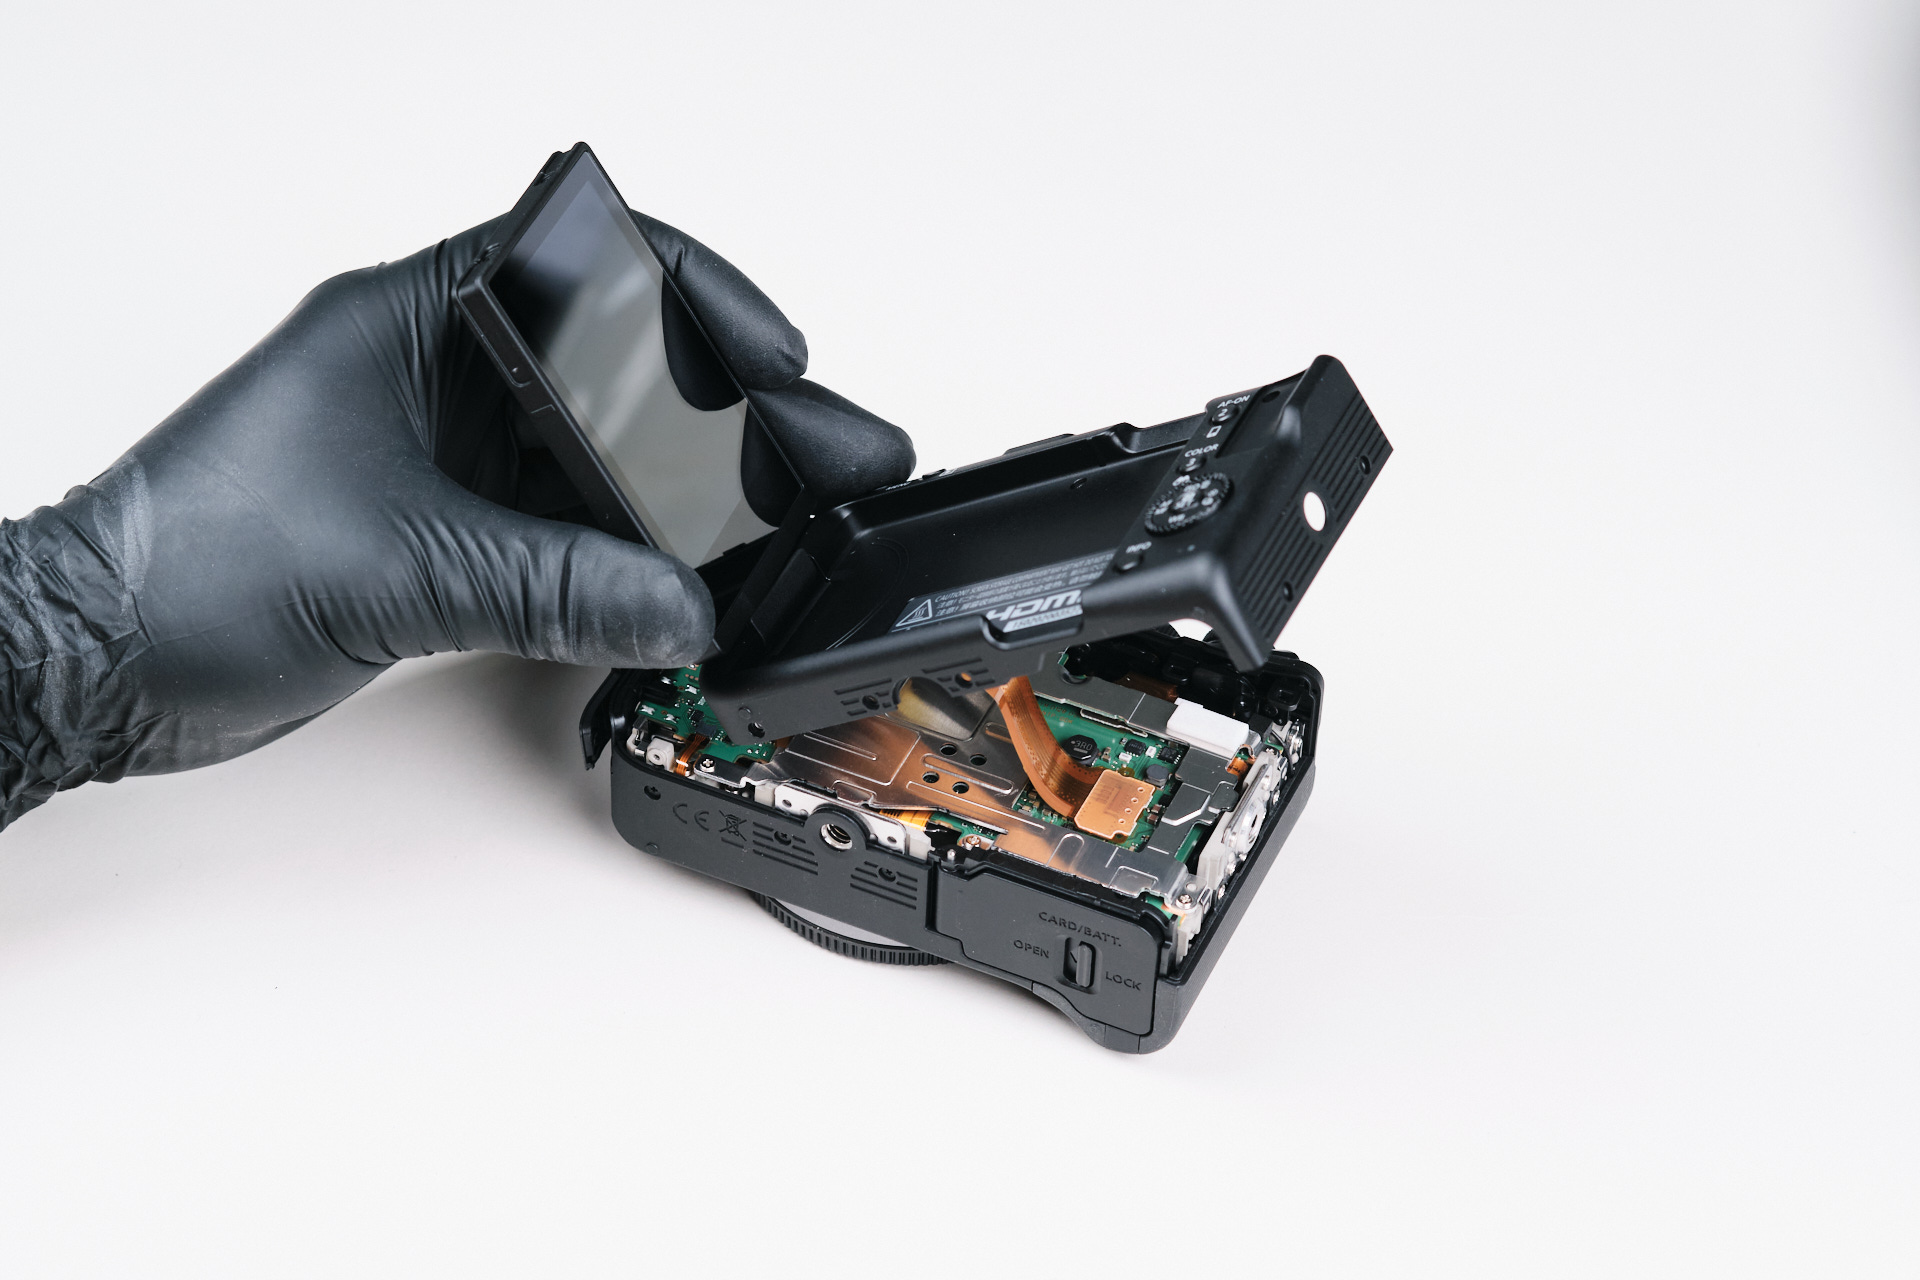
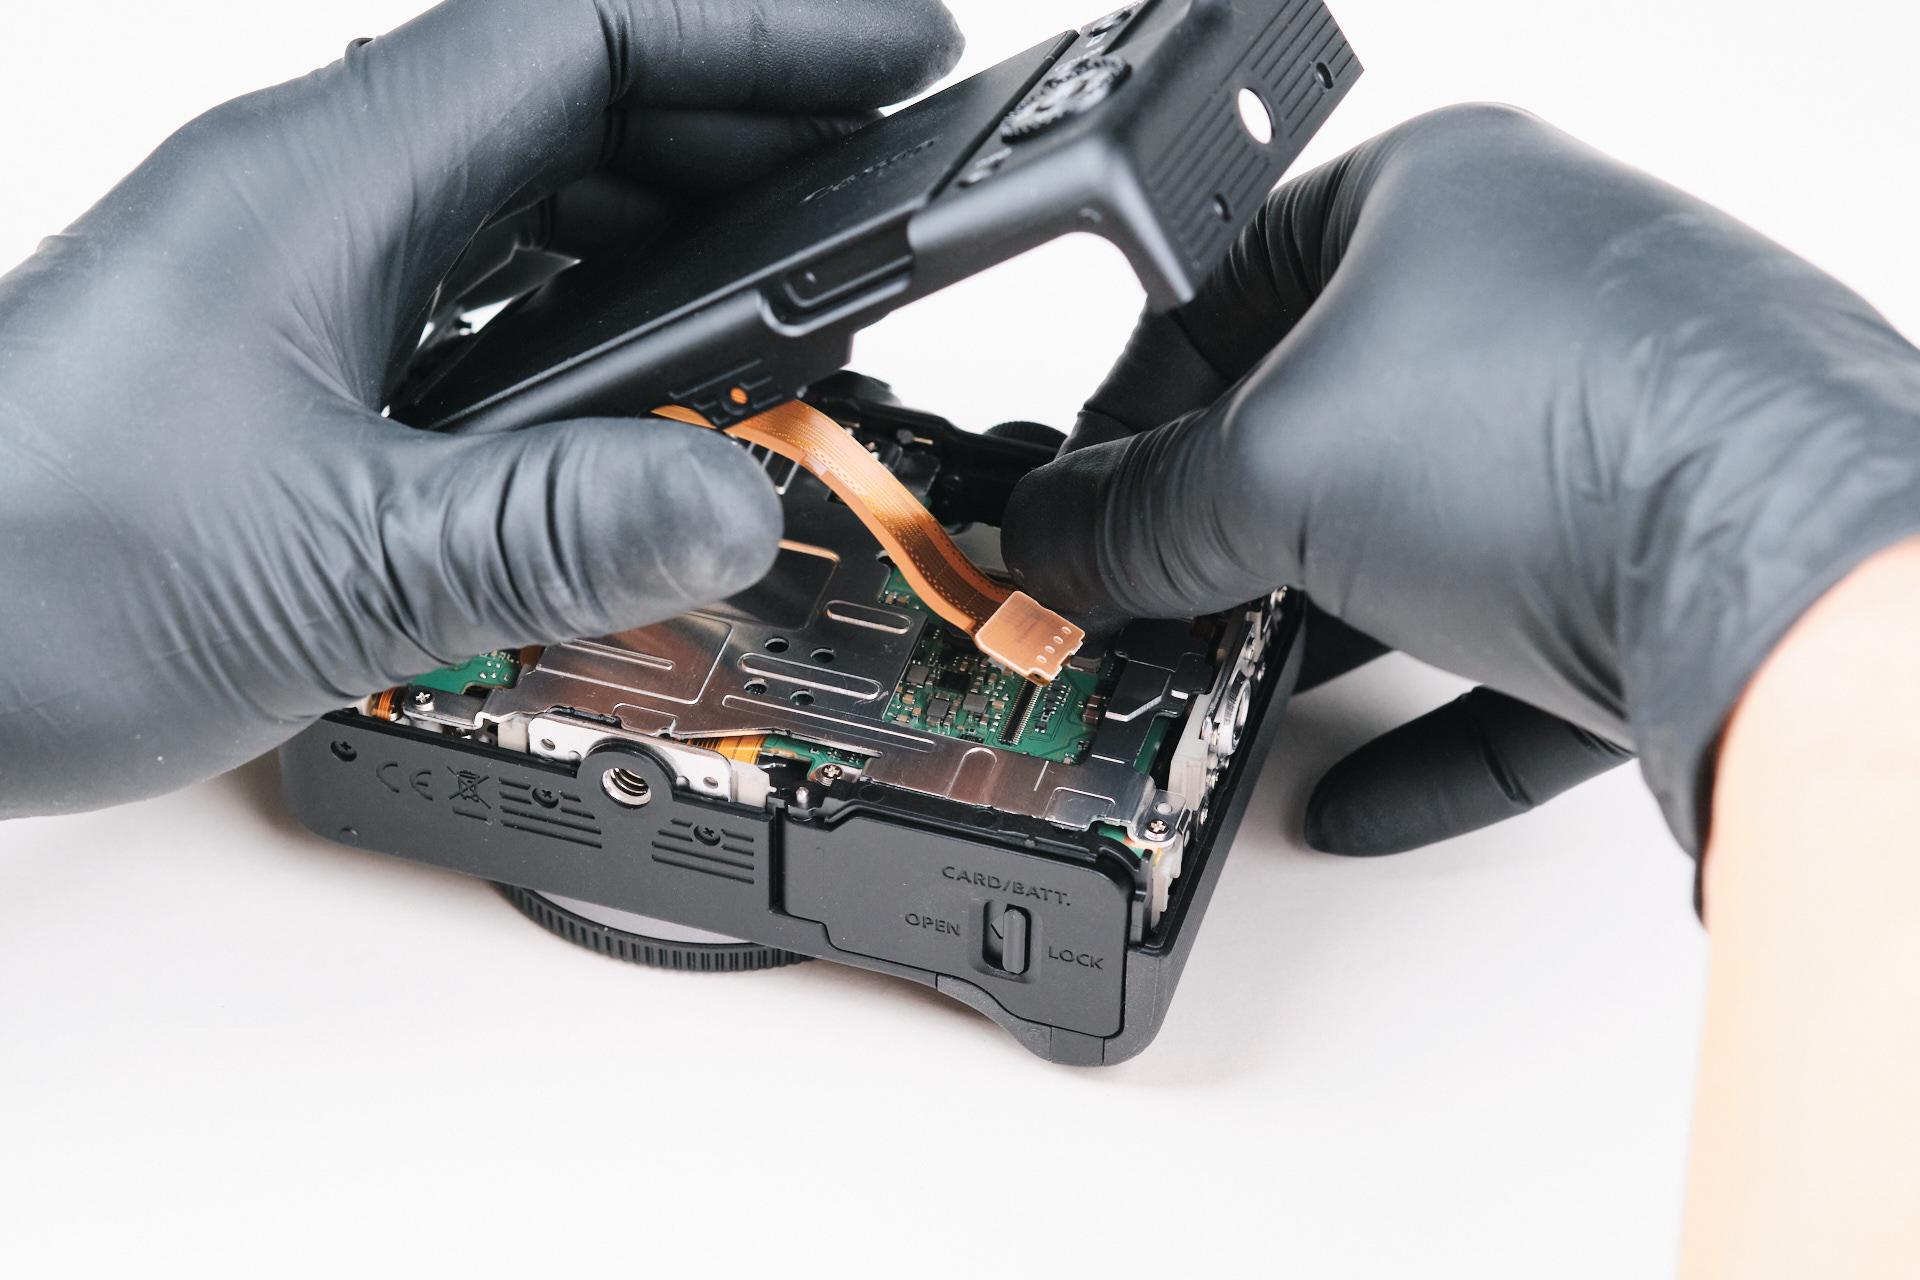
Removing all the aforementioned screws allowed us to split the front and back panels of the camera body frame. One large ribbon cable needed to be disconnected to fully split a part the body frames.
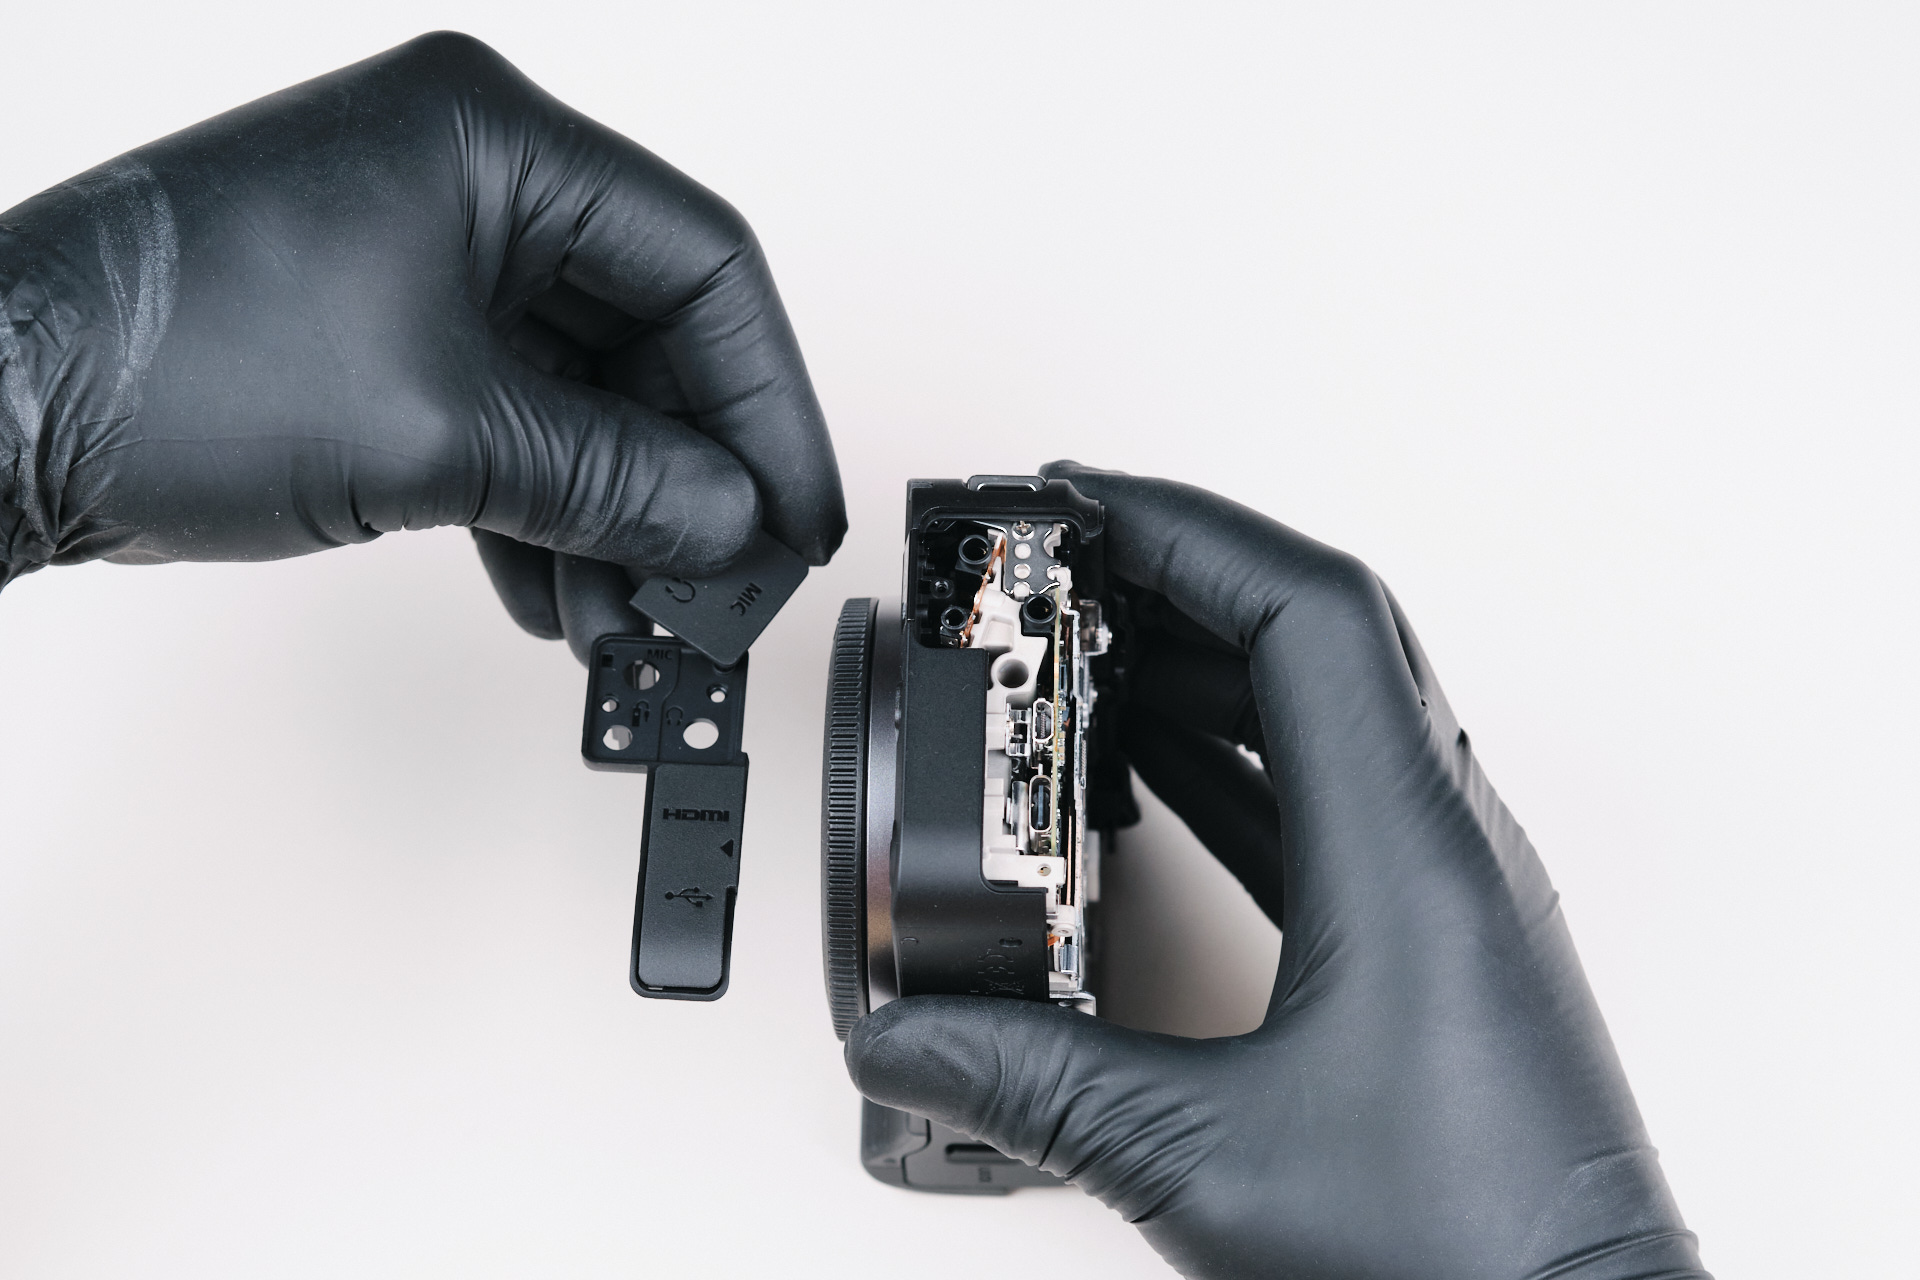
Removing the Port Side Cover and Accessing the Interior
The port side cover of the camera clips right off. This exposes the left side of the camera, showing the internal layers.
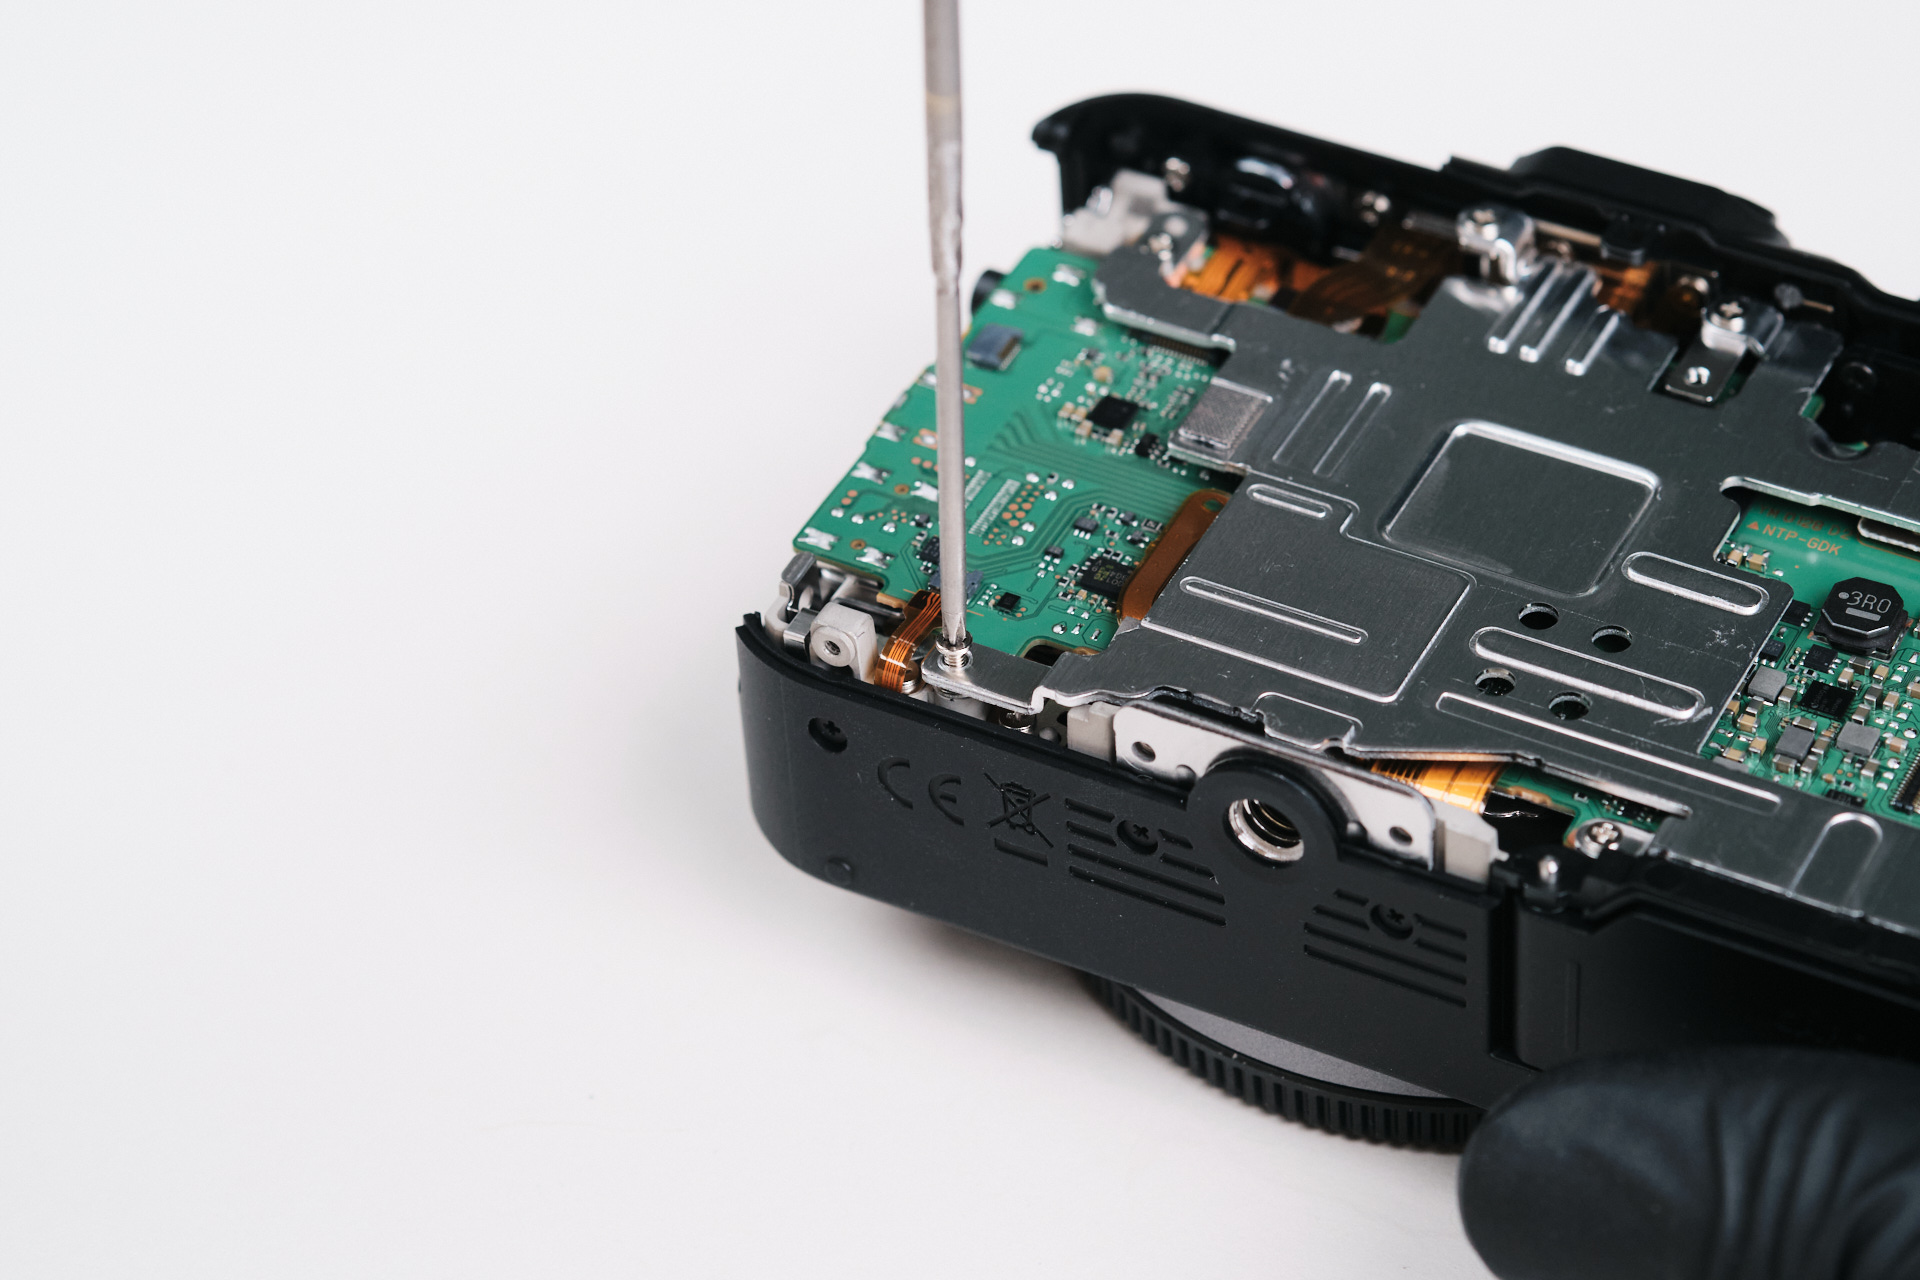
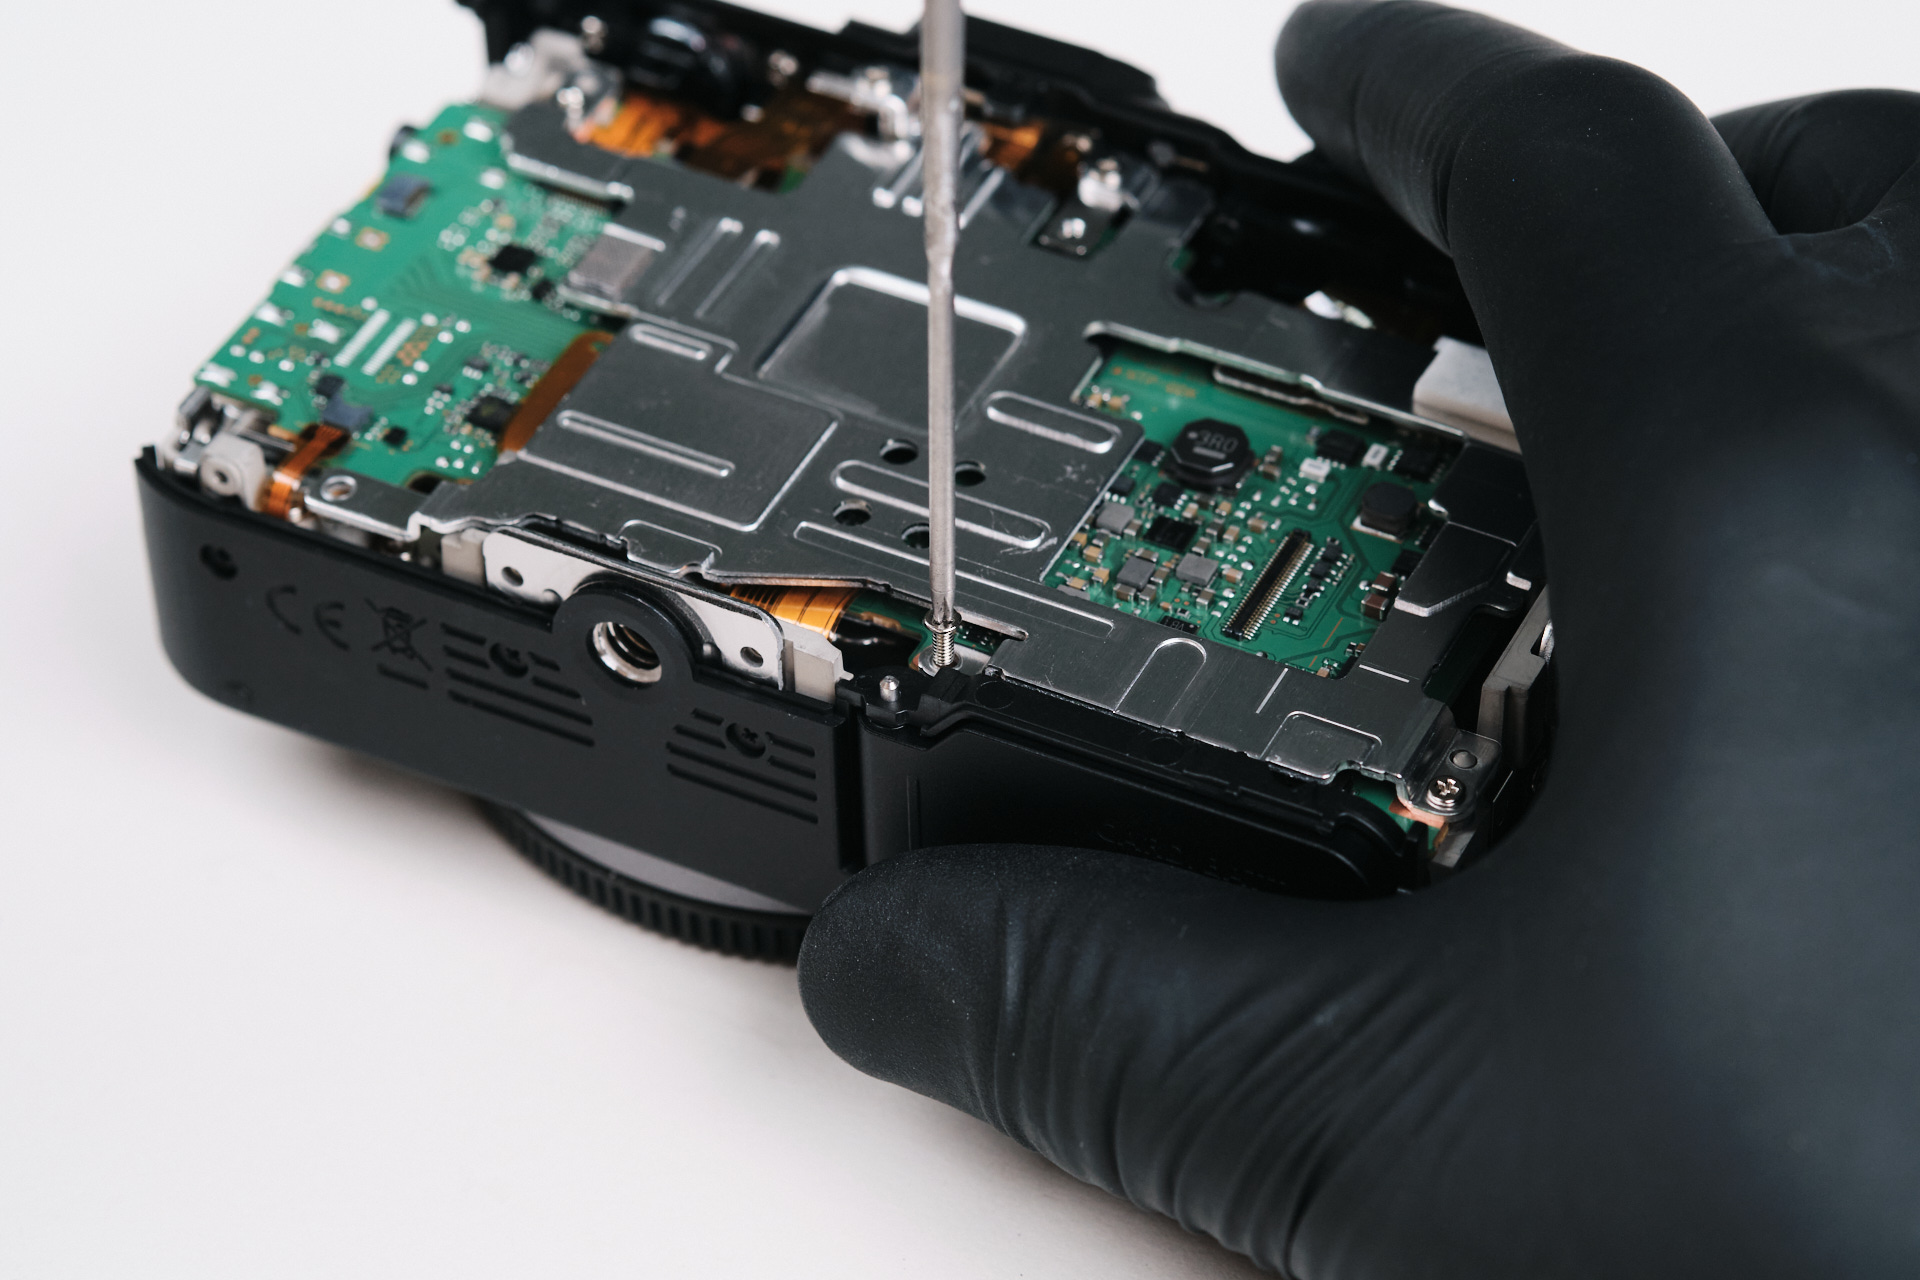
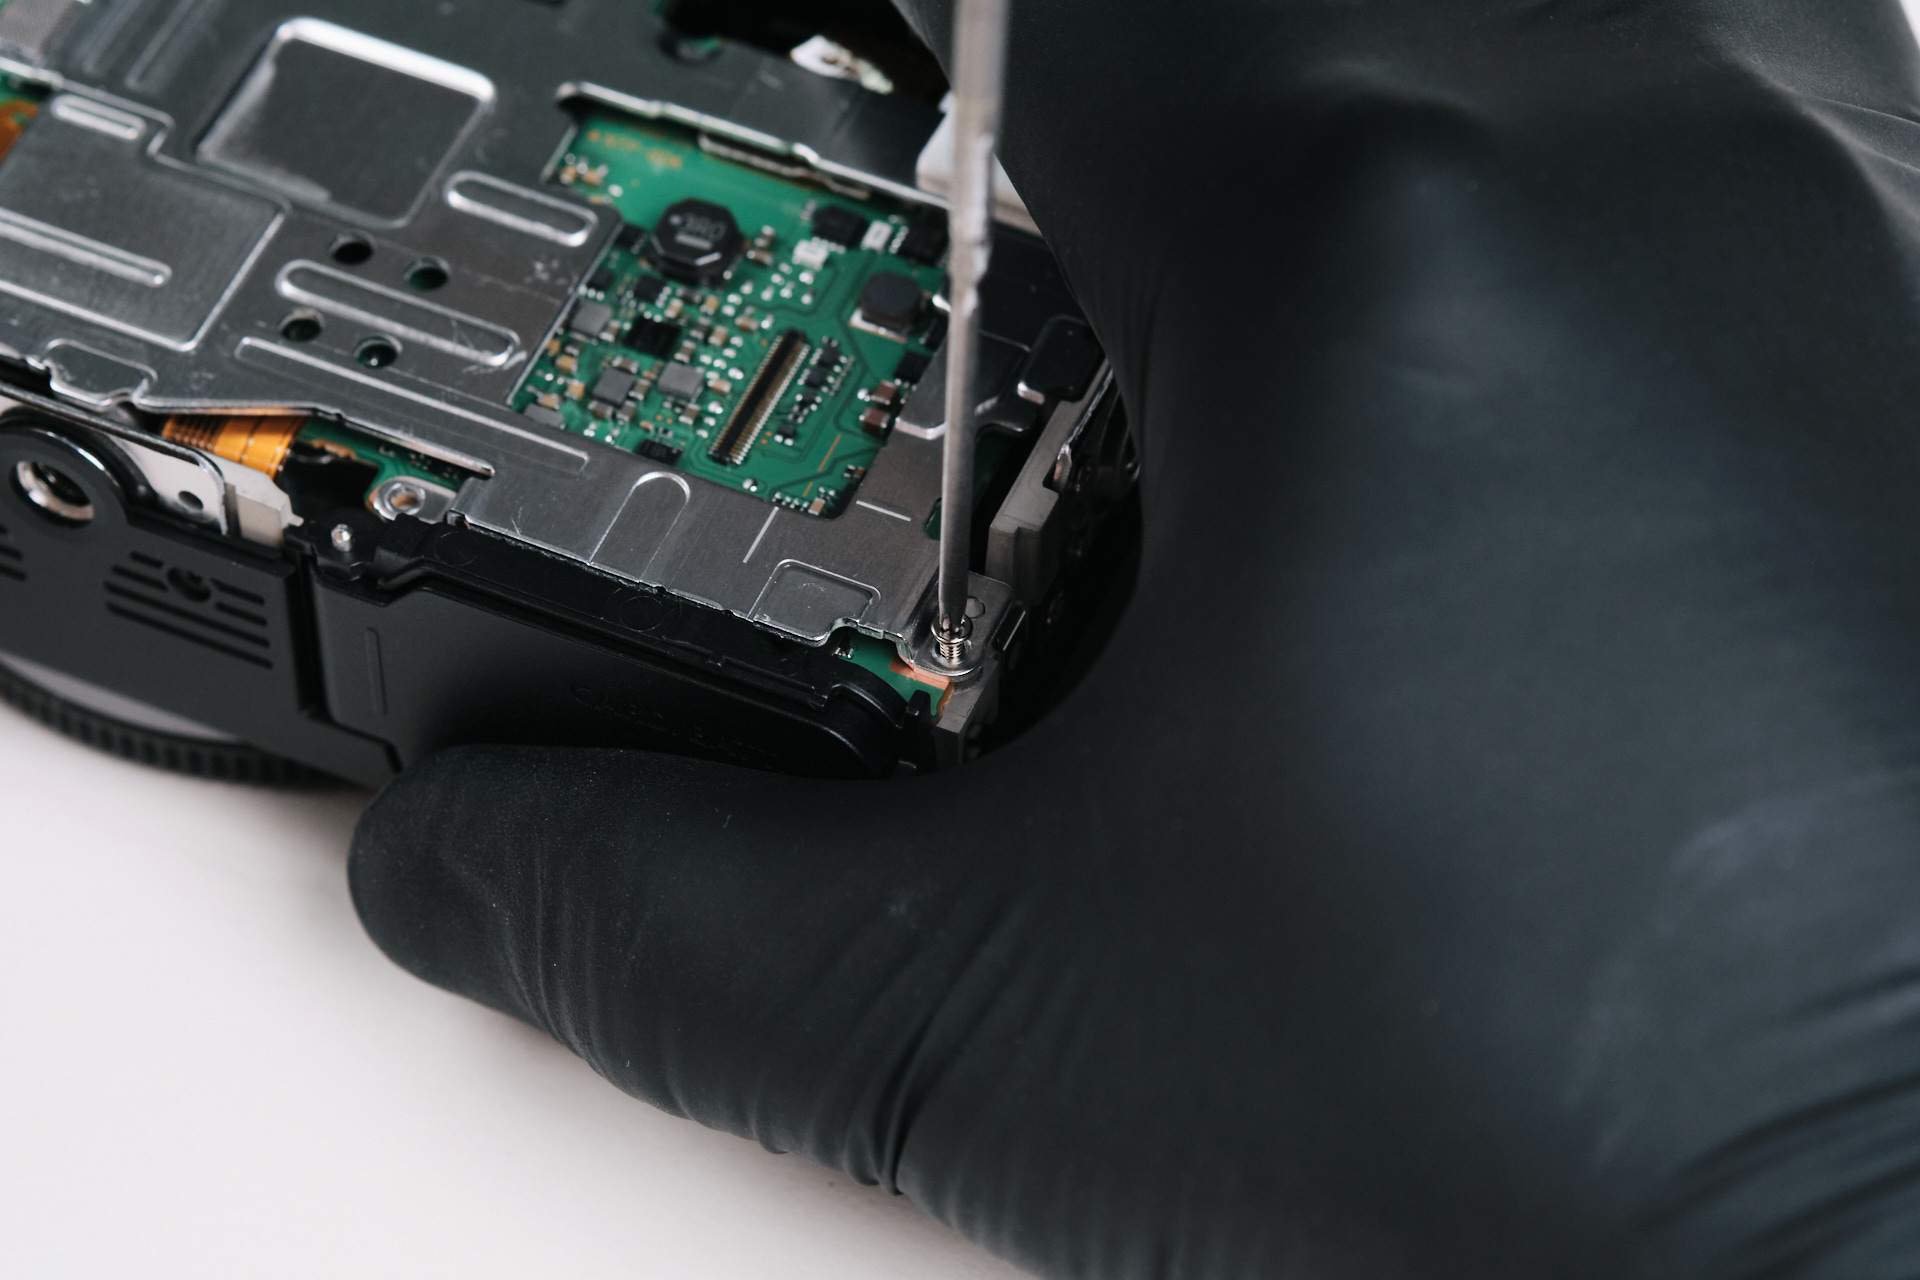
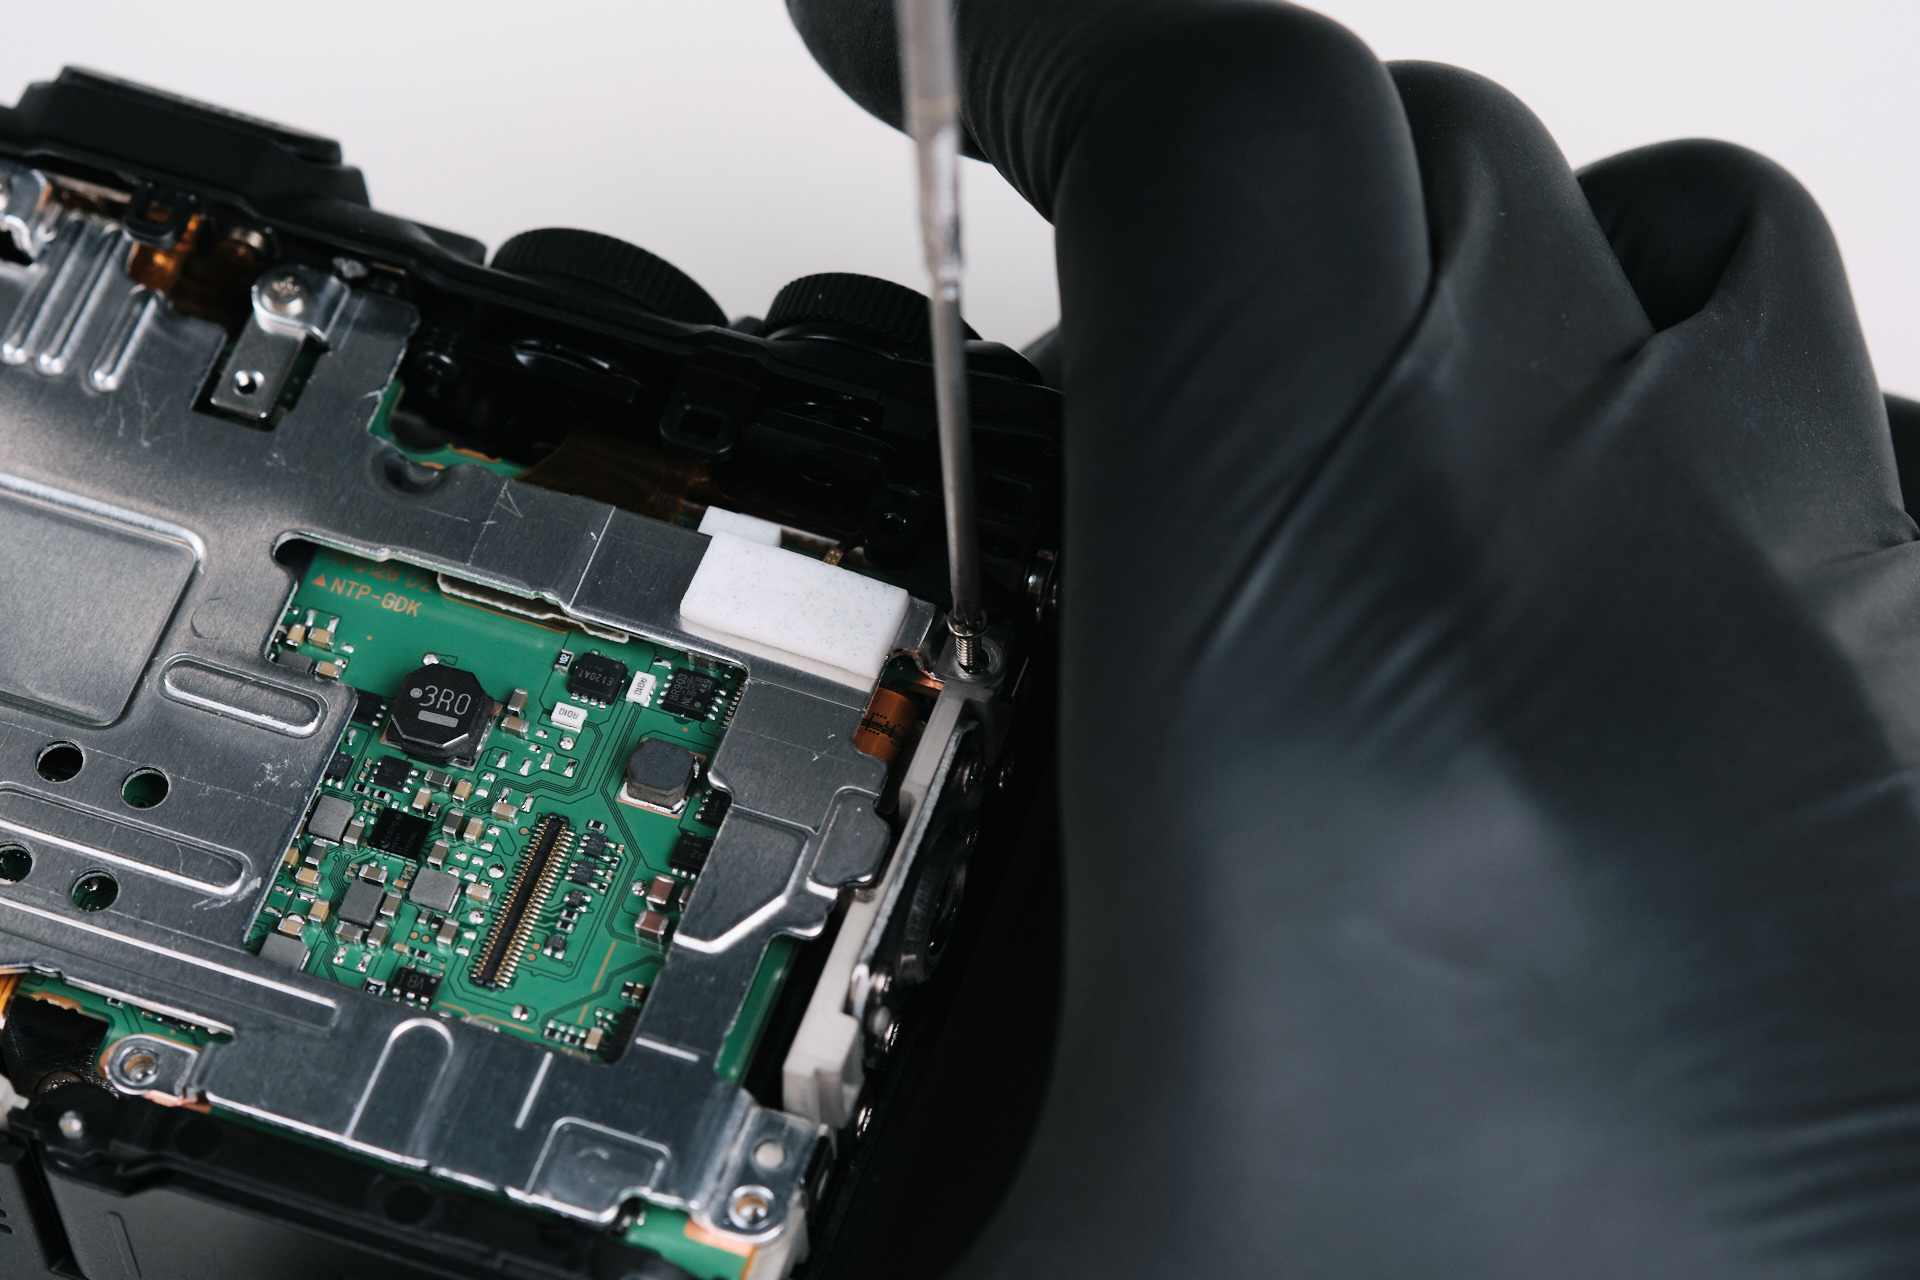
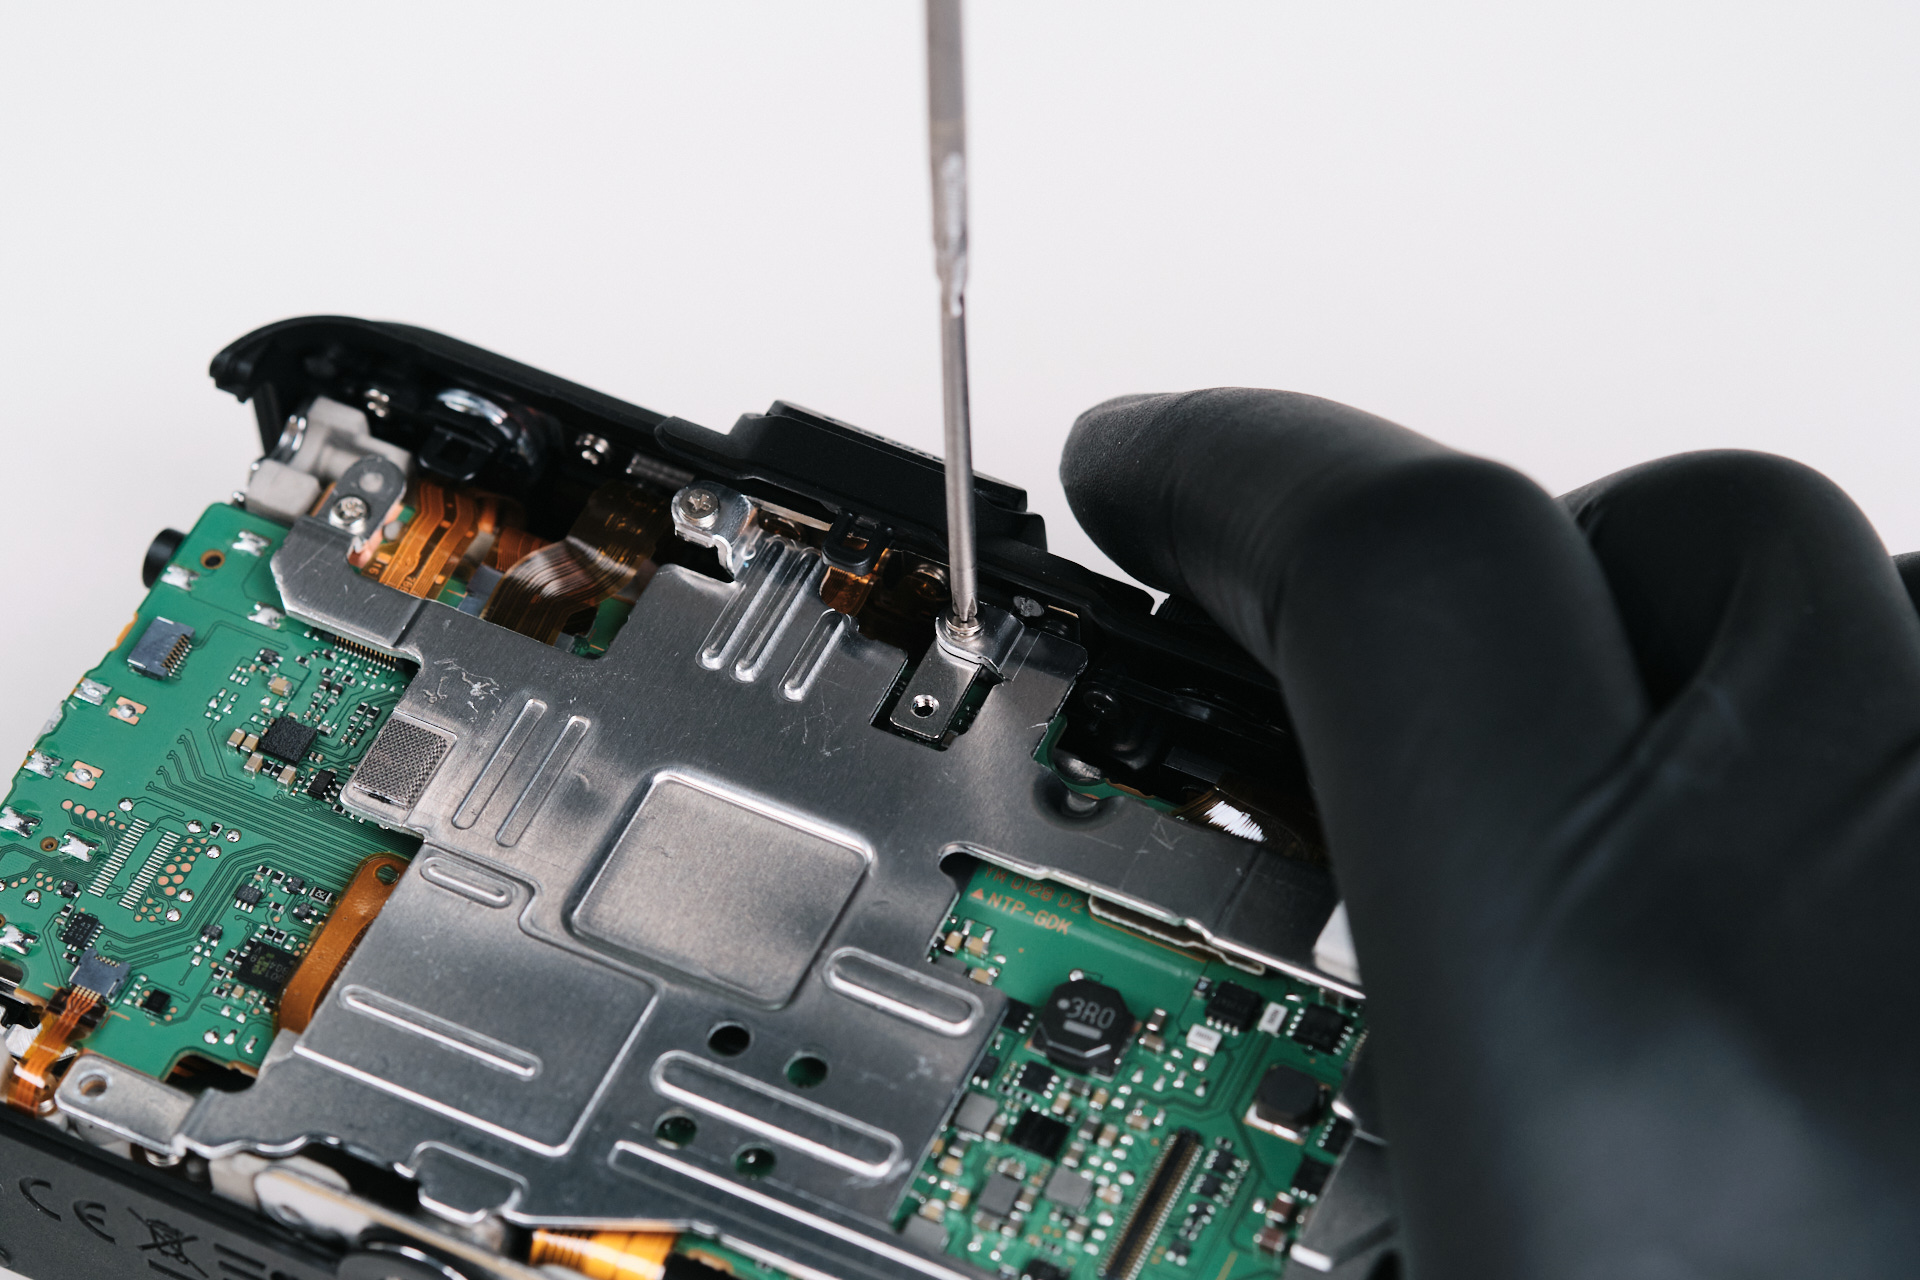
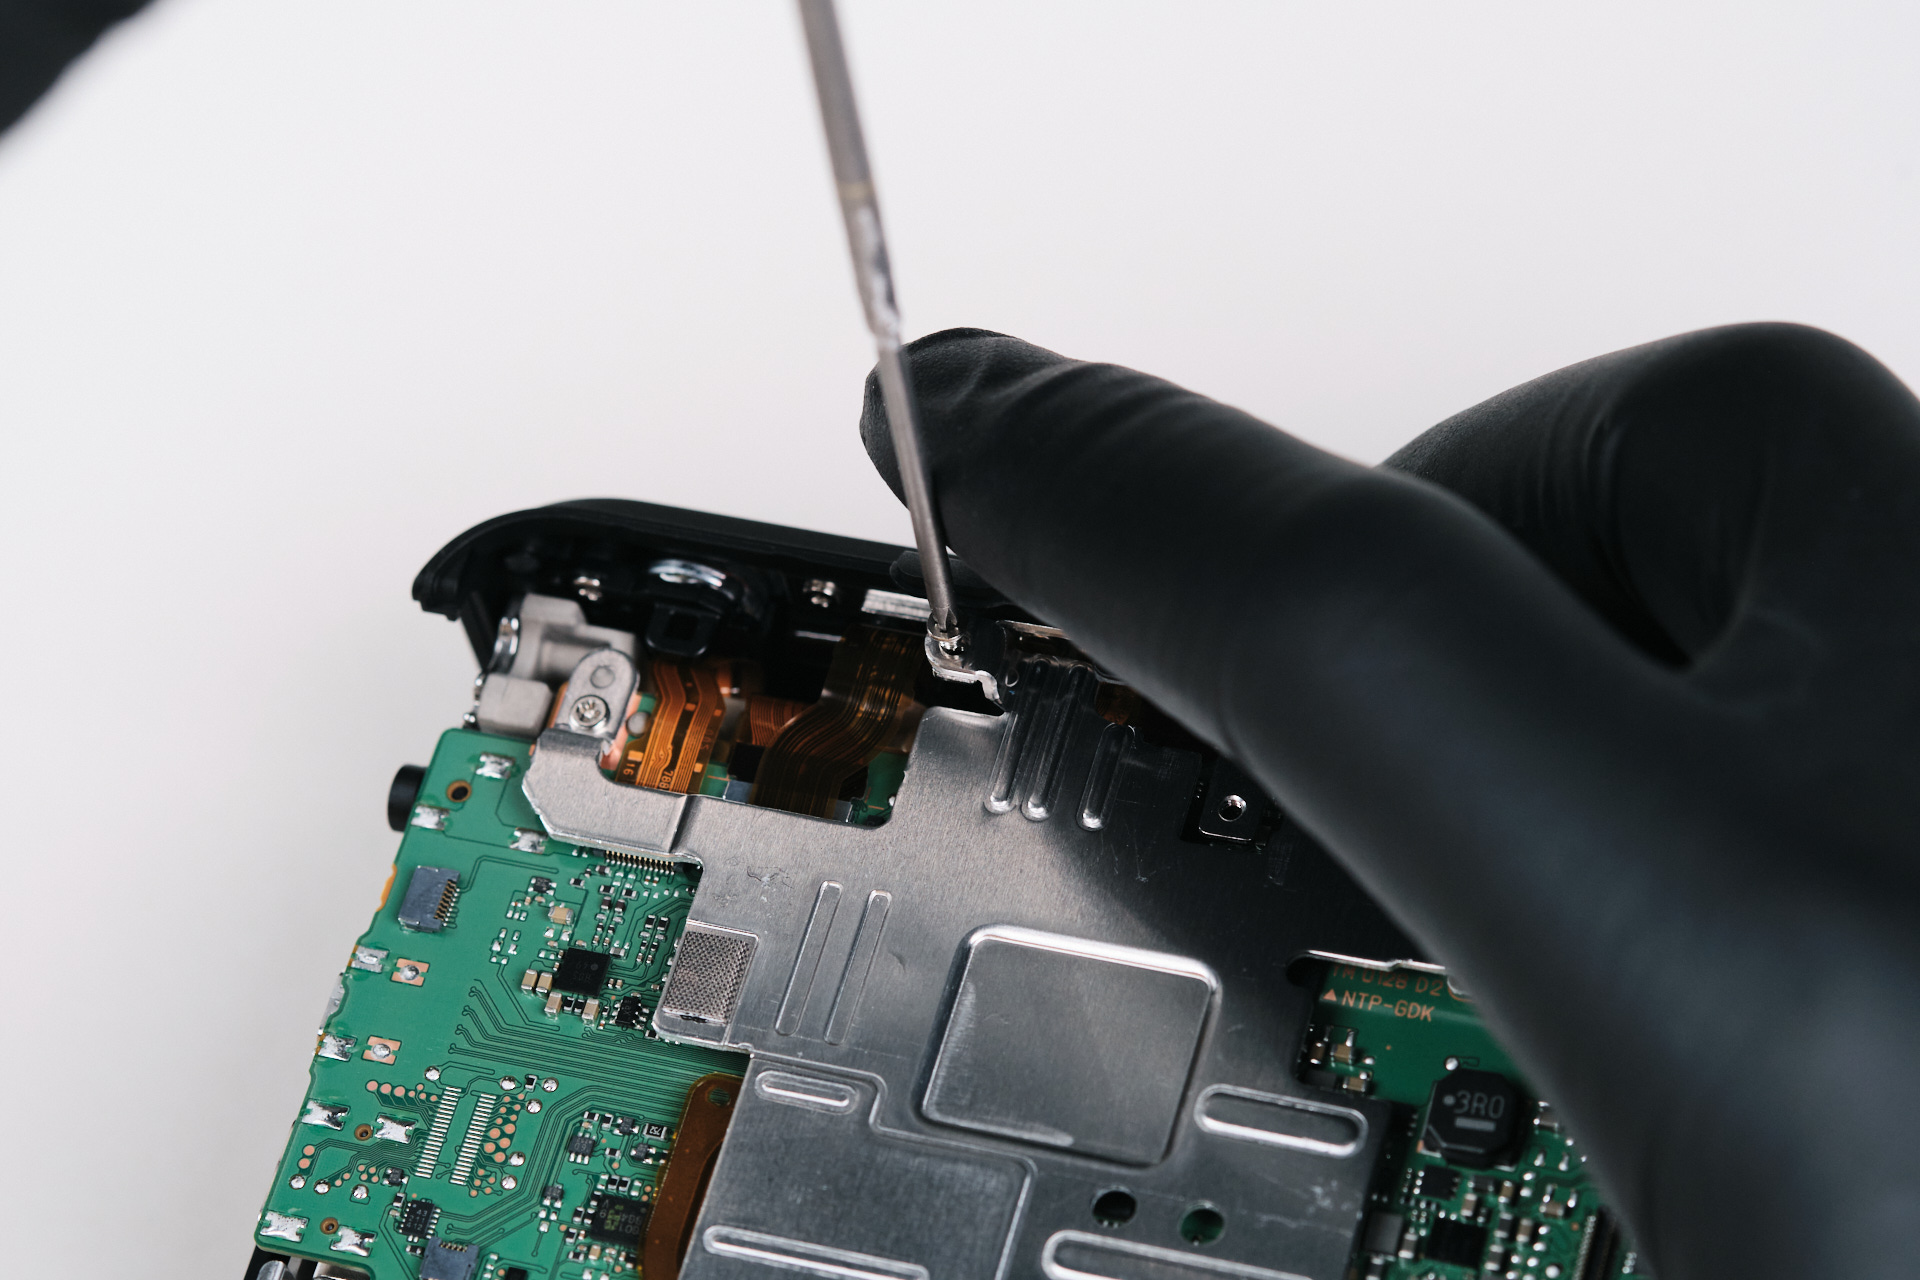
Removing the Internal Bracket Frame
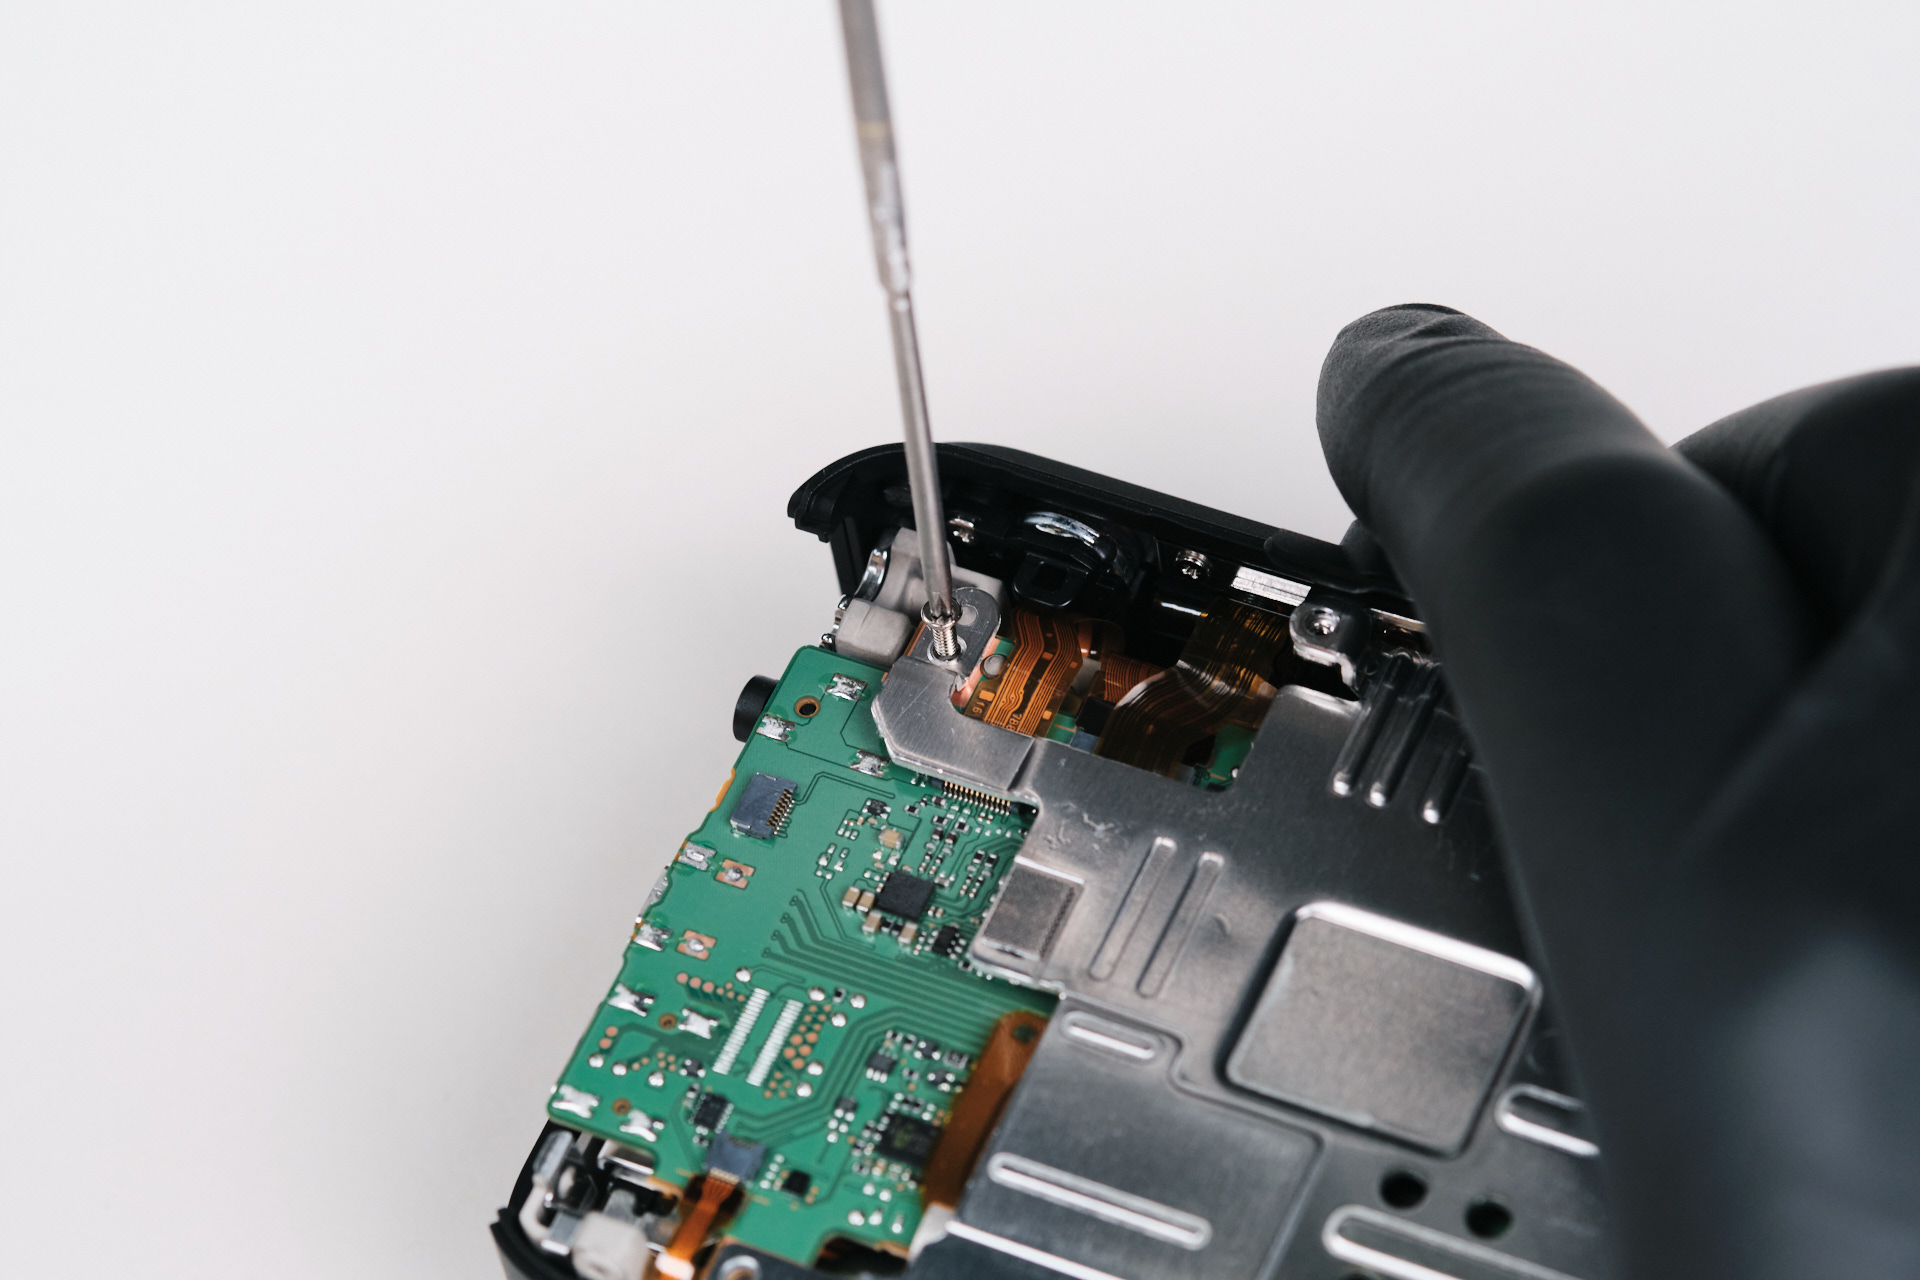
Once we reached the camera’s interior, the next part to remove was the bracket frame. Seven screws held this part down.
Accessing the Canon EOS R50V Circuit Board
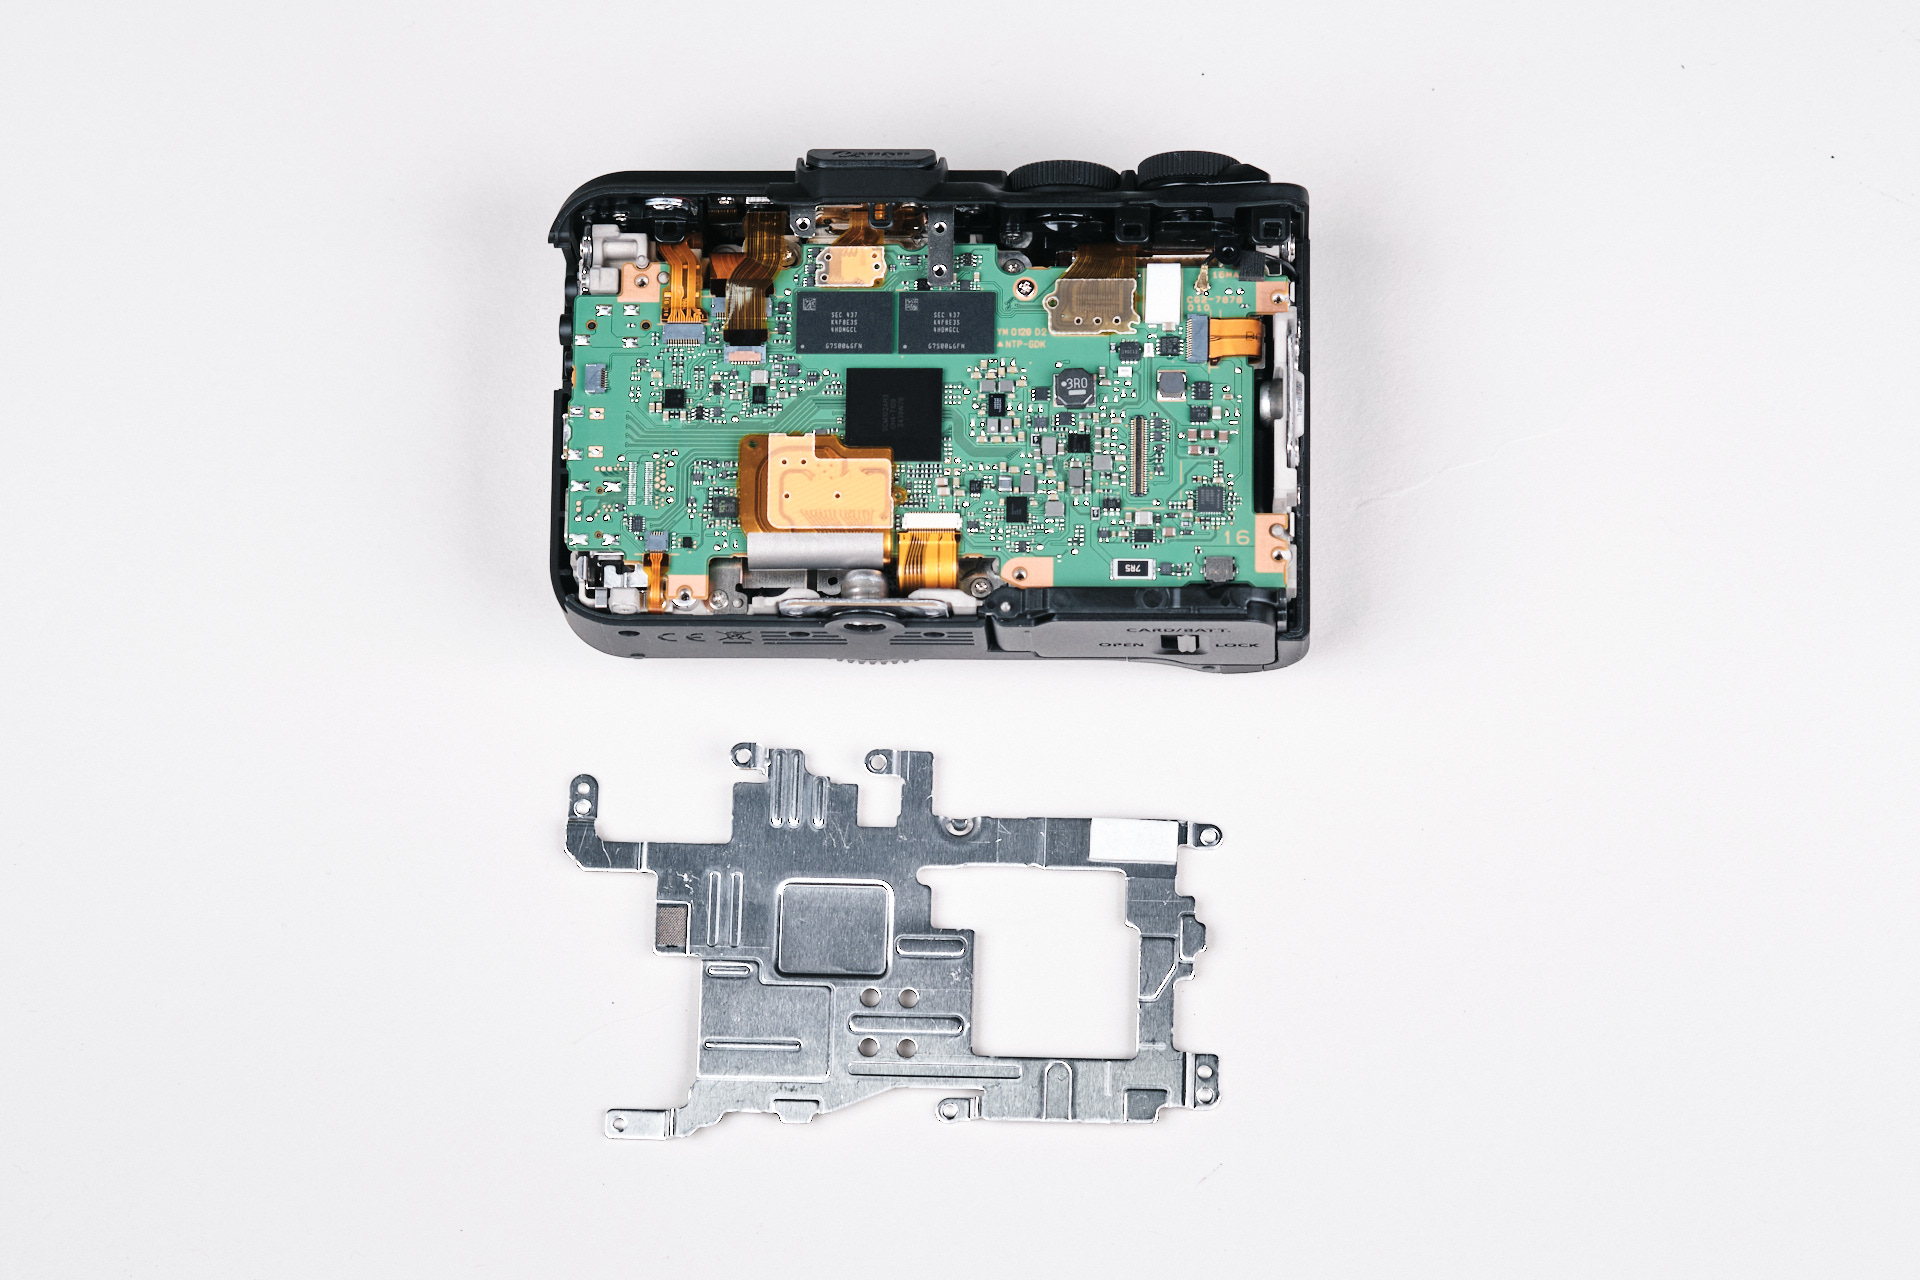
Here is the frame bracket removed from the camera. Removing this part allowed us to access the circuitboard.
Removing the Canon EOS R50V Circuit Board
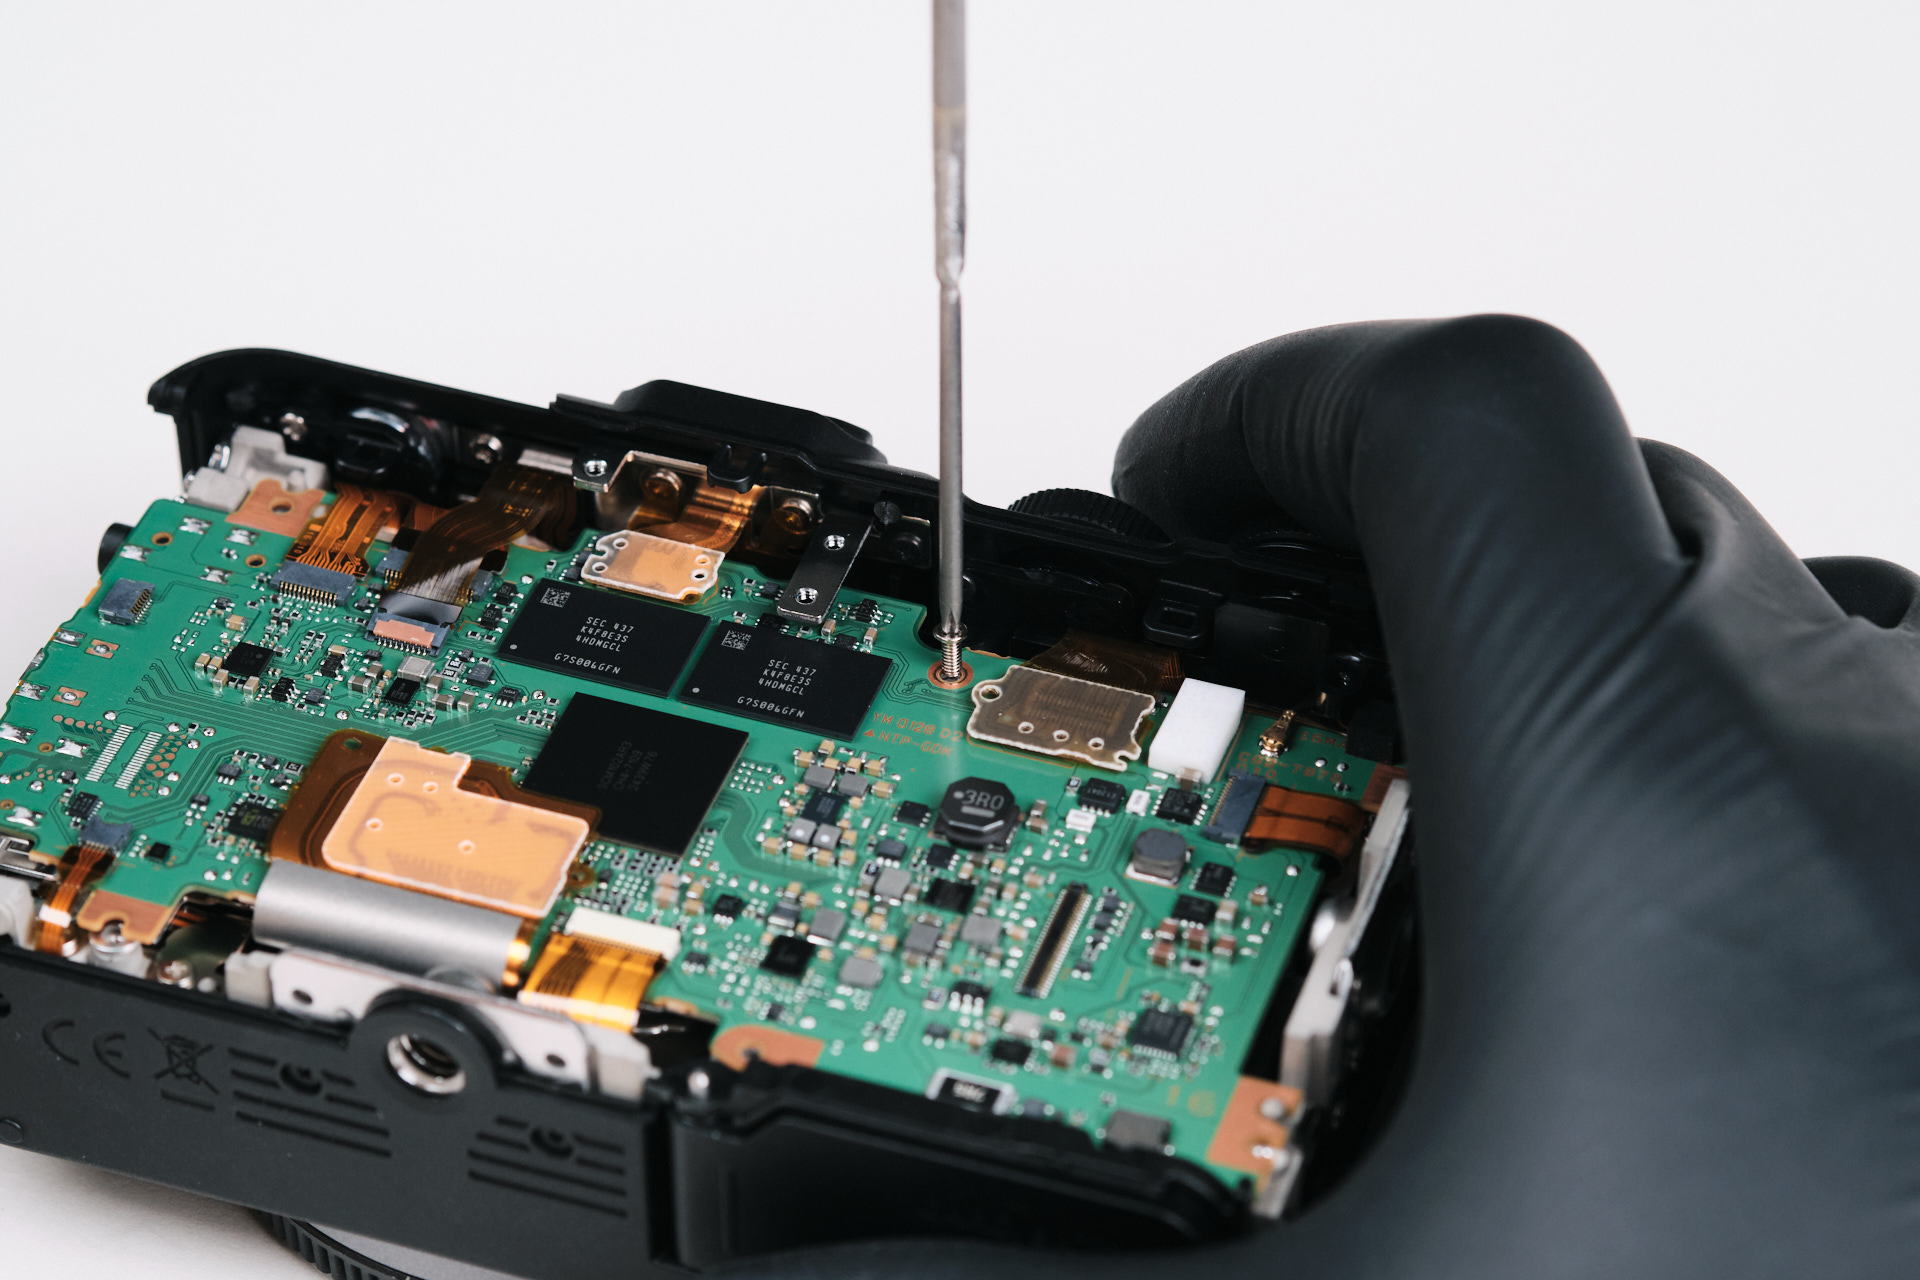
Interestingly, only one screw was attached to the circuitboard. Typically, there are several screws the follow the perimeter of the PCB, but not in this case. This is most definitely due to the camera’s small body.
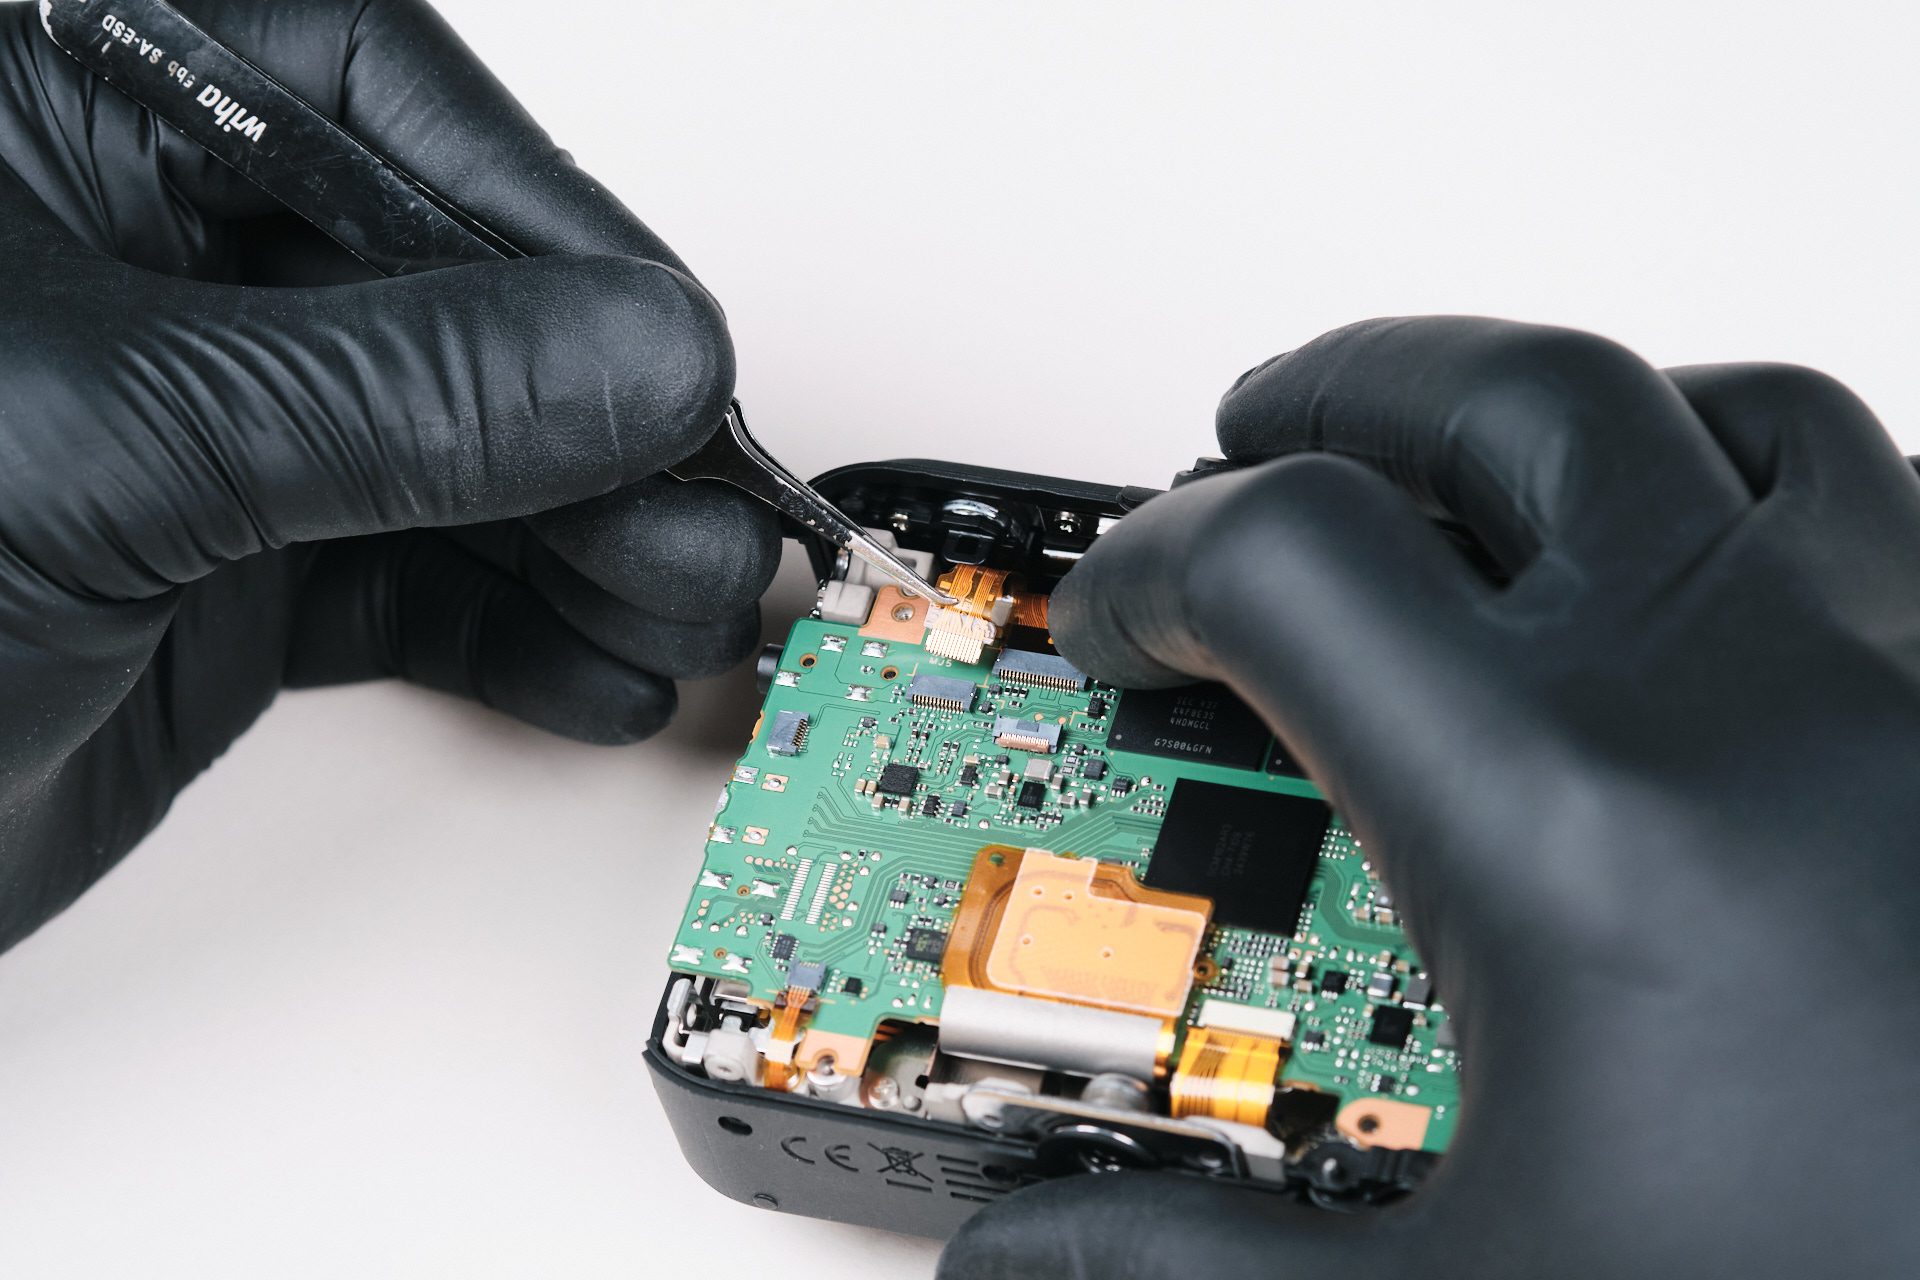
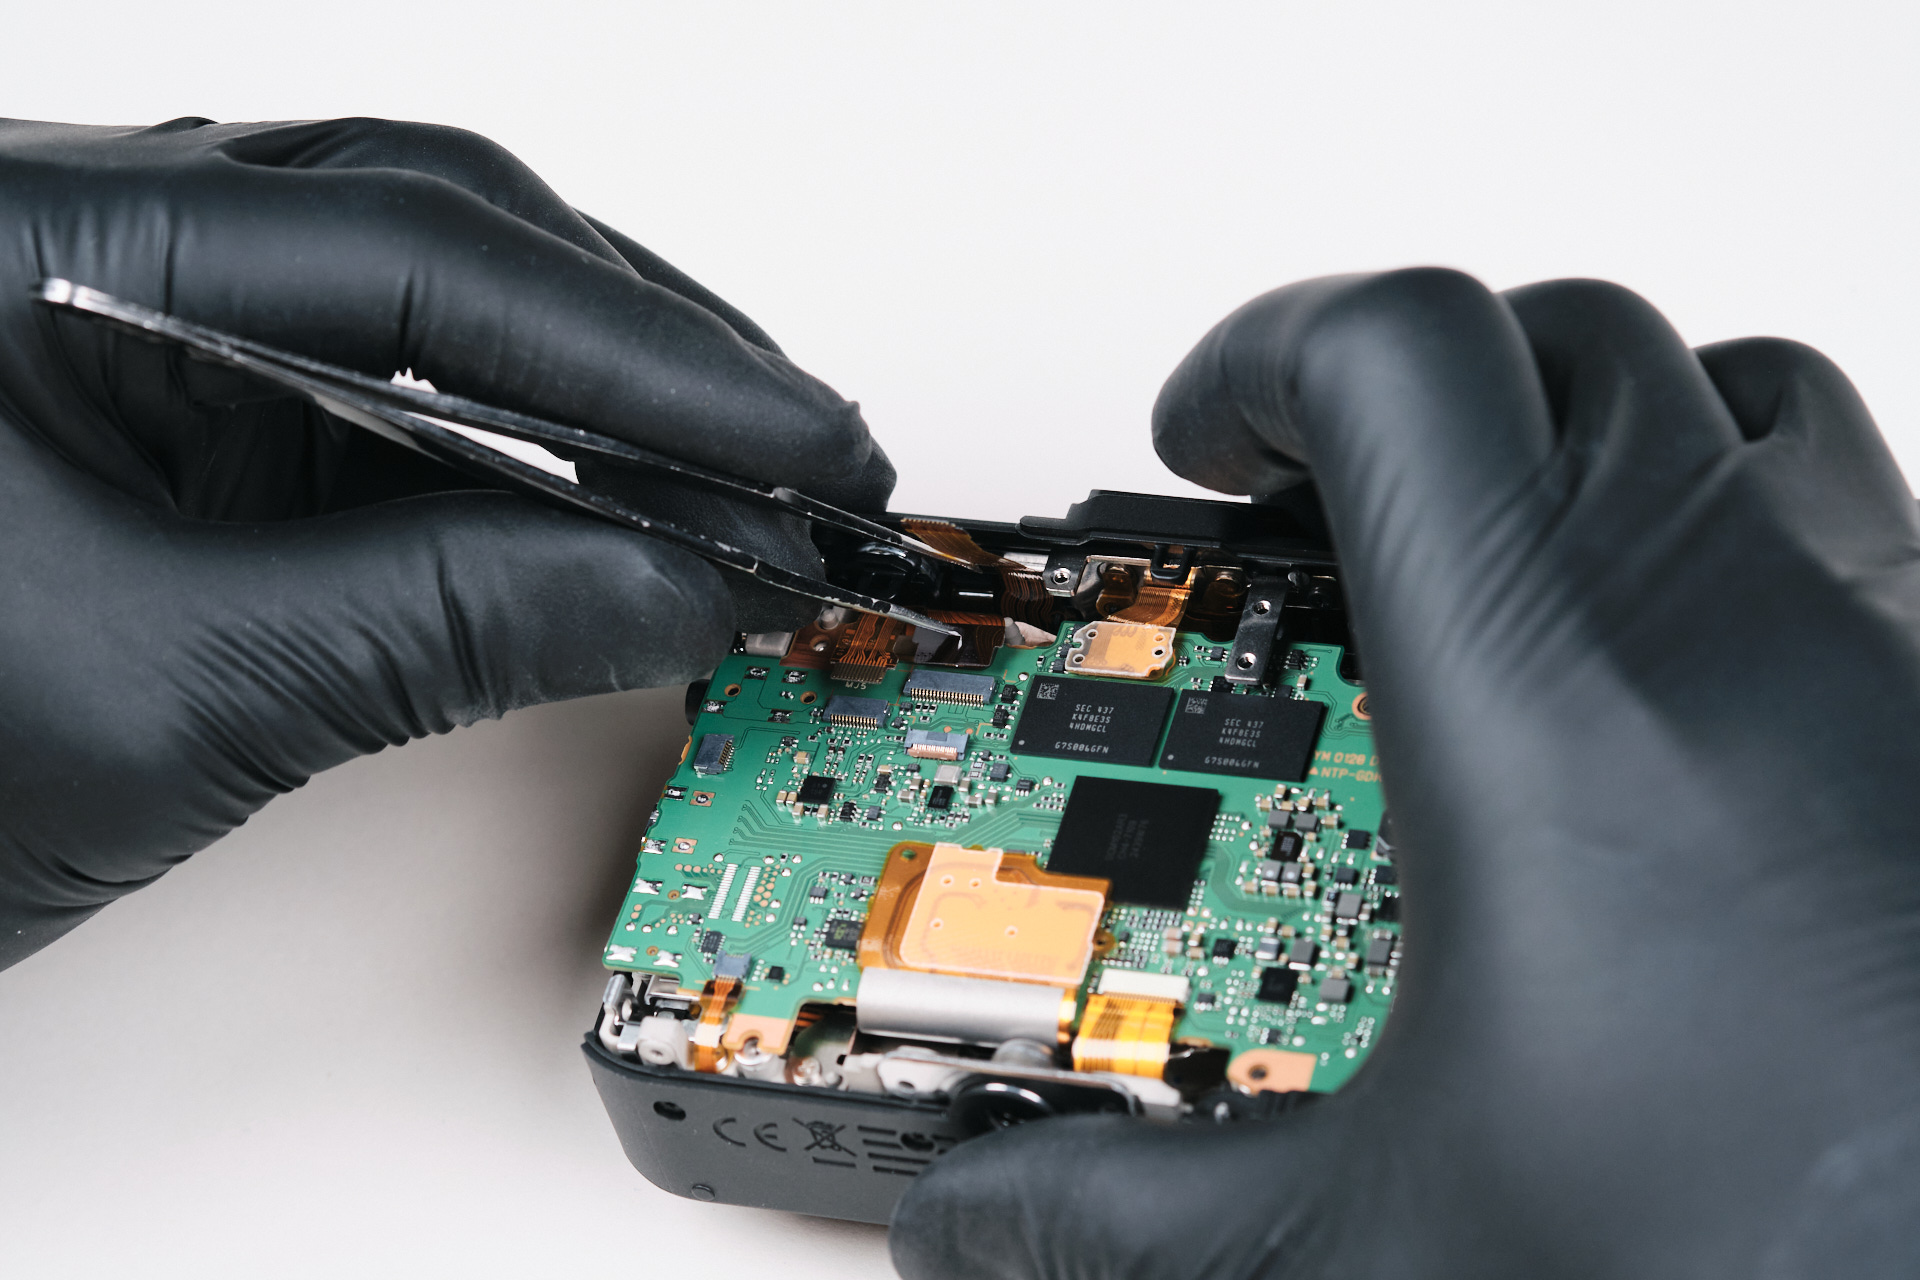
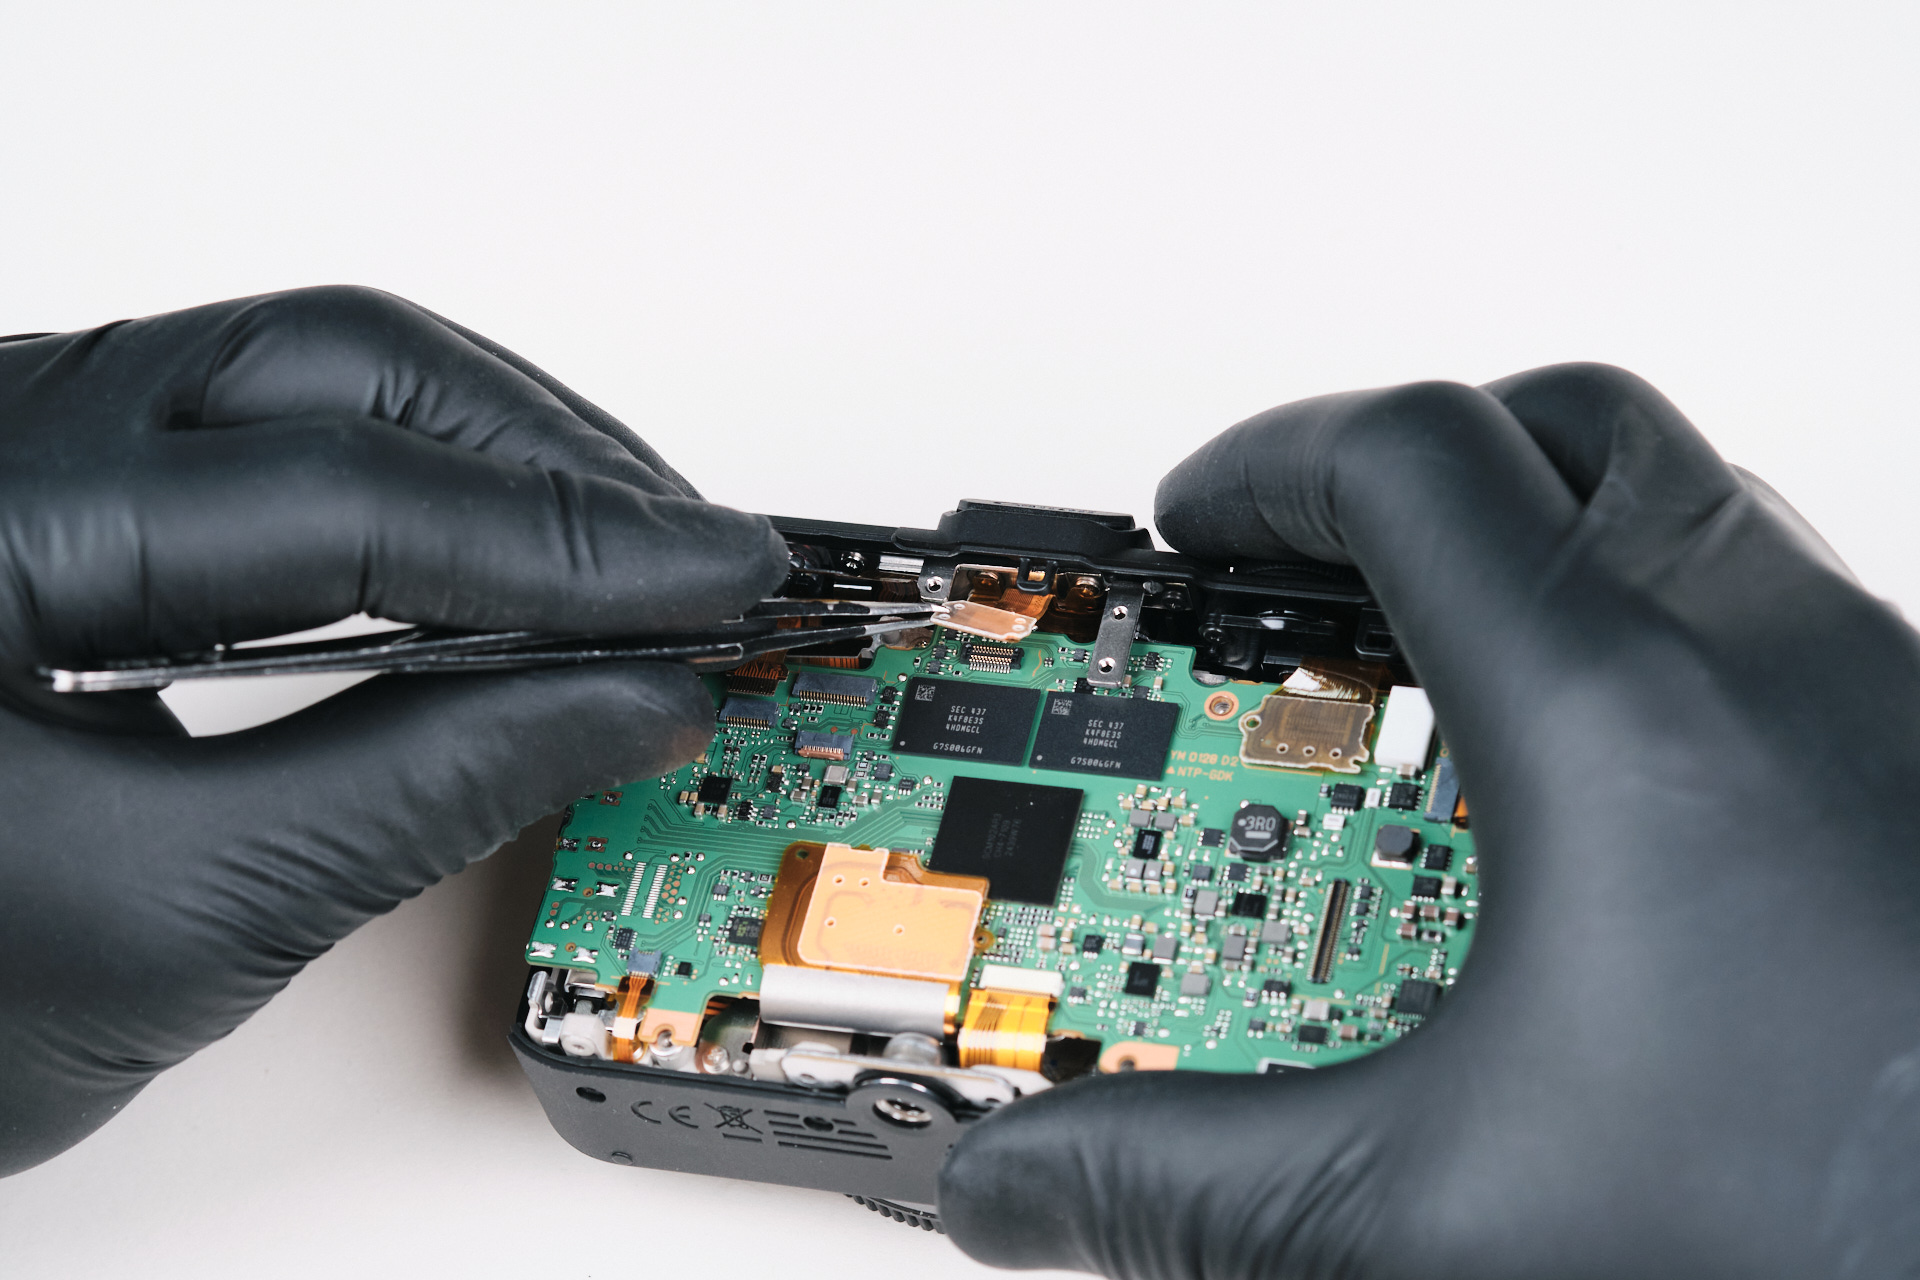
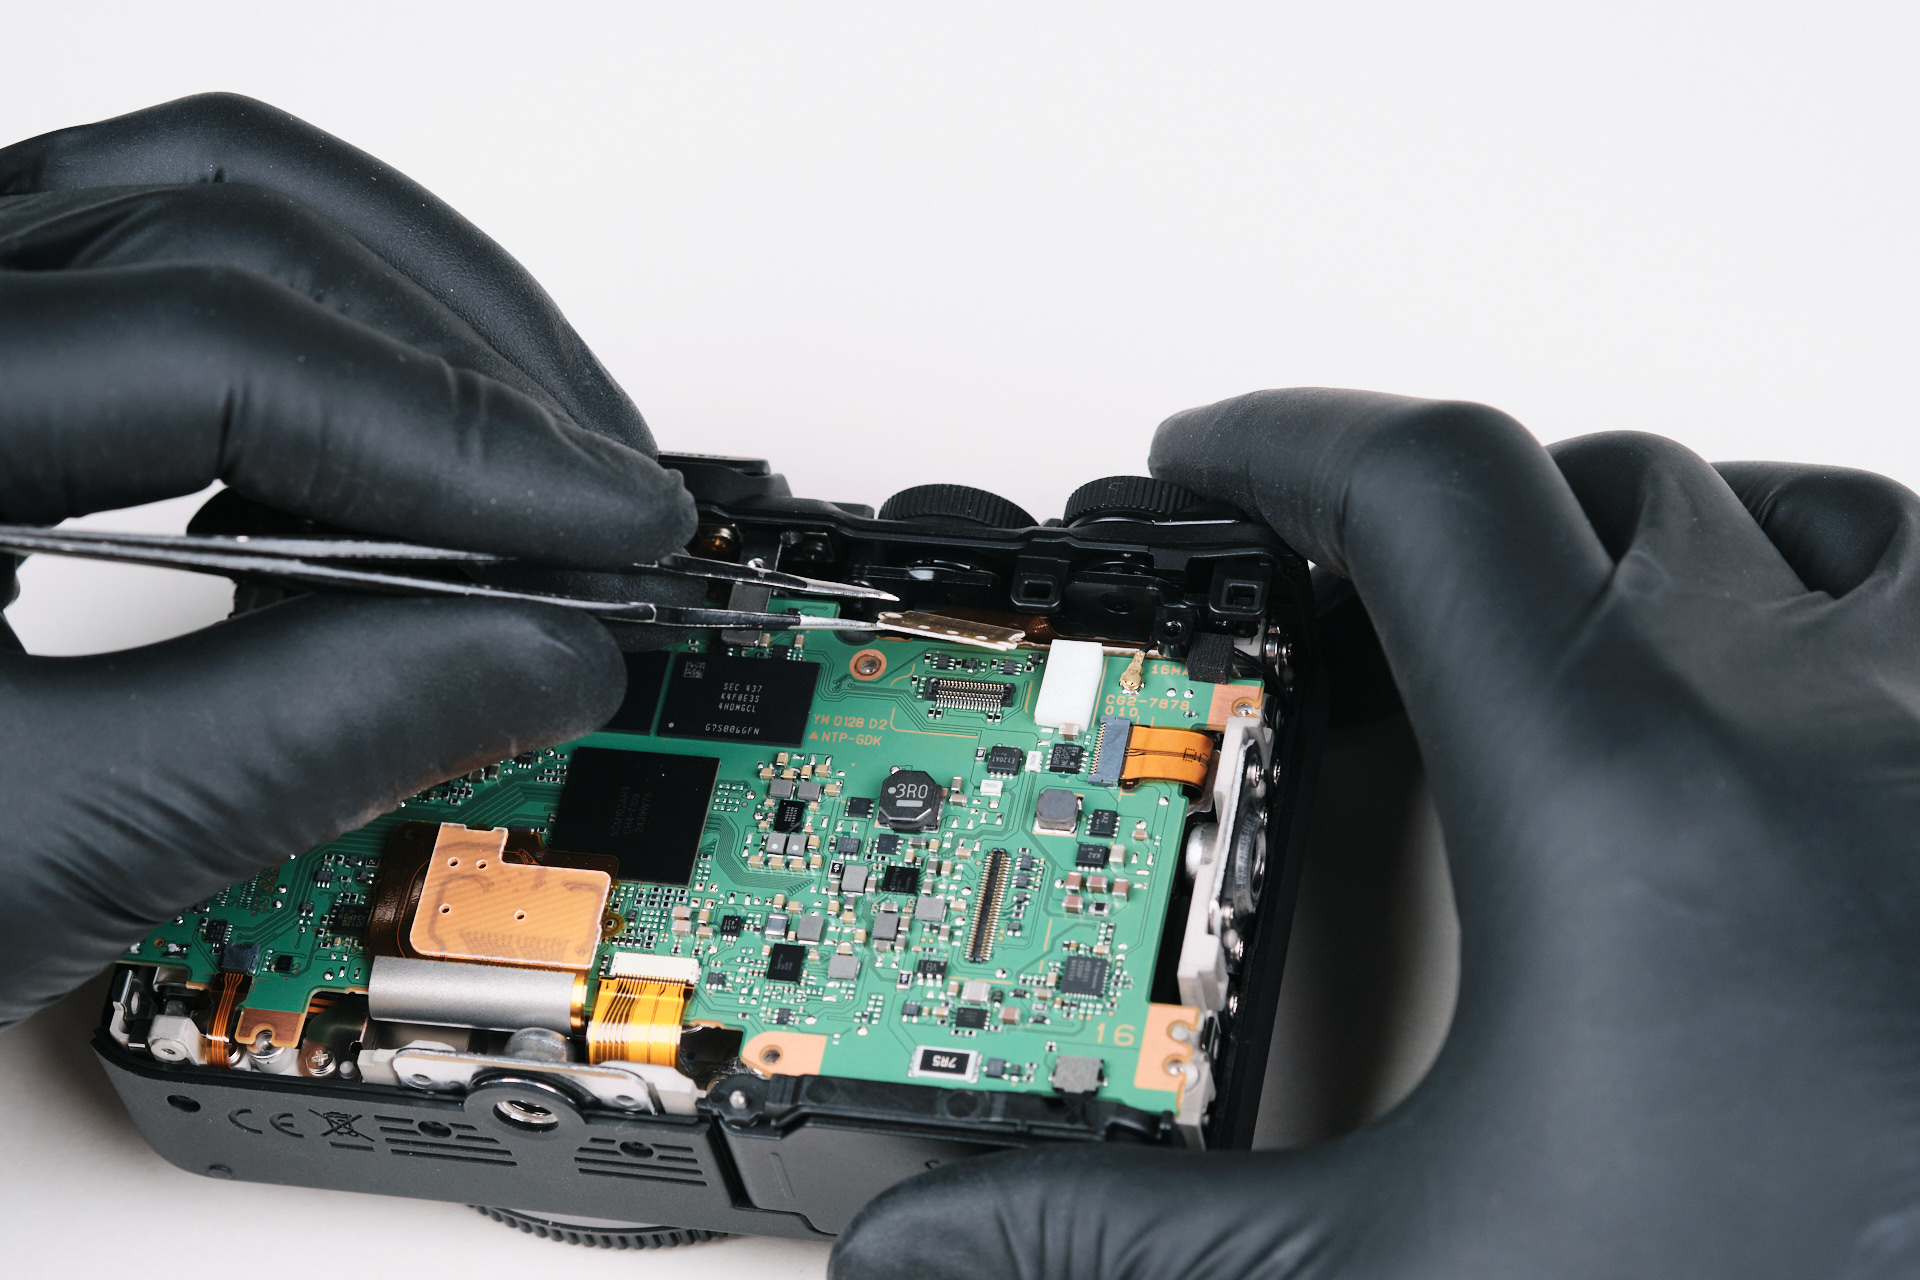
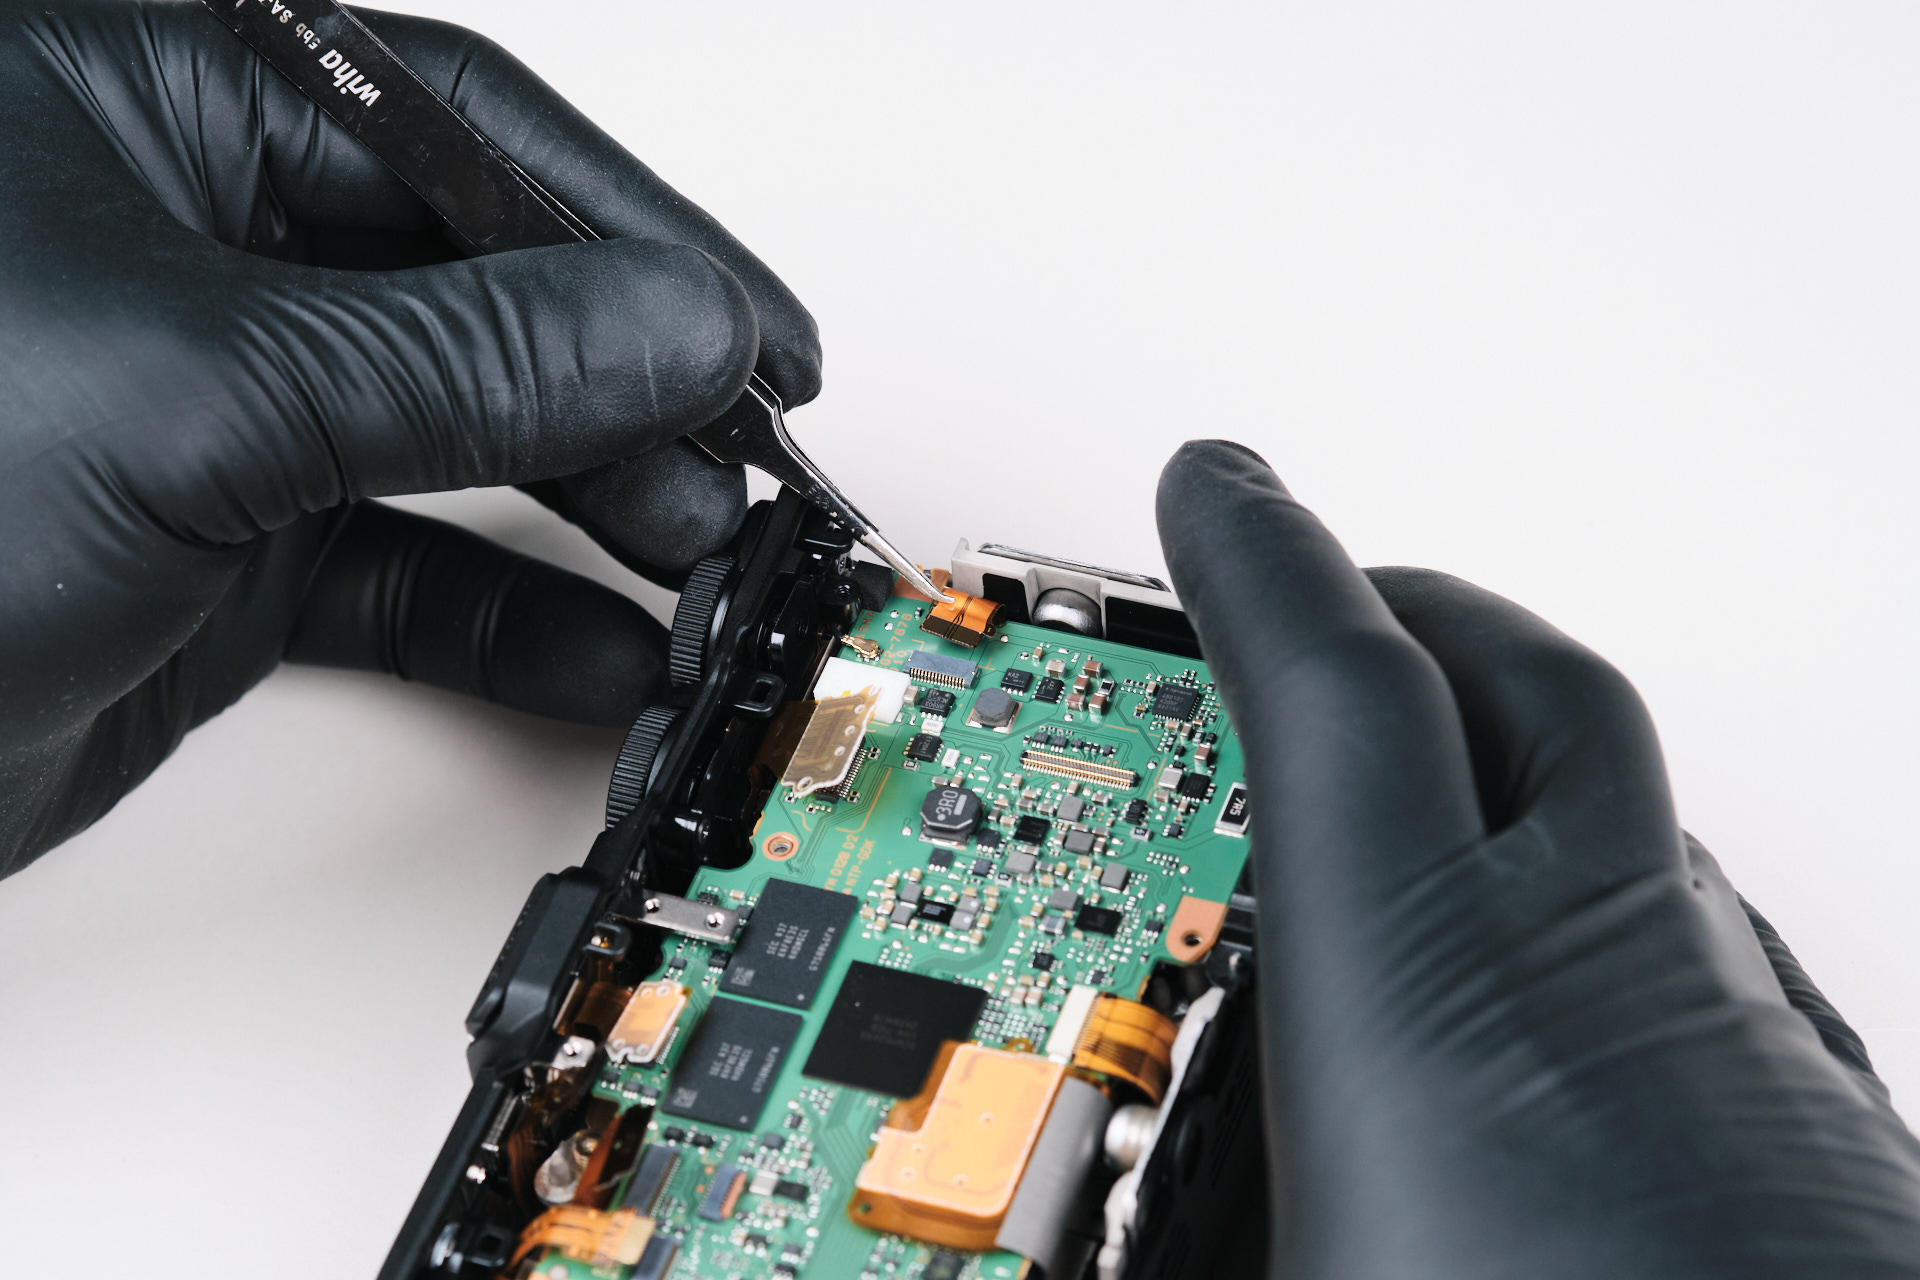
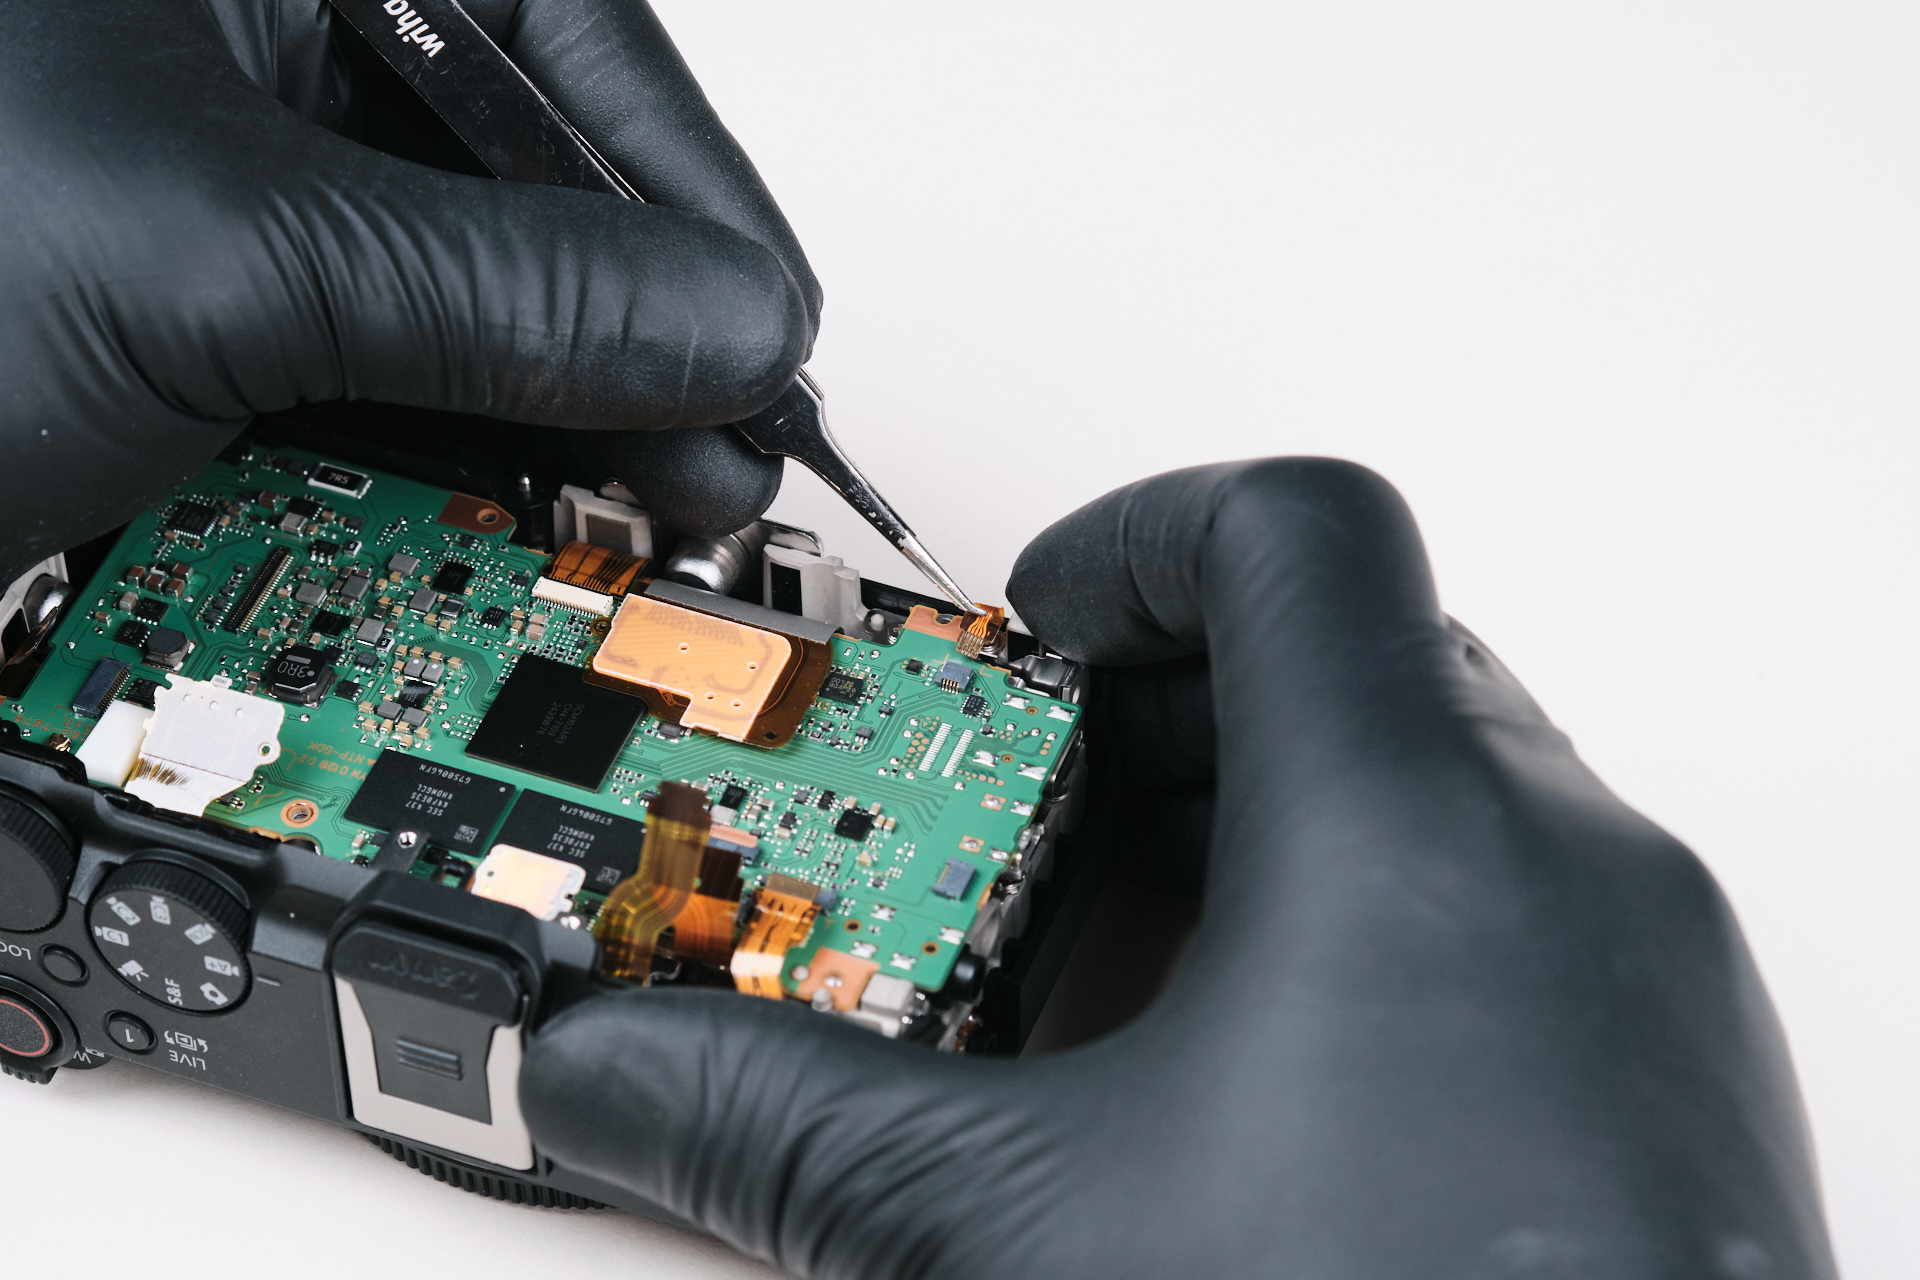
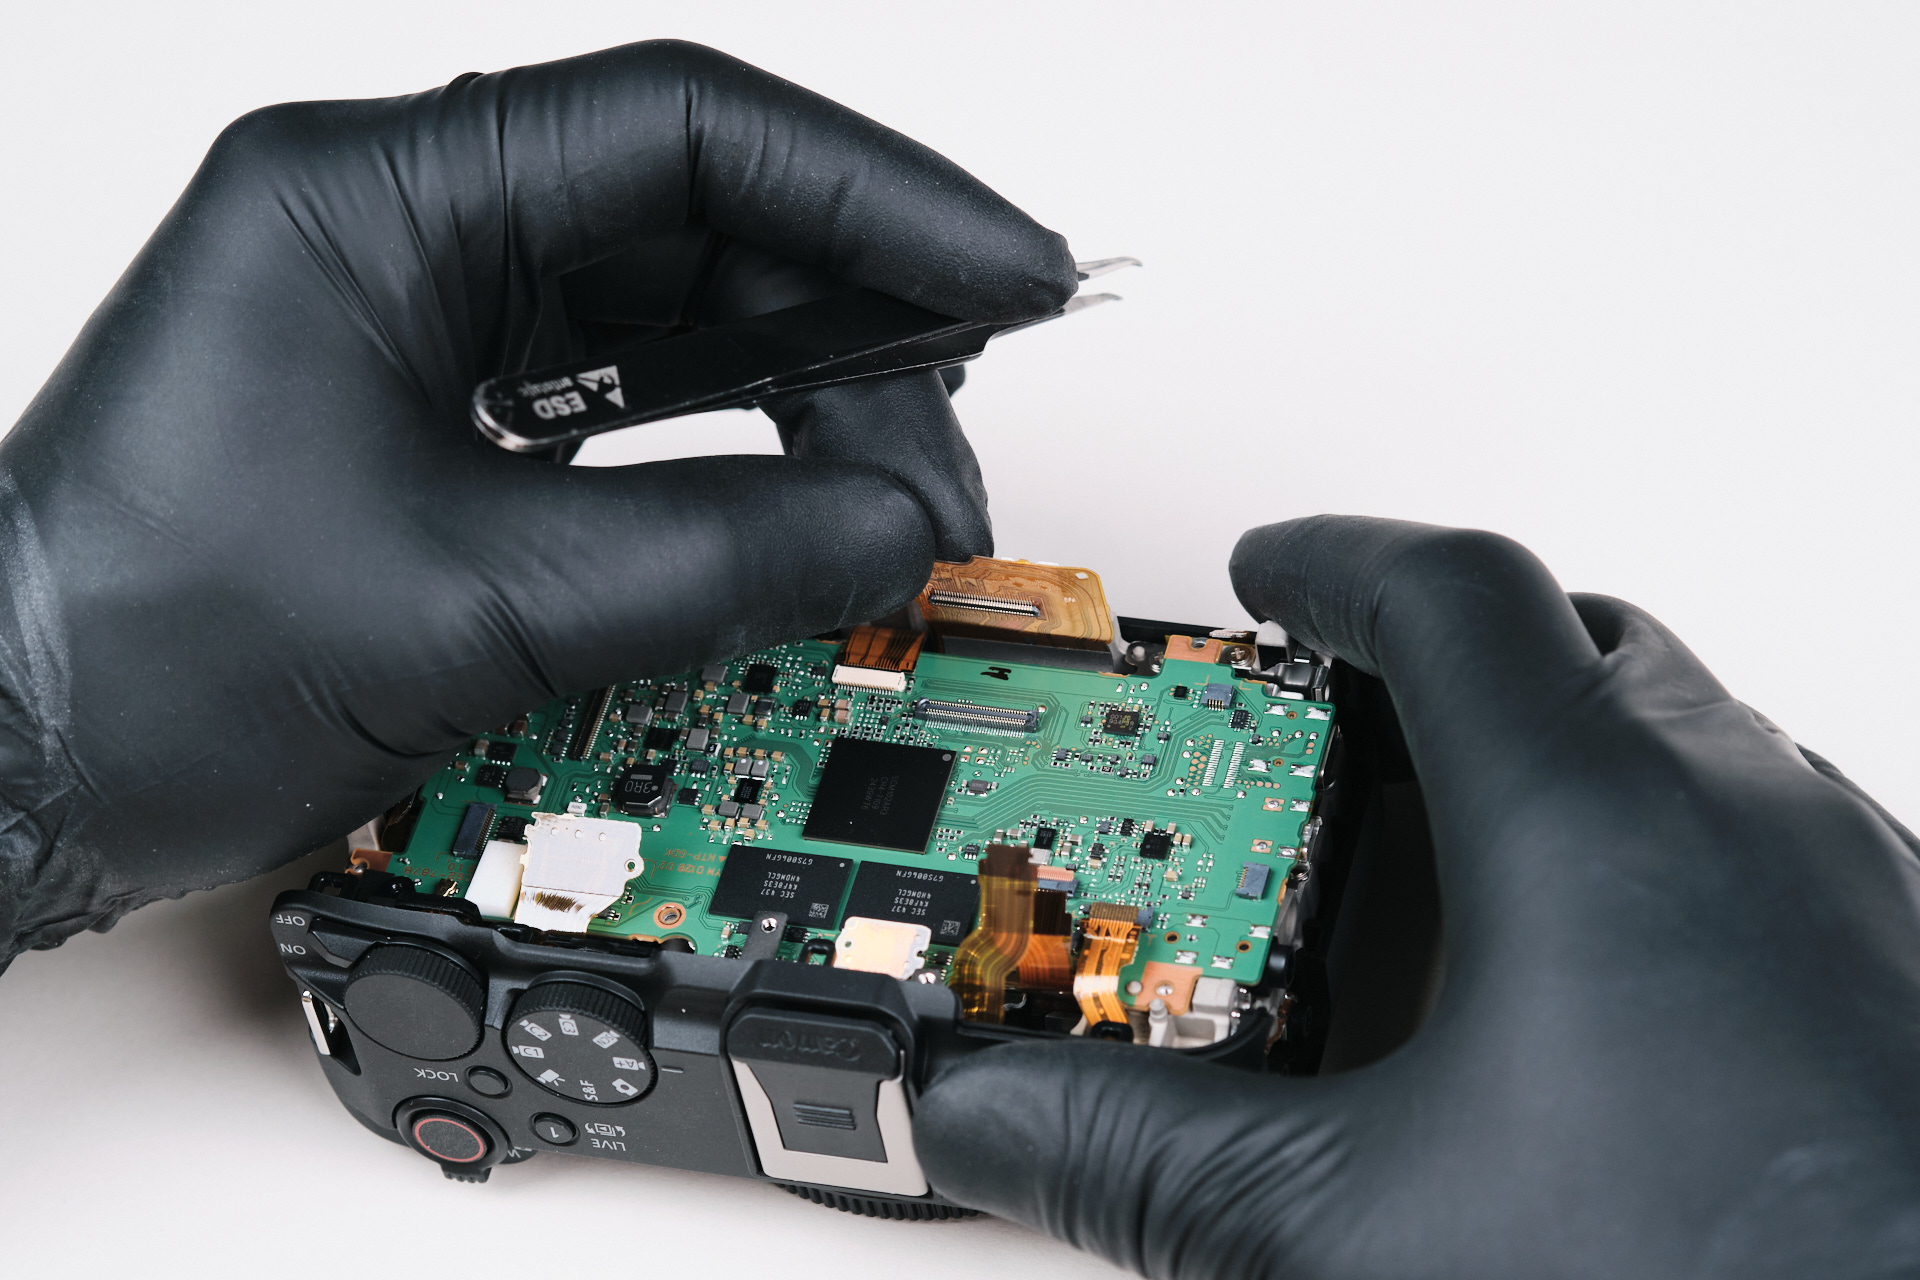
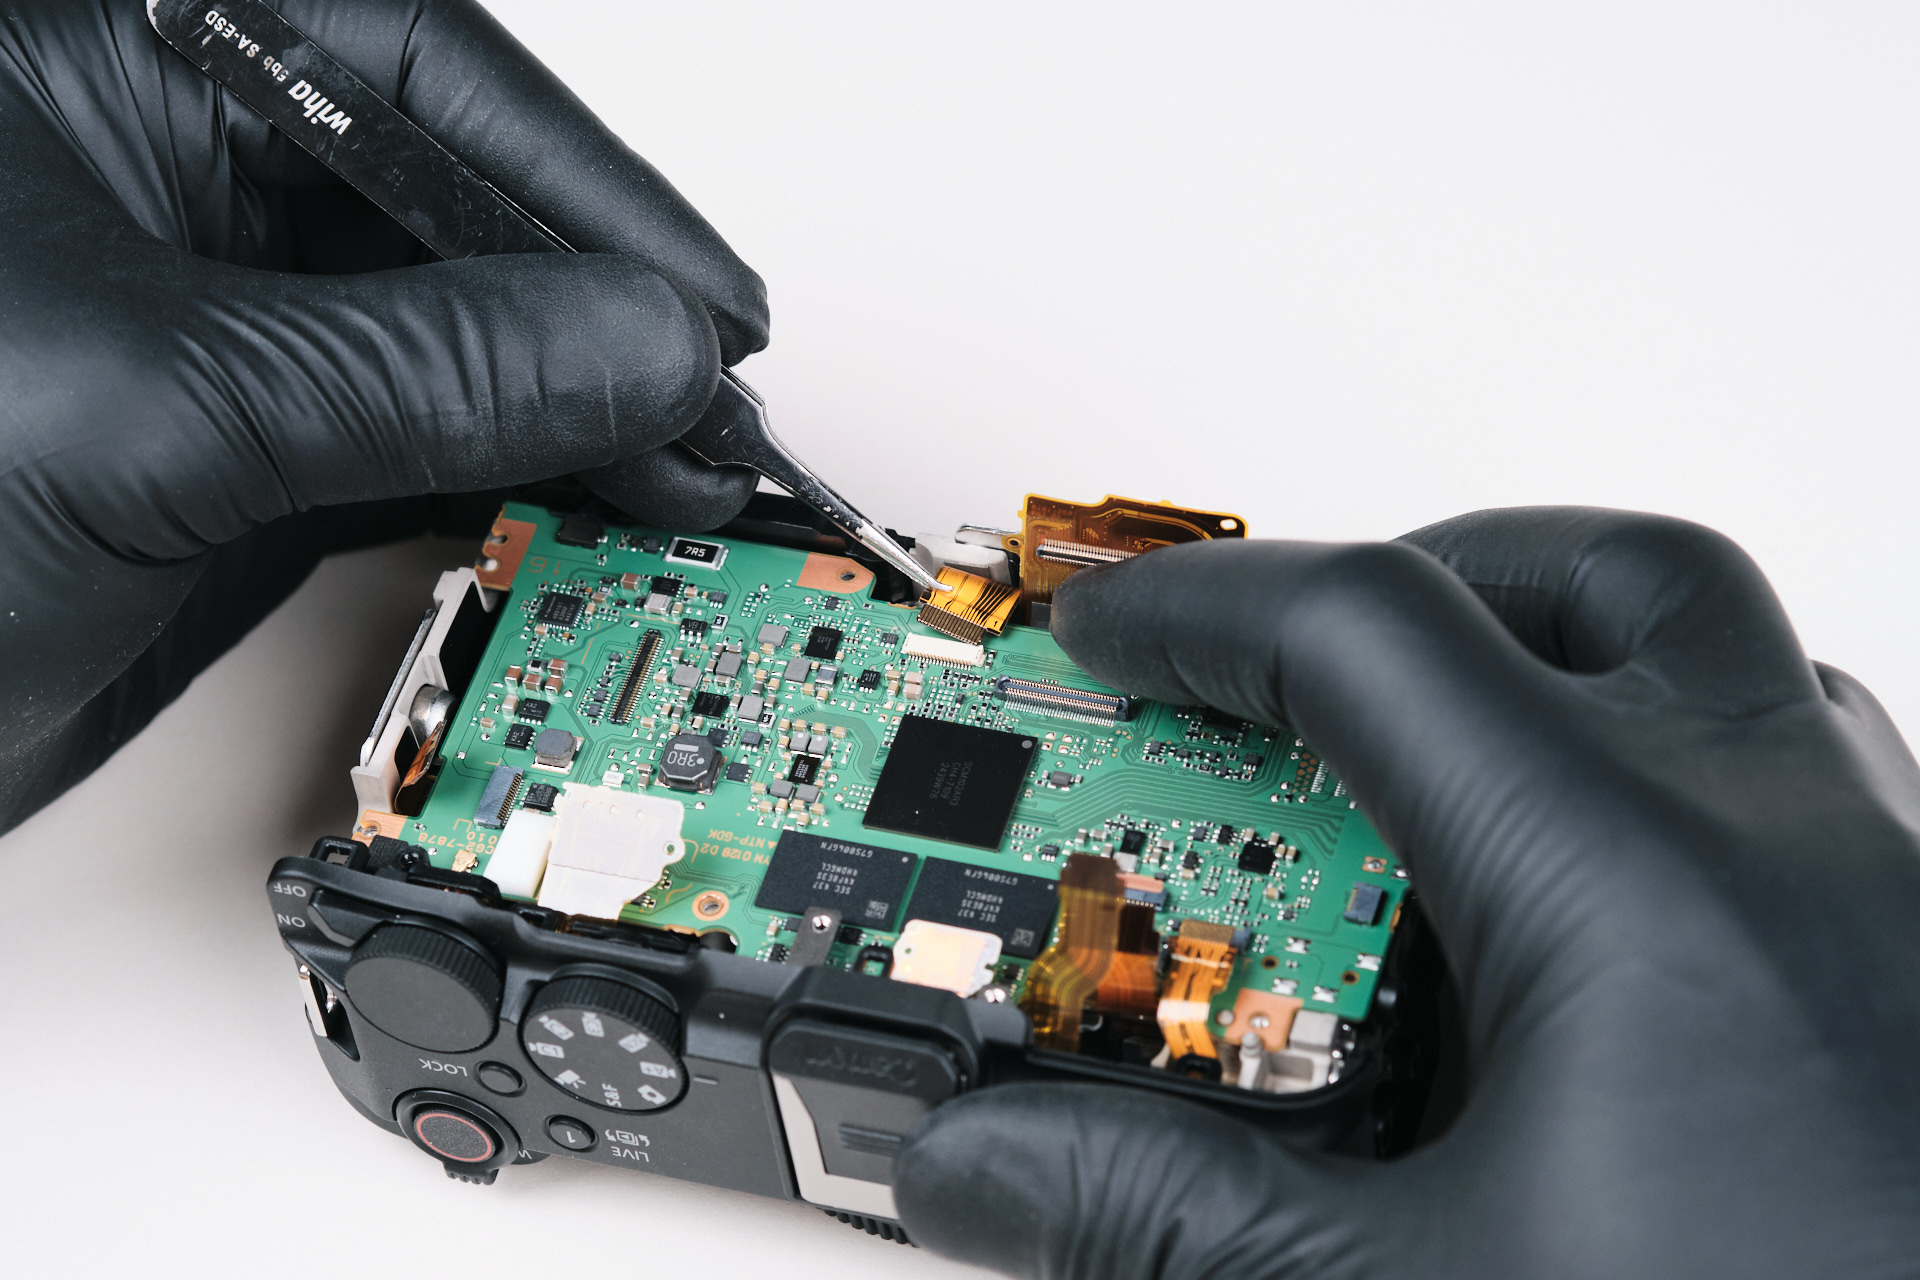
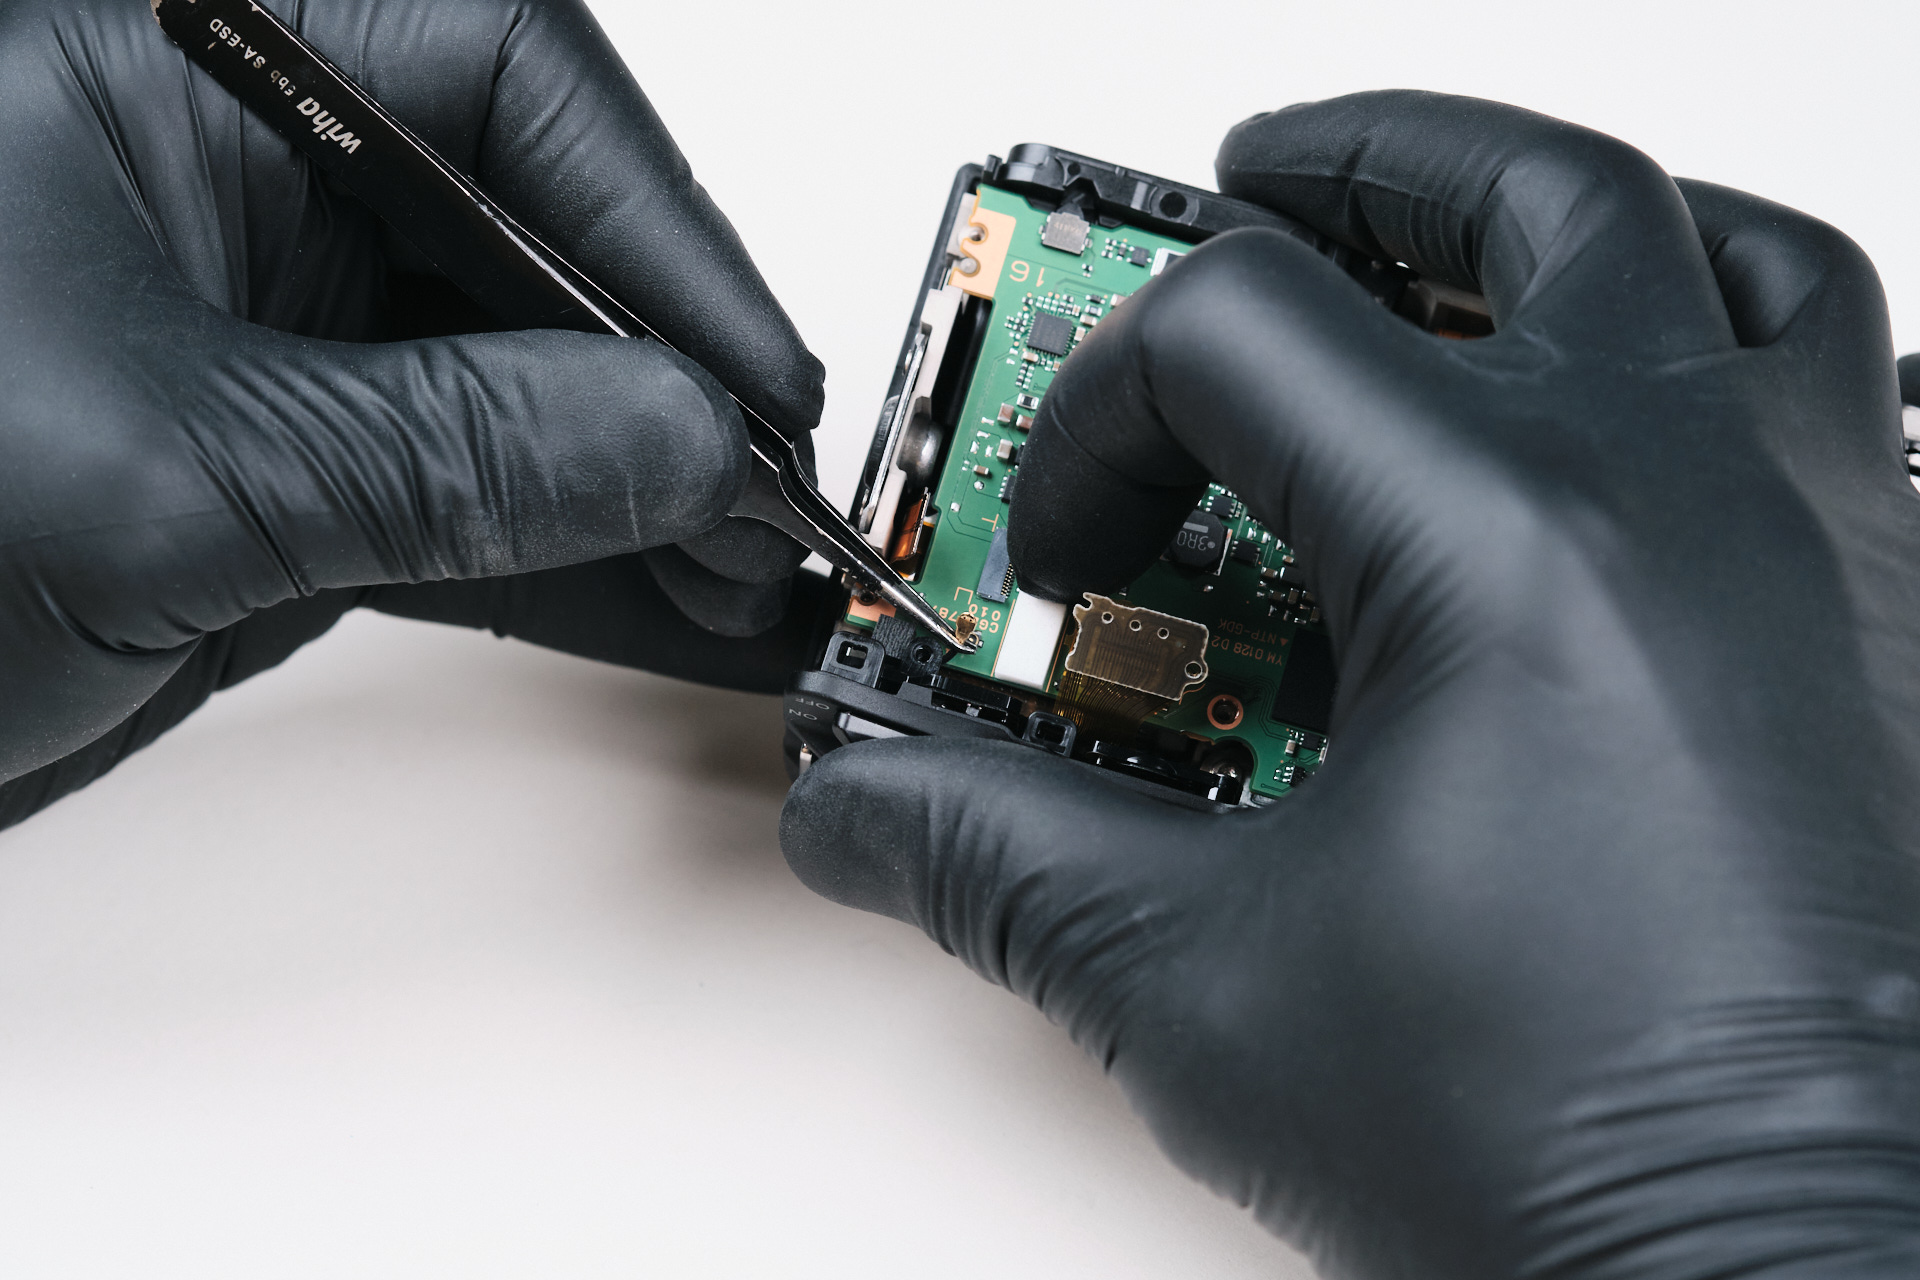
Disconnecting the Ribbon Cables Around the PCB
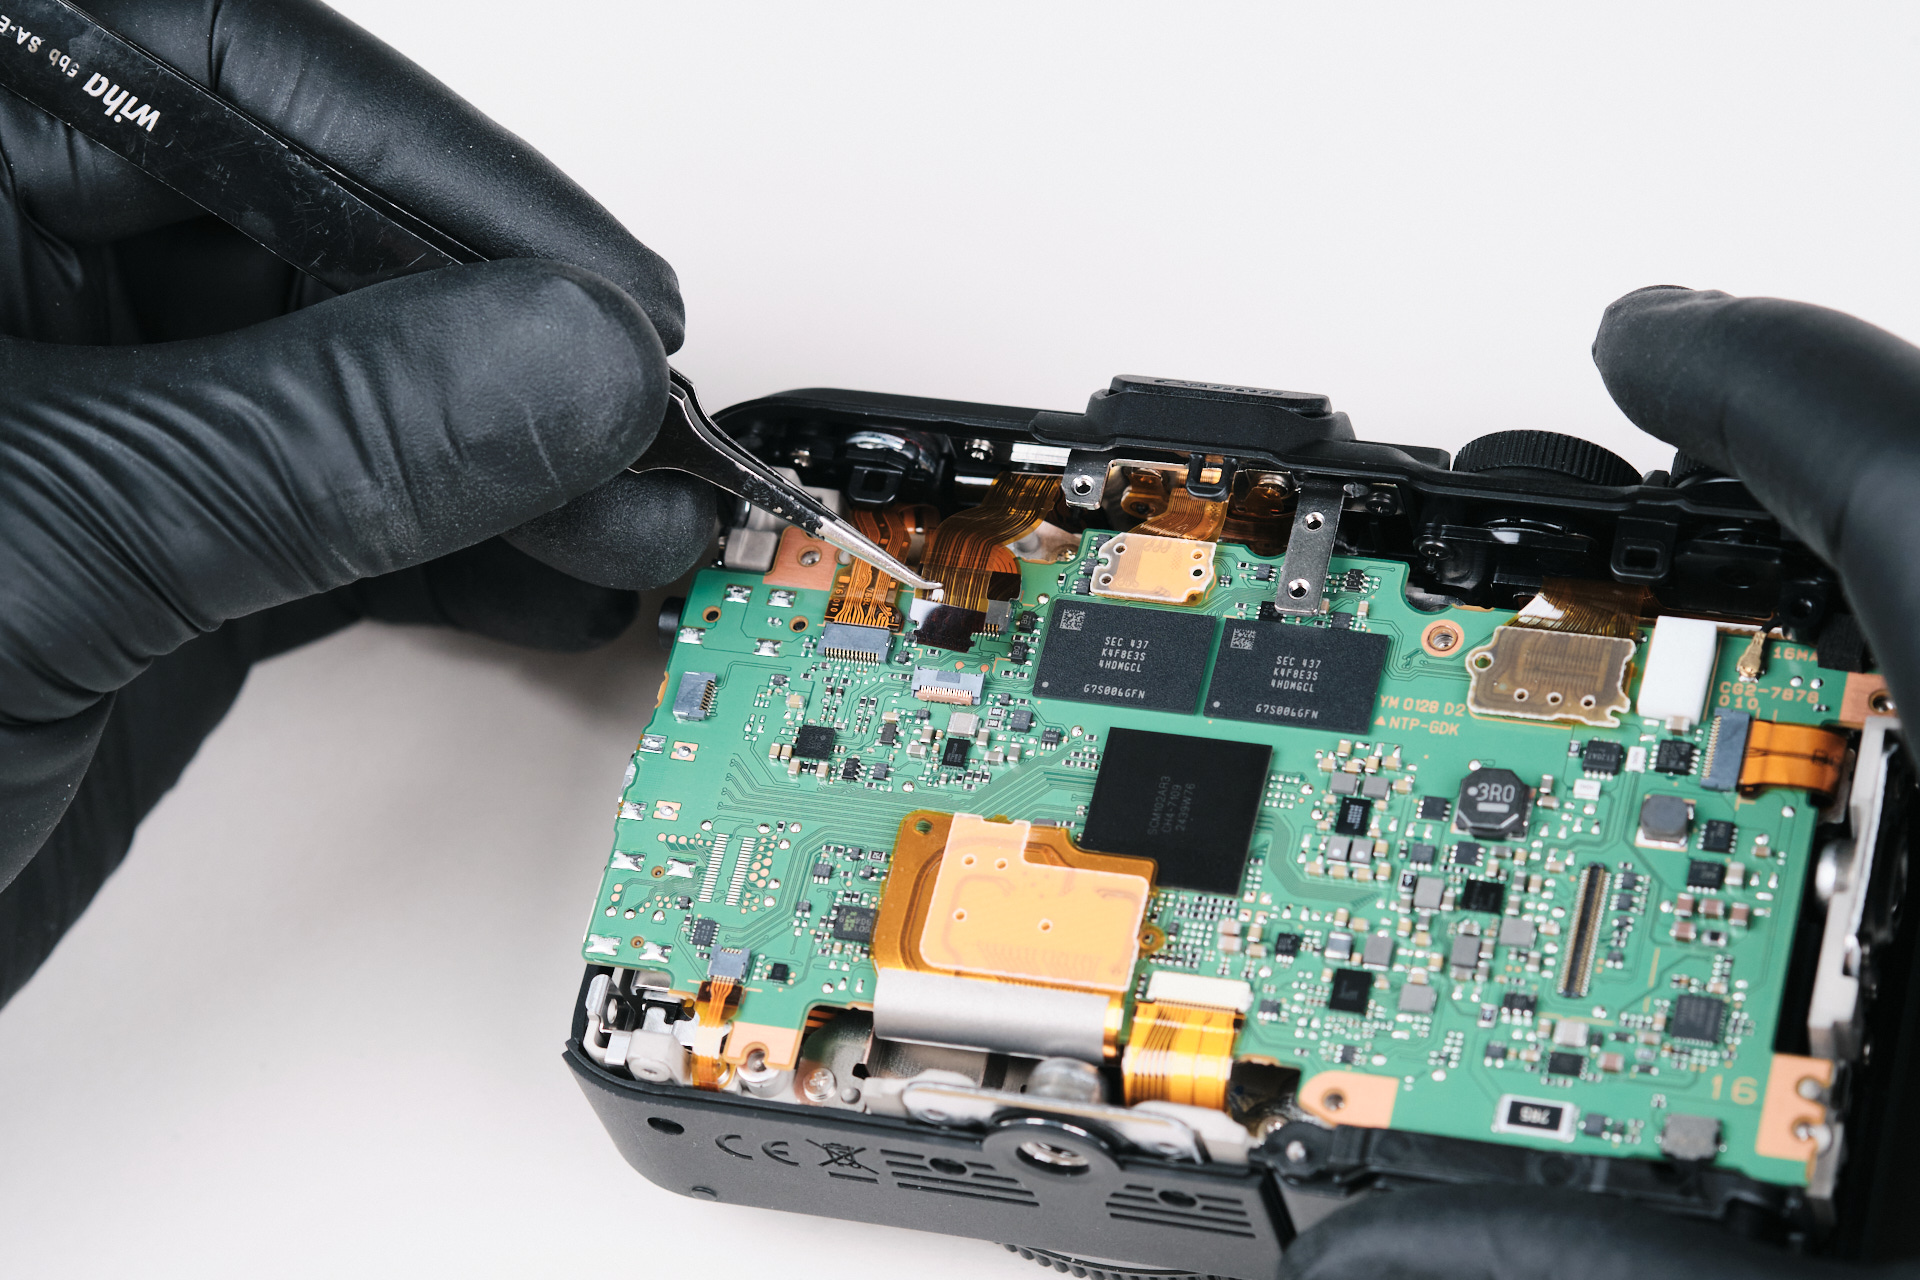
The circuitboard has ten ribbon cable connections surrounding the perimeter of the PCB. A few connections were covered by another ribbon cable. Yet another example of saving space within the camera itself.
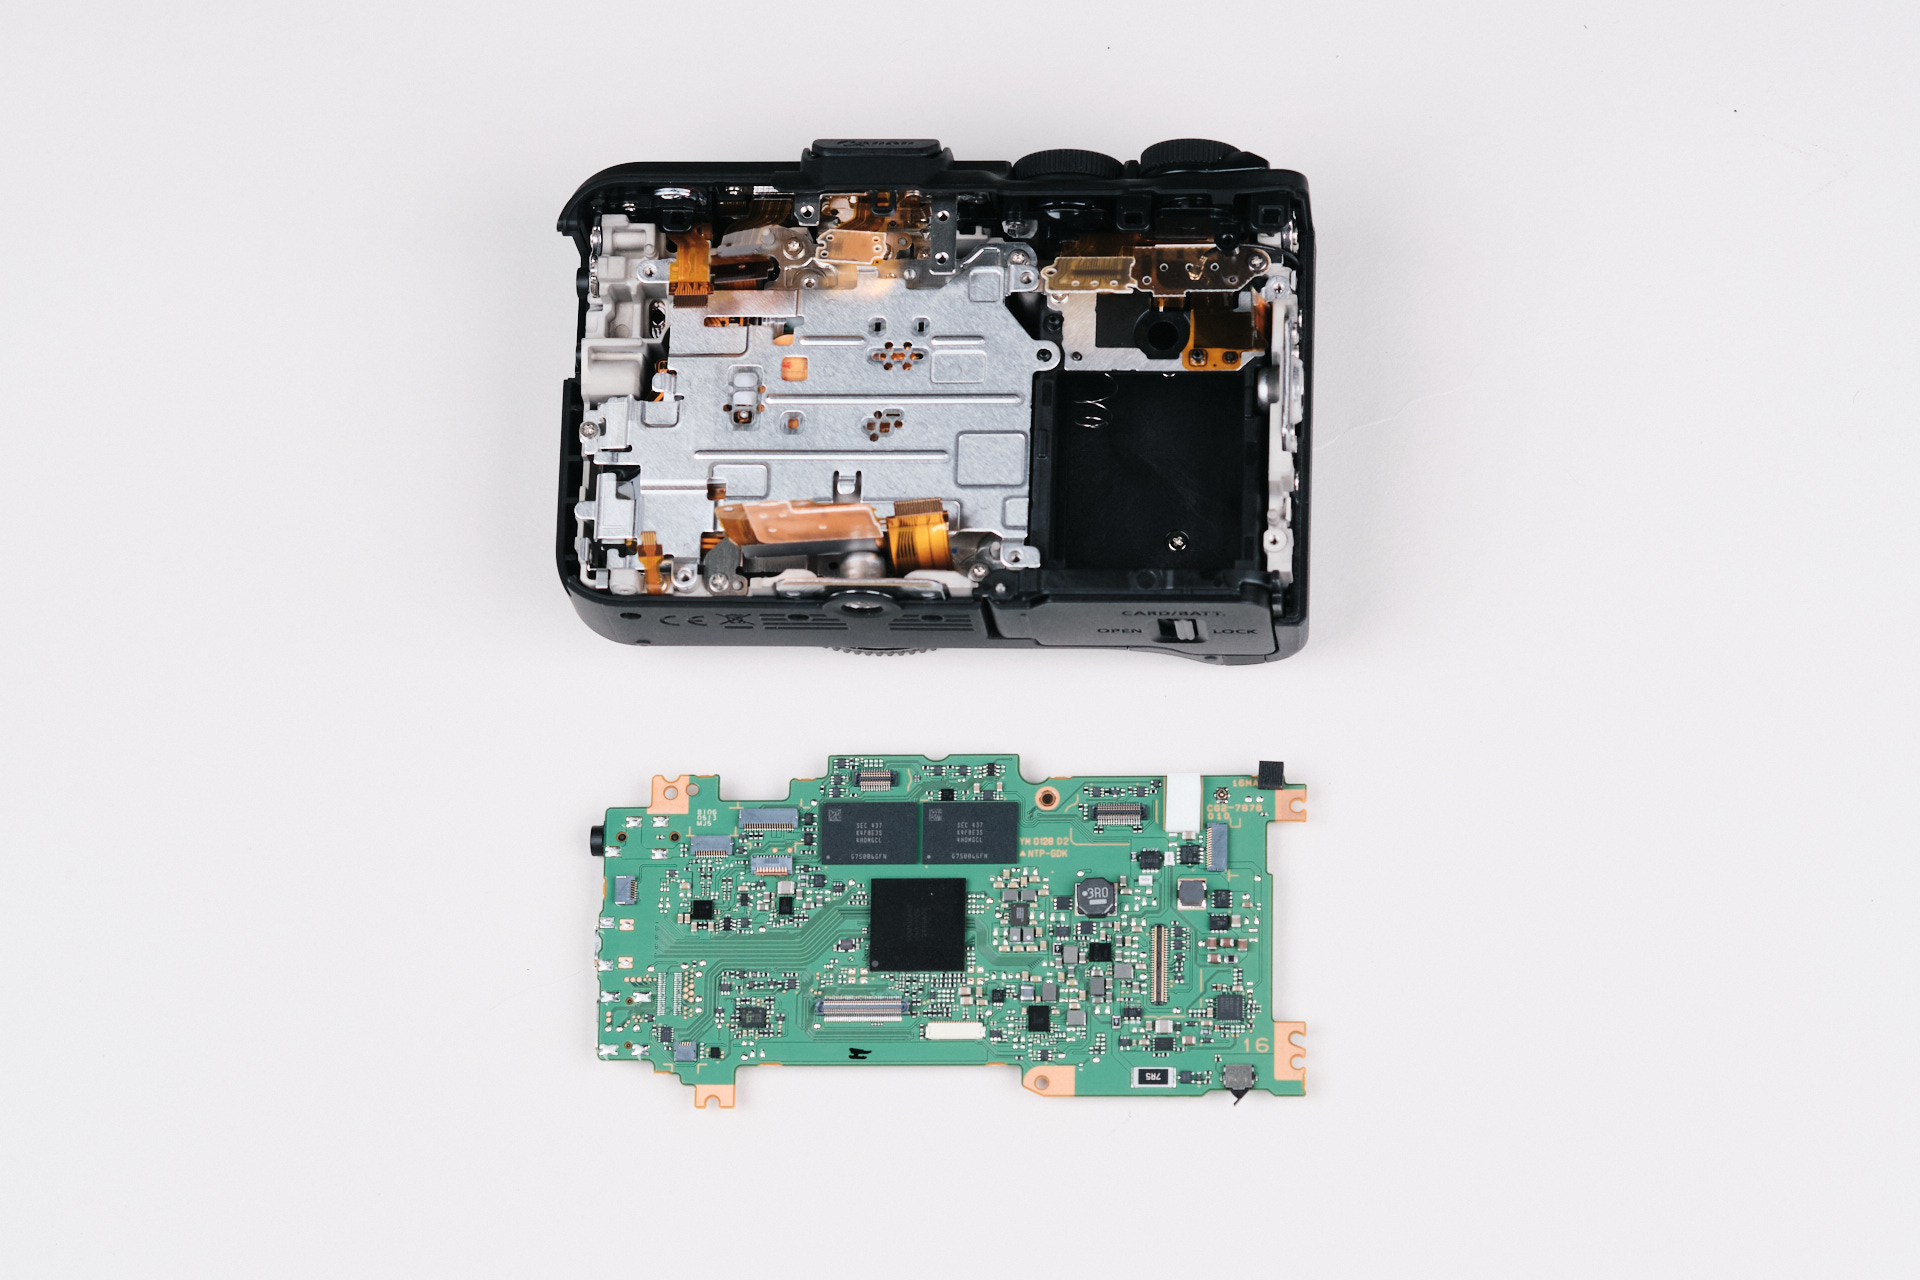
Here is the circuitboard disconnected from the camera.
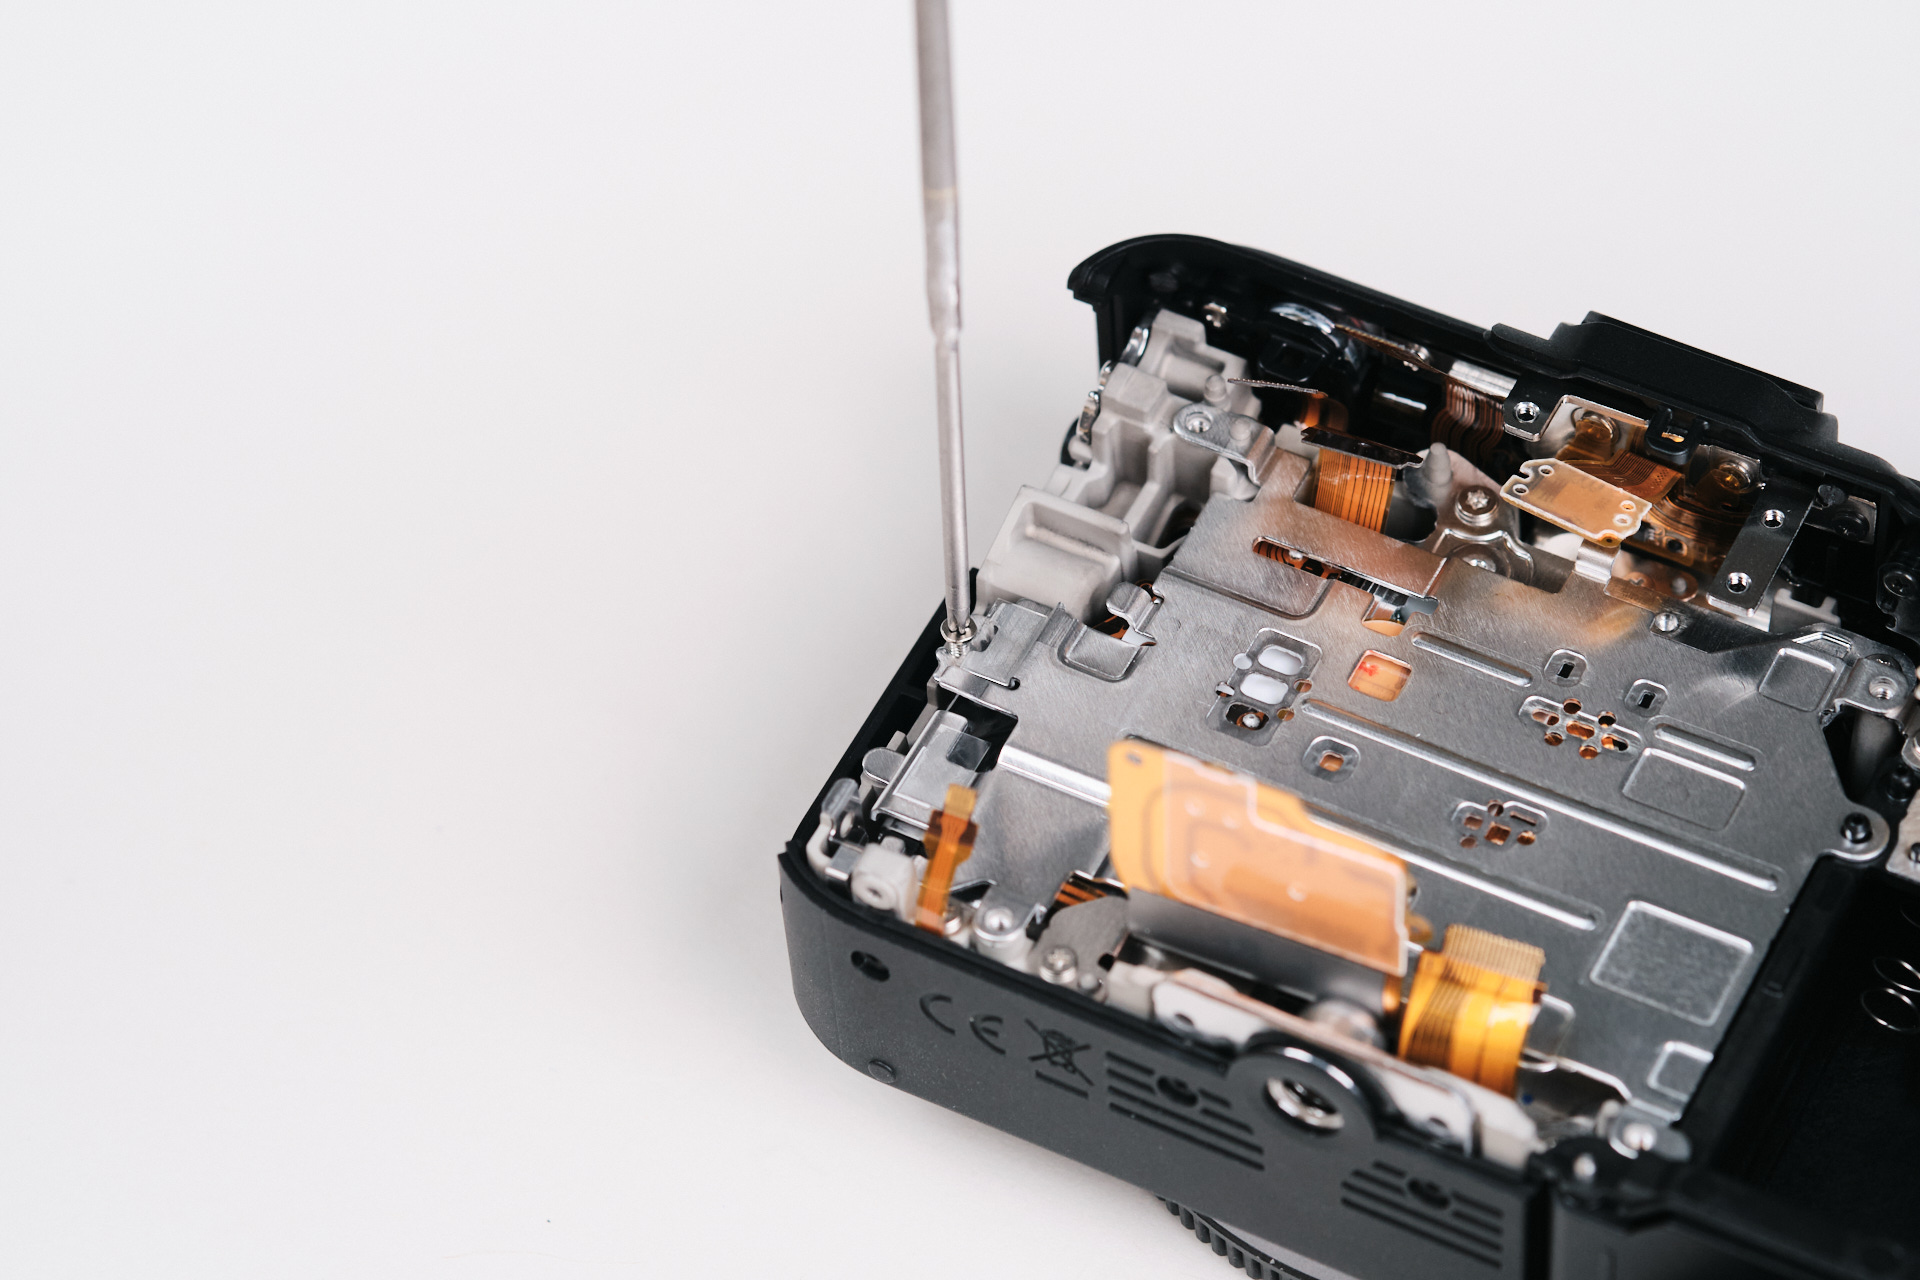
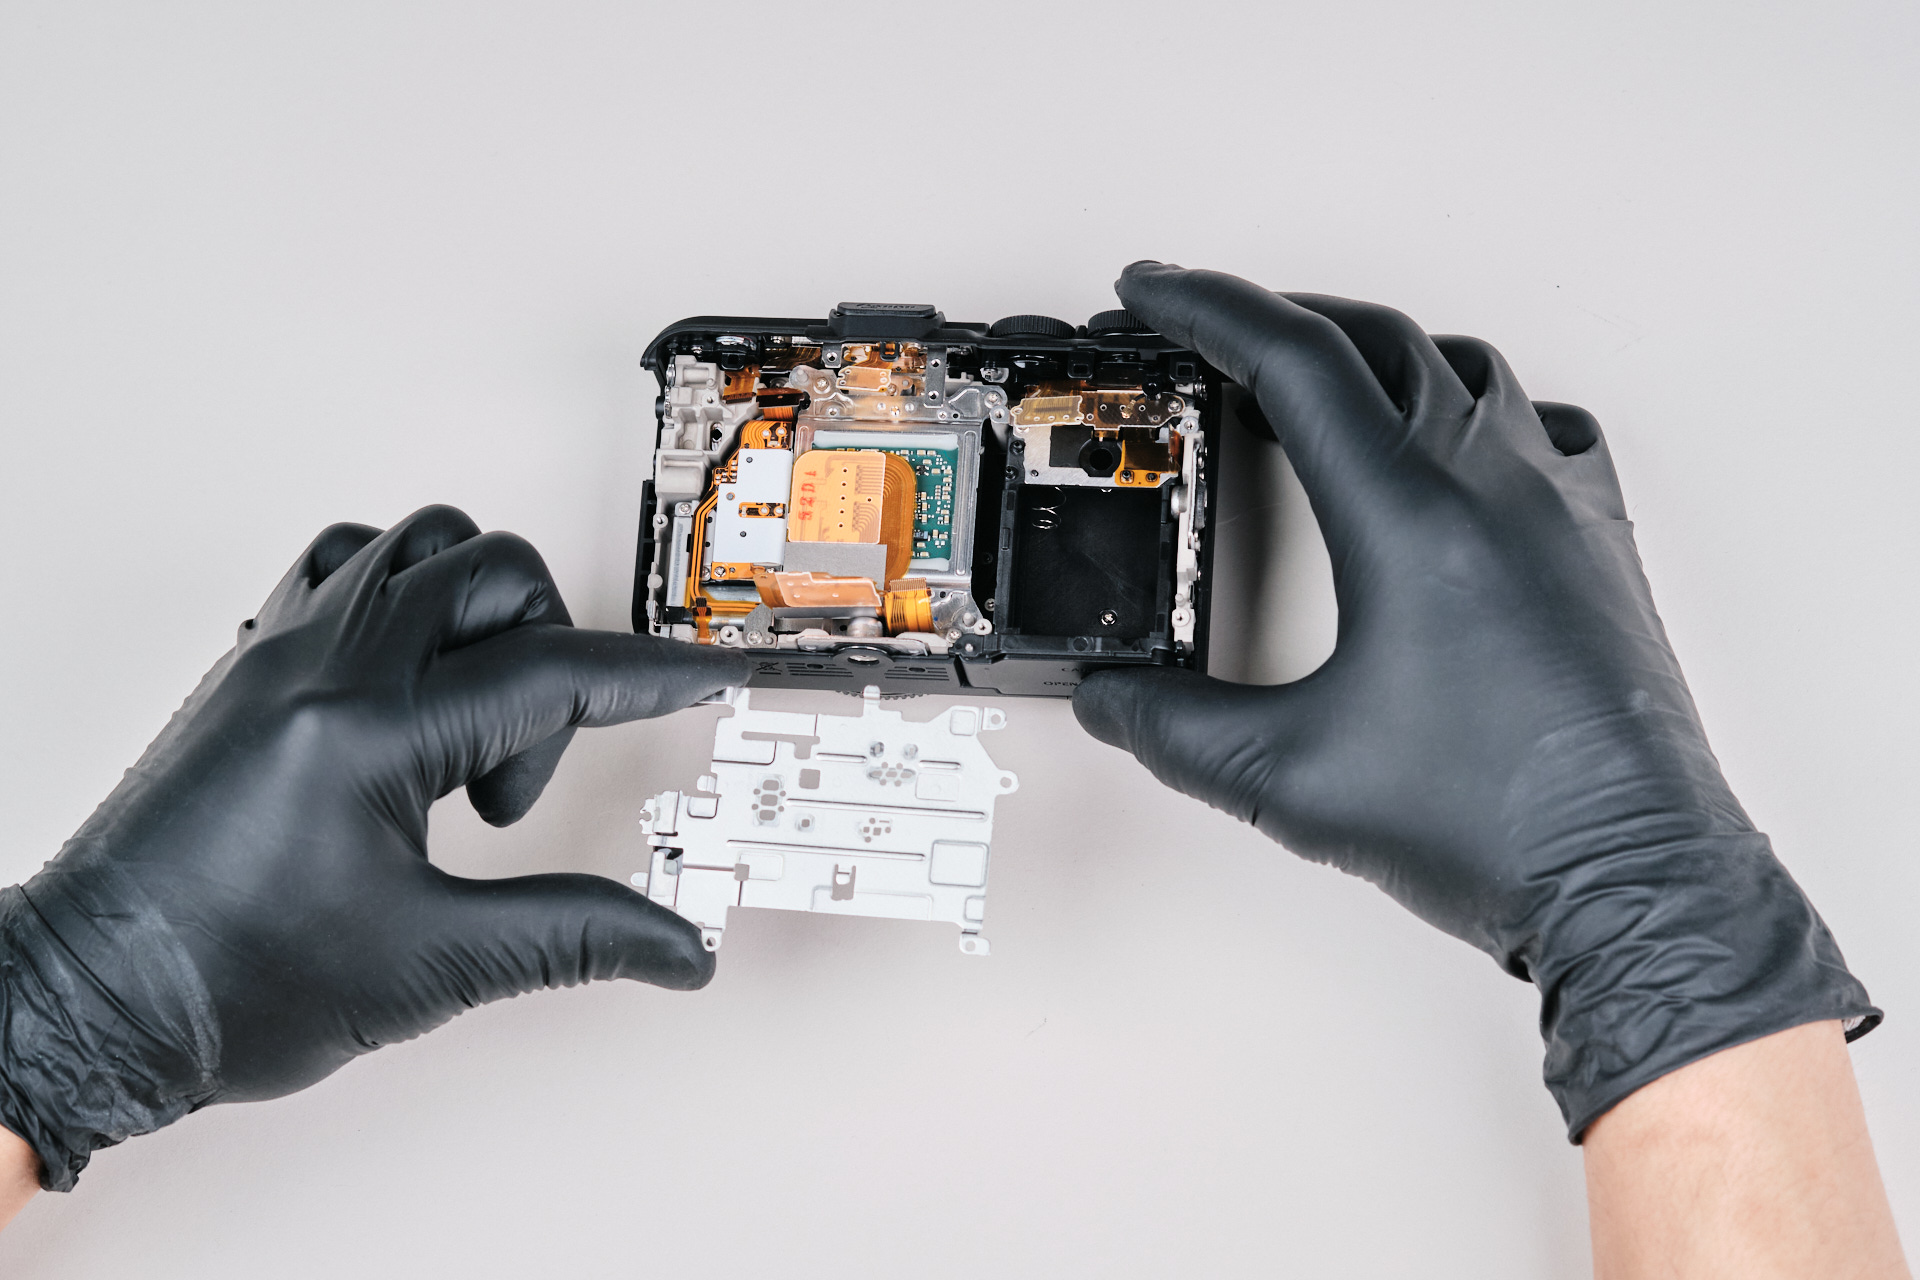
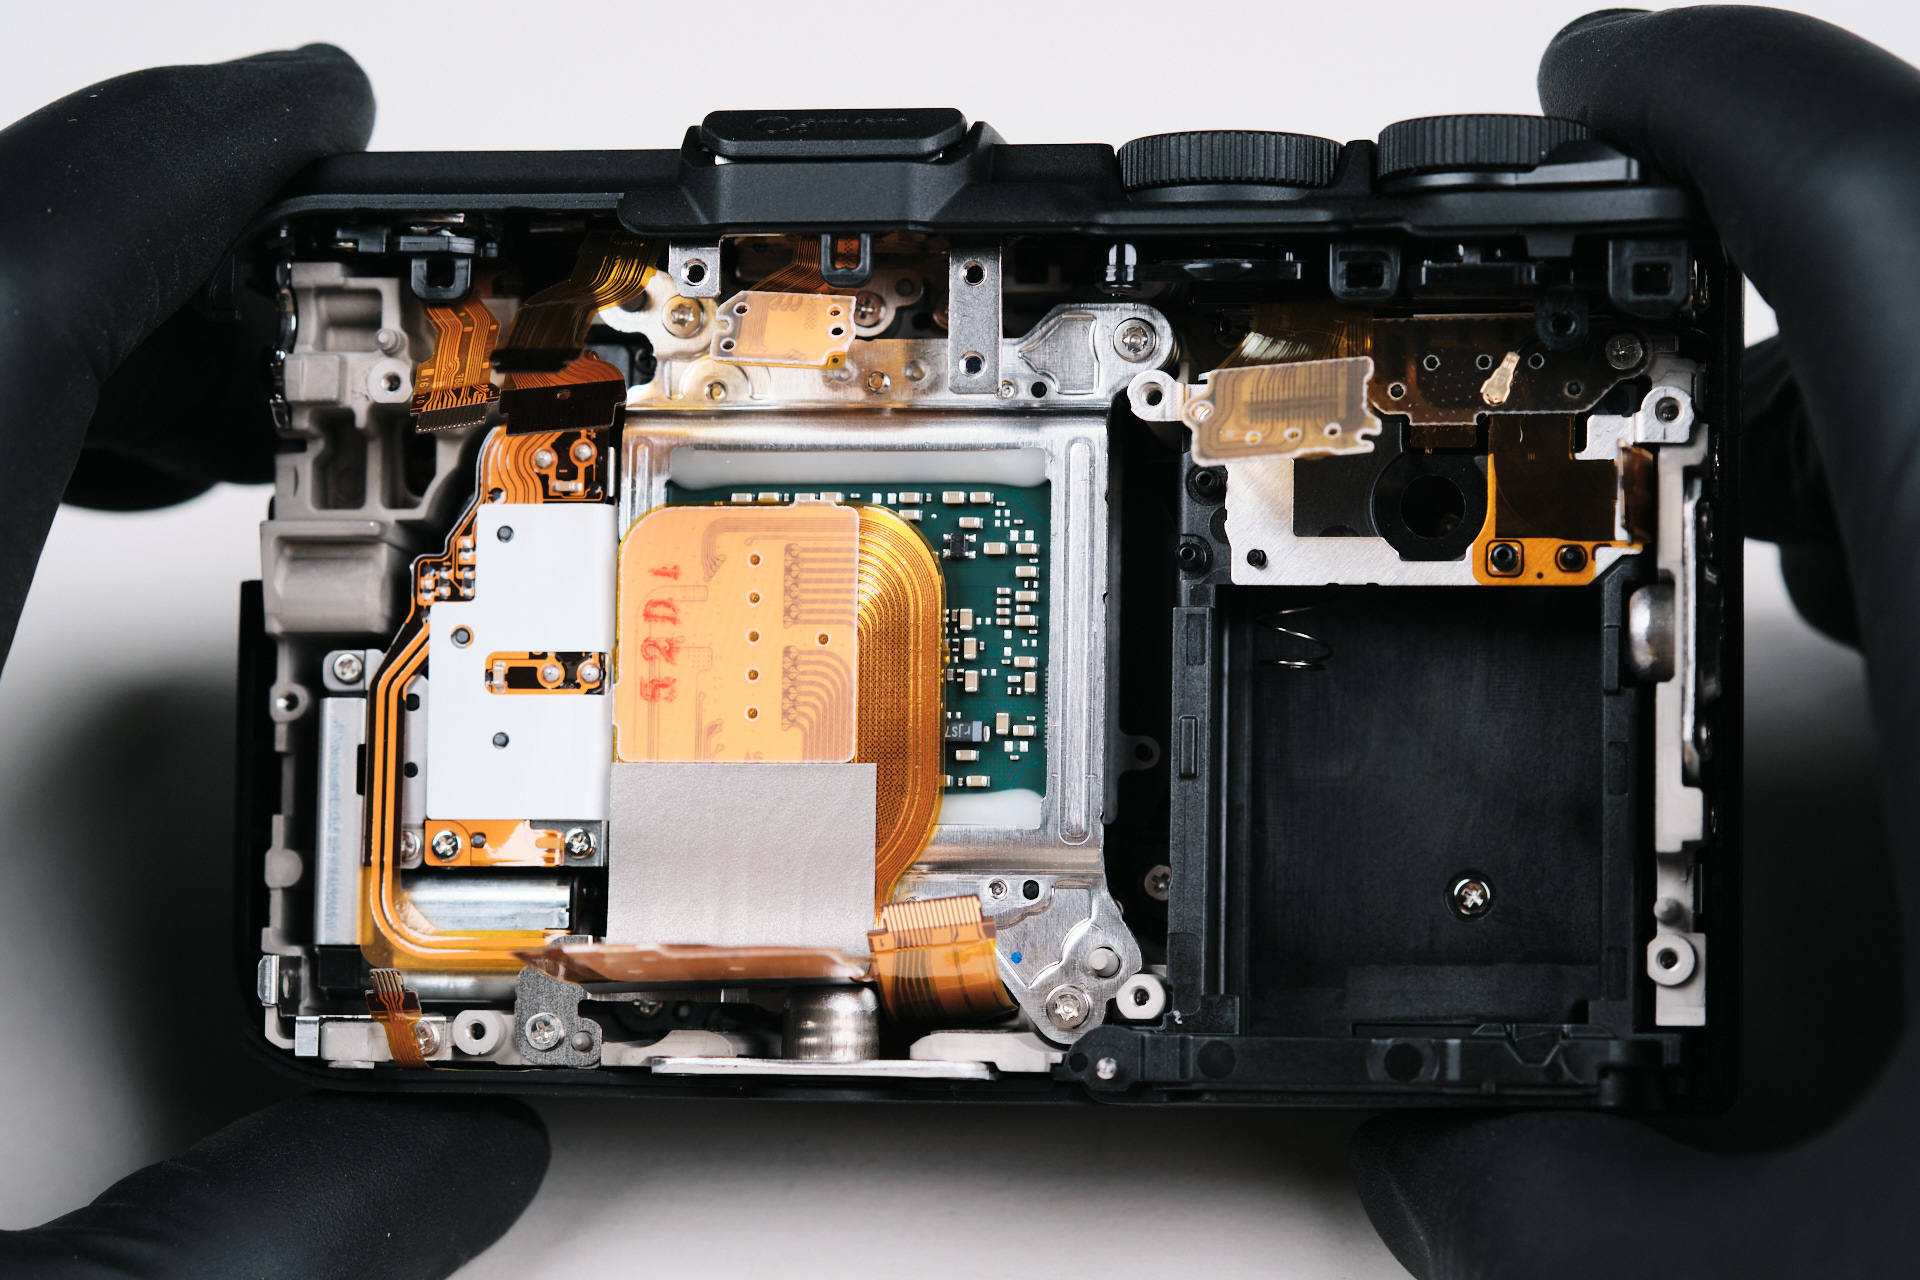
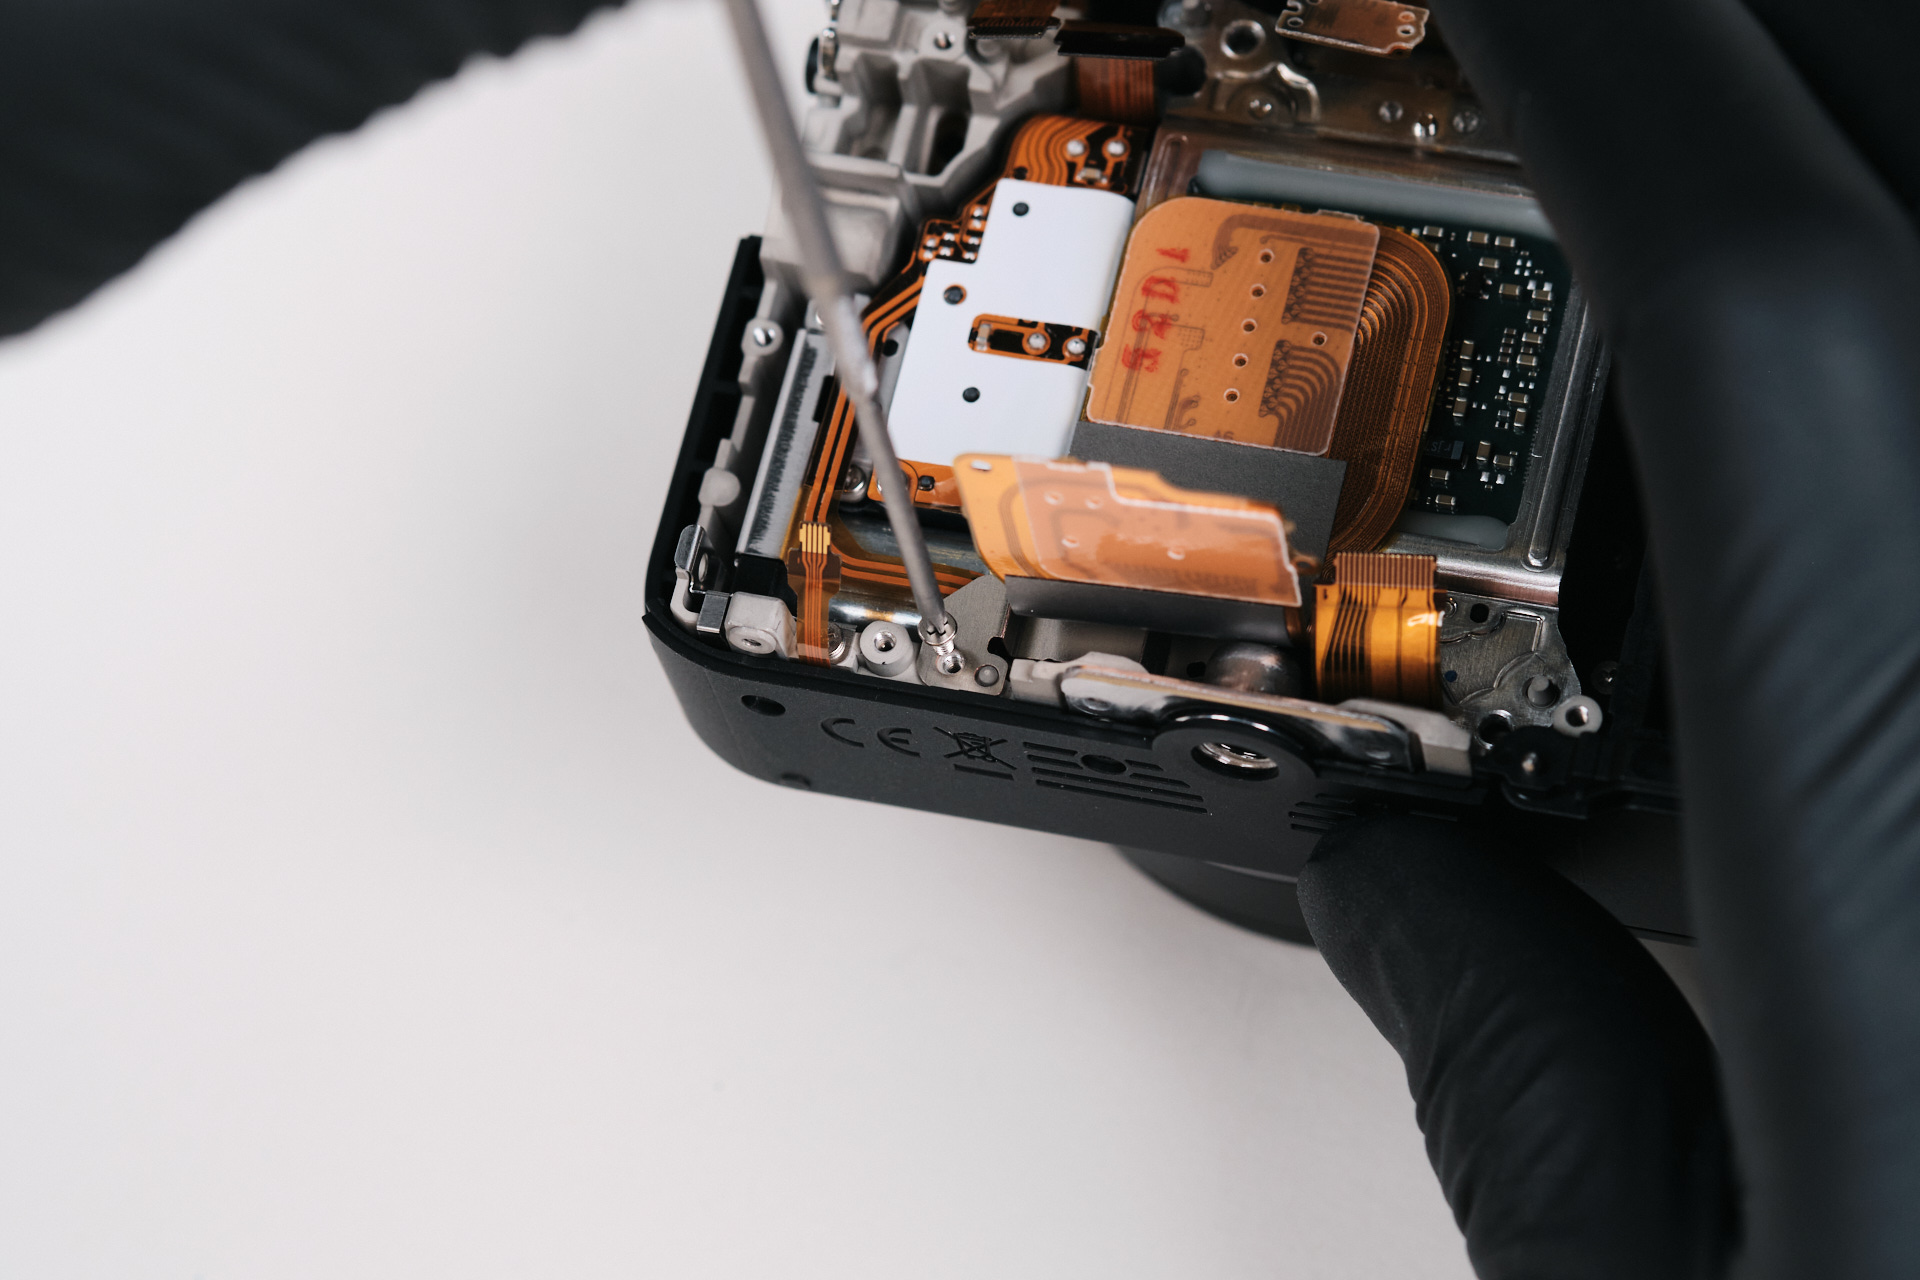
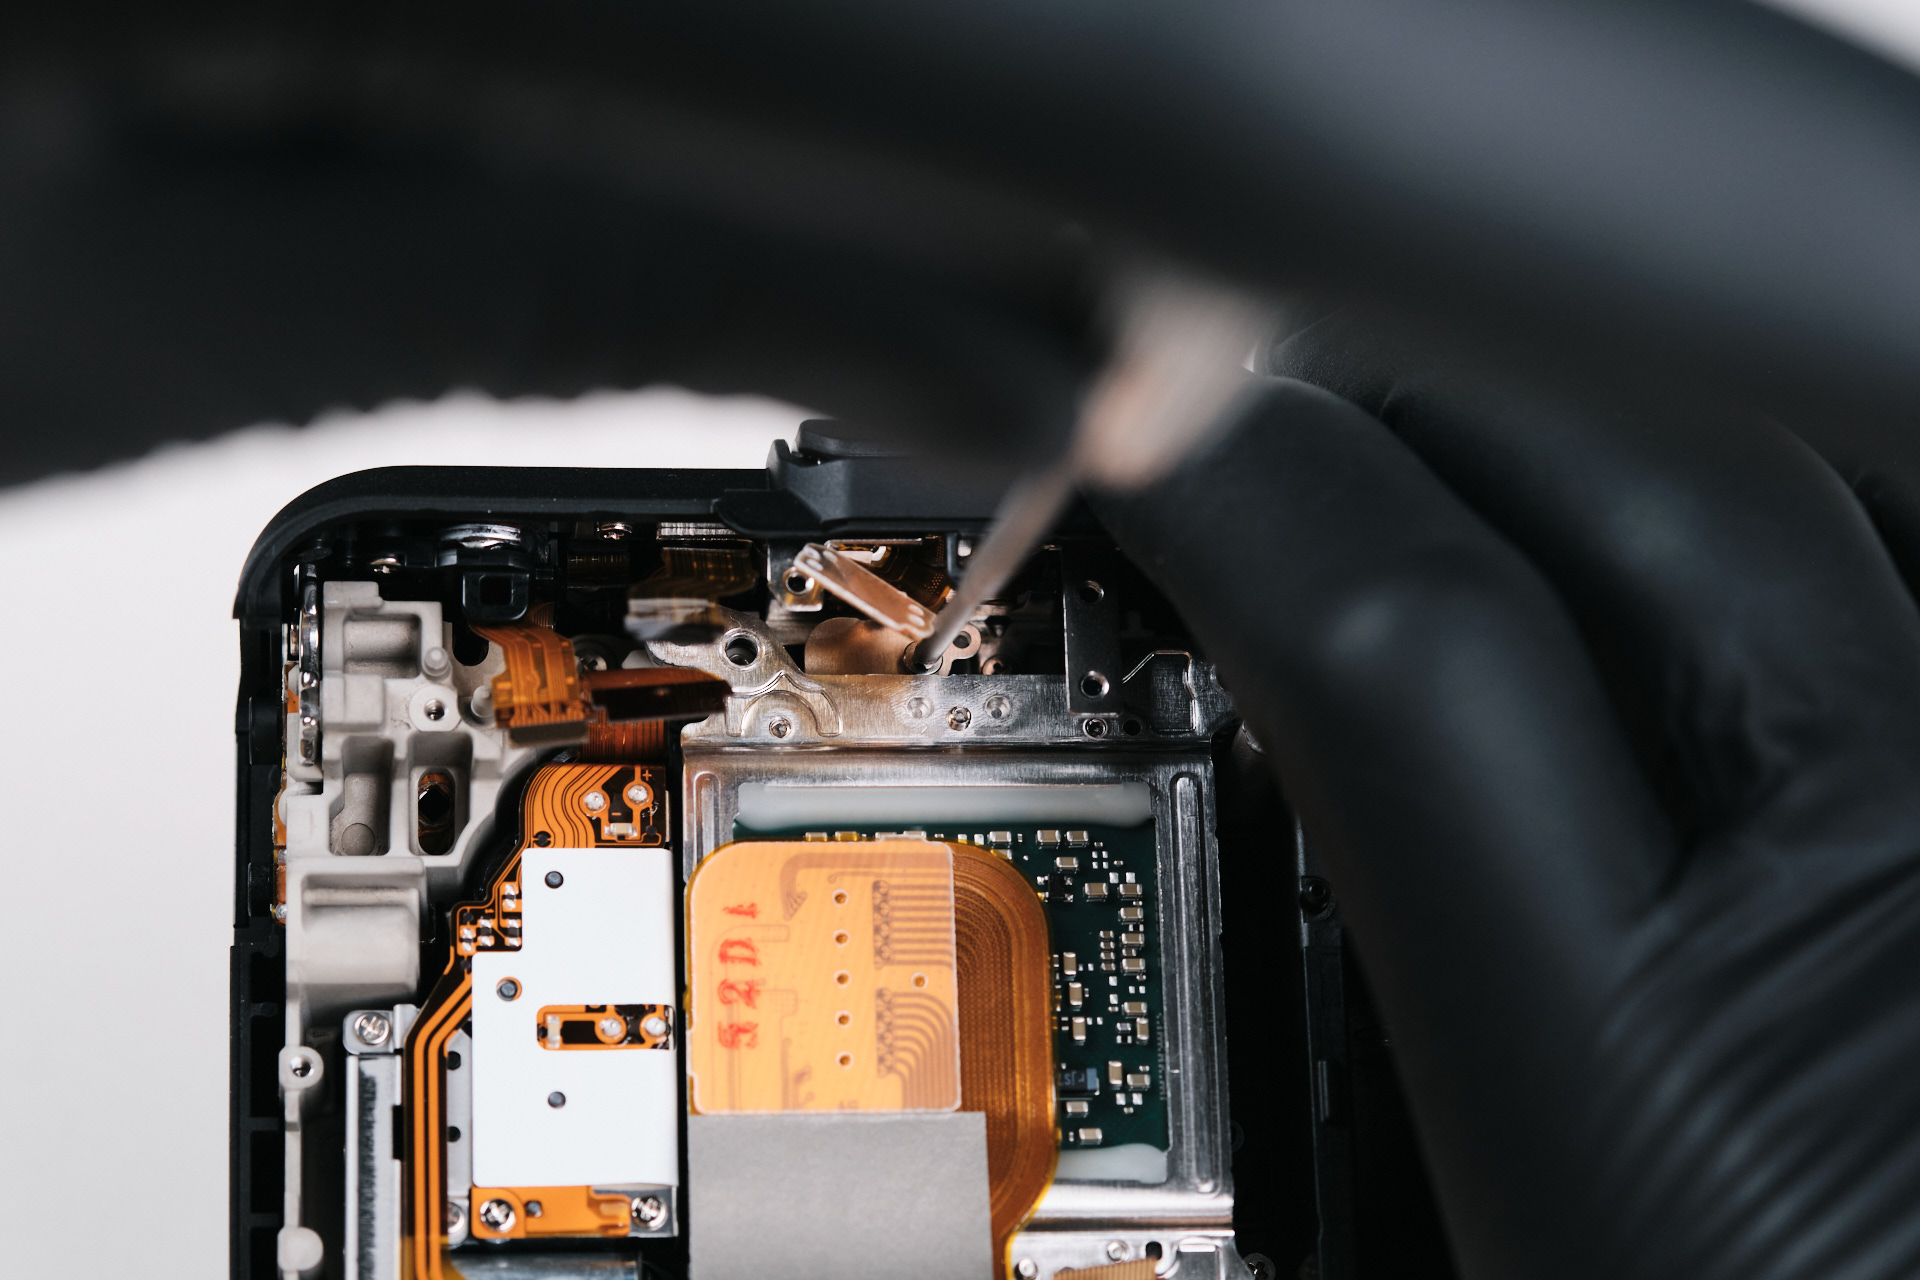
Removing the Sensor Bracket
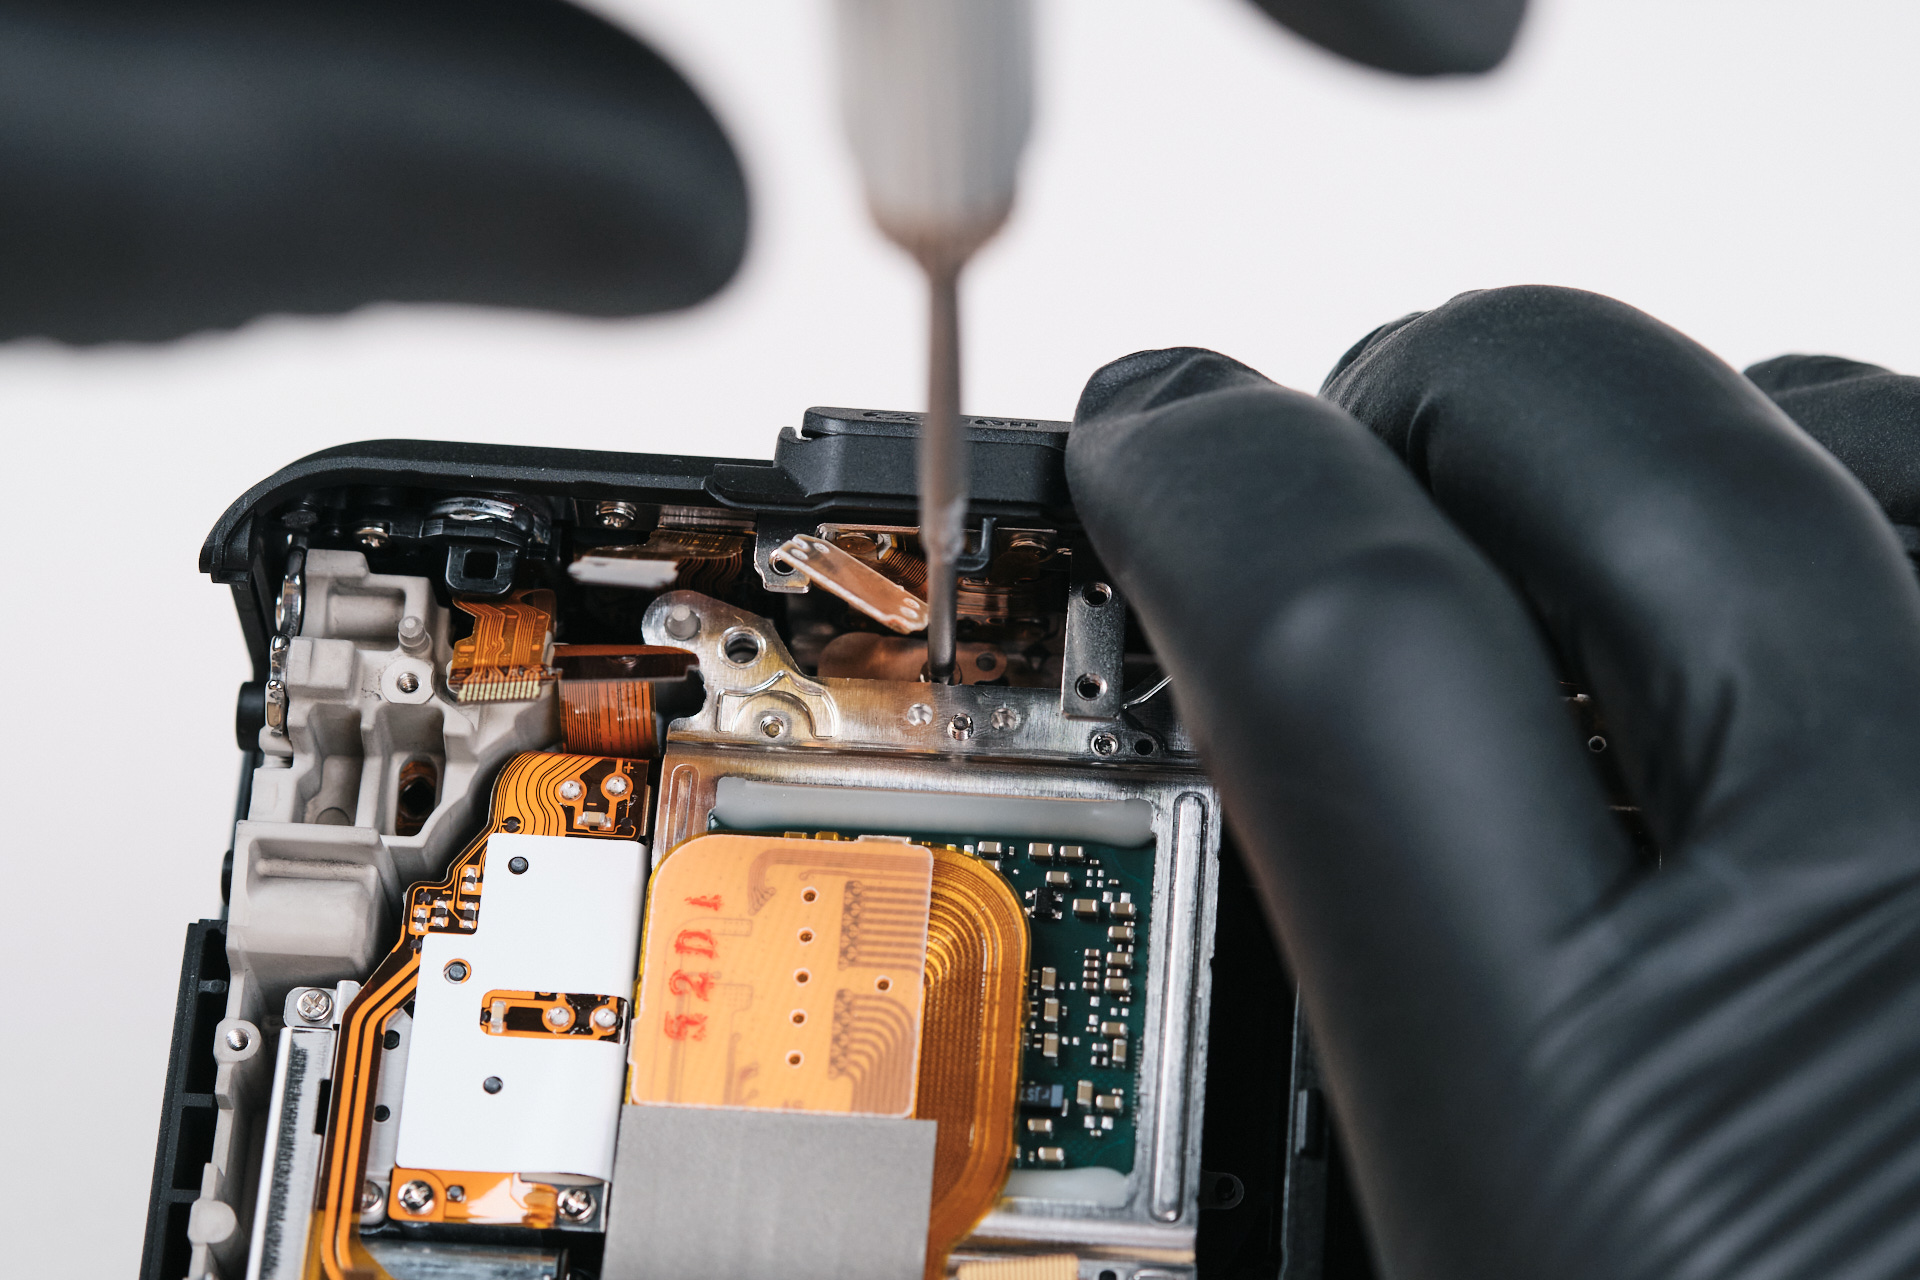
Removing the circuitboard led us deeper into the camera’s layers, and so we reached the camera sensor bracket. Only one screw held down this piece. It seemed that there are other slots for other screws that were presumably removed previously at prior layers of the camera.
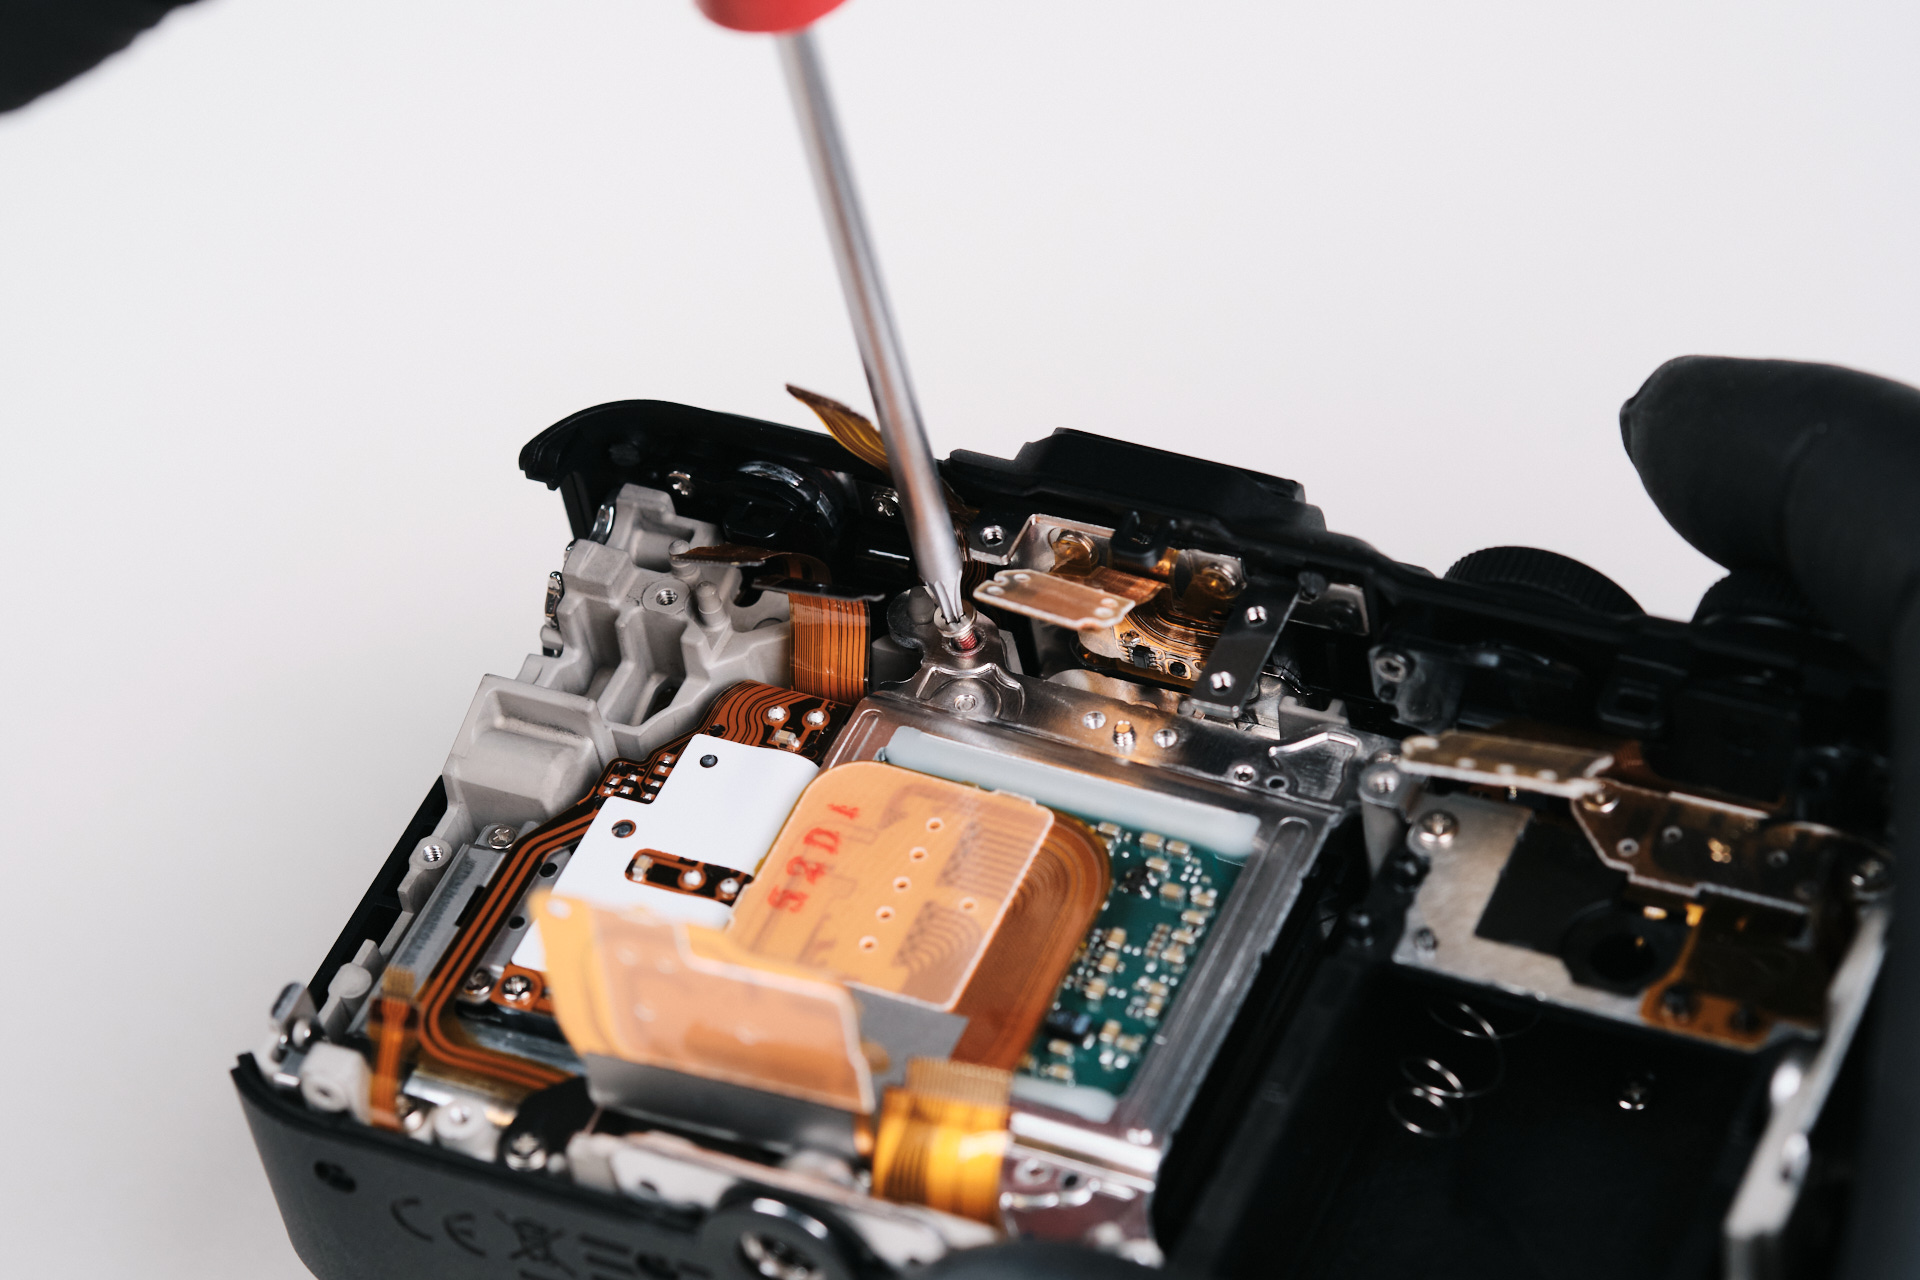
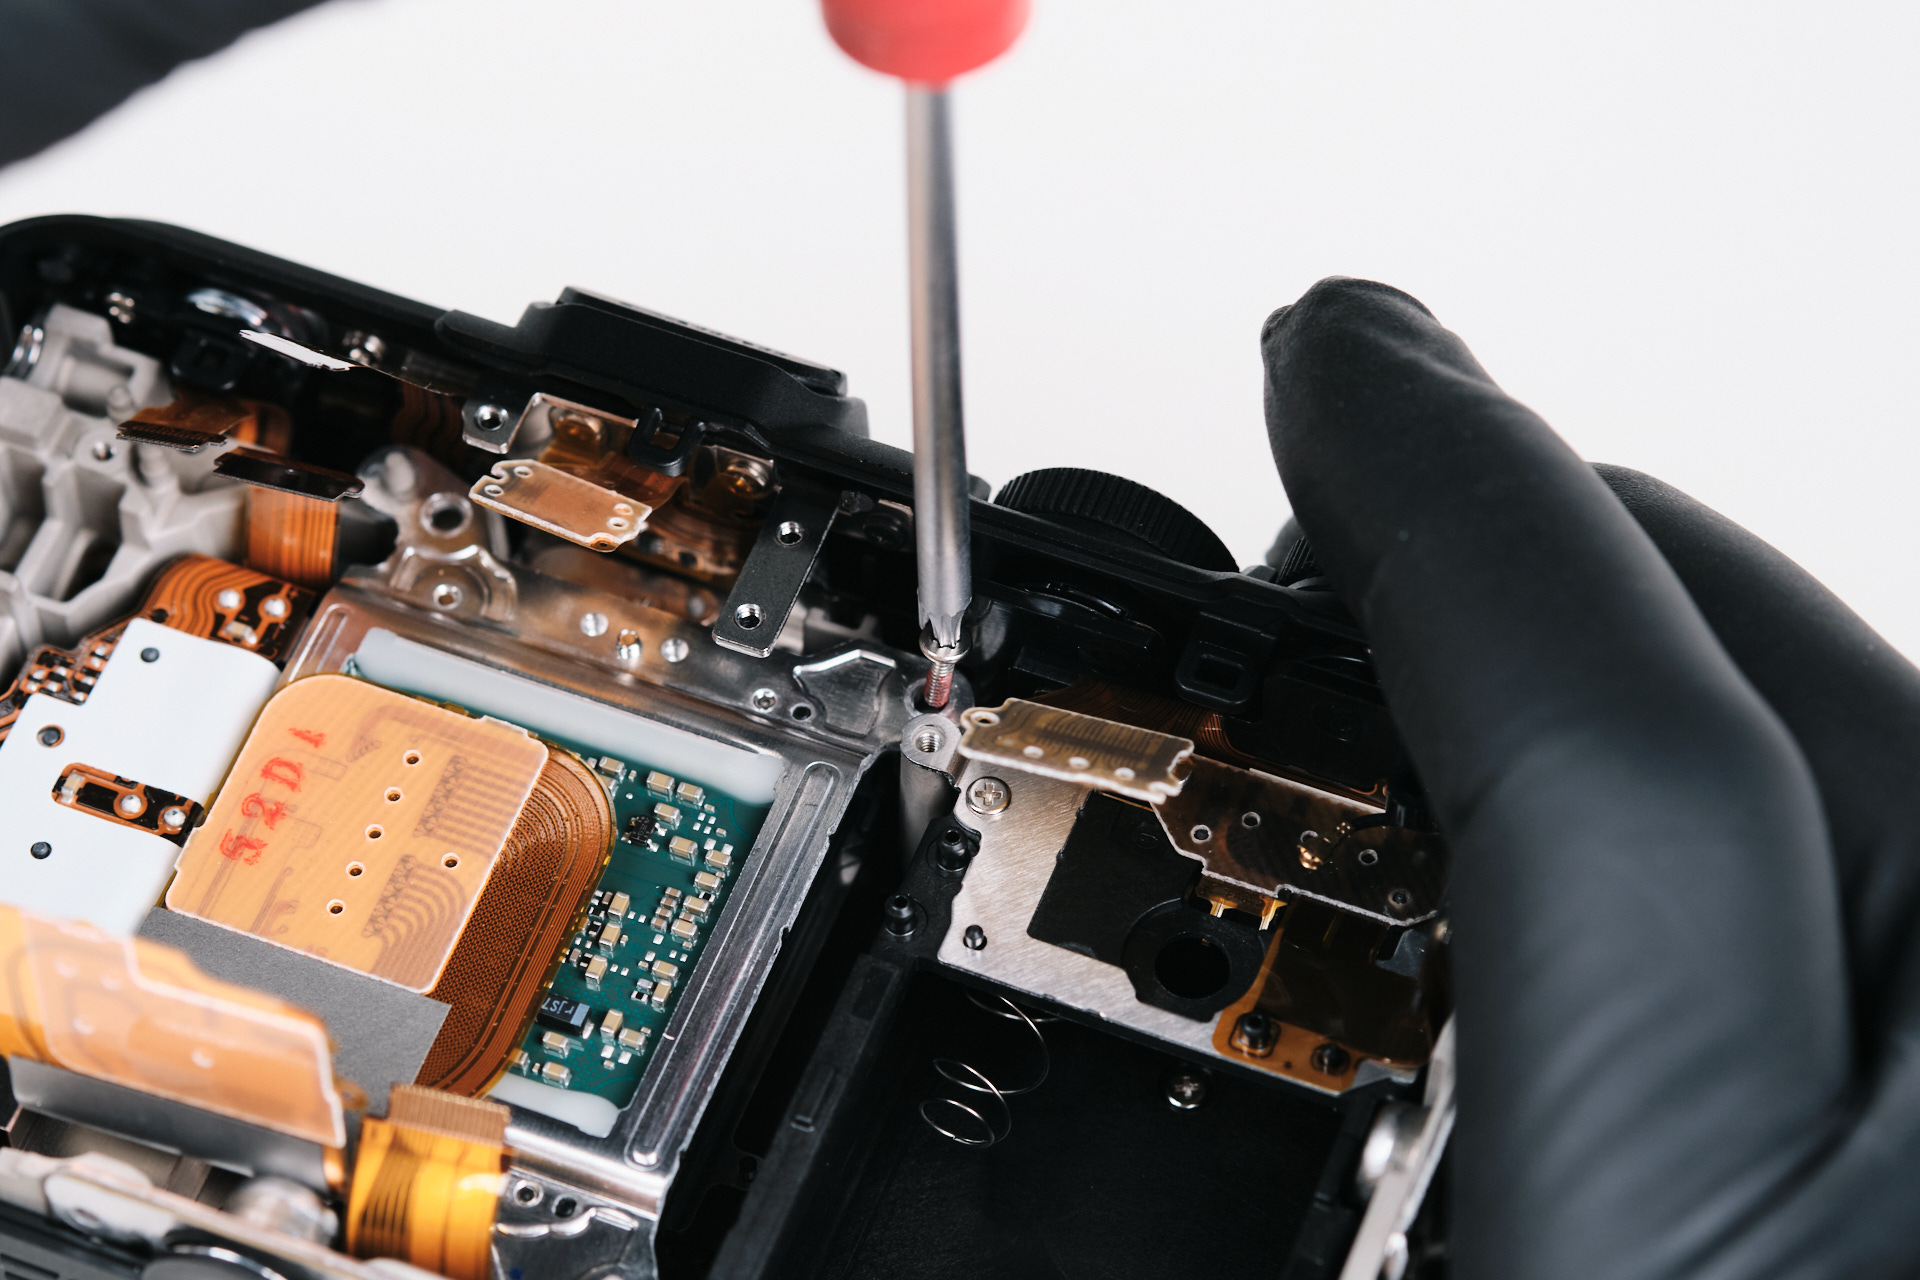
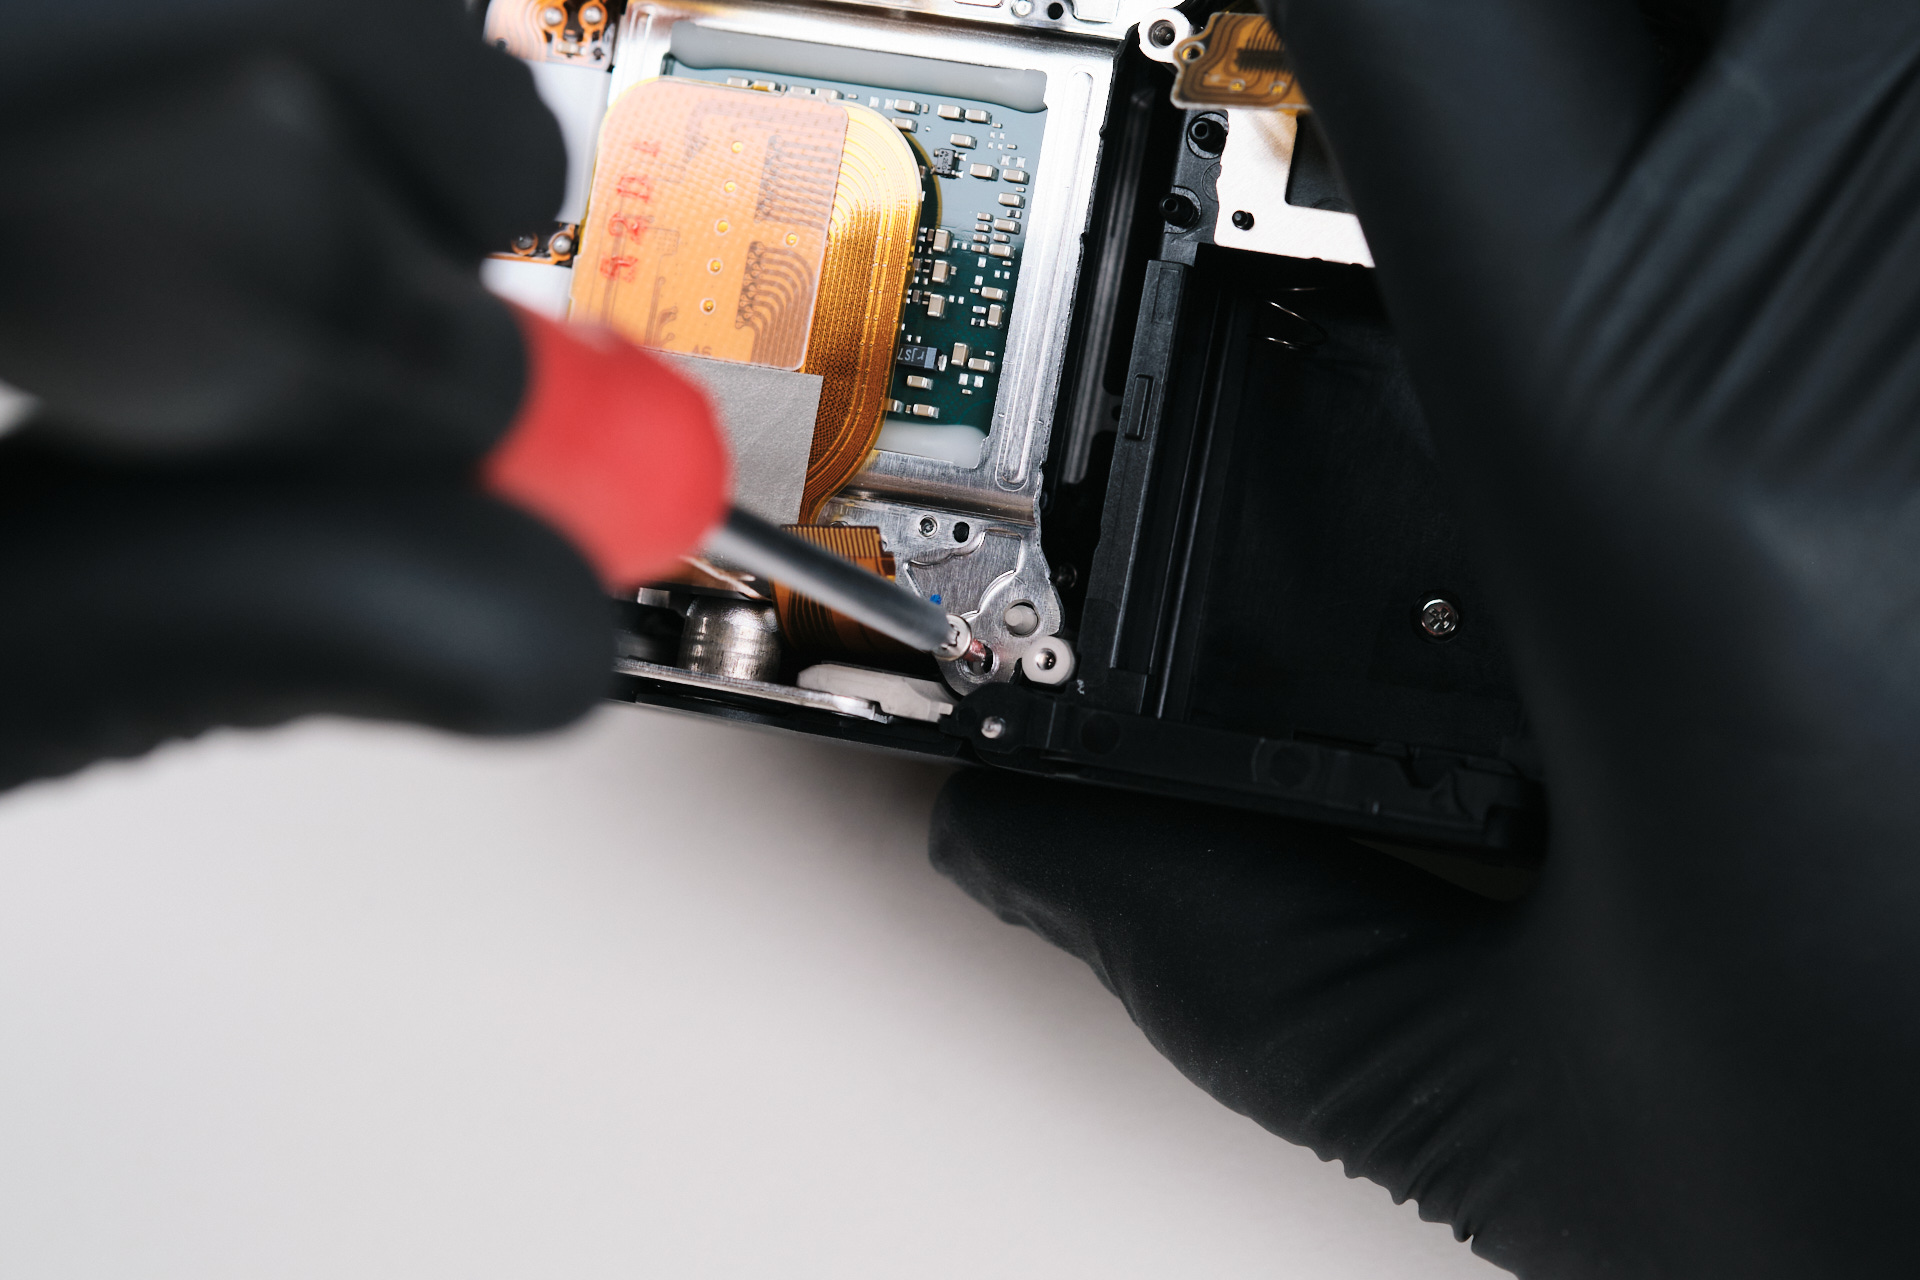
Removing the Canon EOS R50V Camera Sensor
The camera sensor is only fastened with six screws.
Canon EOS R50V APS-C Sensor and Internal Layout
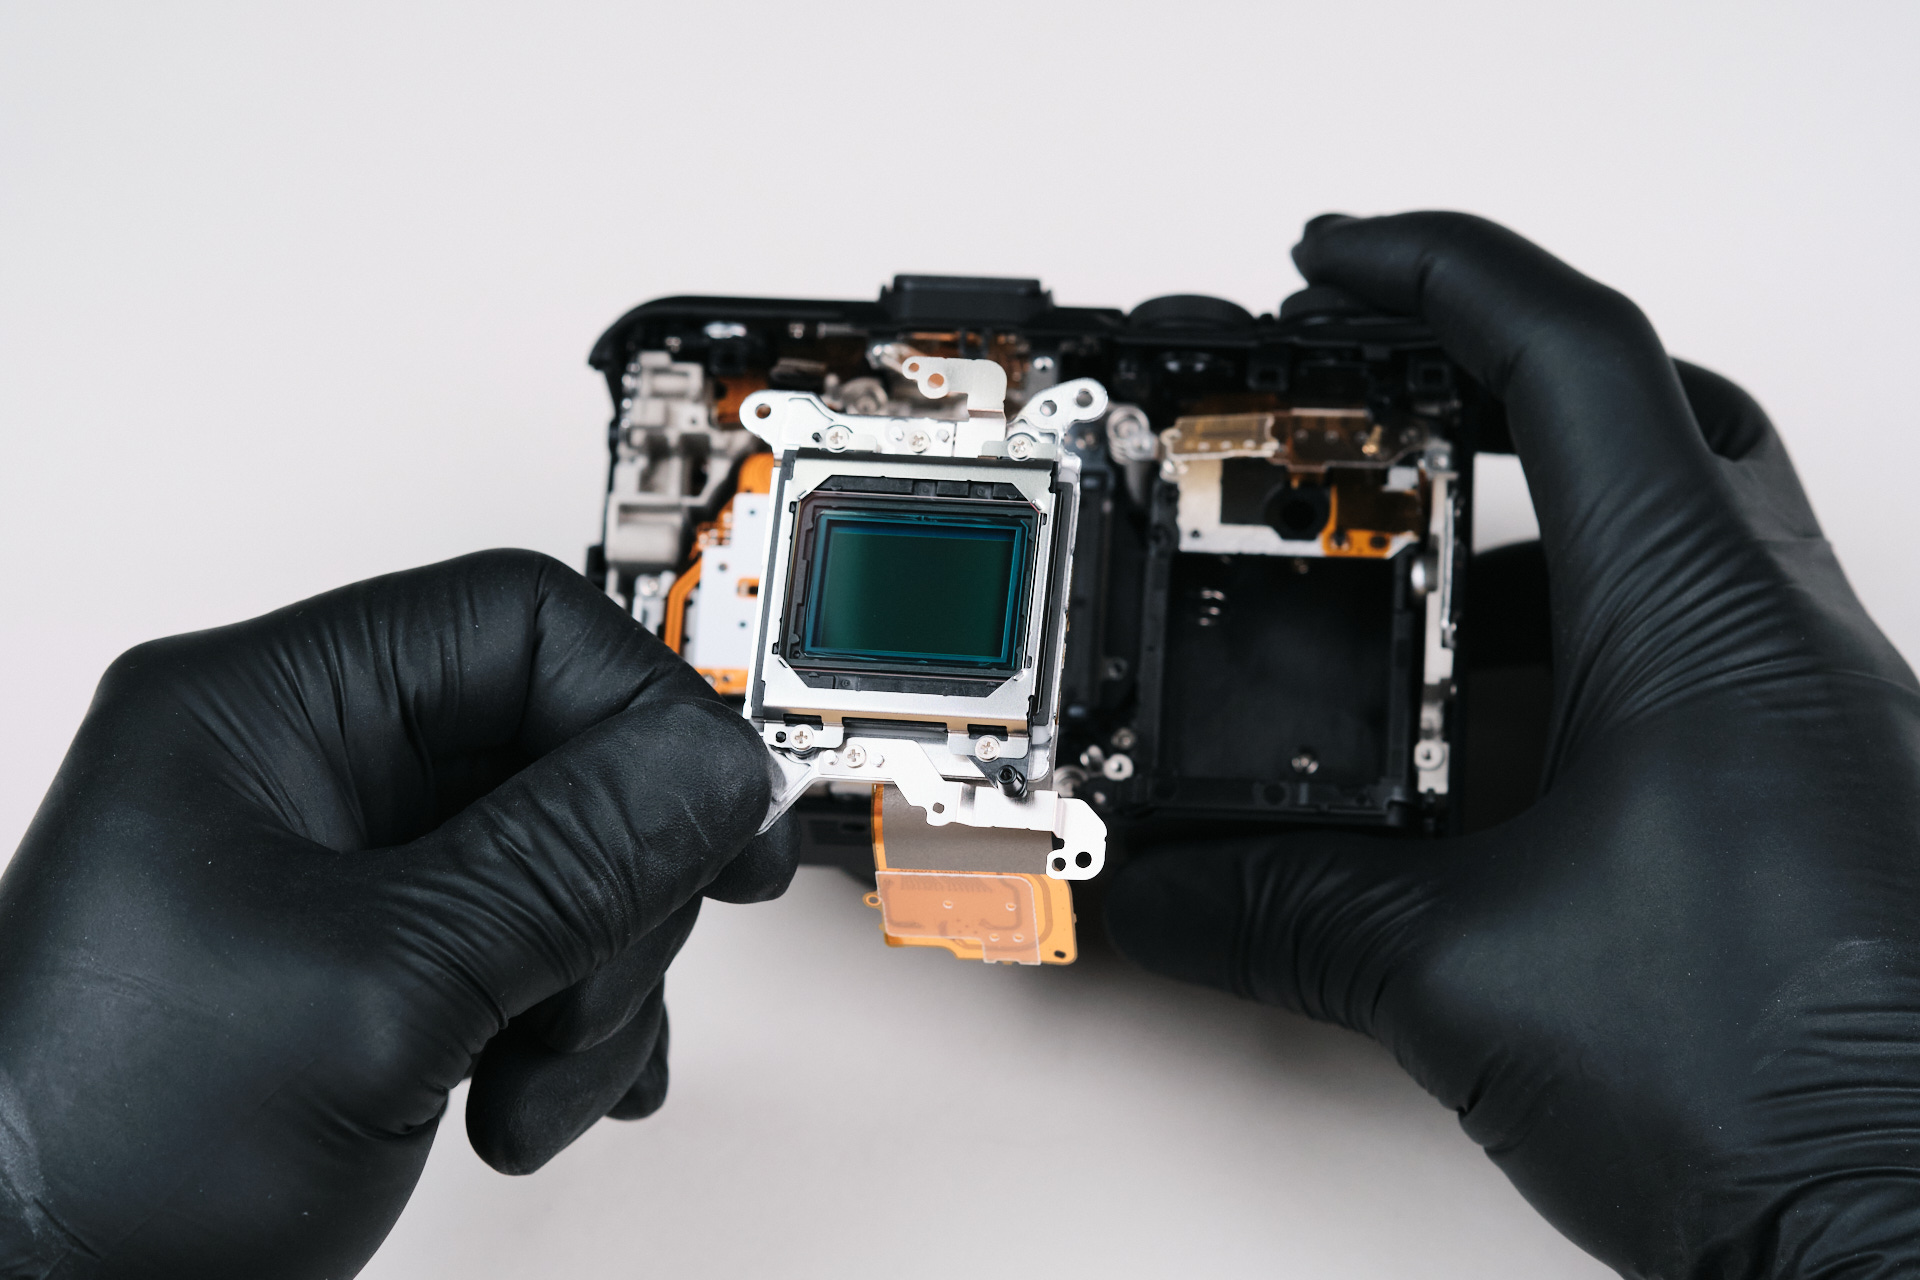
Here is the sensor of the Canon EOS R50V detached from the interior. The camera houses an APS-C sensor.
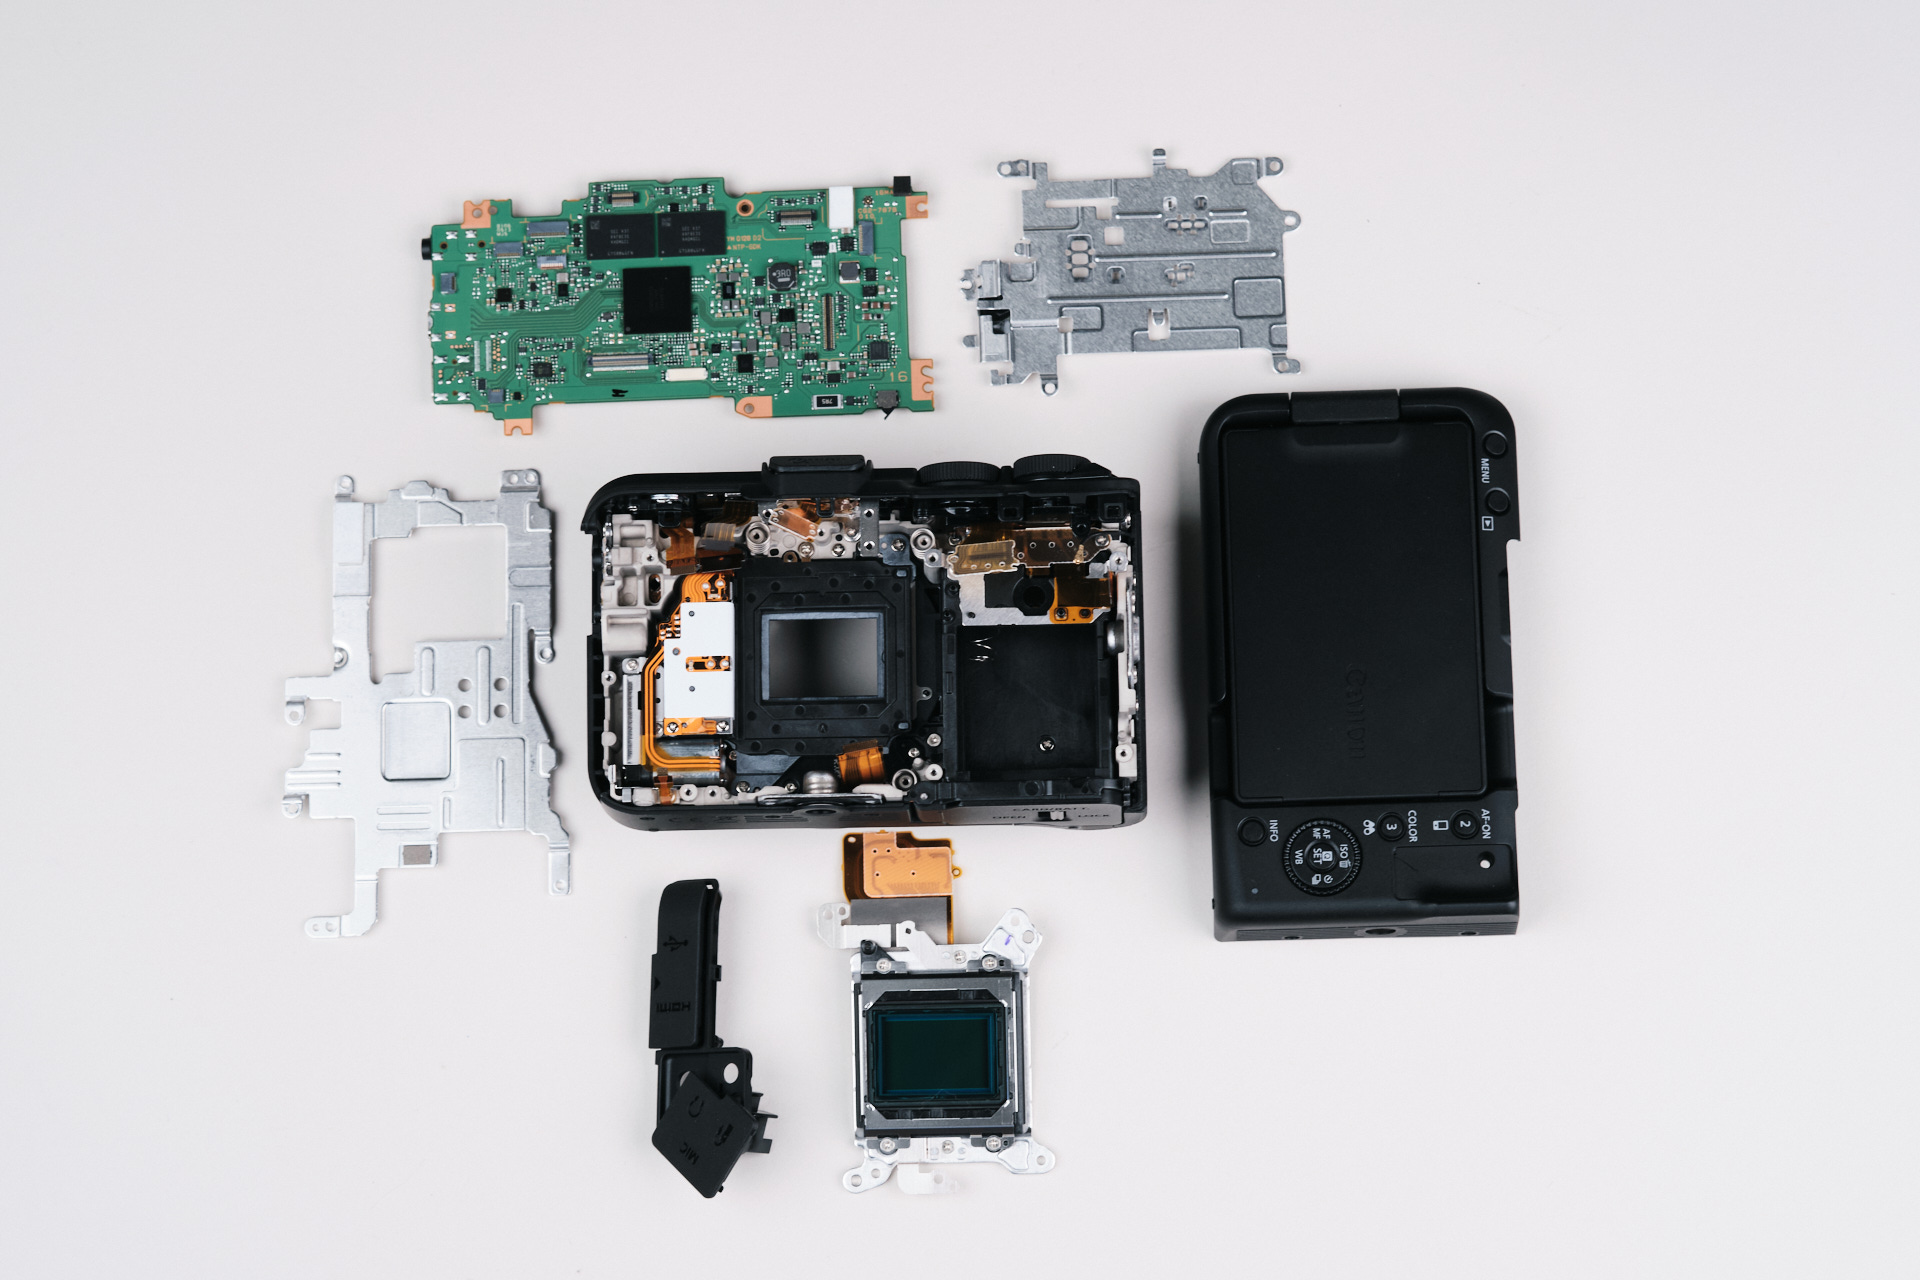
Final Thoughts on the Canon EOS R50V Teardown
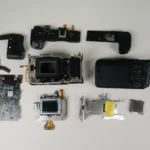
The Canon EOS R50V was among the quickest and easiest mirrorless cameras we have ever disassembled due to its compact build and simple layout of its internal components. In the image above, you can see that the main layers of the camera include the front and back panels, two brackets, circuit board, and sensor.
Thanks for reading. If you’re interested in more camera teardowns, we feature a new one every month. Be sure to sign up for our newsletter so you don’t miss them!
Frequently Asked Questions
How Do You Start Disassembling The Canon EOS R50V?
The Canon EOS R50V teardown starts by removing three screws from the bottom of the camera frame. Since the R50V uses a compact body design without a dedicated baseplate, the front and back panels are later separated during the disassembly process.
Where Are The Hidden Screws On The Canon EOS R50V?
The Canon EOS R50V has several remaining external screws, including one behind the LCD screen, one inside the battery compartment, and one hidden under the right thumb grip cover. These need to be removed before the camera body panels can be separated.
How Is The Canon EOS R50V Camera Body Opened?
After the bottom, side, battery compartment, LCD-side, and hidden thumb grip screws are removed, the front and back panels of the Canon EOS R50V camera body can be split apart. A large ribbon cable must be disconnected before the body frames can fully separate.
How Is The Canon EOS R50V Circuit Board Removed?
The Canon EOS R50V circuit board is accessed after removing the internal bracket frame. Only one screw holds the circuit board down, but the PCB has ten ribbon cable connections around its perimeter that need to be disconnected carefully.
How Is The Canon EOS R50V Camera Sensor Removed?
The Canon EOS R50V sensor is reached after removing the circuit board and sensor bracket. The APS-C sensor is fastened with six screws, and once those are removed, the sensor can be detached from the camera interior.