FREE SHIPPING FOR ALL DOMESTIC ORDERS OVER $100 - NO SALES TAX OUTSIDE OF NJ!
0

Sony ZV-E10 II Disassembly & Teardown

Table of content

Starting the Sony ZV-E10 II Teardown

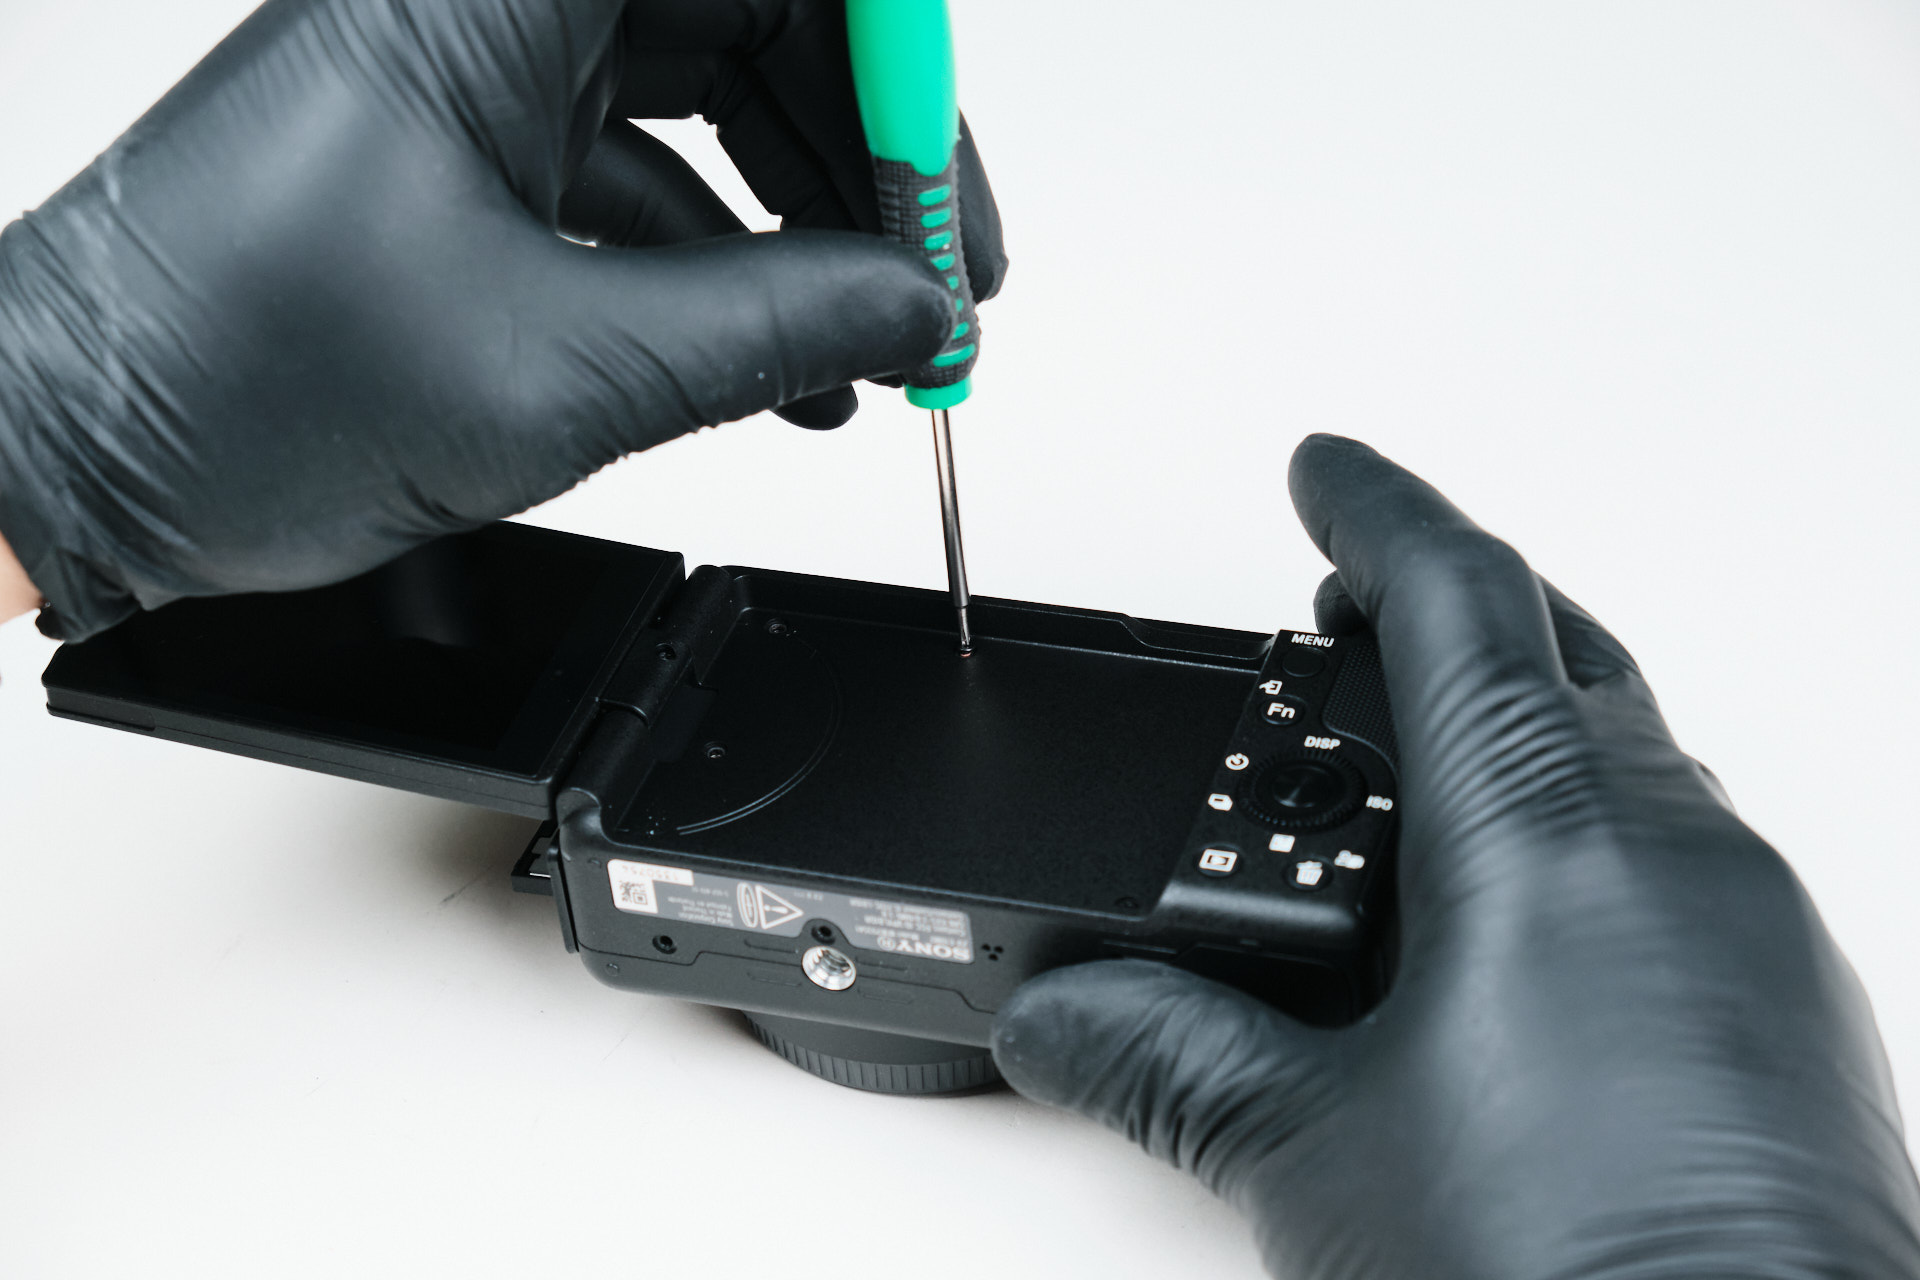
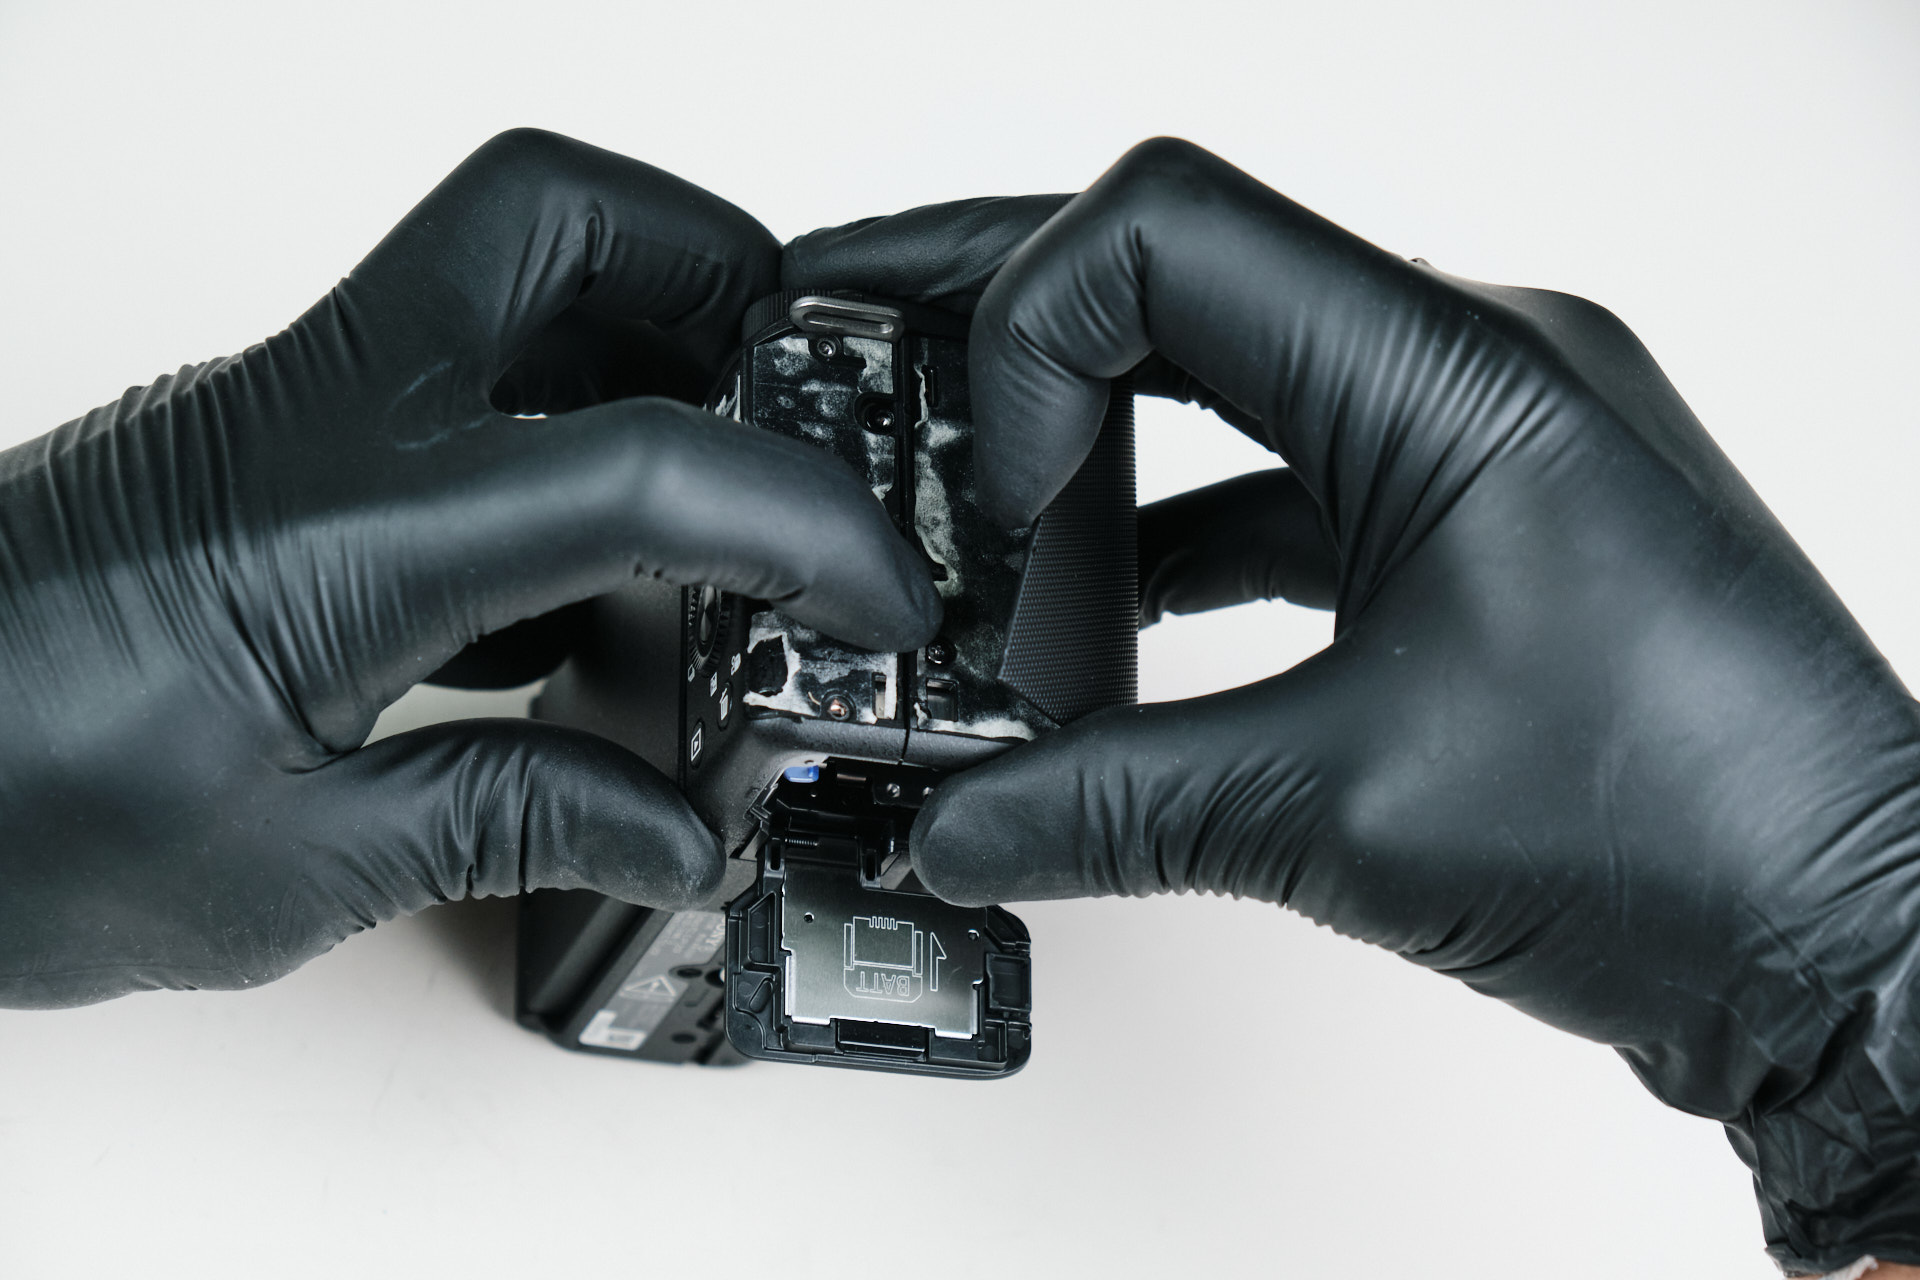
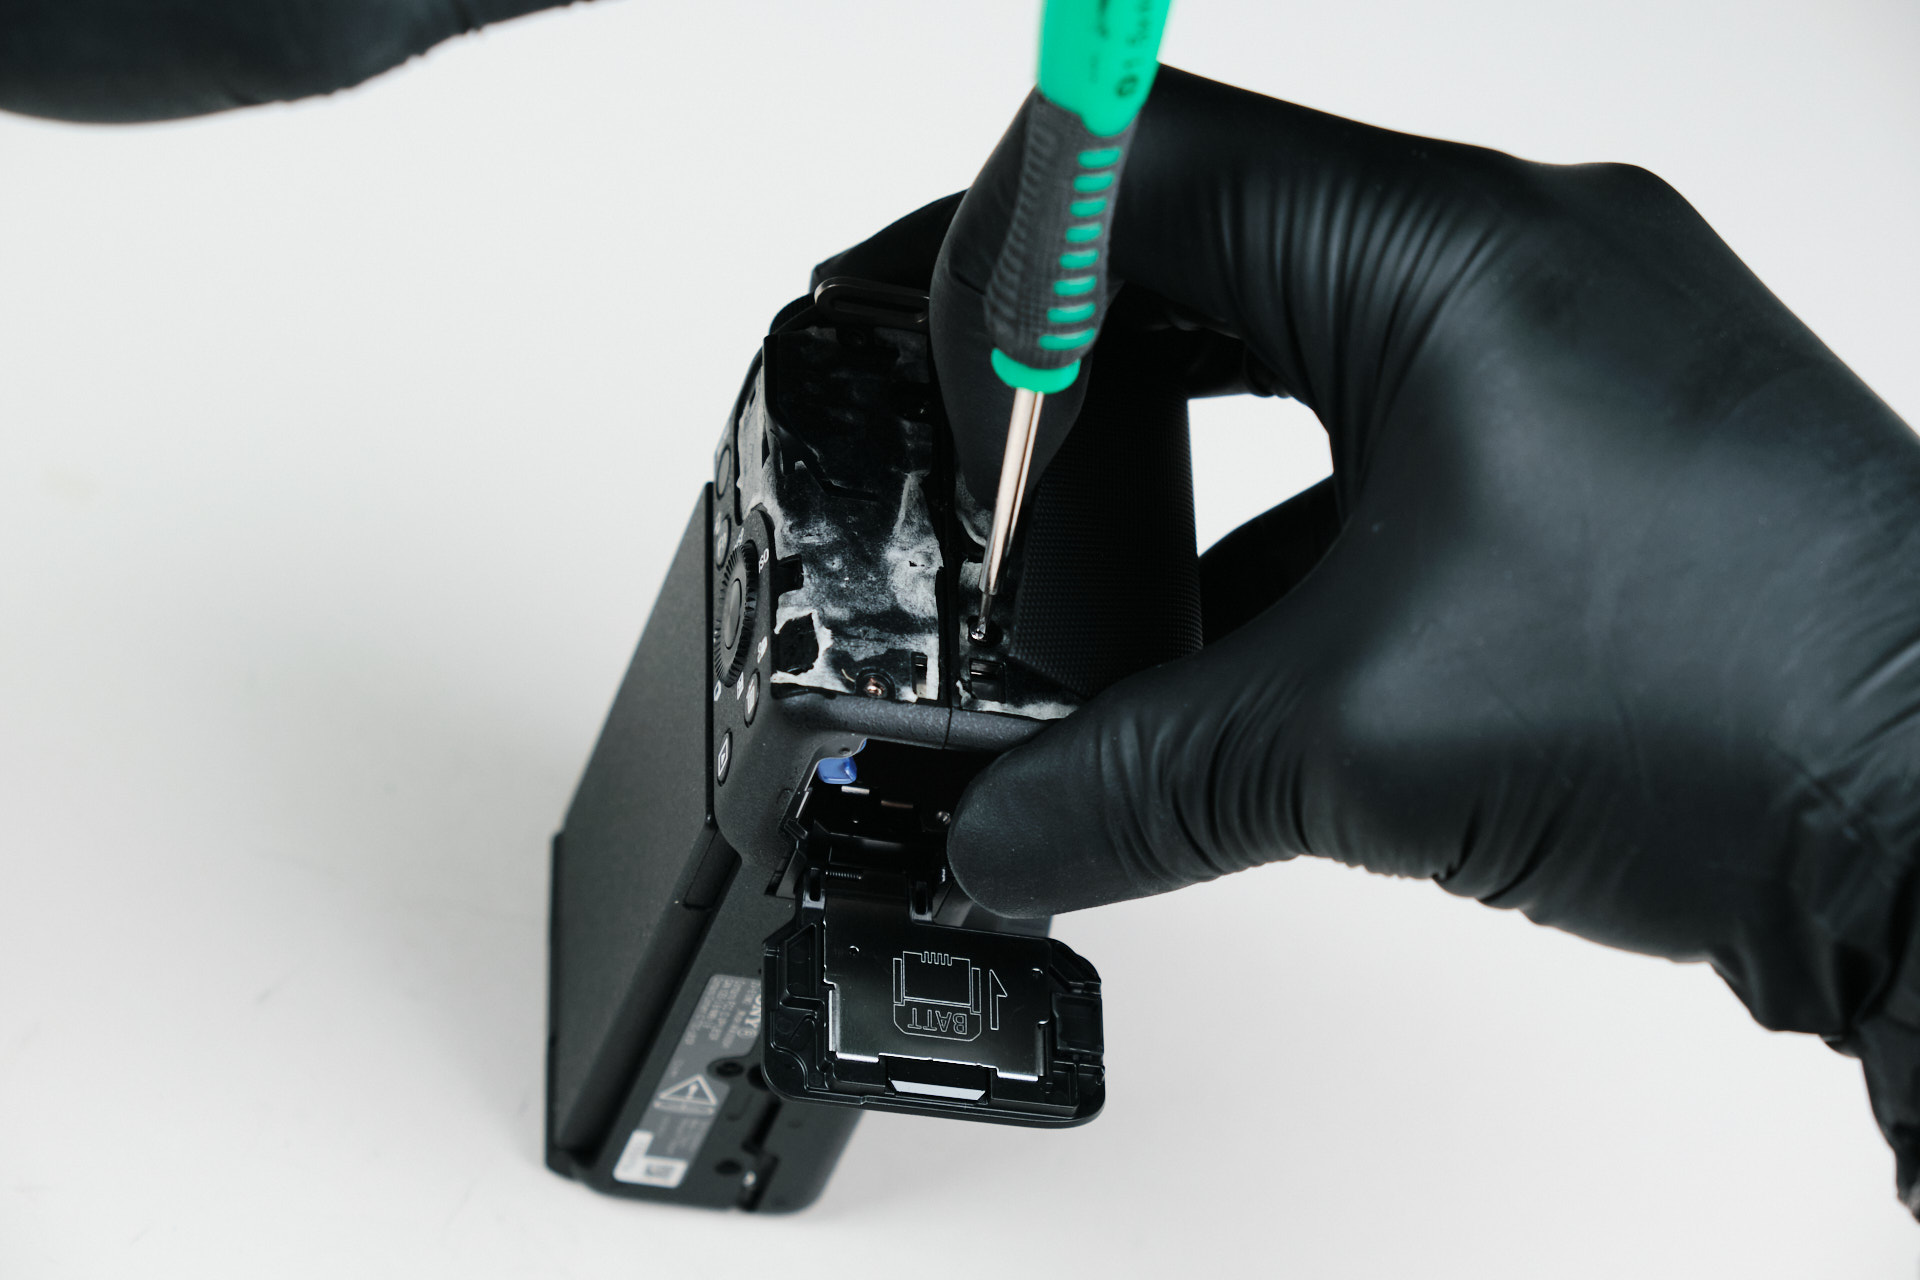
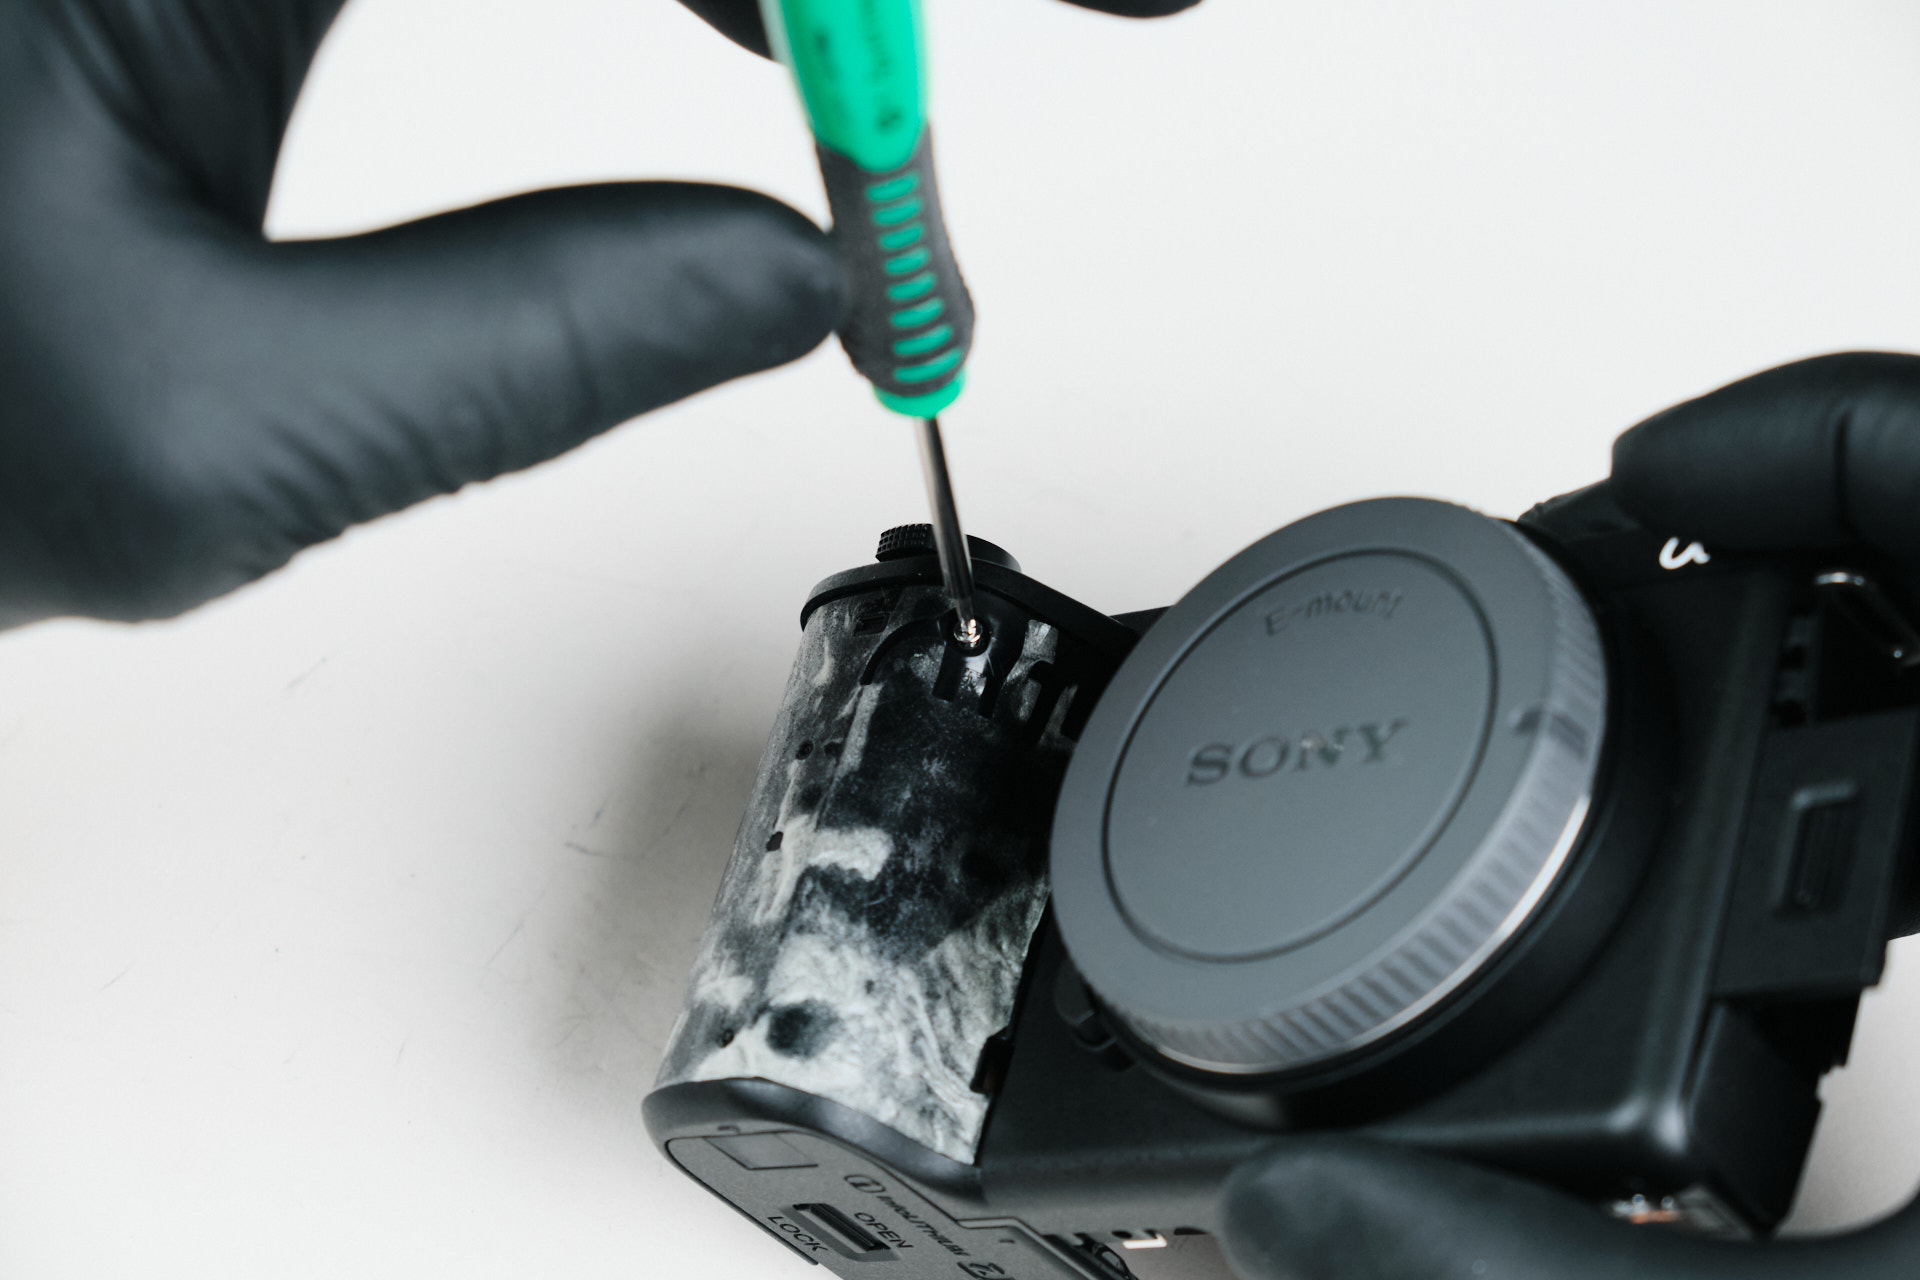
First, we went for the bottom of the ZV-E10 II, but we quickly realized that there was no dedicated baseplate, likely due to its incredibly small frame. We then started to remove screws surrounding the exterior of the camera—this included within the battery compartment, below the LCD screen, under the port covers, and beneath the leather skin.
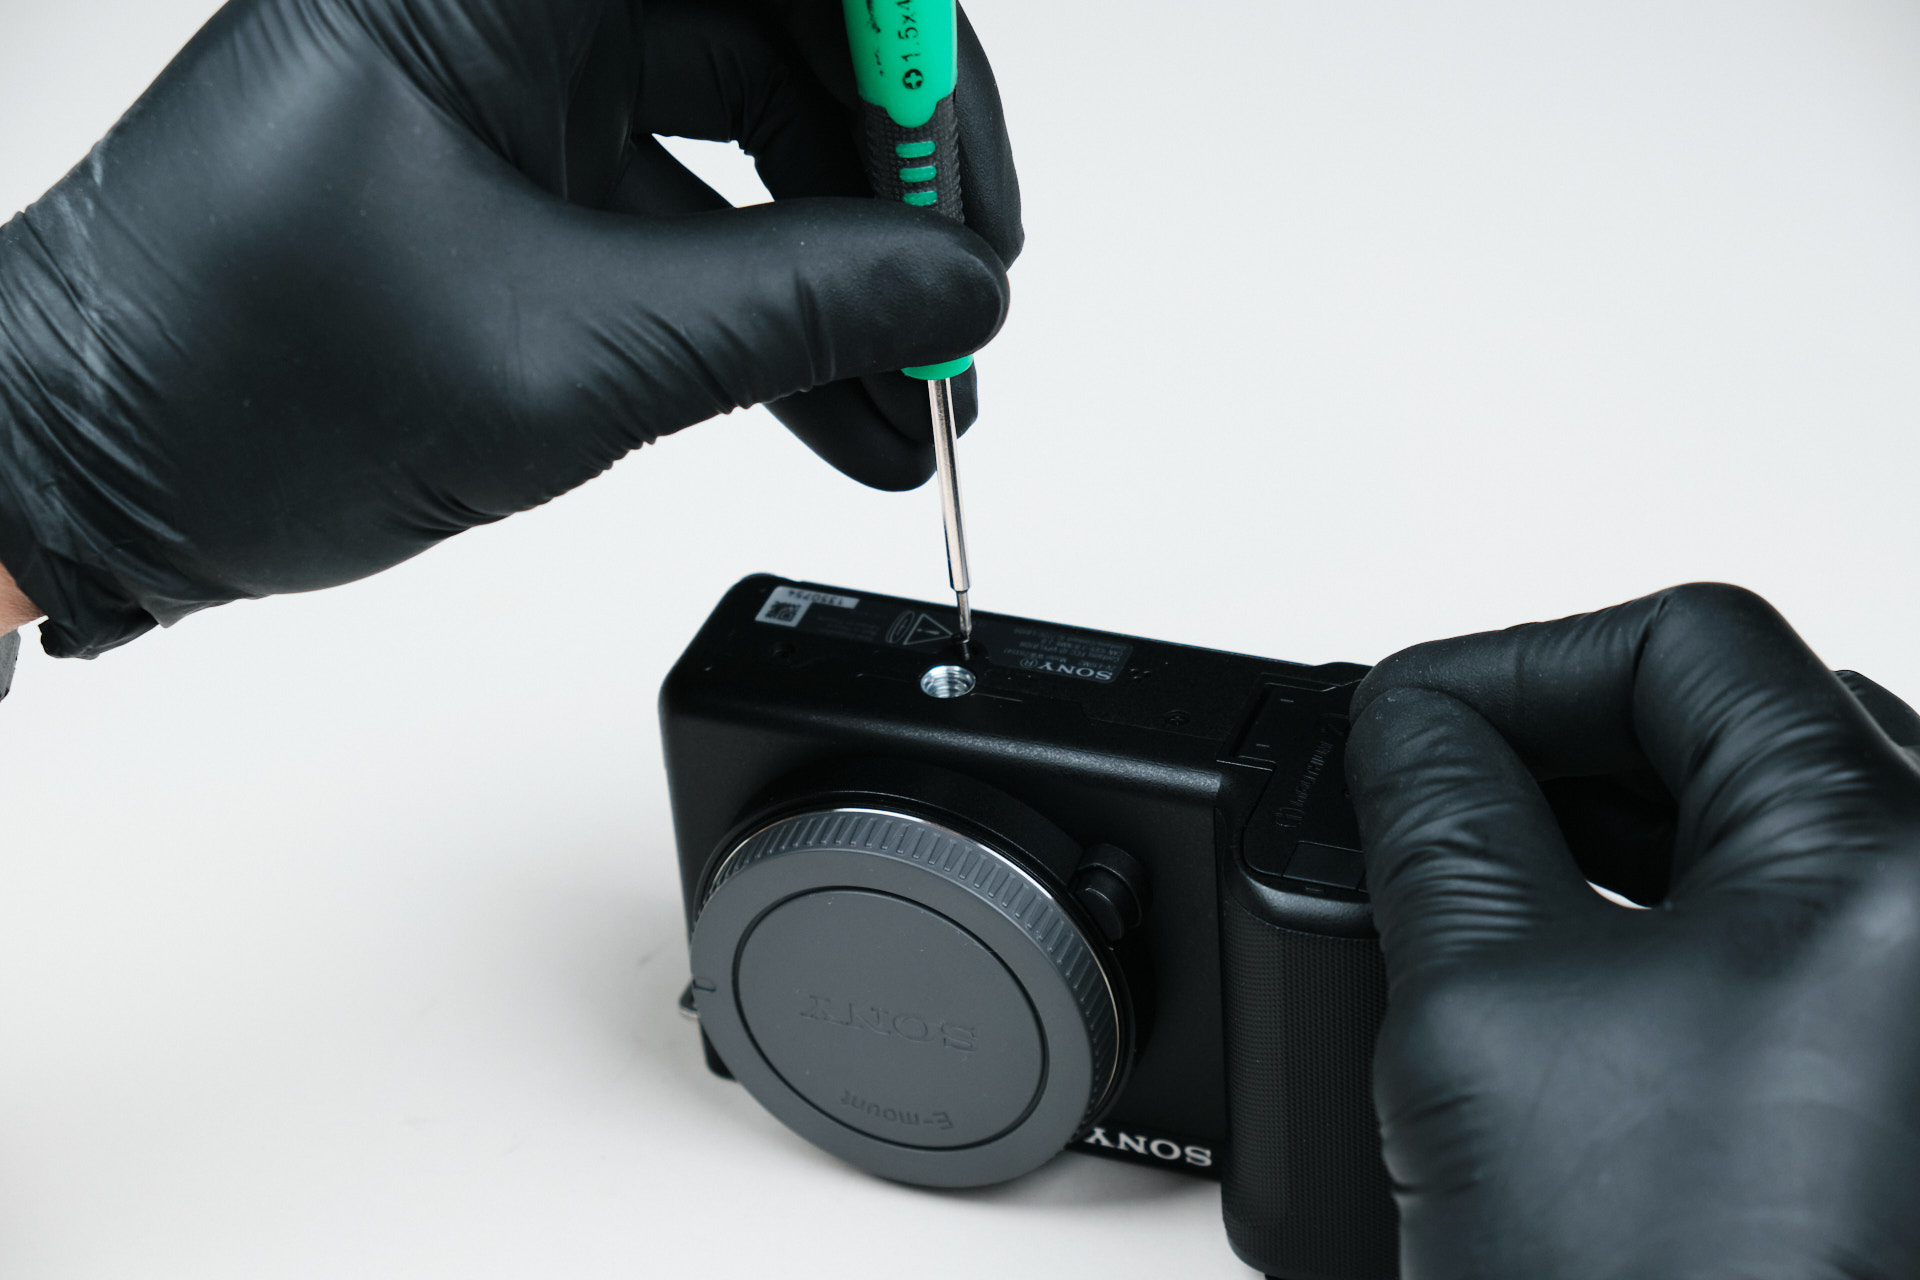
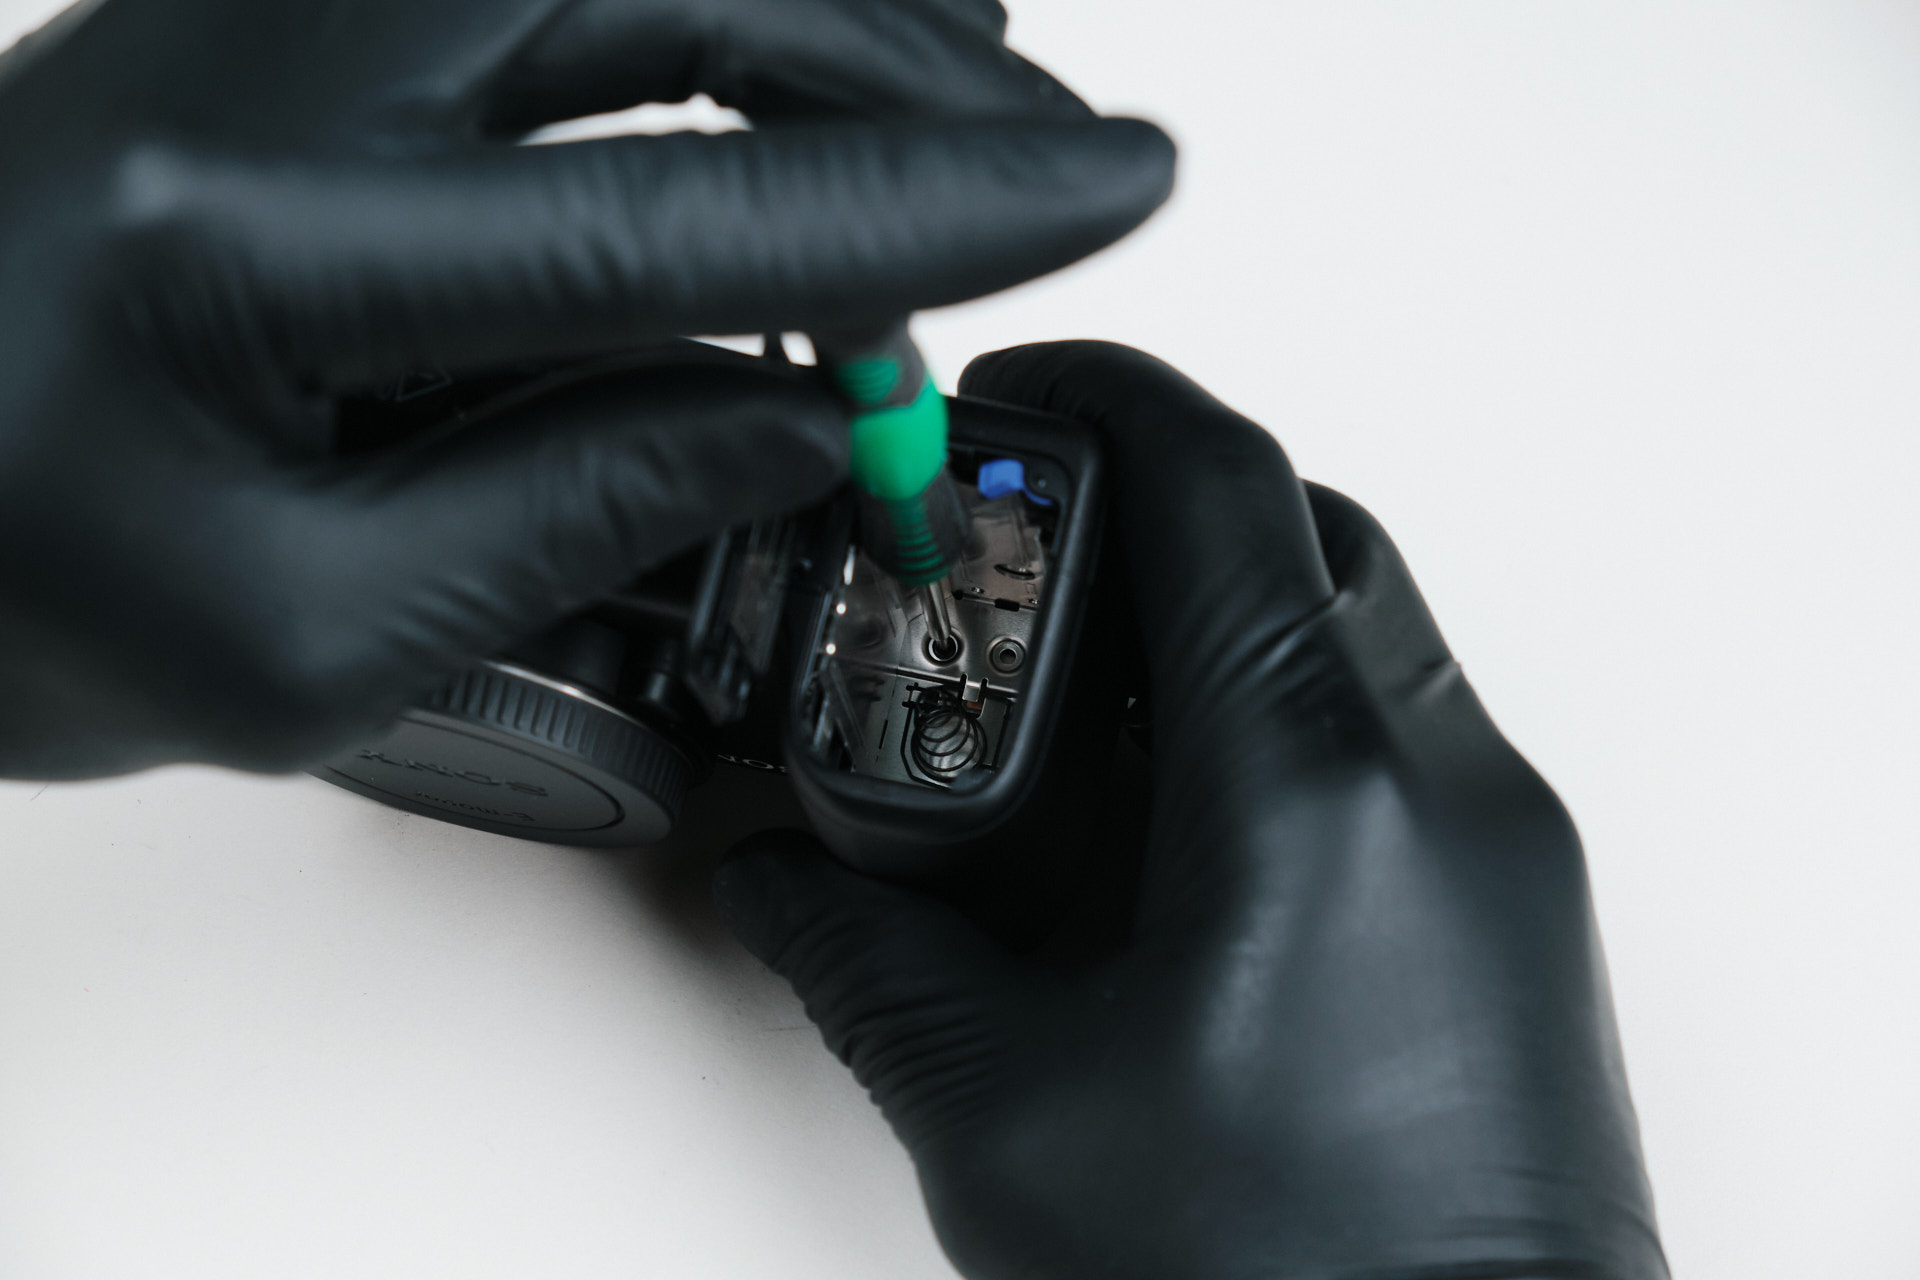
Removing Exterior Screws and Leather Skin

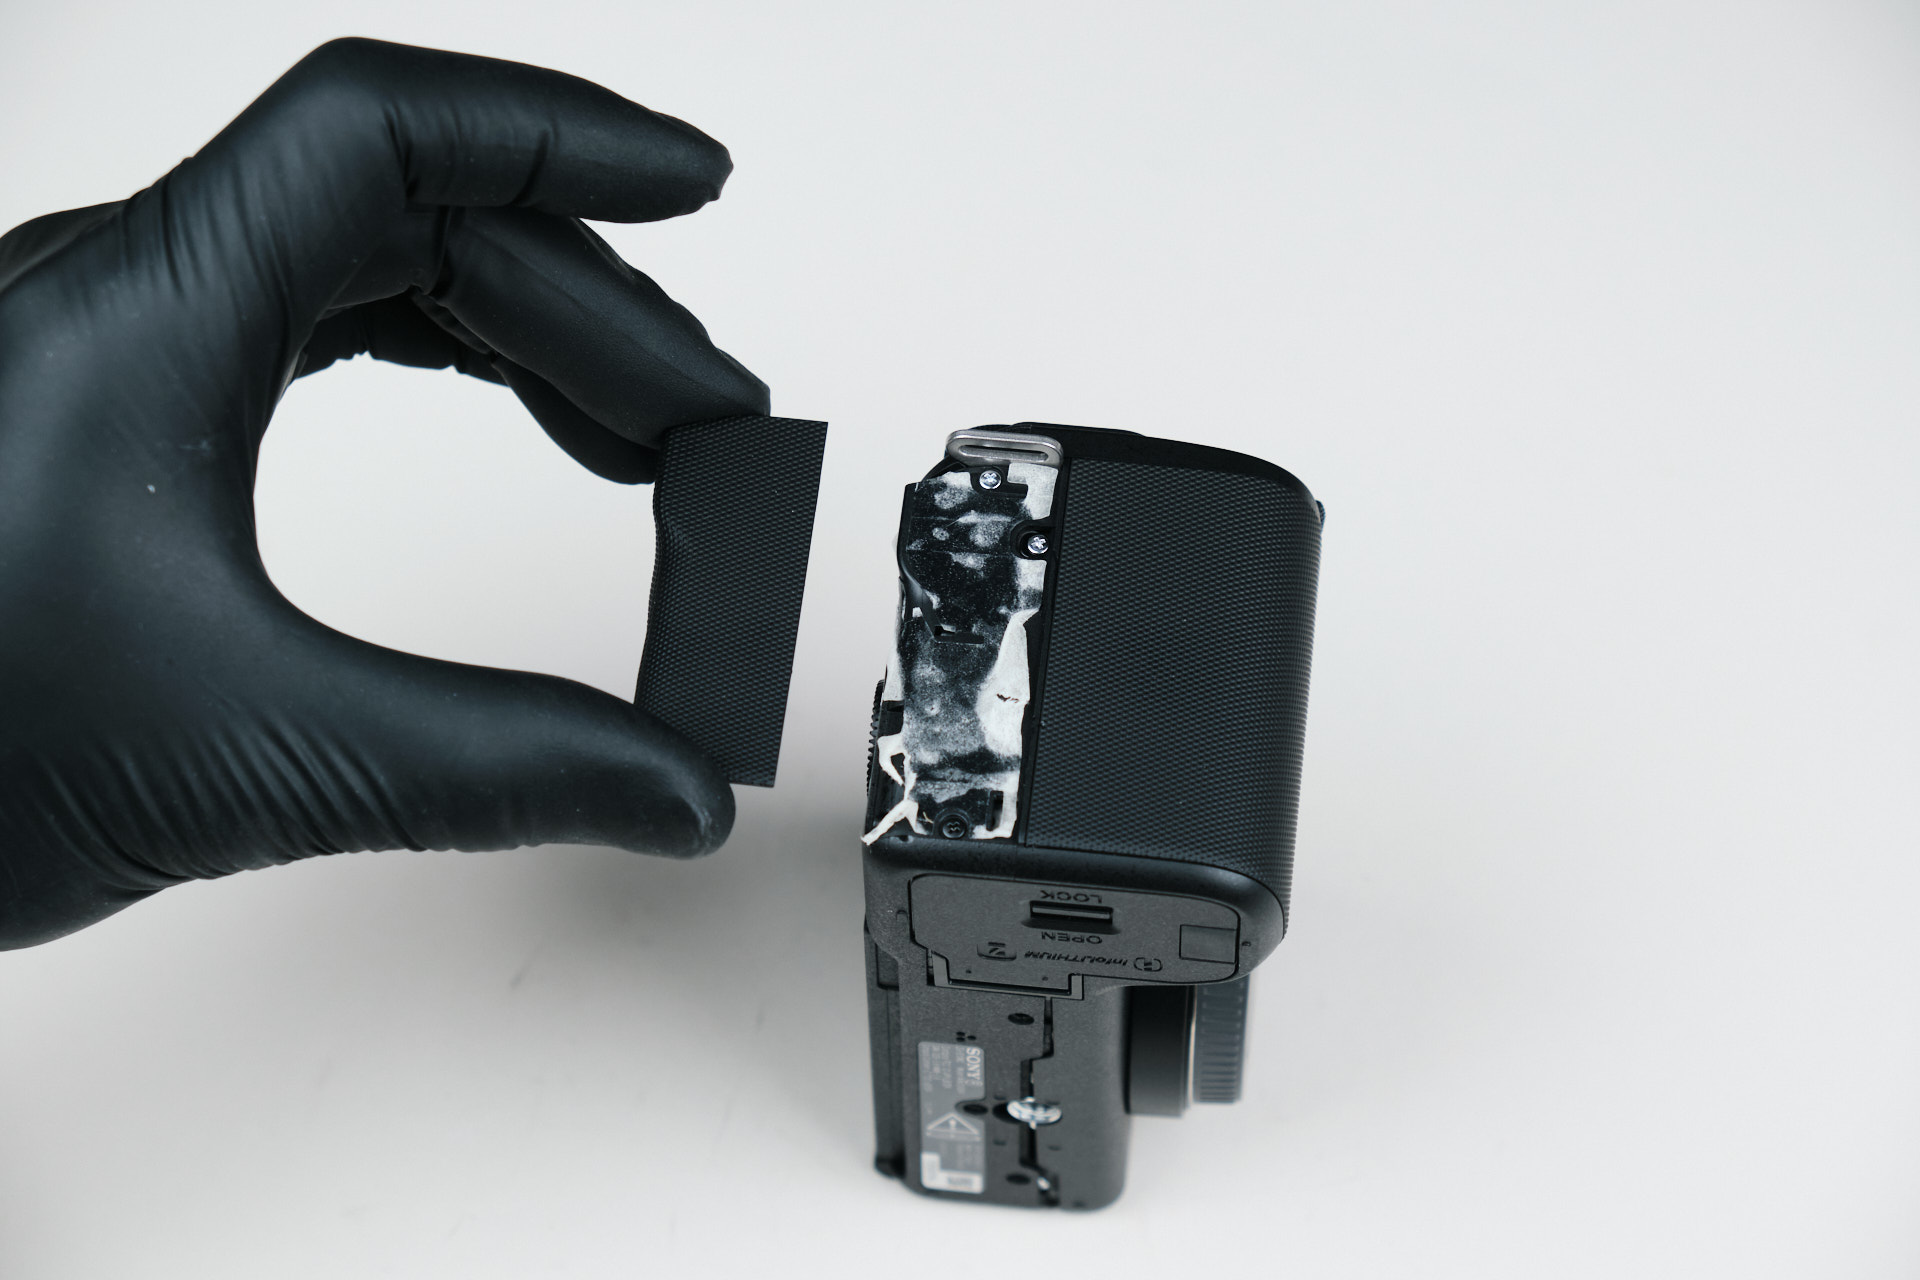
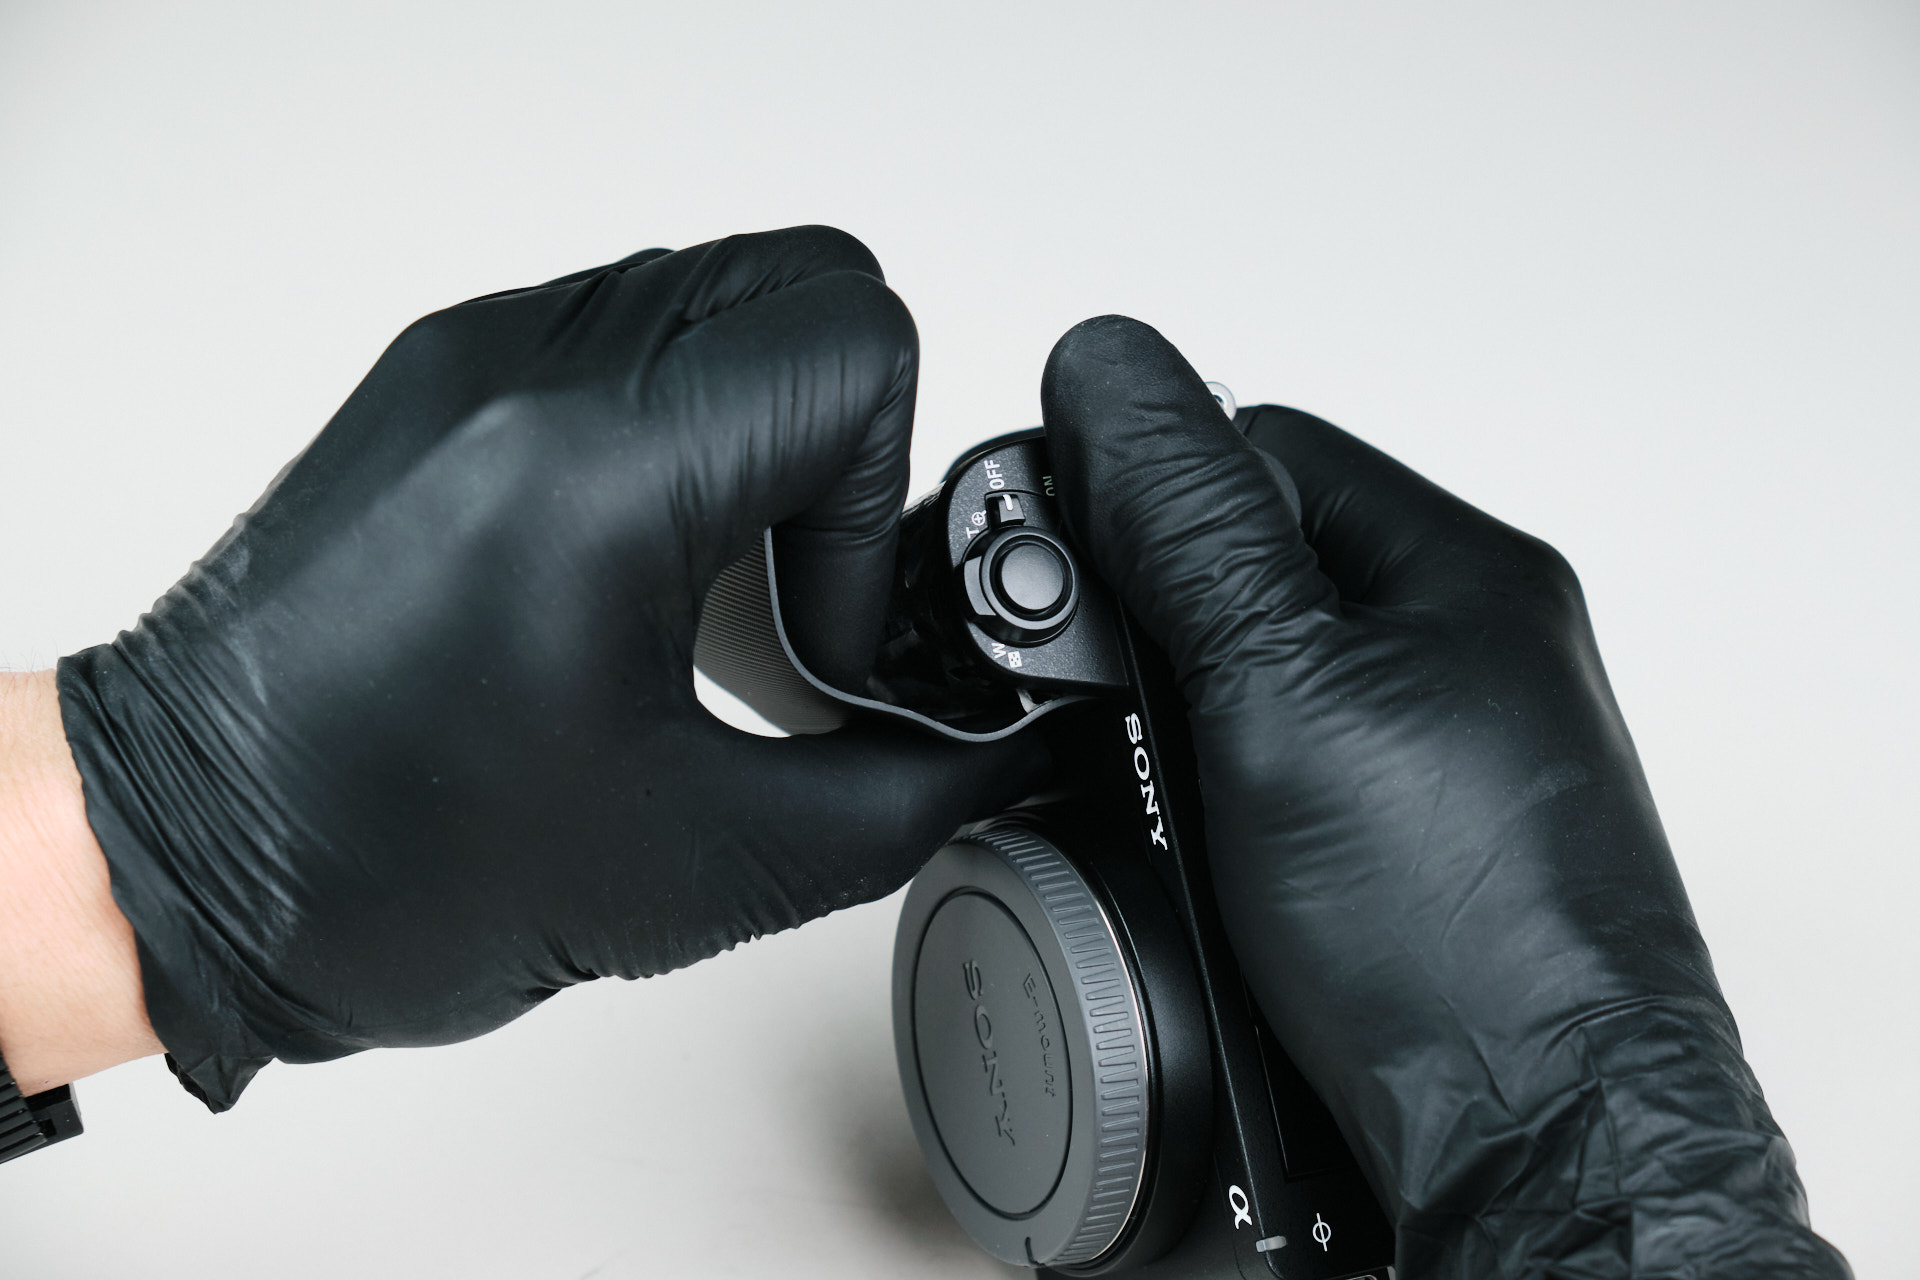
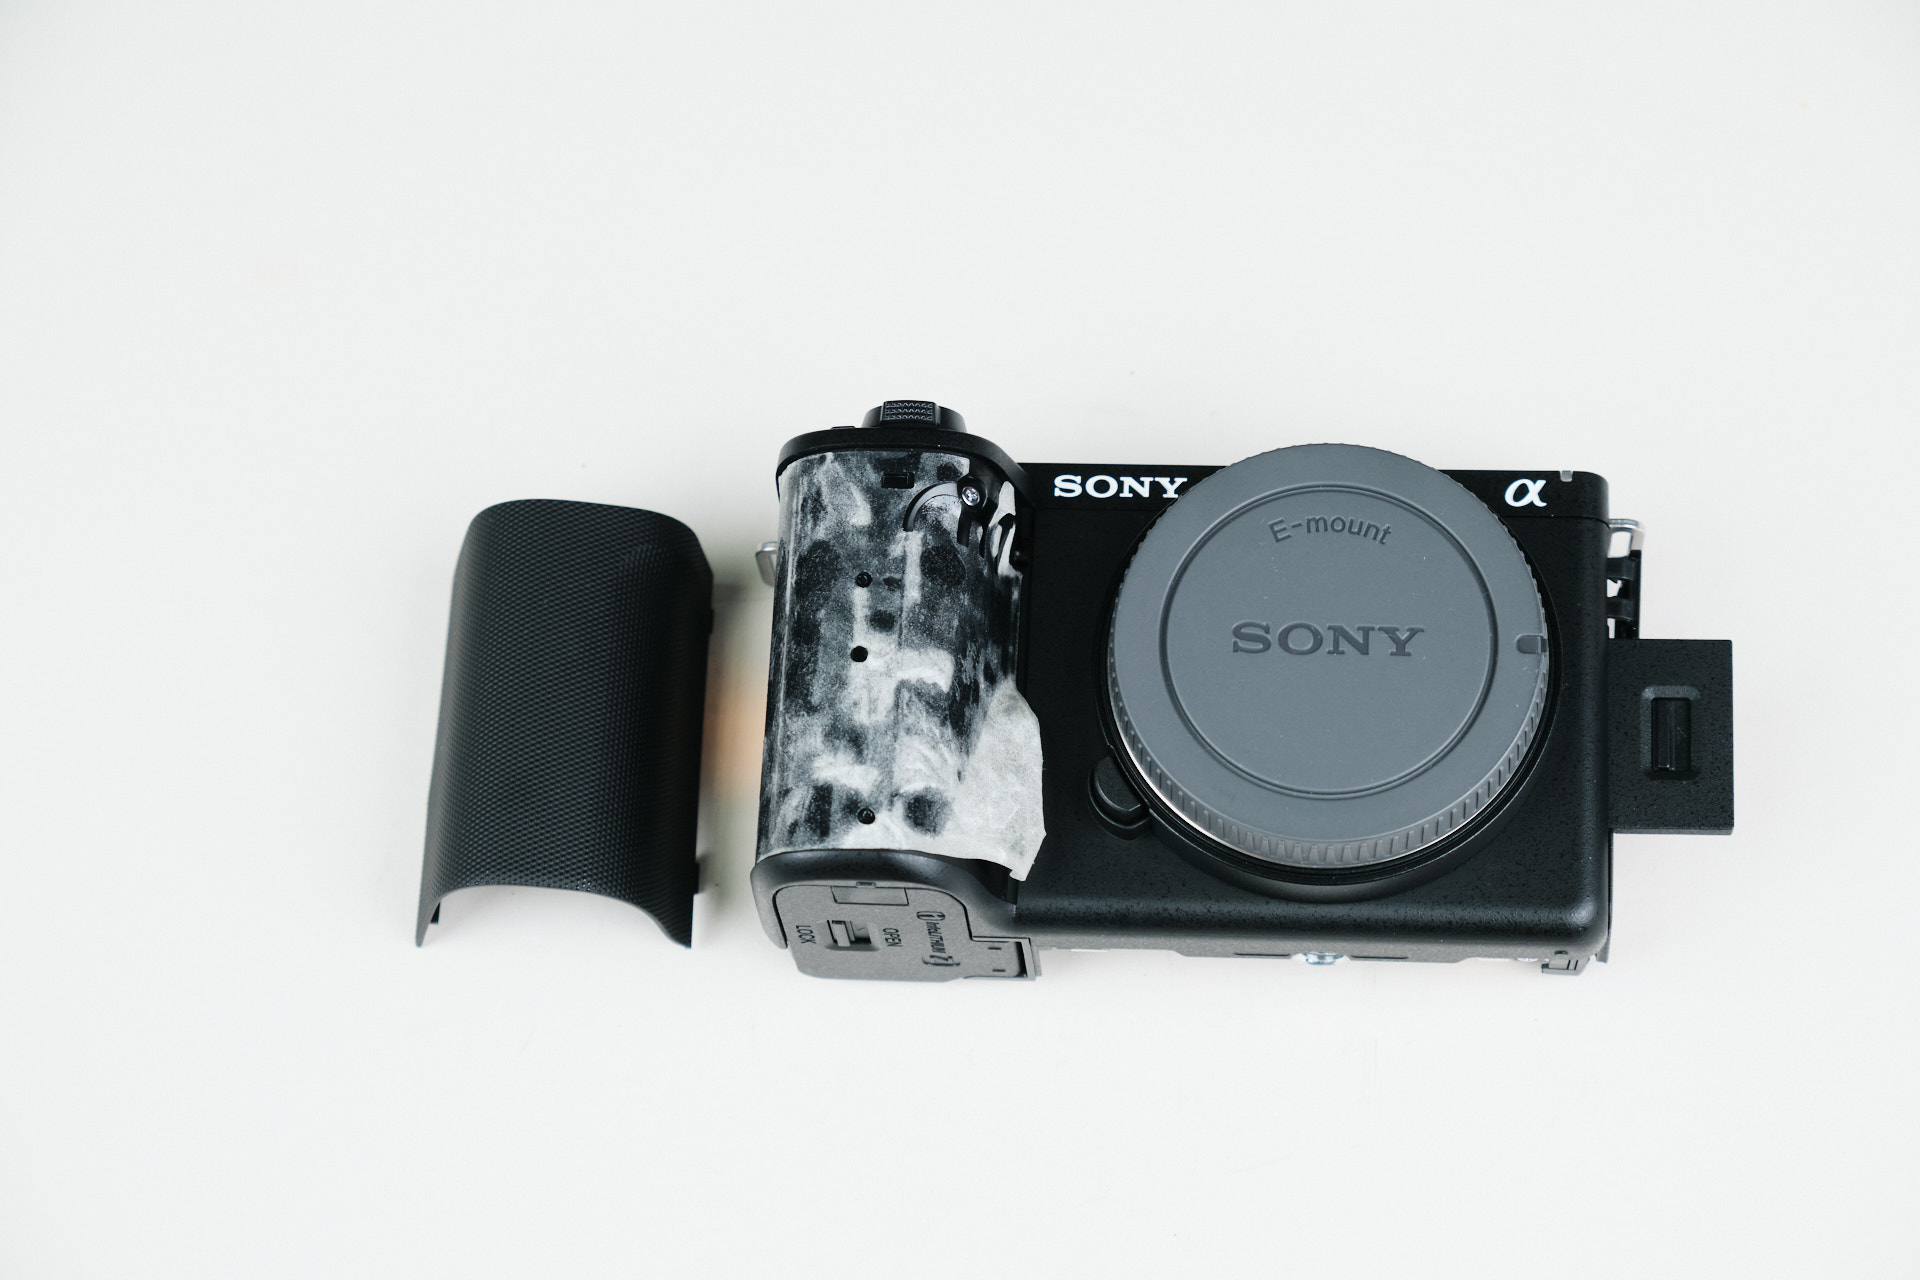
We learned that the leather-skin of this camera isn’t like others. The “skin” on this camera are rigid plastic pieces covered in rubber, which are taped onto the camera. Since it isn’t really a flexible material, we had to use force—and great care—at the same time to peel it off the body.

Removing the Sony ZV-E10 II Backplate

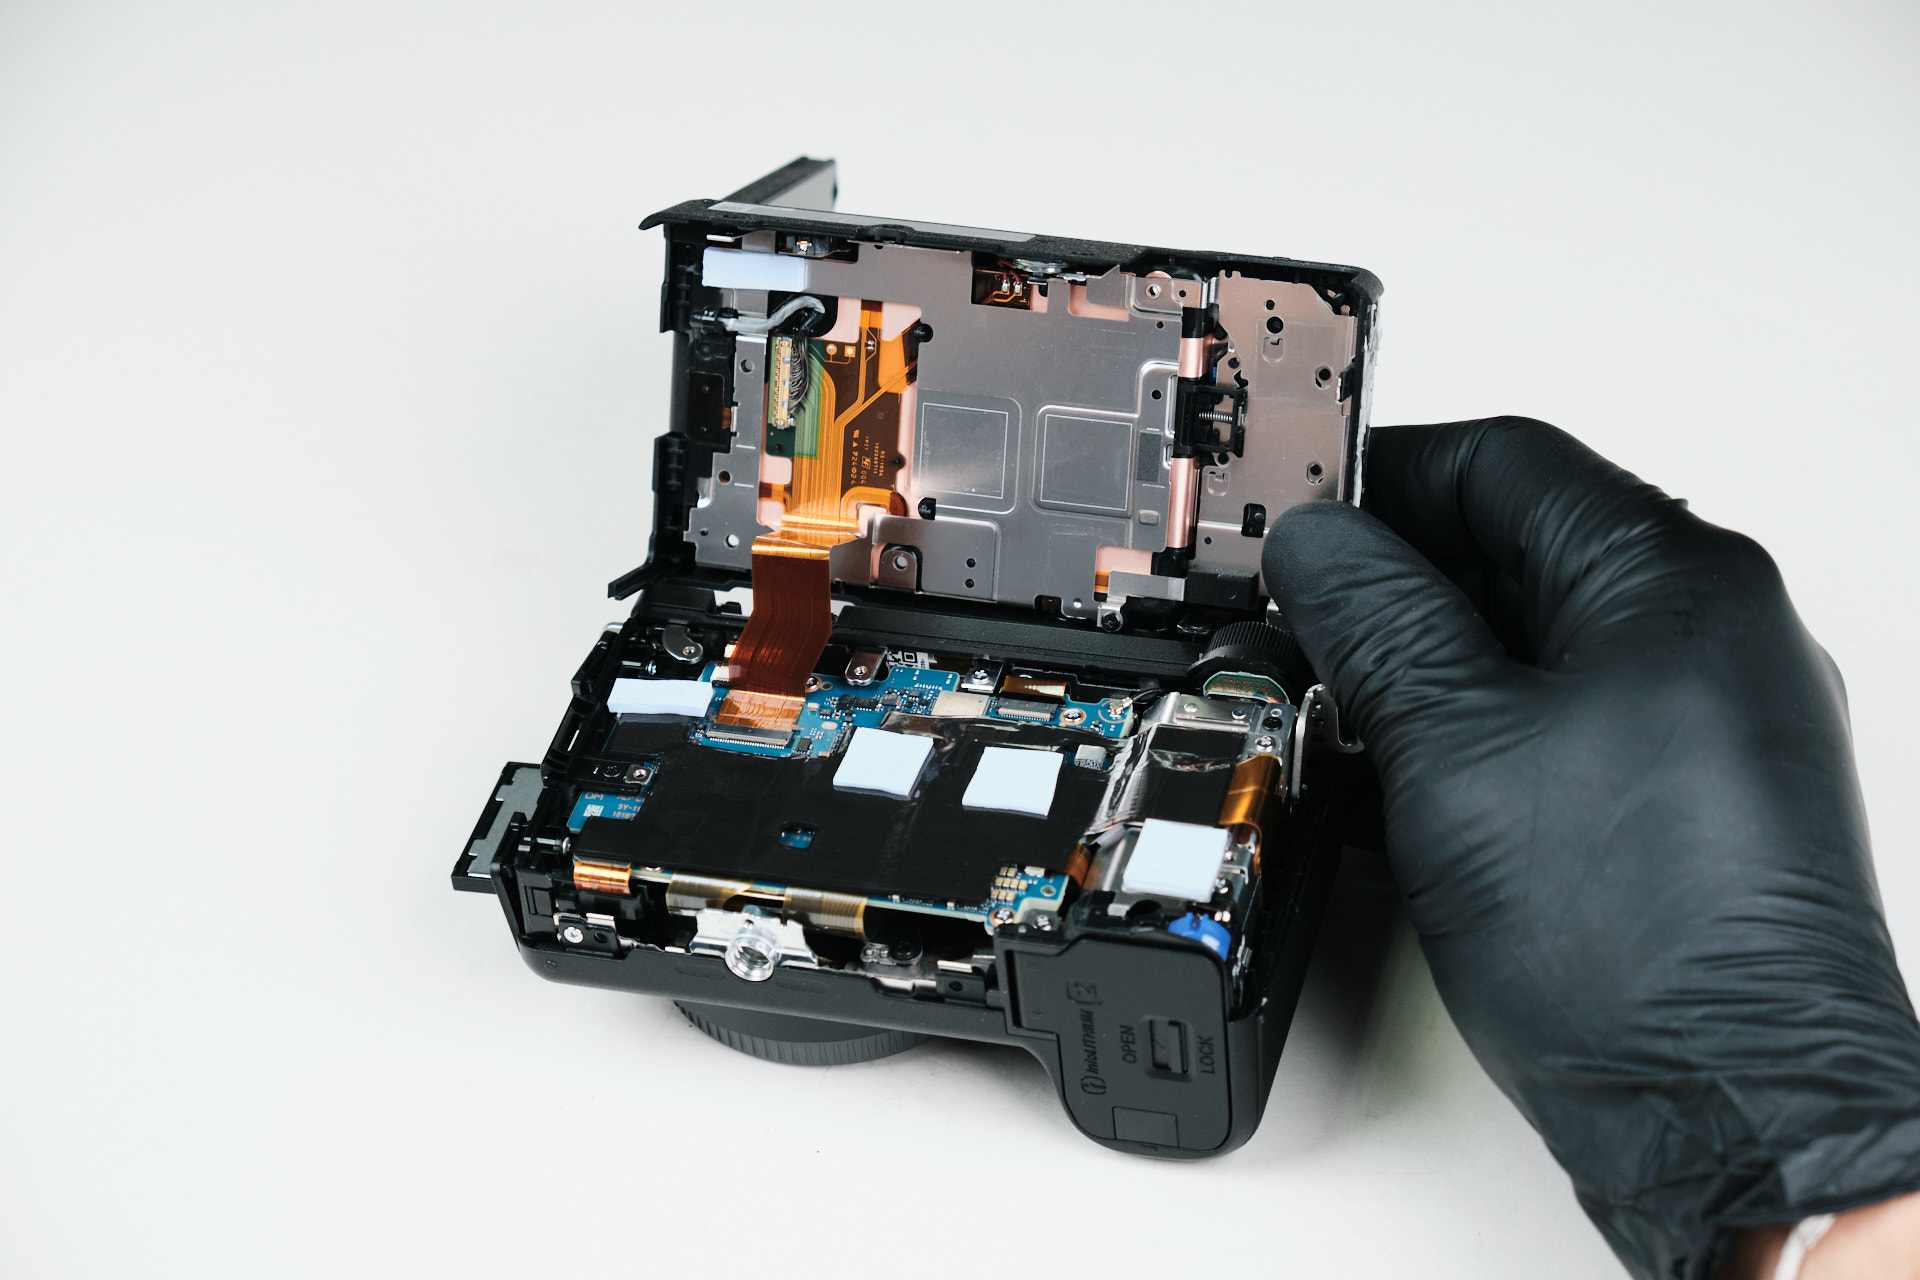
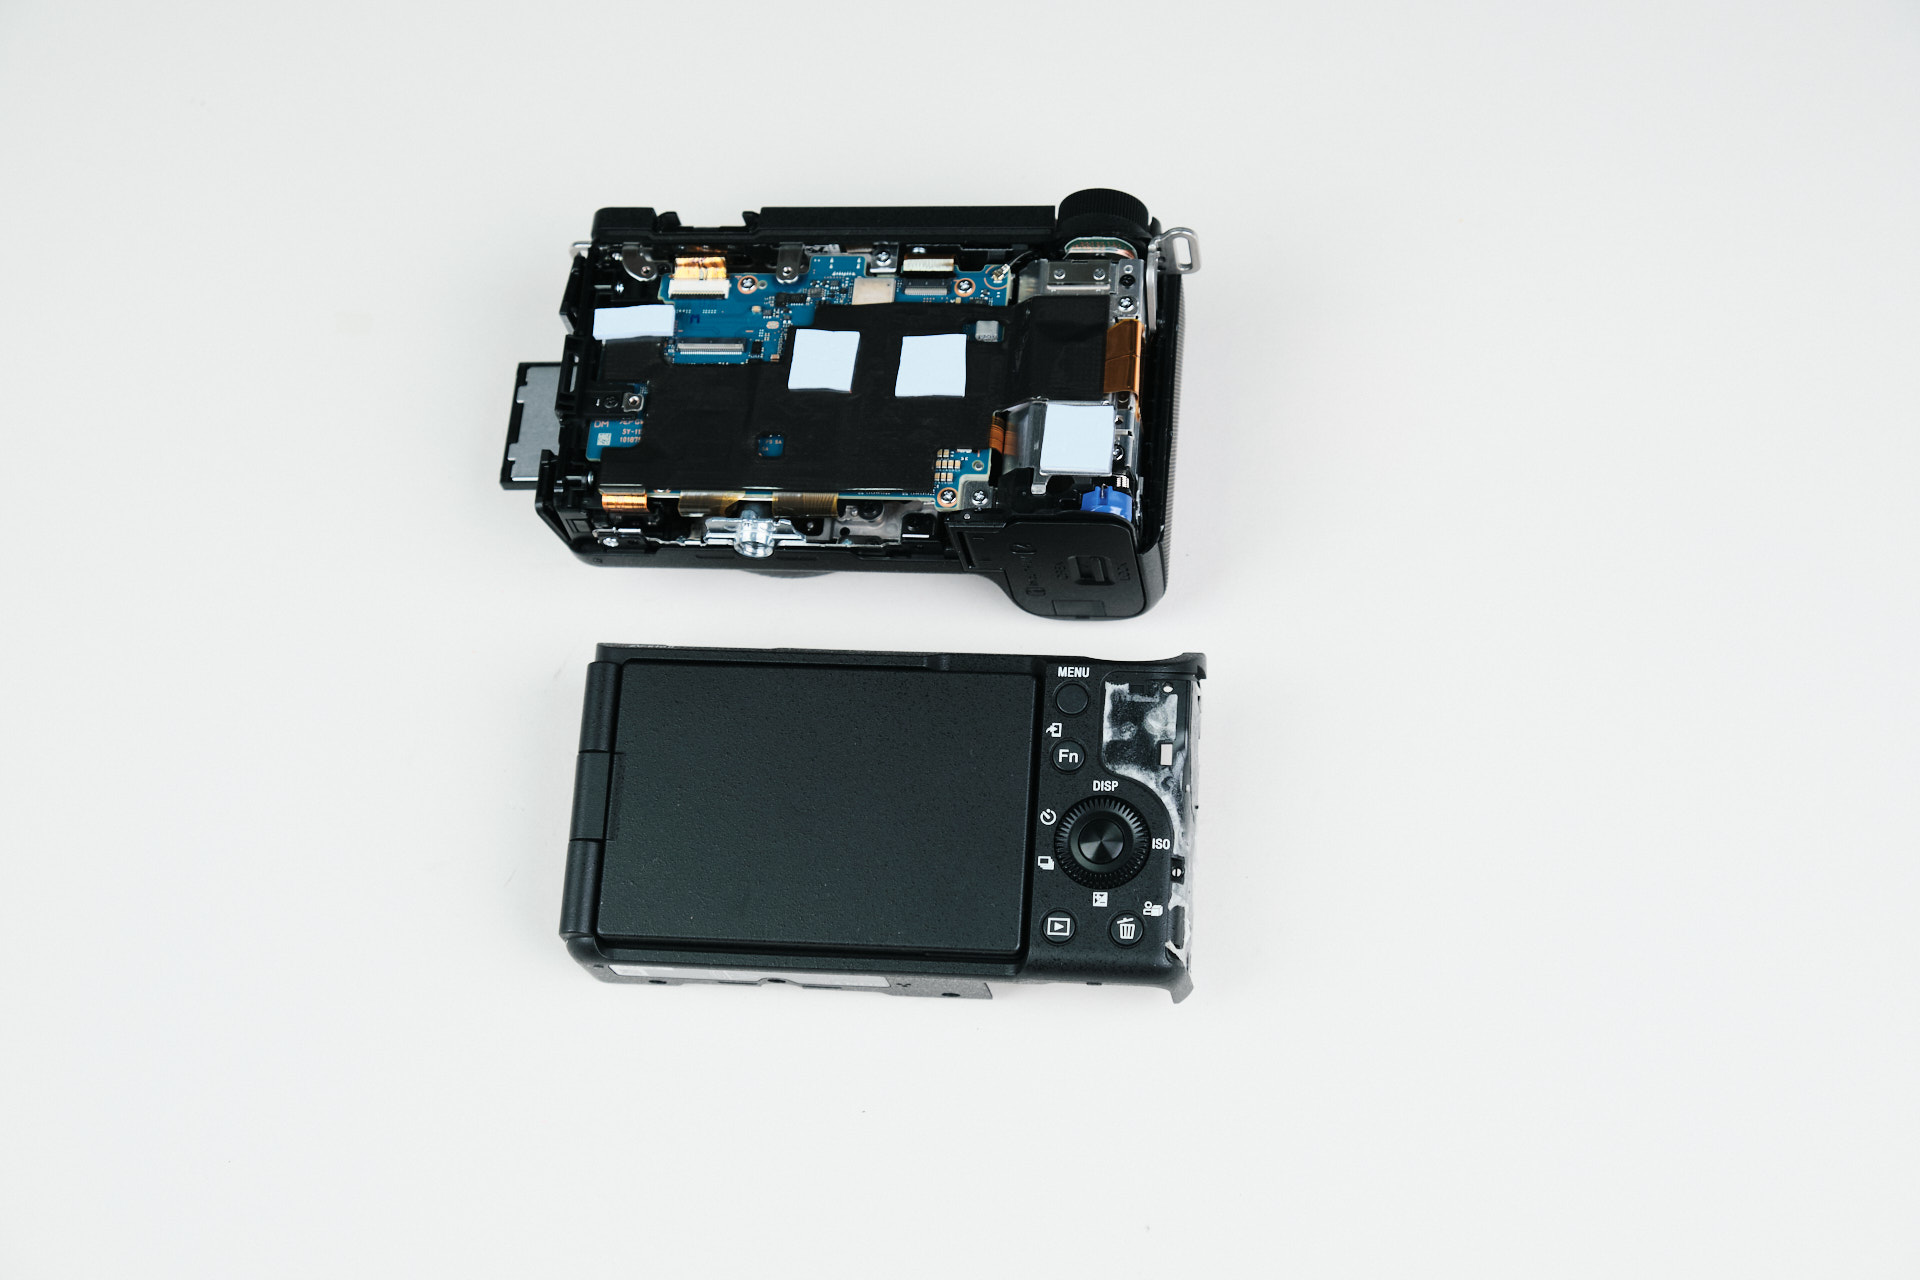
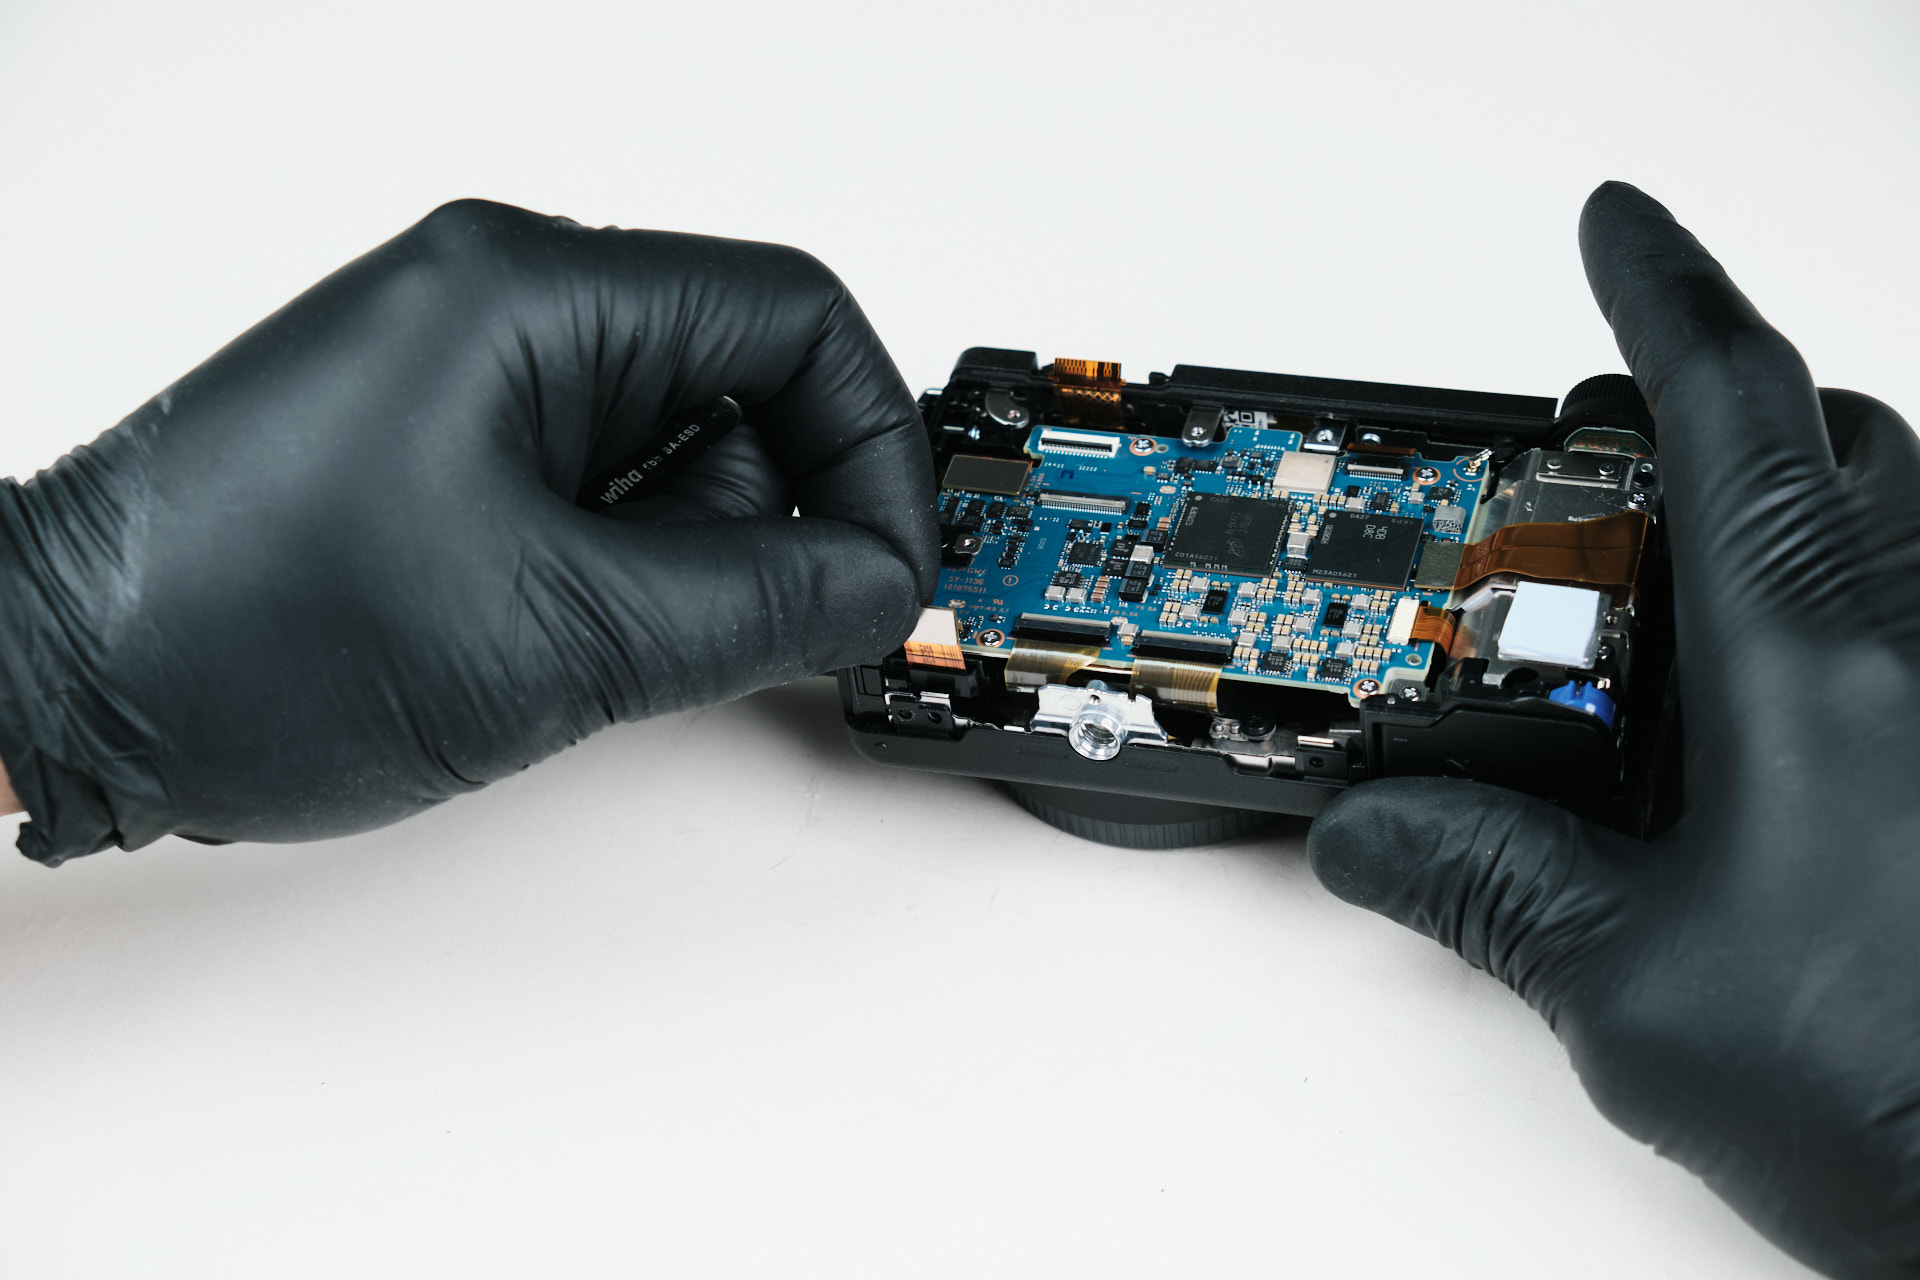
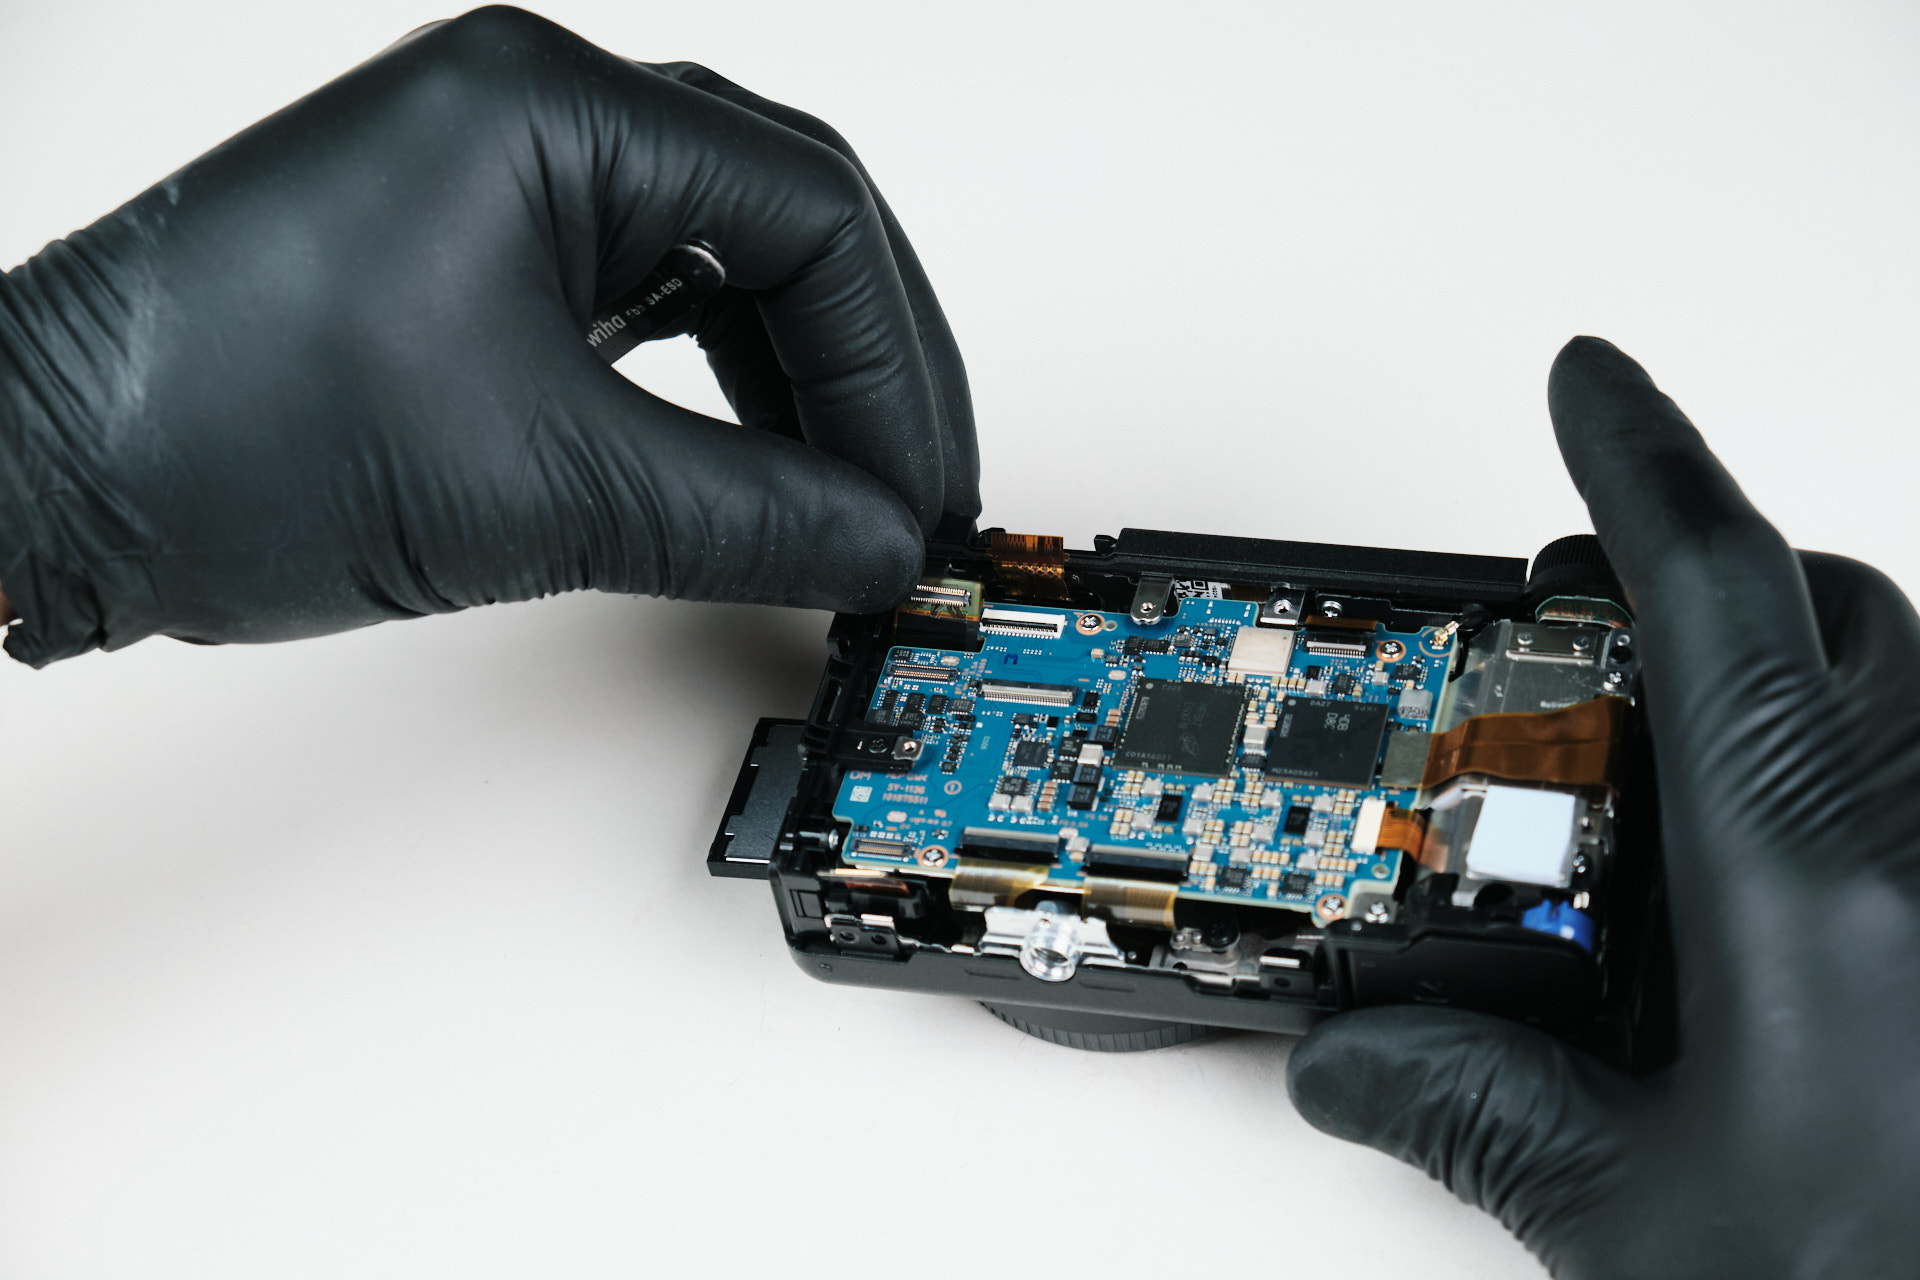
The backplate of the camera is connected by a single ribbon cable. Disconnecting it allowed us to detach the backplate from the camera body.

Accessing the Top Plate and Circuit Board Area

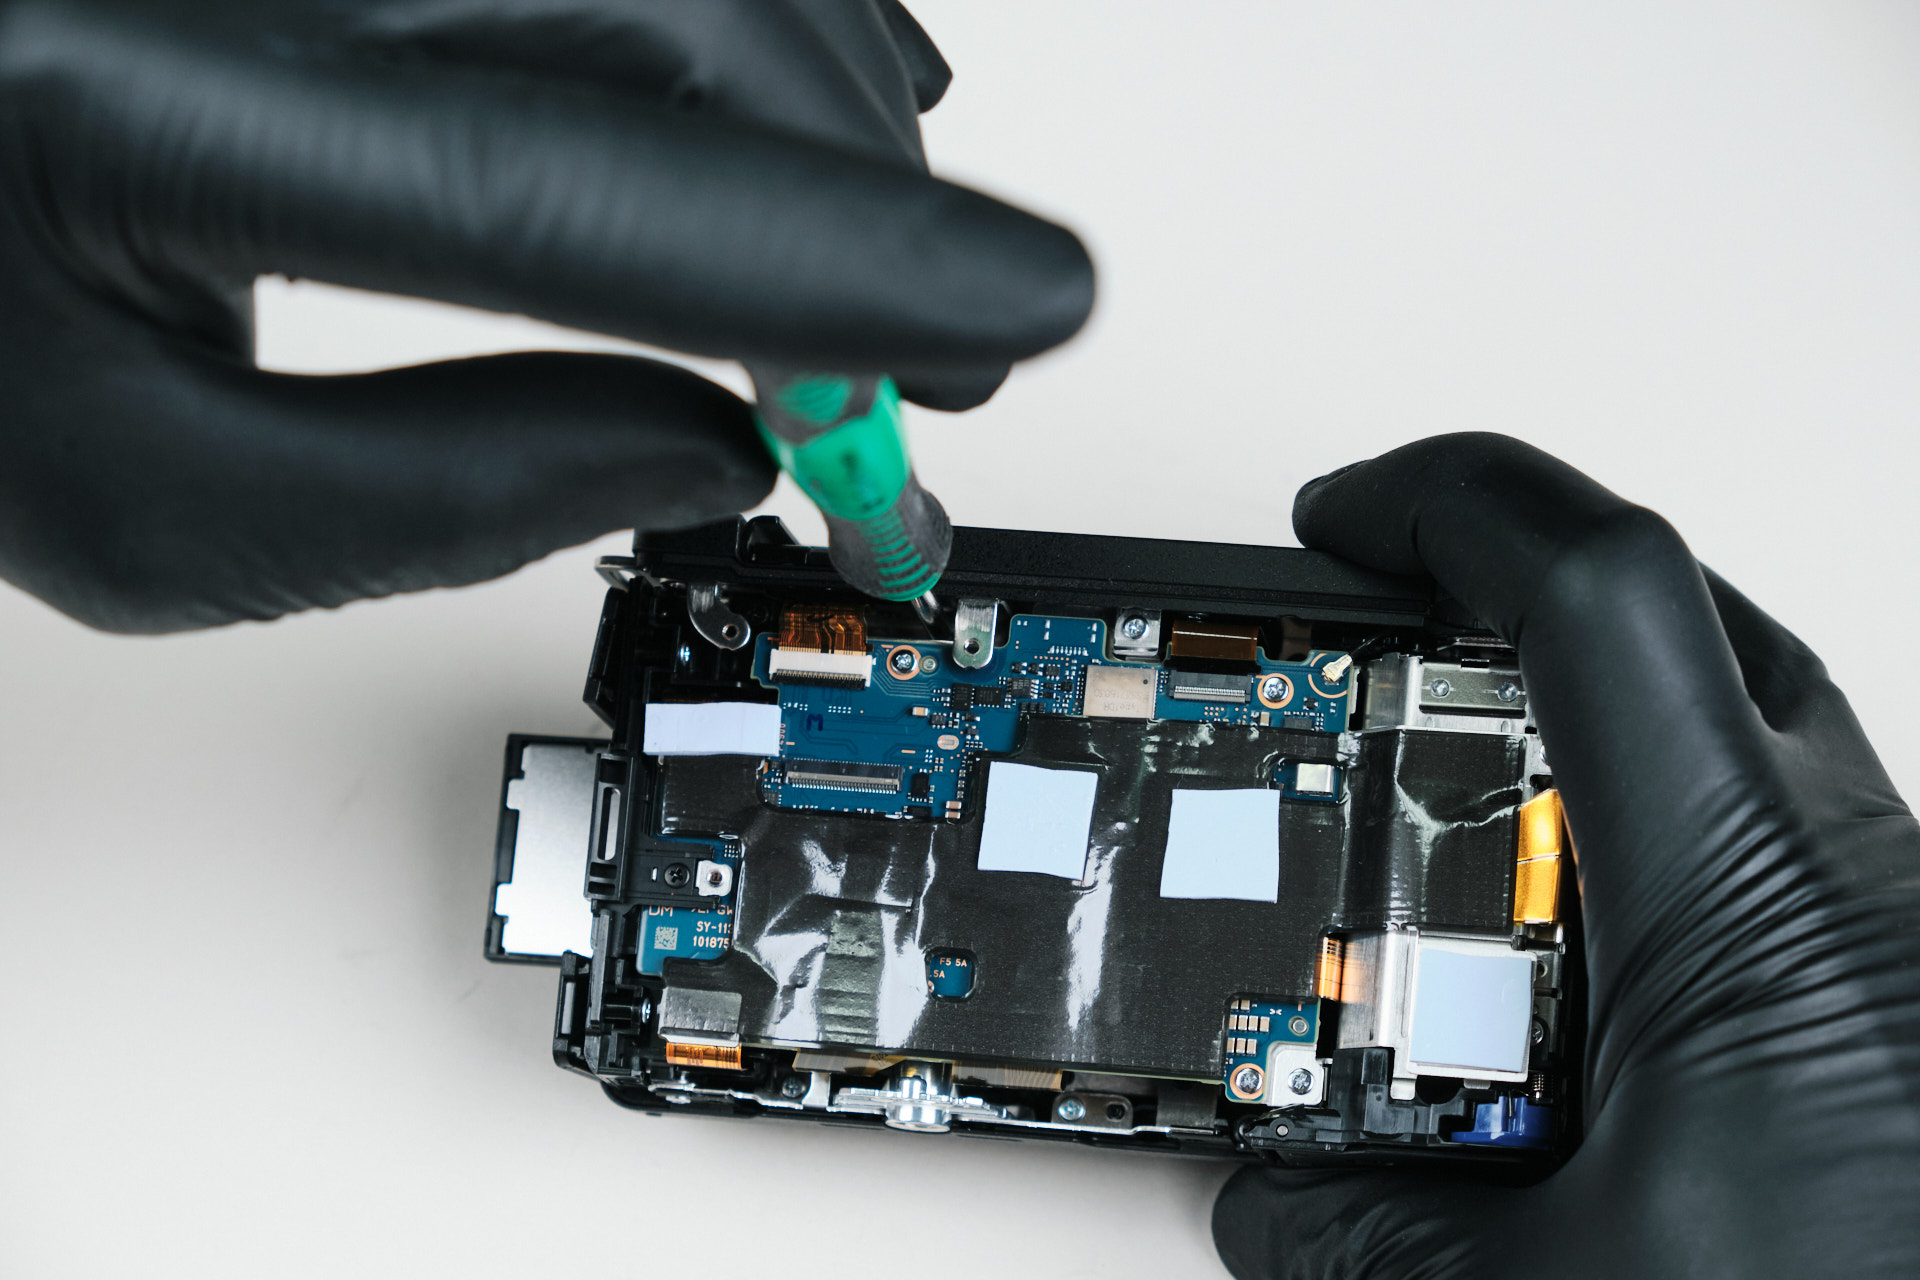
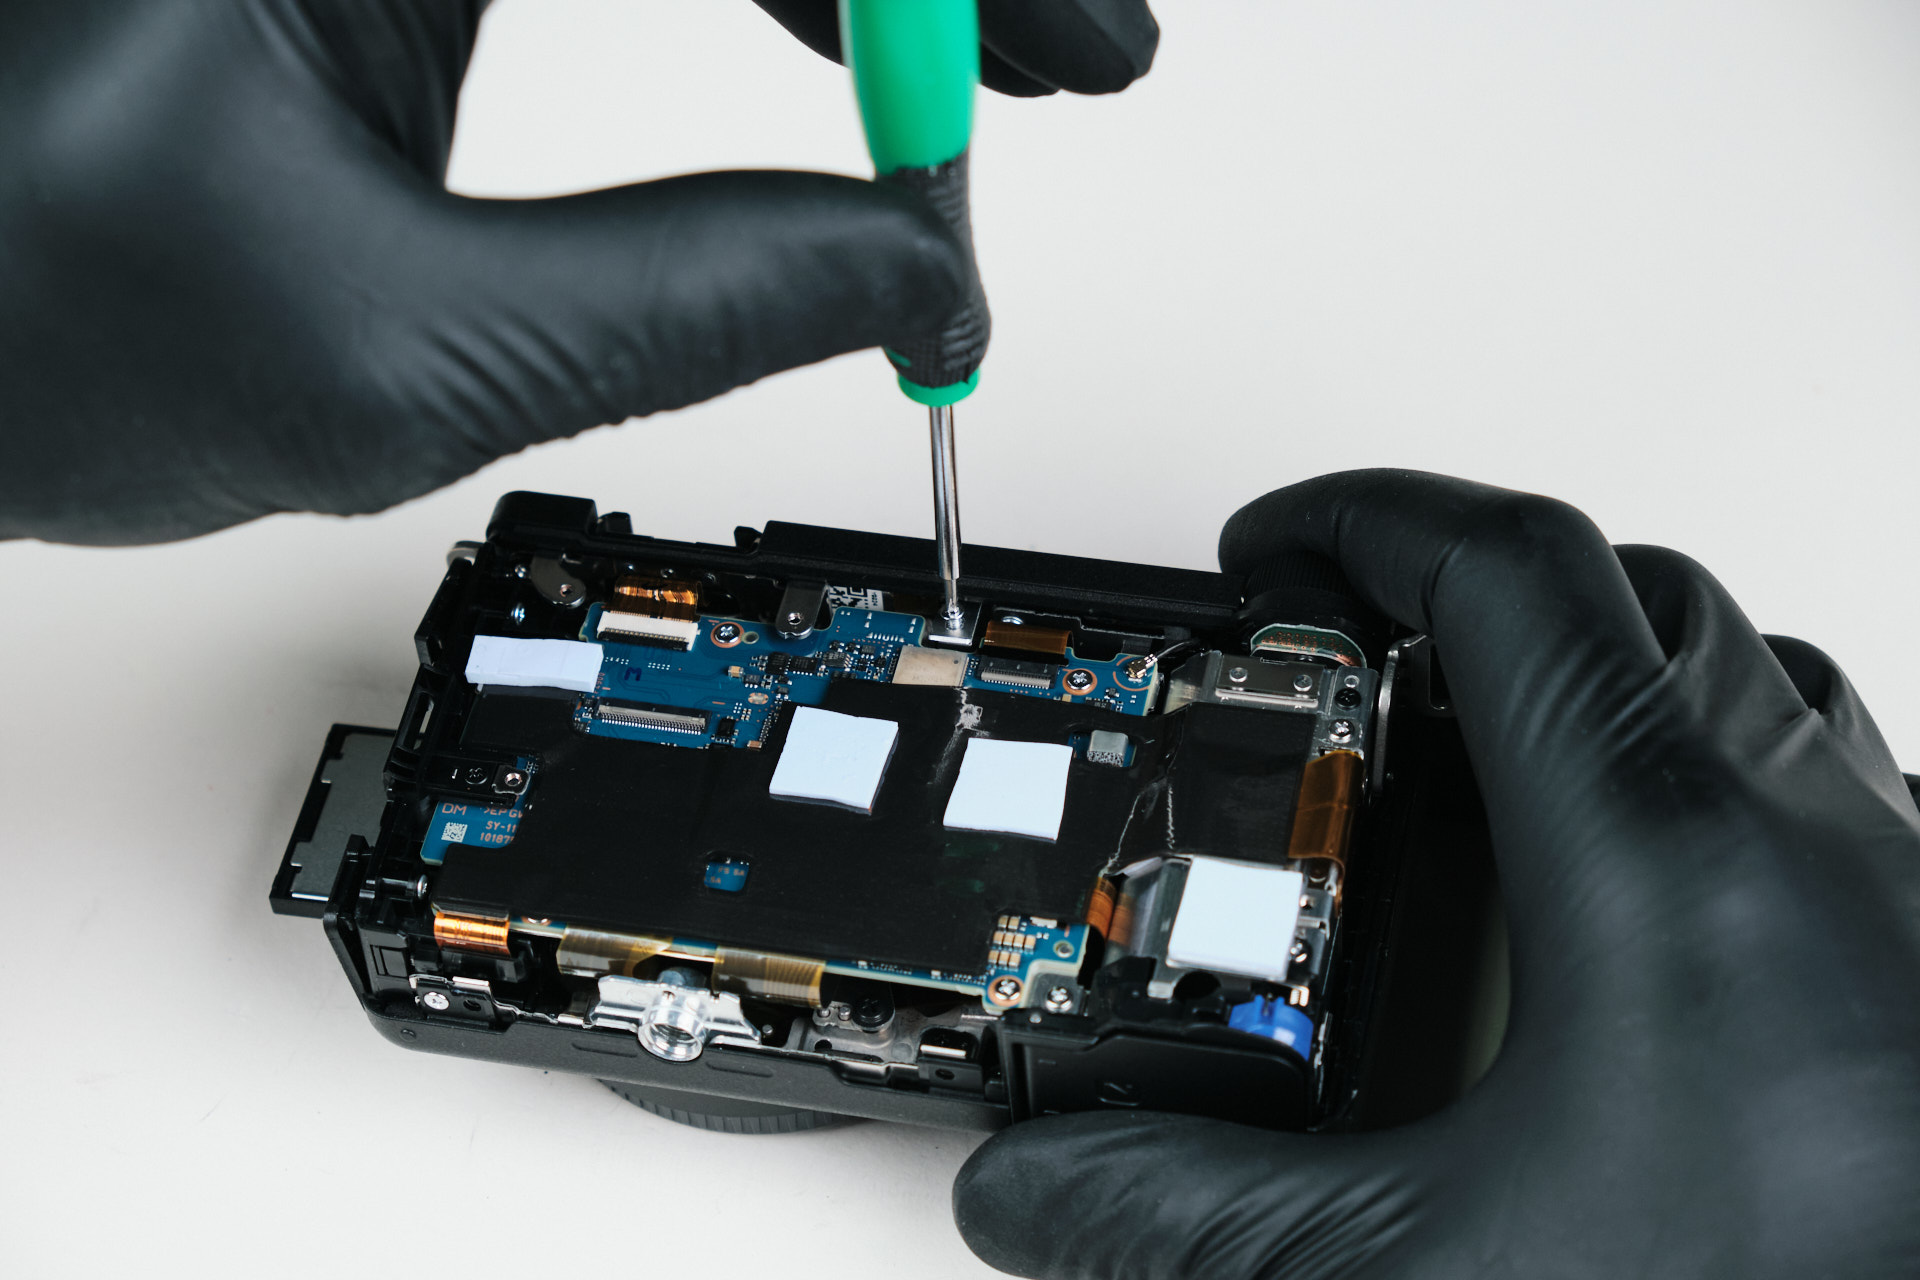
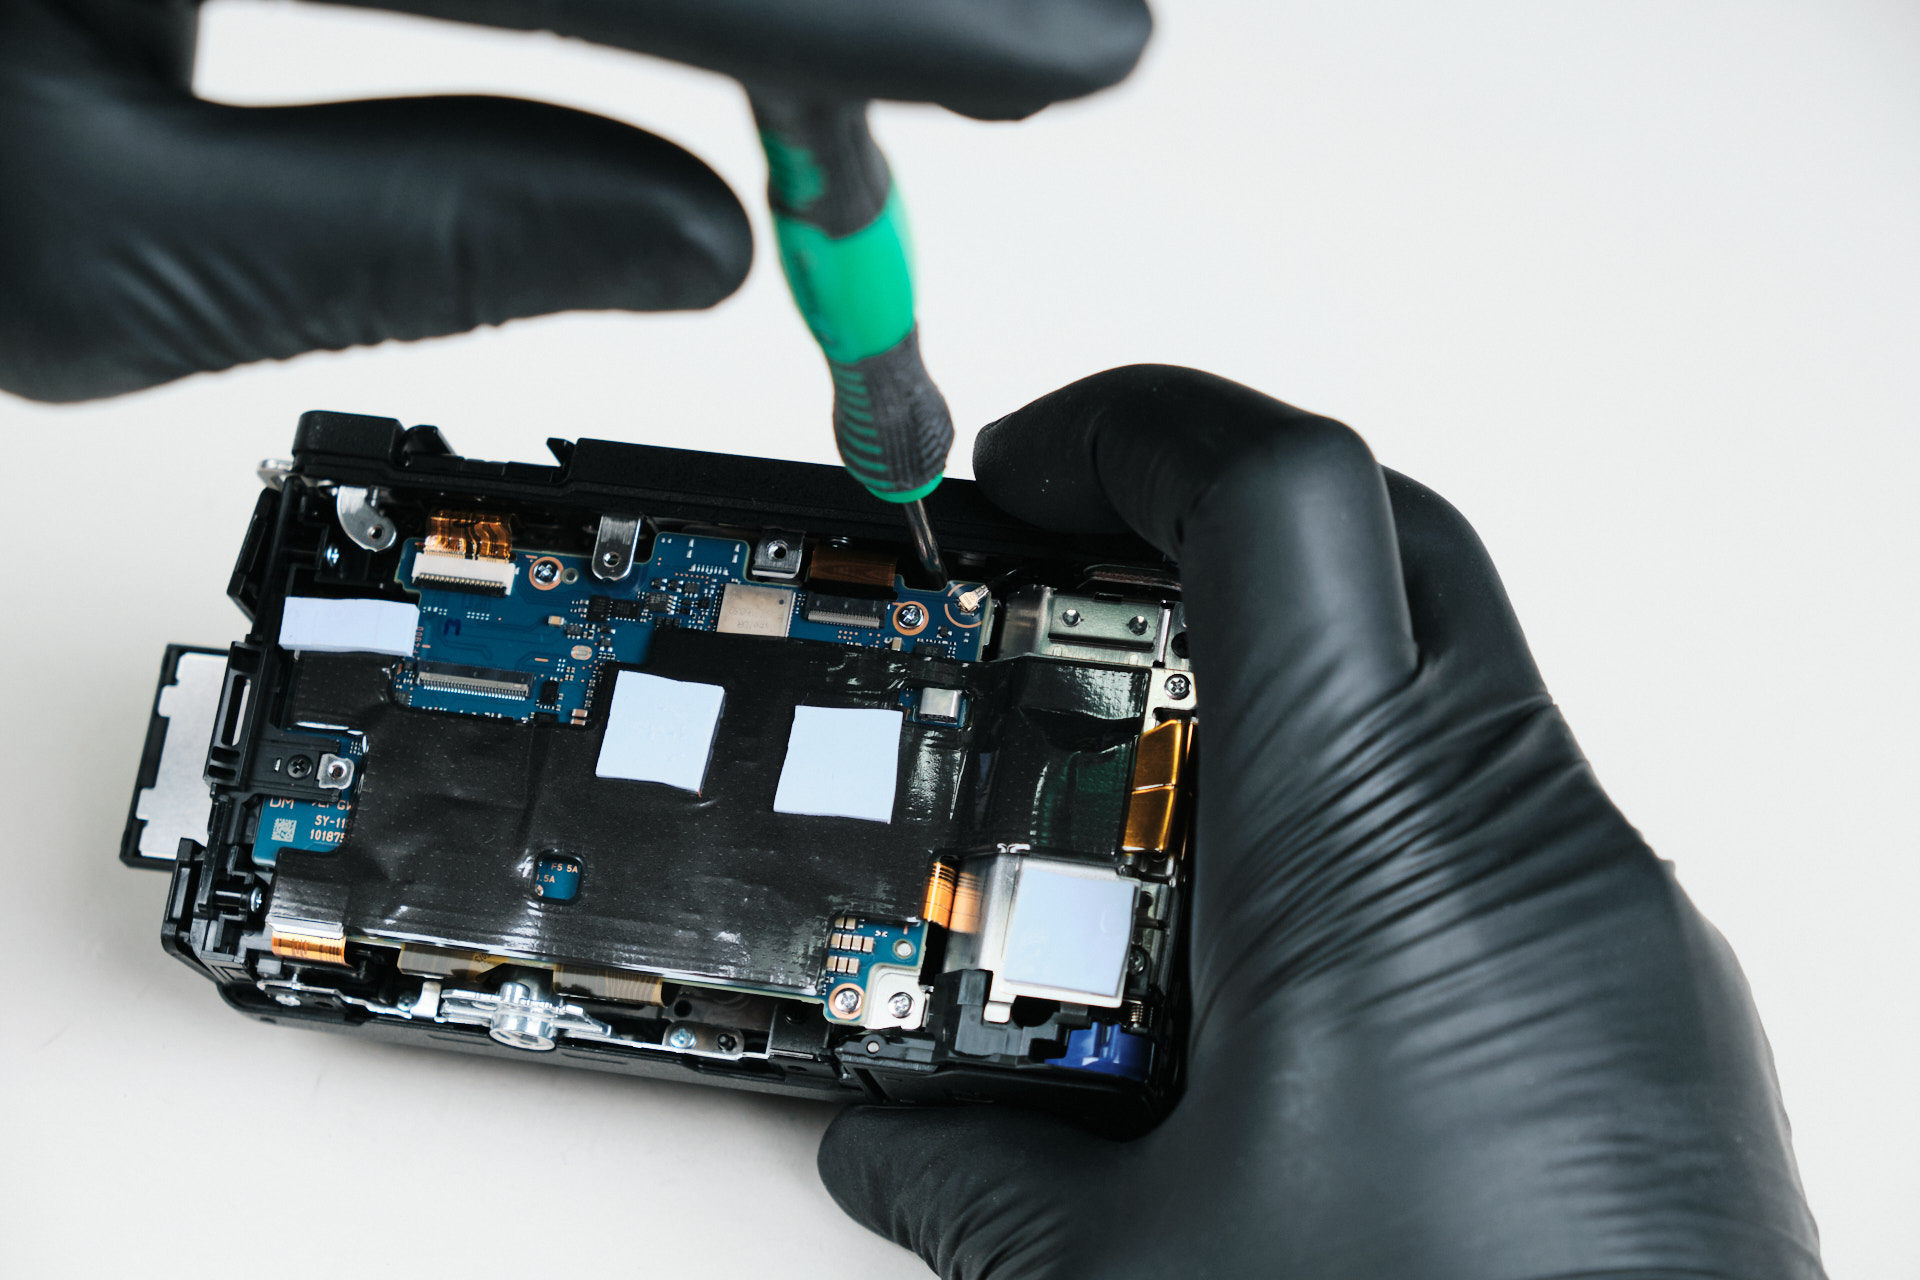
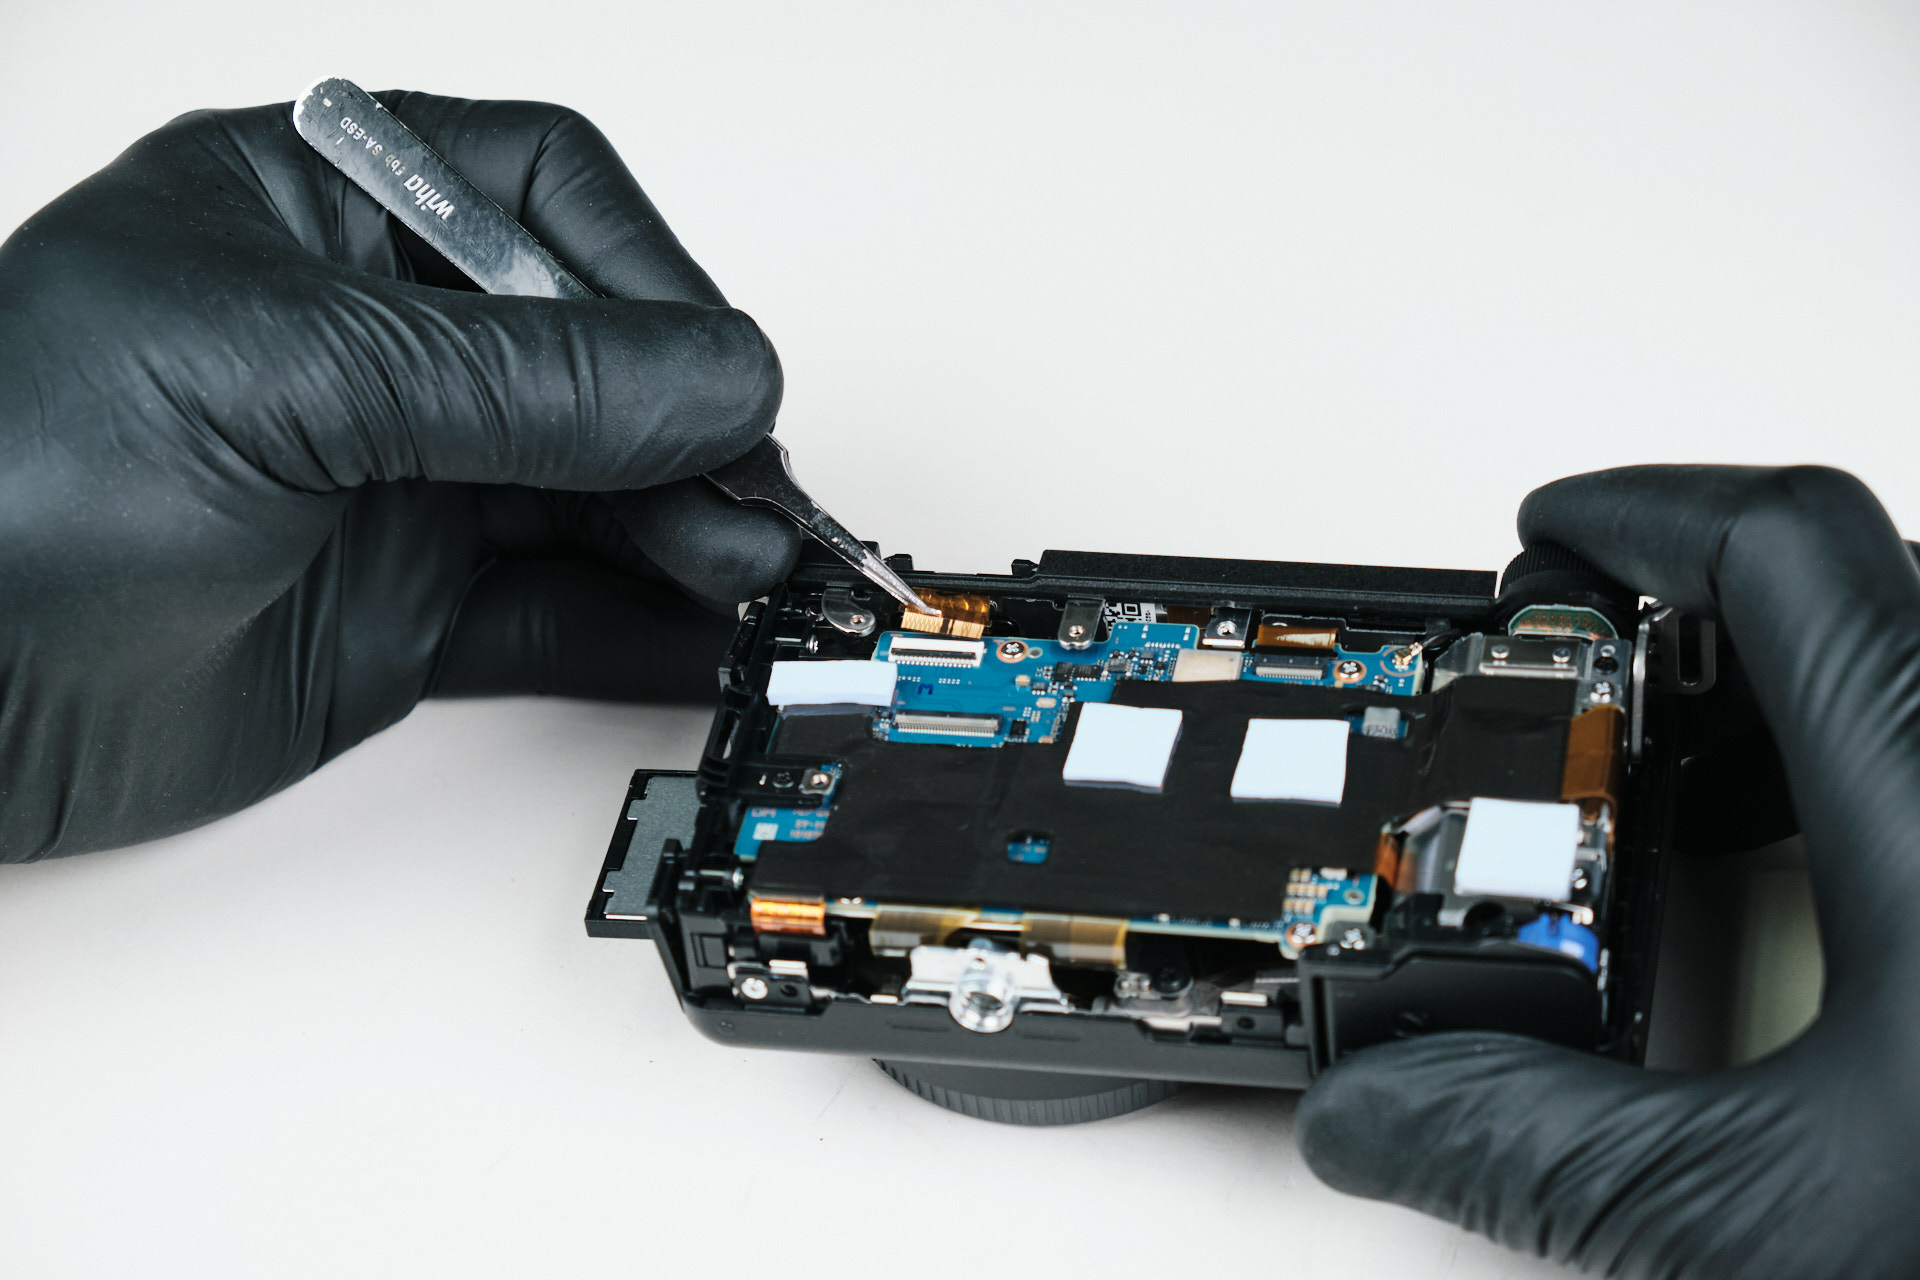
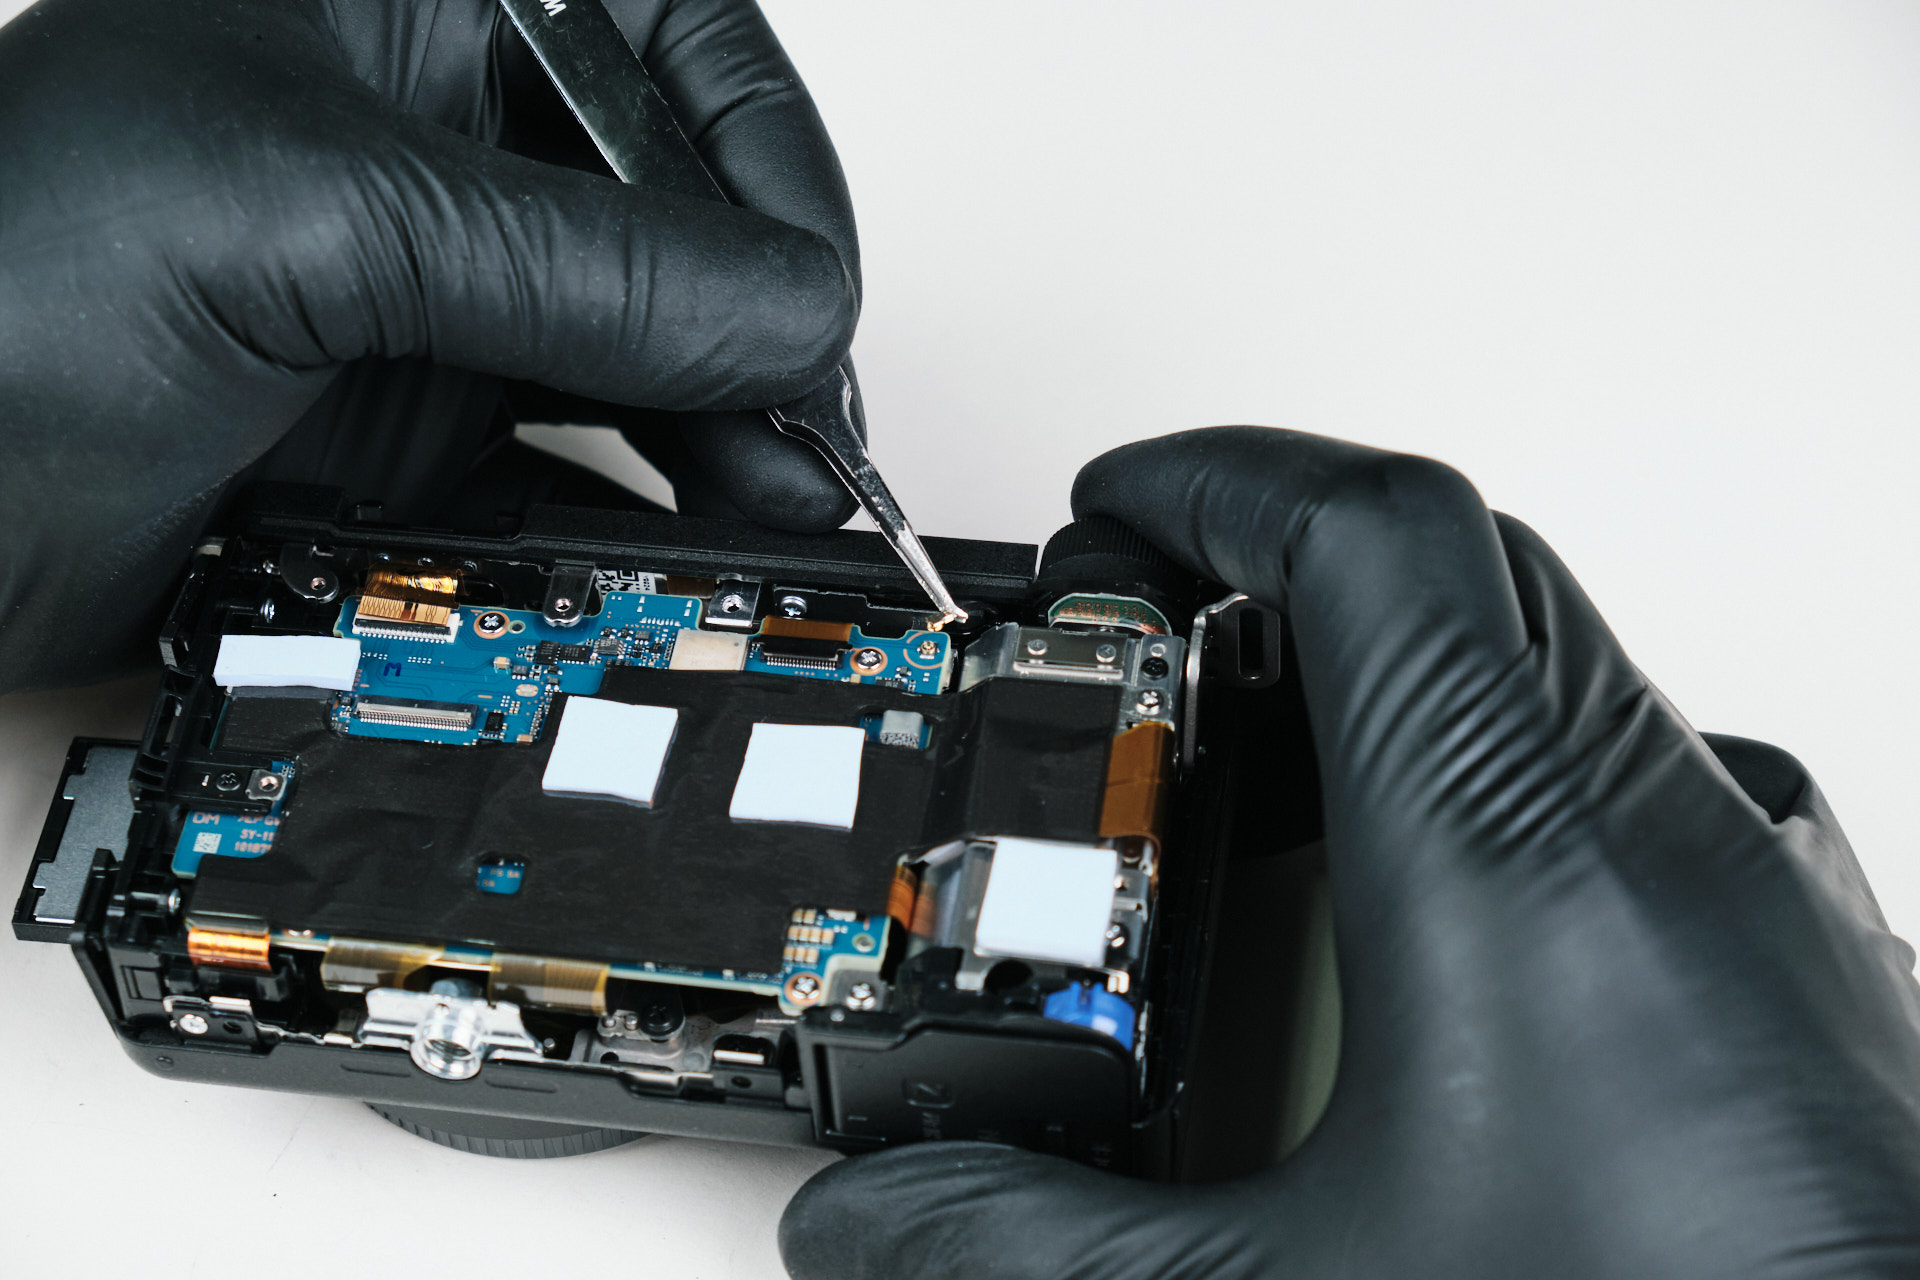
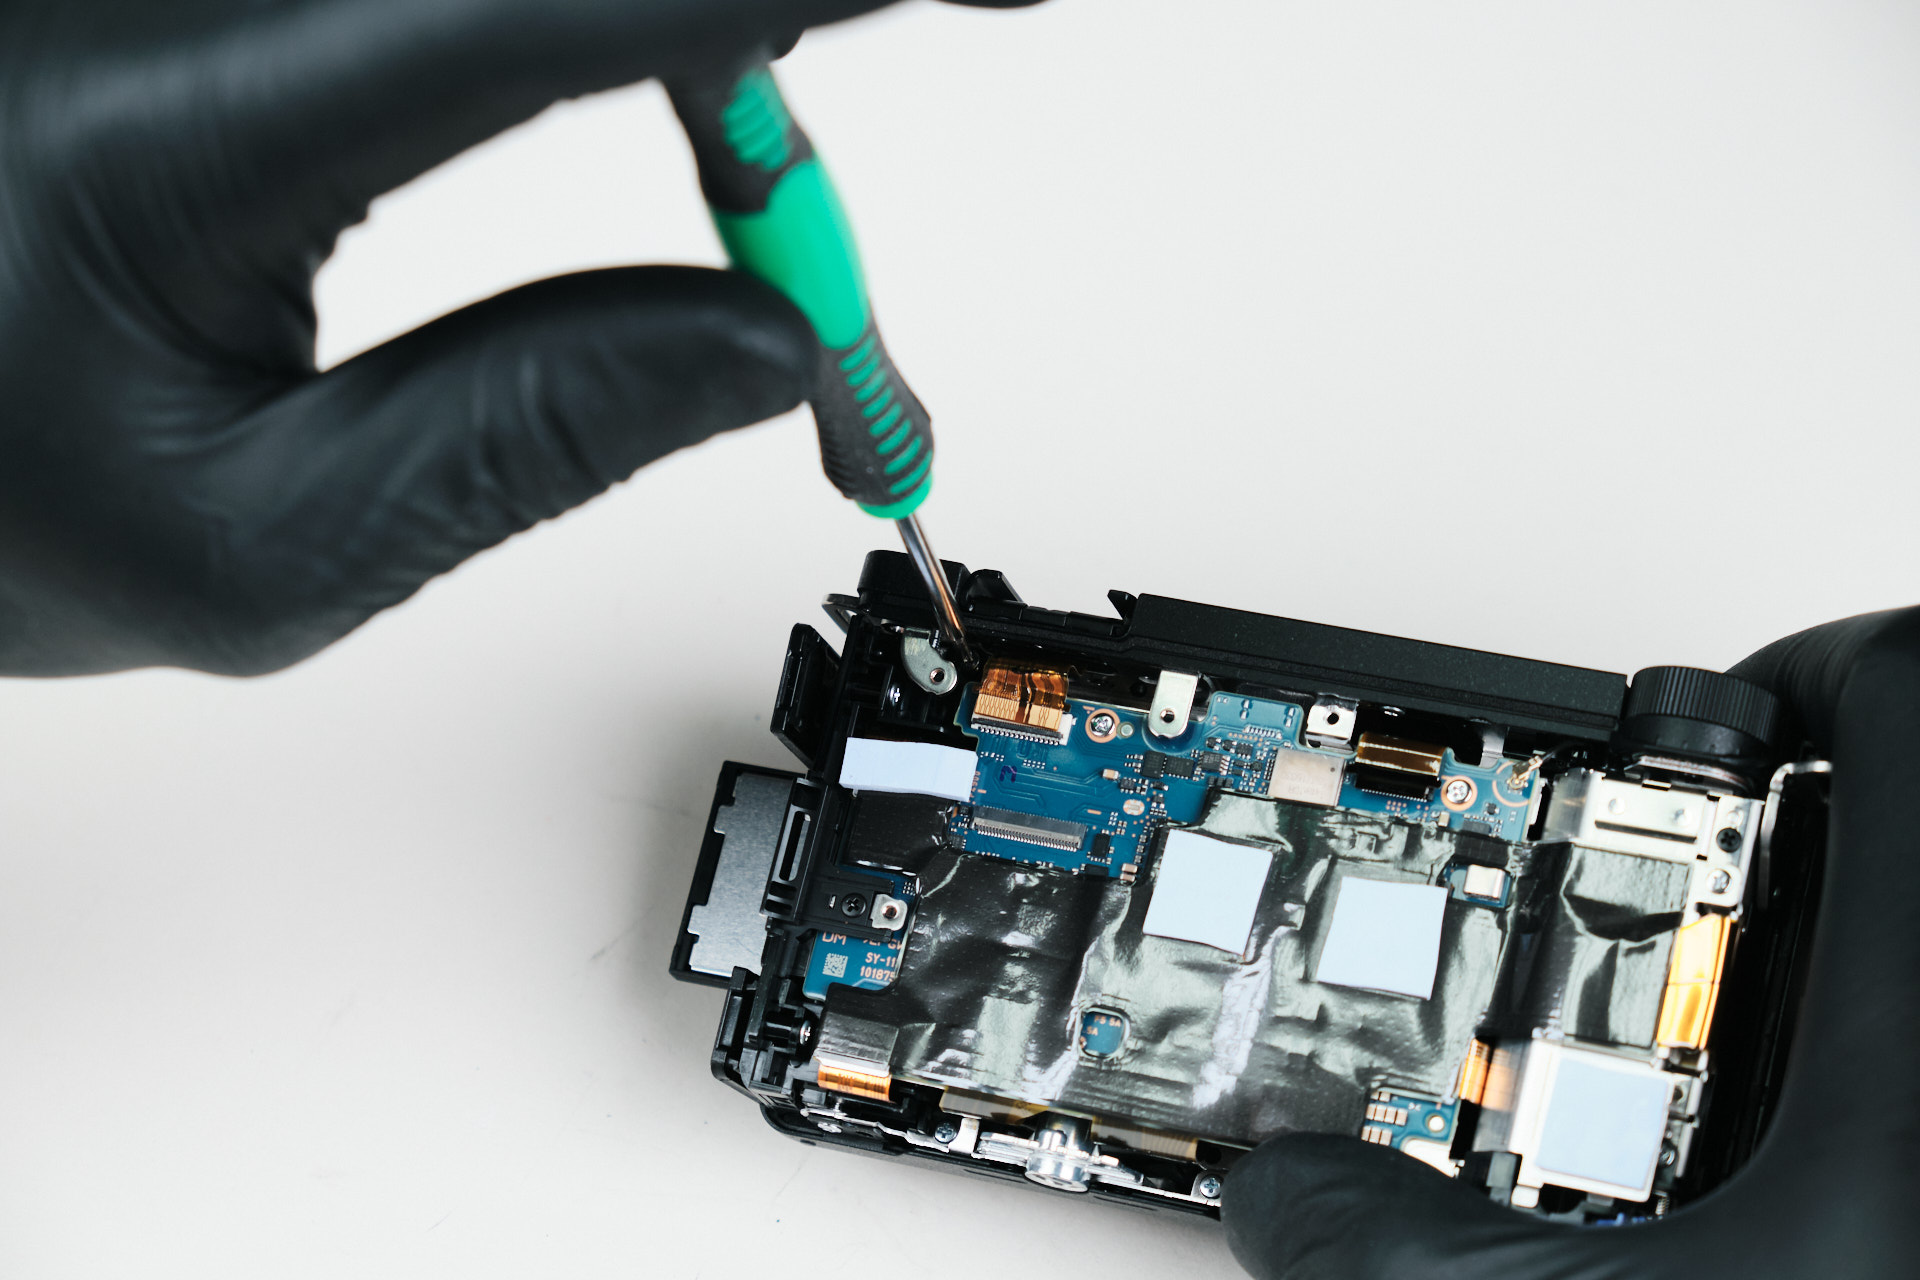
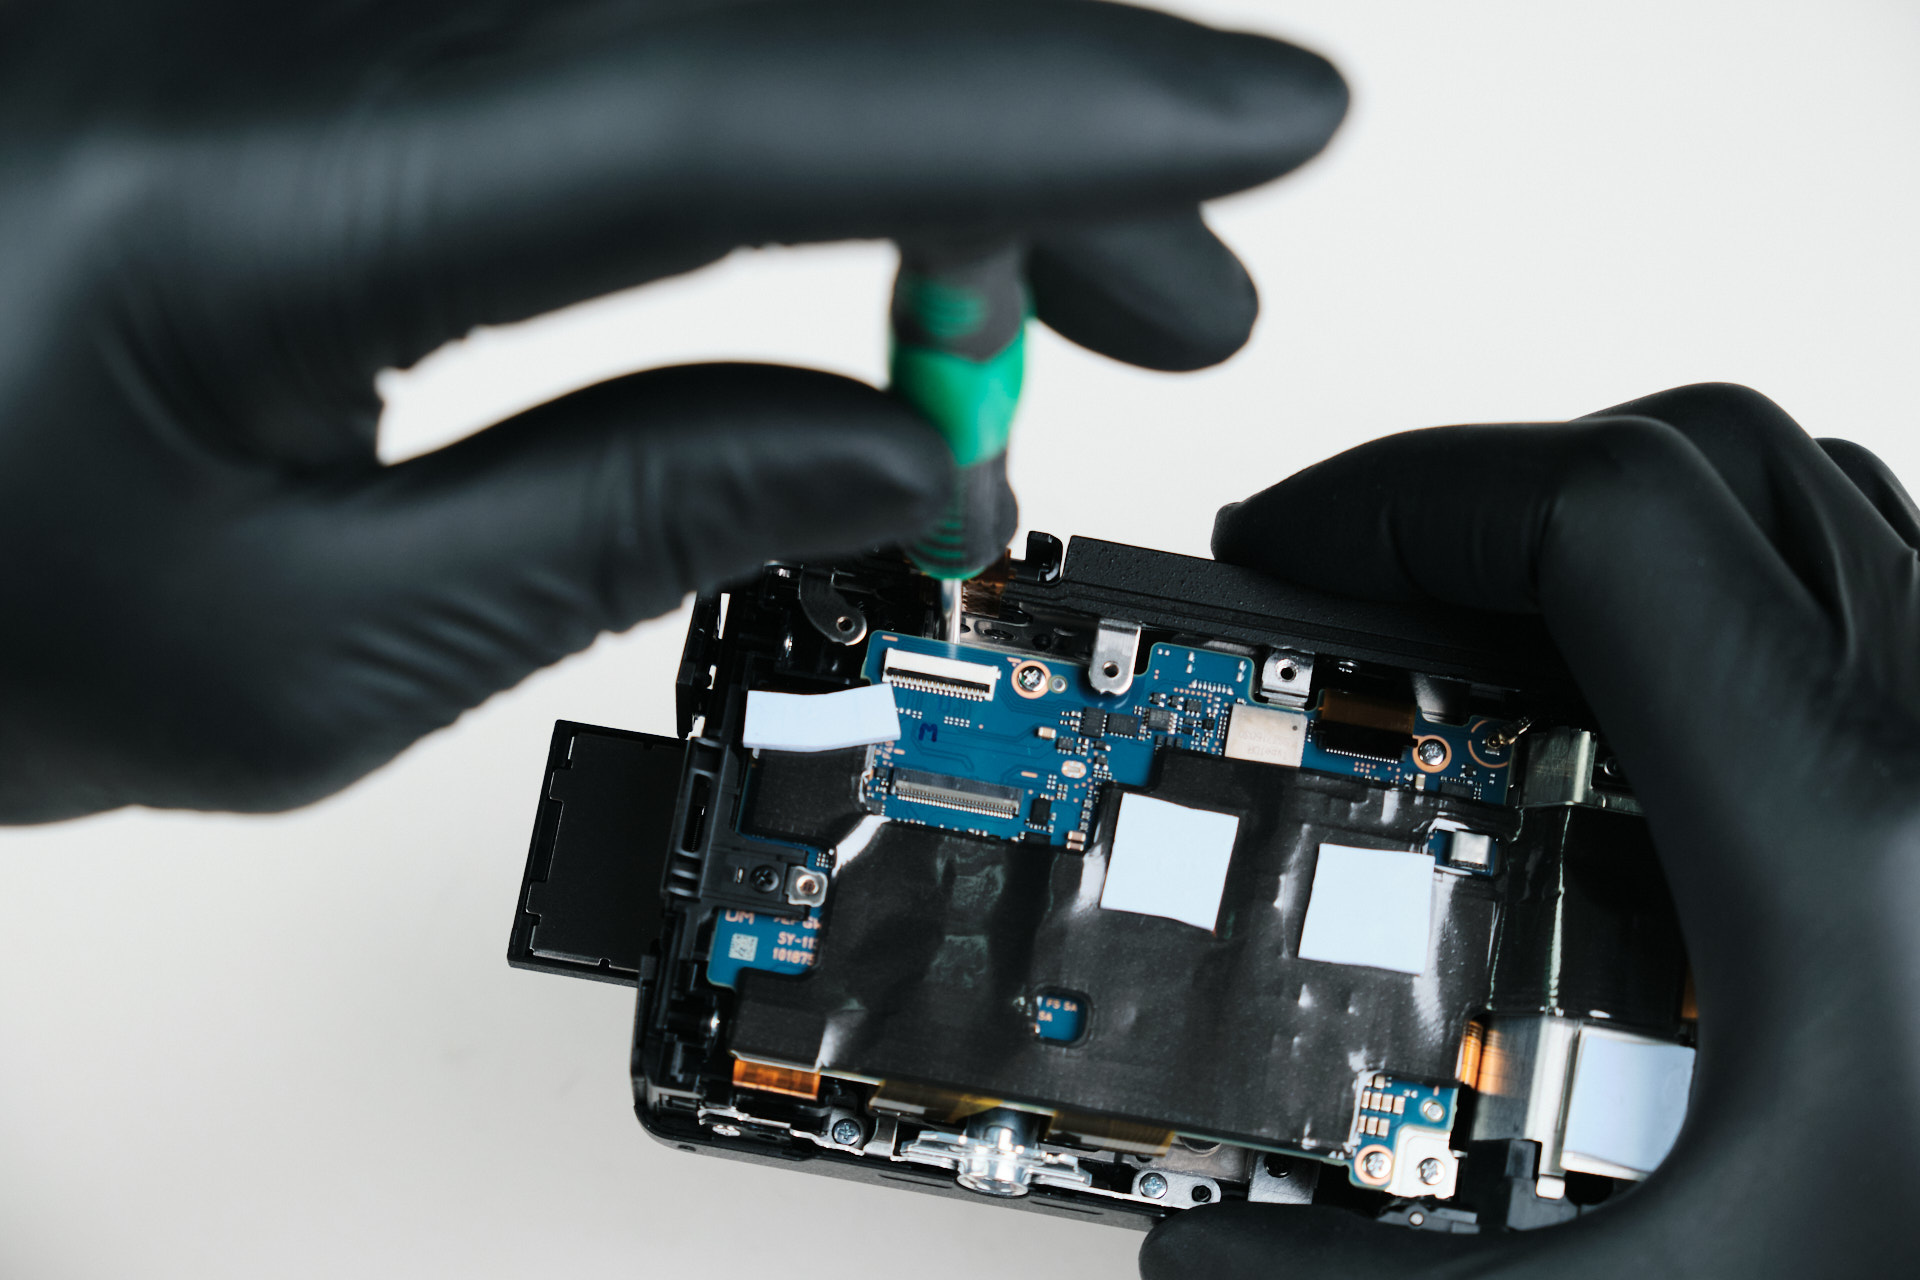
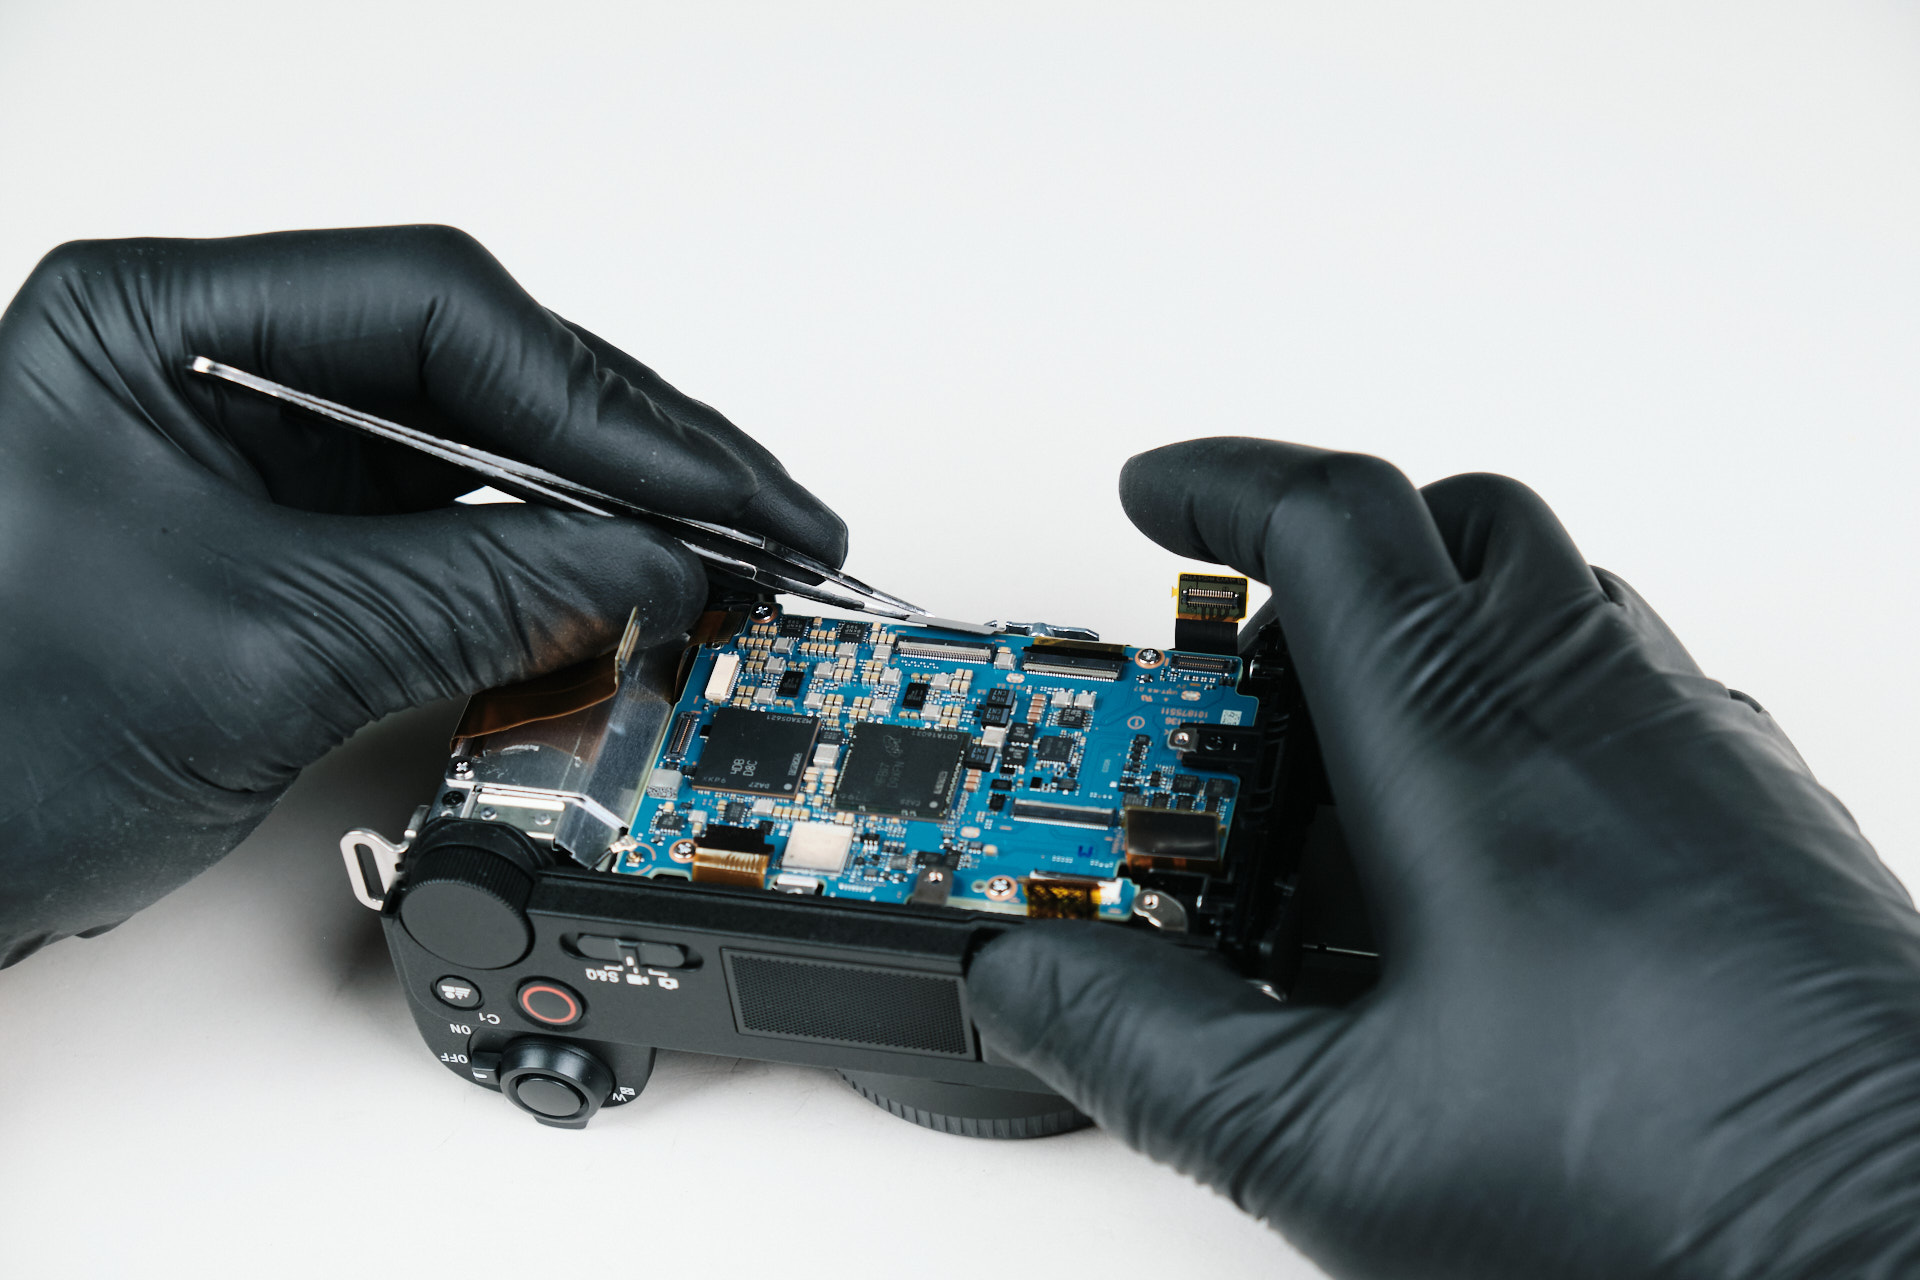
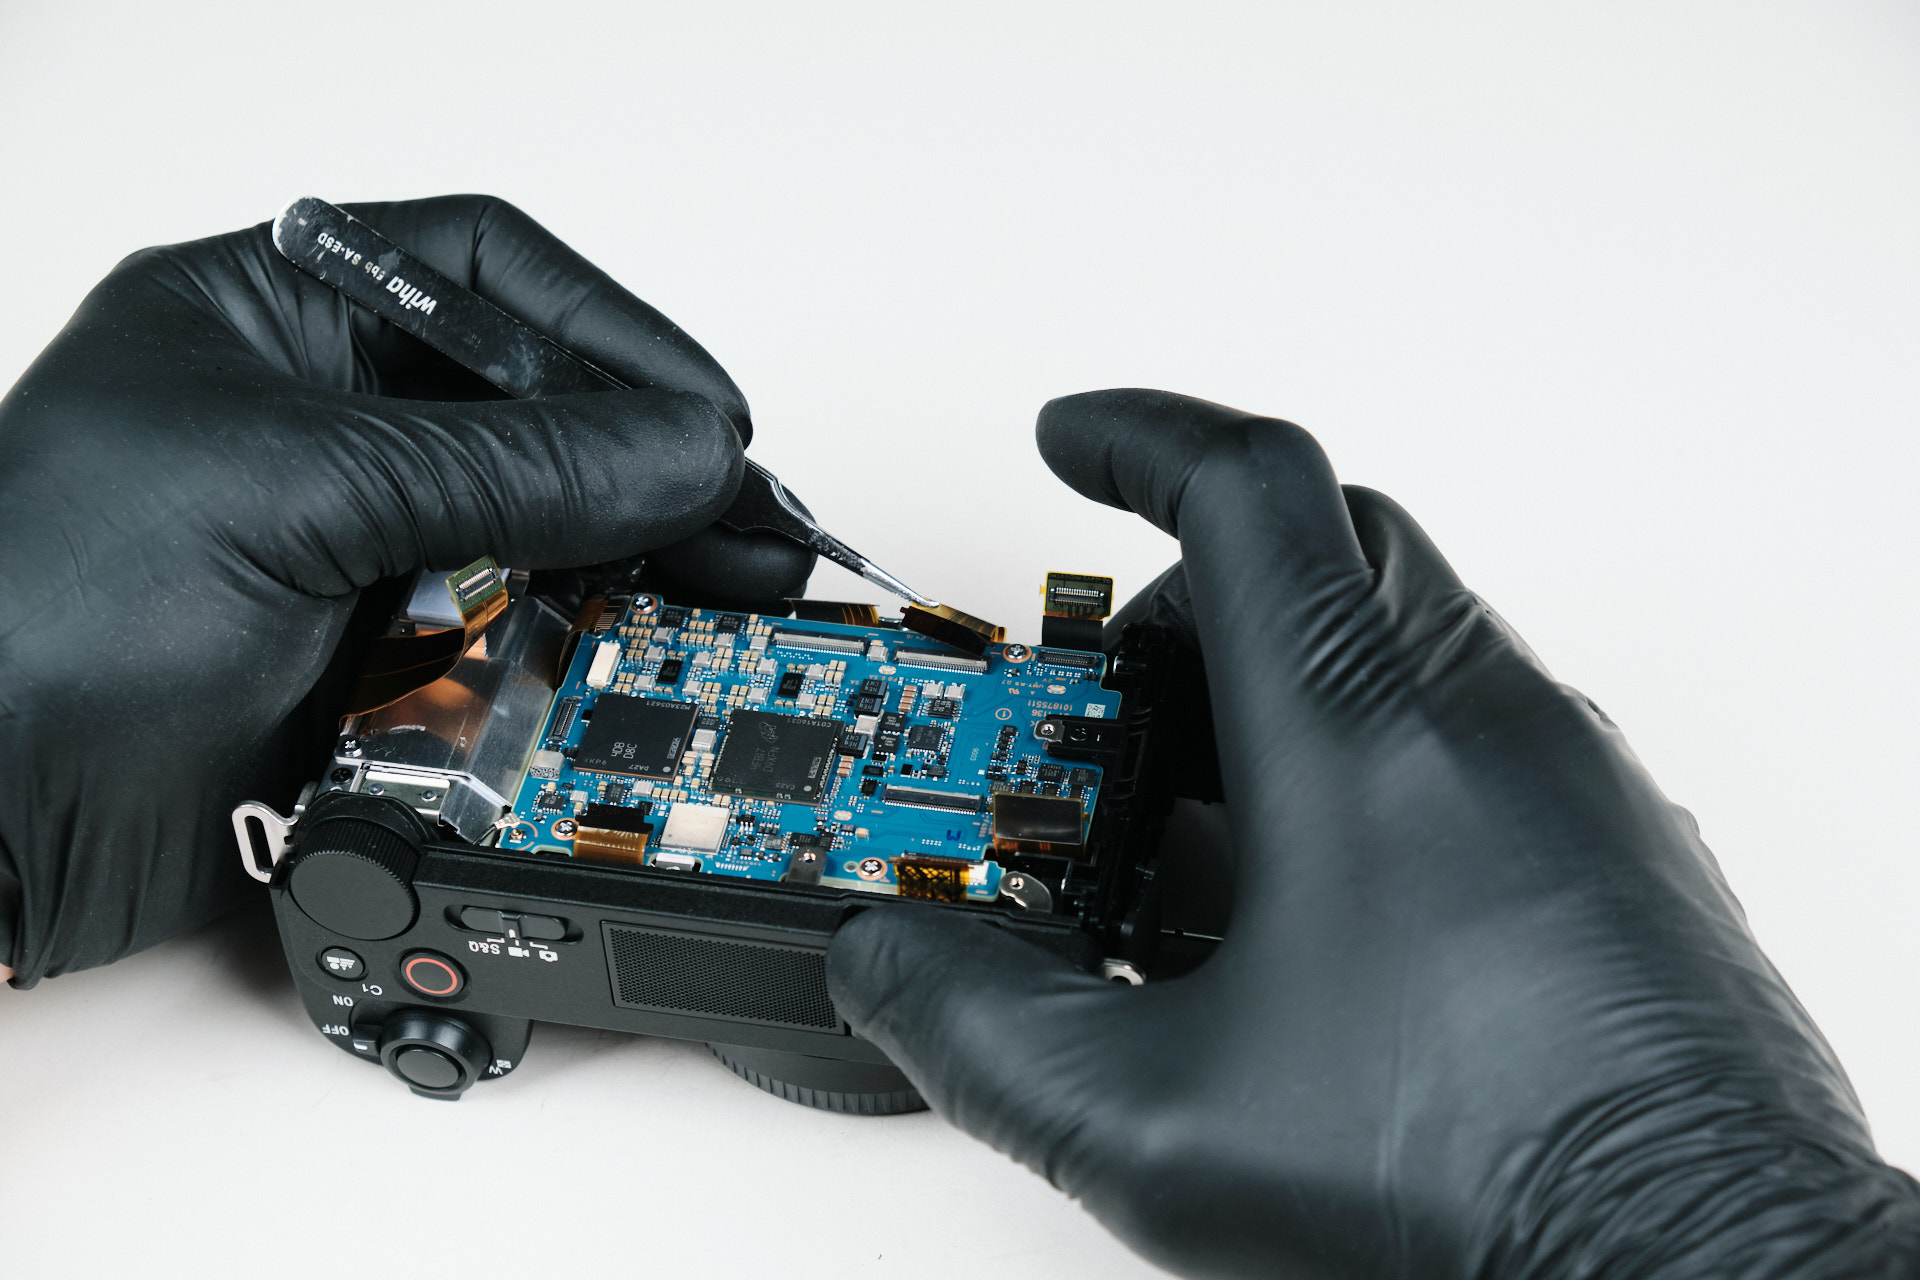
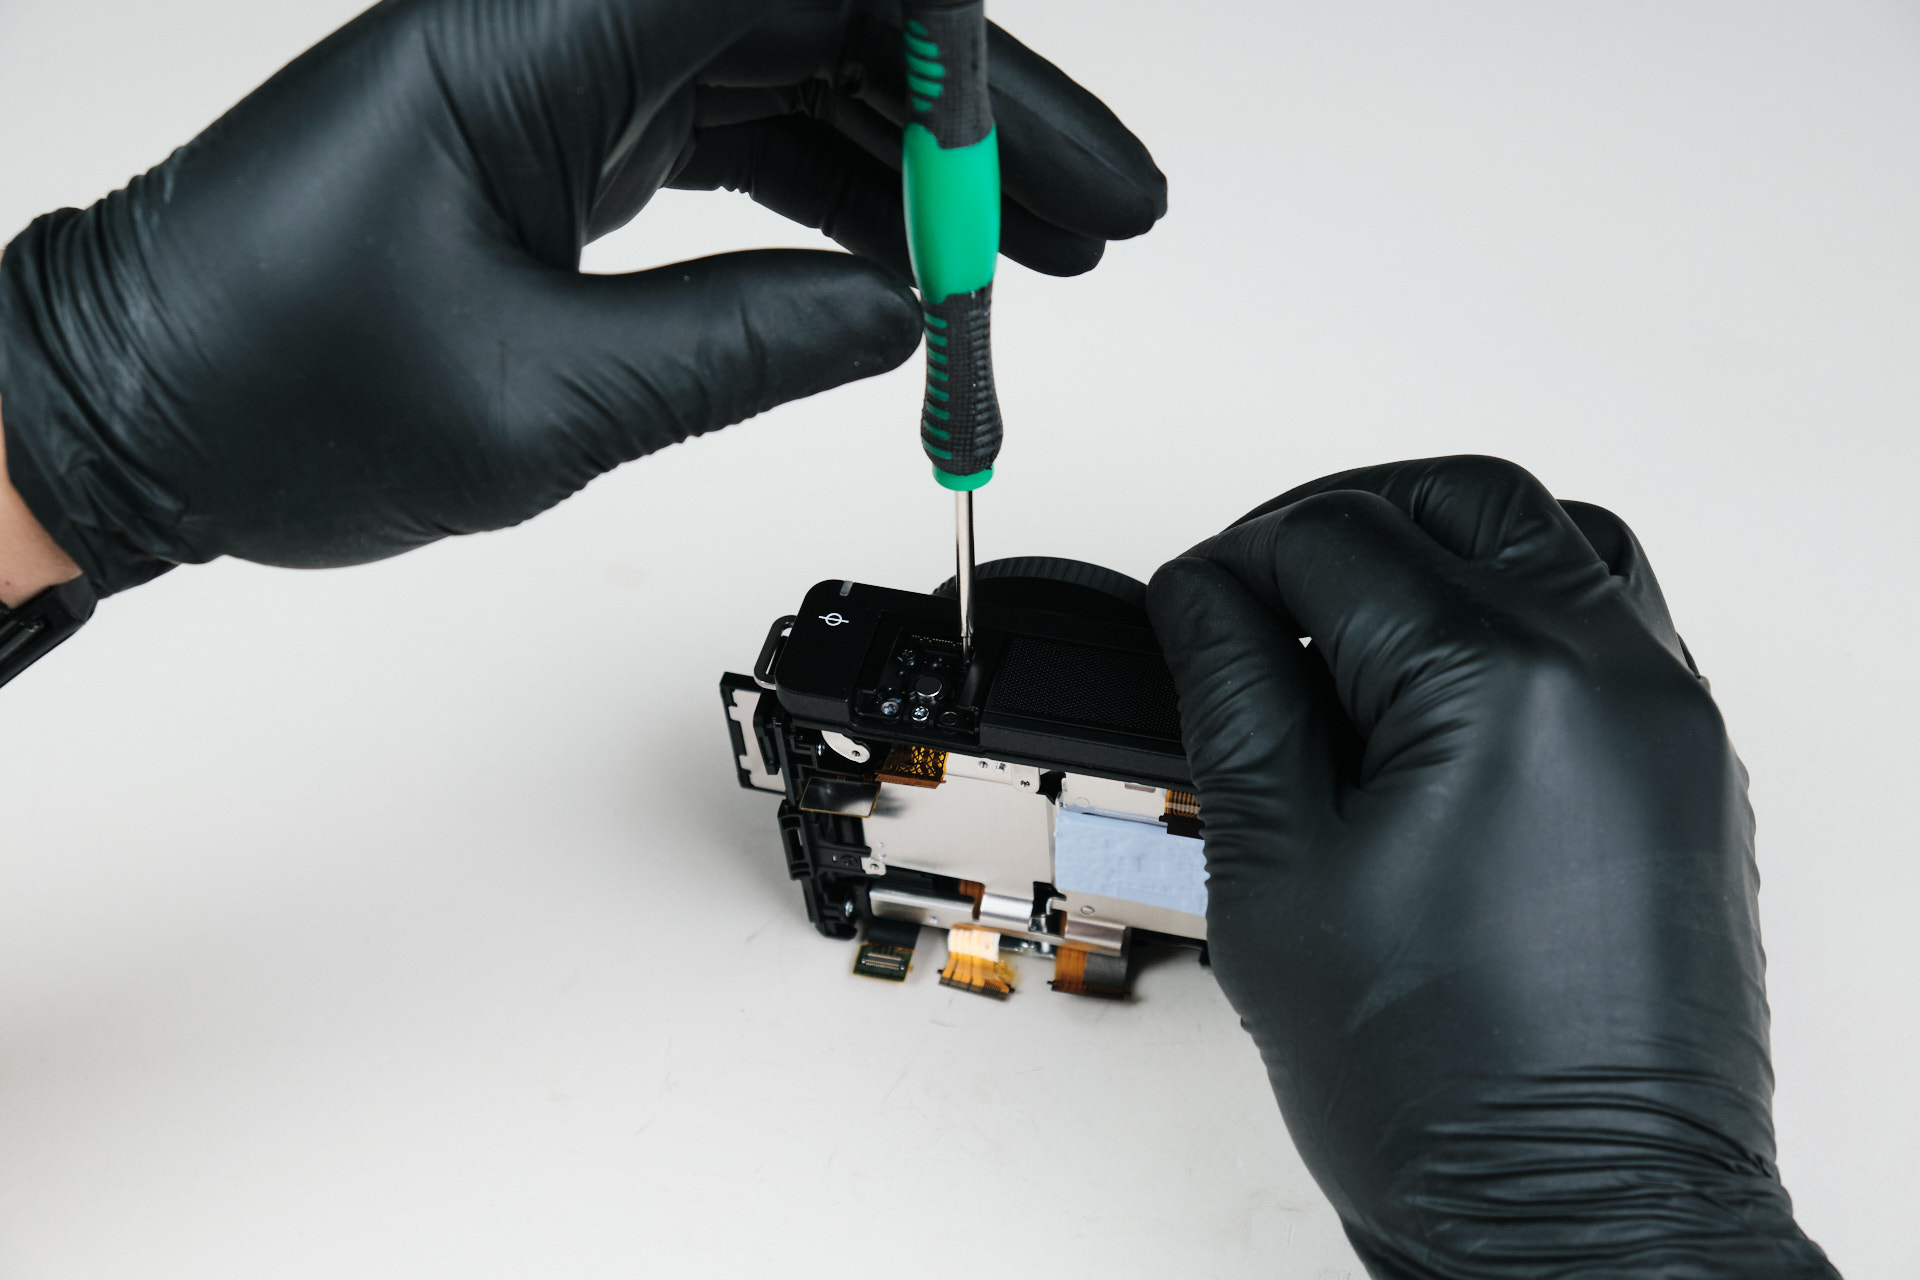
While Sony mirrorless cameras are generally easy to take a part, the ZV-E10 II was another one of those cases where the new design had us meandering and figuring out things along the way. It seemed that the circuitboard could be removed at this moment, but we also had to consider the parts that we haven’t removed yet, namely the the top plate of the camera. Here, we removed several deep screws, detached some ribbon cables, and one wire. Removing these parts did not allow us to detach the top panel of the camera.

Finding More Hidden Screws Under the Right-Side Cover

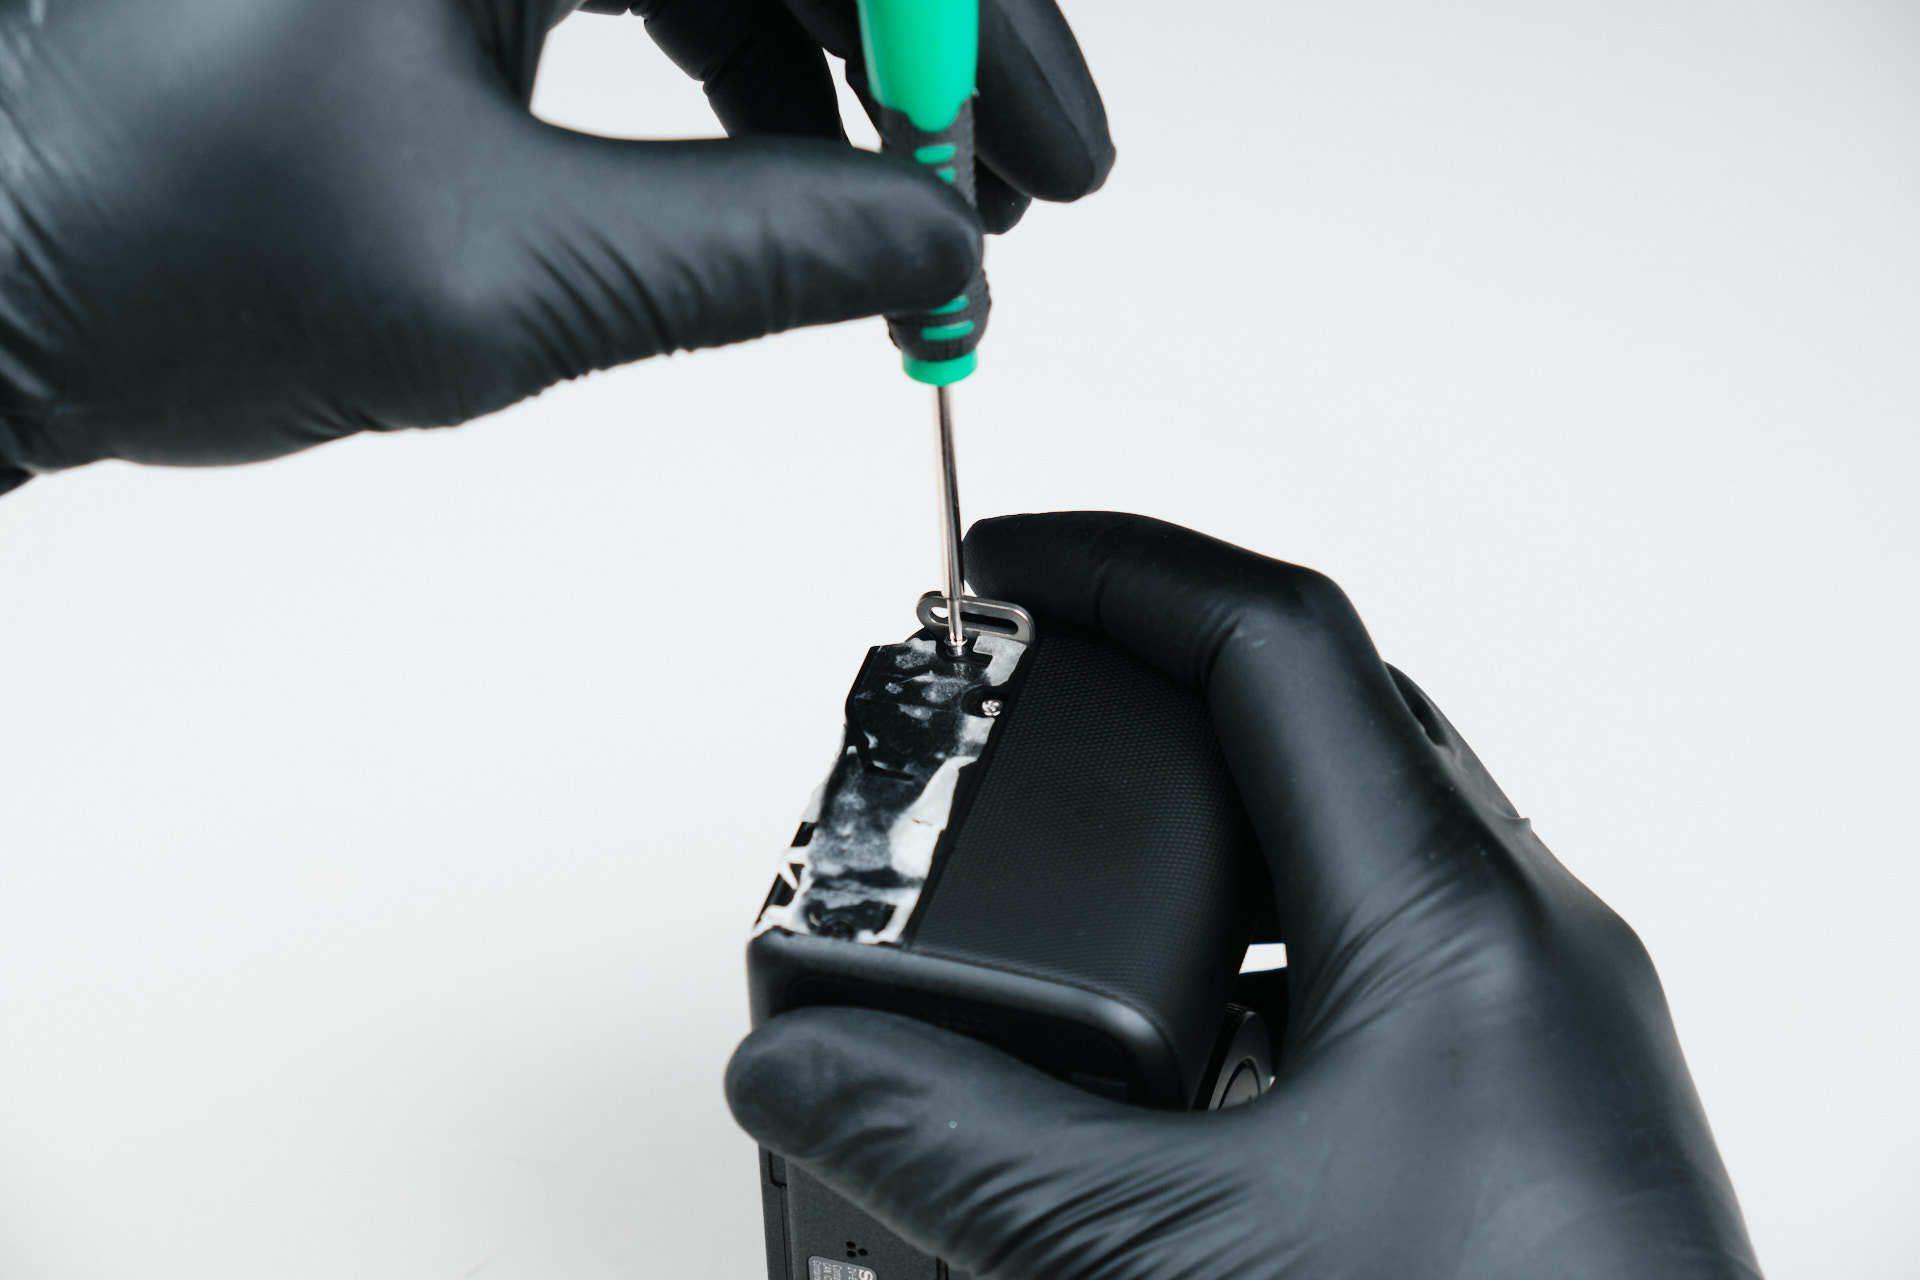
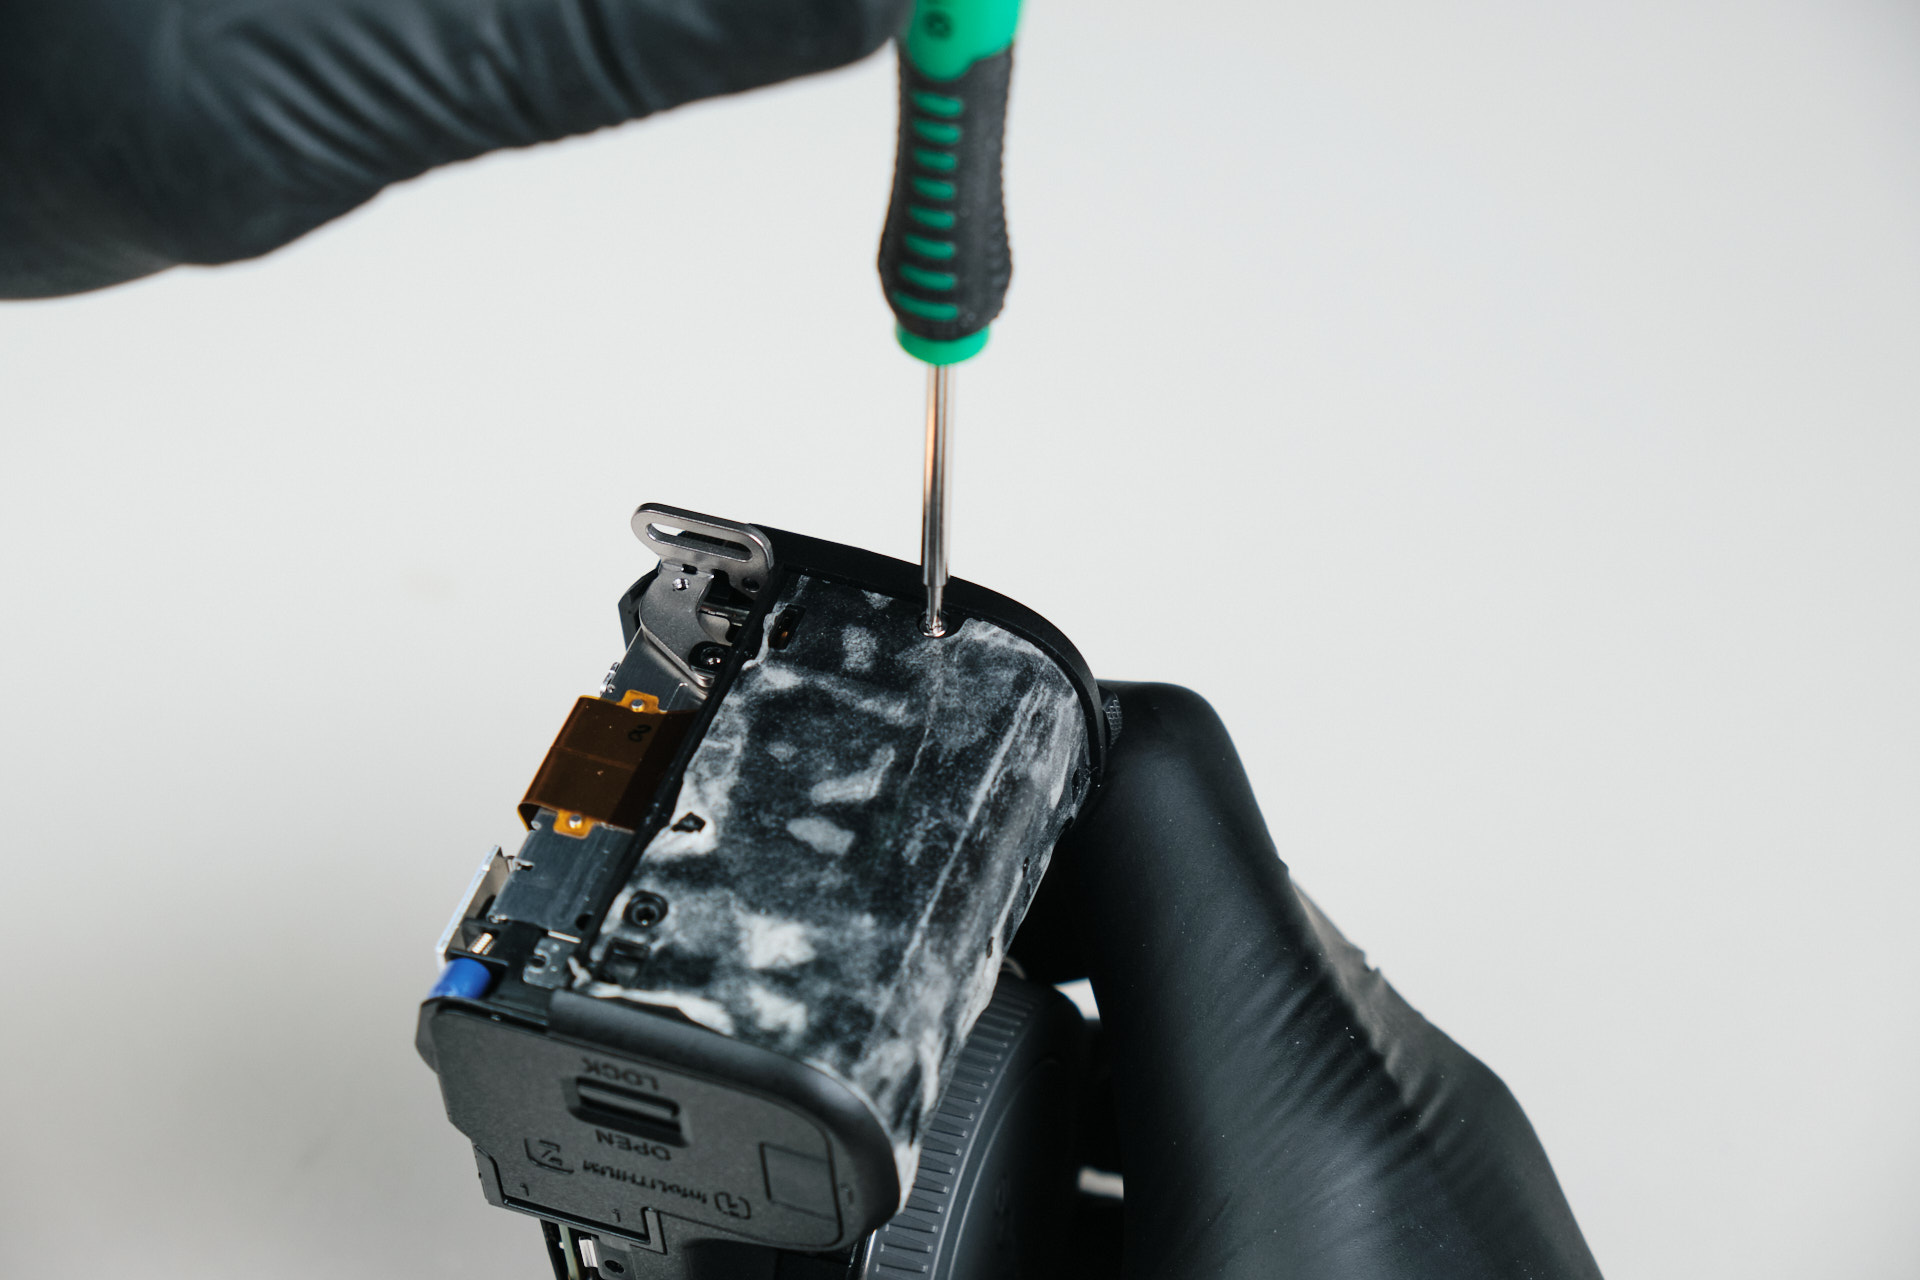
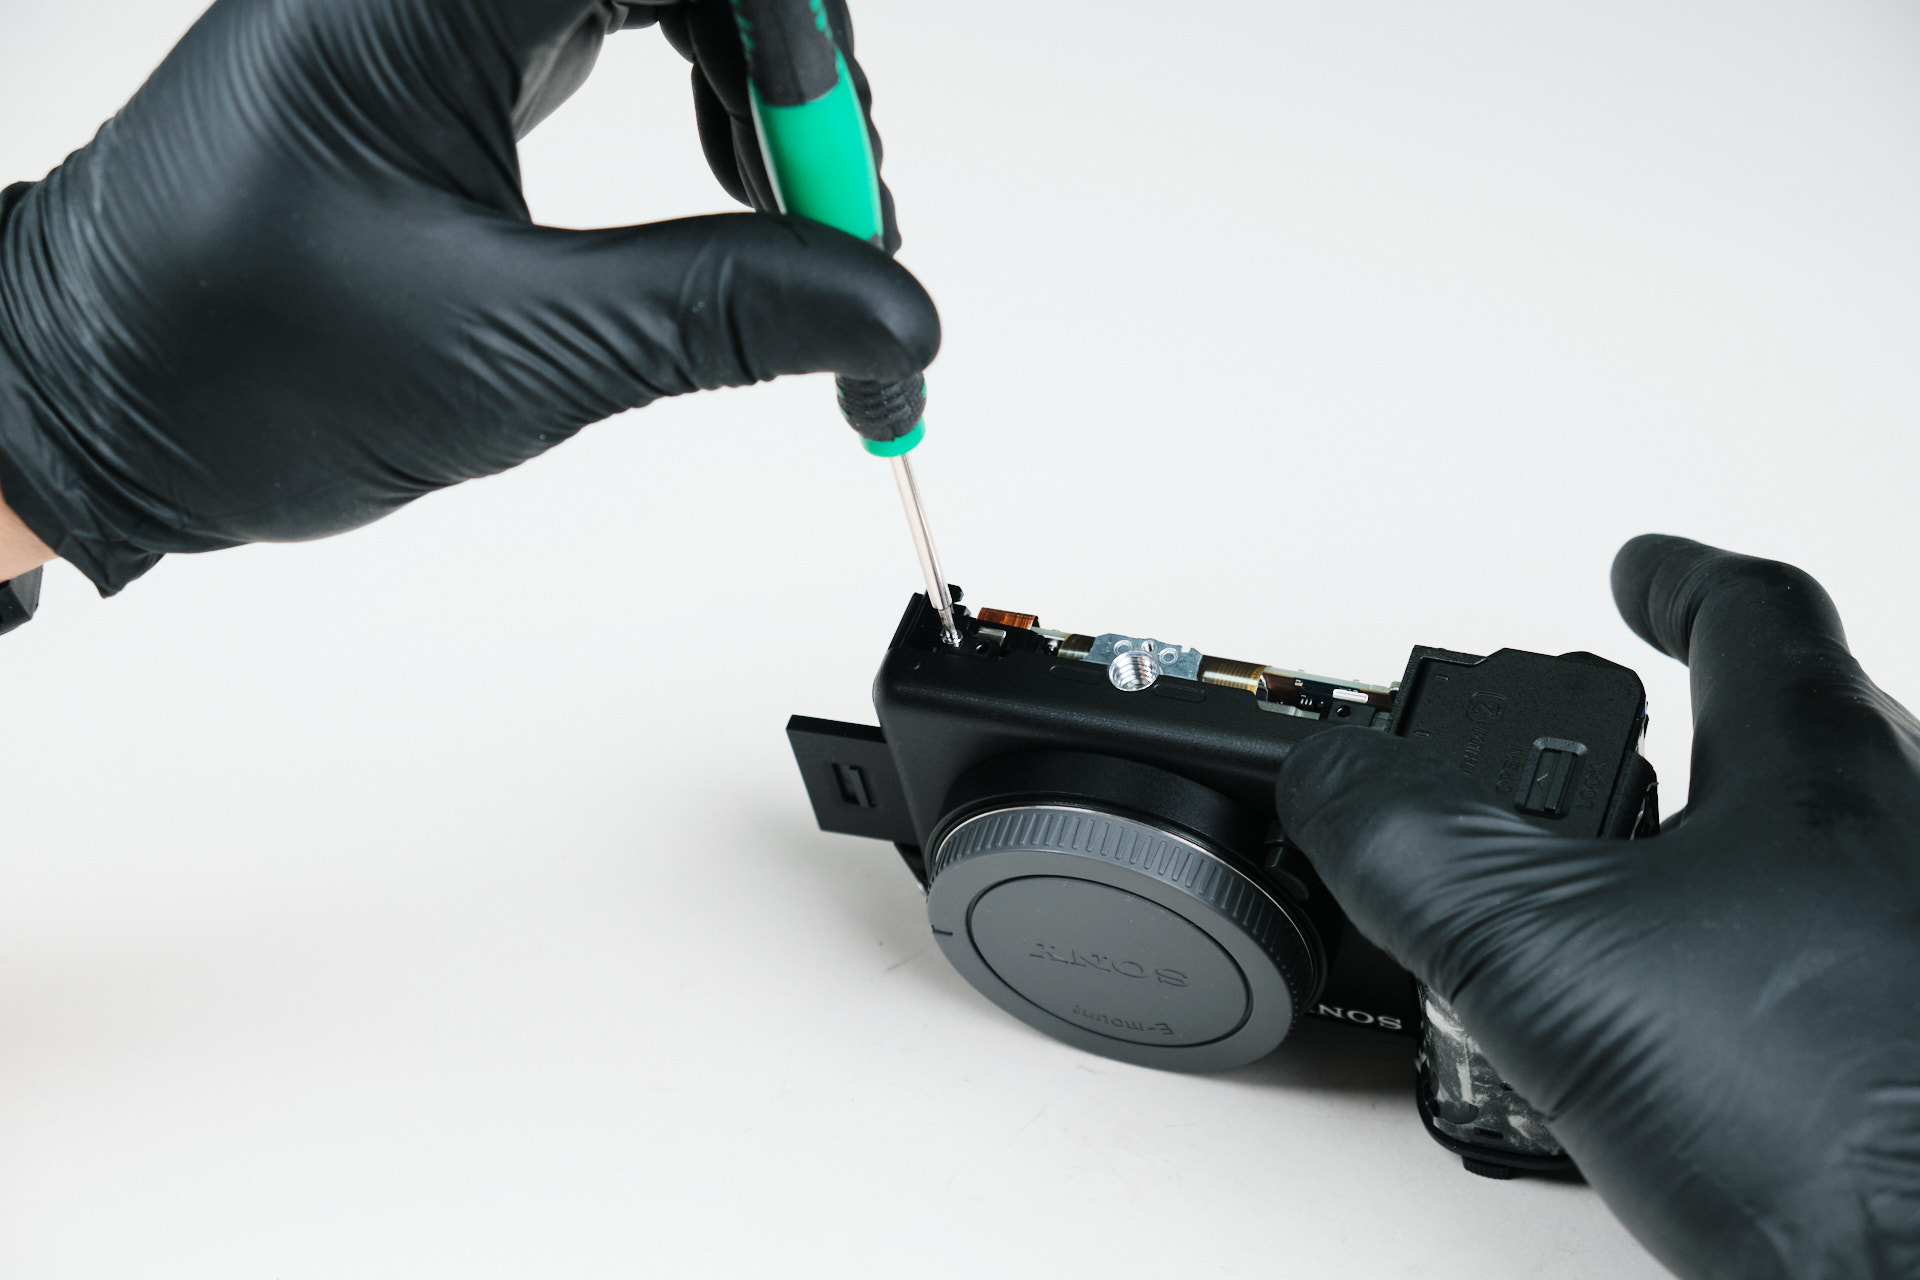
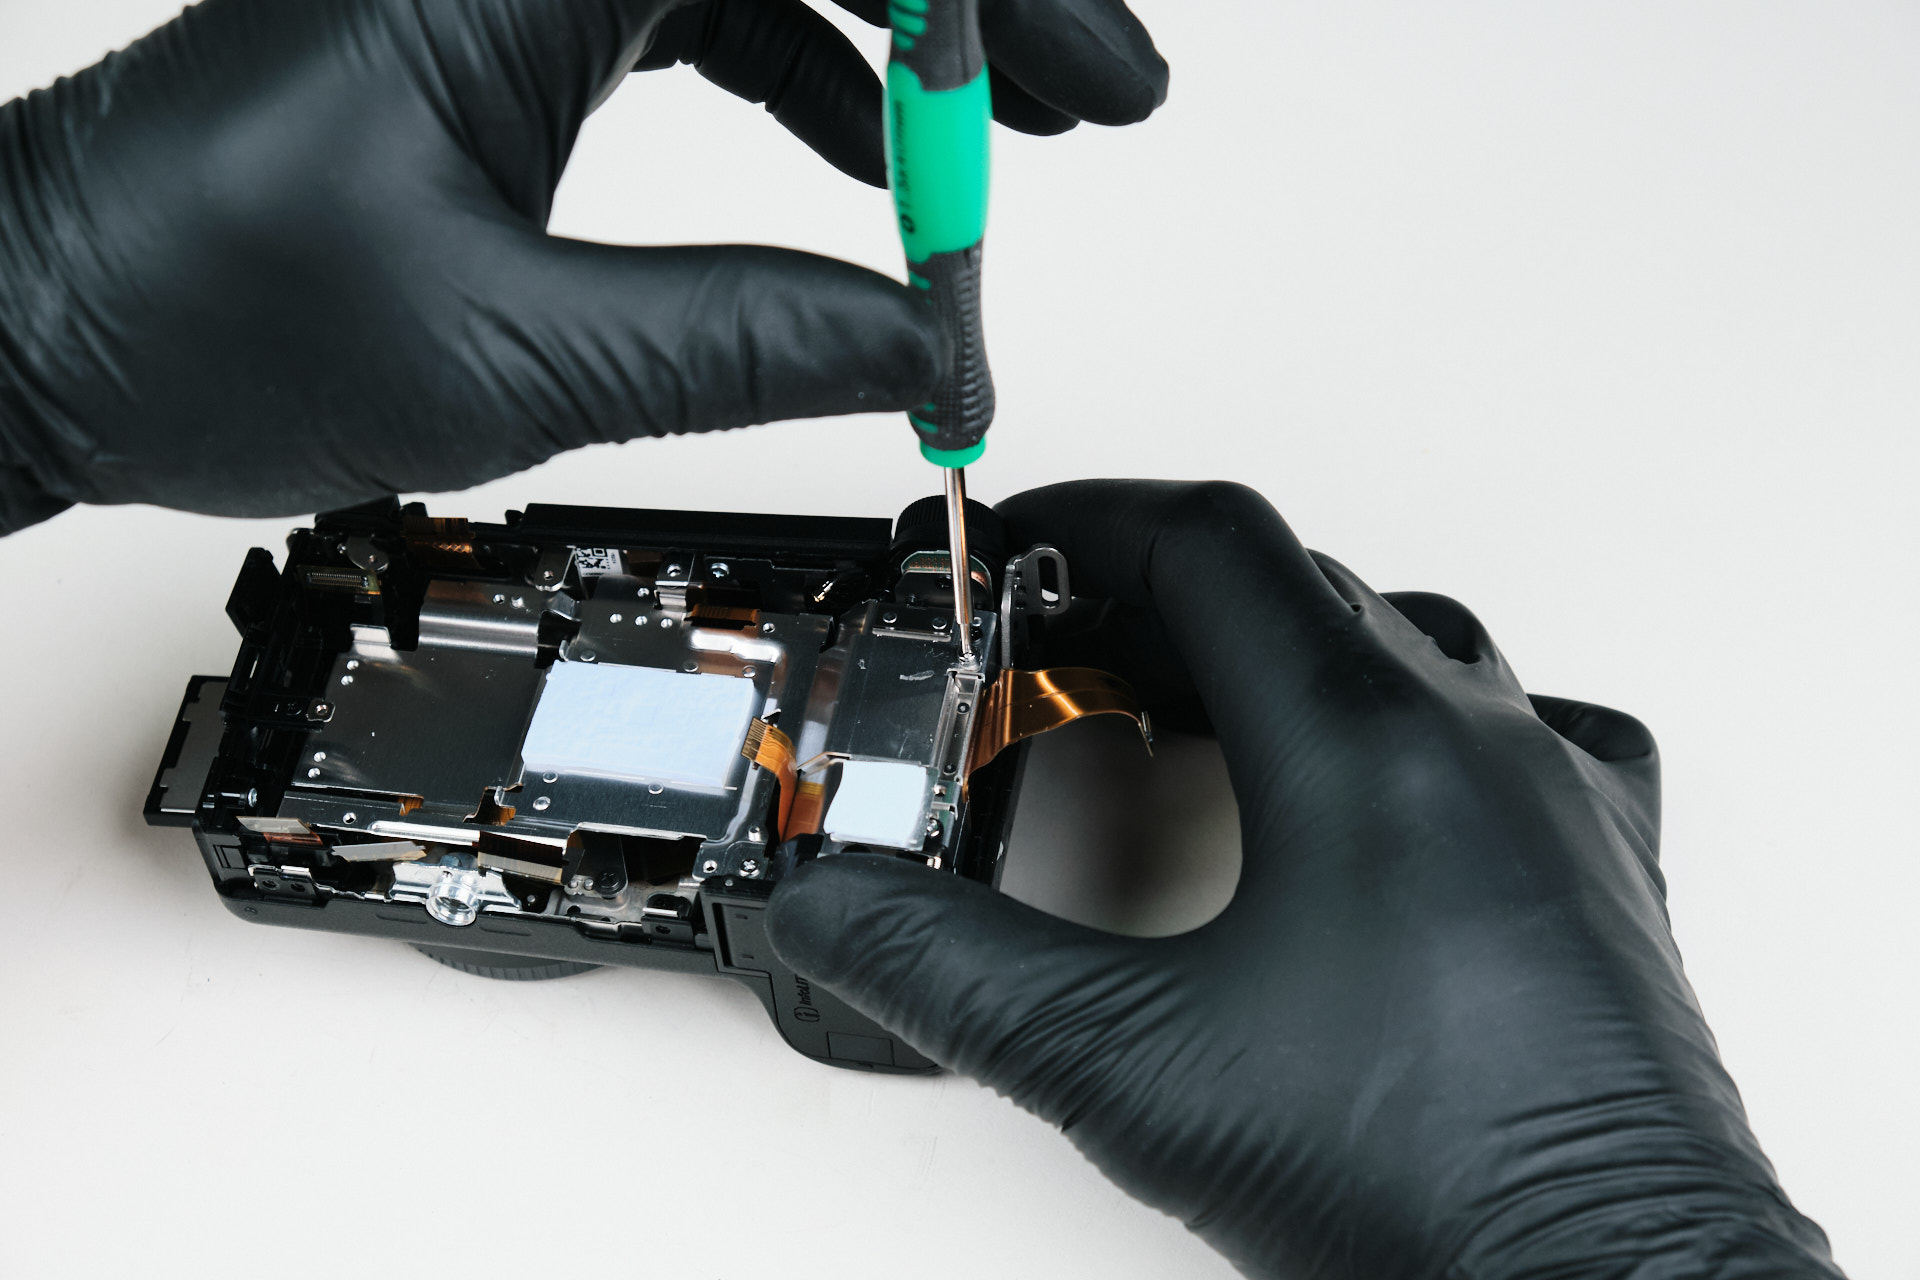
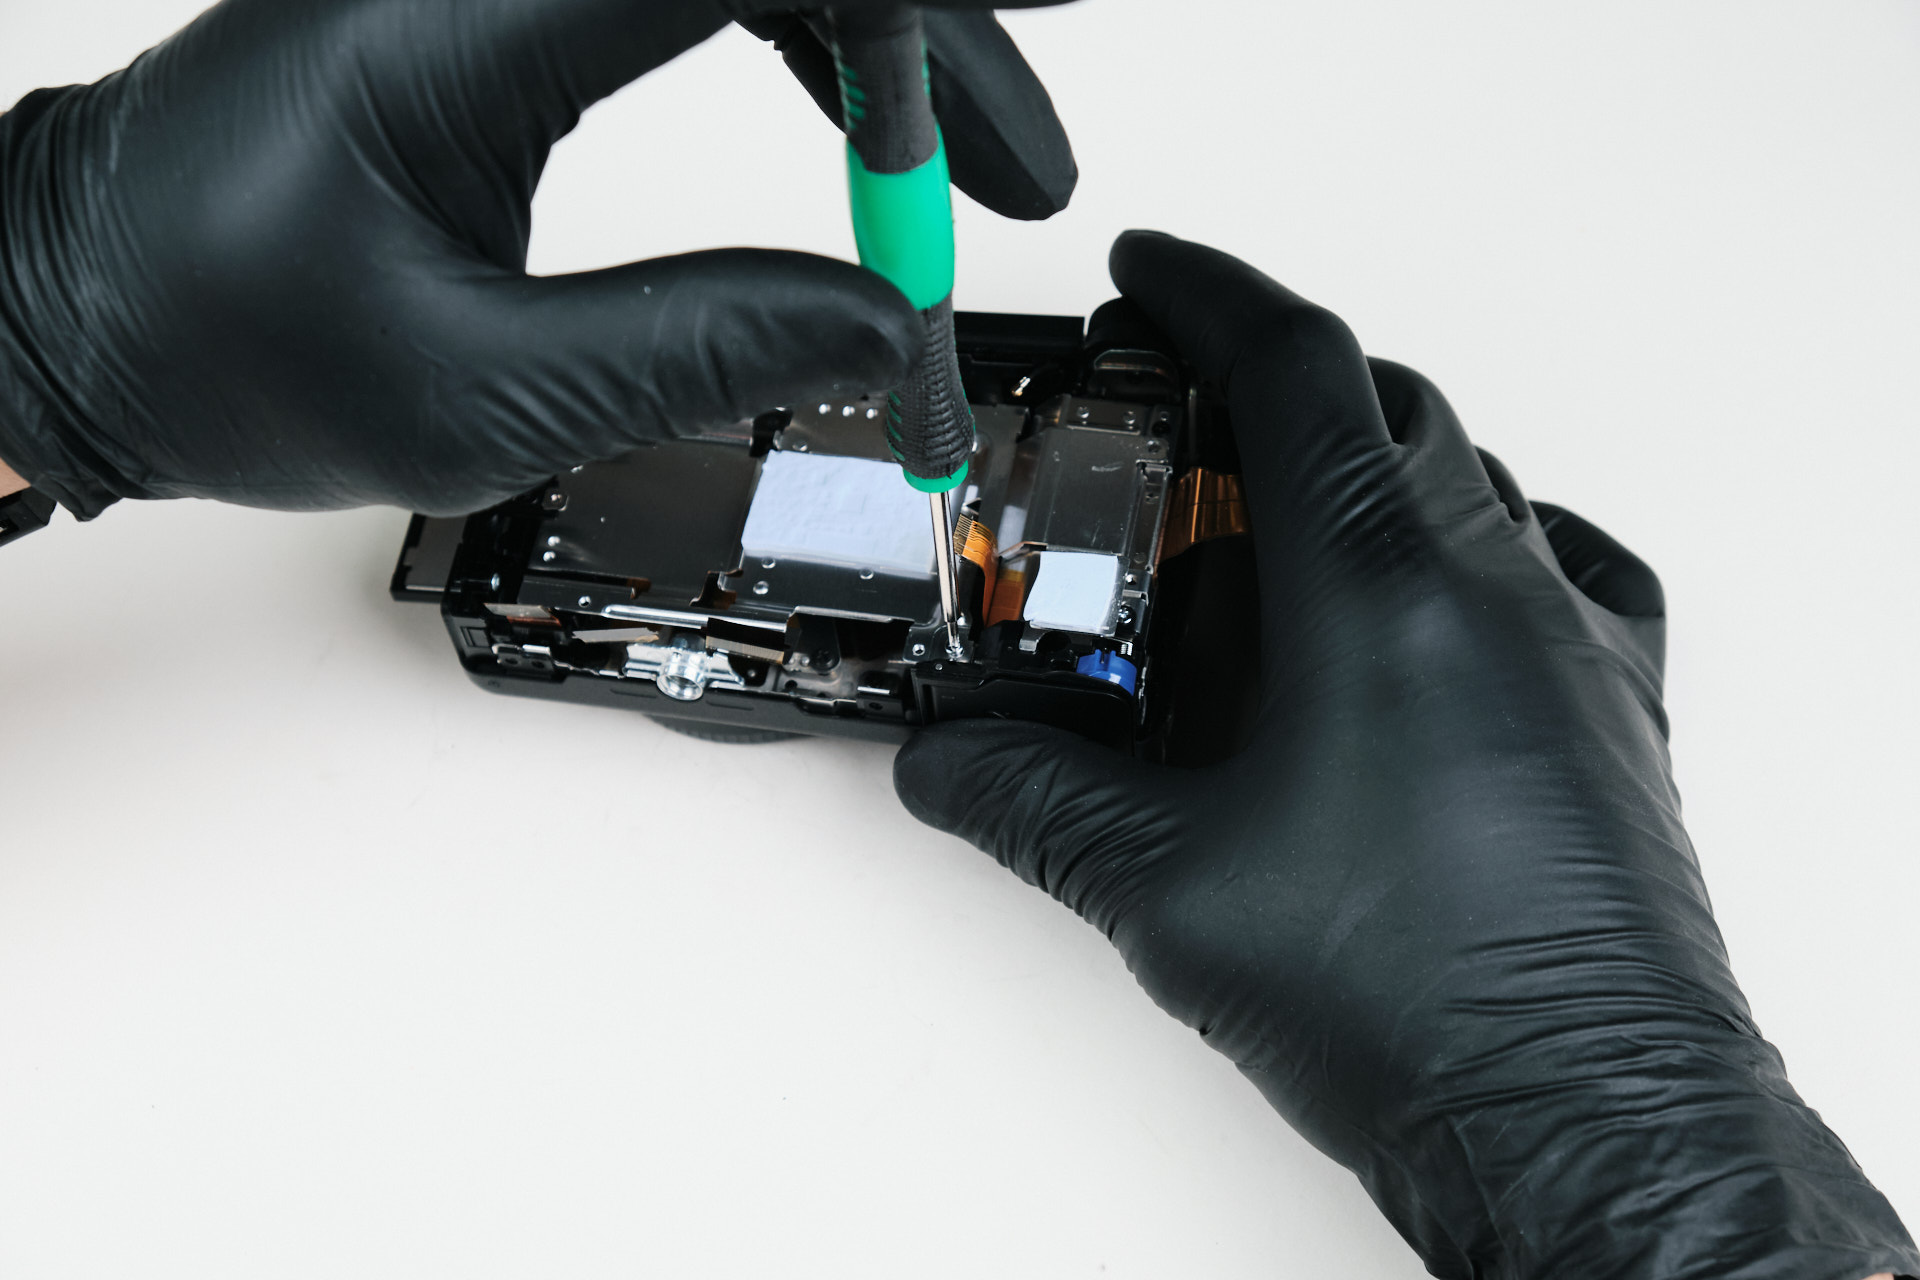
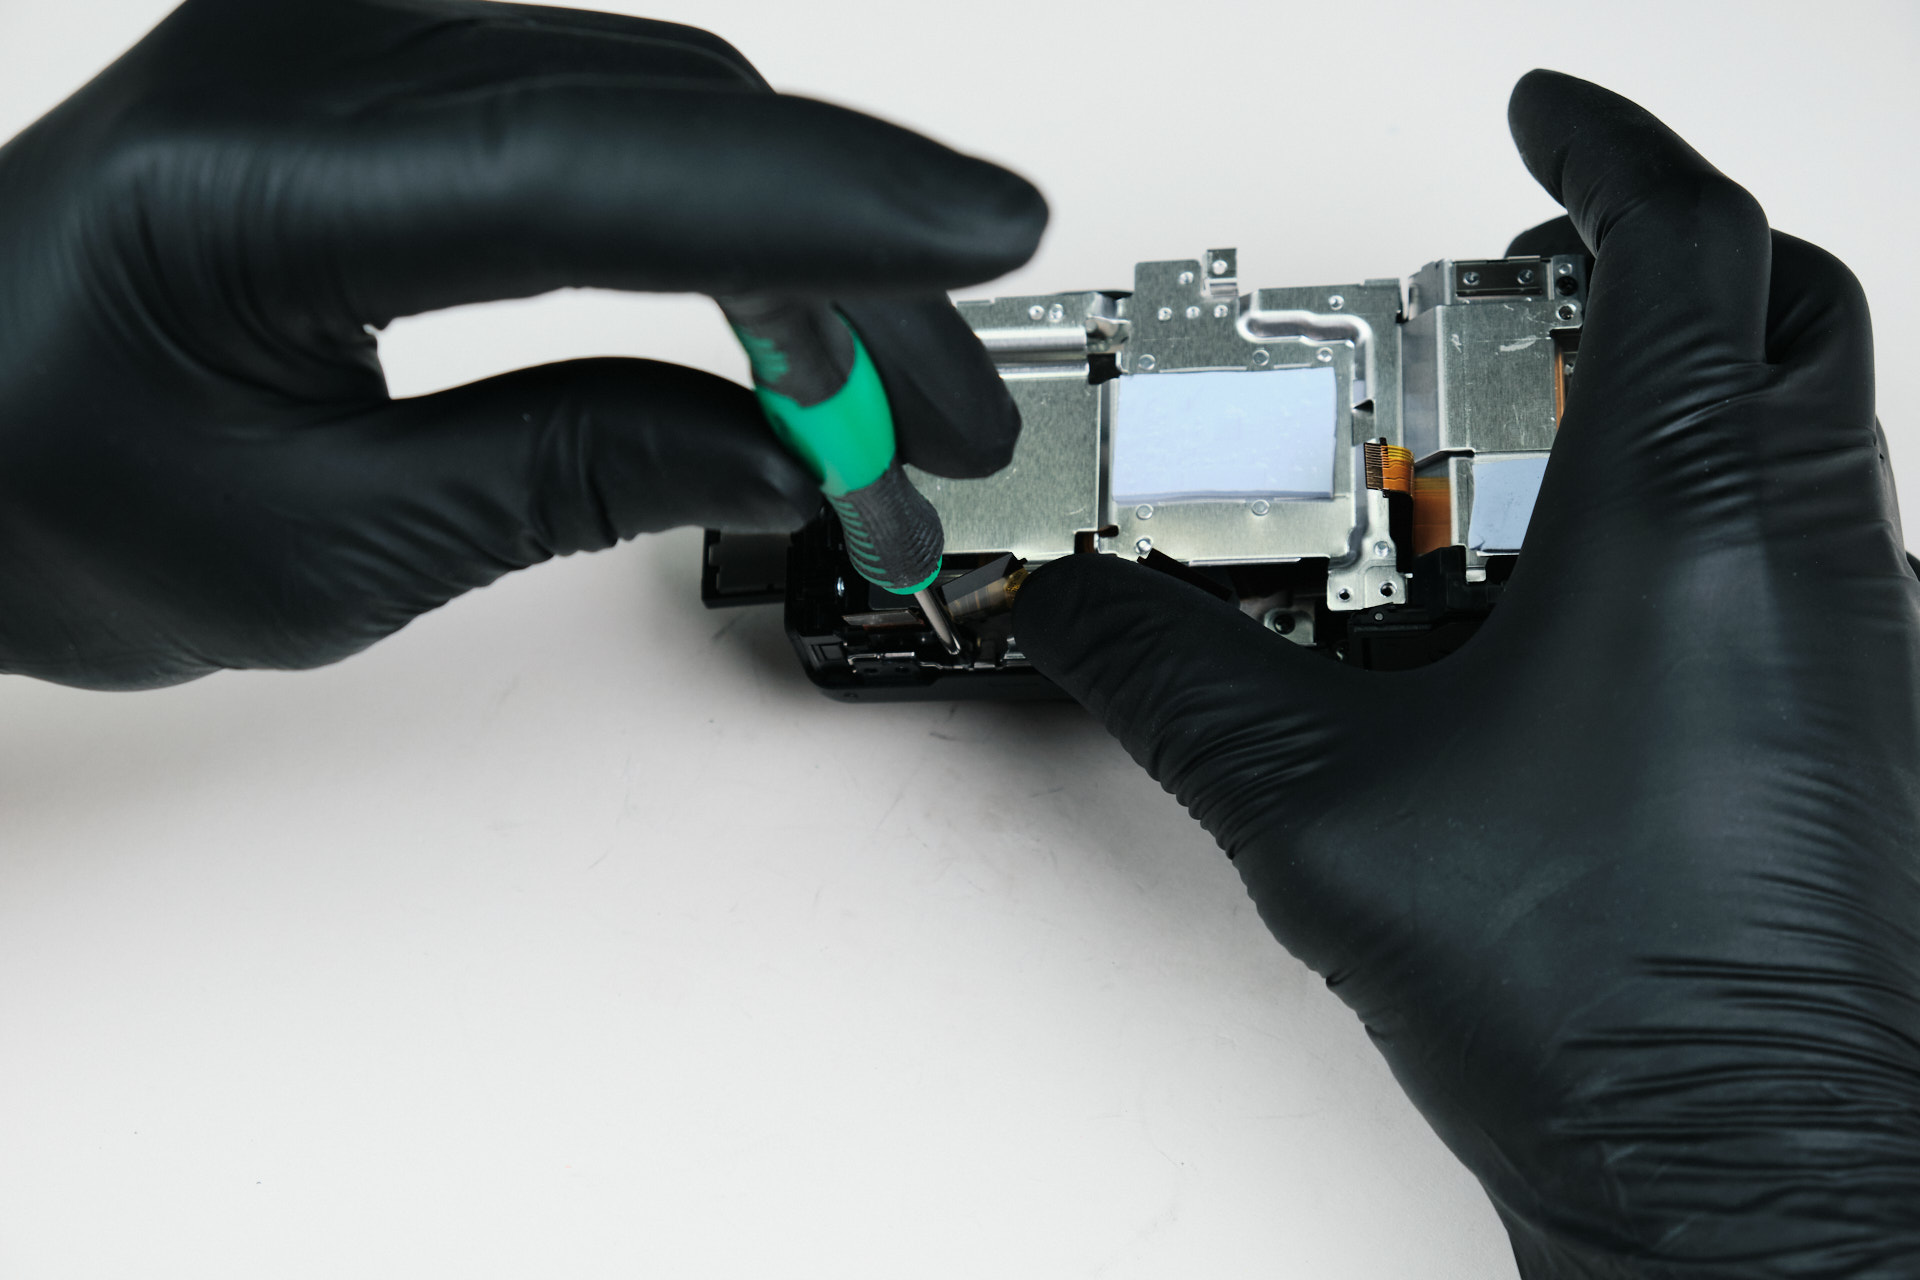
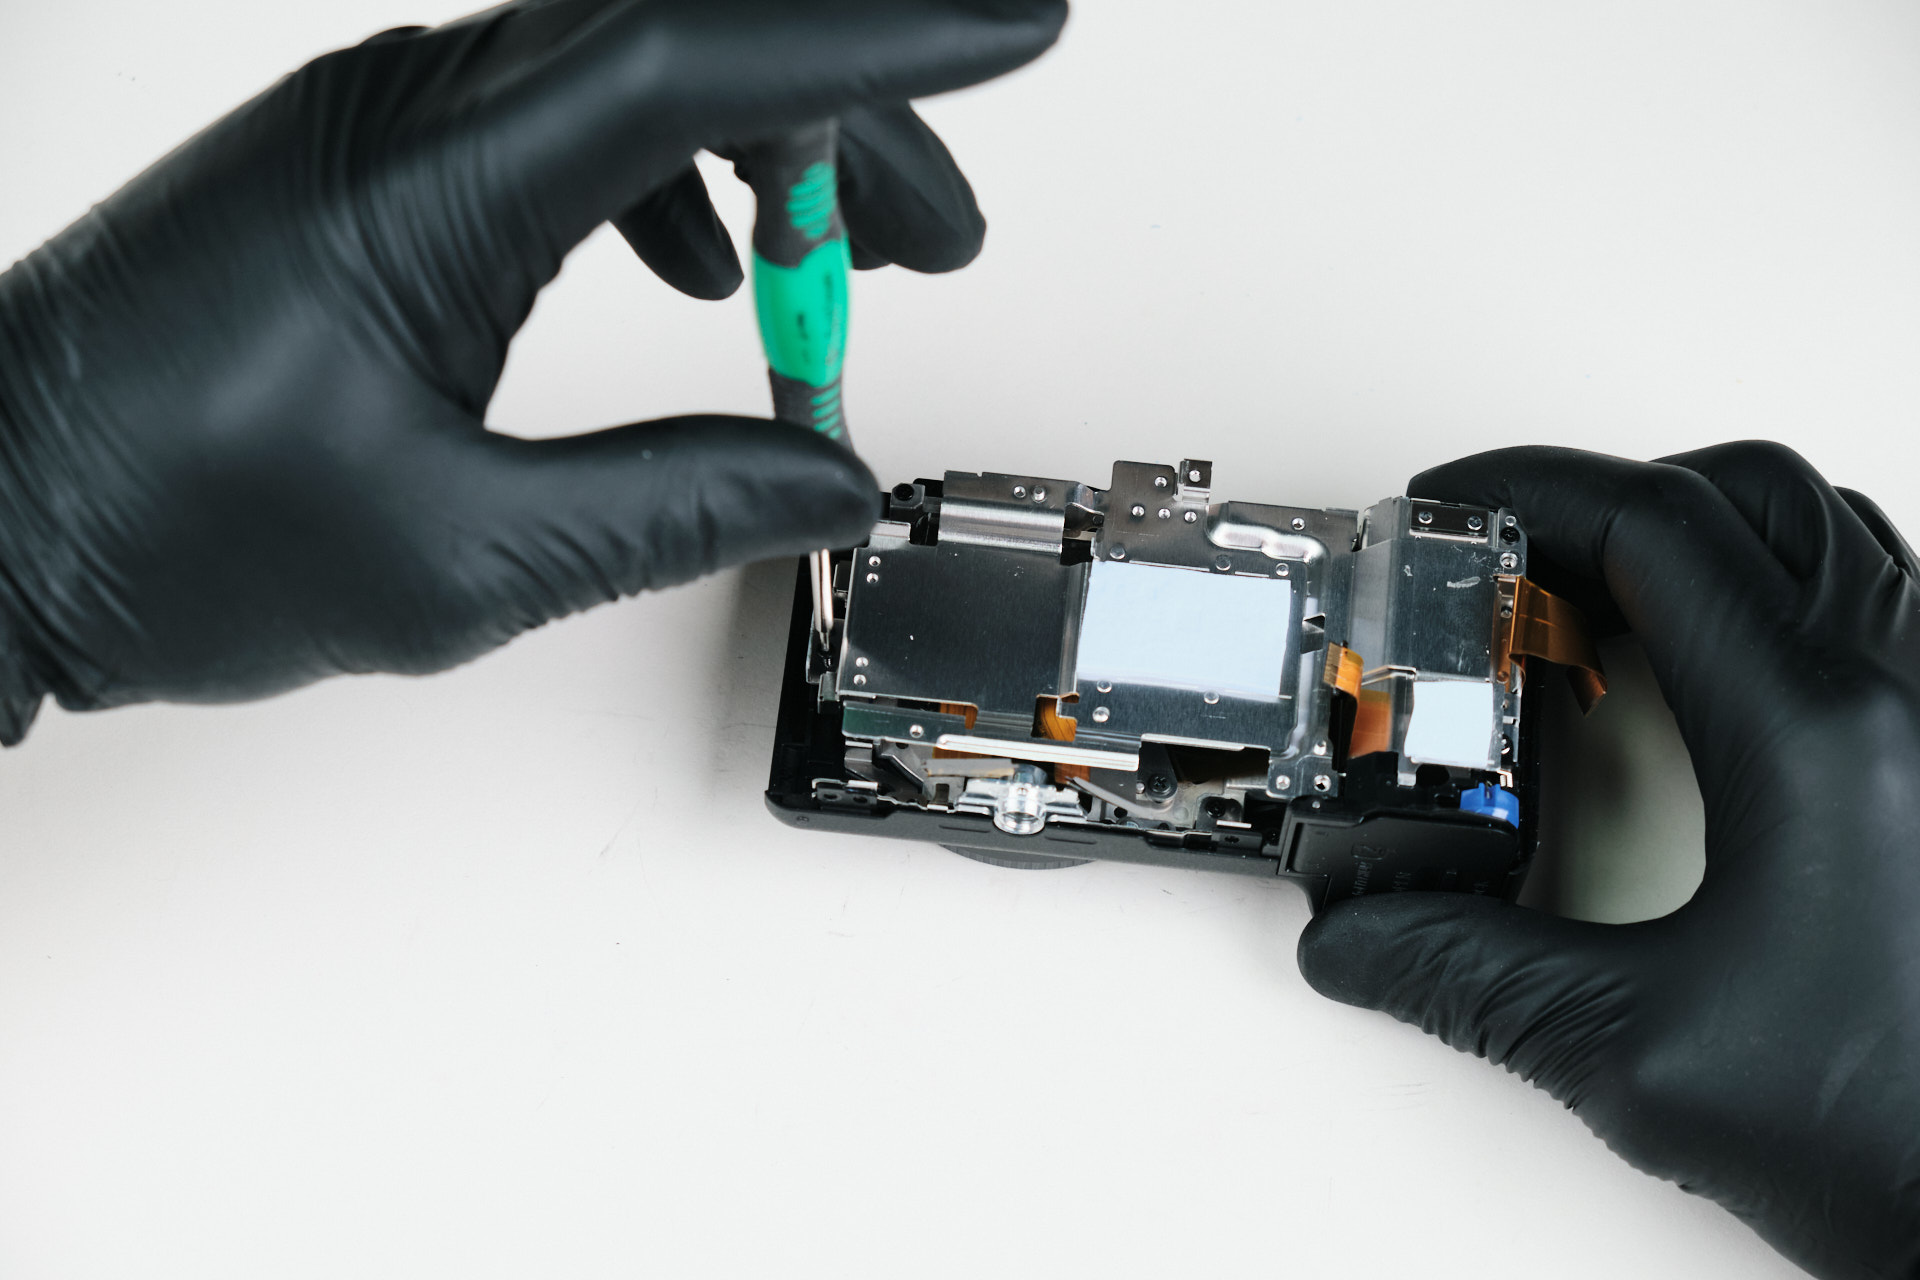
At this point, we were looking for more parts to remove that would let us detach the top panel. Earlier, we peeked under the righthand plastic and leatherskin covering to remove a screw, so here we decided to fully remove it. This revealed two more screws on the exterior of the camera frame. We also removed one screw towards the bottom of the camera.

Removing Internal Screws and Heat Transfer Tape

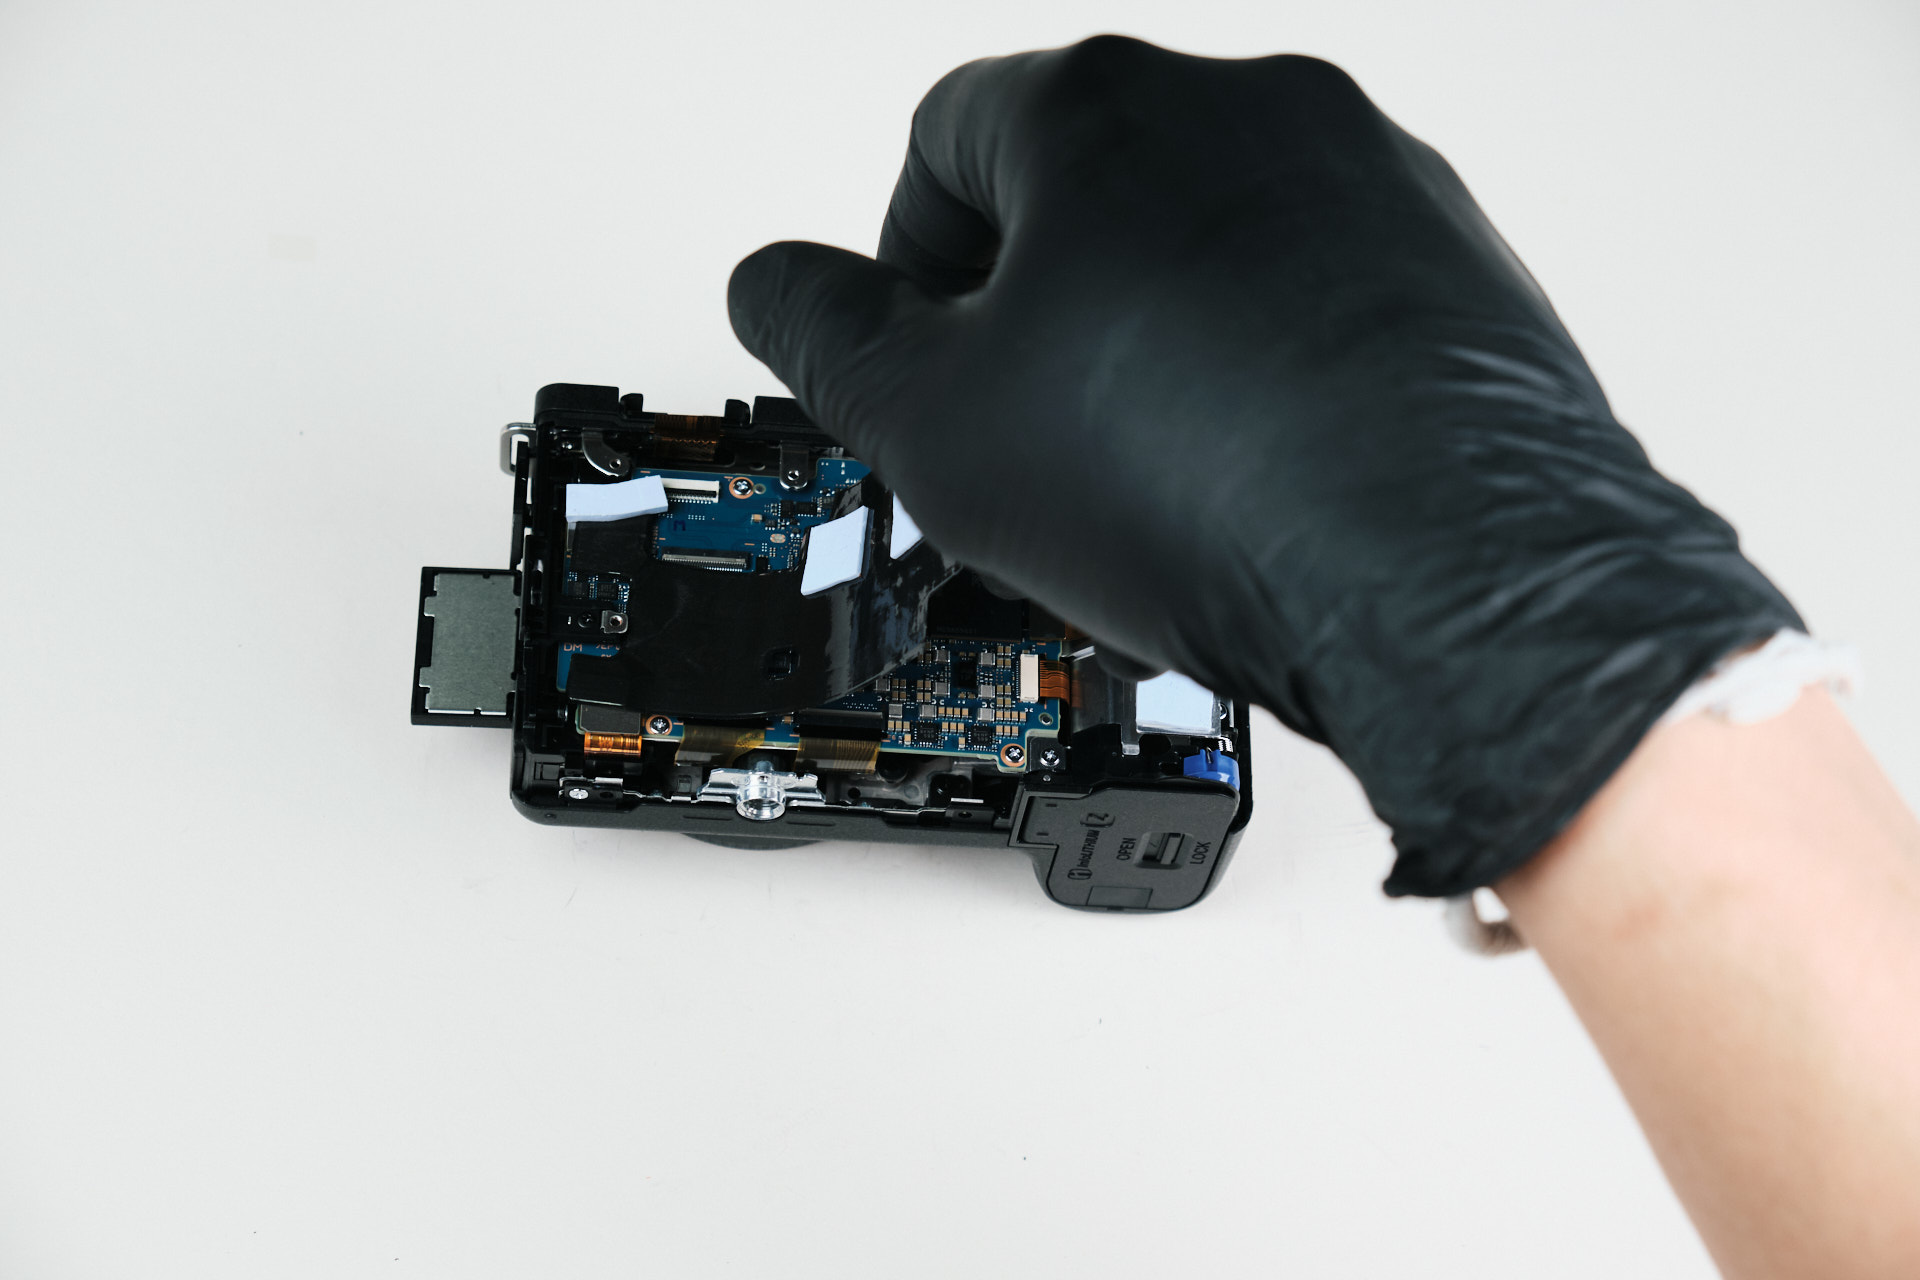
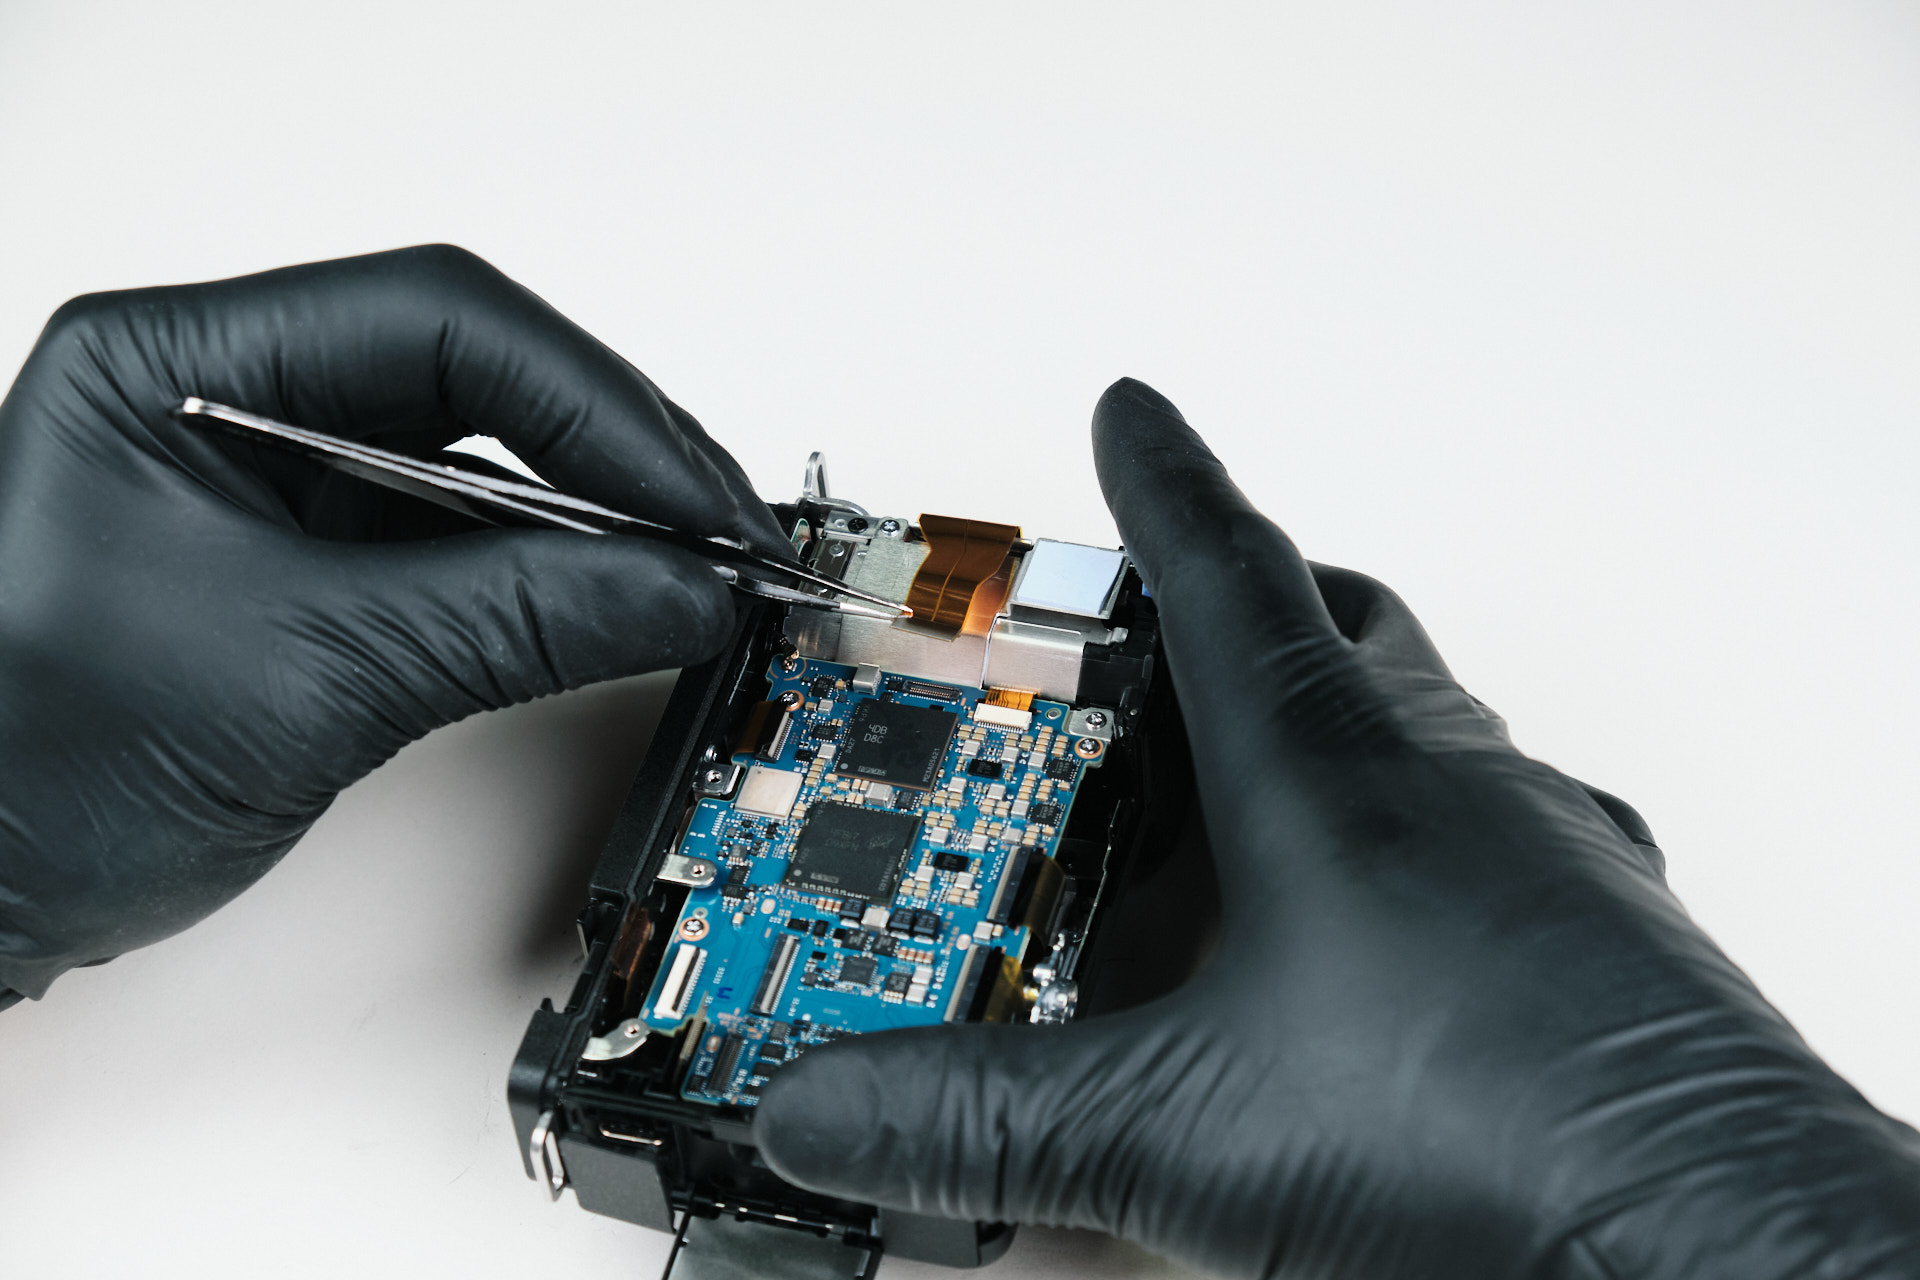
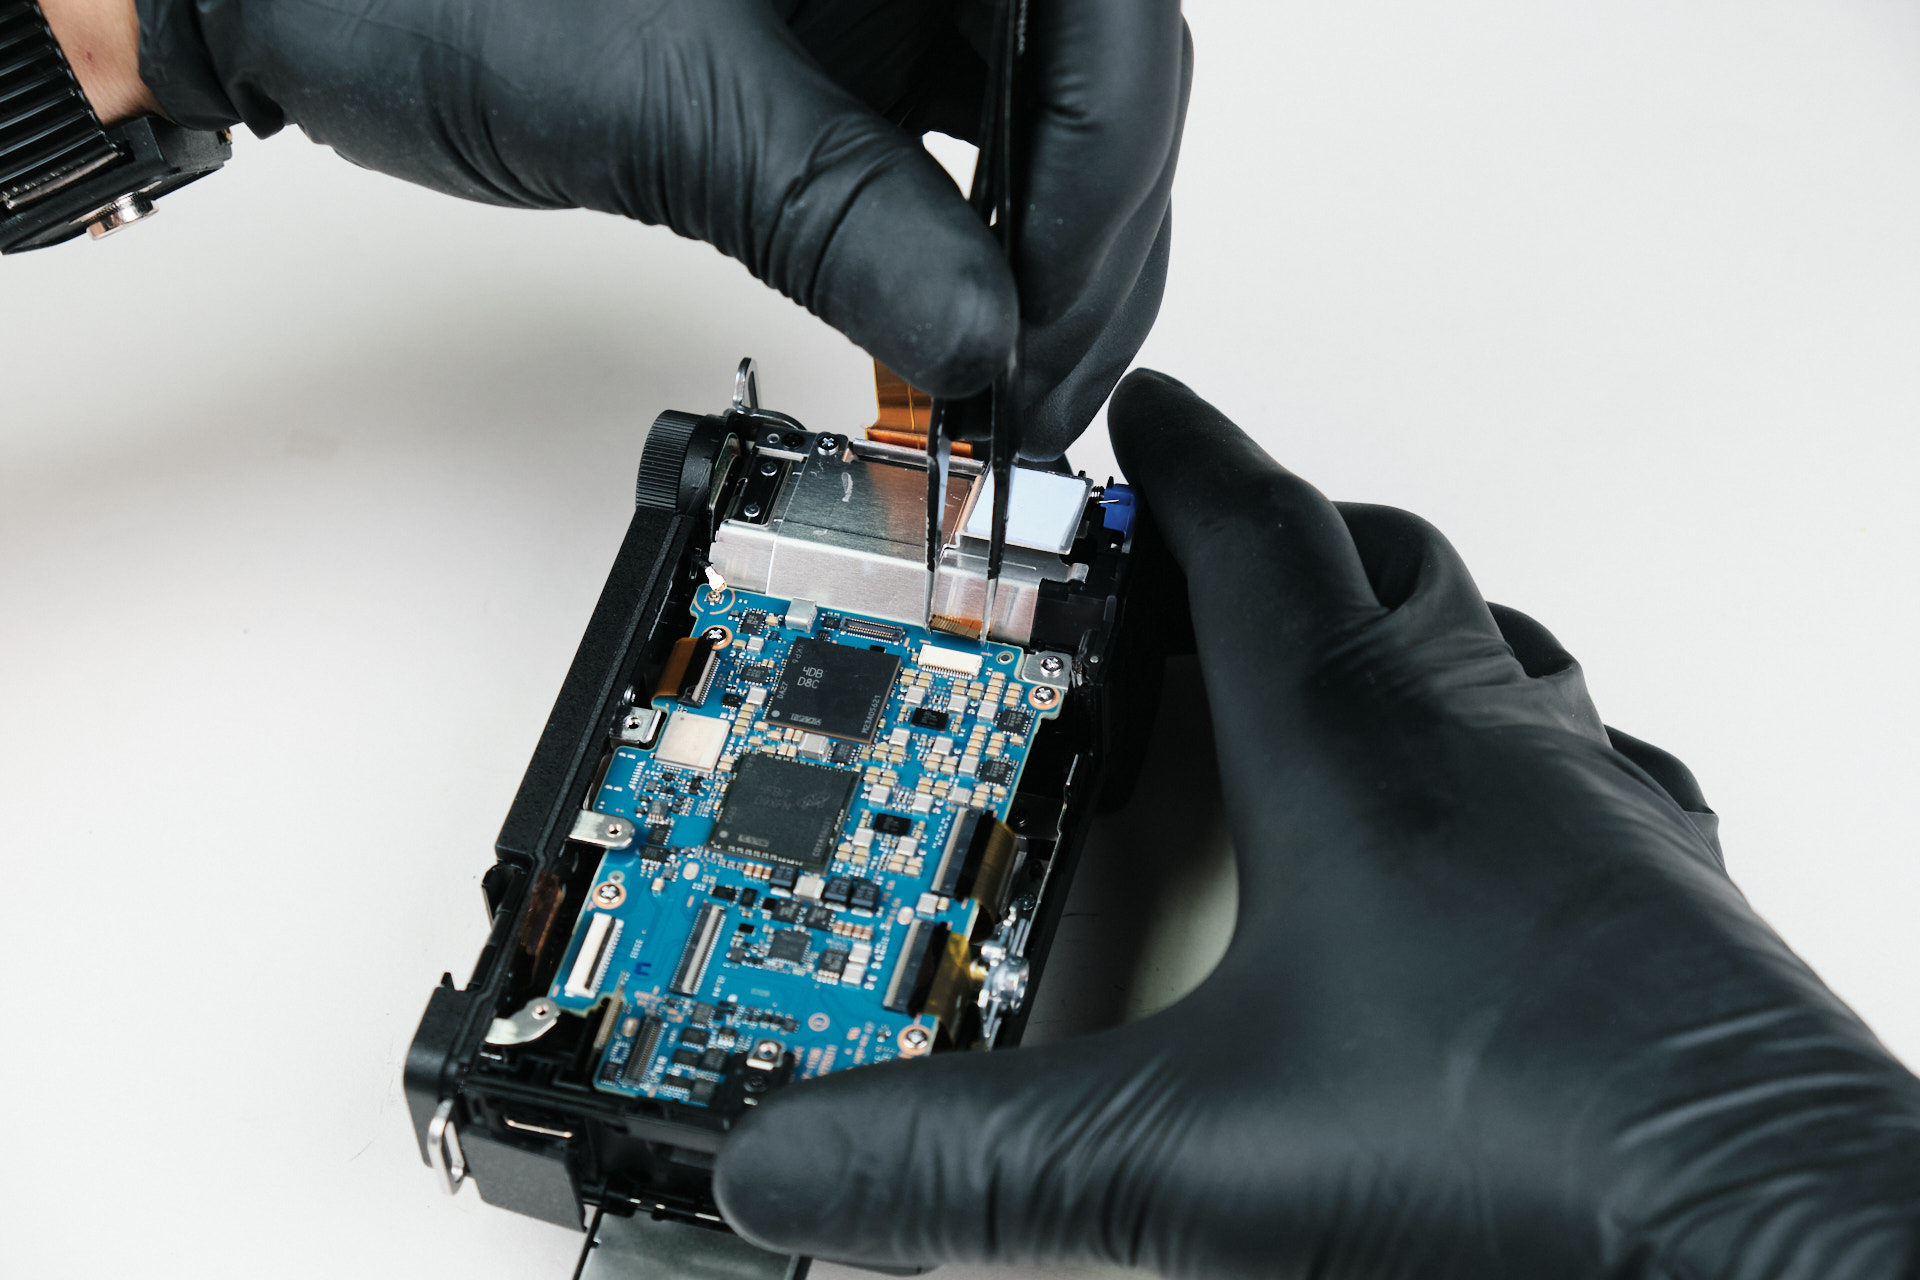
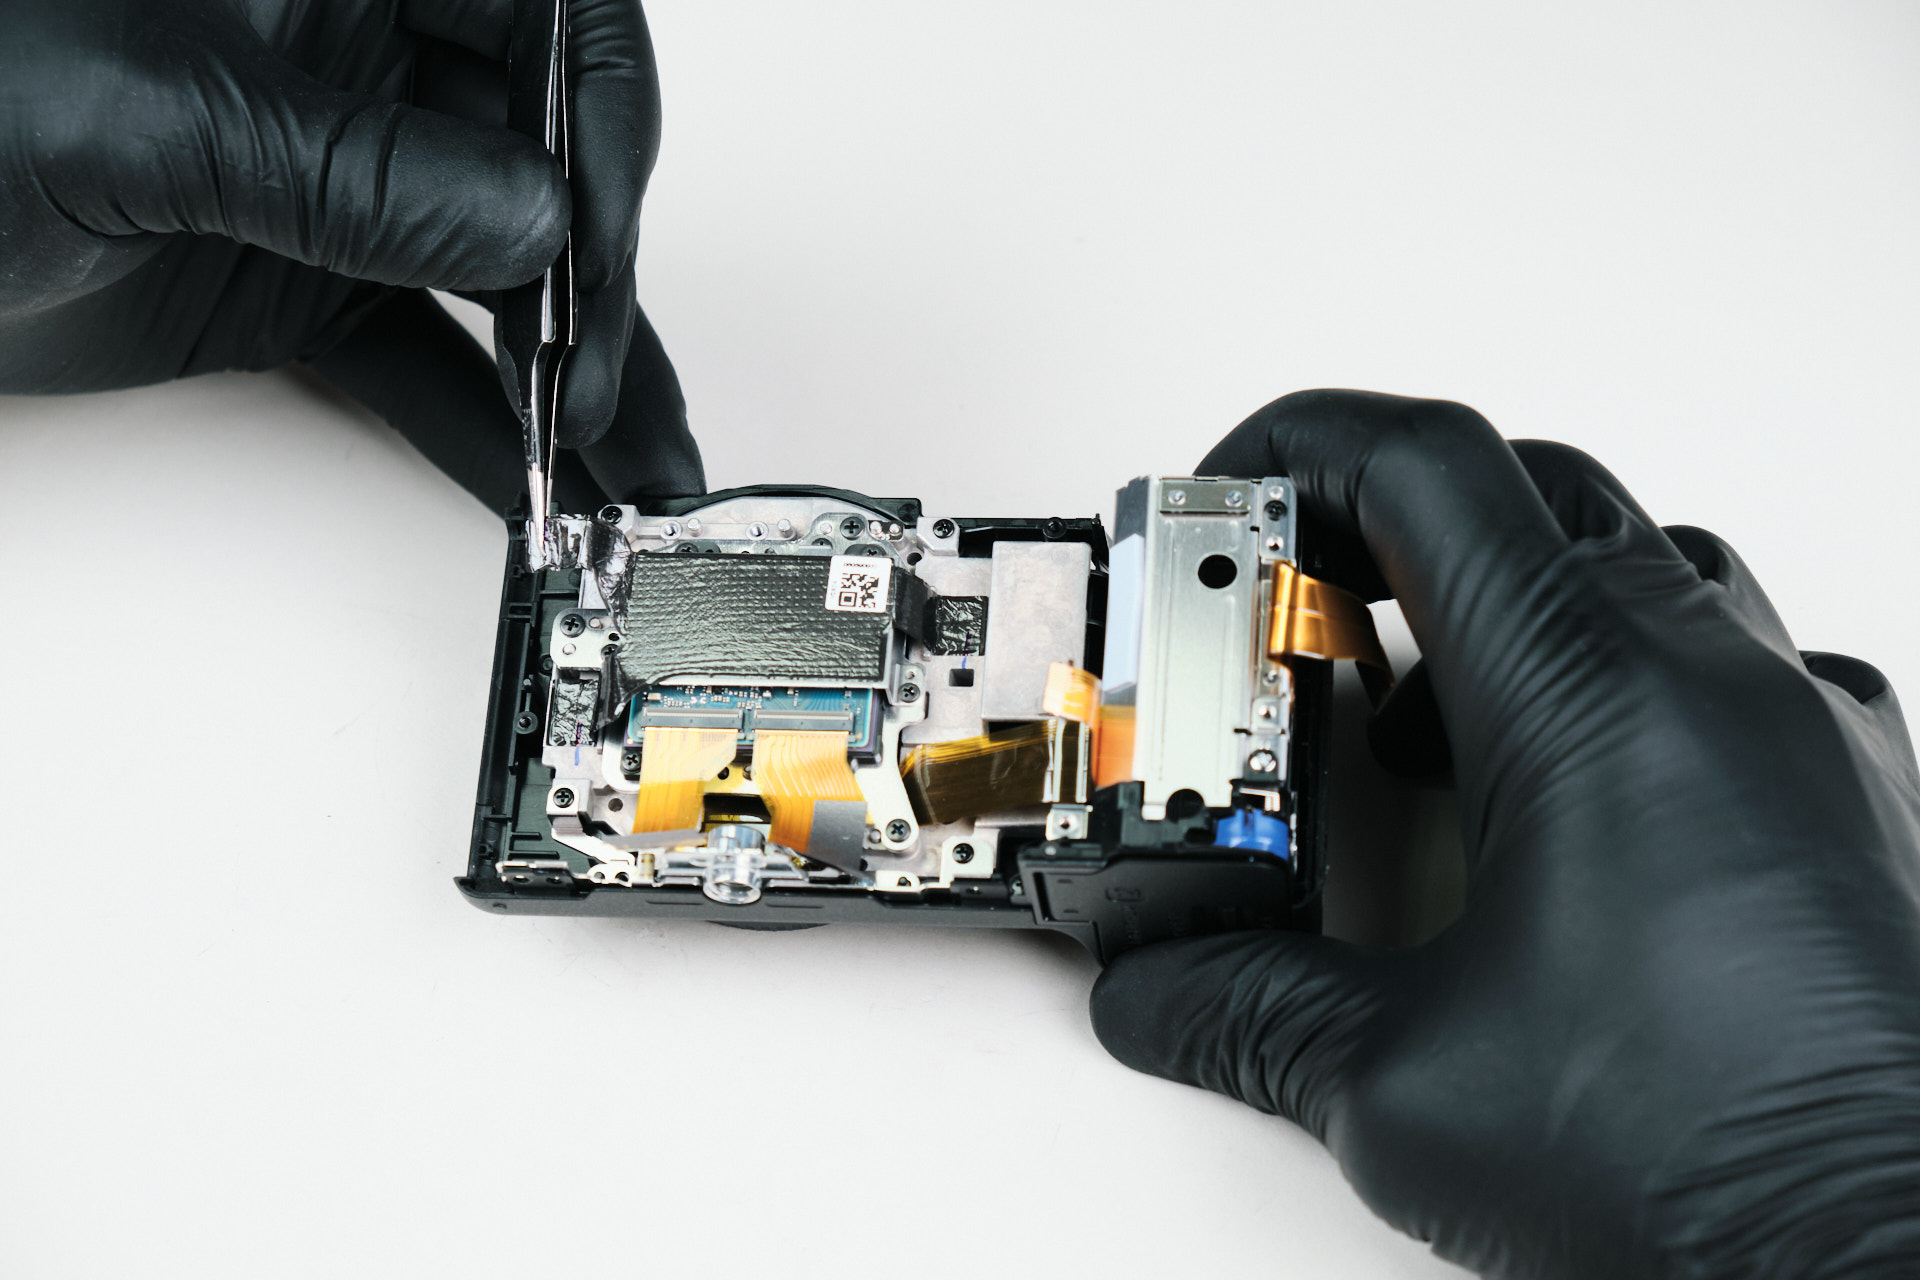
Moving back to the internal area, we missed one more screw deep within the camera body, and we removed the heat transfer tape before moving on to the circuitboard.

Disconnecting Sony ZV-E10 II Ribbon Cables

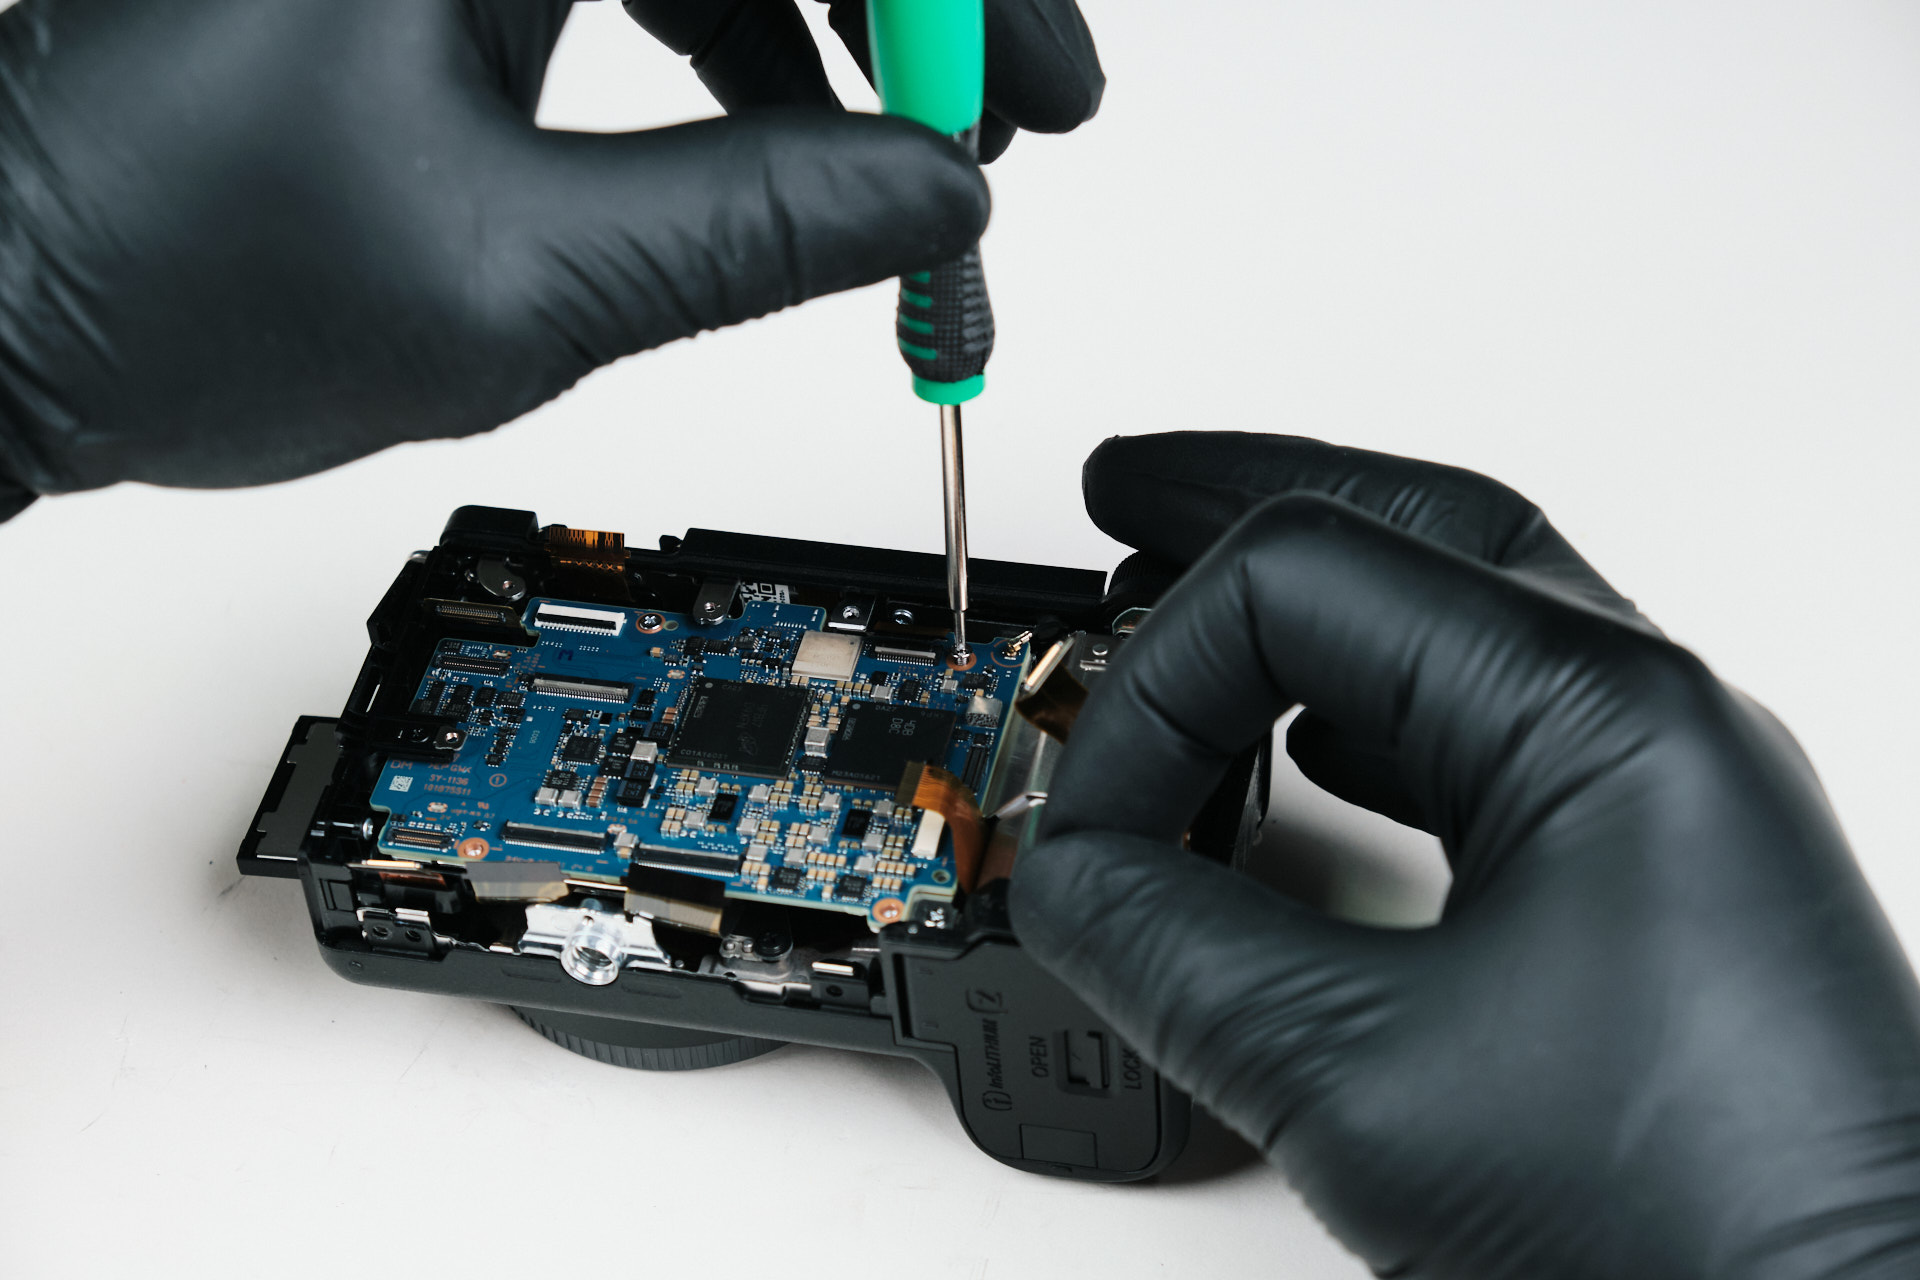
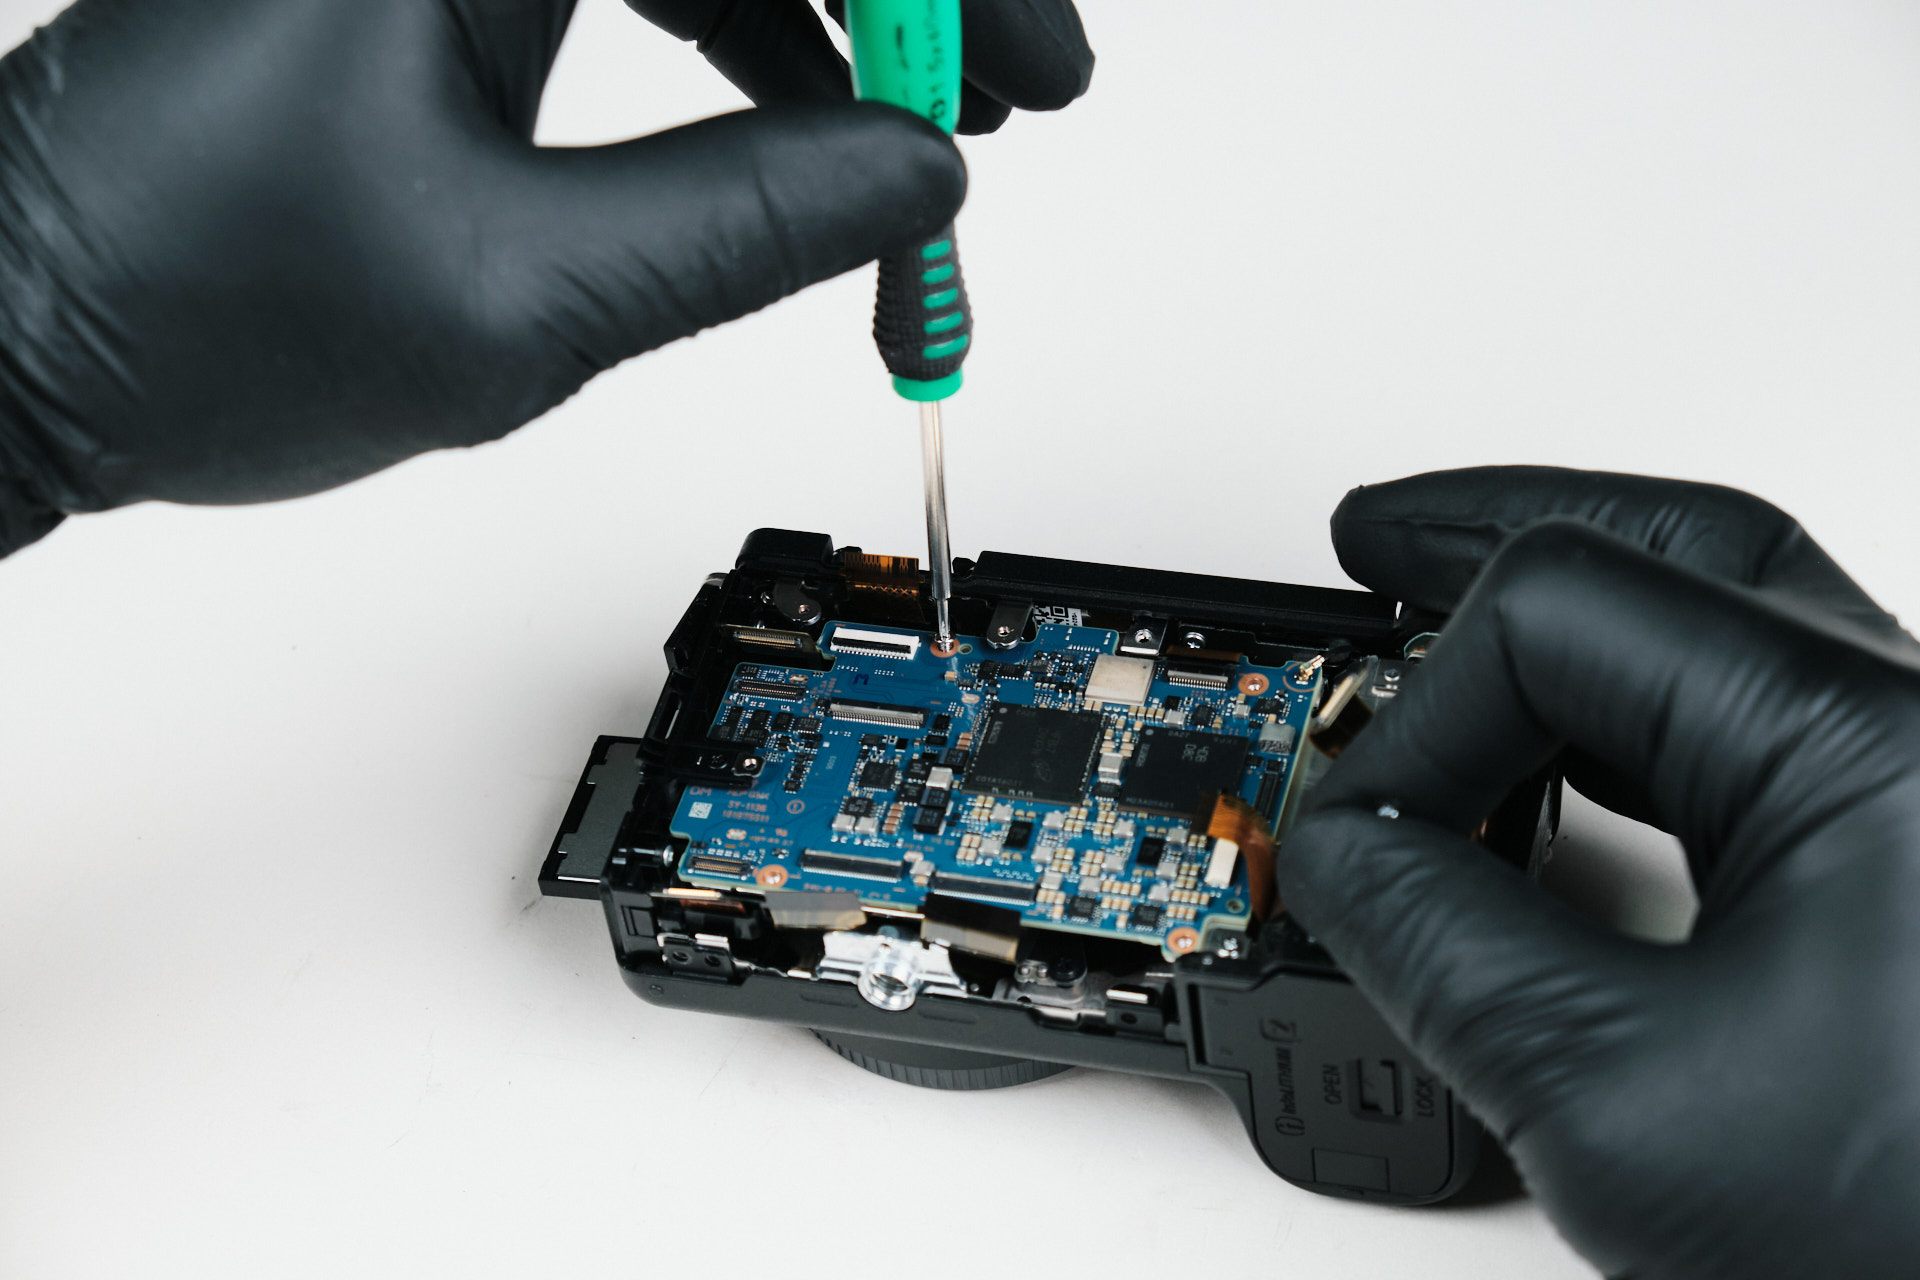
We detached several ribbon cables from the circuitboard.

Removing the Sony ZV-E10 II Circuit Board

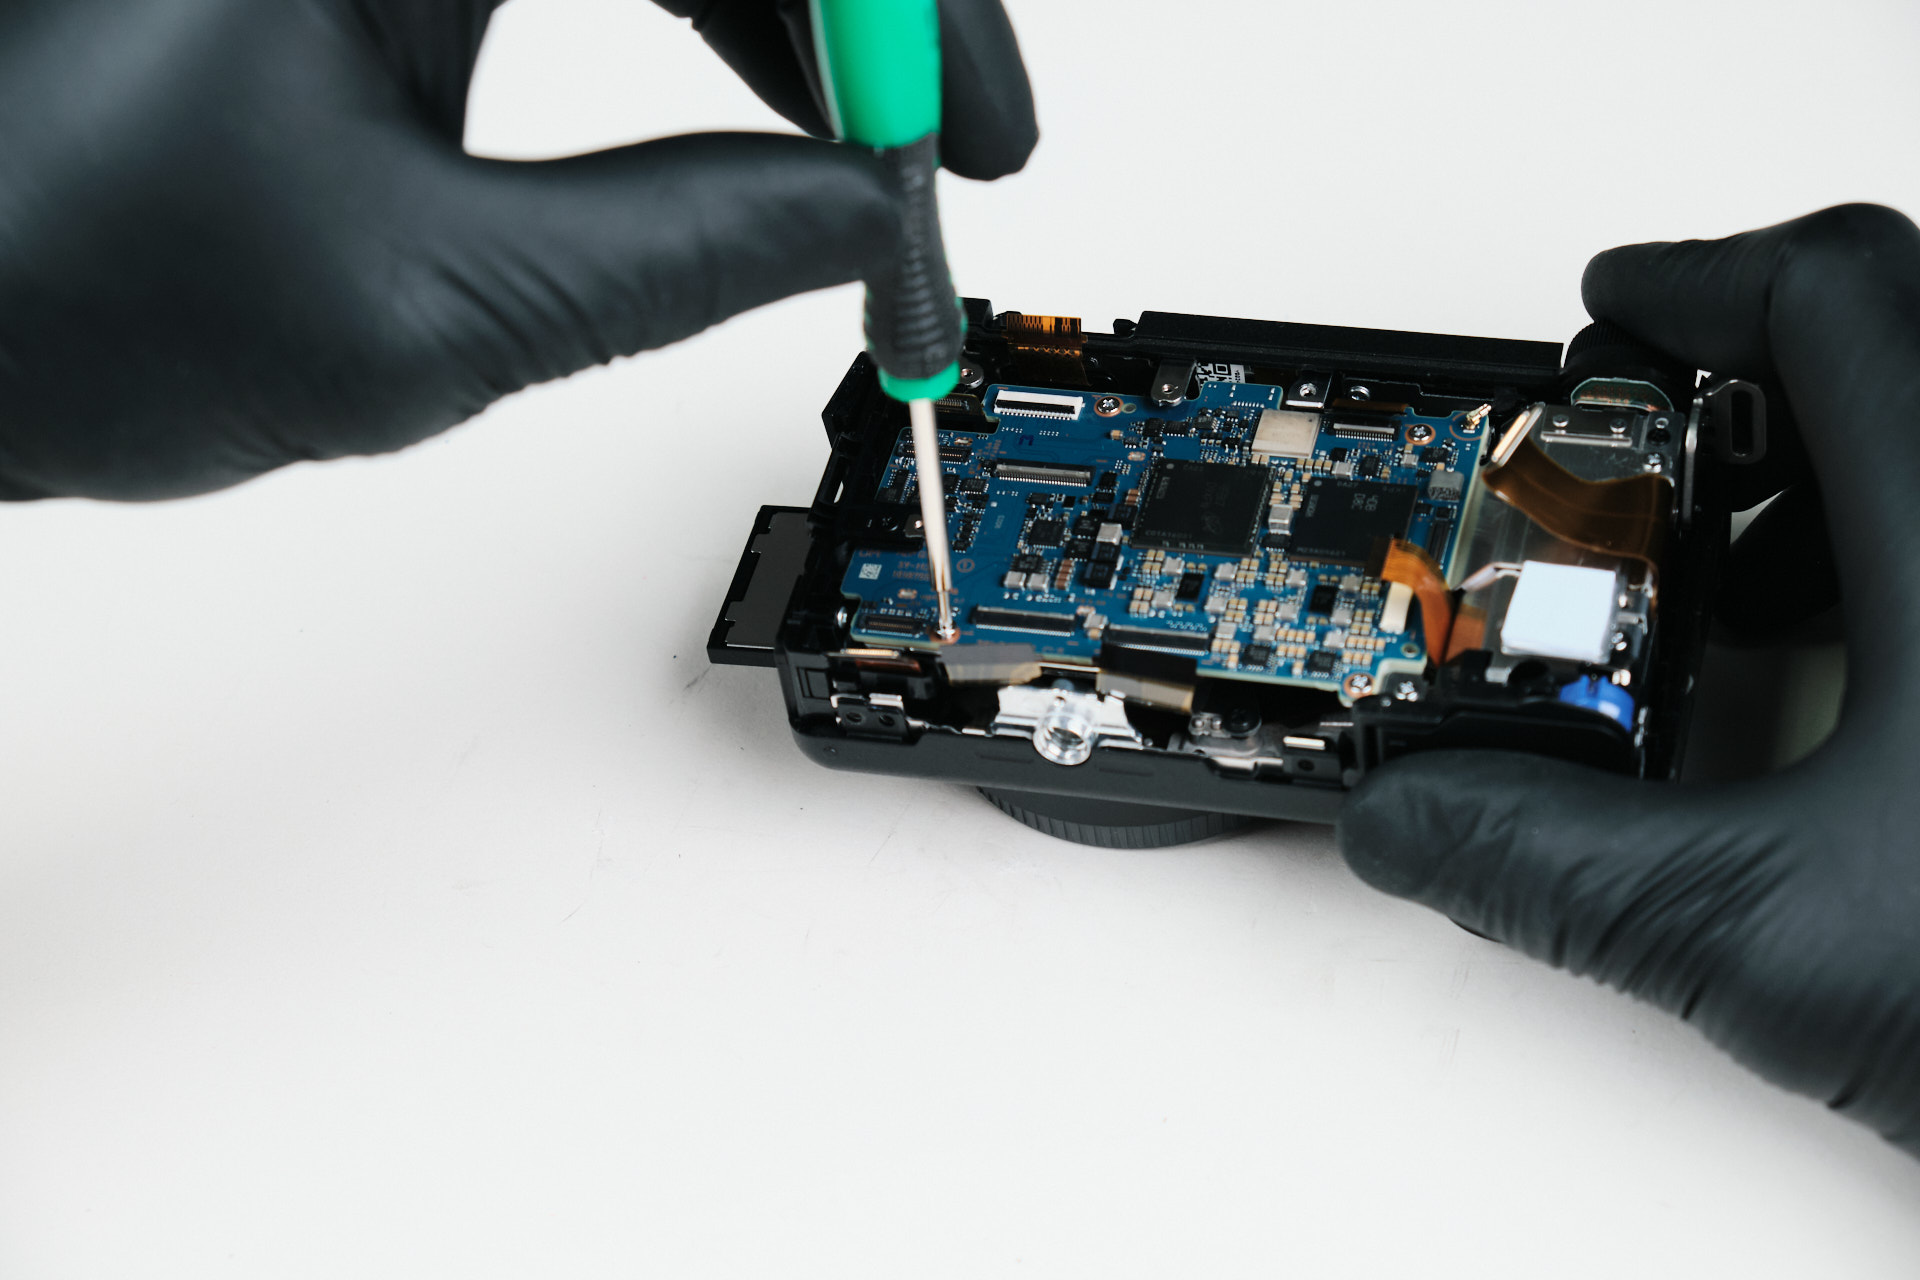
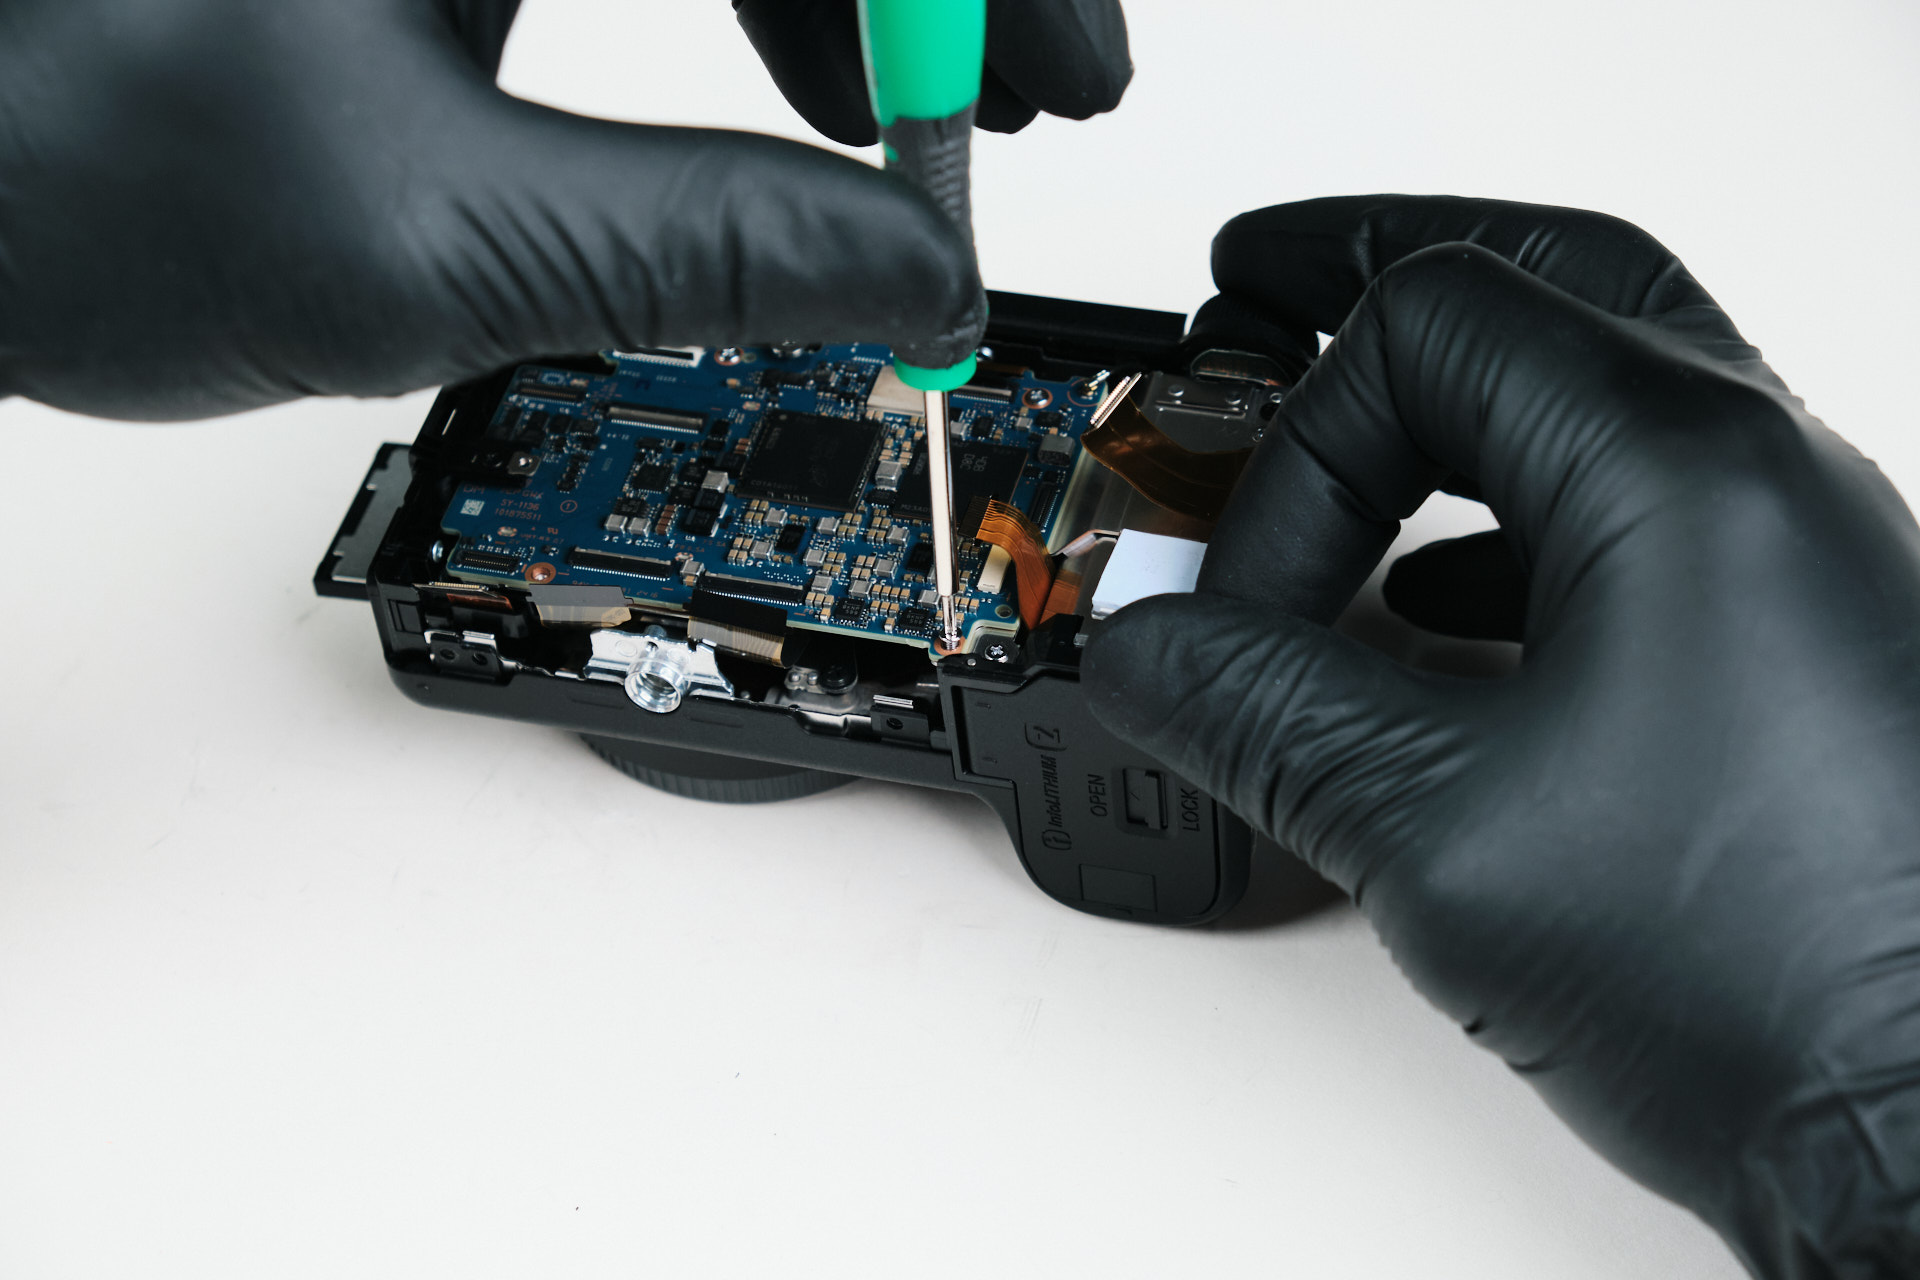
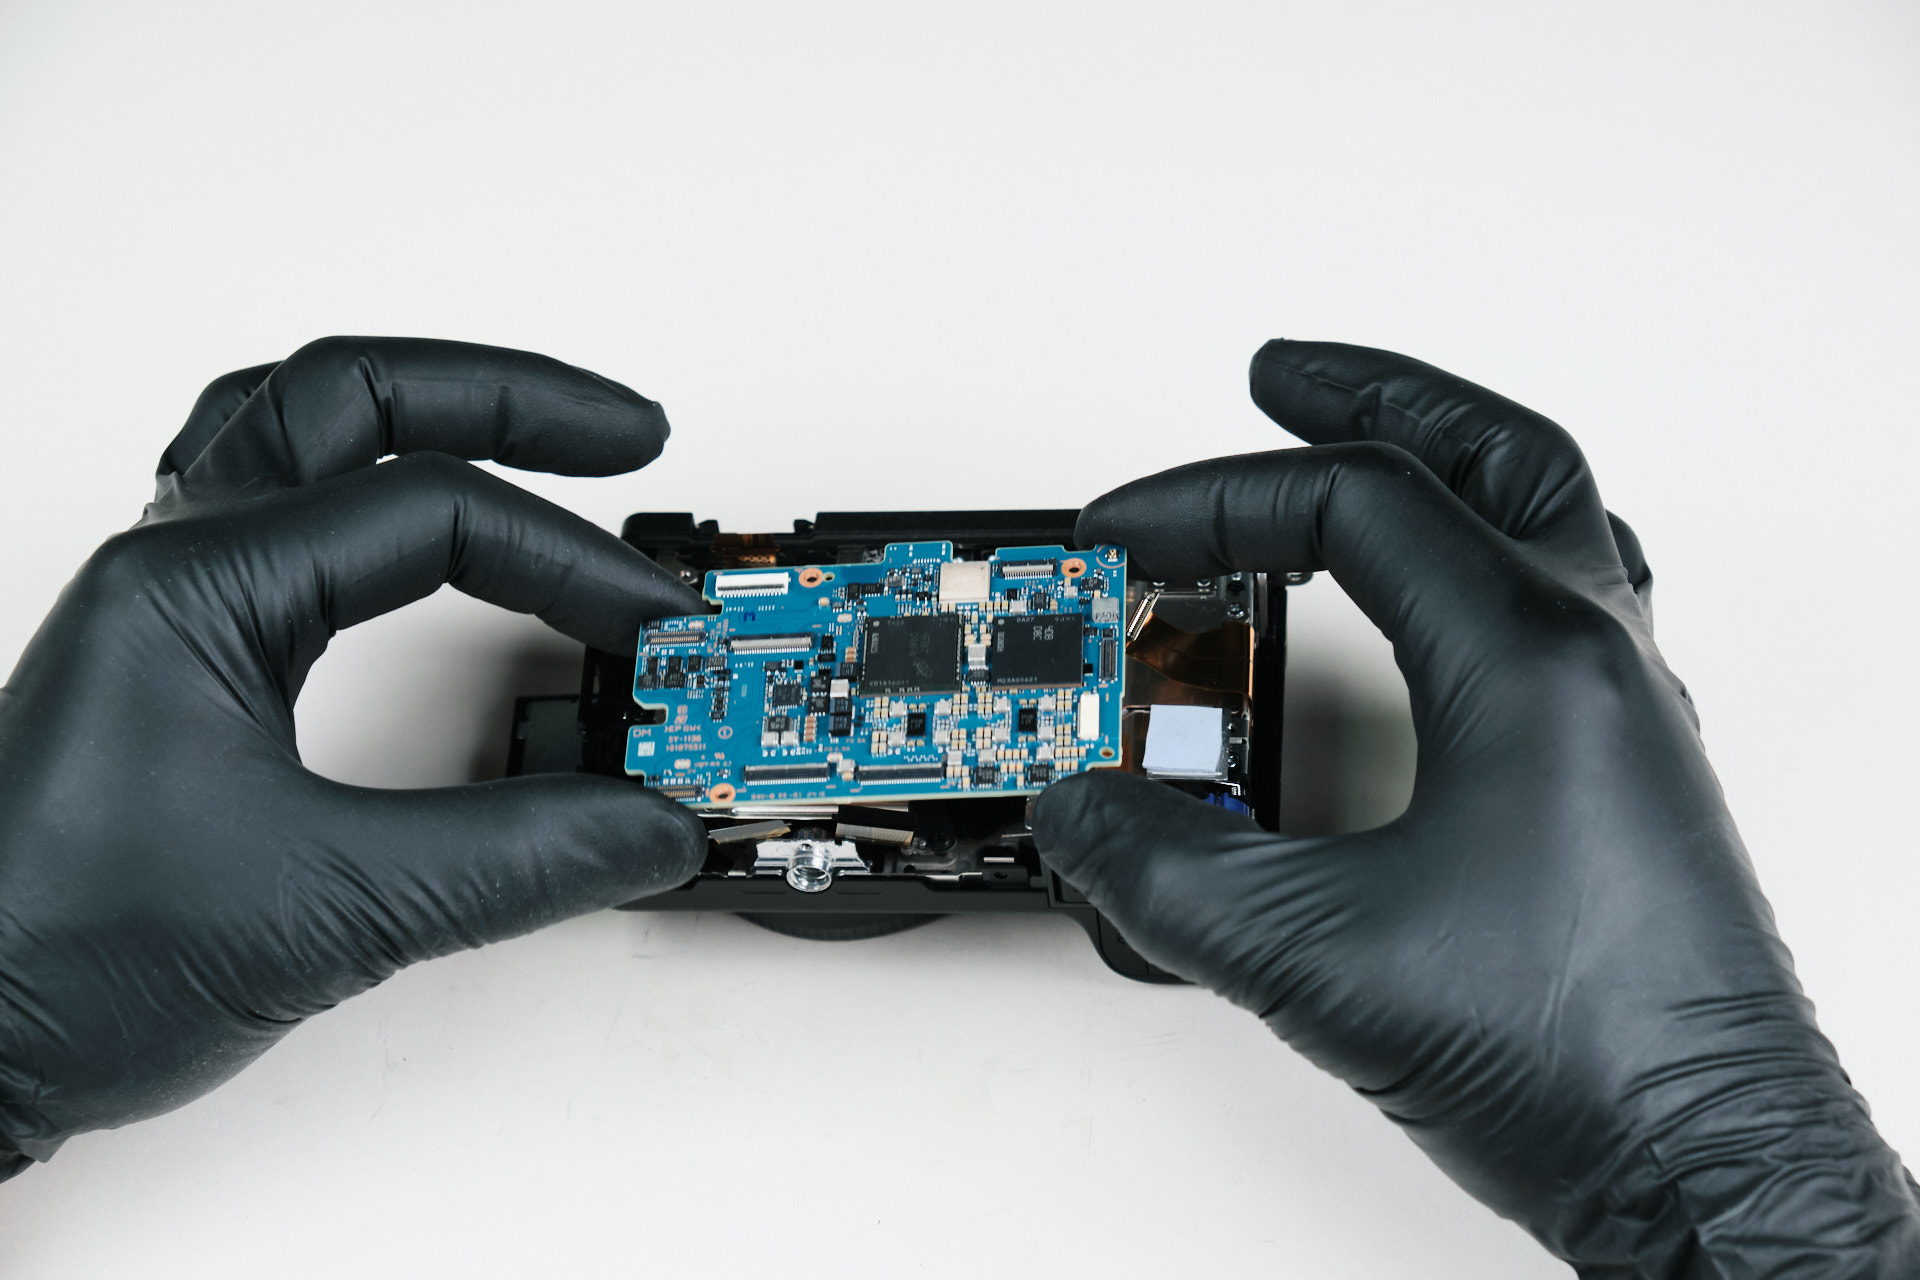
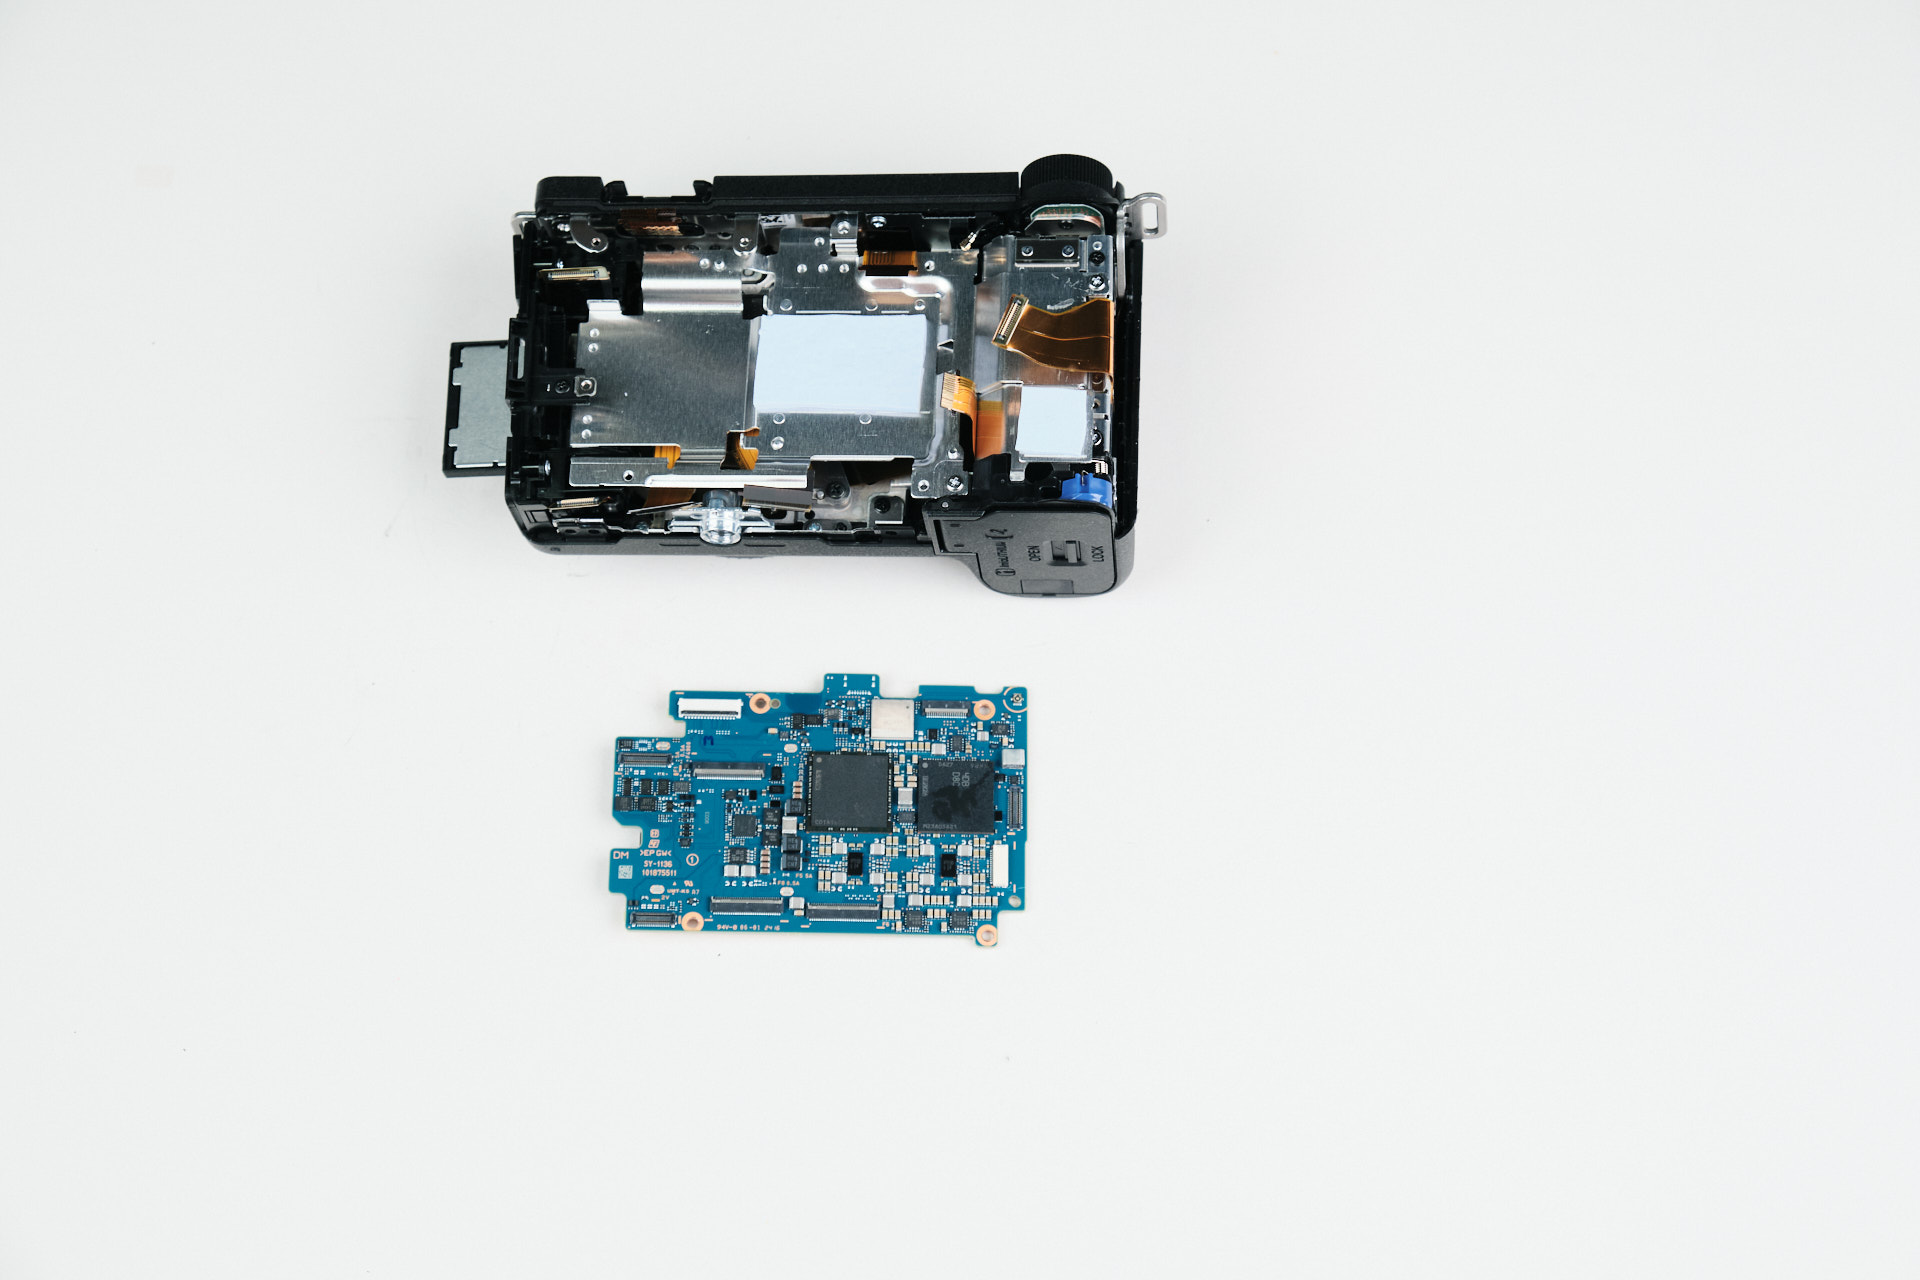
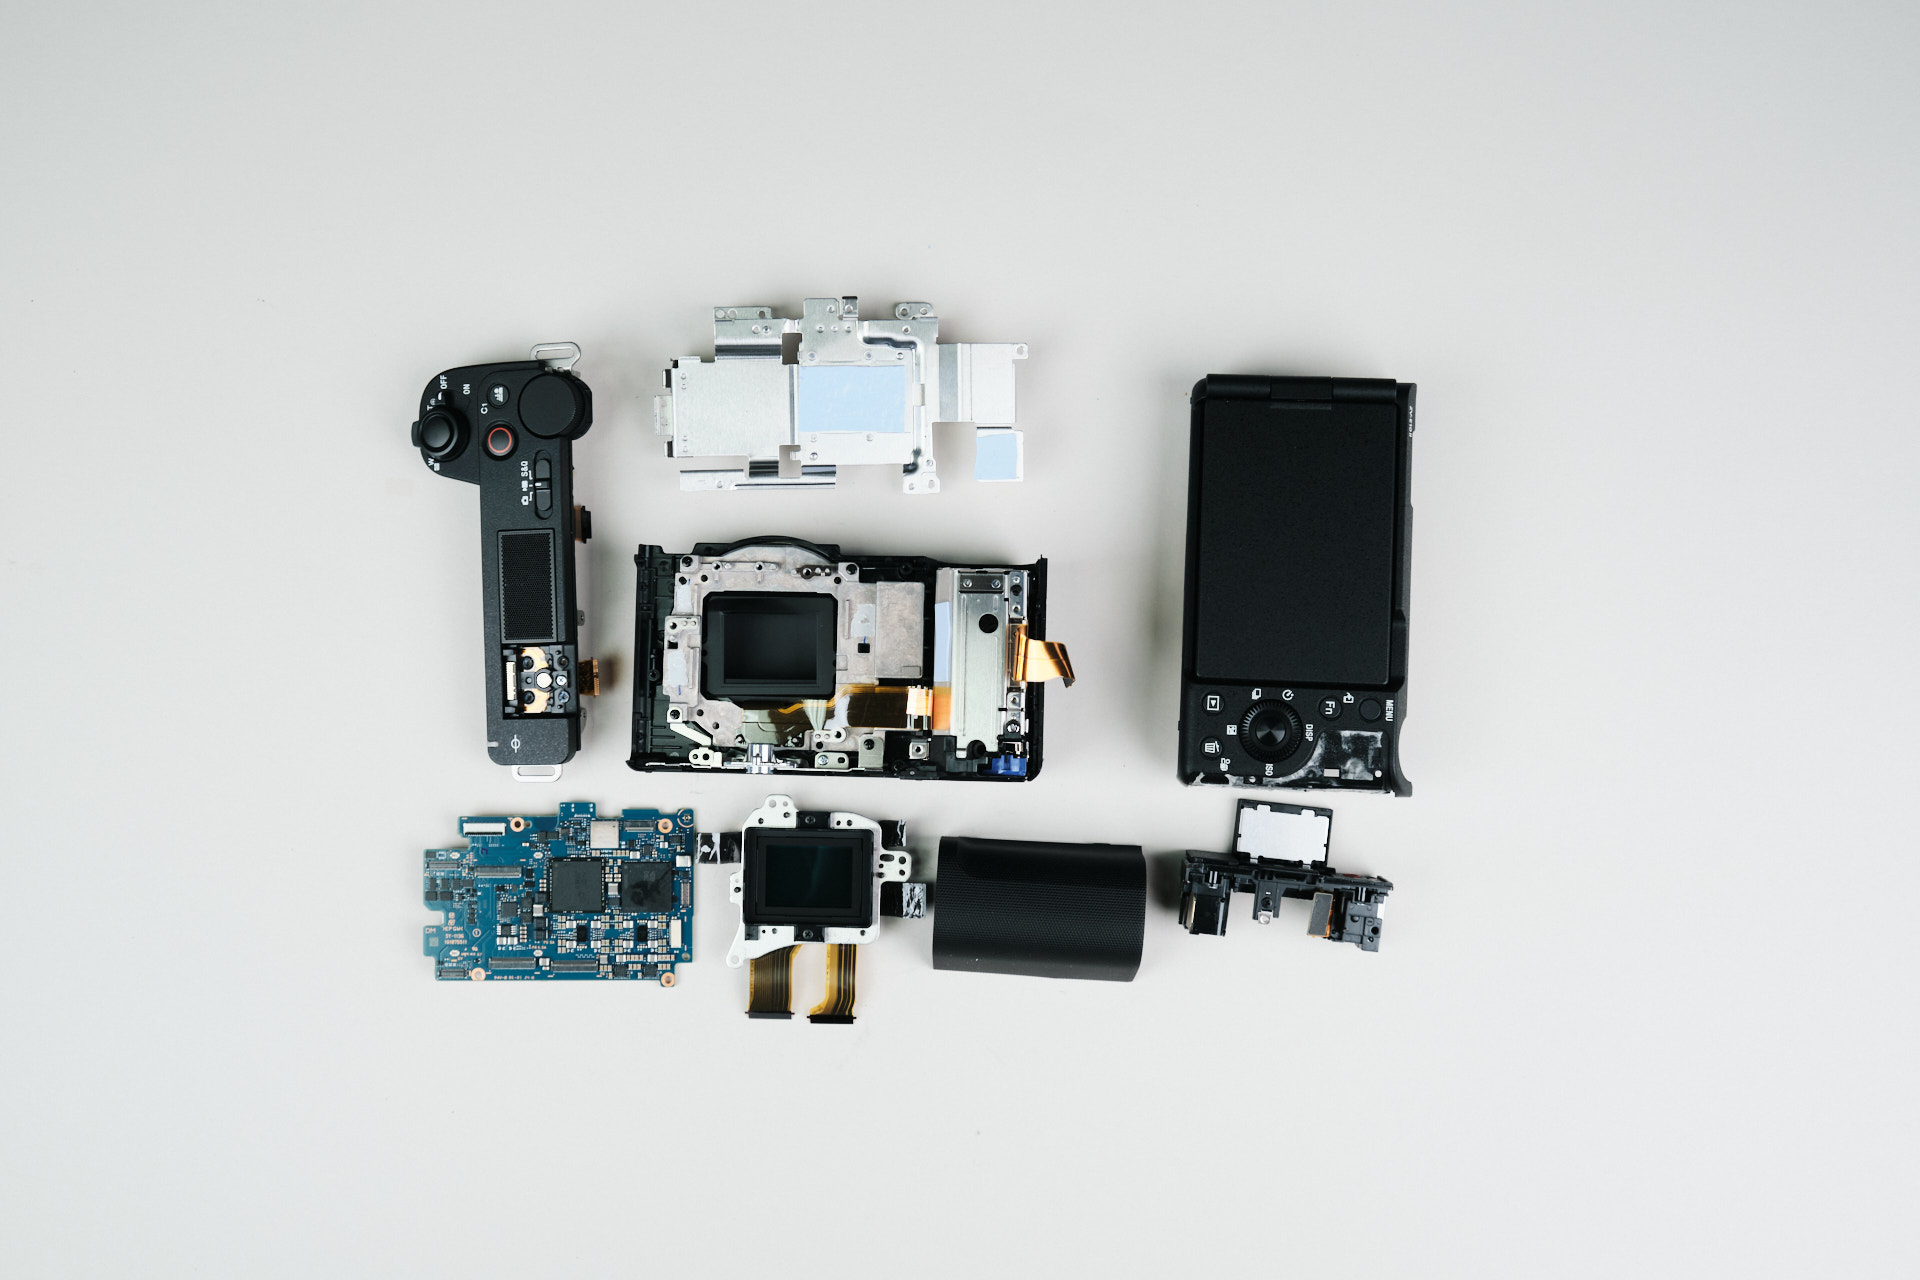
The last thing we needed to do to remove the circuitboard was remove the screws around its perimeter. There were four screws altogether. Removing this allowed us to lift the circuitboard from the camera body.

The Sony ZV-E10 II’s circuitboard.

Removing the Top Panel Through the Hot Shoe Mount

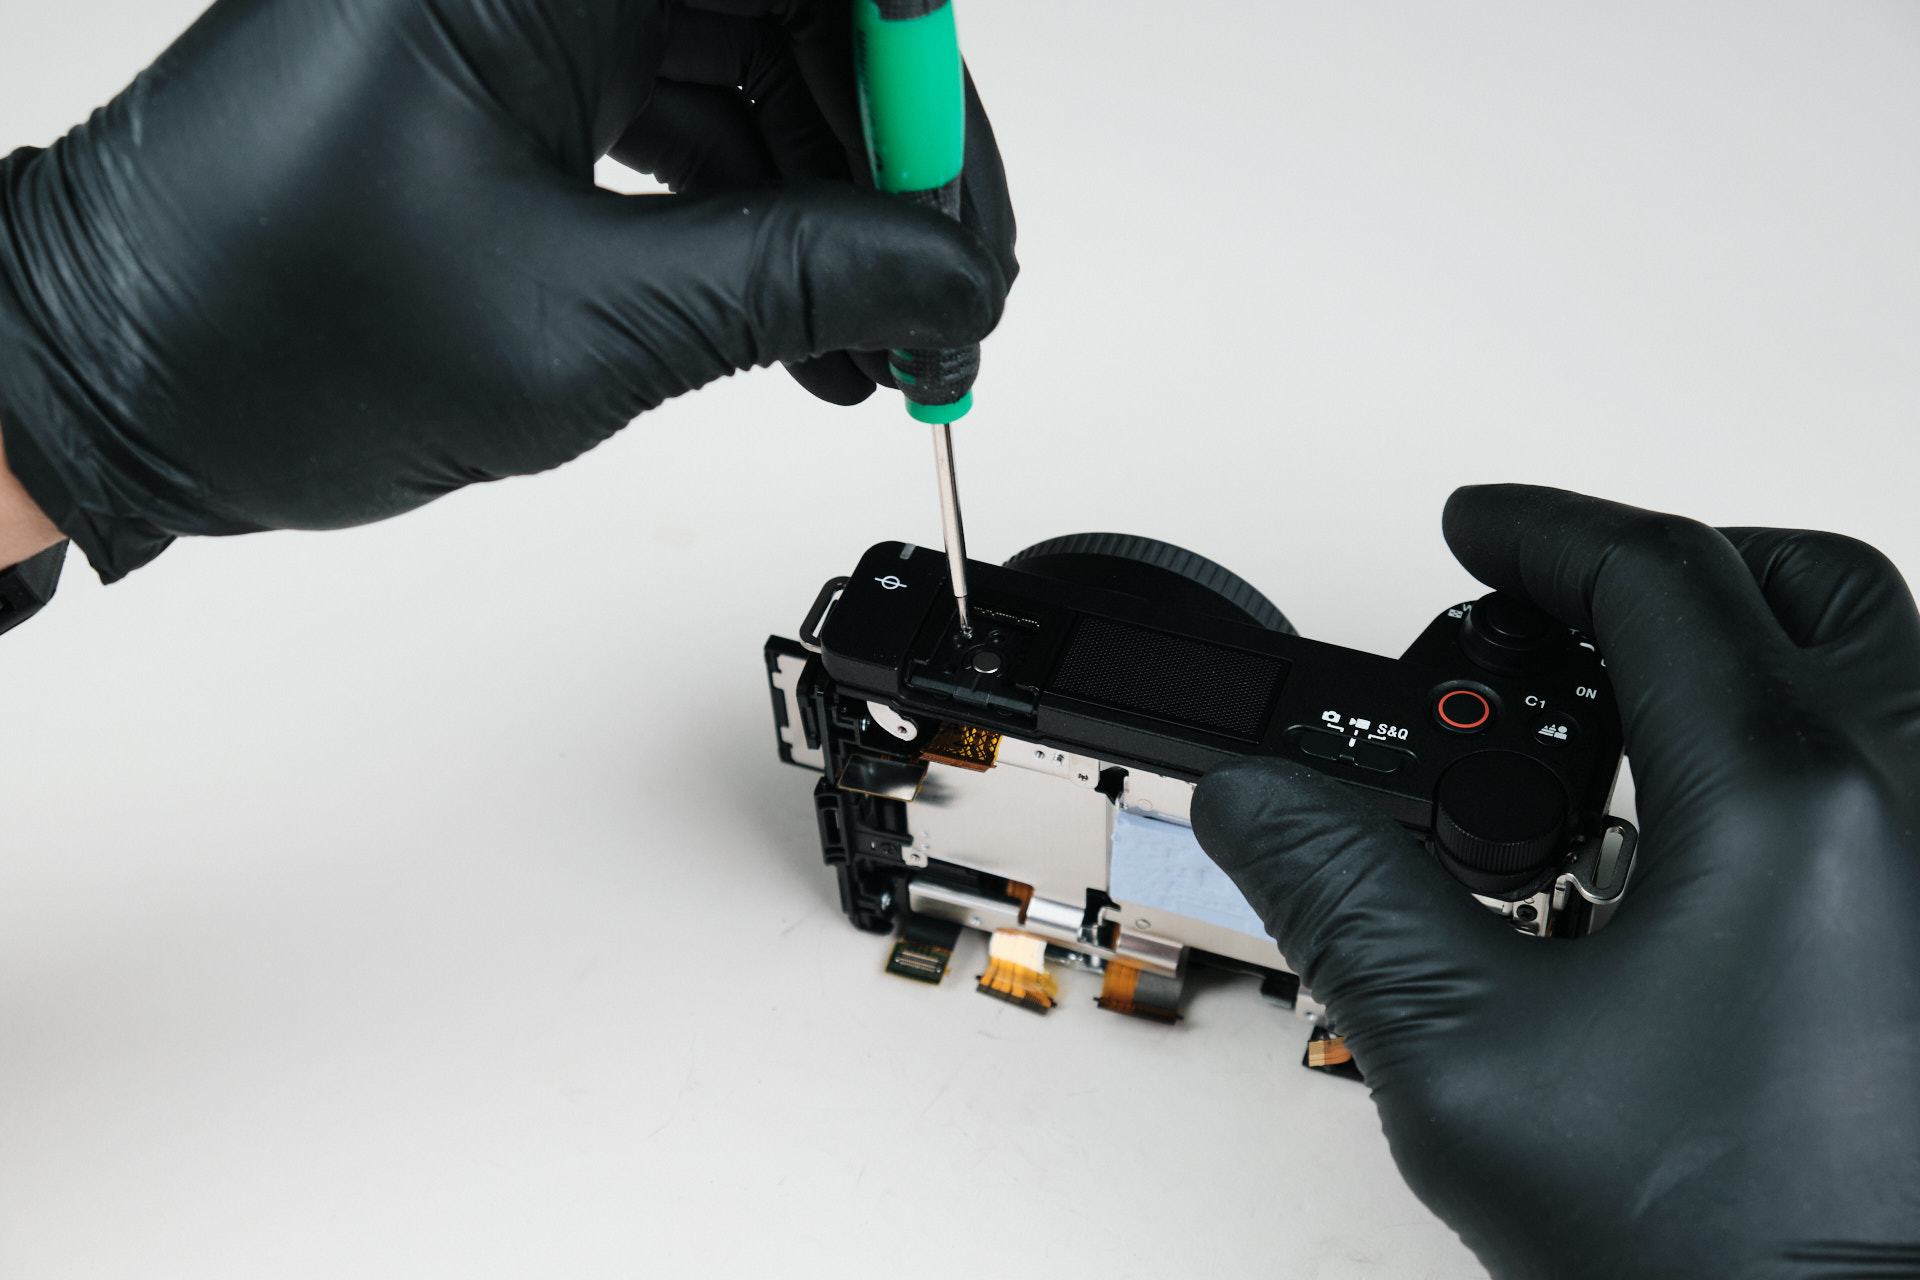
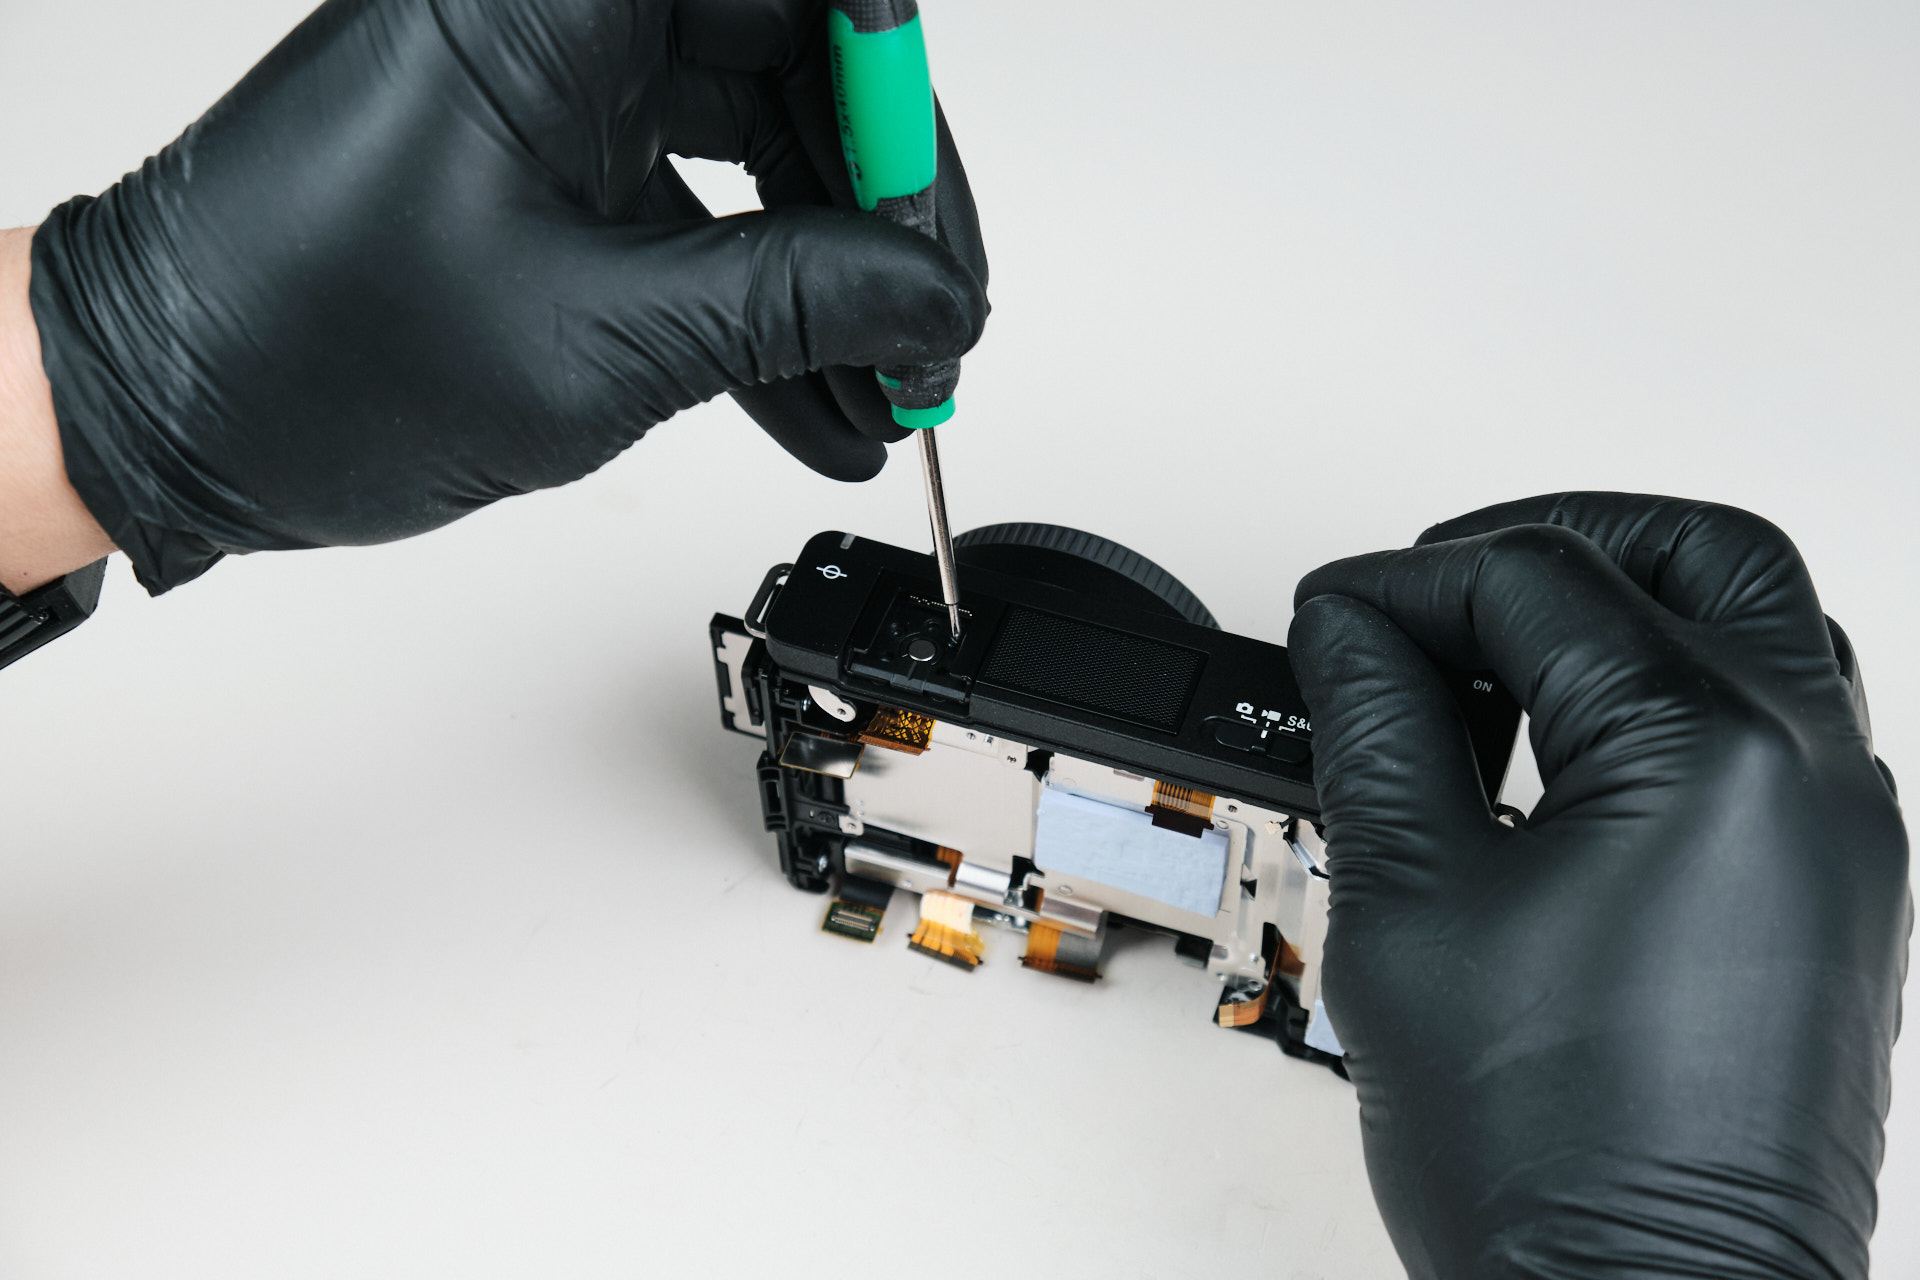
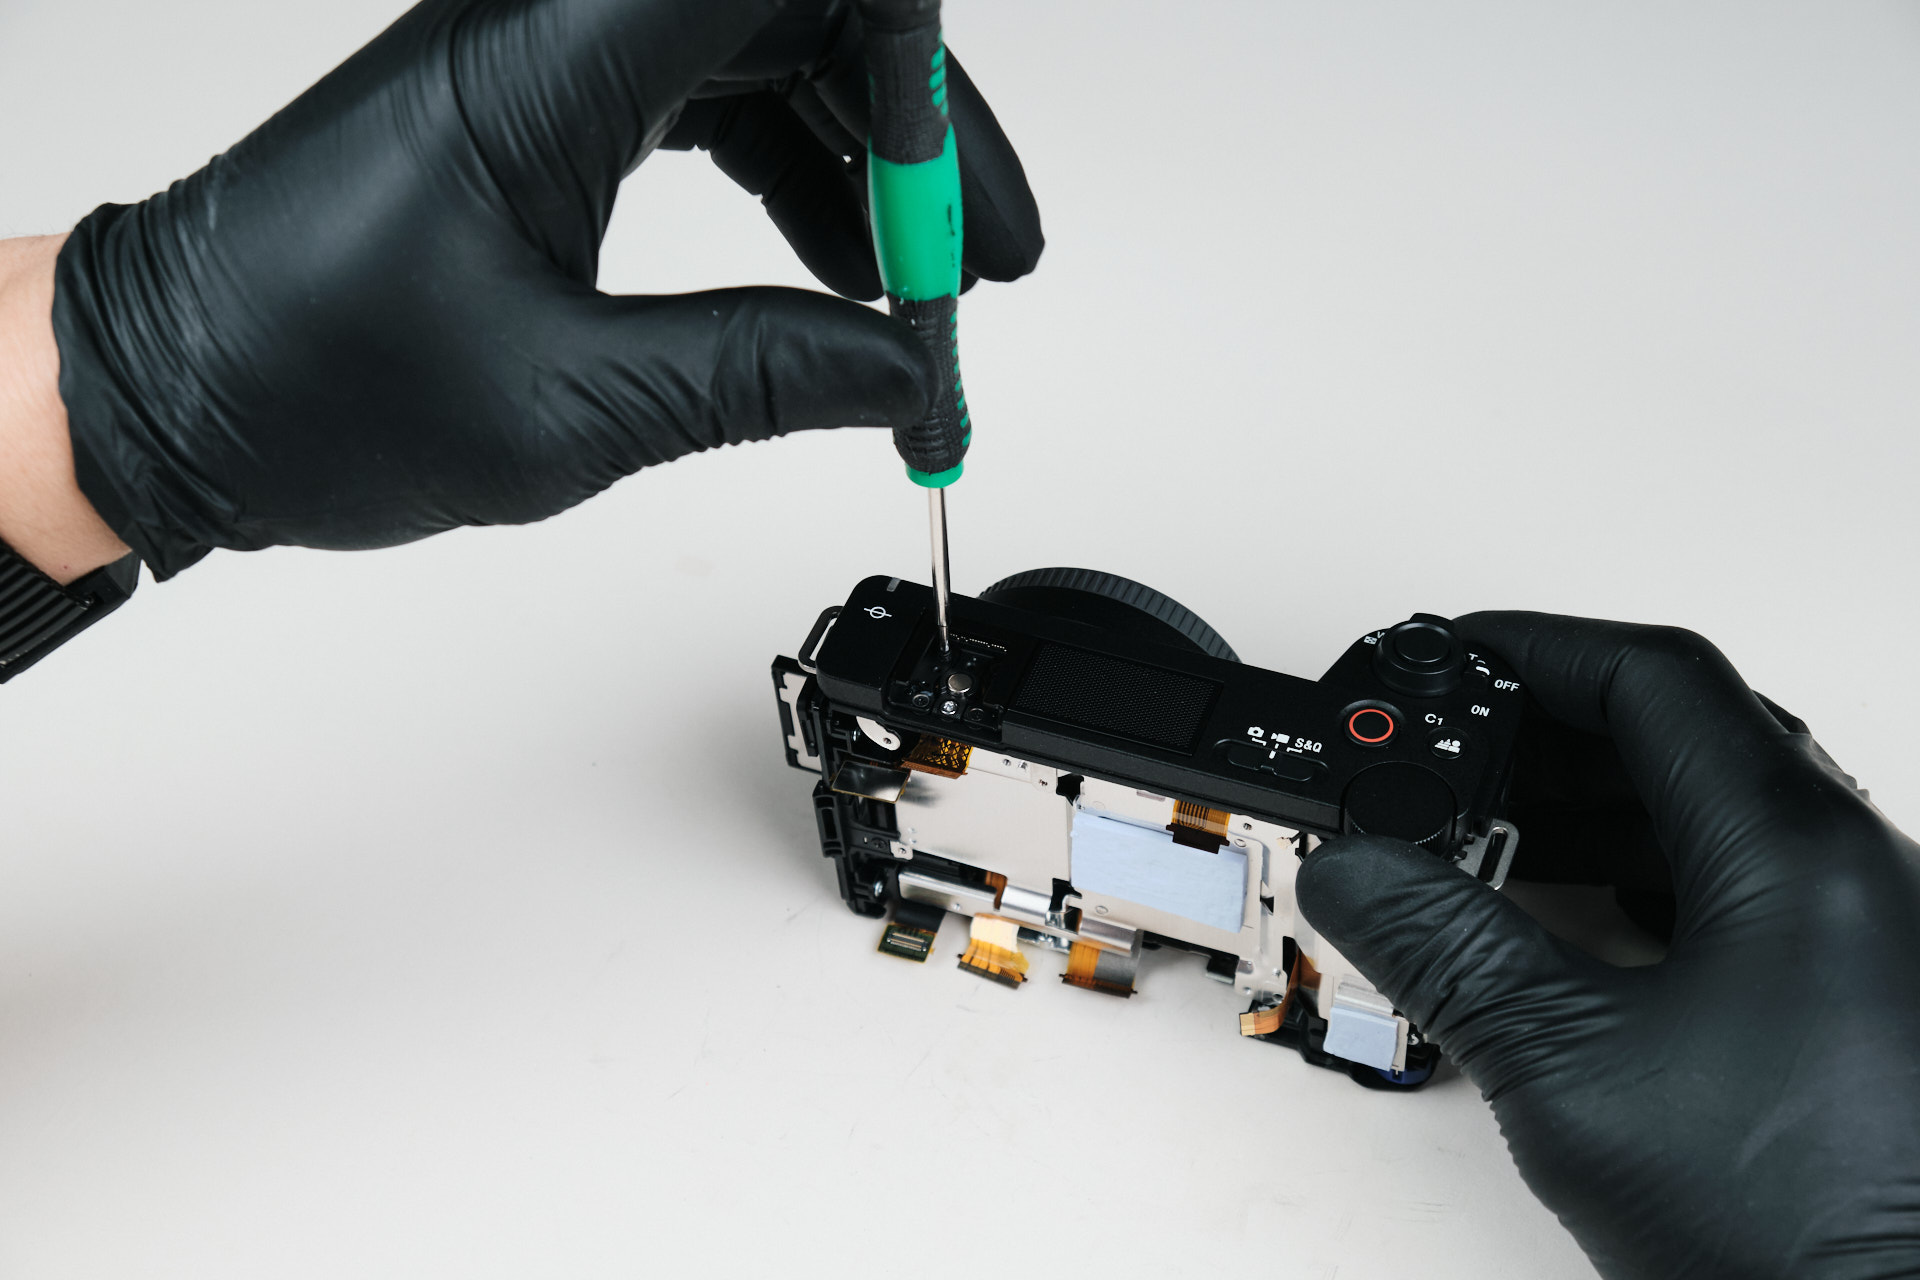
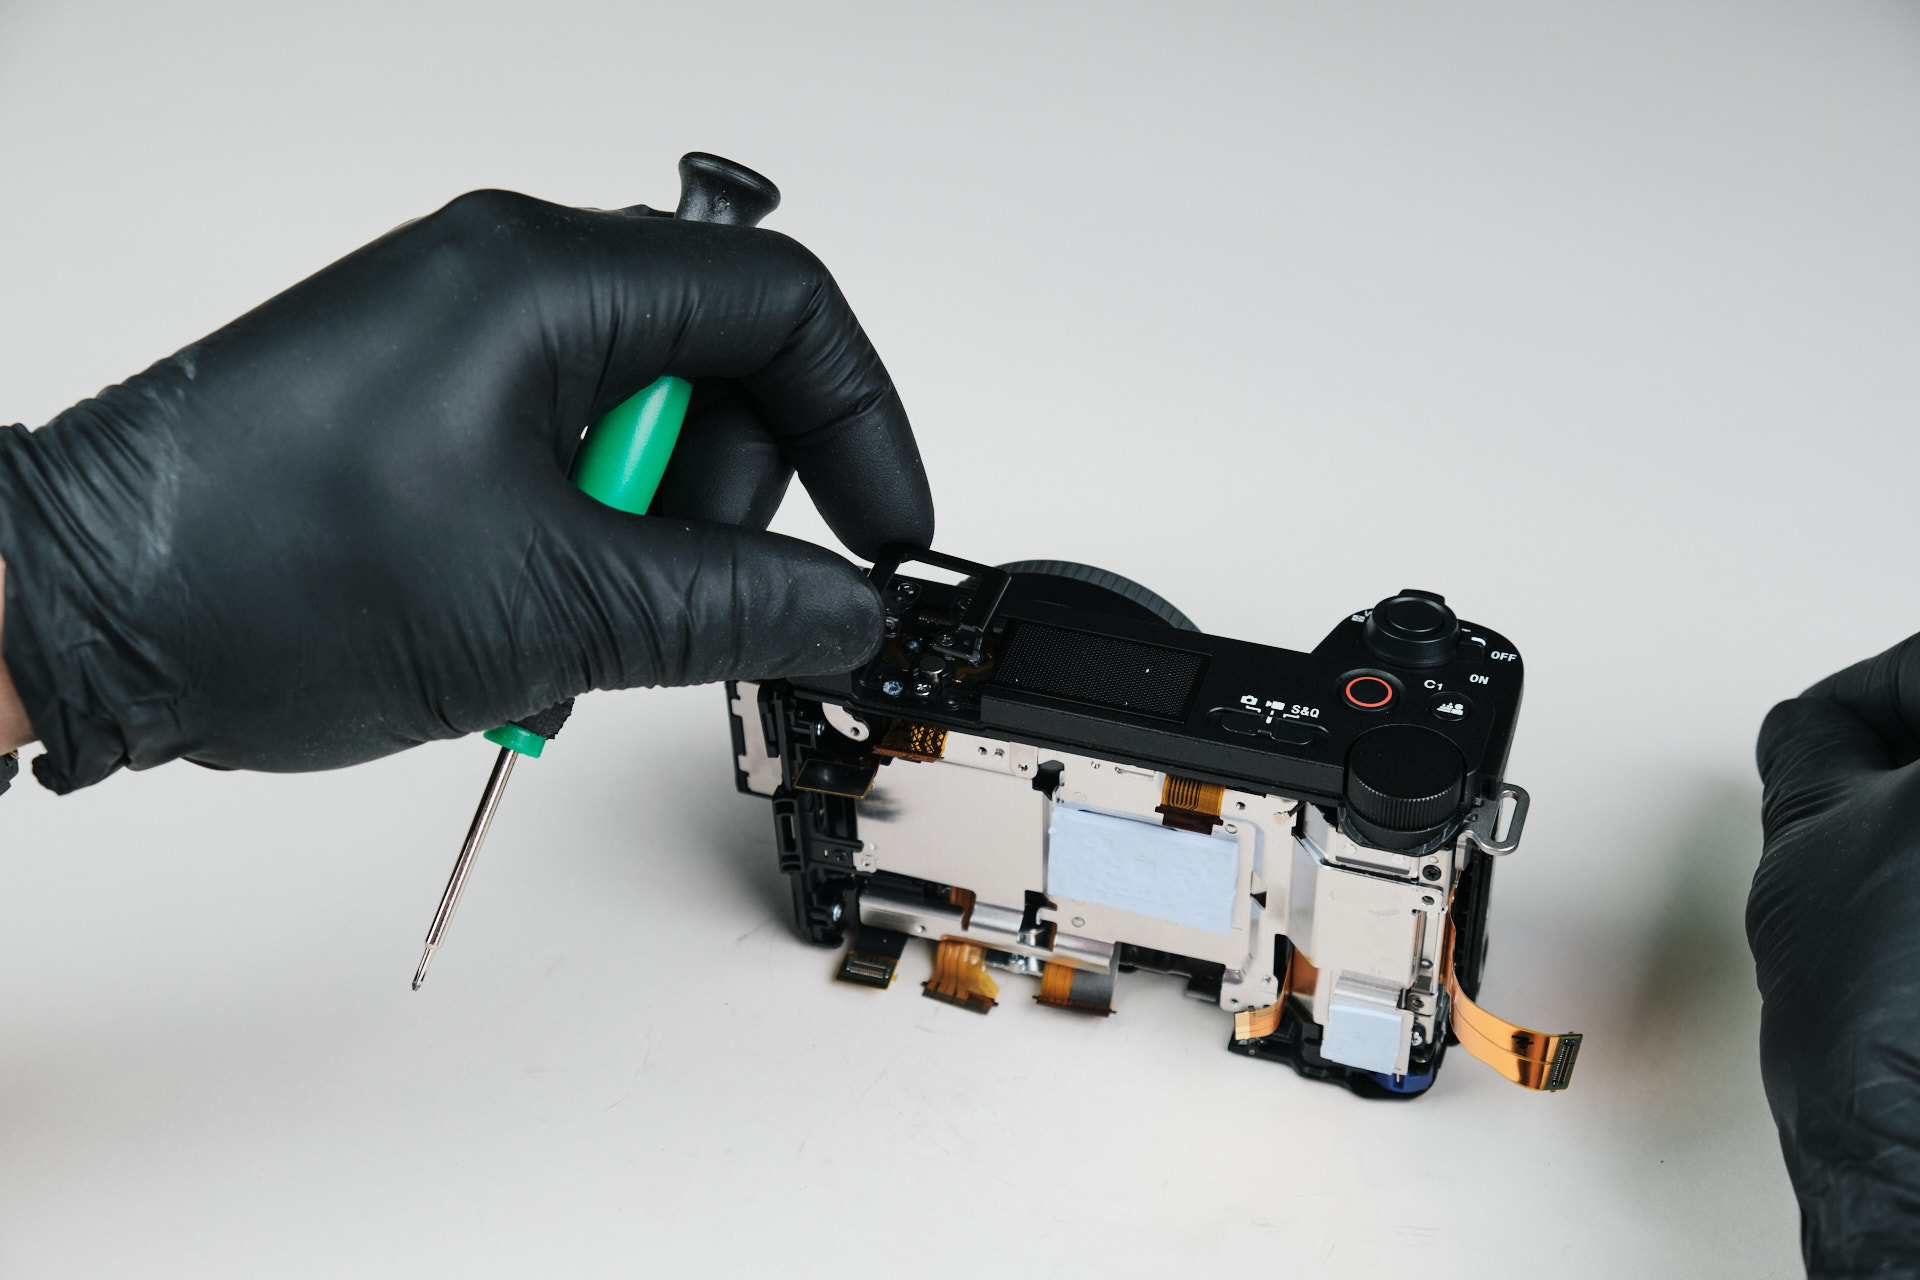
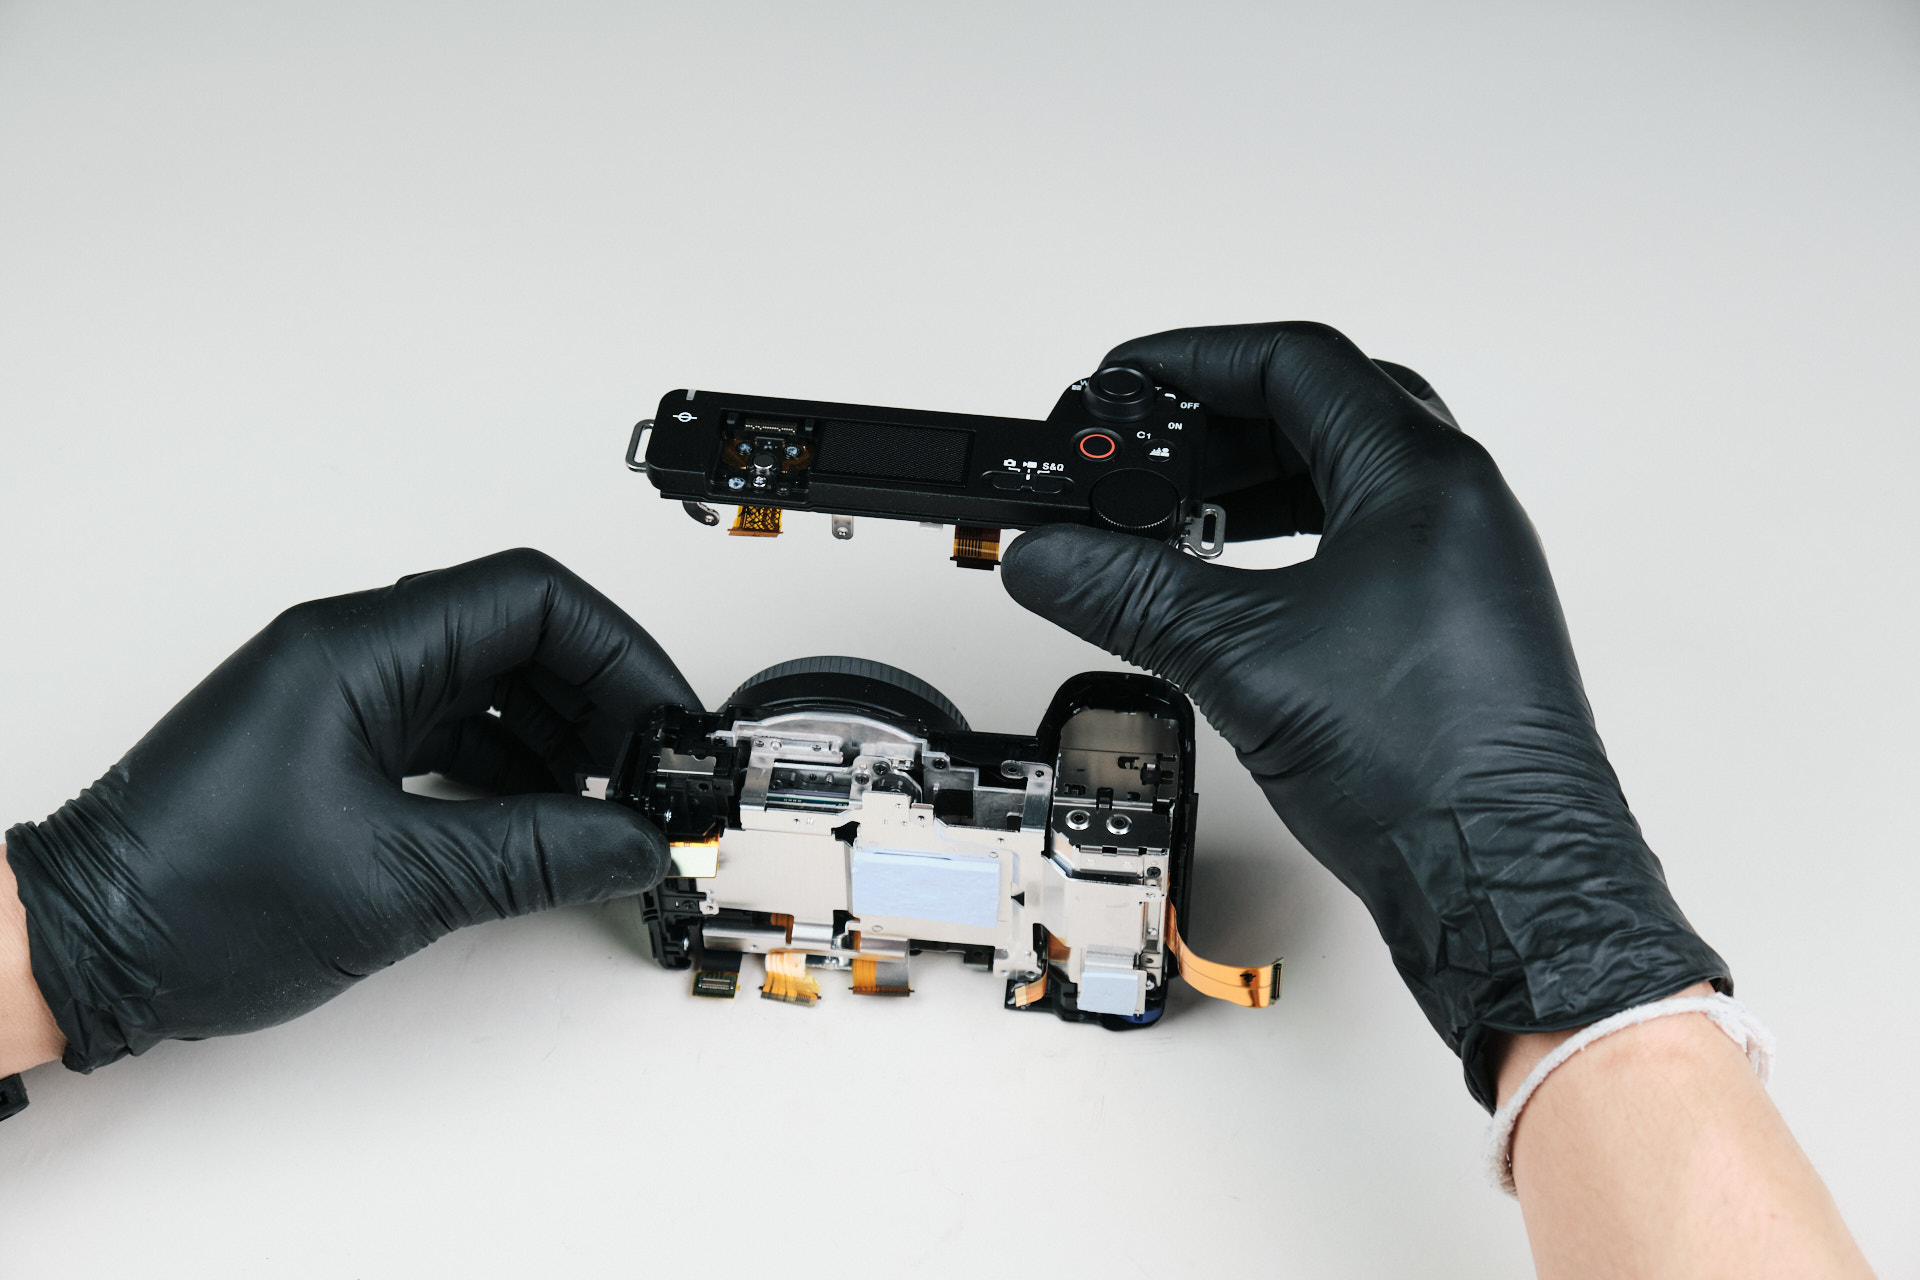
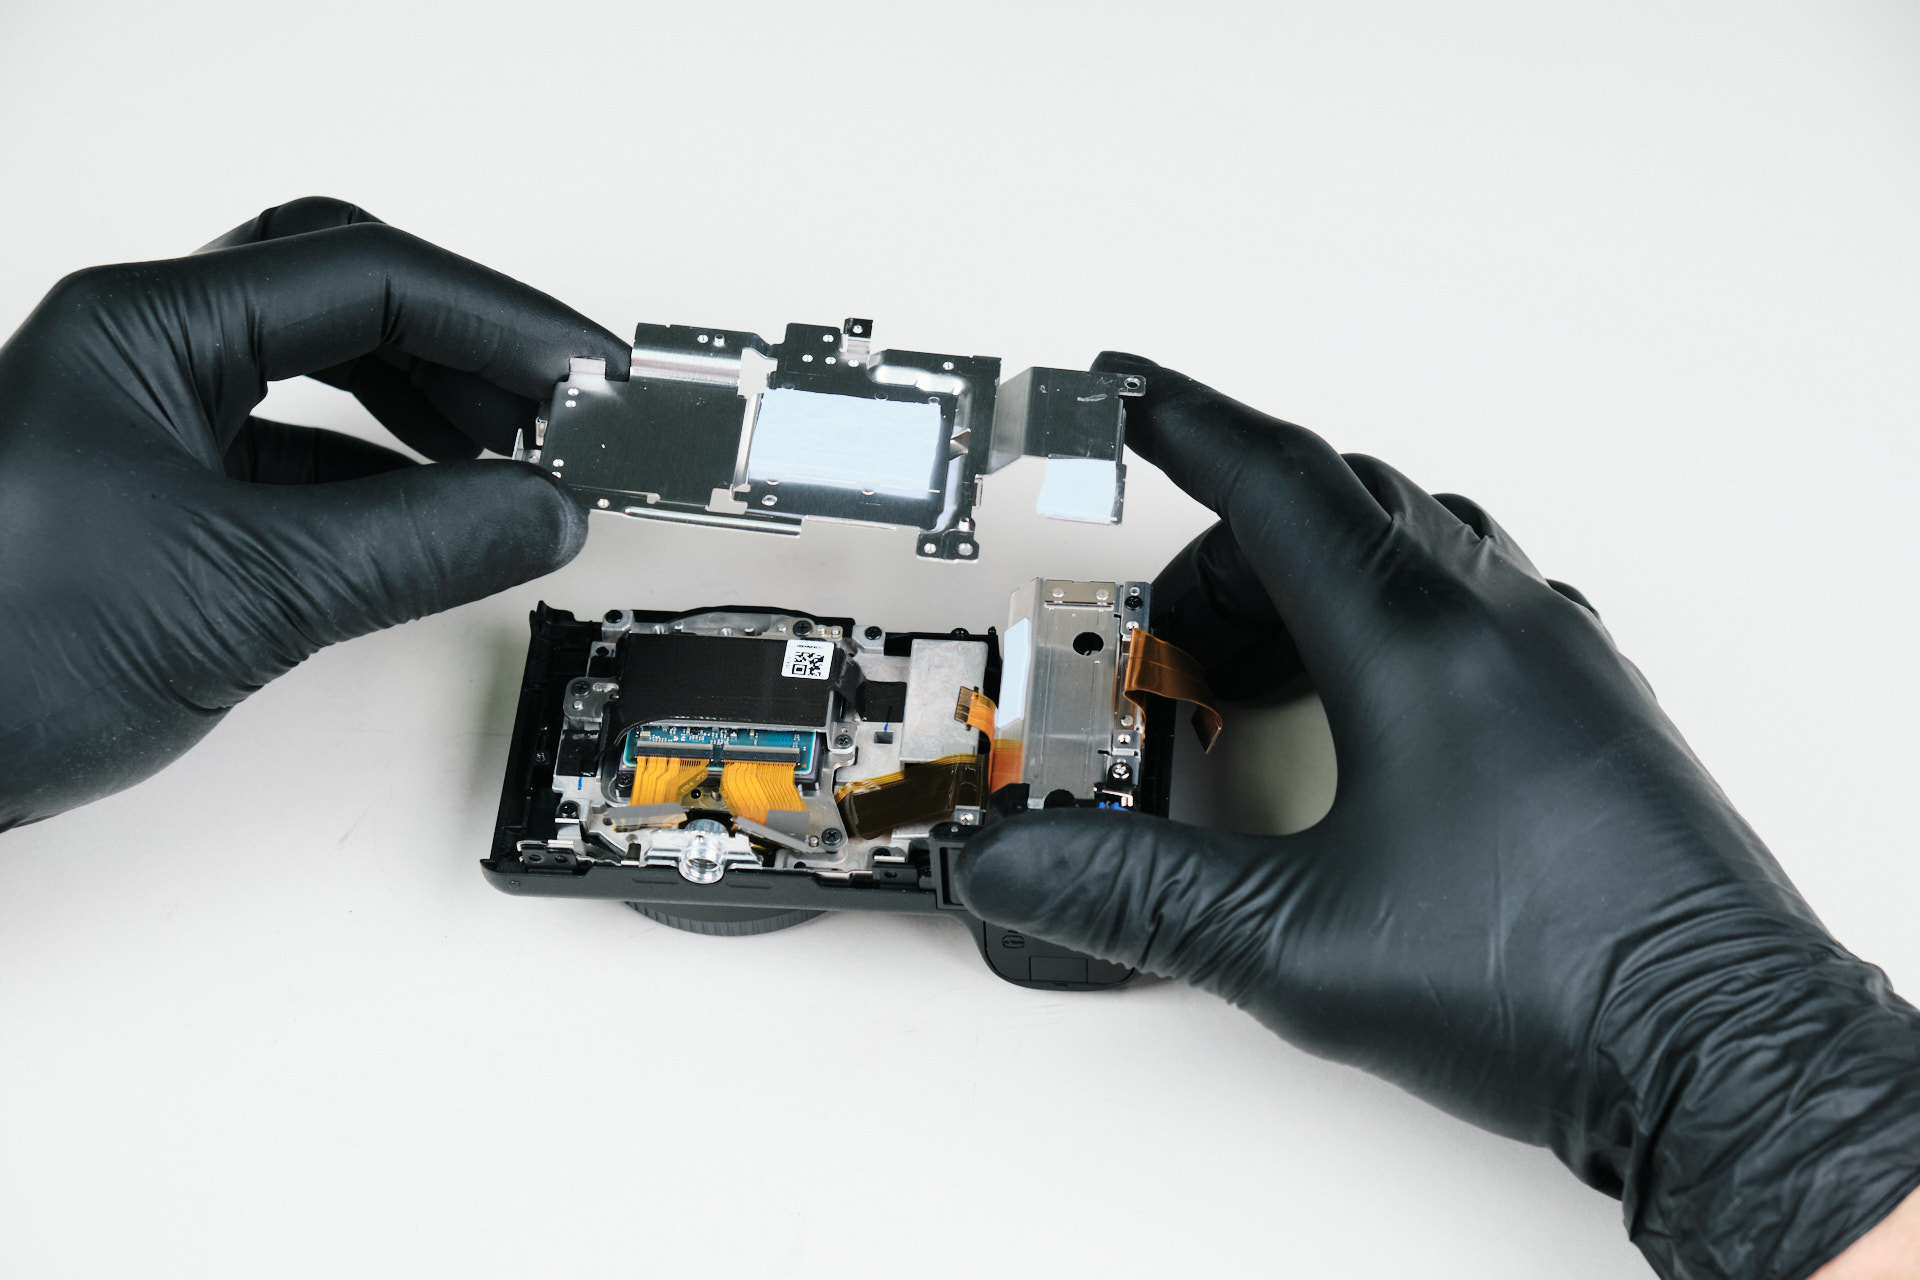
We removed many screws around the exterior and within the interior of the camera, yet we still weren’t able to remove the top panel. We realized that the last part to remove lied within the hot shoe mount. Removing the screws here (along with the screws surrounding the camera body) led to the removal of the top panel.

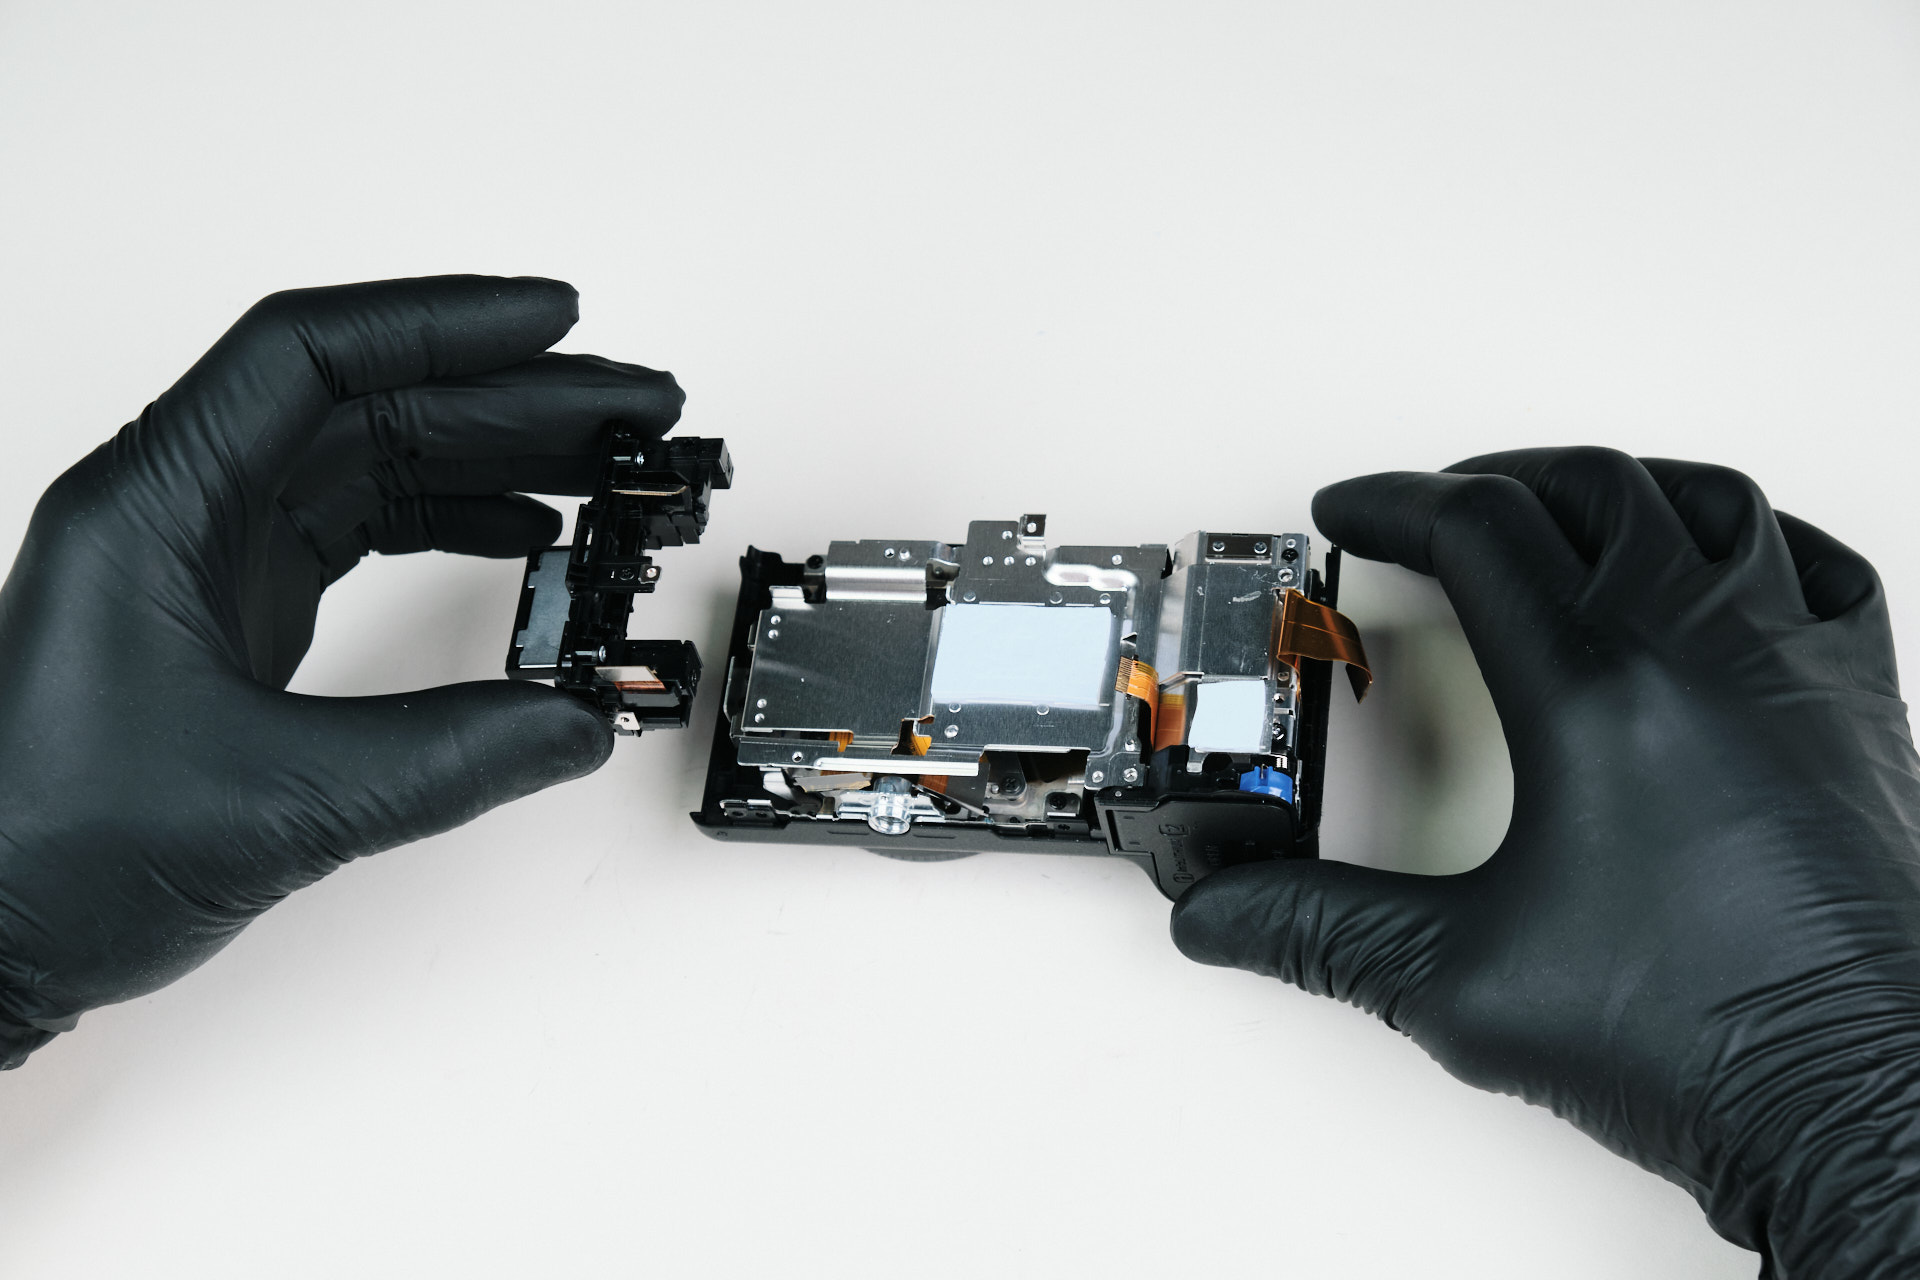
Removing the Main Bracket Before Sensor Access

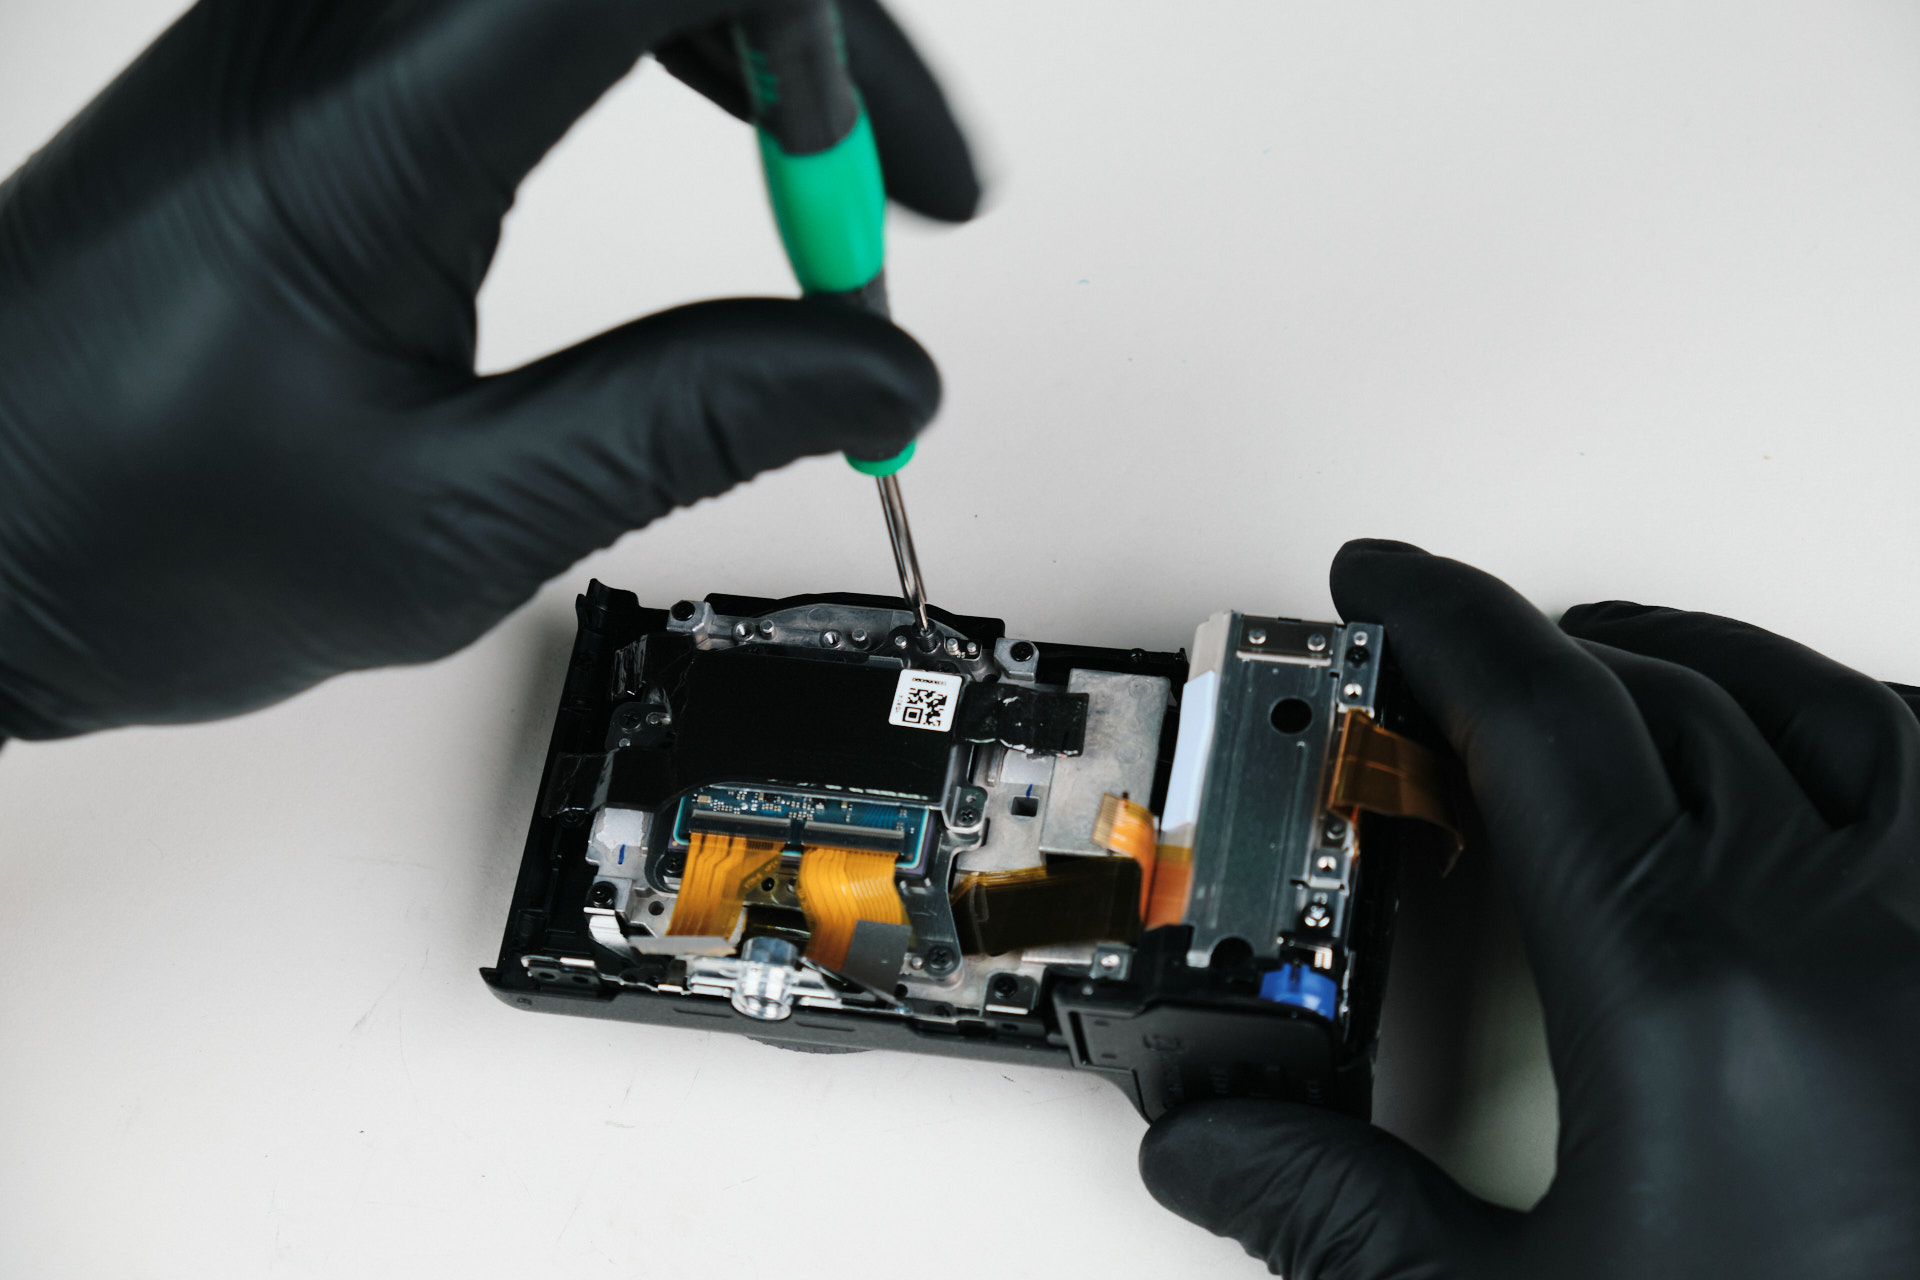
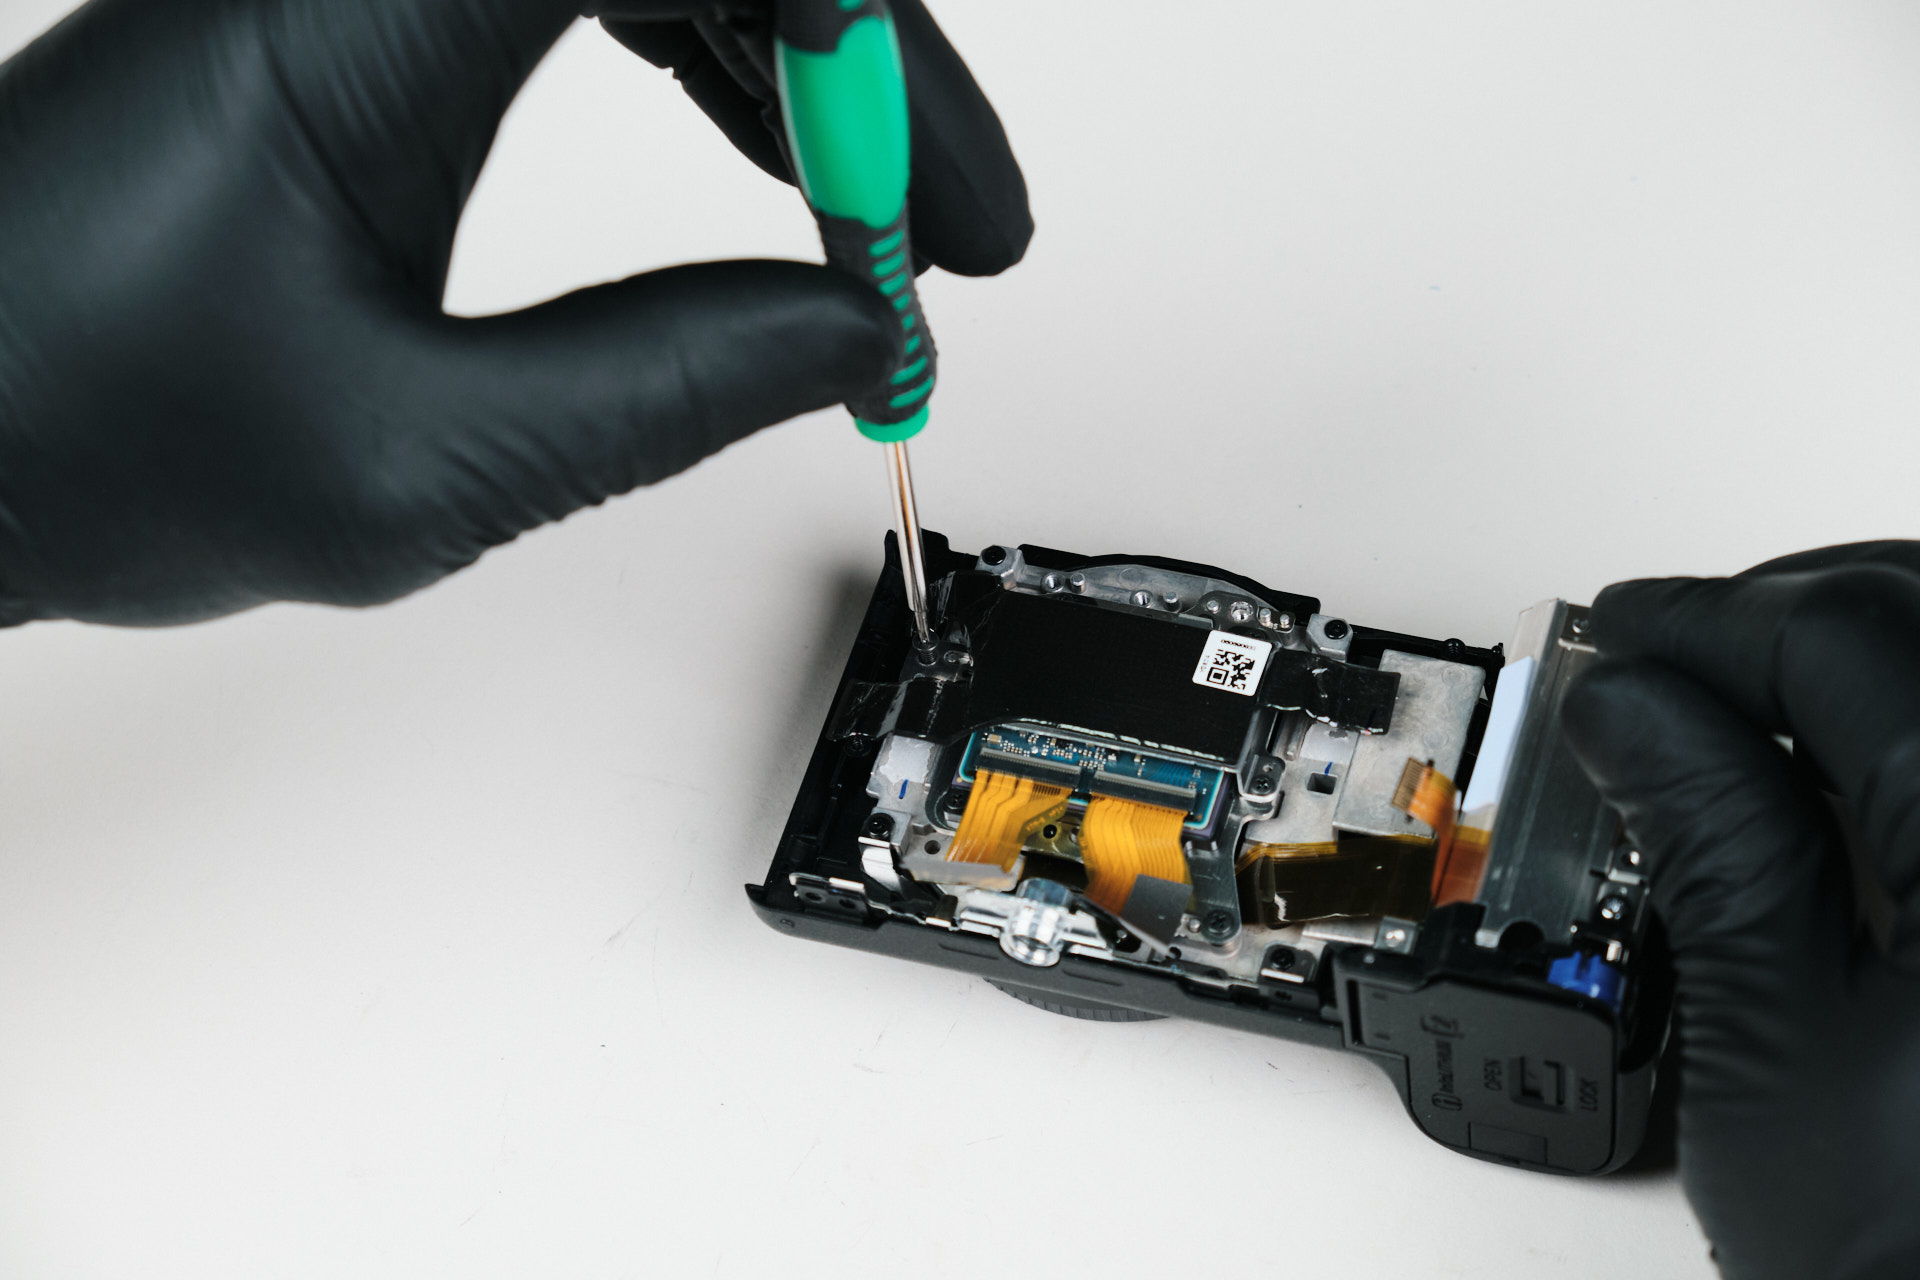
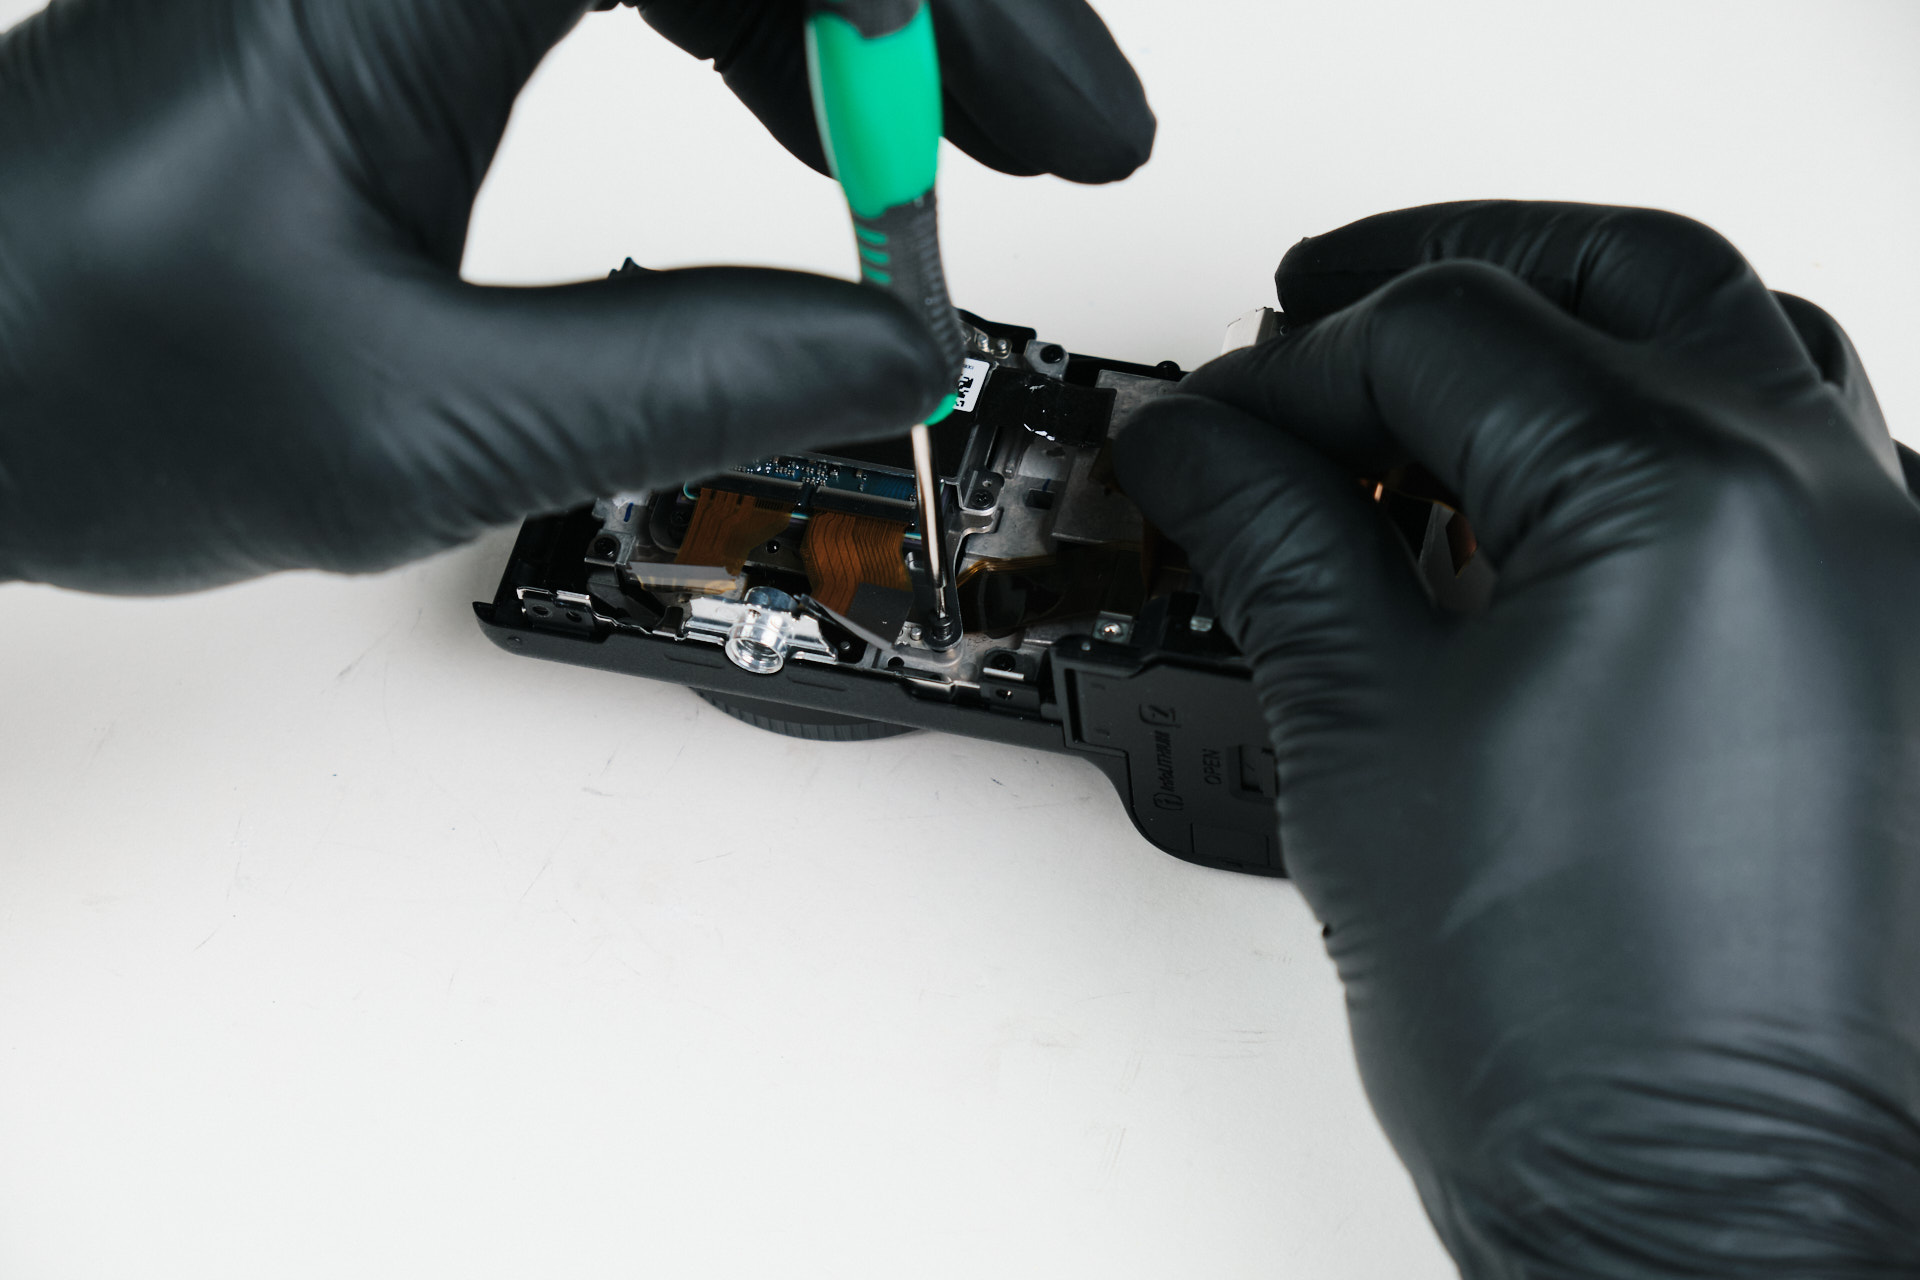
The last thing we needed to remove before we could get to the camera sensor was the main bracket. One of the screws held down a plastic piece which doubled as the port side cover. Aside from that, there were only a few screws that held down the main bracket.

Removing the Sony ZV-E10 II Camera Sensor

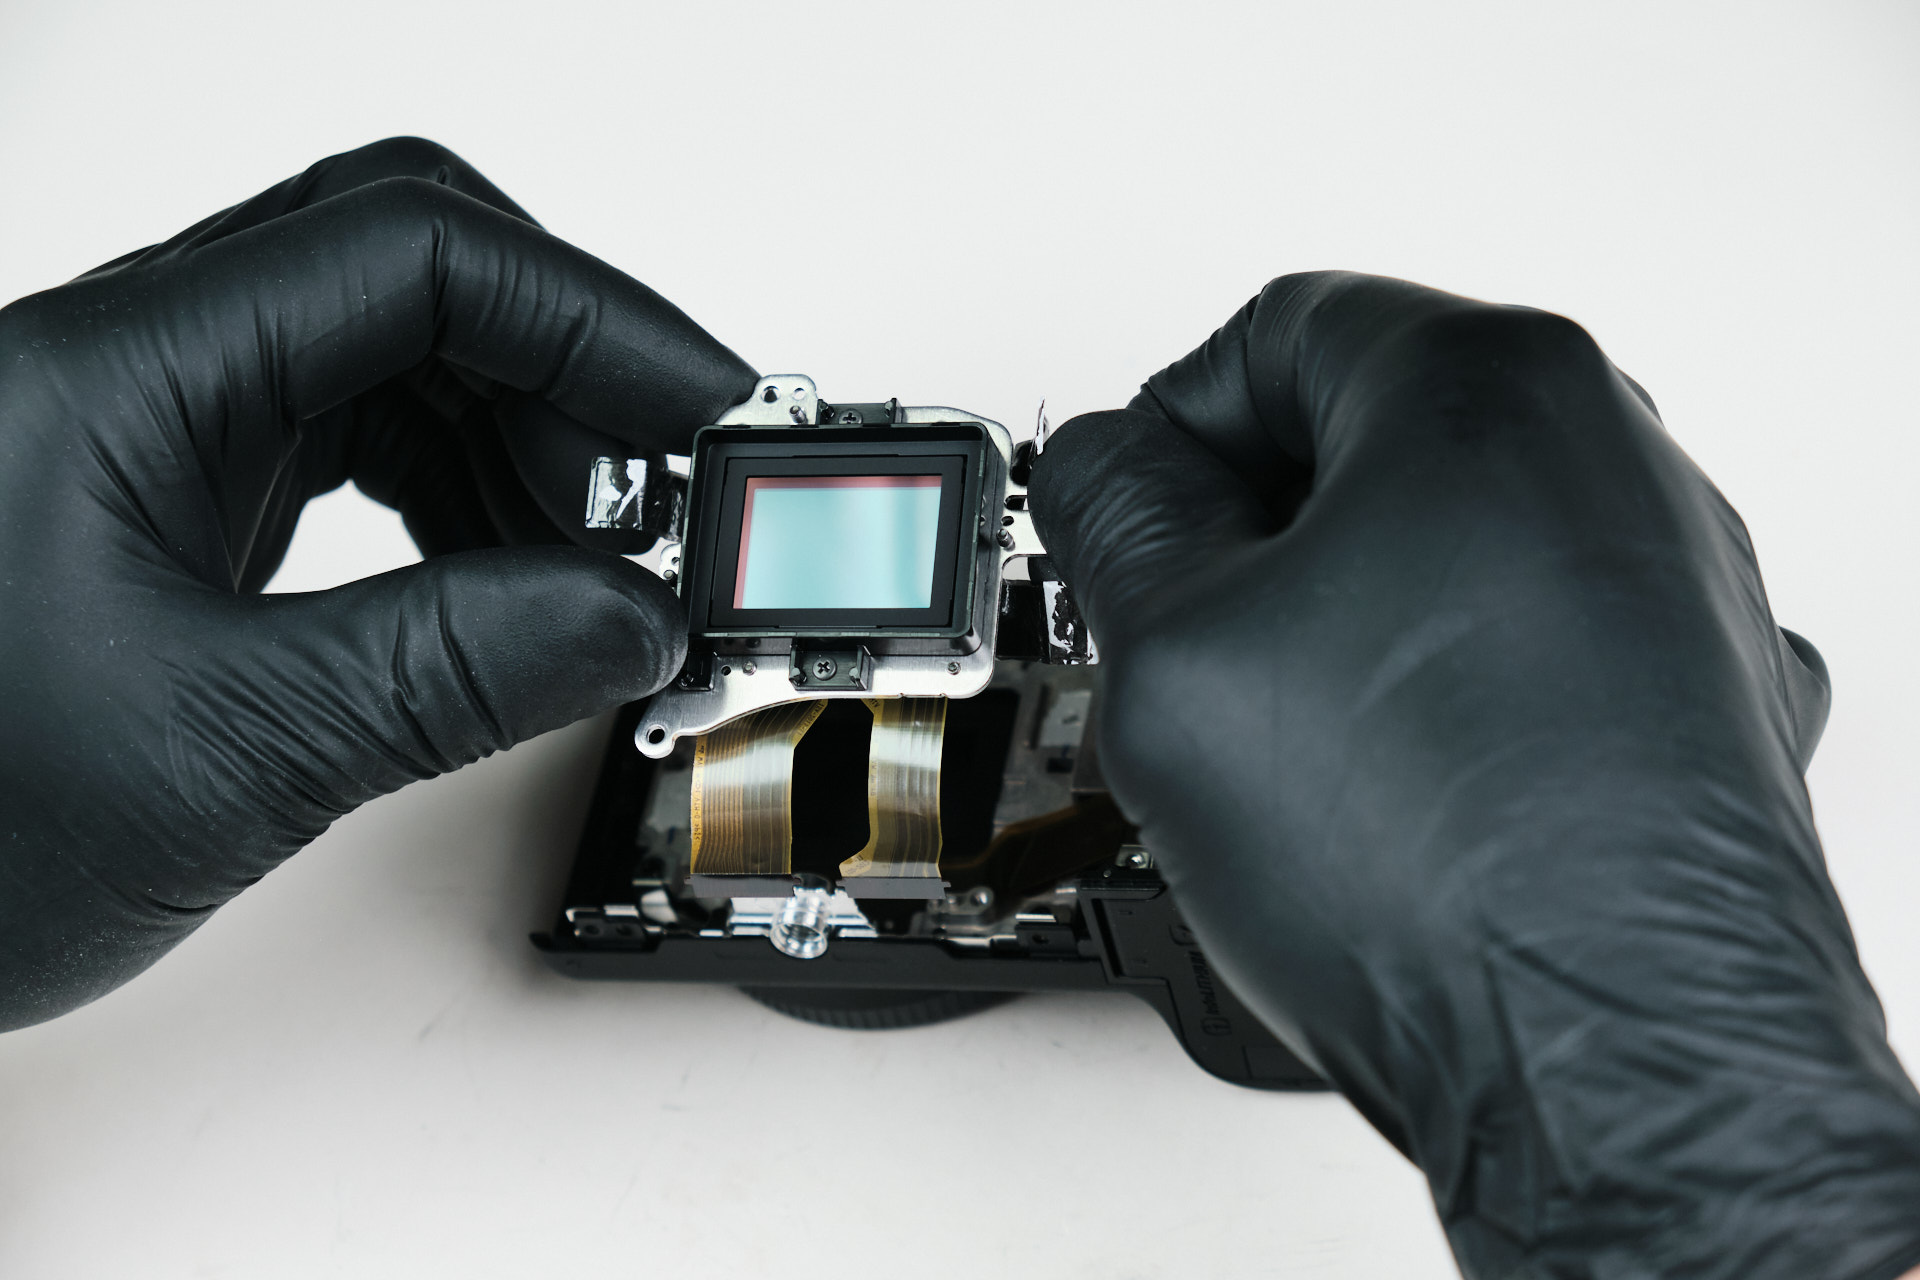
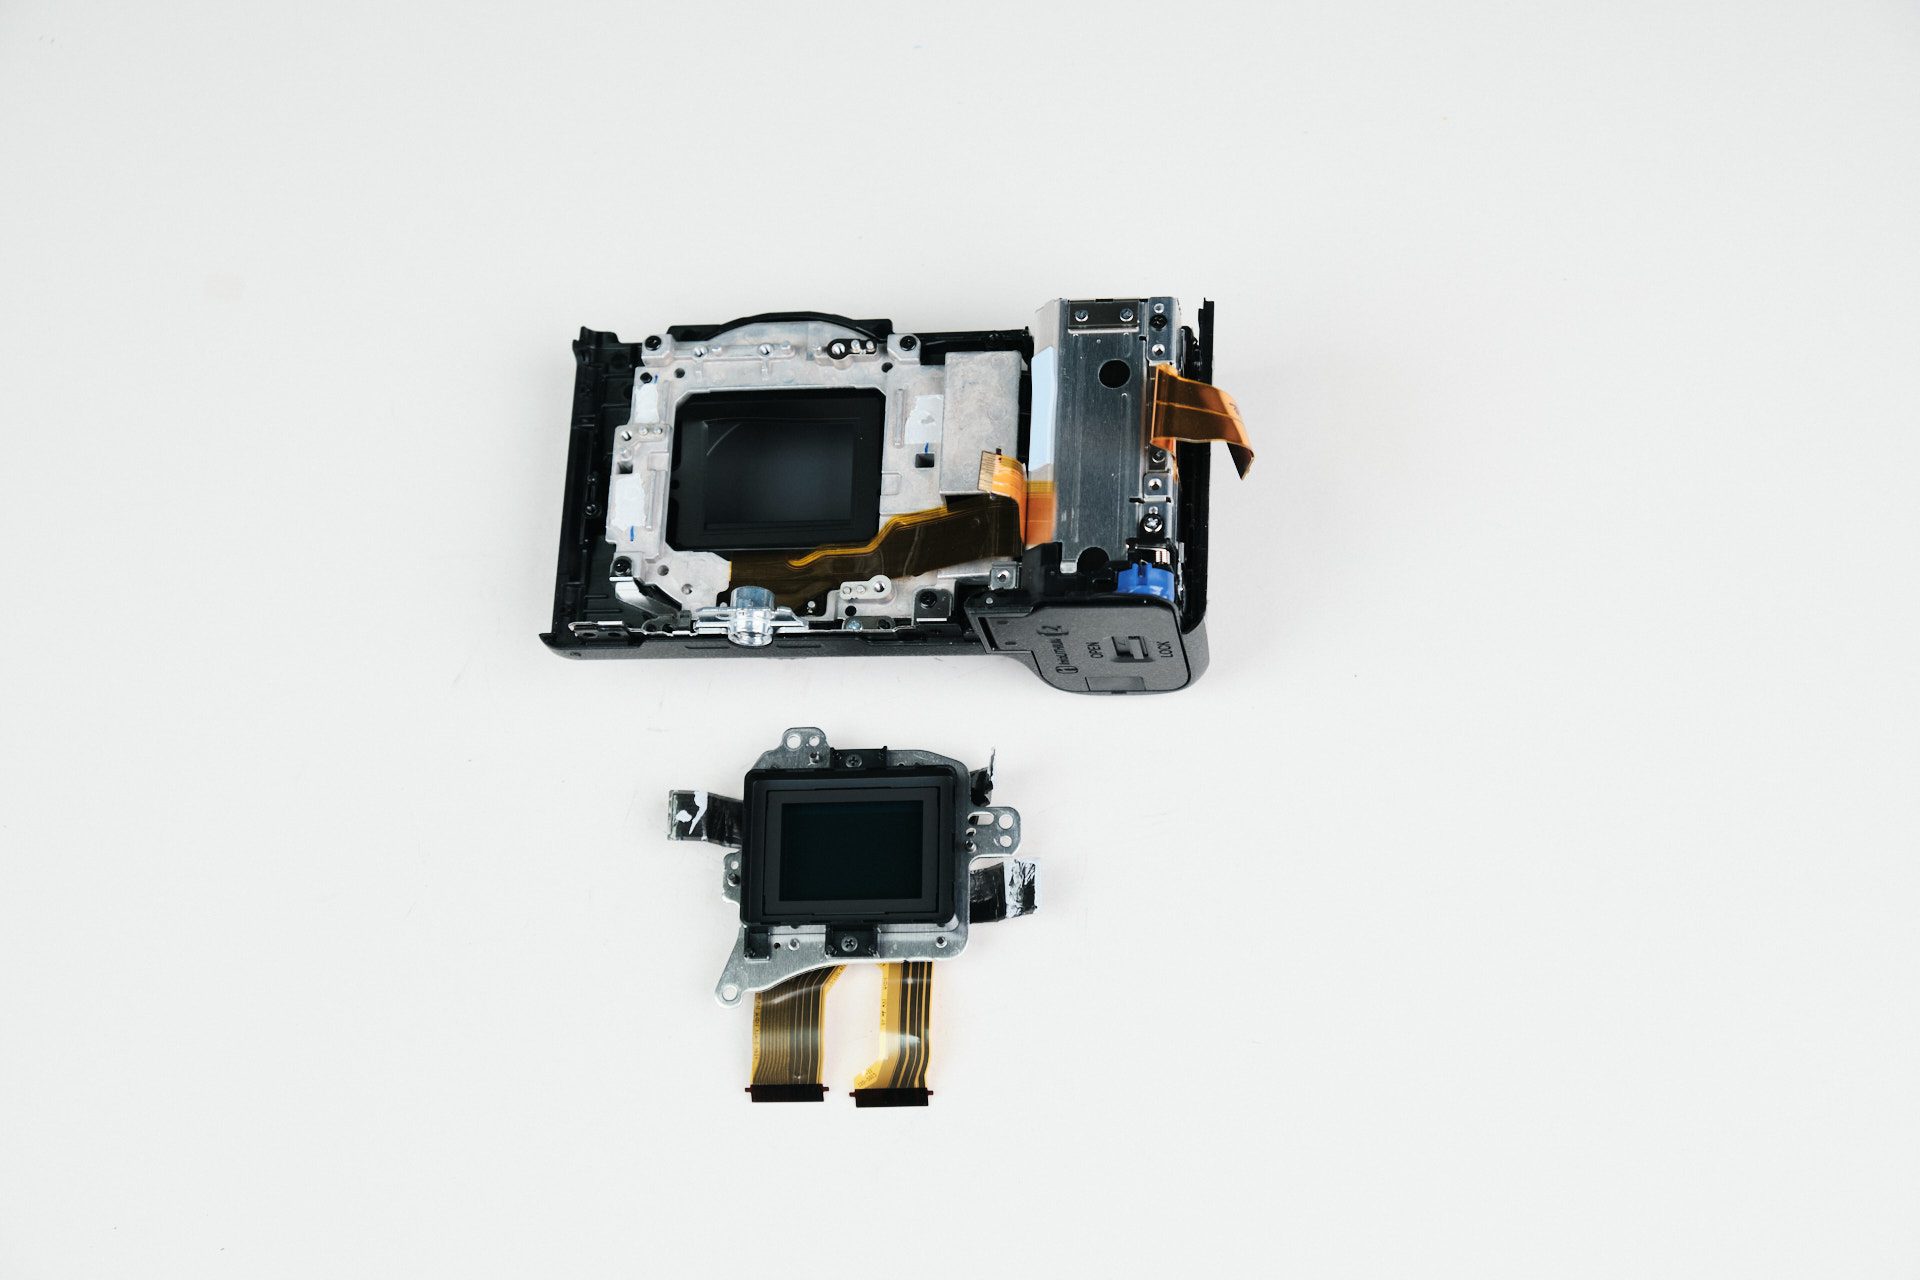
With the main bracket removed, we finally reached the camera sensor. We were going to remove the heat transfer tape, but we quickly realized that the heat transfer tape didn’t need to be removed at all. The sensor was only held down by three screws.

The camera sensor of the Sony EV-10 II. The sensor is APS-C sized.

Frequently Asked Questions

The Sony ZV-E10 II teardown starts by checking the bottom of the camera, but the camera does not have a dedicated baseplate. The disassembly begins by removing exterior screws from the battery compartment, below the LCD screen, under the port covers, and beneath the leather skin.
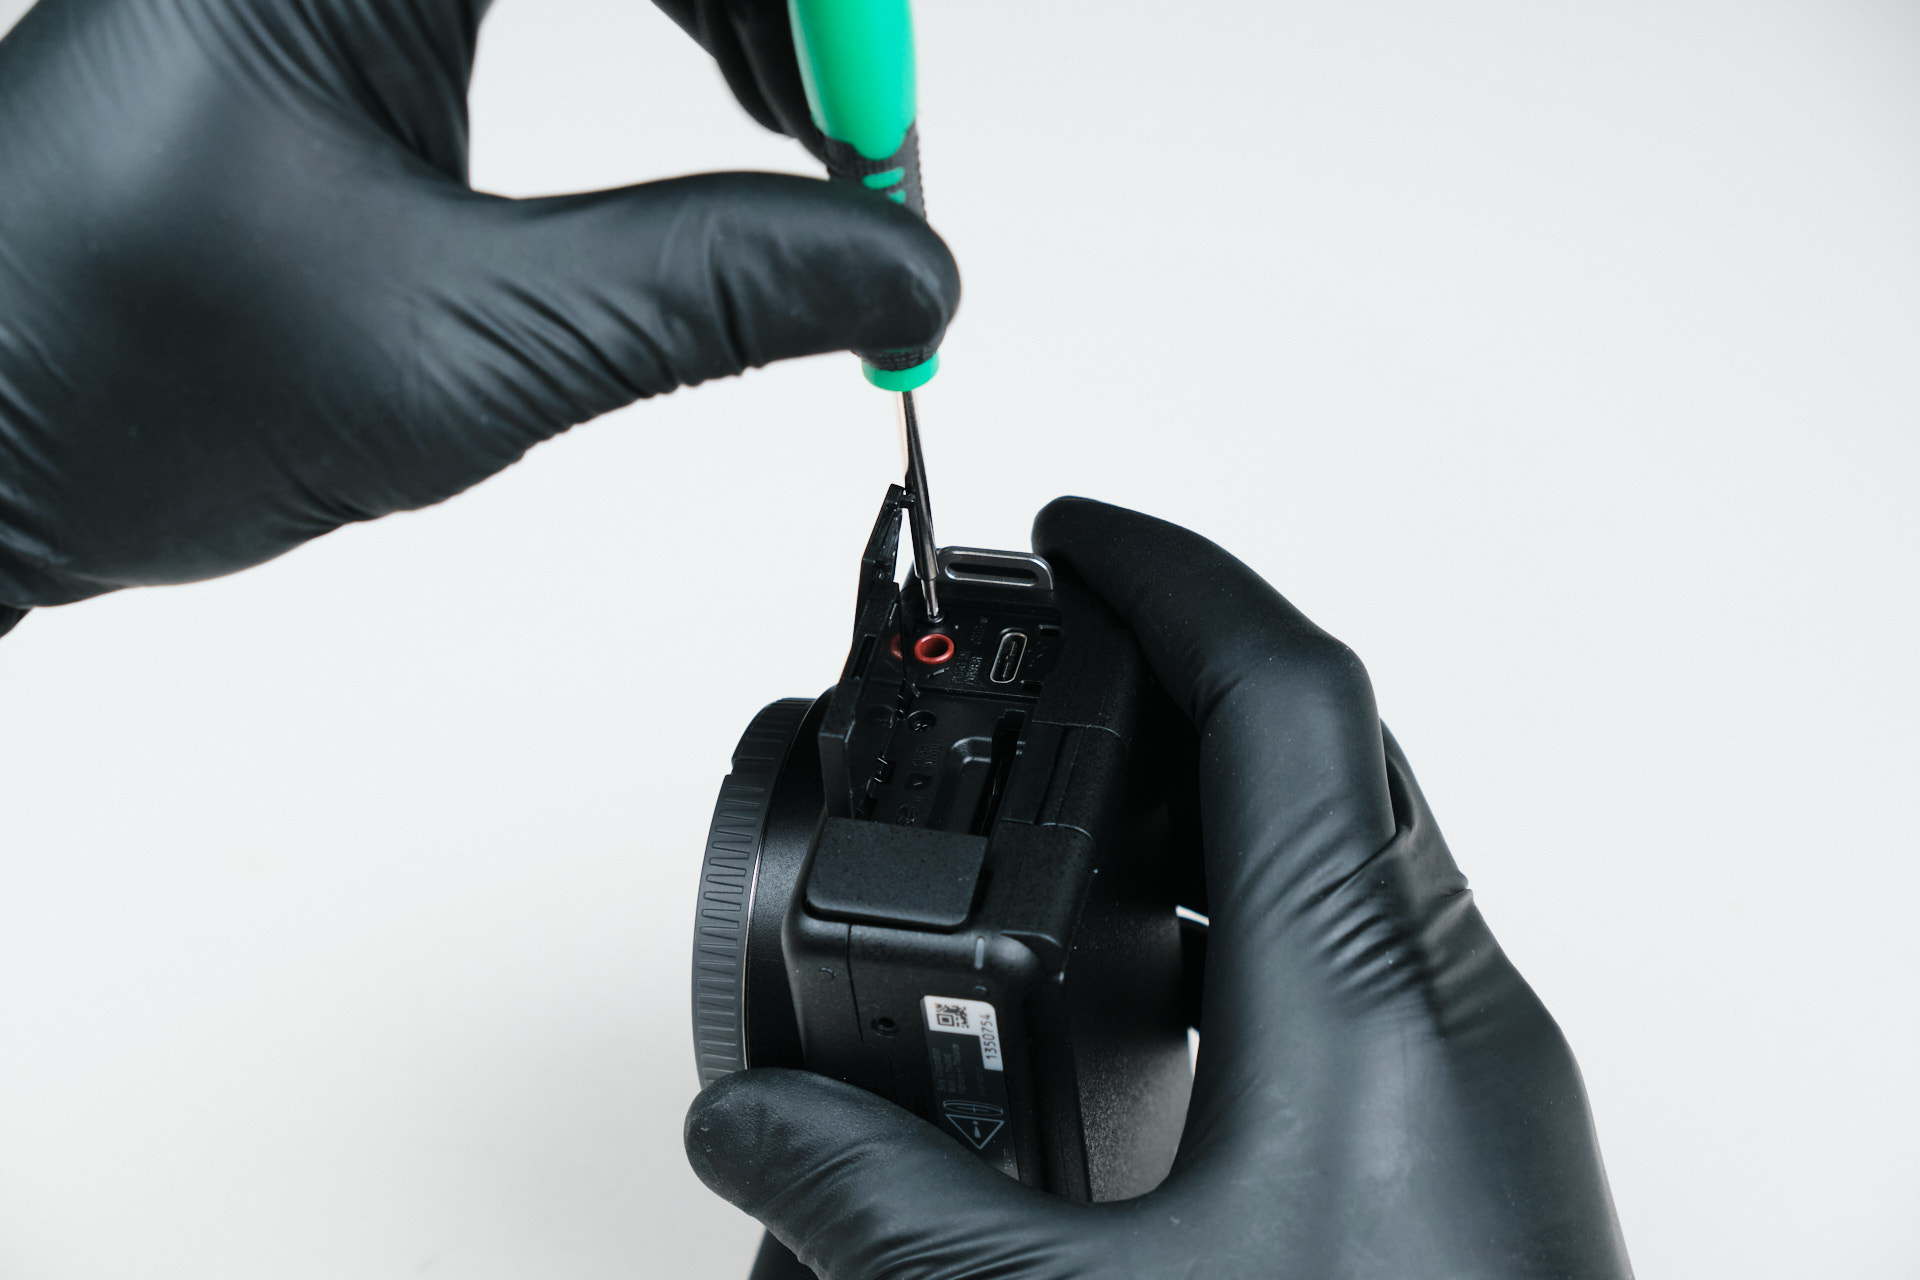
The Sony ZV-E10 II has hidden screws beneath the leather-skin/plastic exterior pieces. The teardown also found additional screws under the right-hand plastic and leather-skin covering, plus one deeper screw inside the camera body.
The Sony ZV-E10 II backplate is connected to the camera body by a single ribbon cable. After the exterior screws are removed, disconnecting this ribbon cable allows the backplate to detach from the camera body.

The Sony ZV-E10 II circuit board is removed after disconnecting several ribbon cables and taking out four screws around the PCB perimeter. Once those screws are removed, the circuit board can be lifted from the camera body.

The Sony ZV-E10 II sensor is reached after removing the circuit board, top panel, and main bracket. The heat transfer tape does not need to be removed, and the APS-C sensor is held down by three screws.

Table of contents
Related Article

Product Spotlight

Comments

Leave a Reply

Your email address will not be published. Required fields are marked *

Related products

Kolari’s EU store
is now open! 

Filters and accessories now shipping from Slovenia with VAT included and quick DHL shipping.
kolaris-eu-store_is-now-open
Skip to content