FREE SHIPPING FOR ALL DOMESTIC ORDERS OVER $100 - NO SALES TAX OUTSIDE OF NJ!
0

Canon EOS R100 Teardown

Table of content

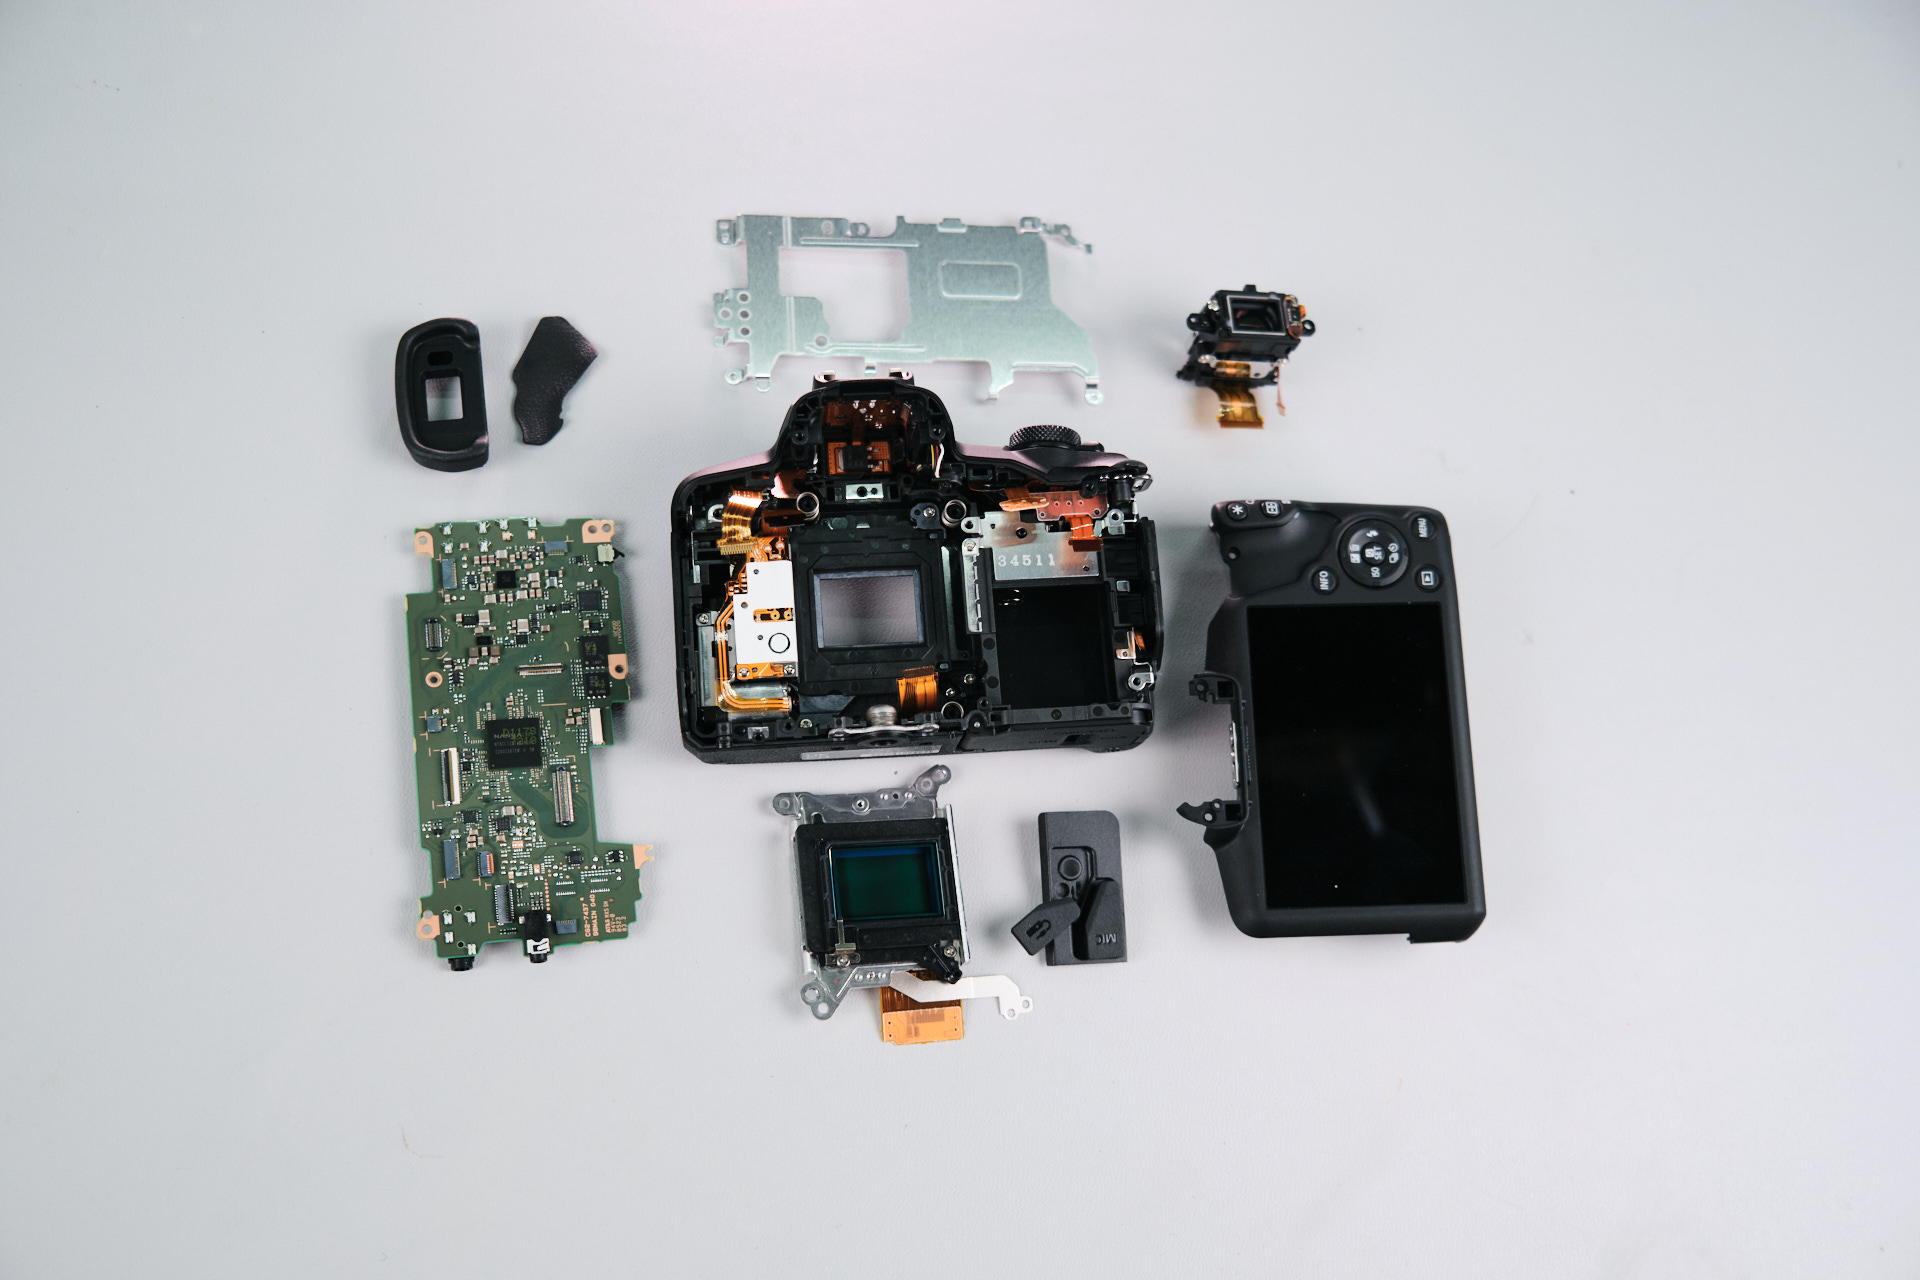
The Canon EOS R100 fills the role of a budget RF-mount camera, coming in at $480 MSRP. The camera comes in a much smaller package—almost to the point where it could be considered a toy—but it has many features found in Canon’s upper-tier cameras. Let’s see how it compares to the rest of the RF-mount cameras in Canon’s lineup.

Canon EOS R100 Specs and APS-C Sensor

The specifications of the Canon EOS R100 include a 24.1 MP CMOS APS-C sensor, 4K (cropped) movie at up to 24 fps and Full HD movie at up to 60 fps, Dual Pixel CMOS AF, as well as Creative Filters and Creative Assist features. As we will soon see, the EOS R100 is similar to the EOS R10, with the main difference (externally) being the fixed LCD with the former and a flippable LCD with the latter.

DSCF0233 1
DSCF0234 1
DSCF0236 1
DSCF0237 1

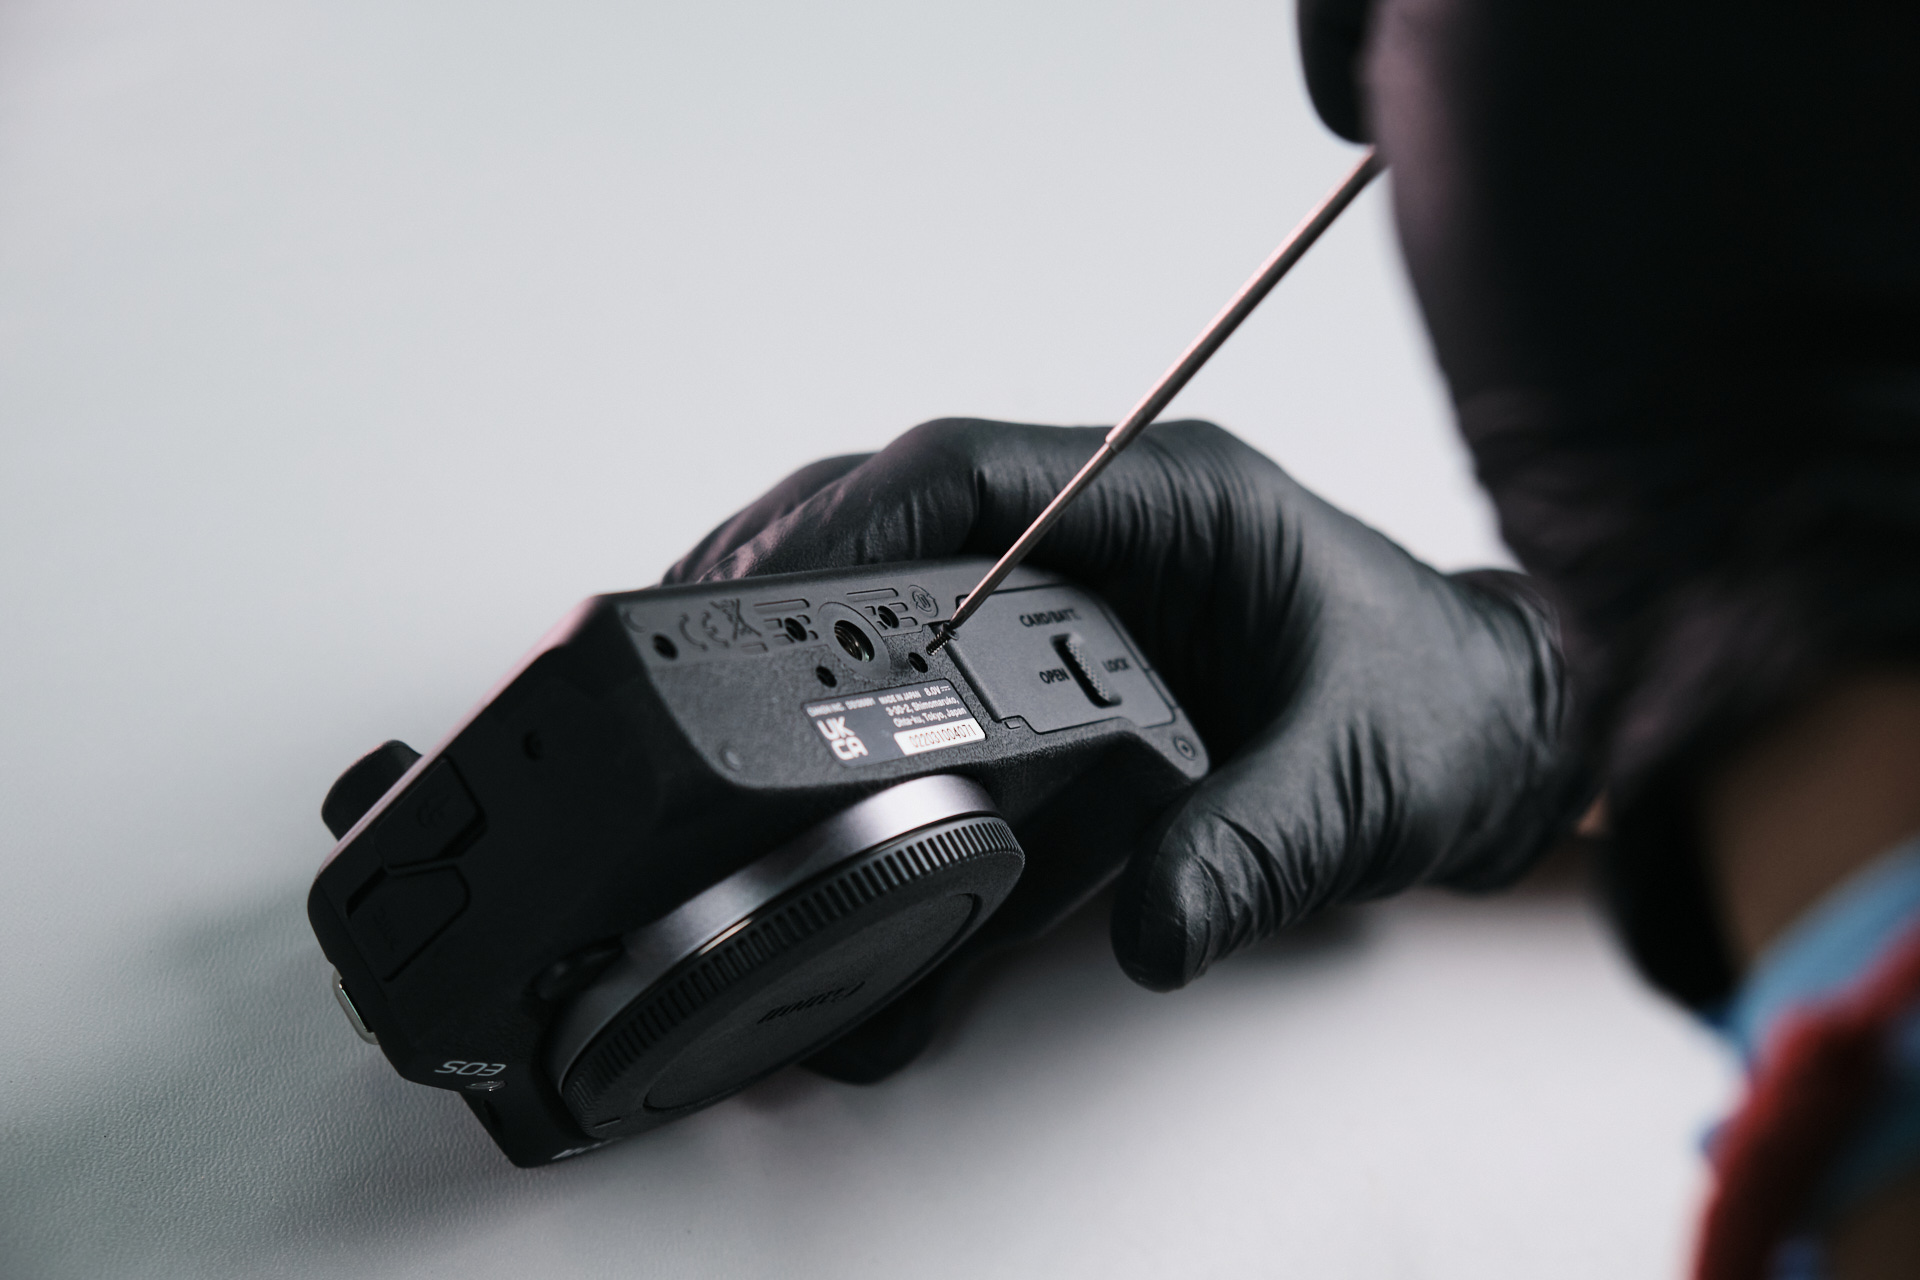
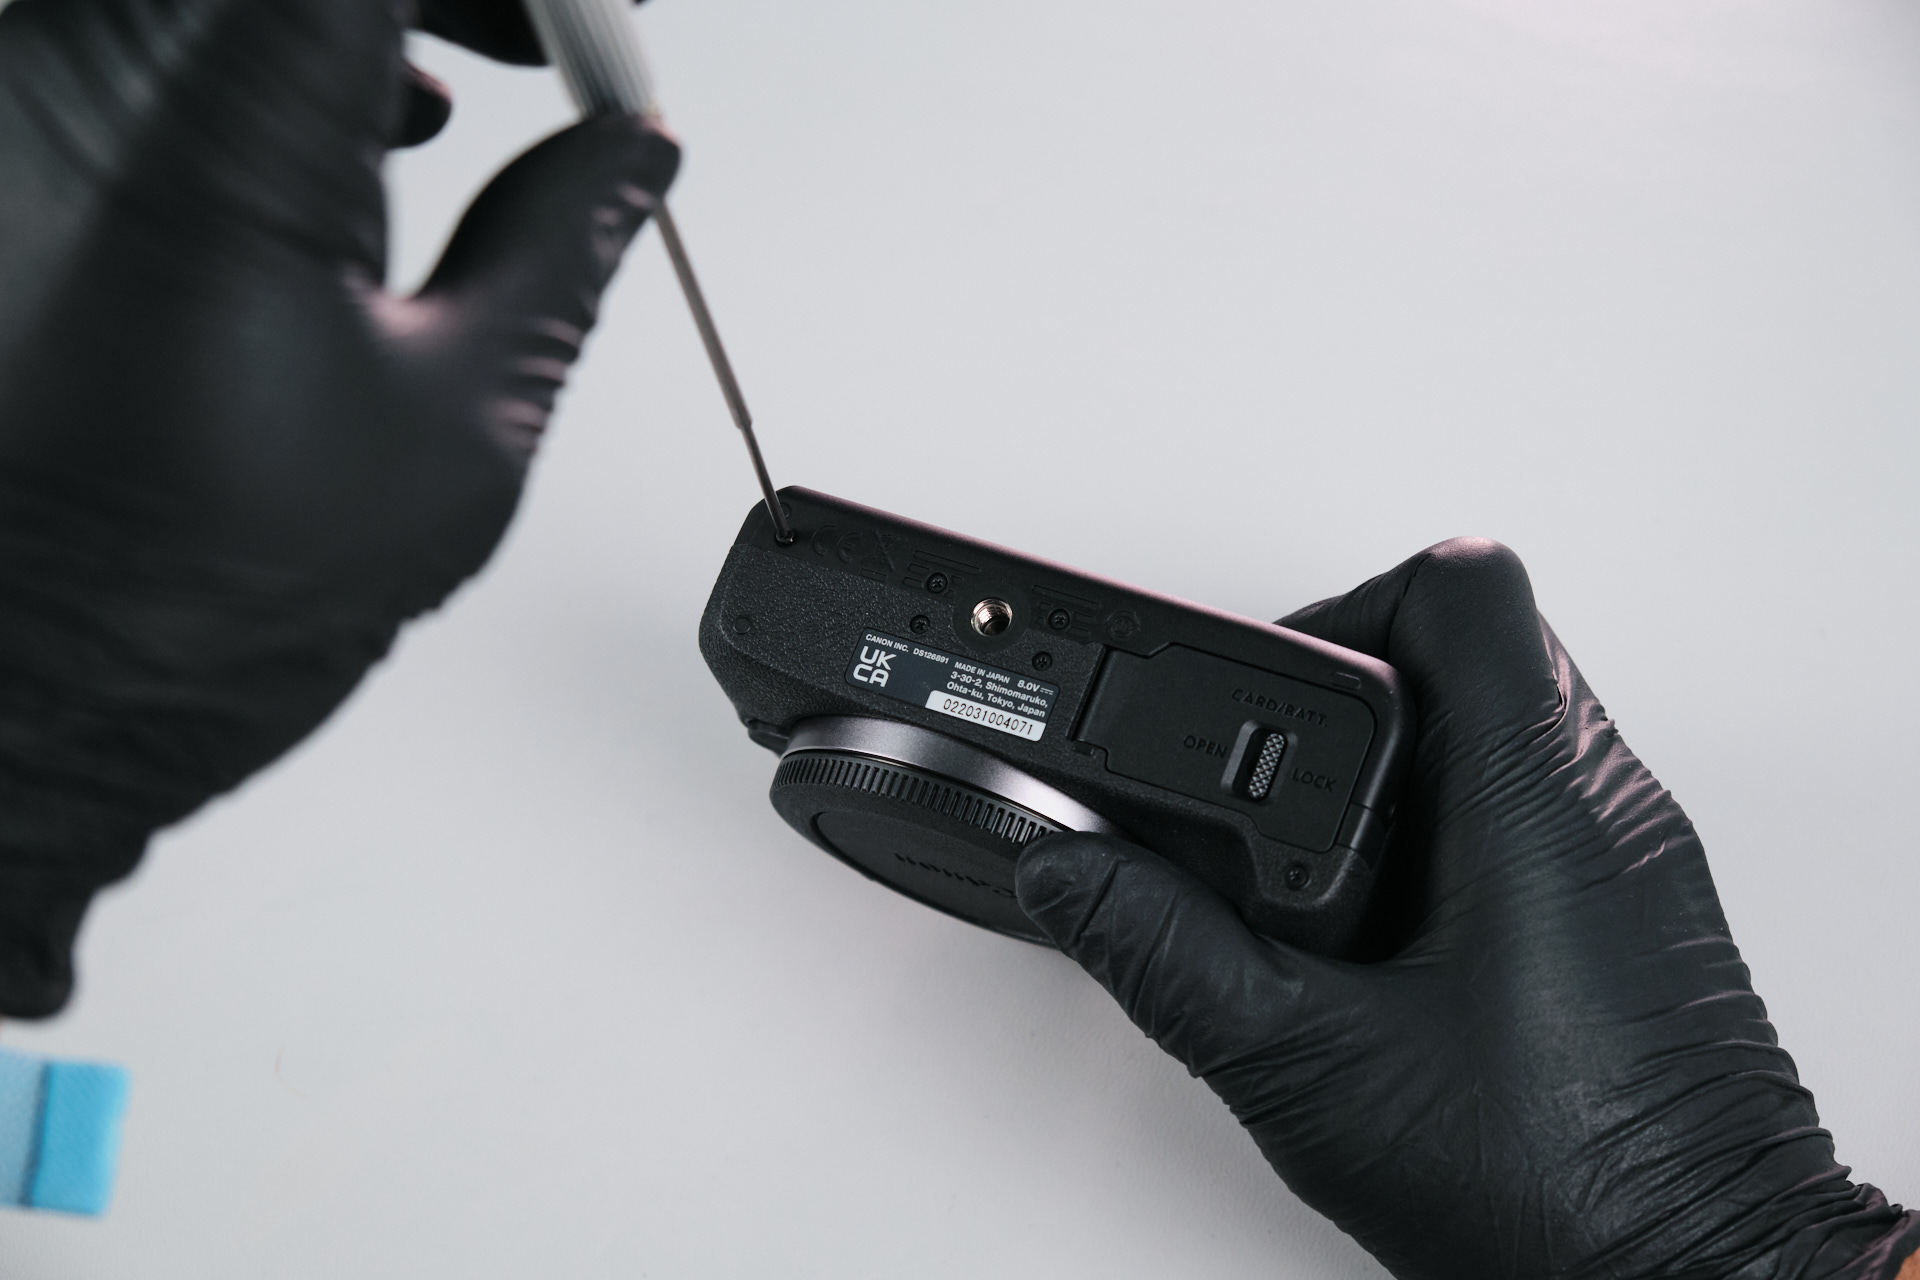
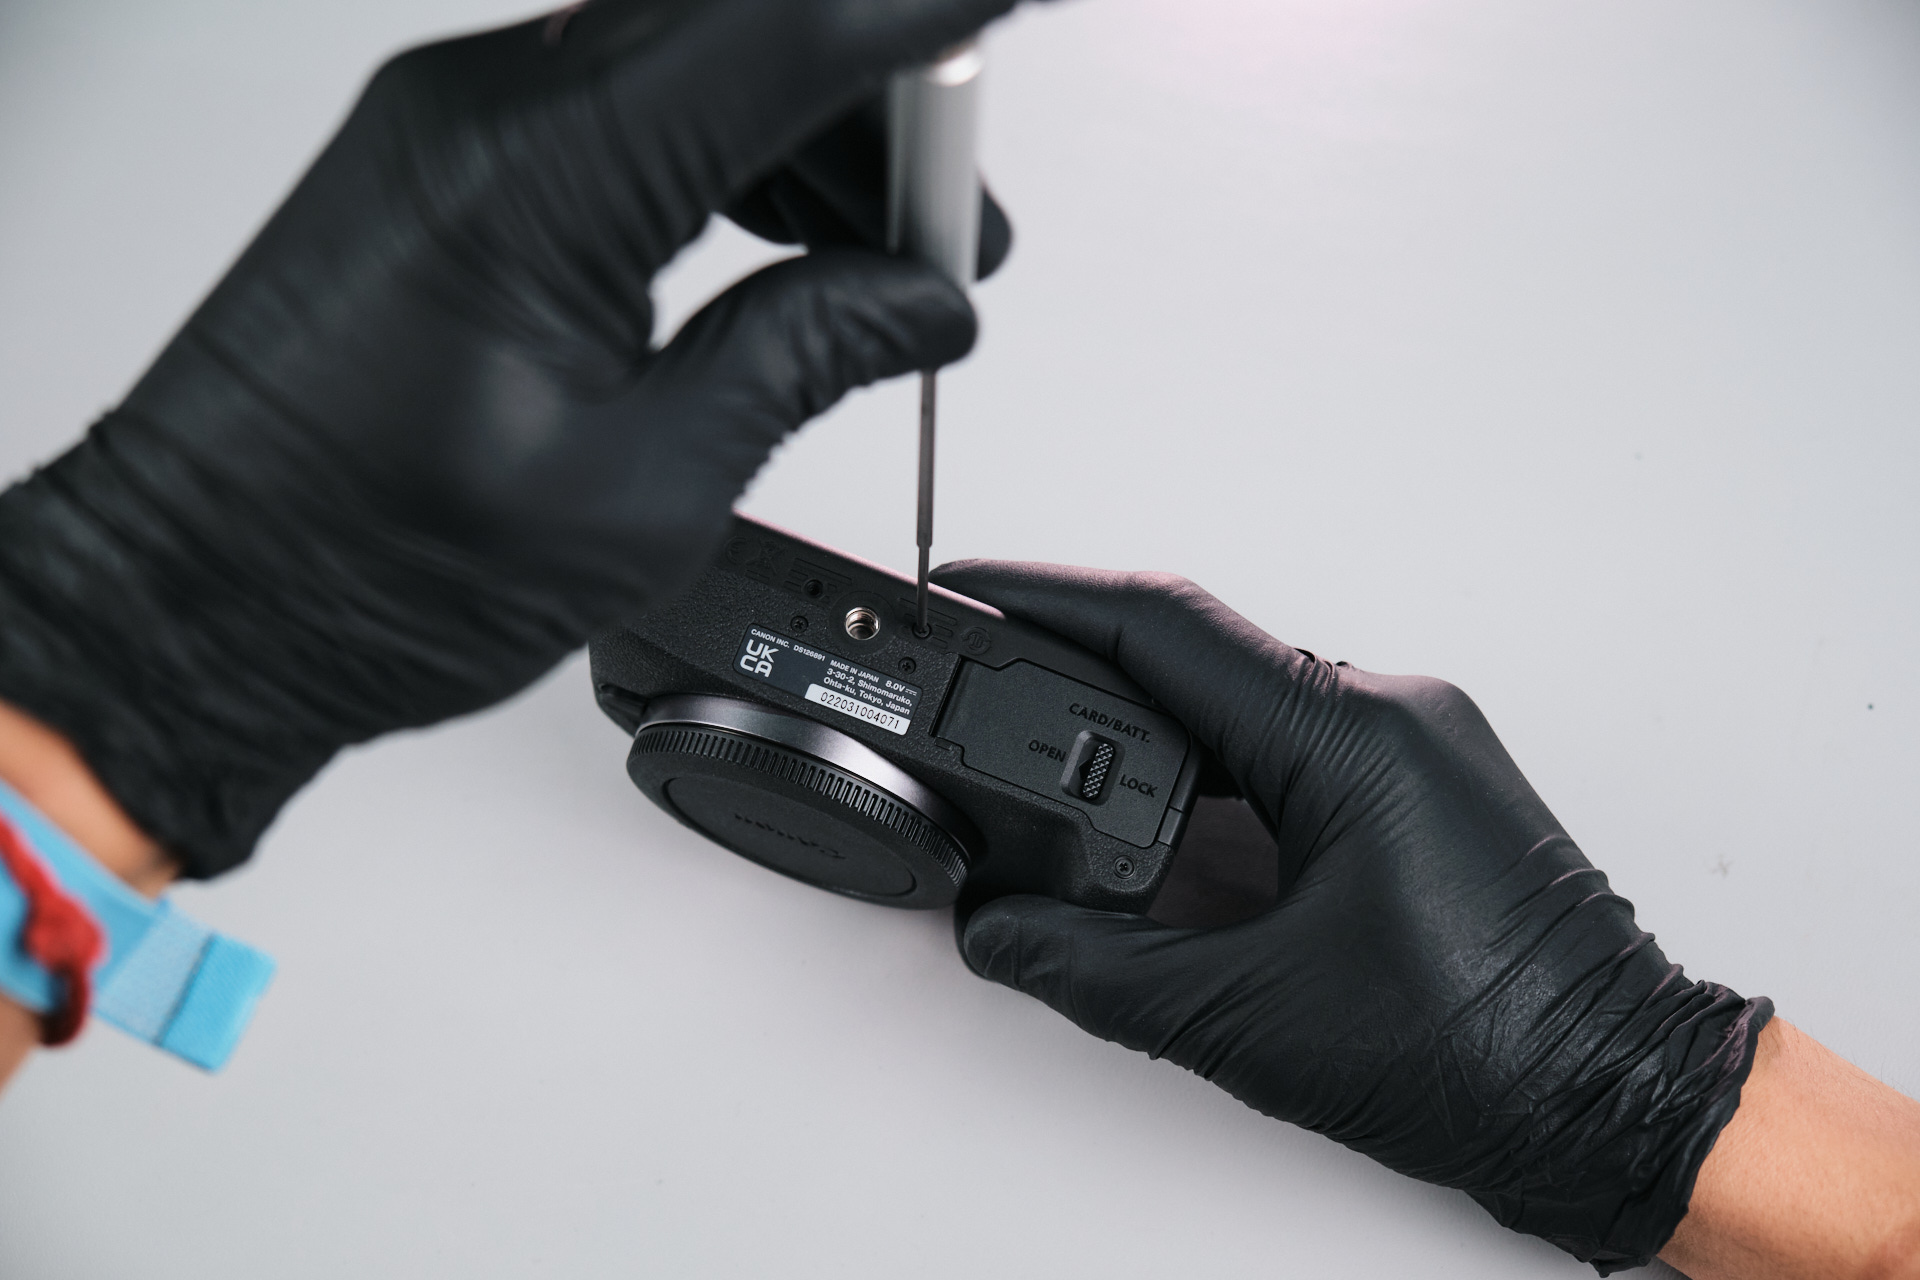
Starting the Canon R100 Teardown With the Baseplate

At the base of the camera, six Philips screws were unfastened to remove the baseplate.

DSCF0239 1
DSCF0240 1

Removing Port Side Screws and Dust Cap Trim Cover

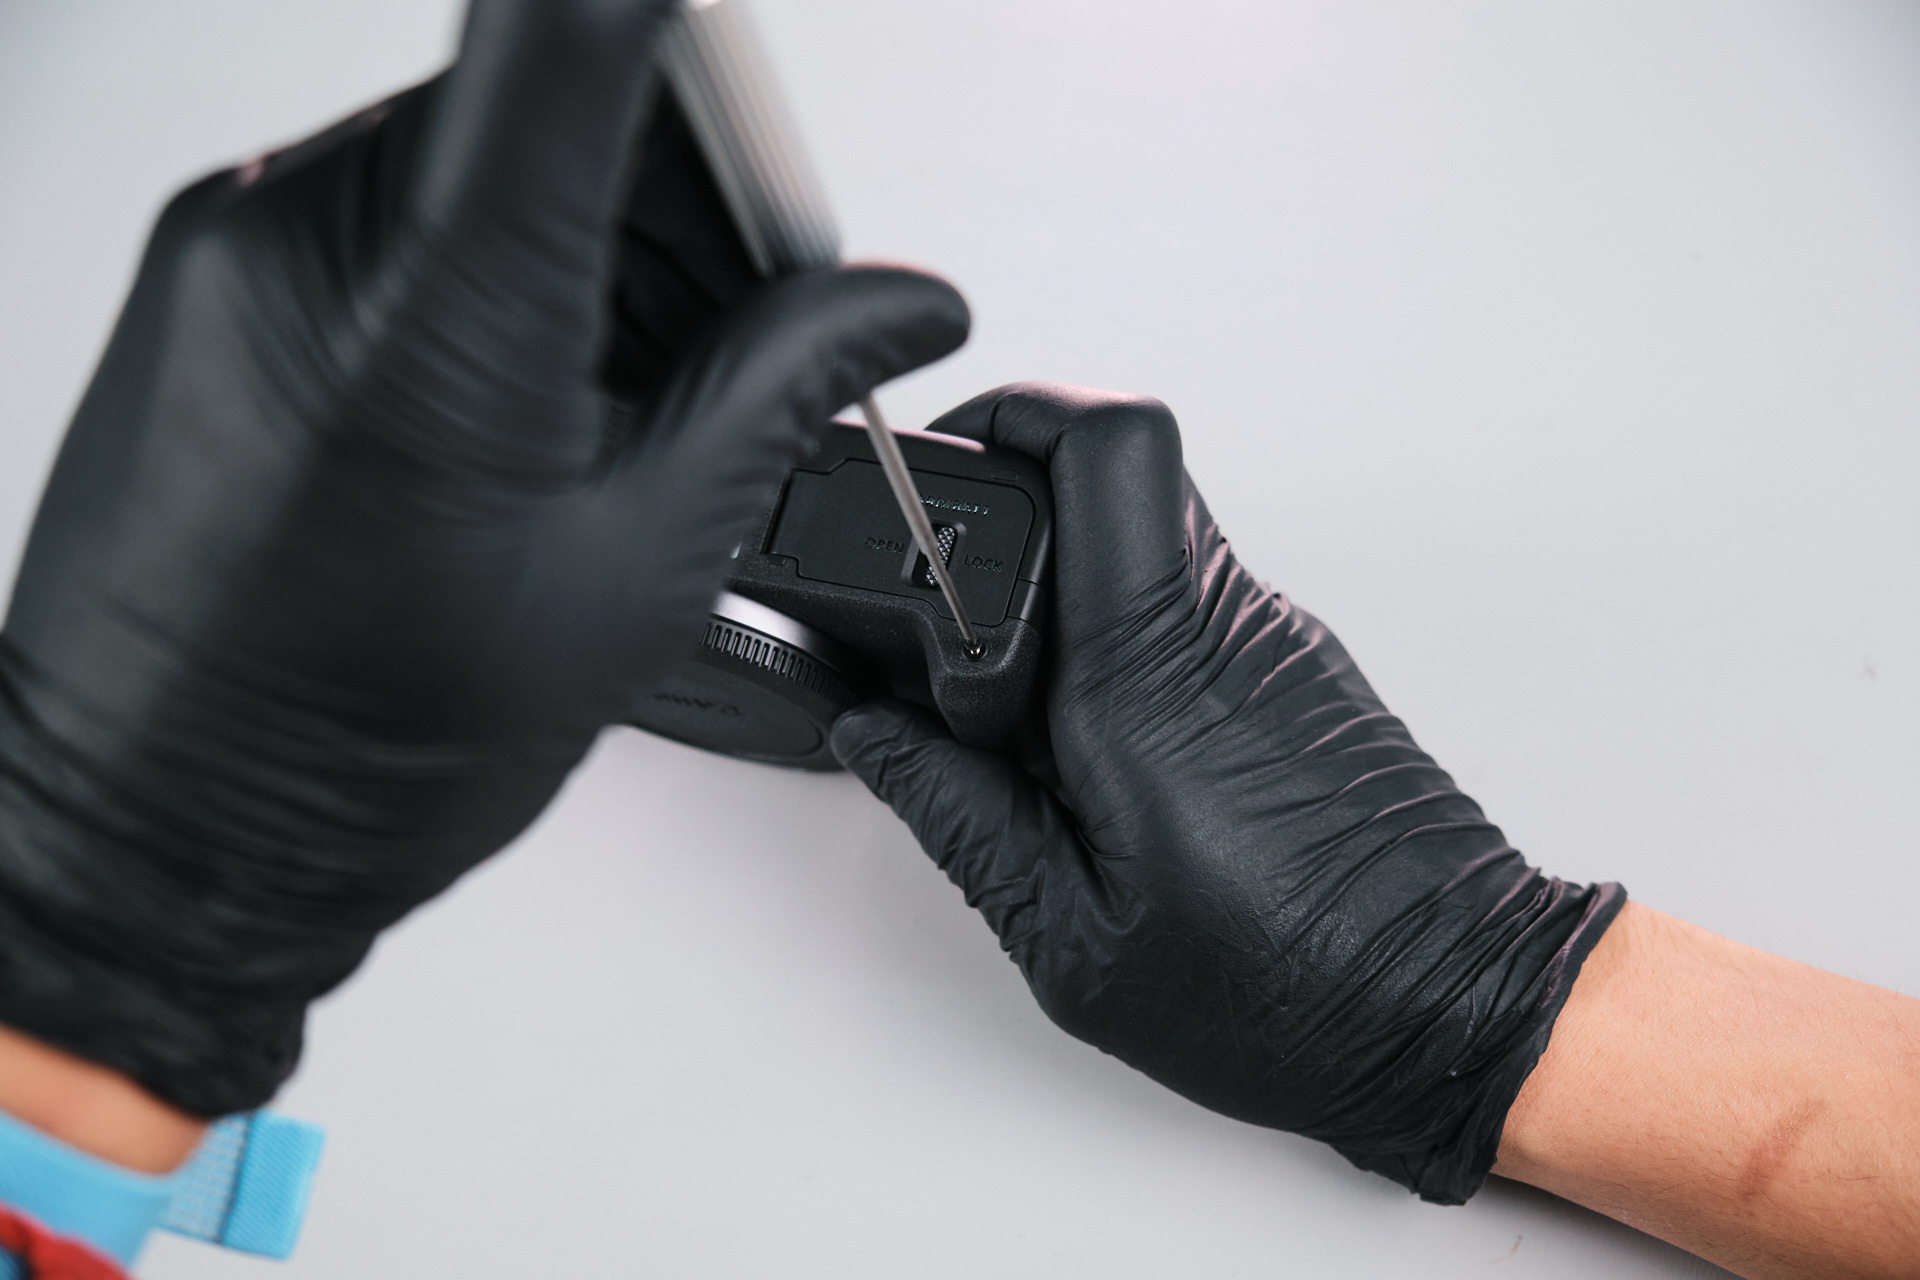
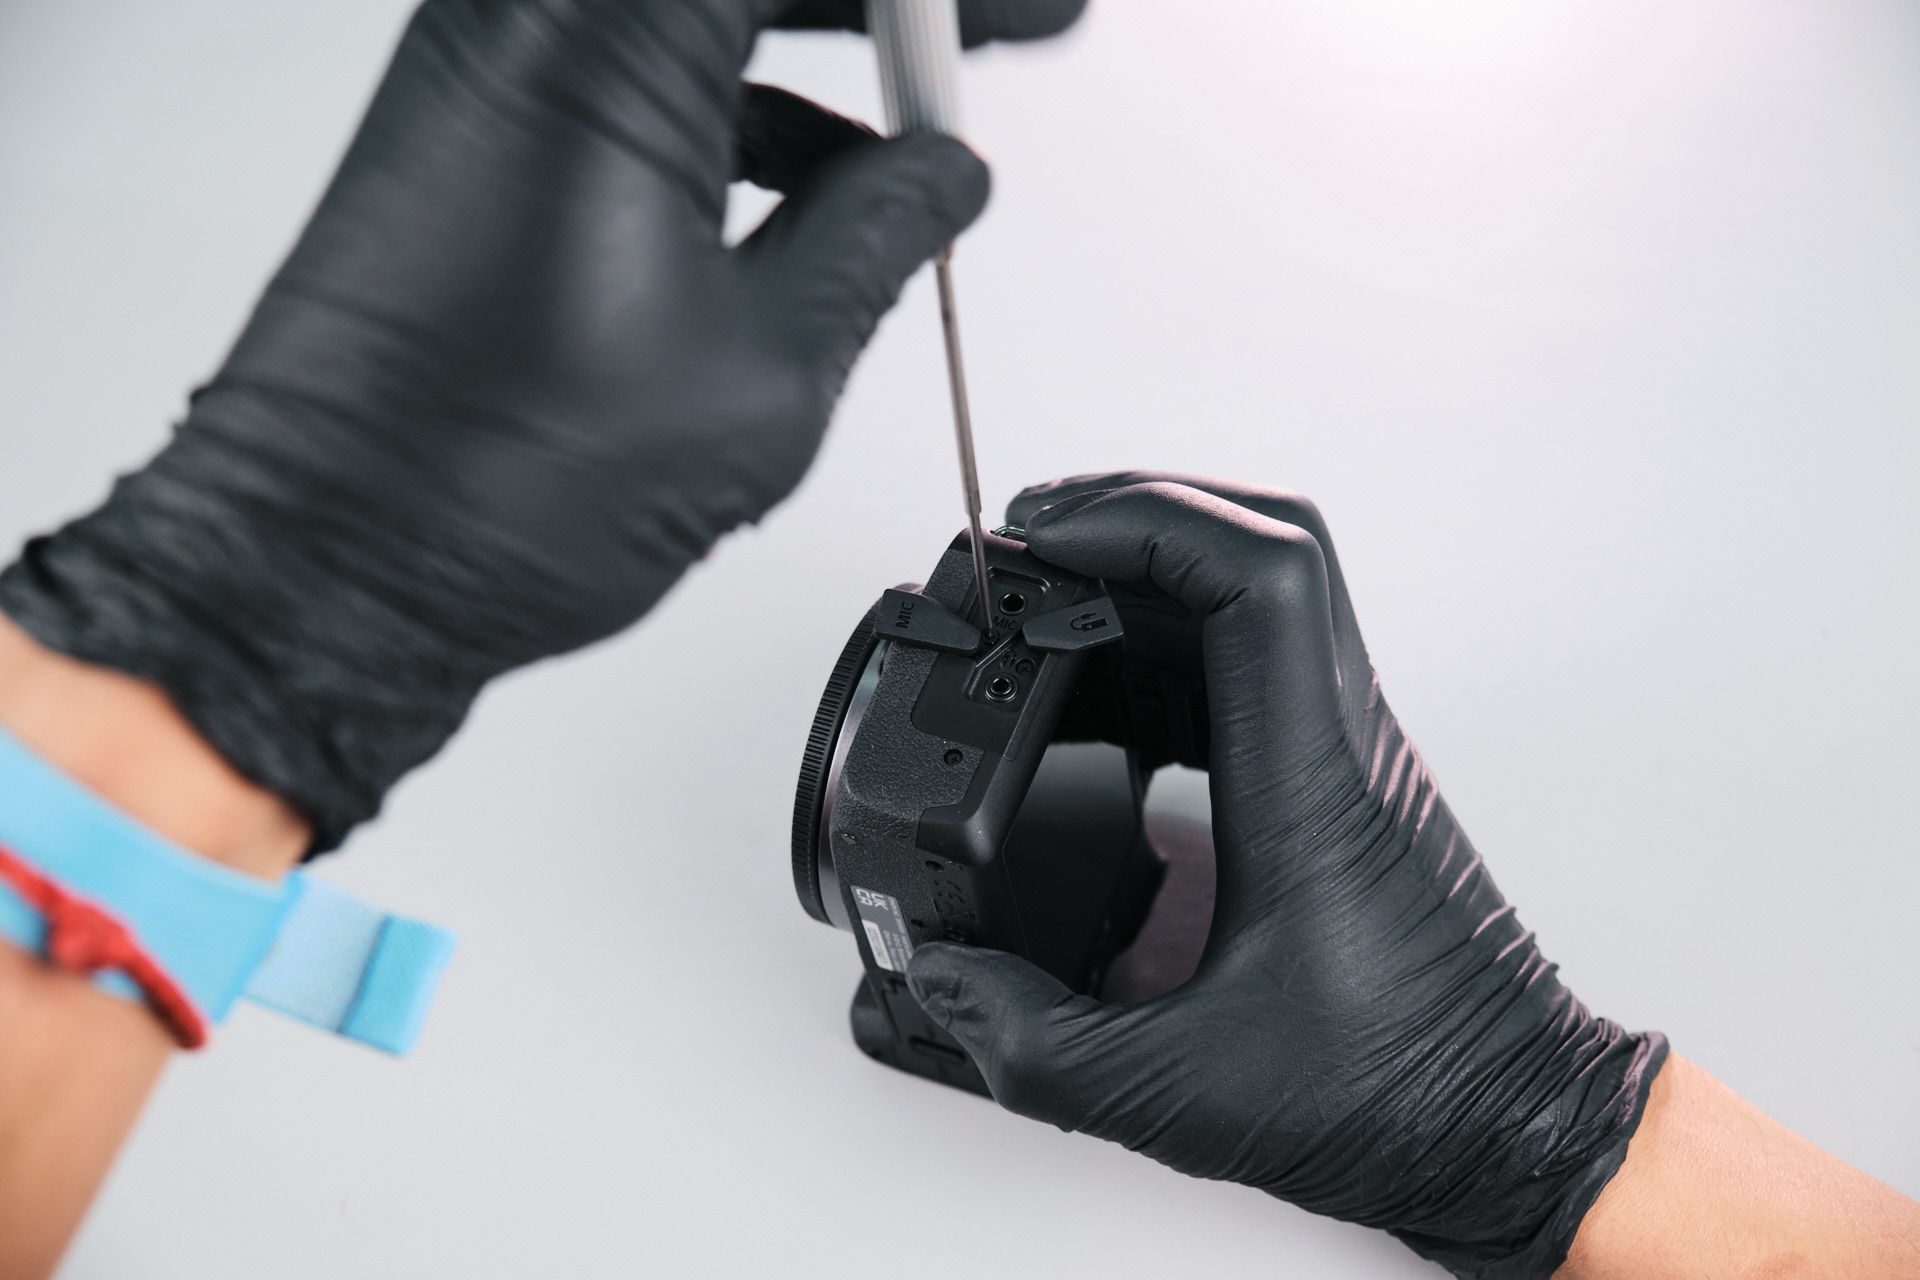
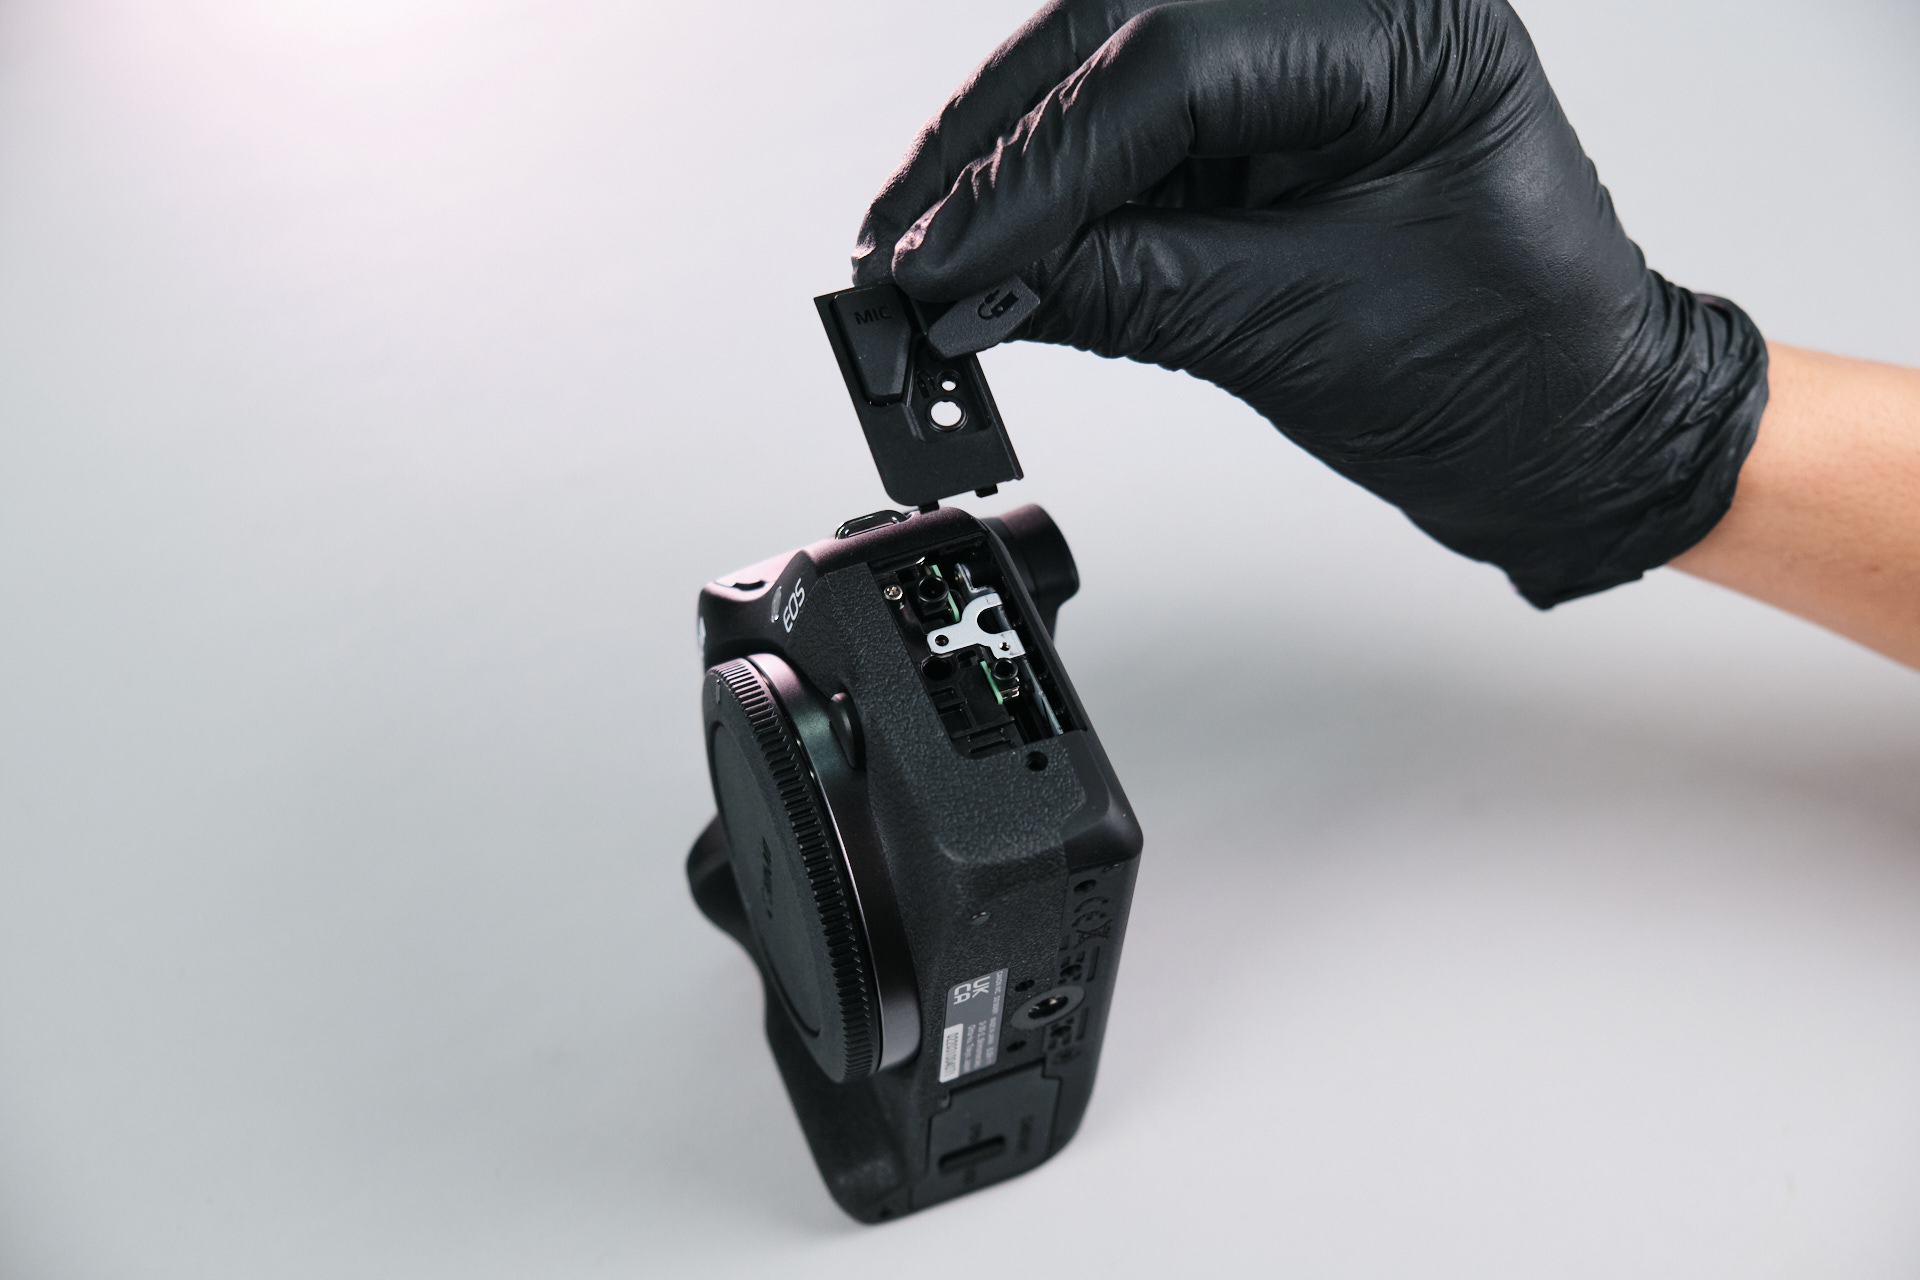
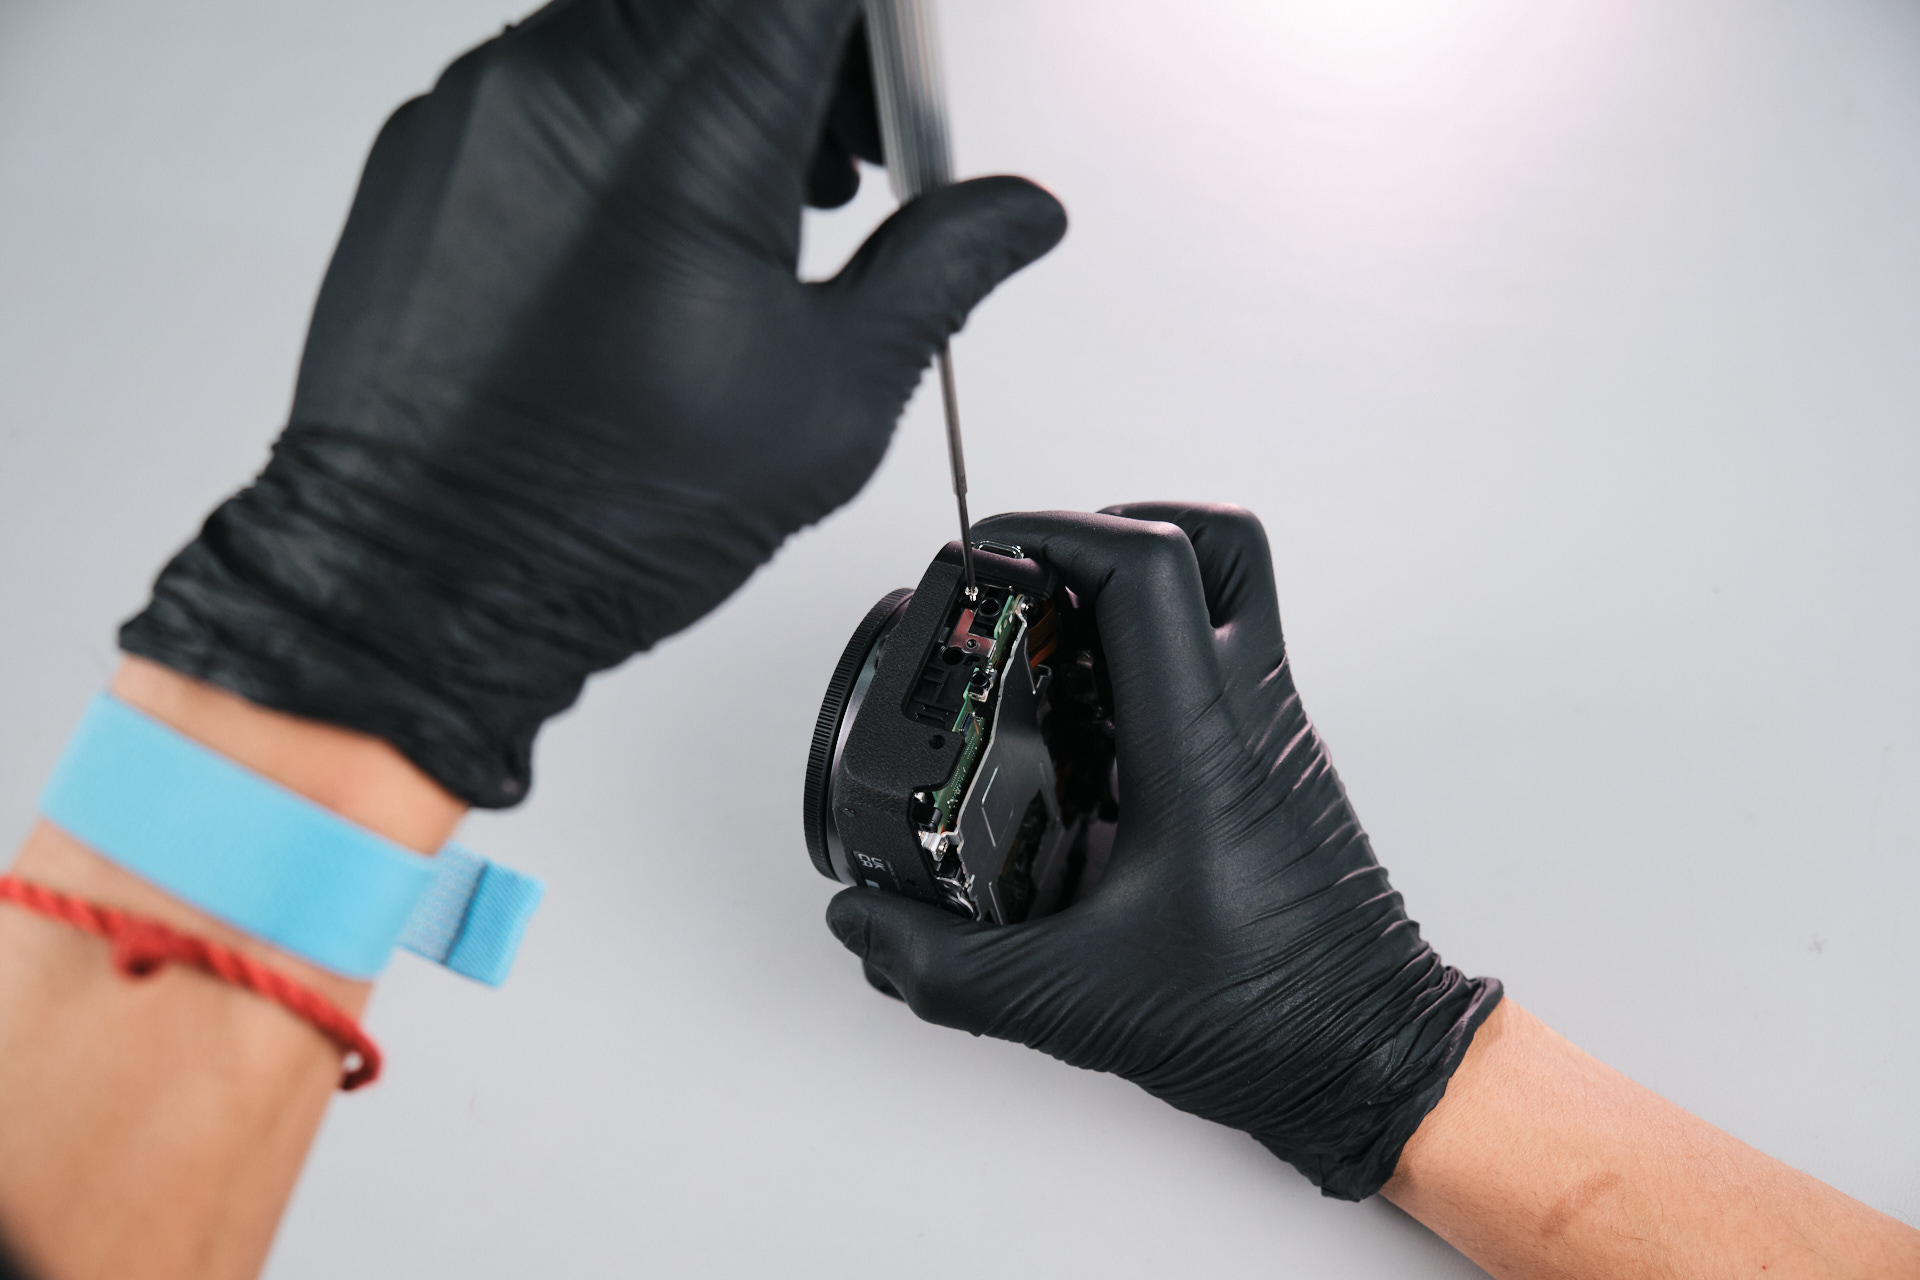
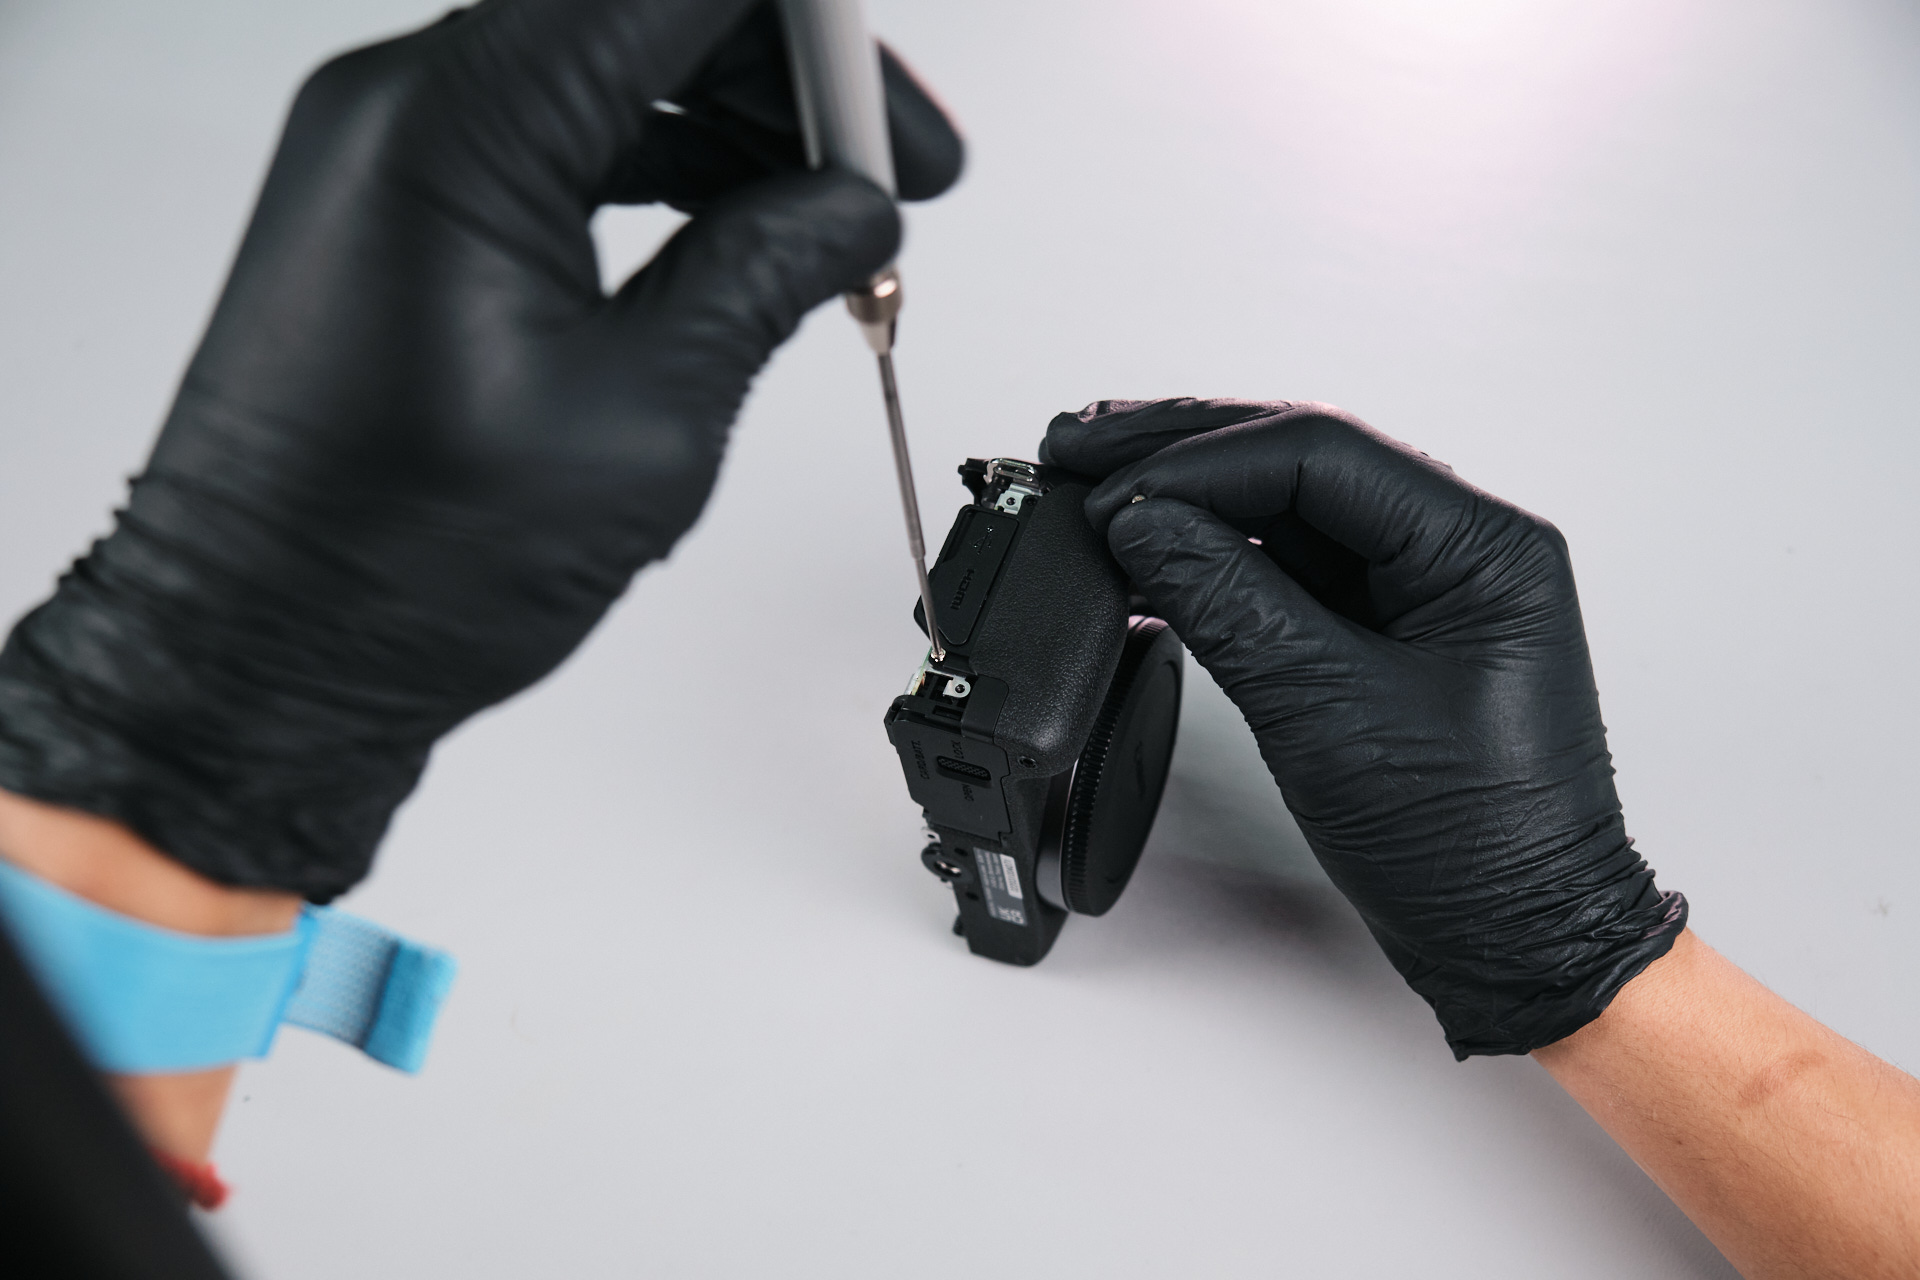
On the left side, two screws were removed under the dust caps and one screw under the remote control terminal. 

DSCF0242 1

After removing the screws, the dust cap trim cover could come off.

DSCF0243 1
DSCF0244 1
DSCF0245 1

Removing the Canon R100 Eyecup Screws

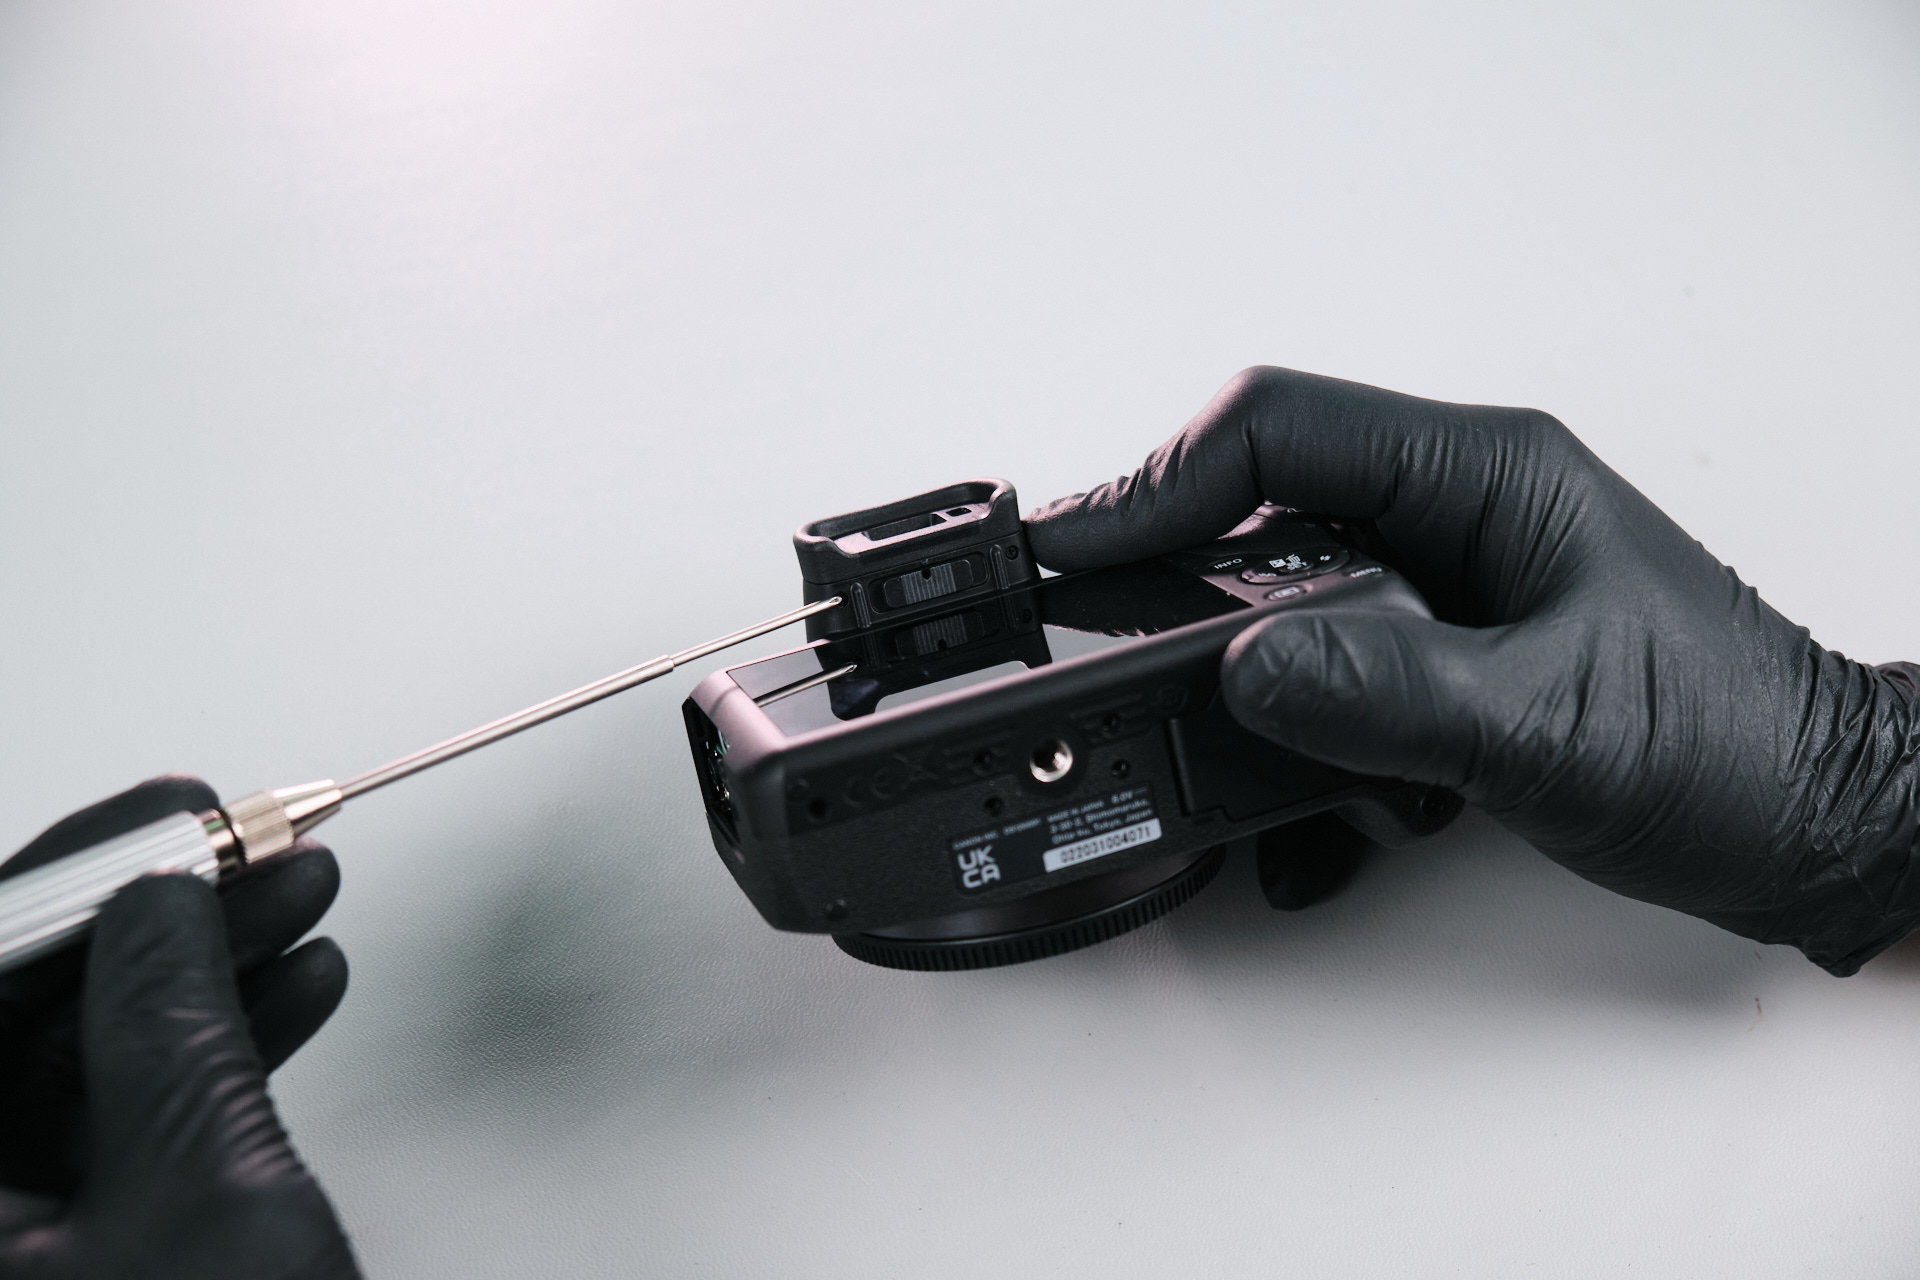
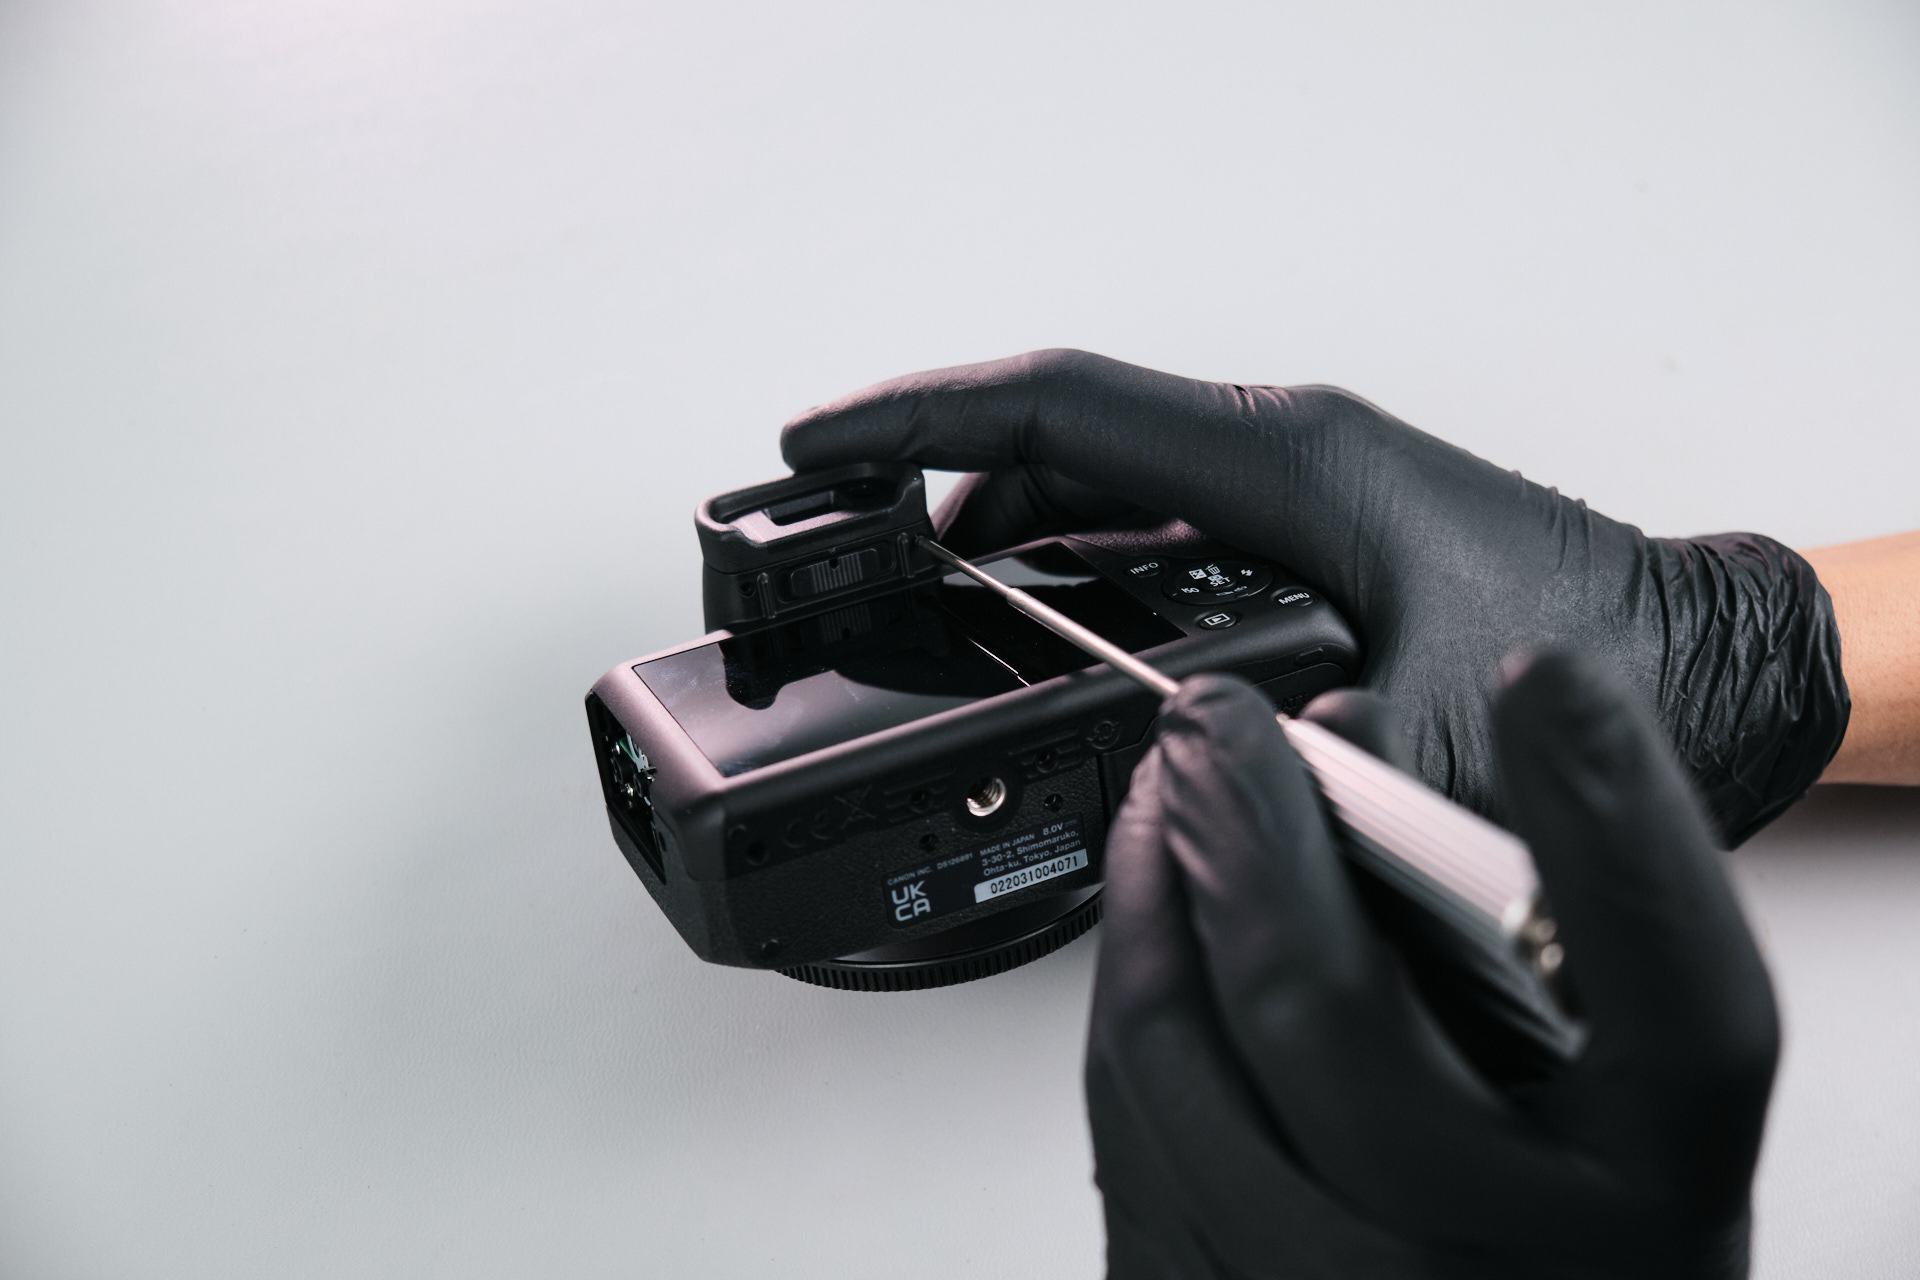
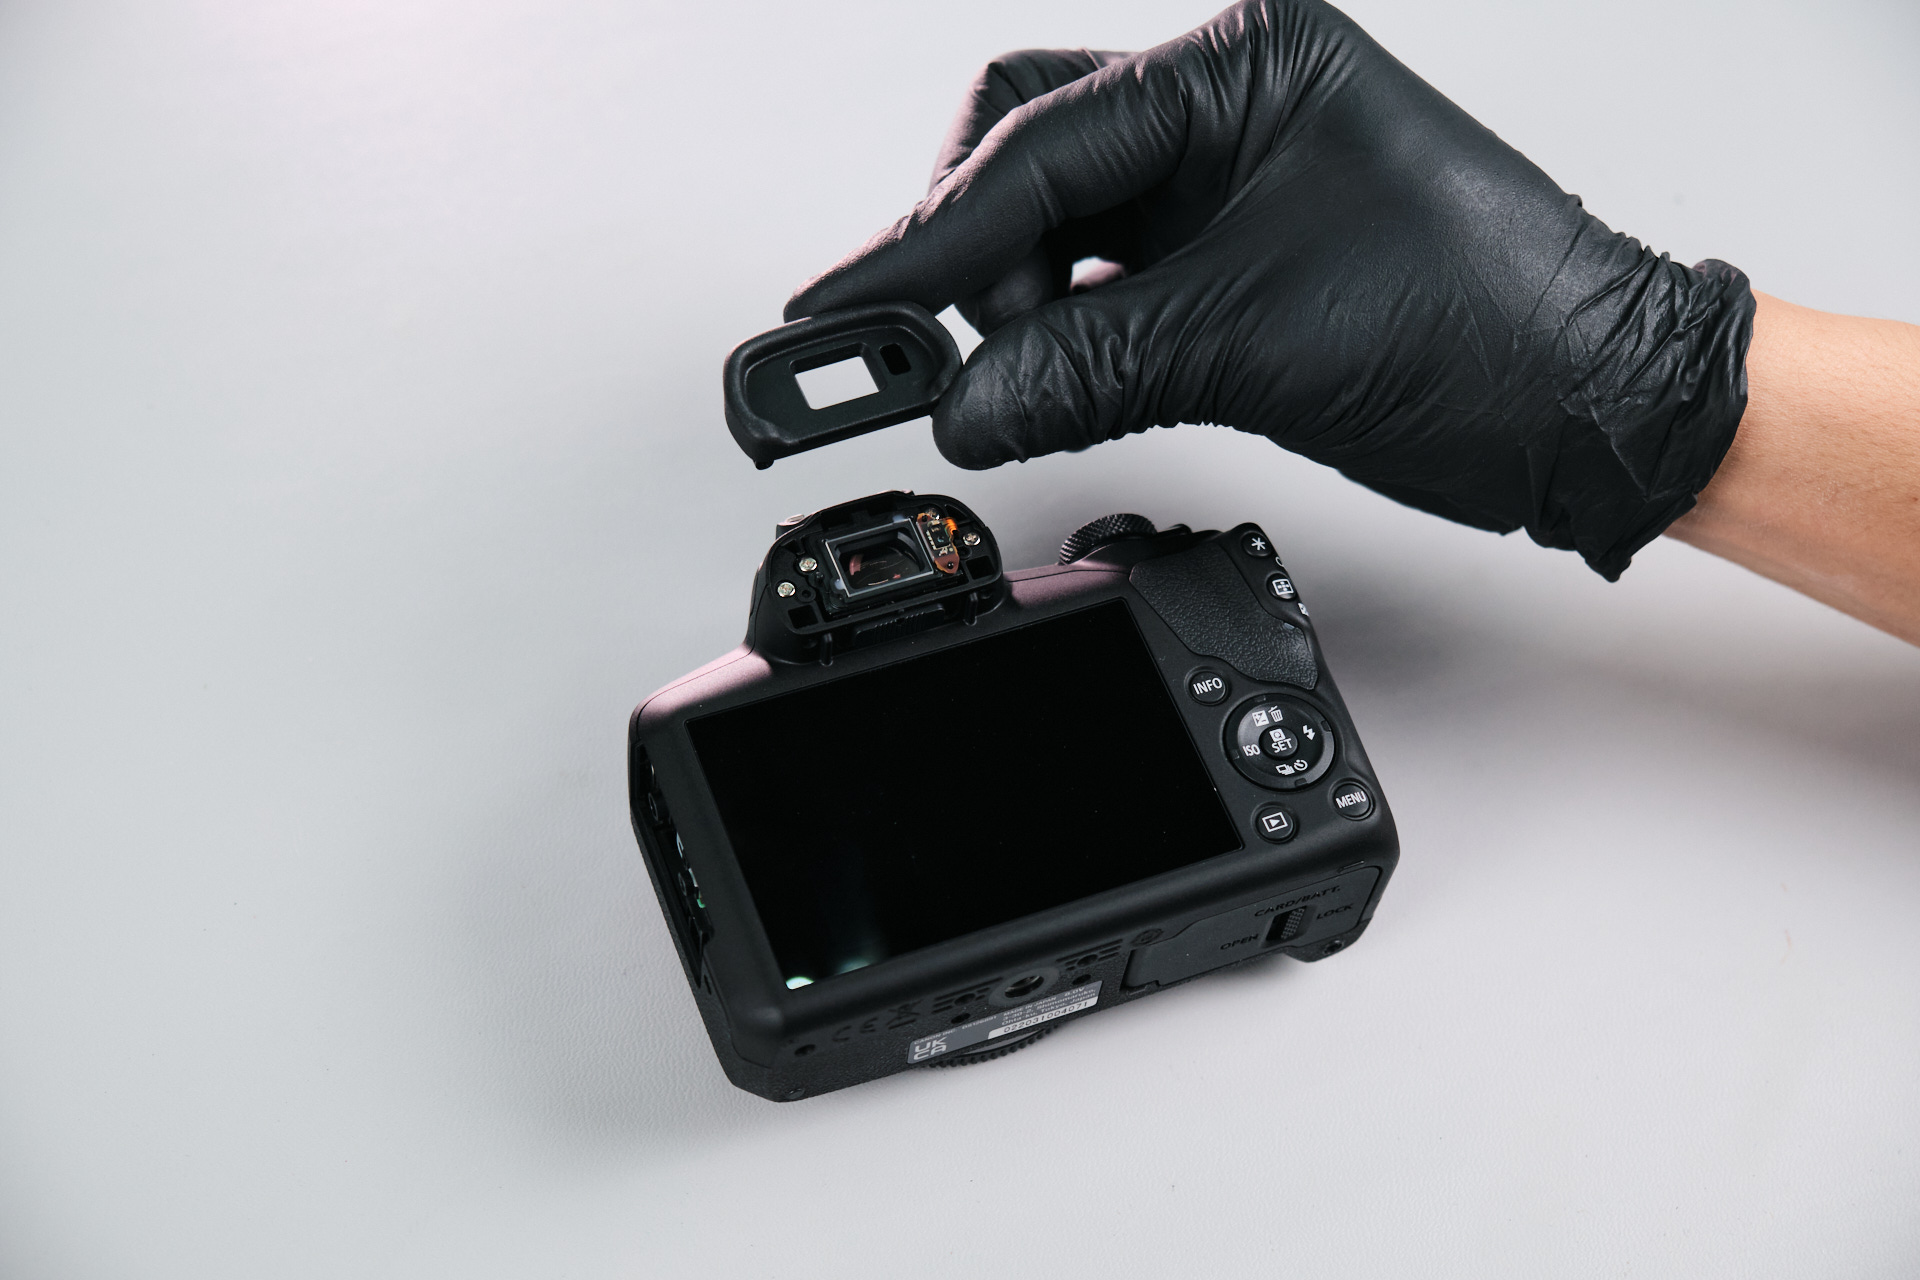
The eyecup of the camera was held down with two screws. Removing these screws allowed us to take off the eyecup.

DSCF0246 1
DSCF0247 1
DSCF0248 1

Removing Right Side Port Screws

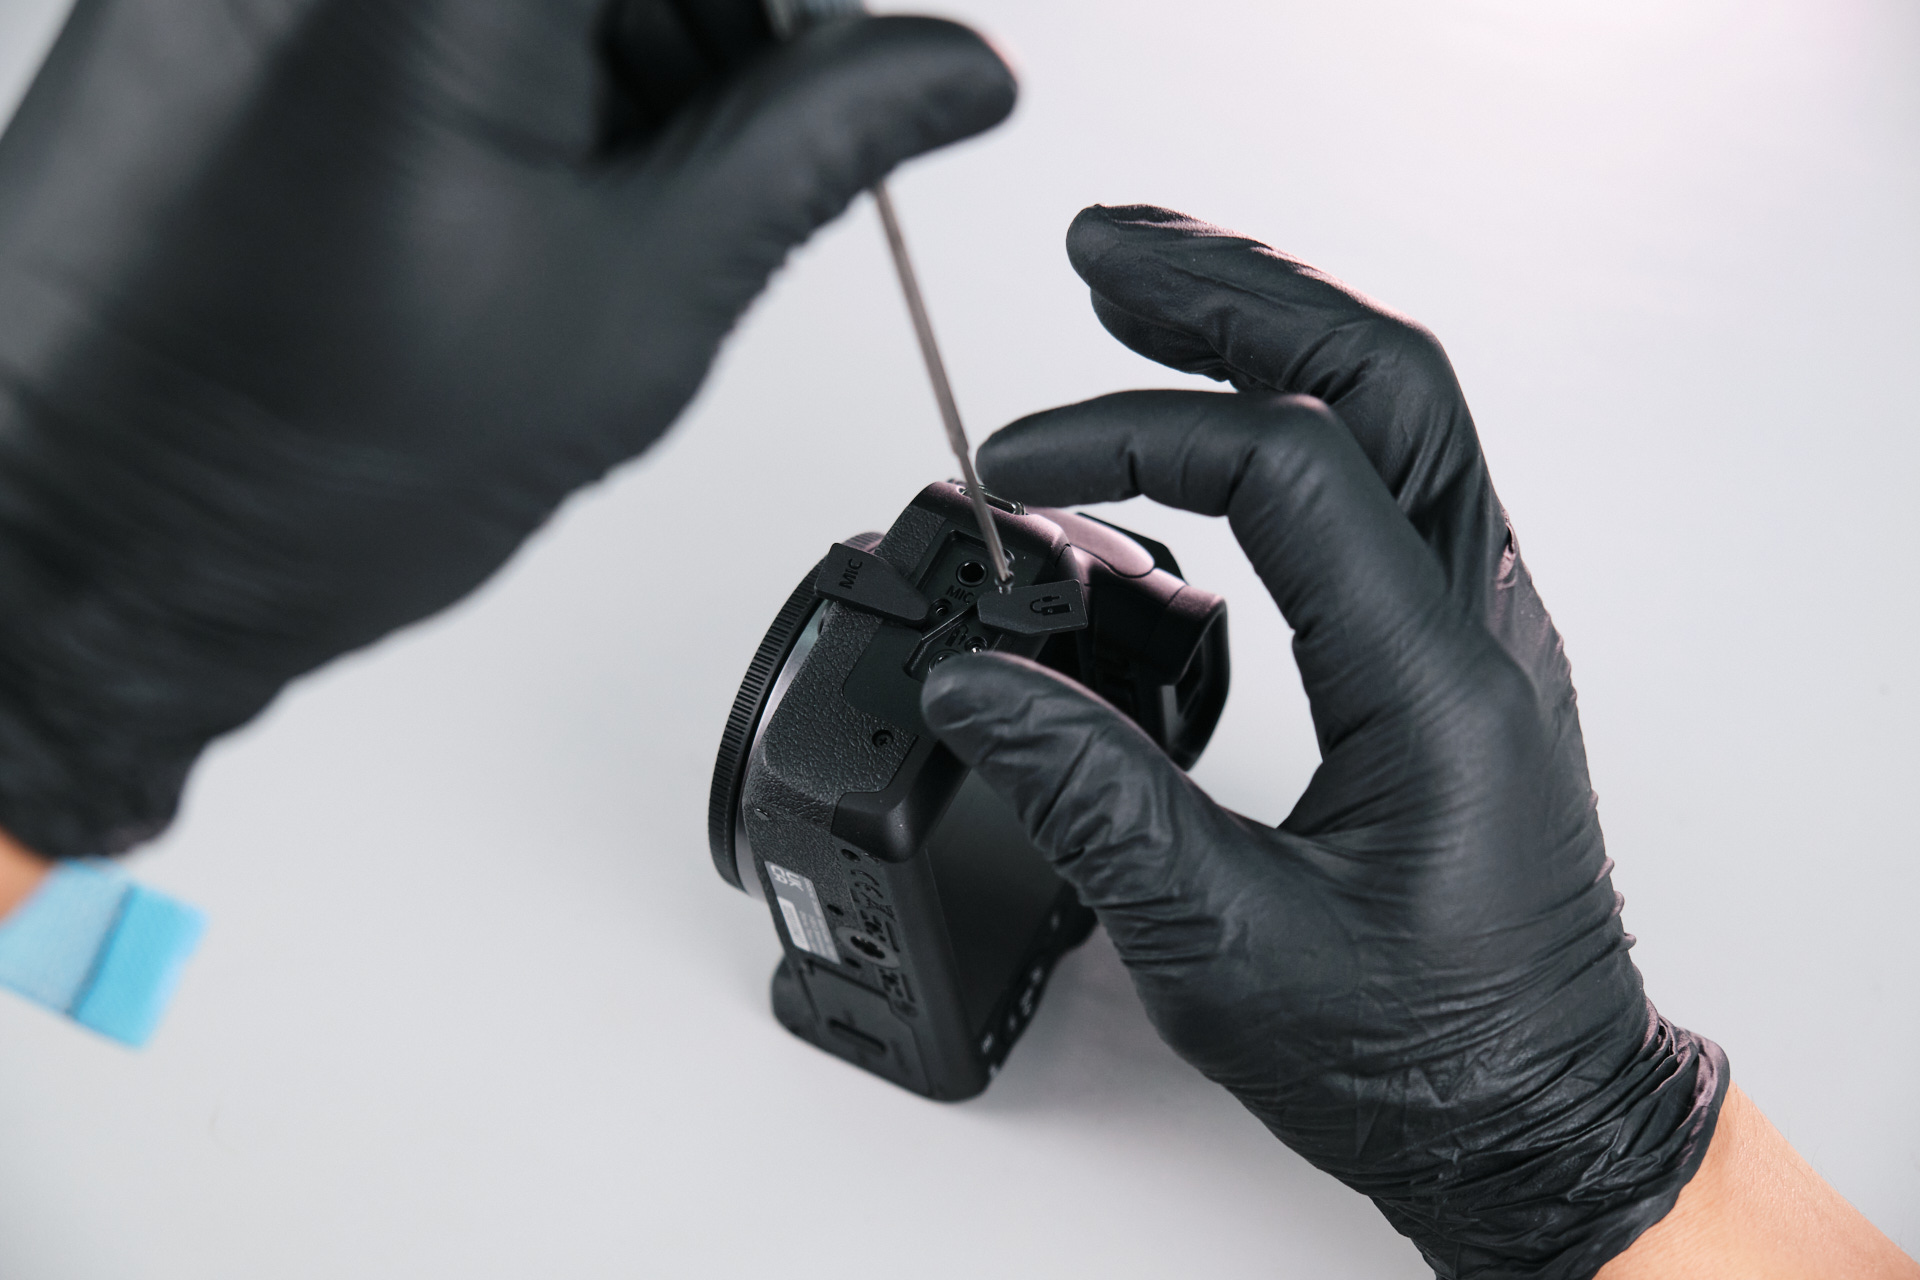
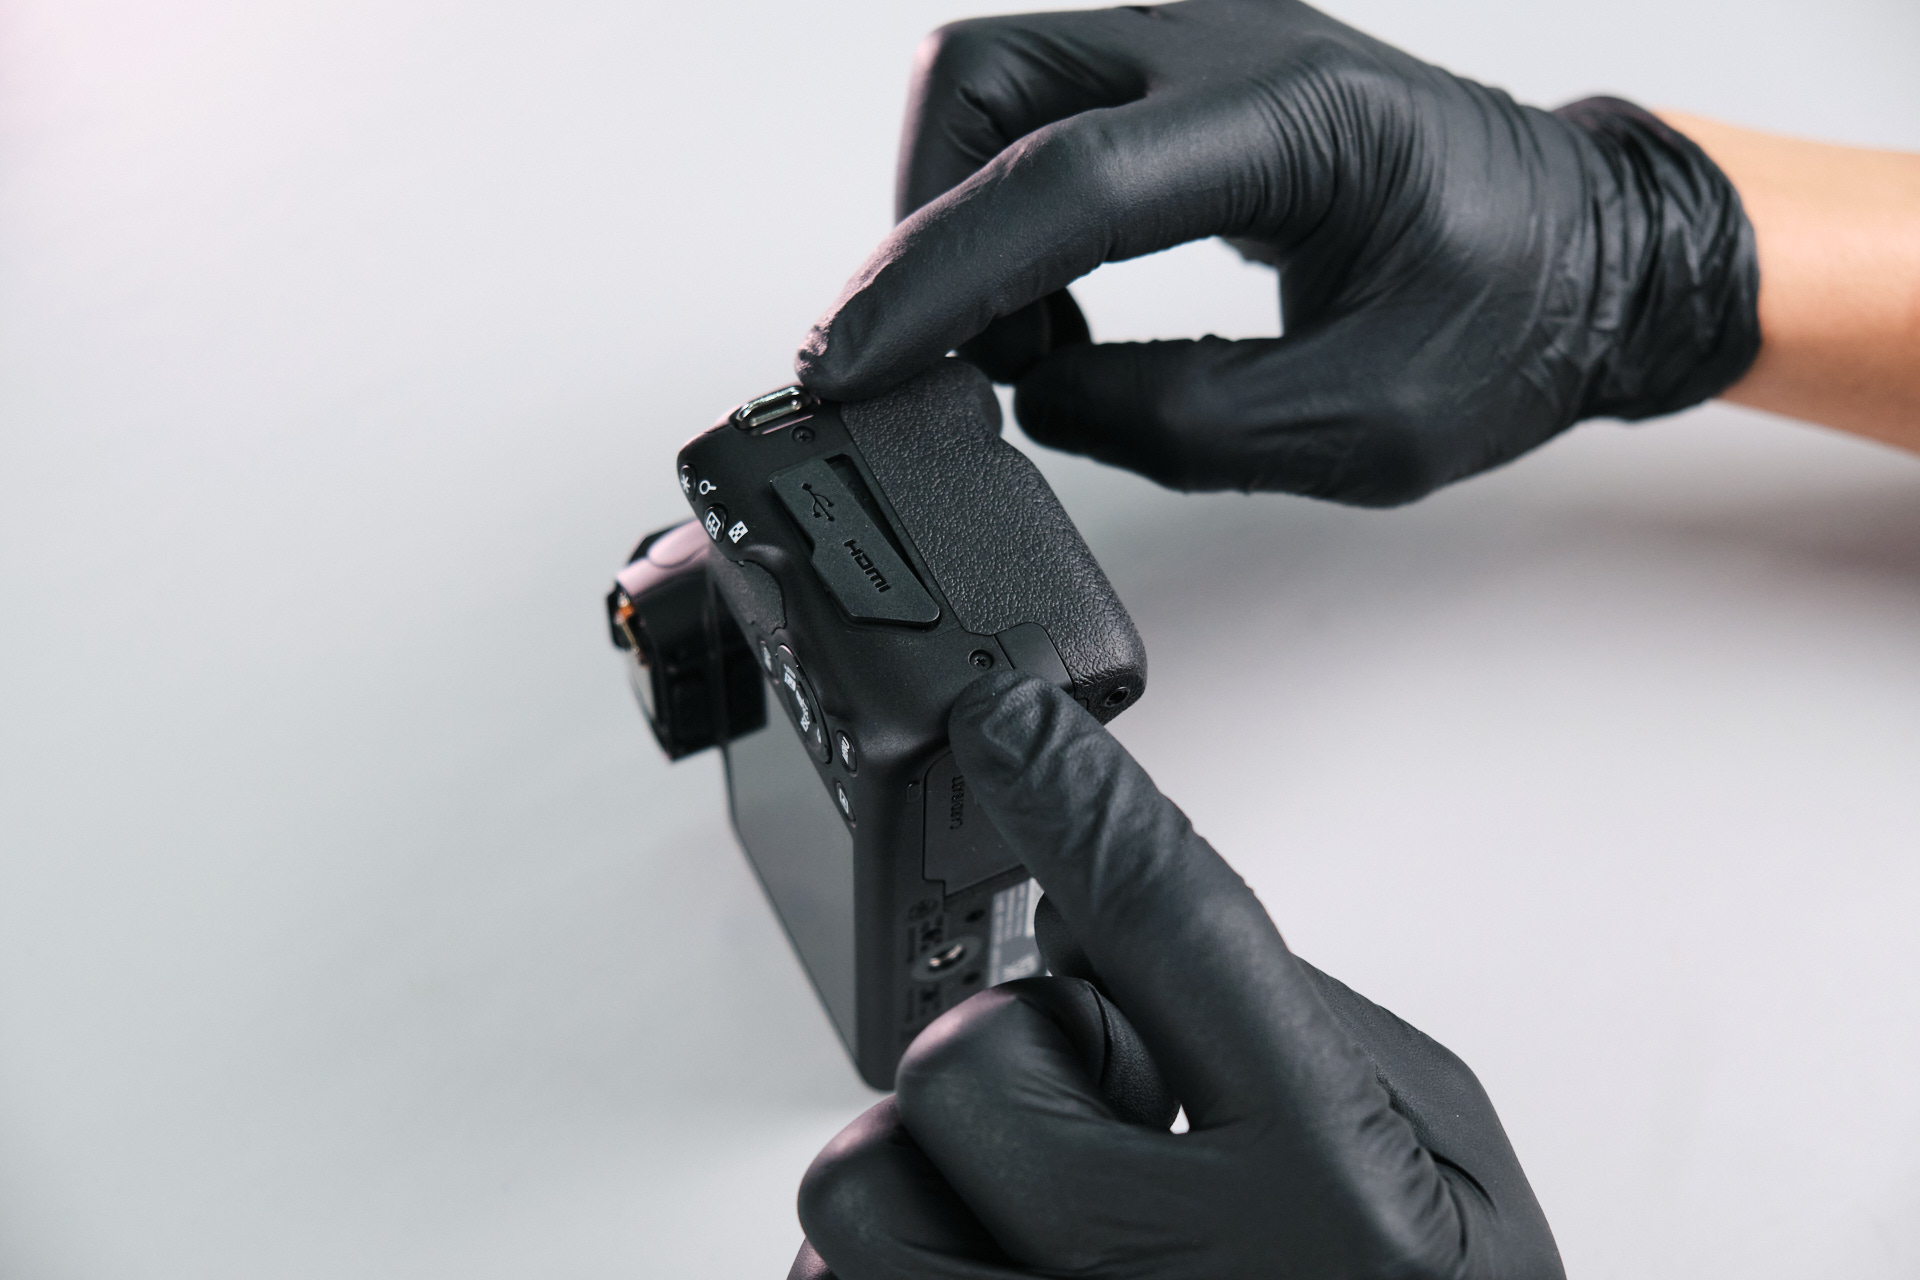
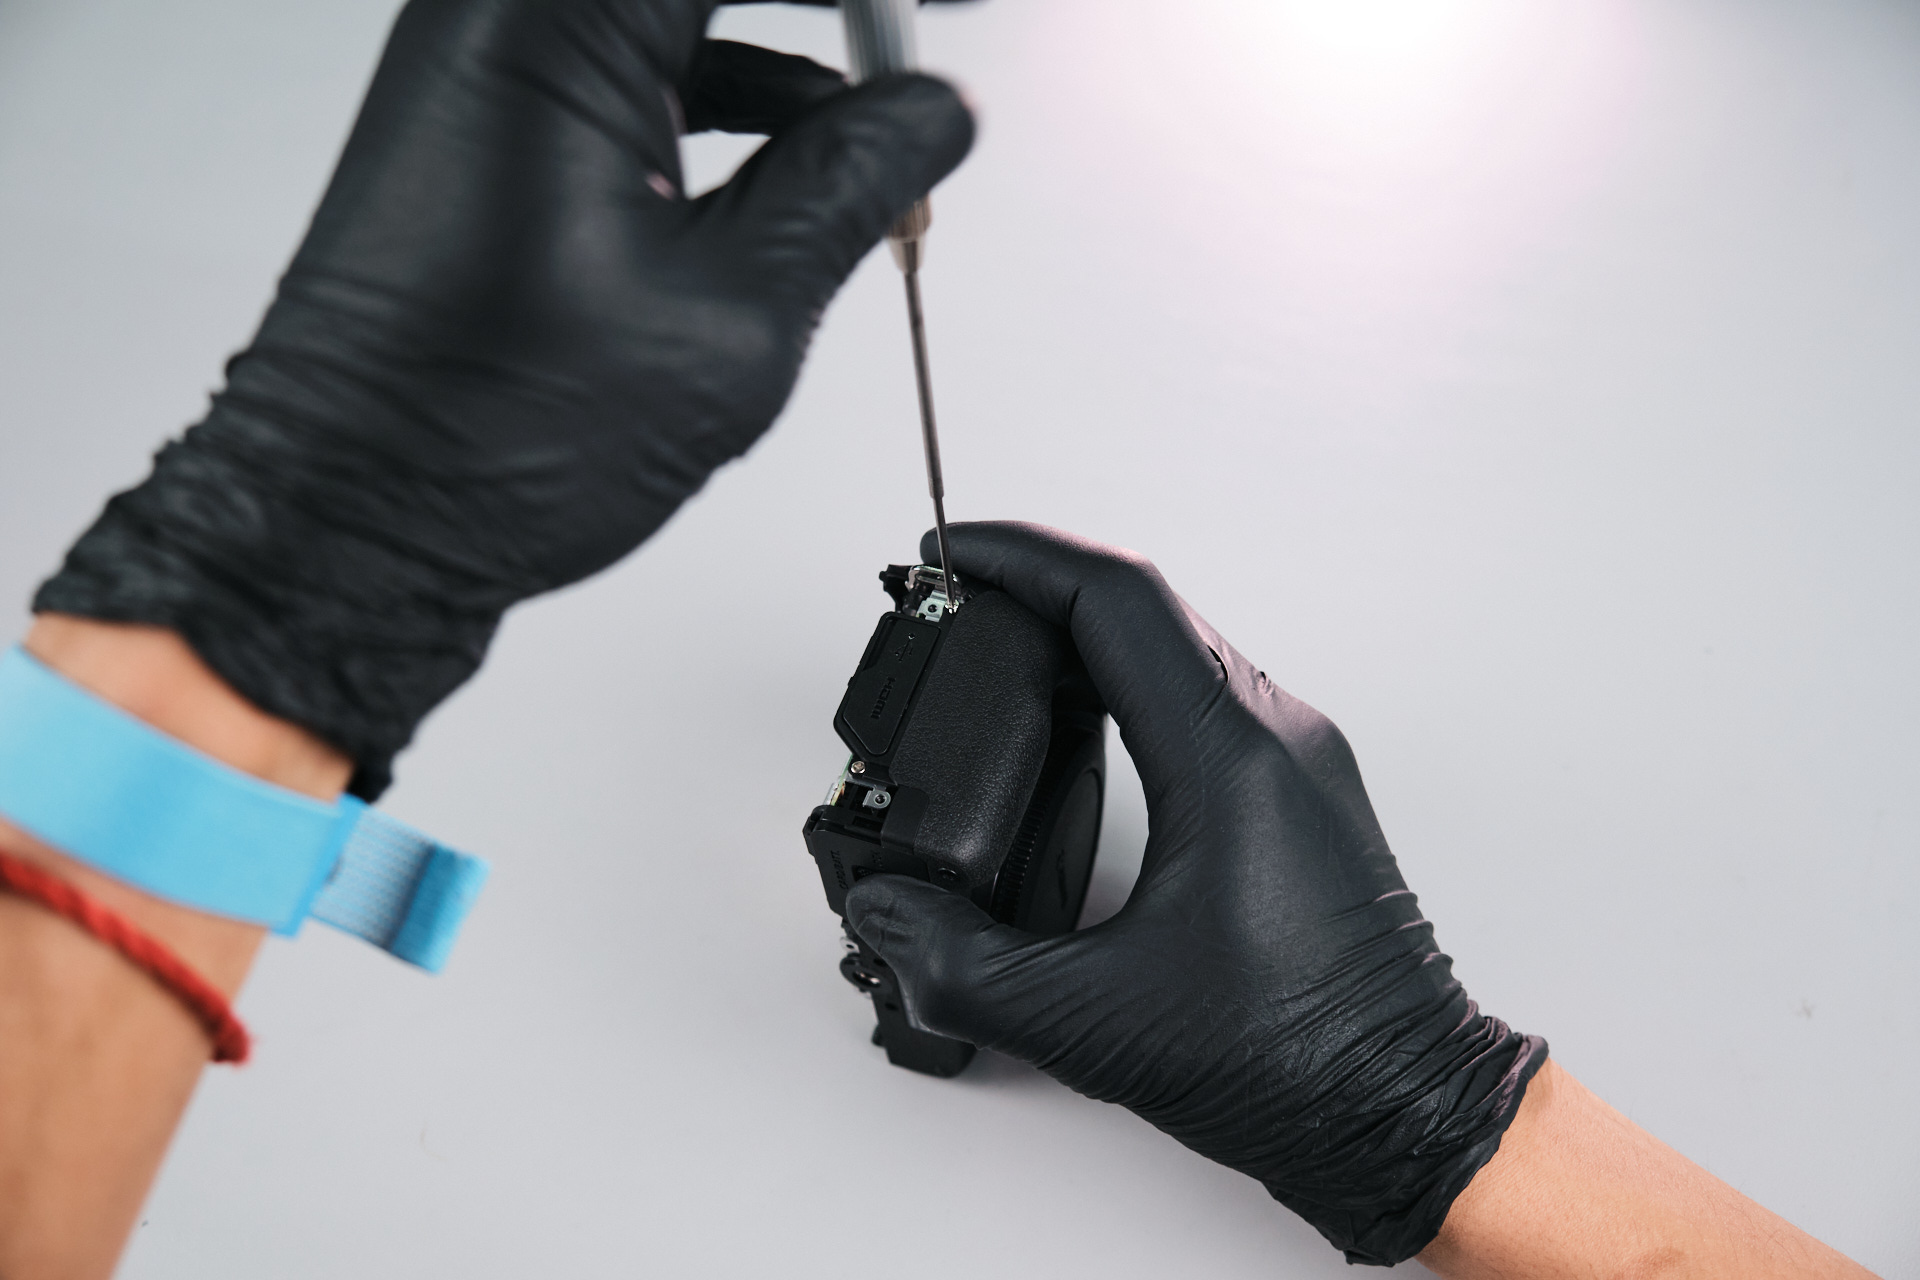
On the right side, two screws above these terminals were extracted. This allowed us to remove the dust caps for the USB and HDMI ports.


Finding Hidden Screws Under the Flash and Thumb Grip

DSCF0249 1

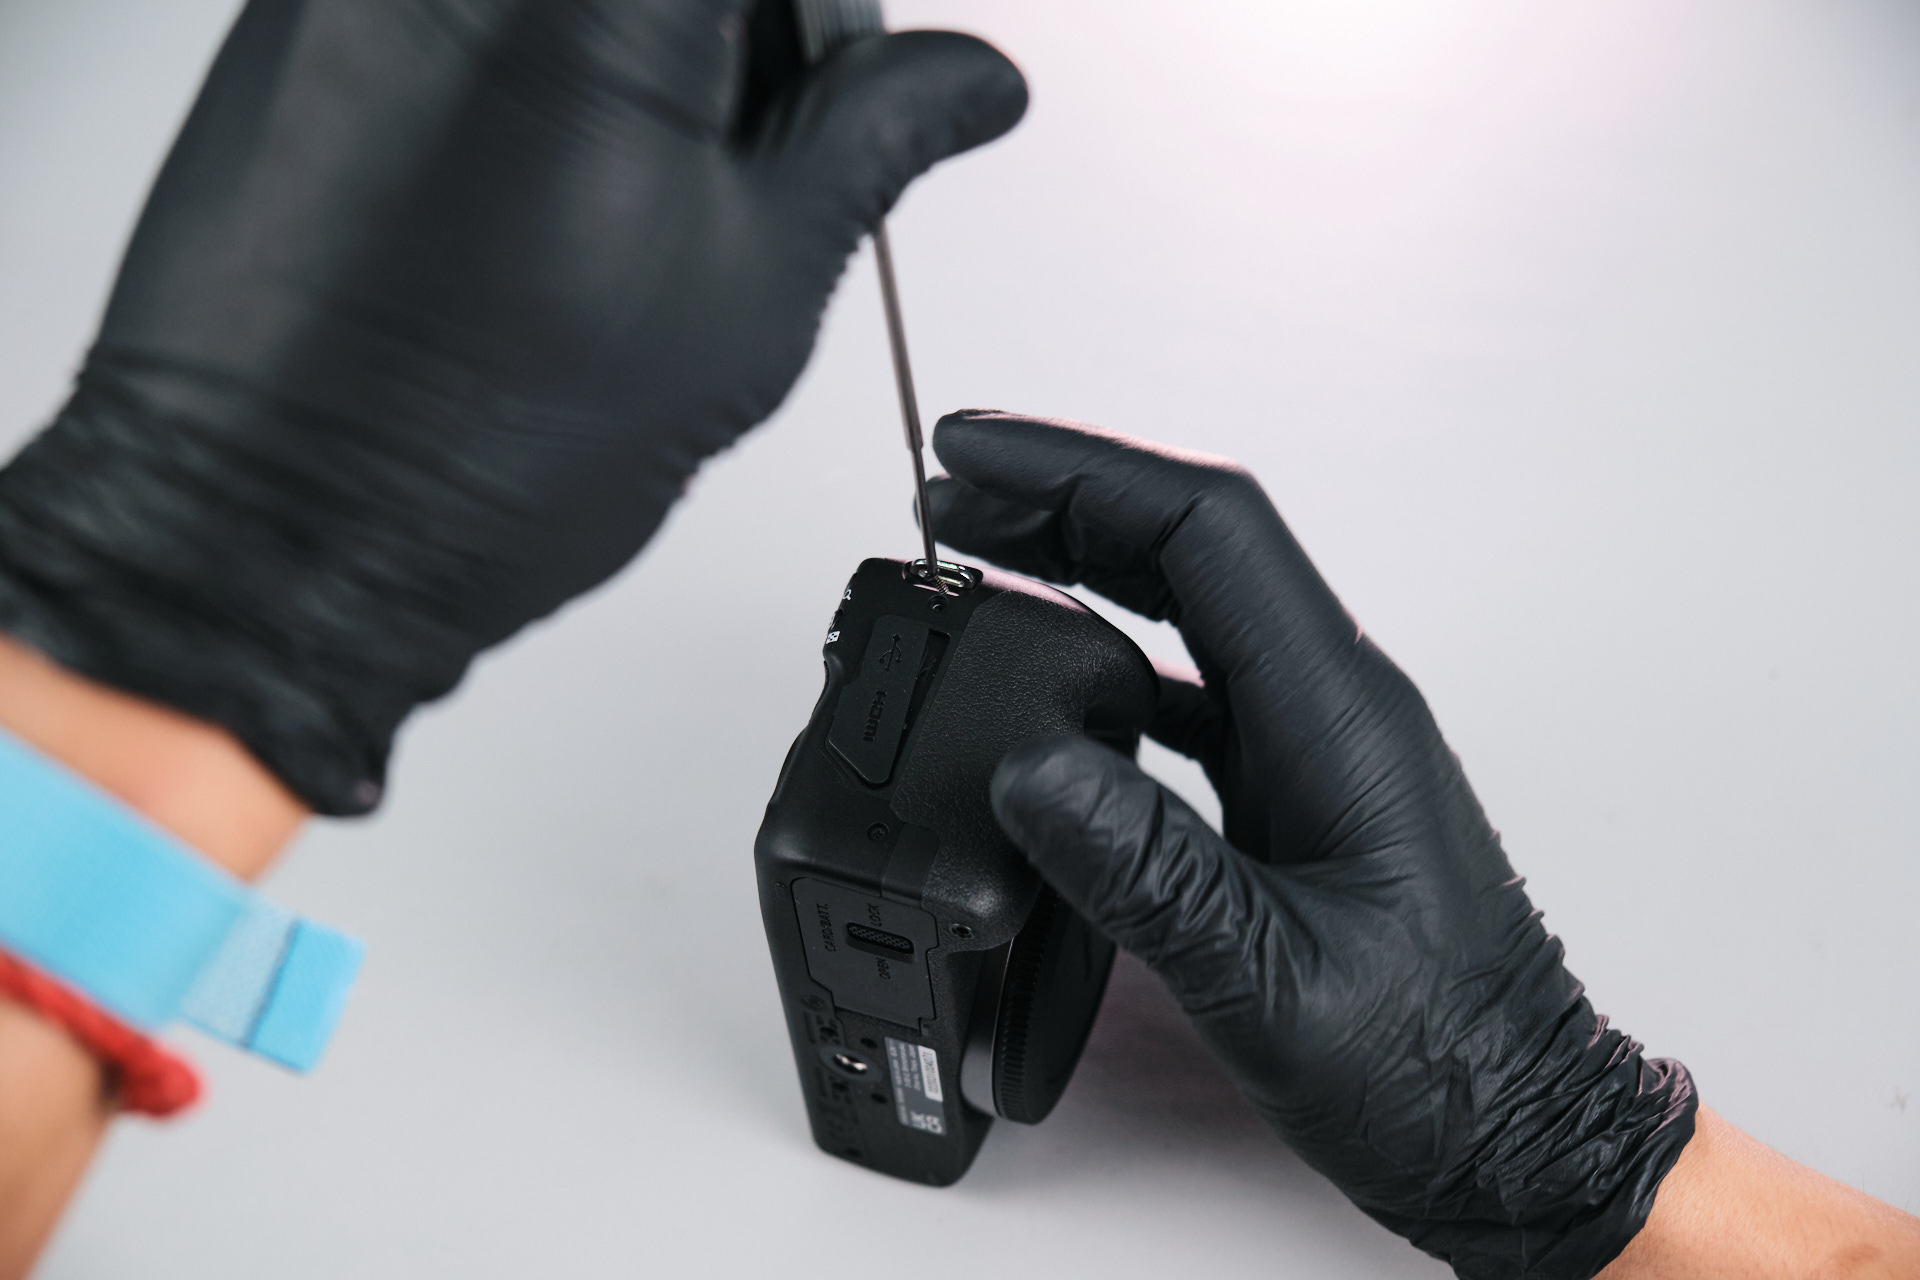
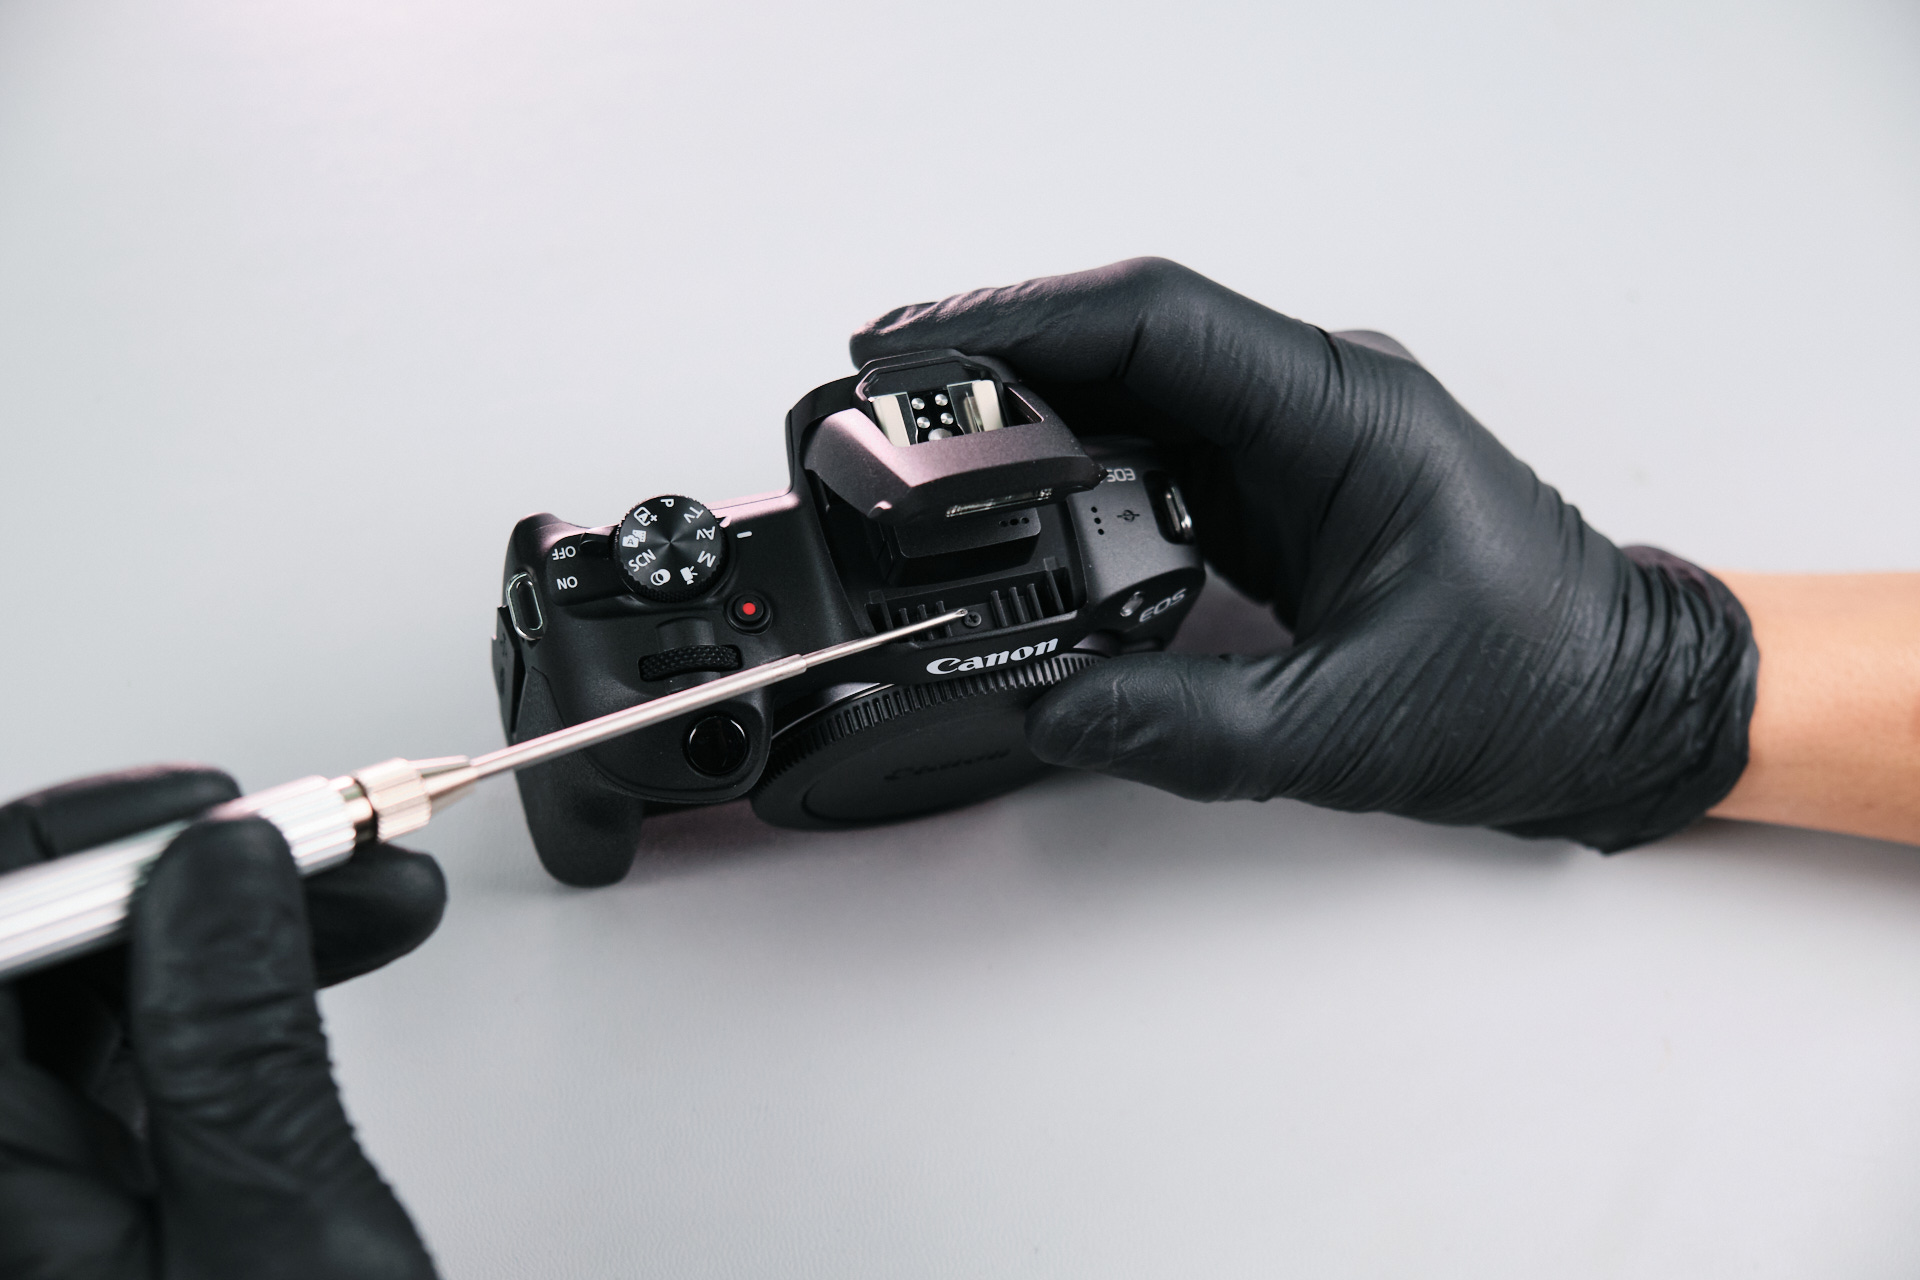
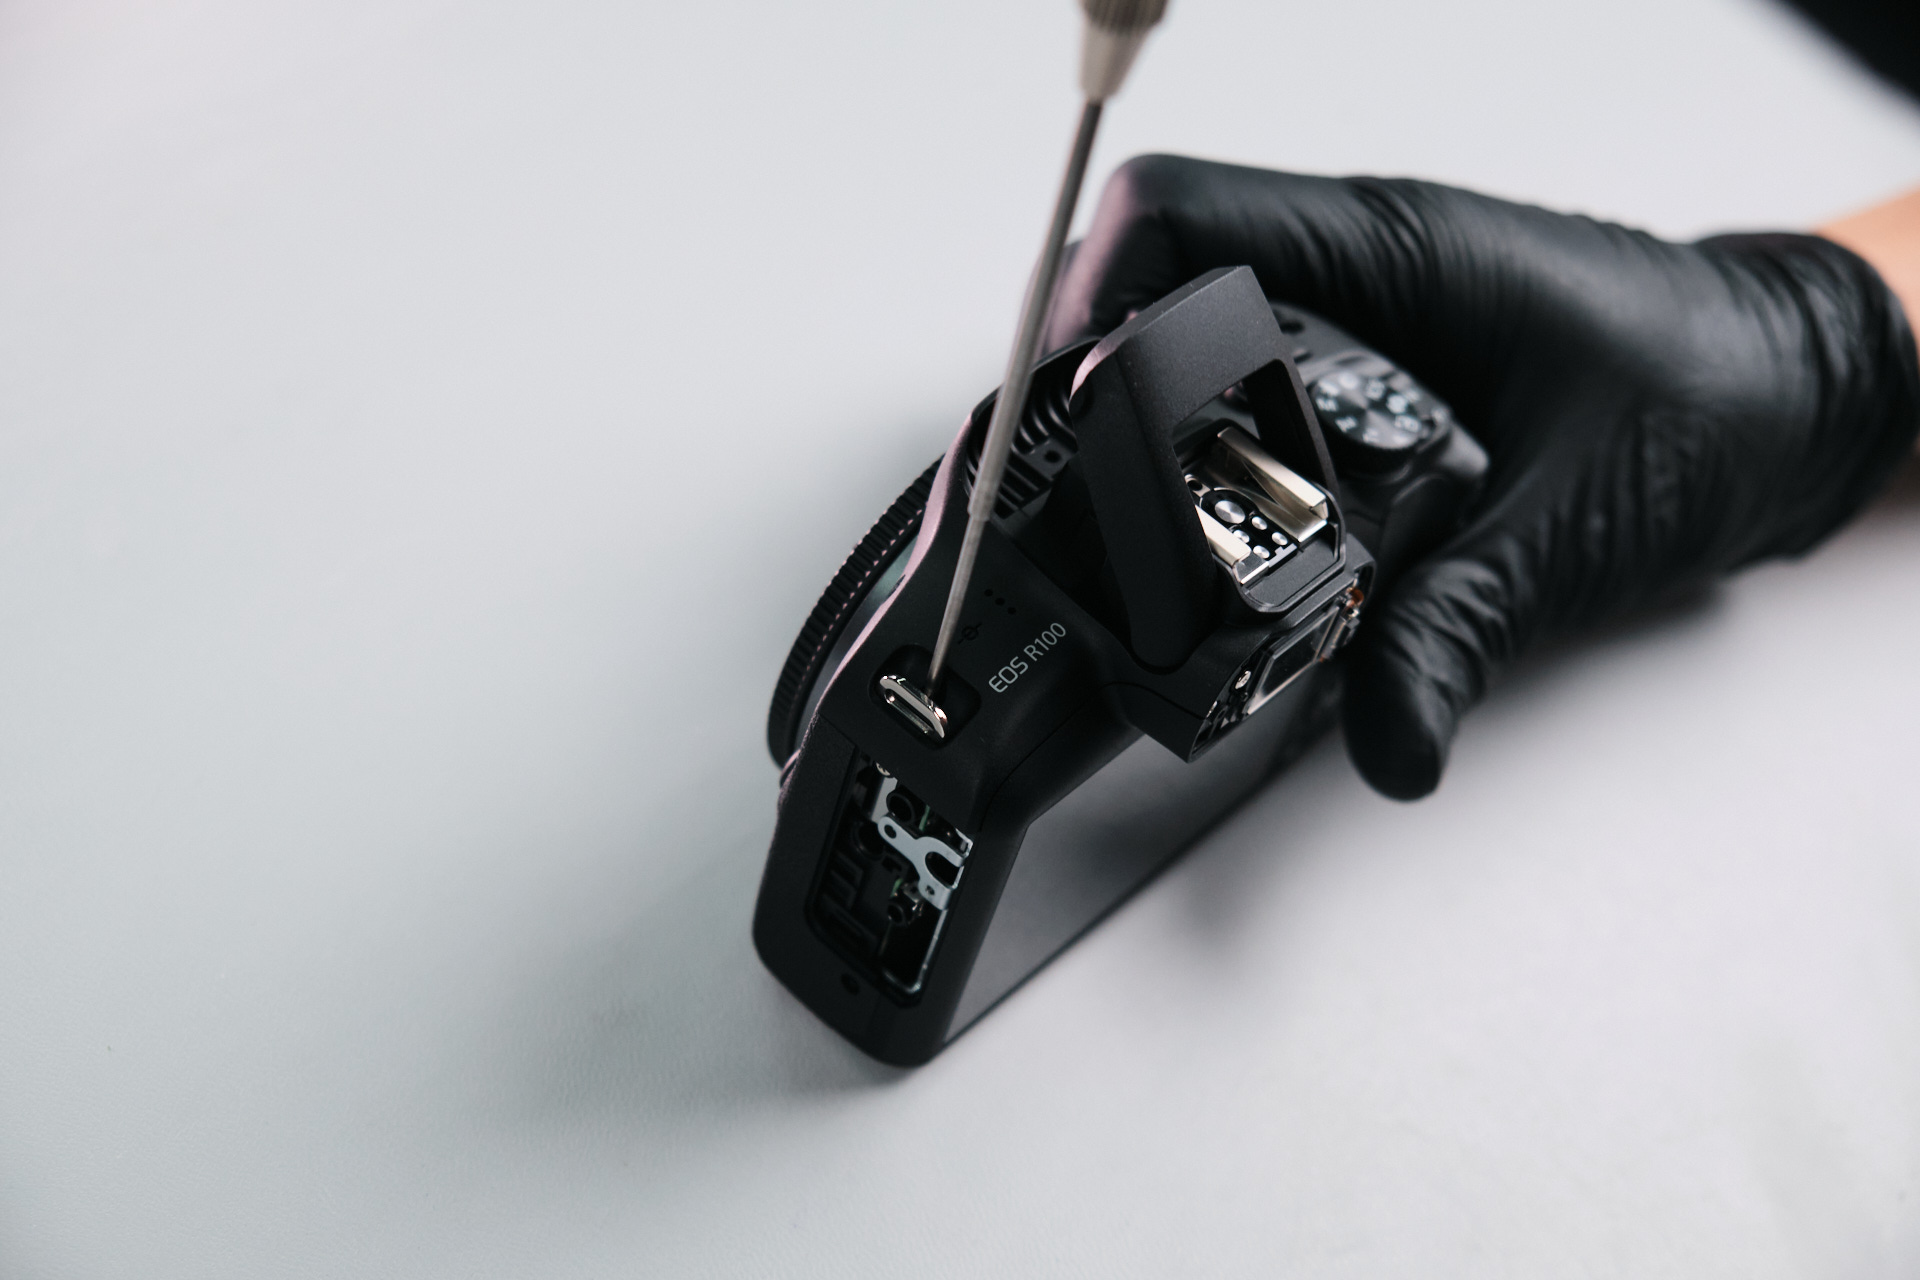
Lifting the built-in flash revealed one screw.

DSCF0250 1

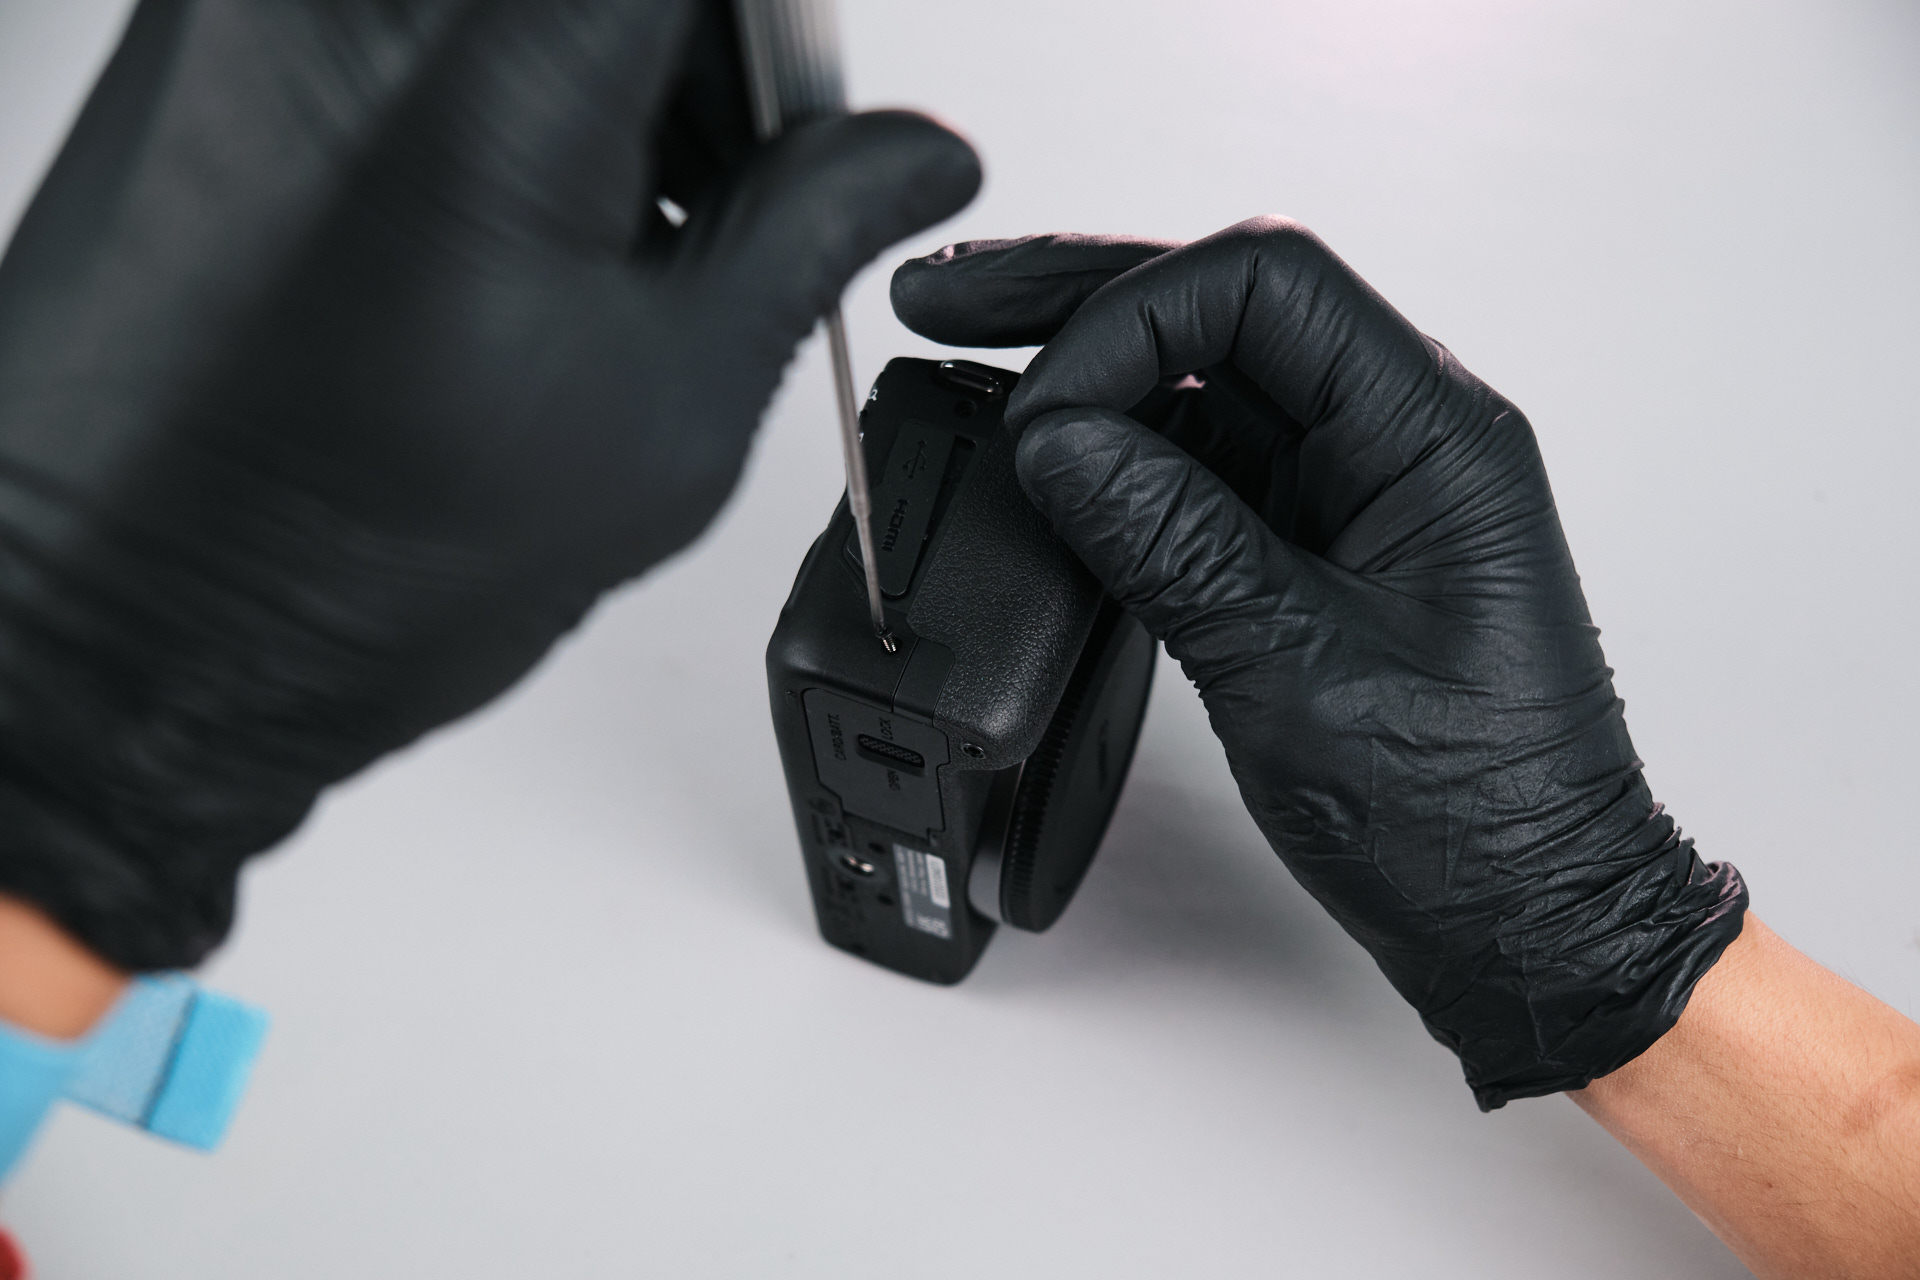
On the top panel adjacent to the EOS R100 logo, we removed one screw.

DSCF0252 1
DSCF0253 1

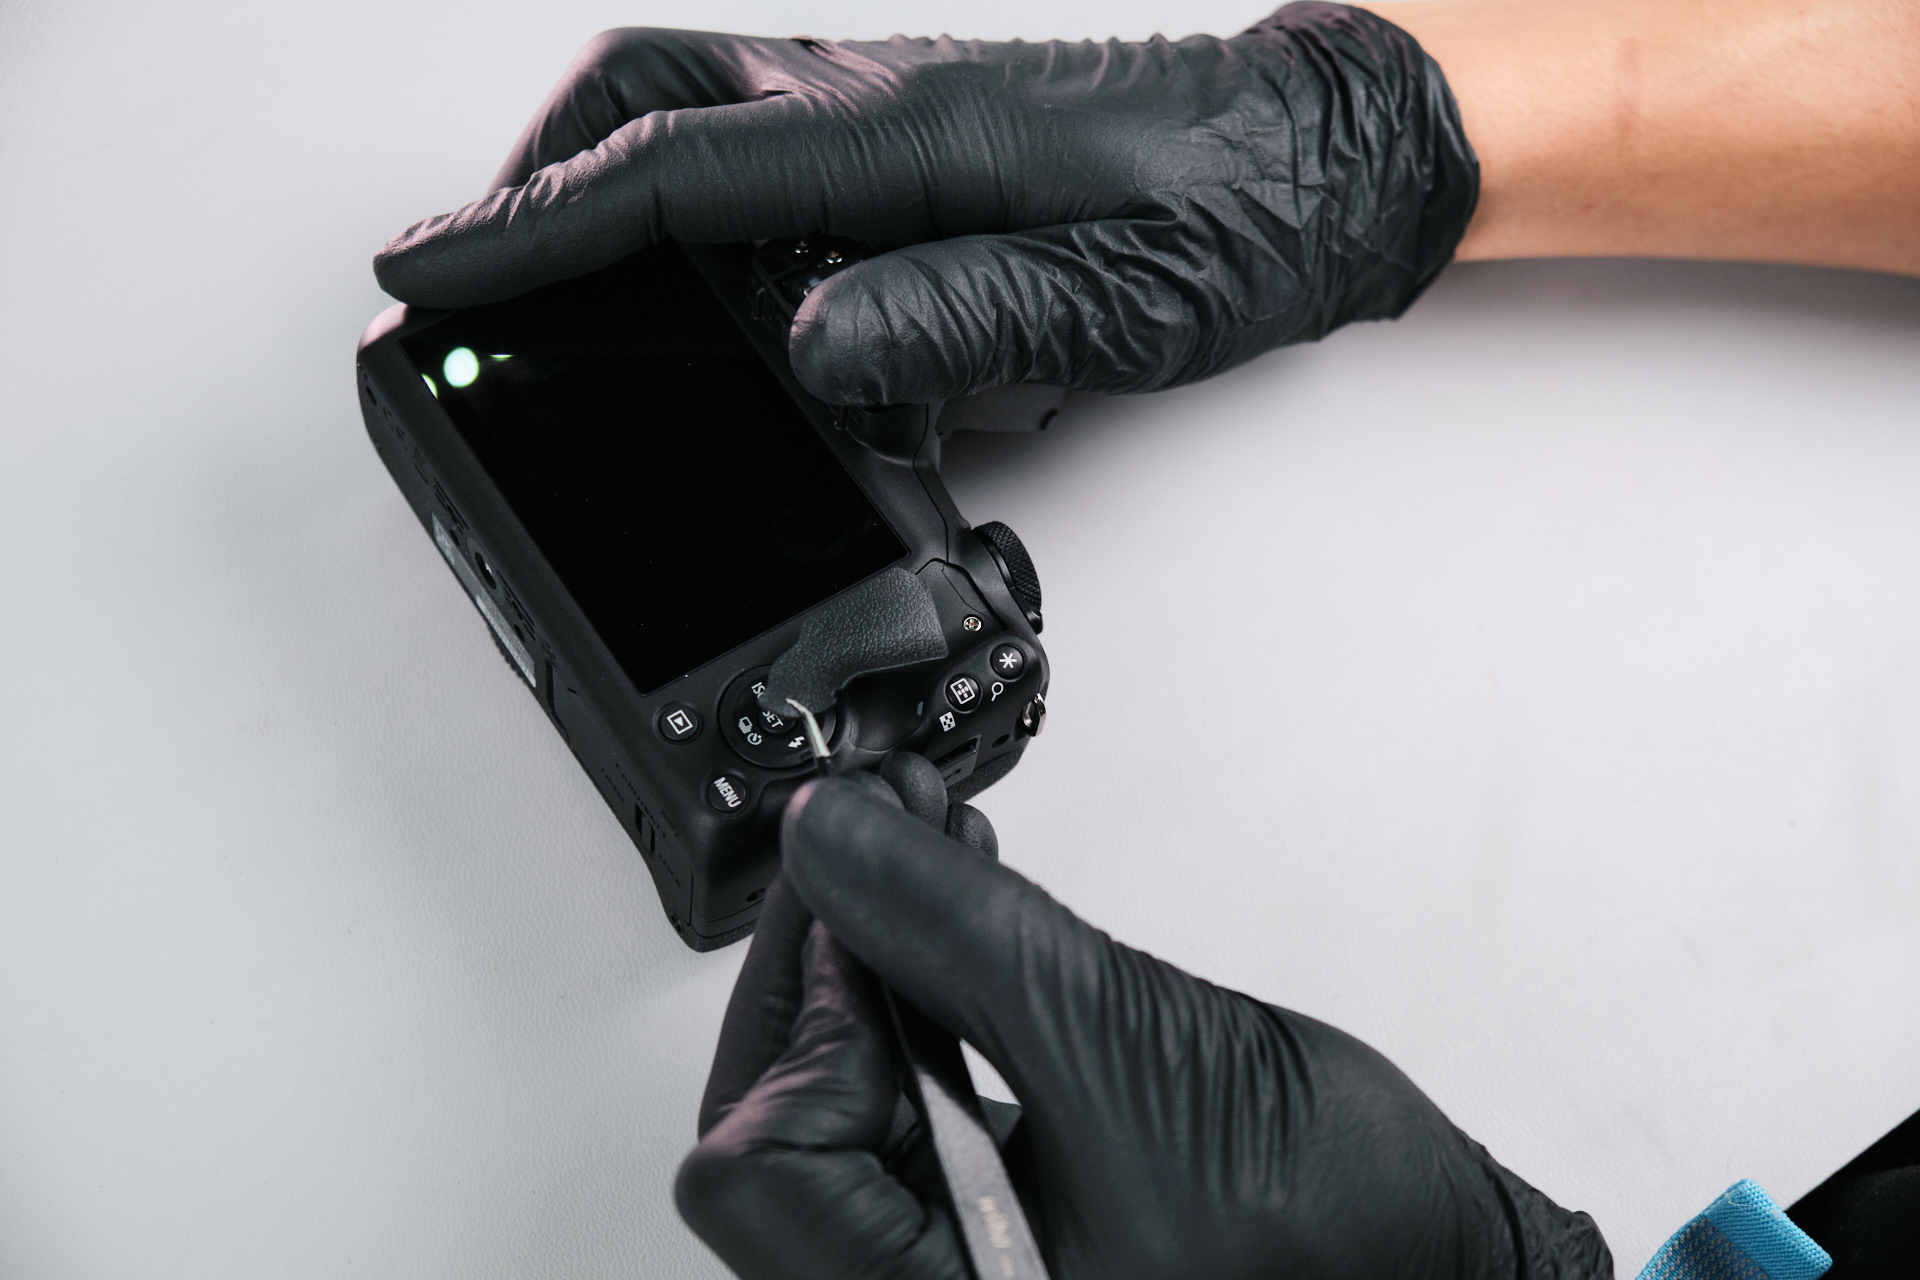
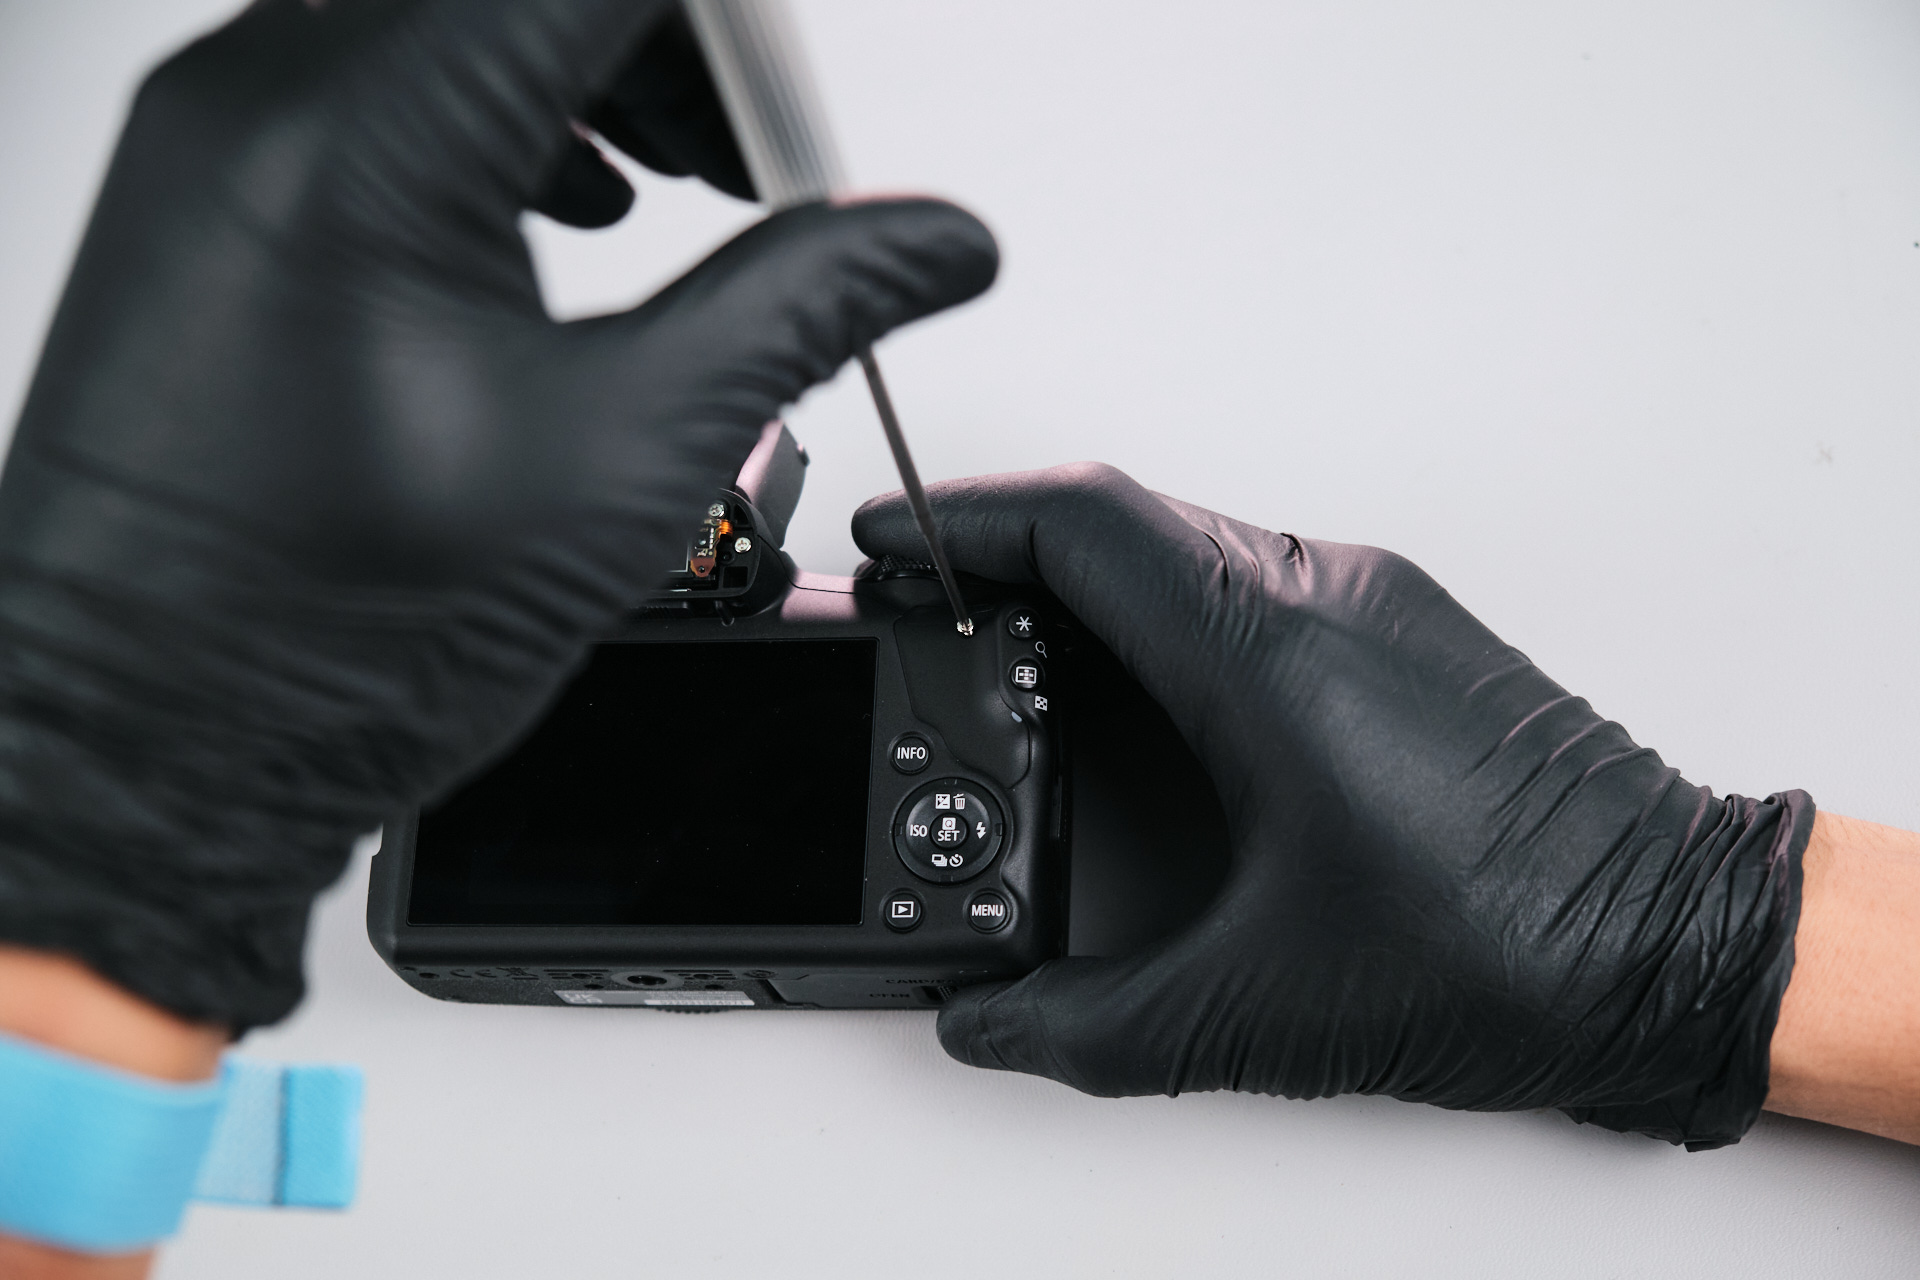
It seemed that nearly all of the external screws were removed. So, we searched for other screws underneath the rubber thumb grip, where we found one silver screw. 

DSCF0254 1
DSCF0255 1

Removing EVF and Battery Slot Screws

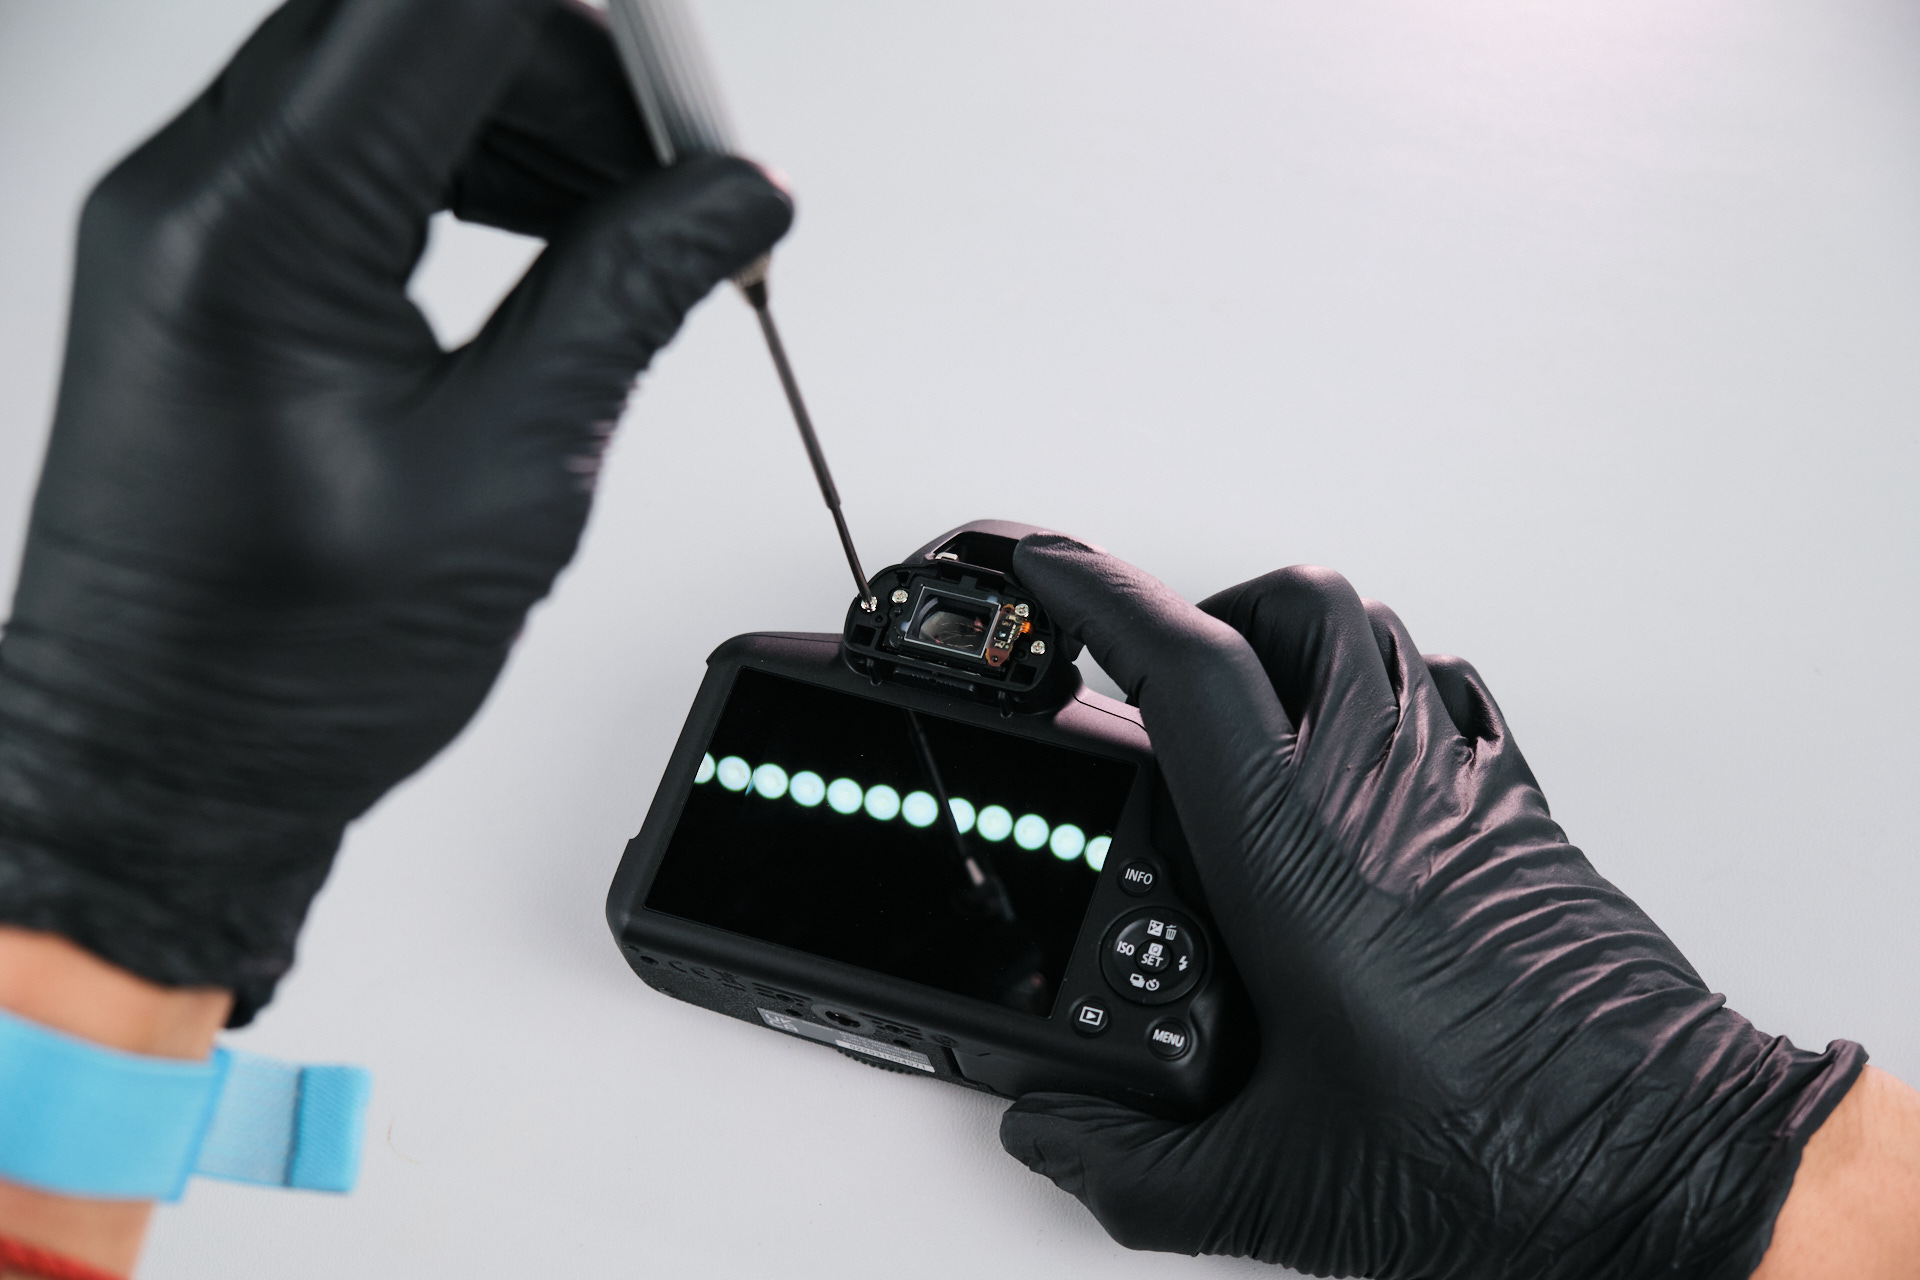
Two silver screws on each side of the EVF needed to be removed.

DSCF0256 1
DSCF0257 1

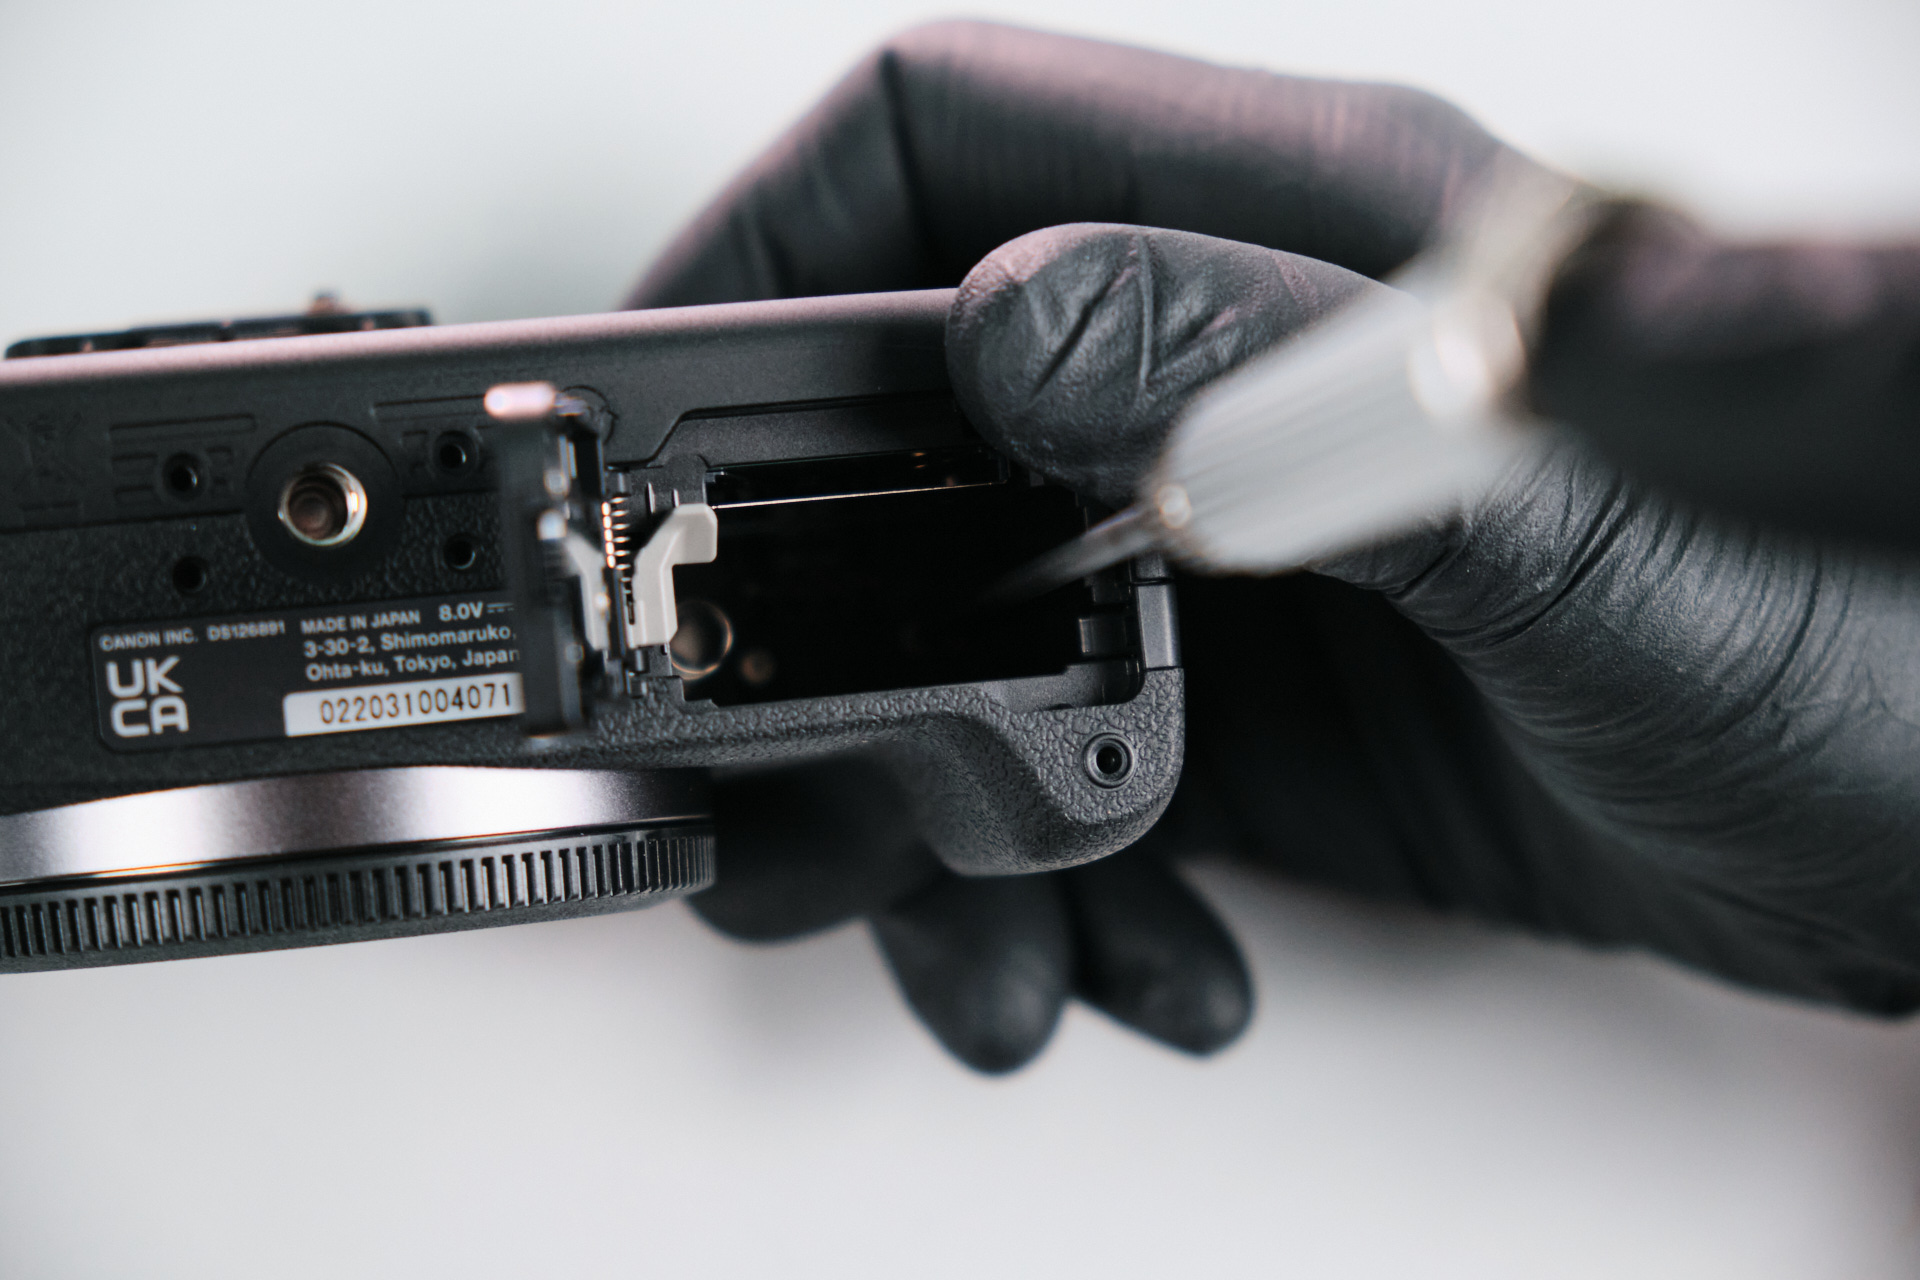
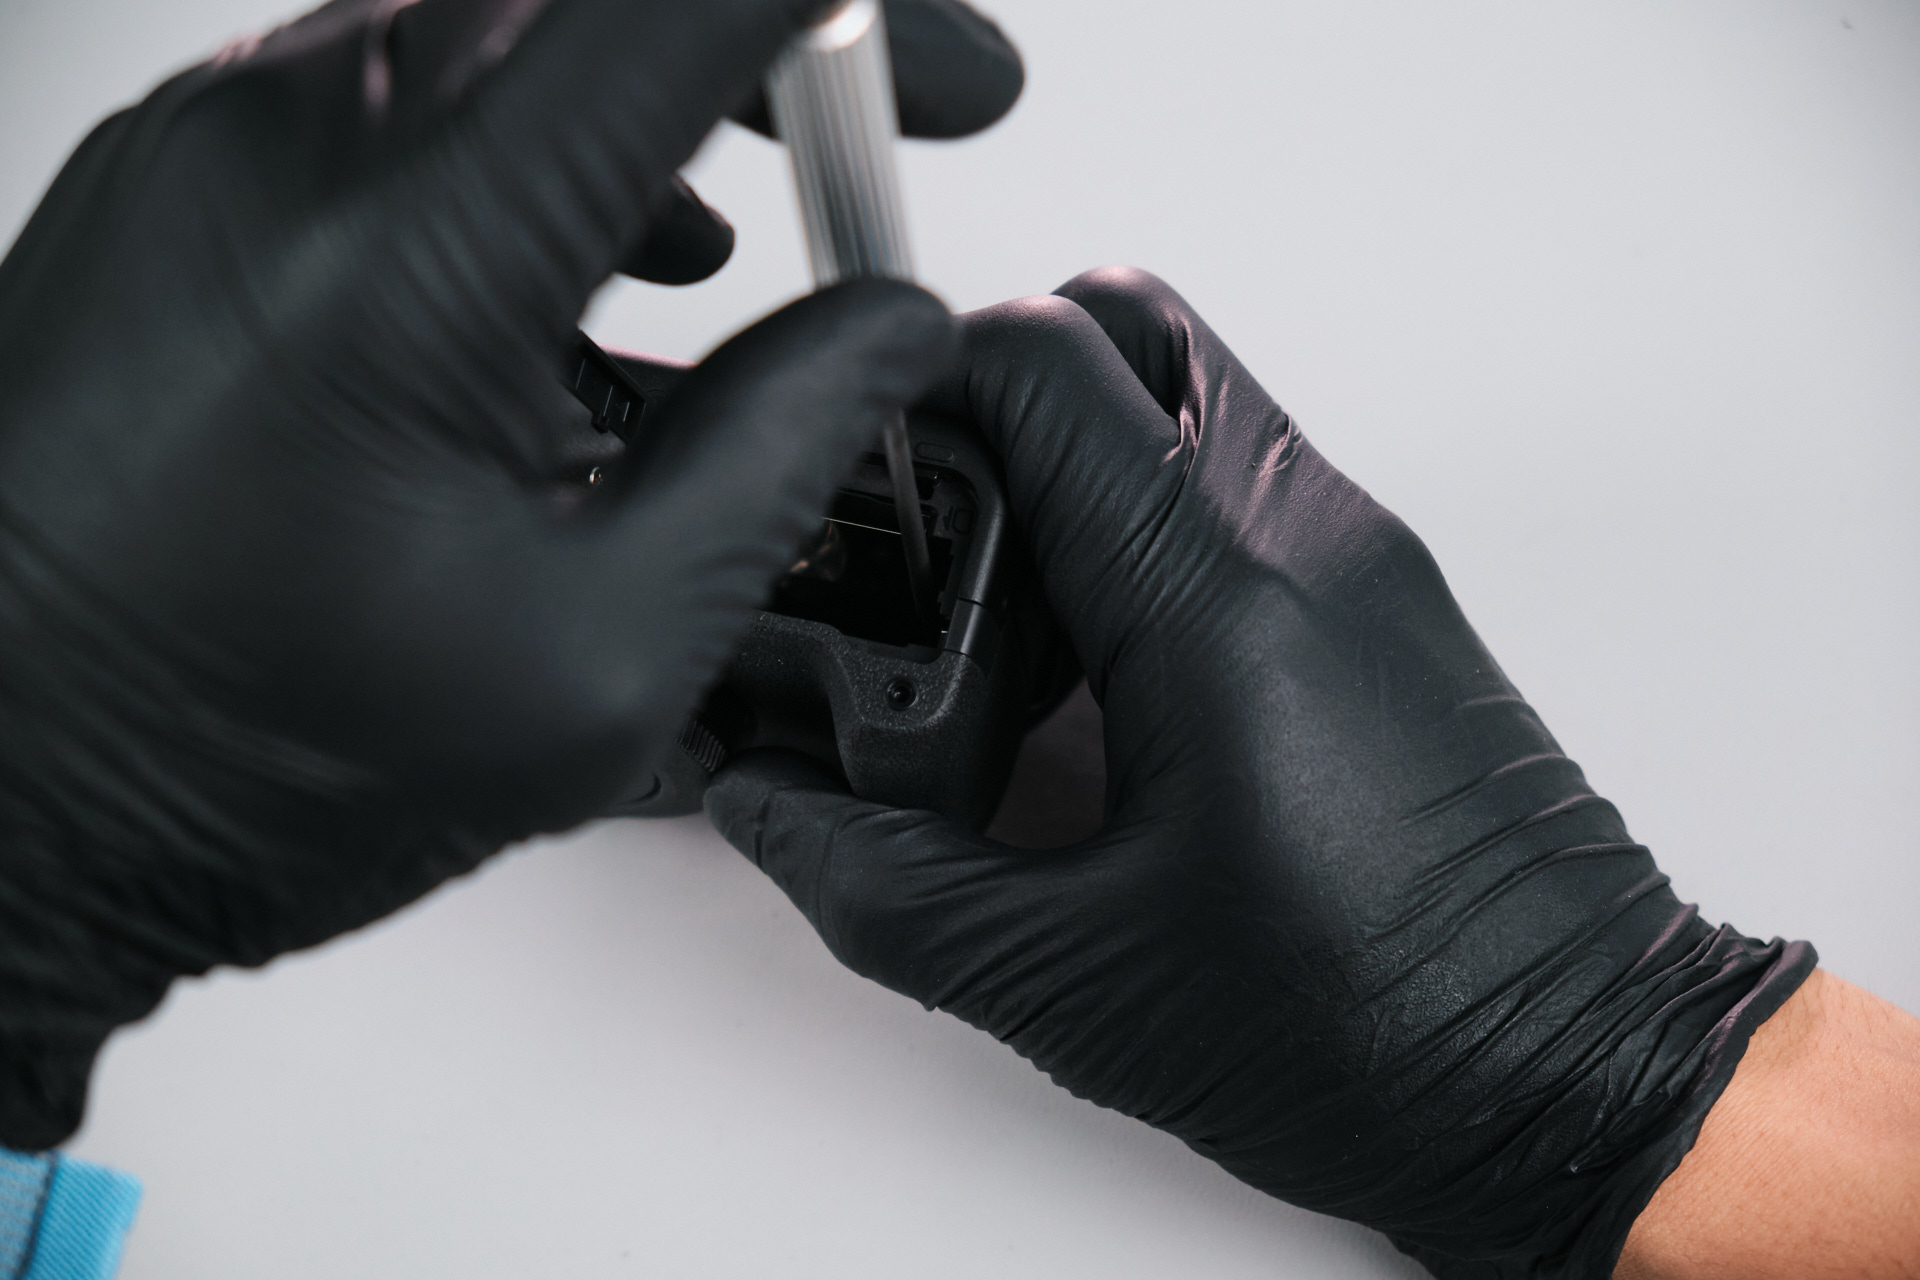
Inside the battery slot, two screws were extracted.

DSCF0259 1
DSCF0260 1

Removing the Canon R100 Rear Panel

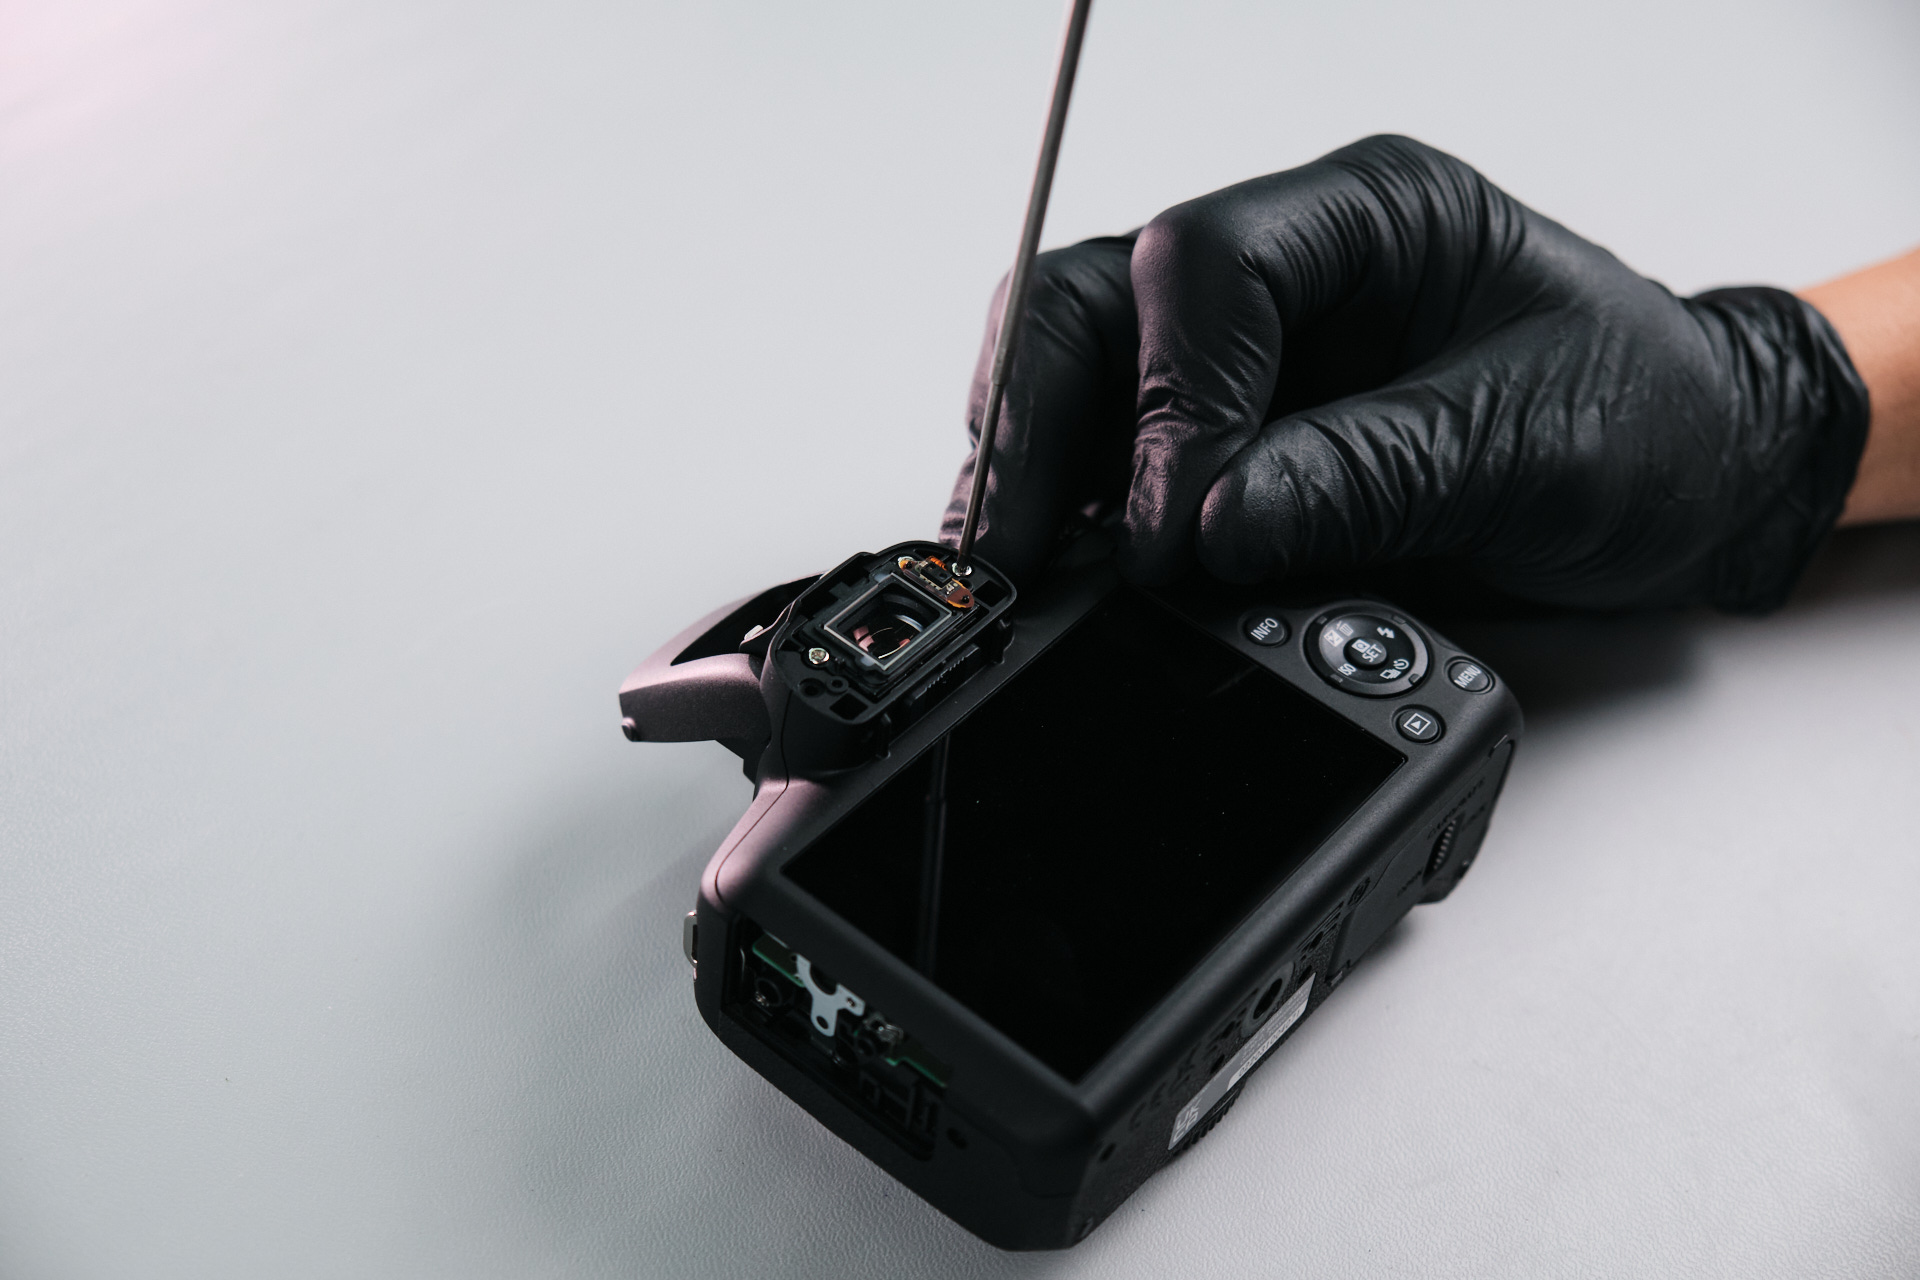
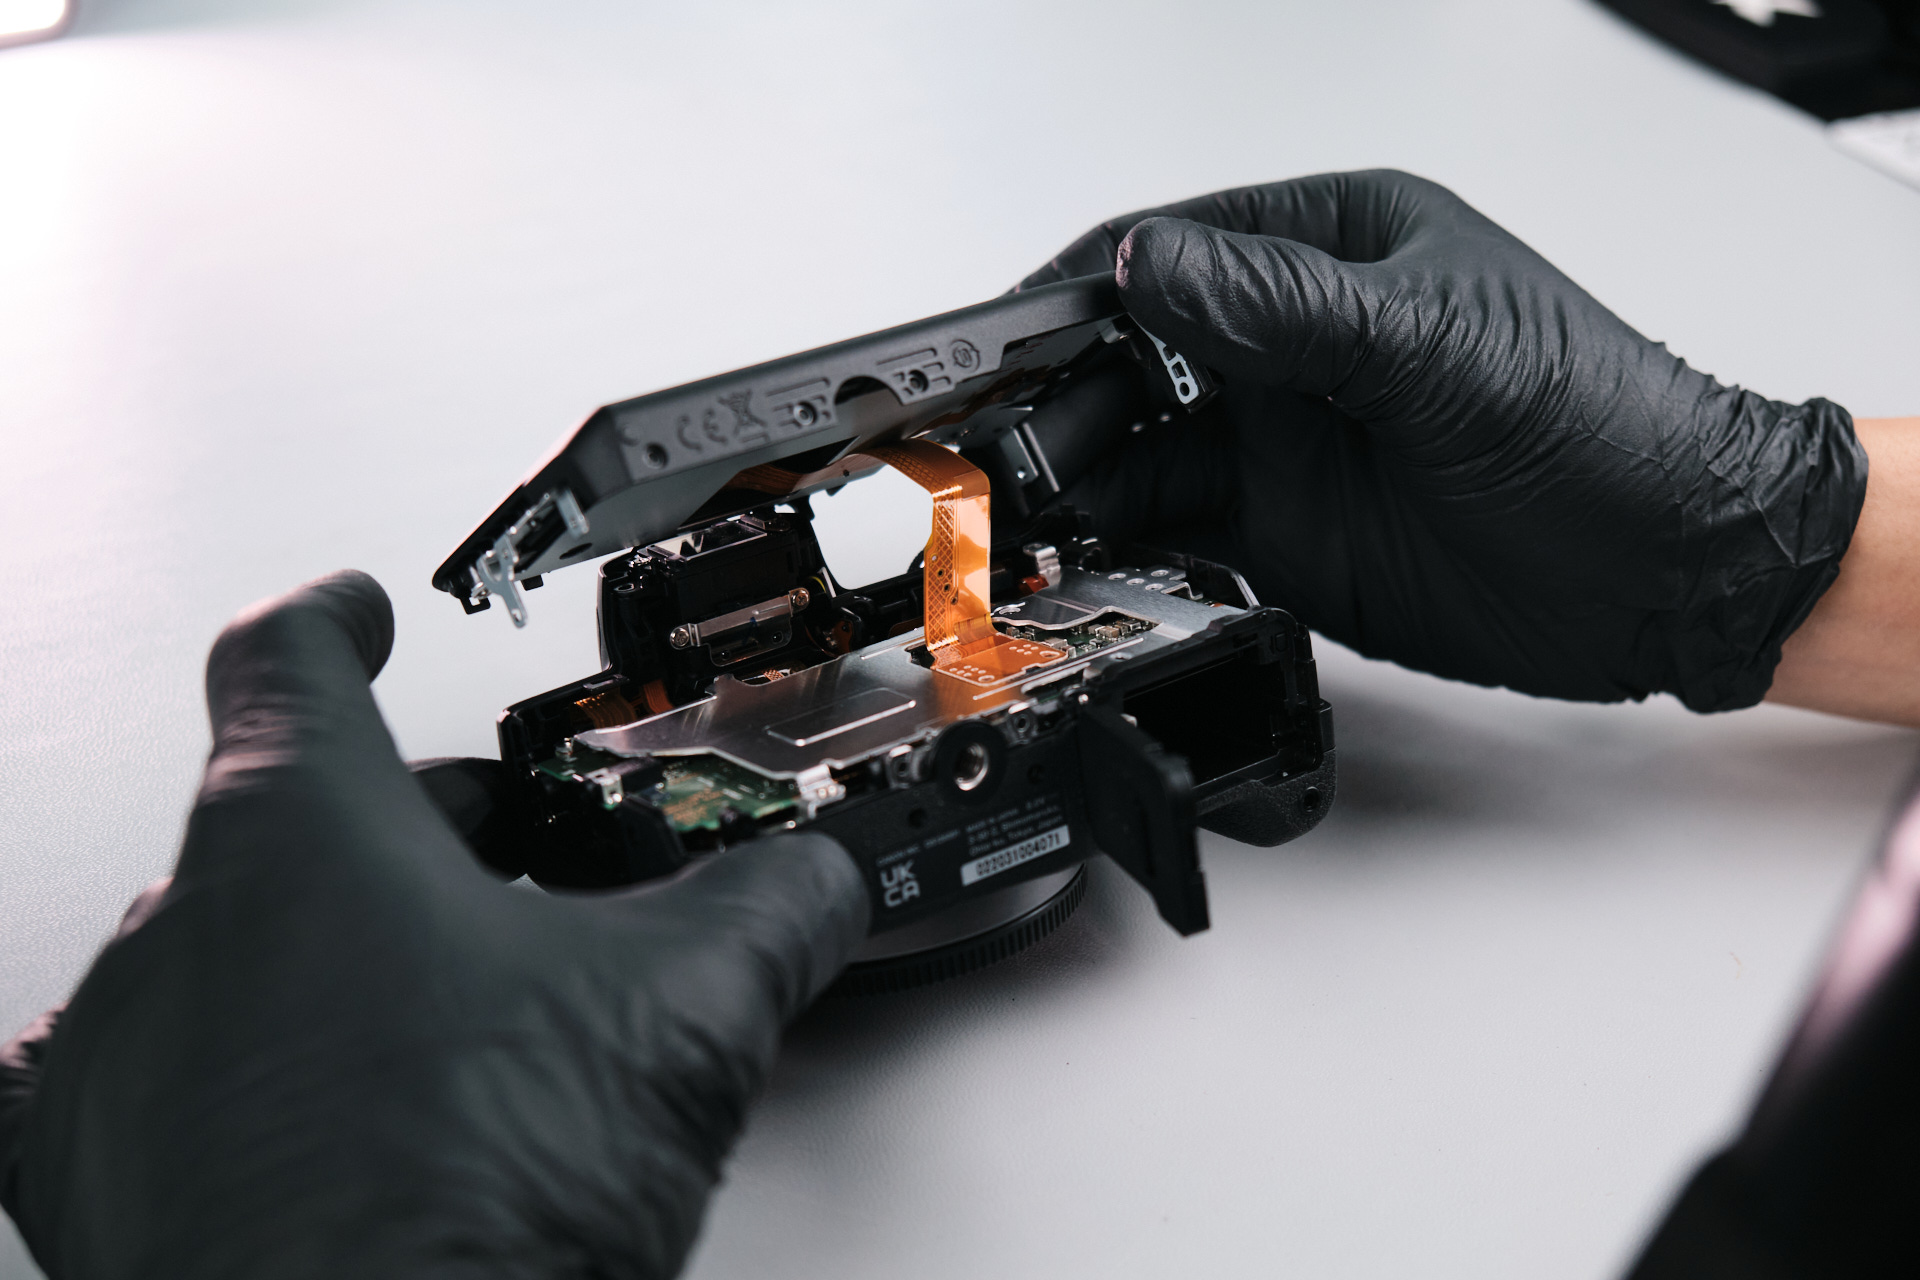
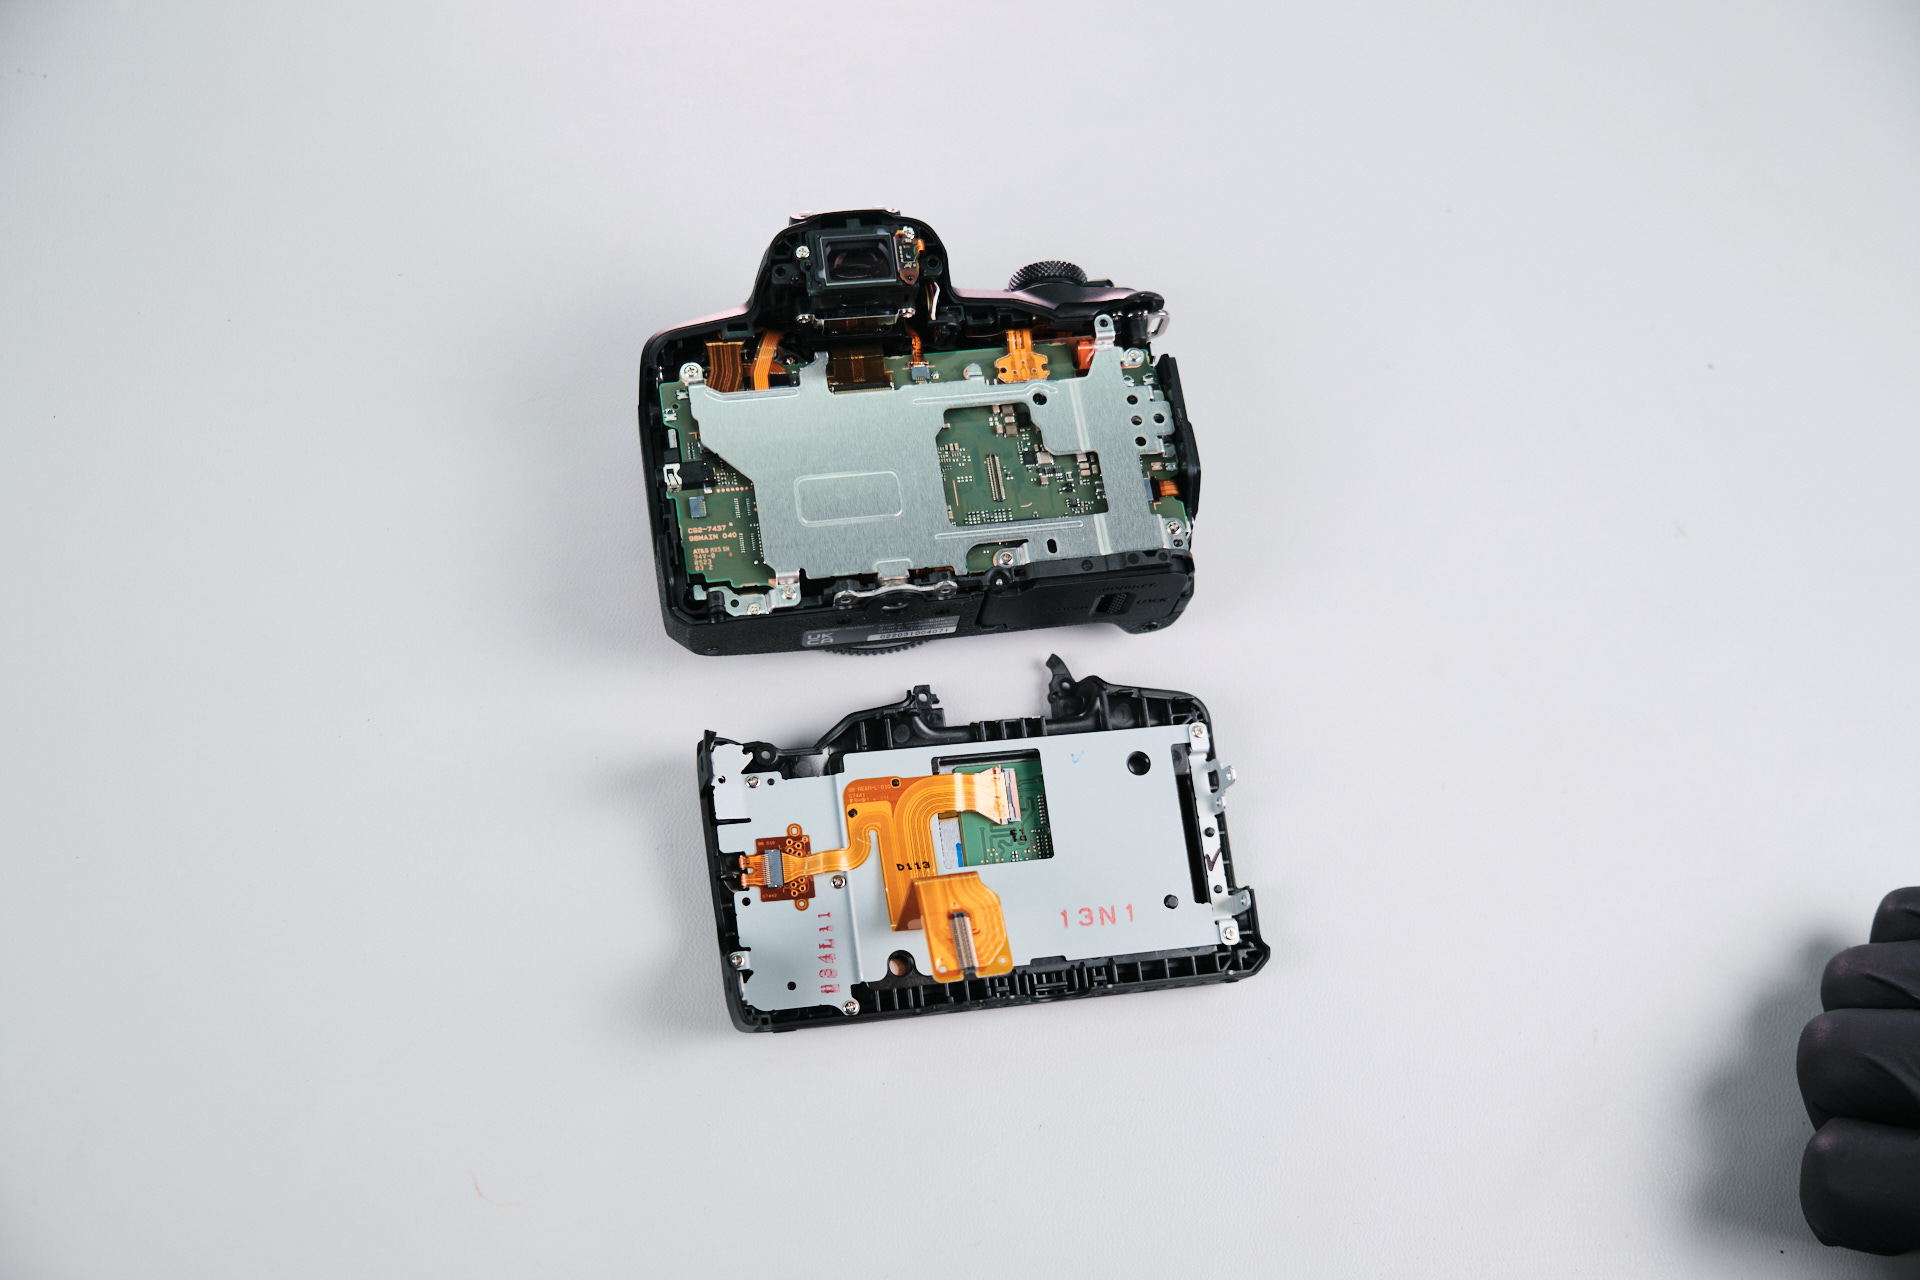
At this point, all the visible screws on the exterior had been extracted, which allowed us to remove the rear panel. Only one ribbon cable needed to be disconnected to disconnect the rear panel fully.

DSCF0261 1

Removing Additional Internal Side Screws

We flipped back to the camera’s left side to remove one silver screw next to the microphone terminal.

DSCF0262 1
DSCF0263 1

On the right side, two silver screws were removed. 

Removing the Circuit Board Bracket

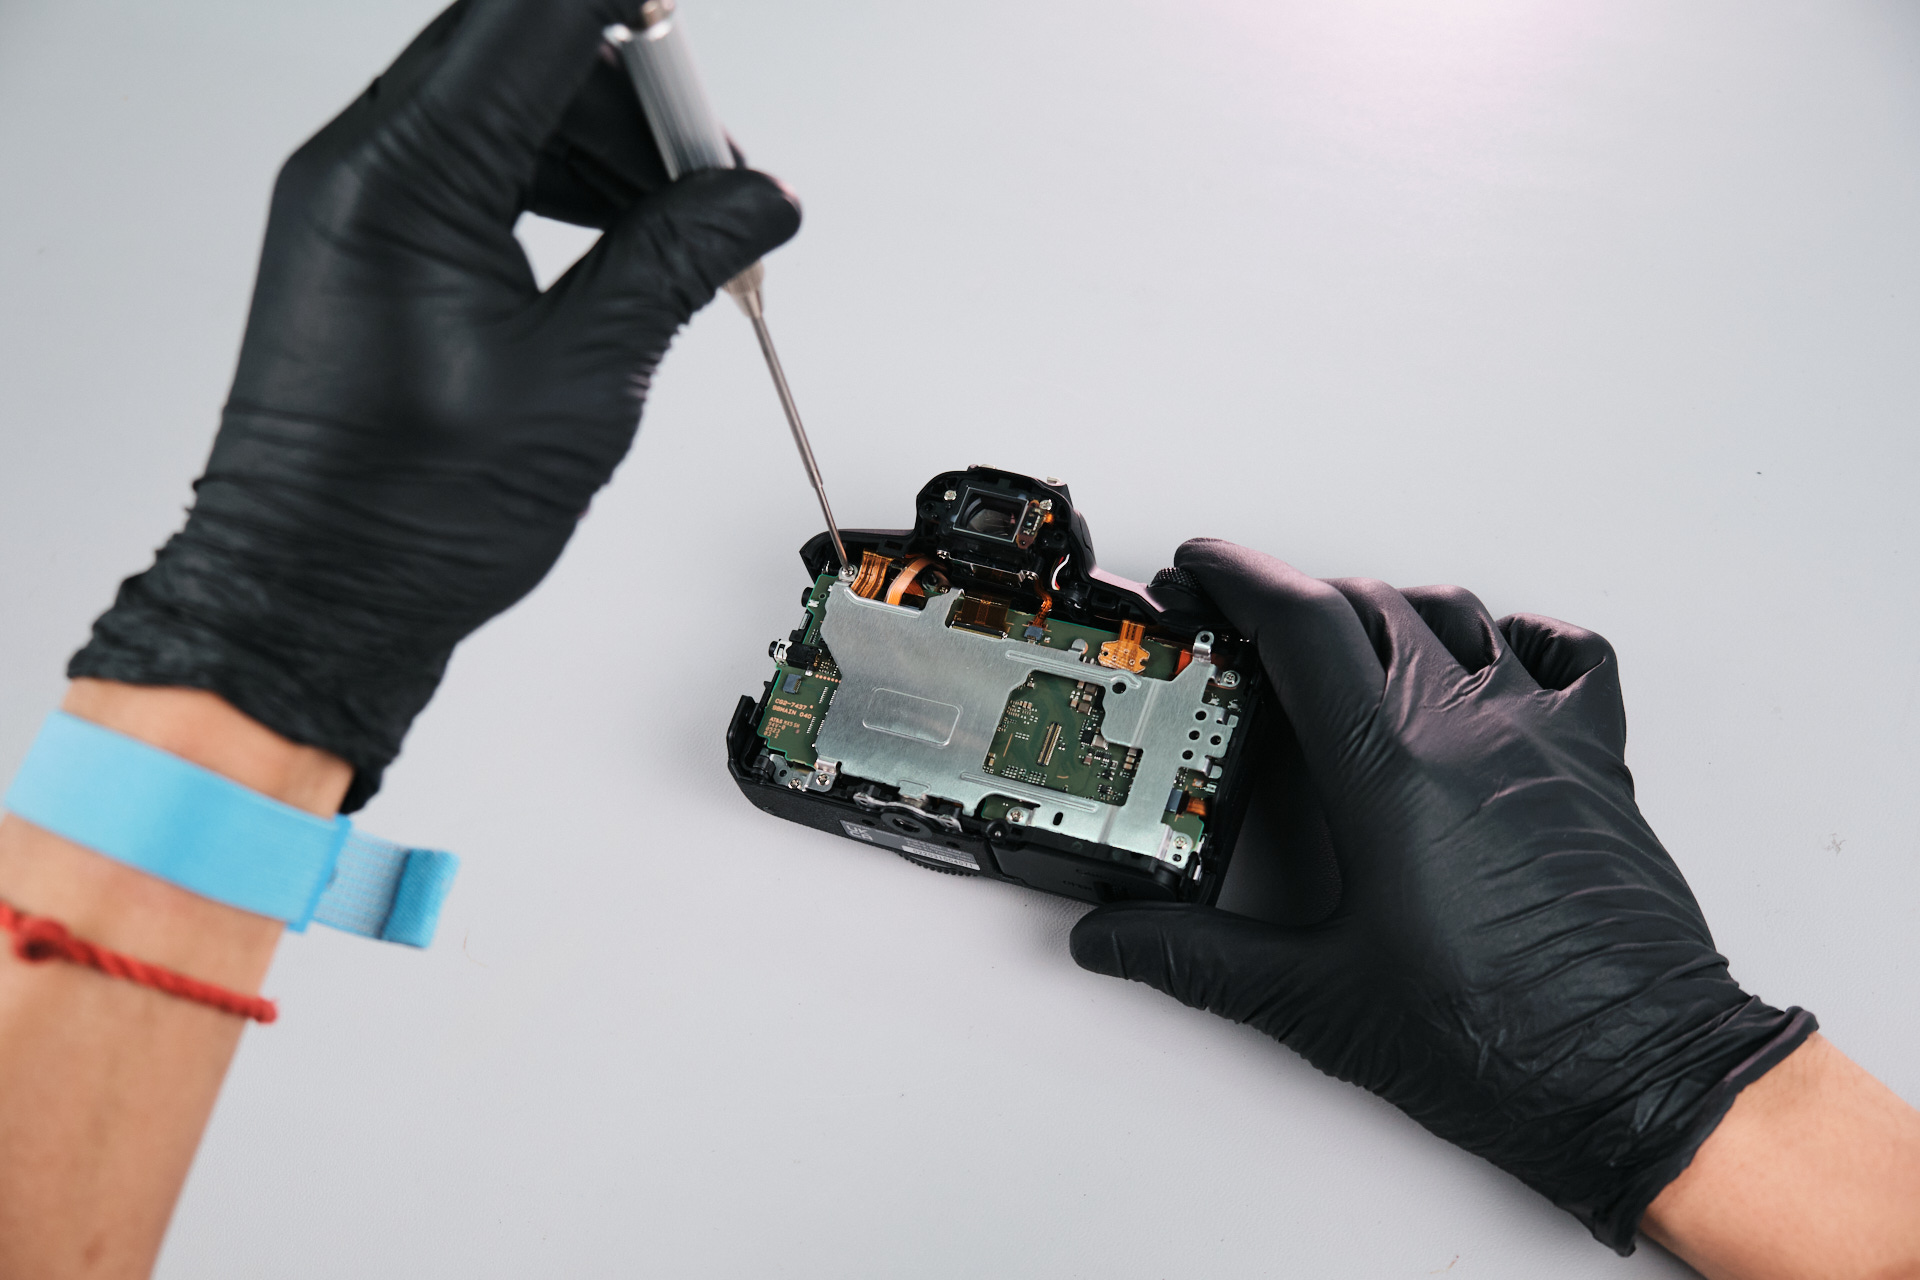
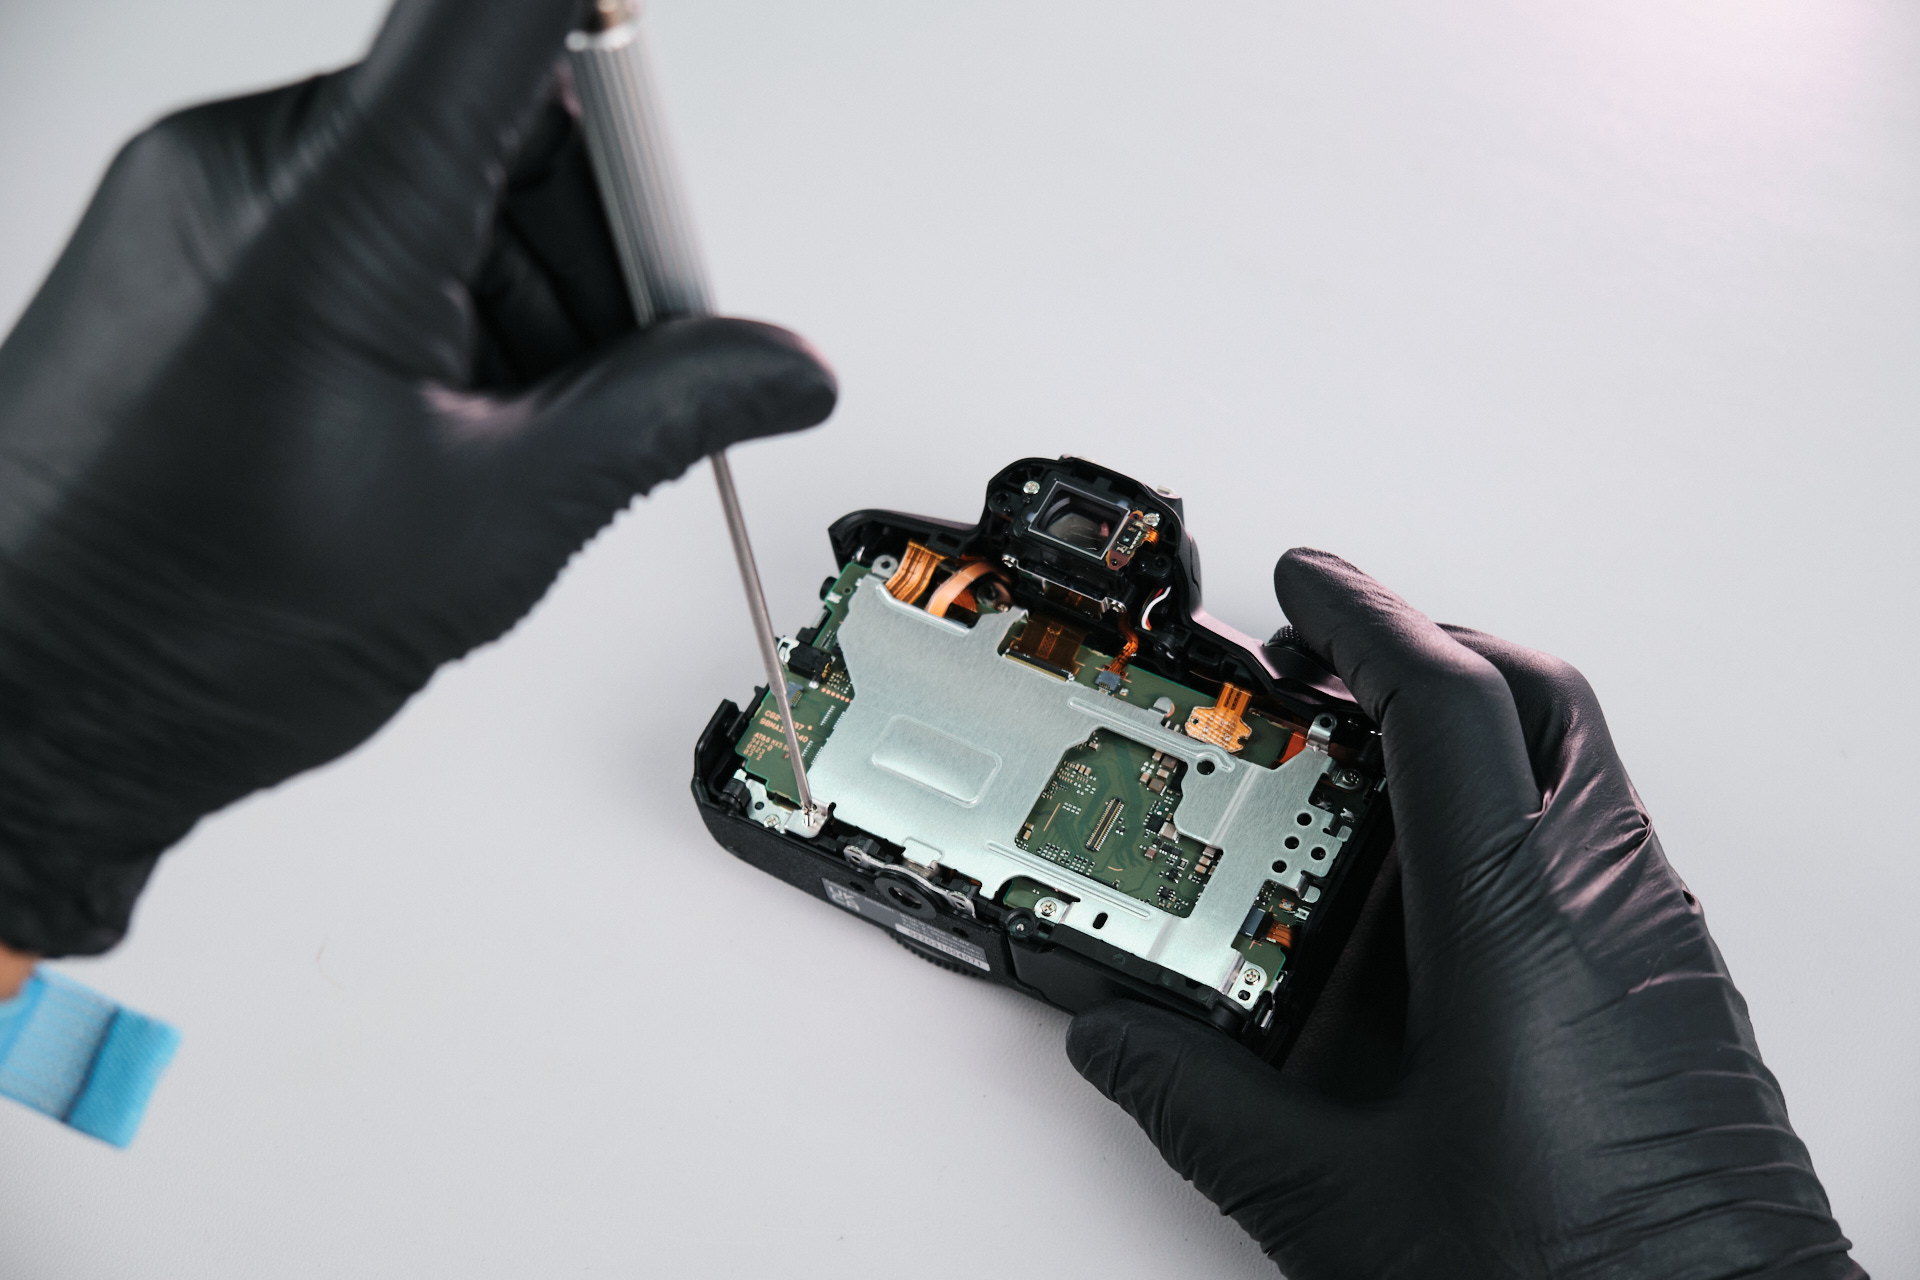
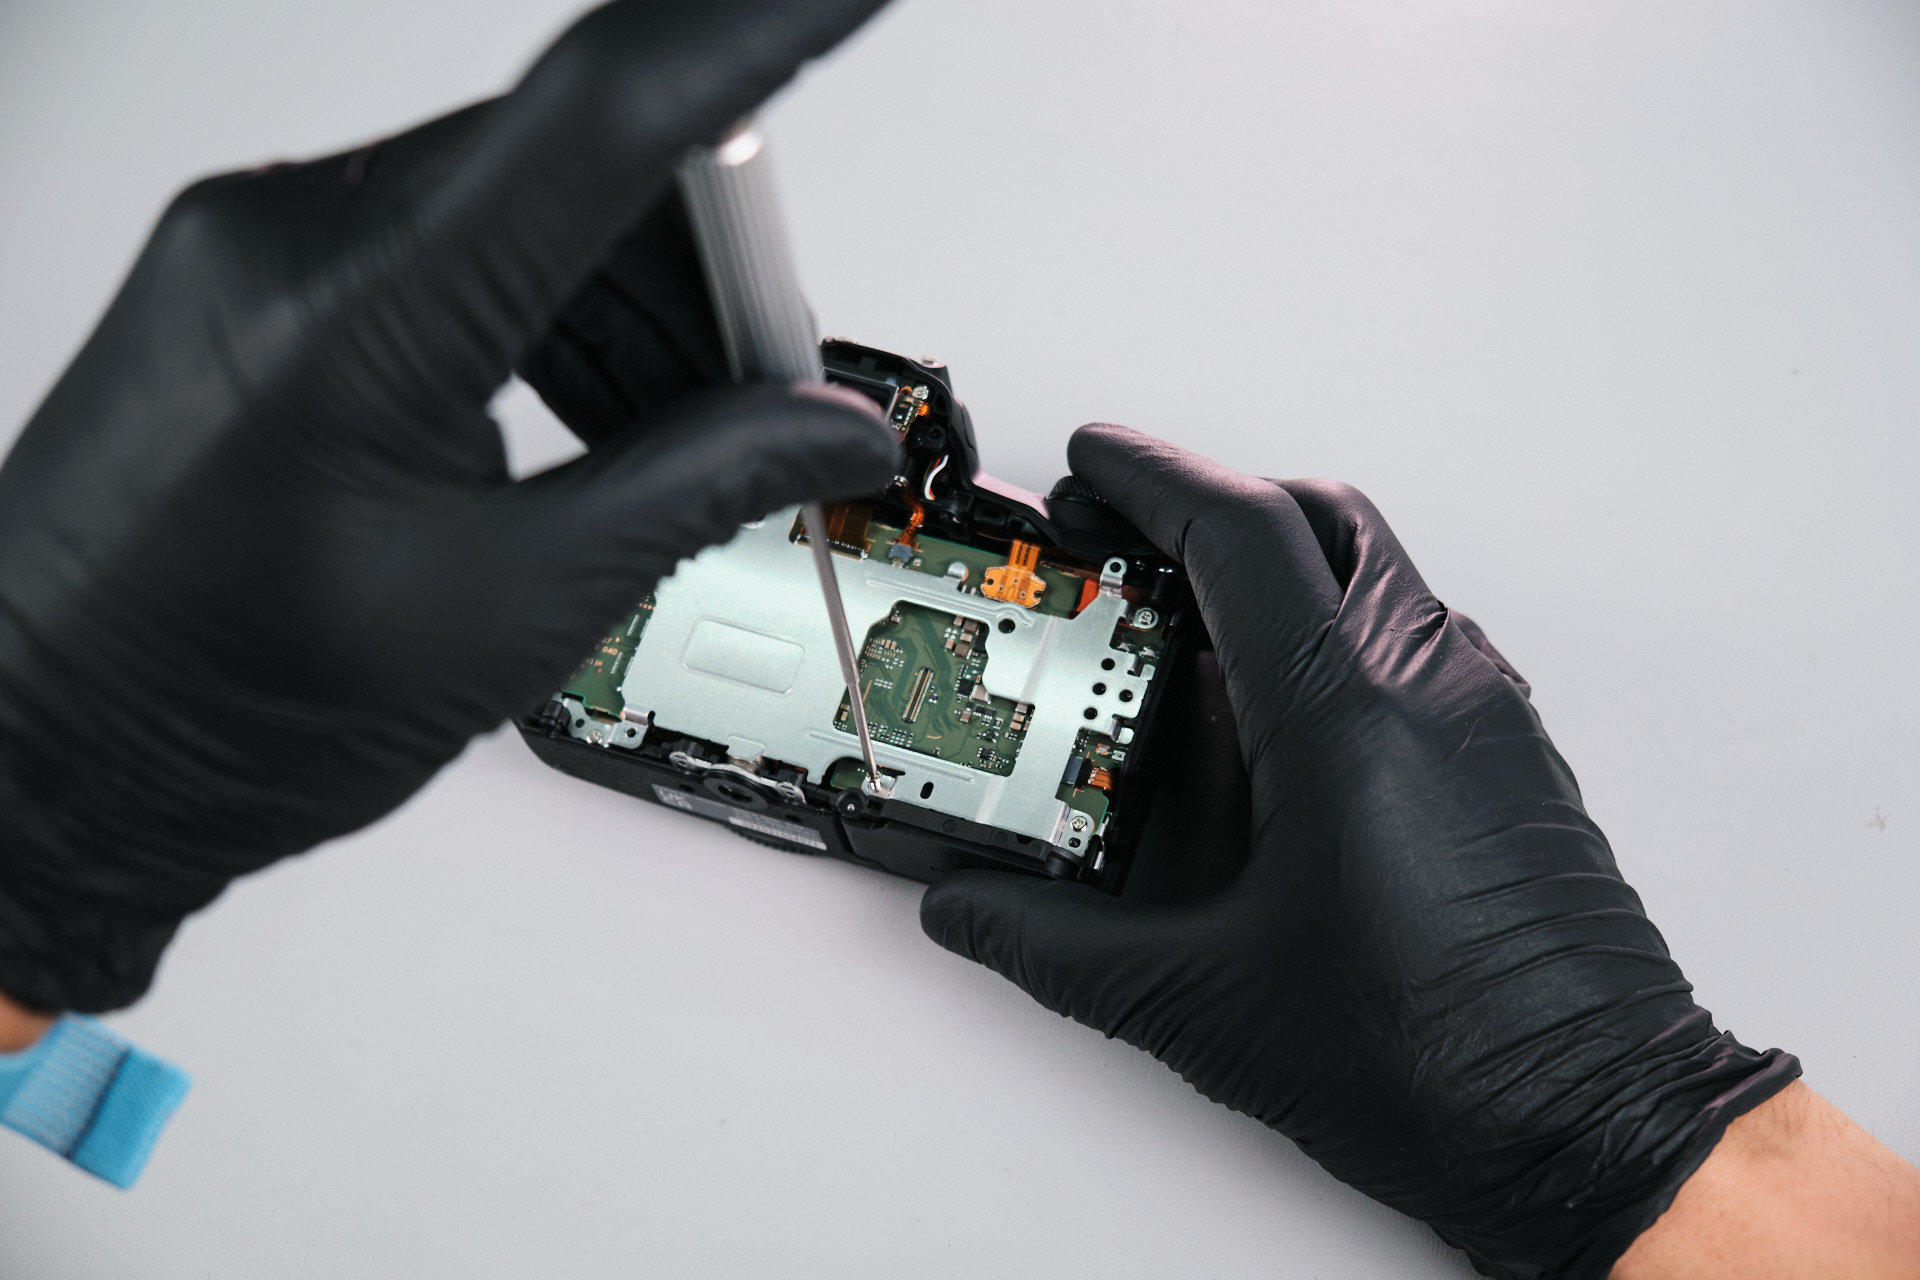
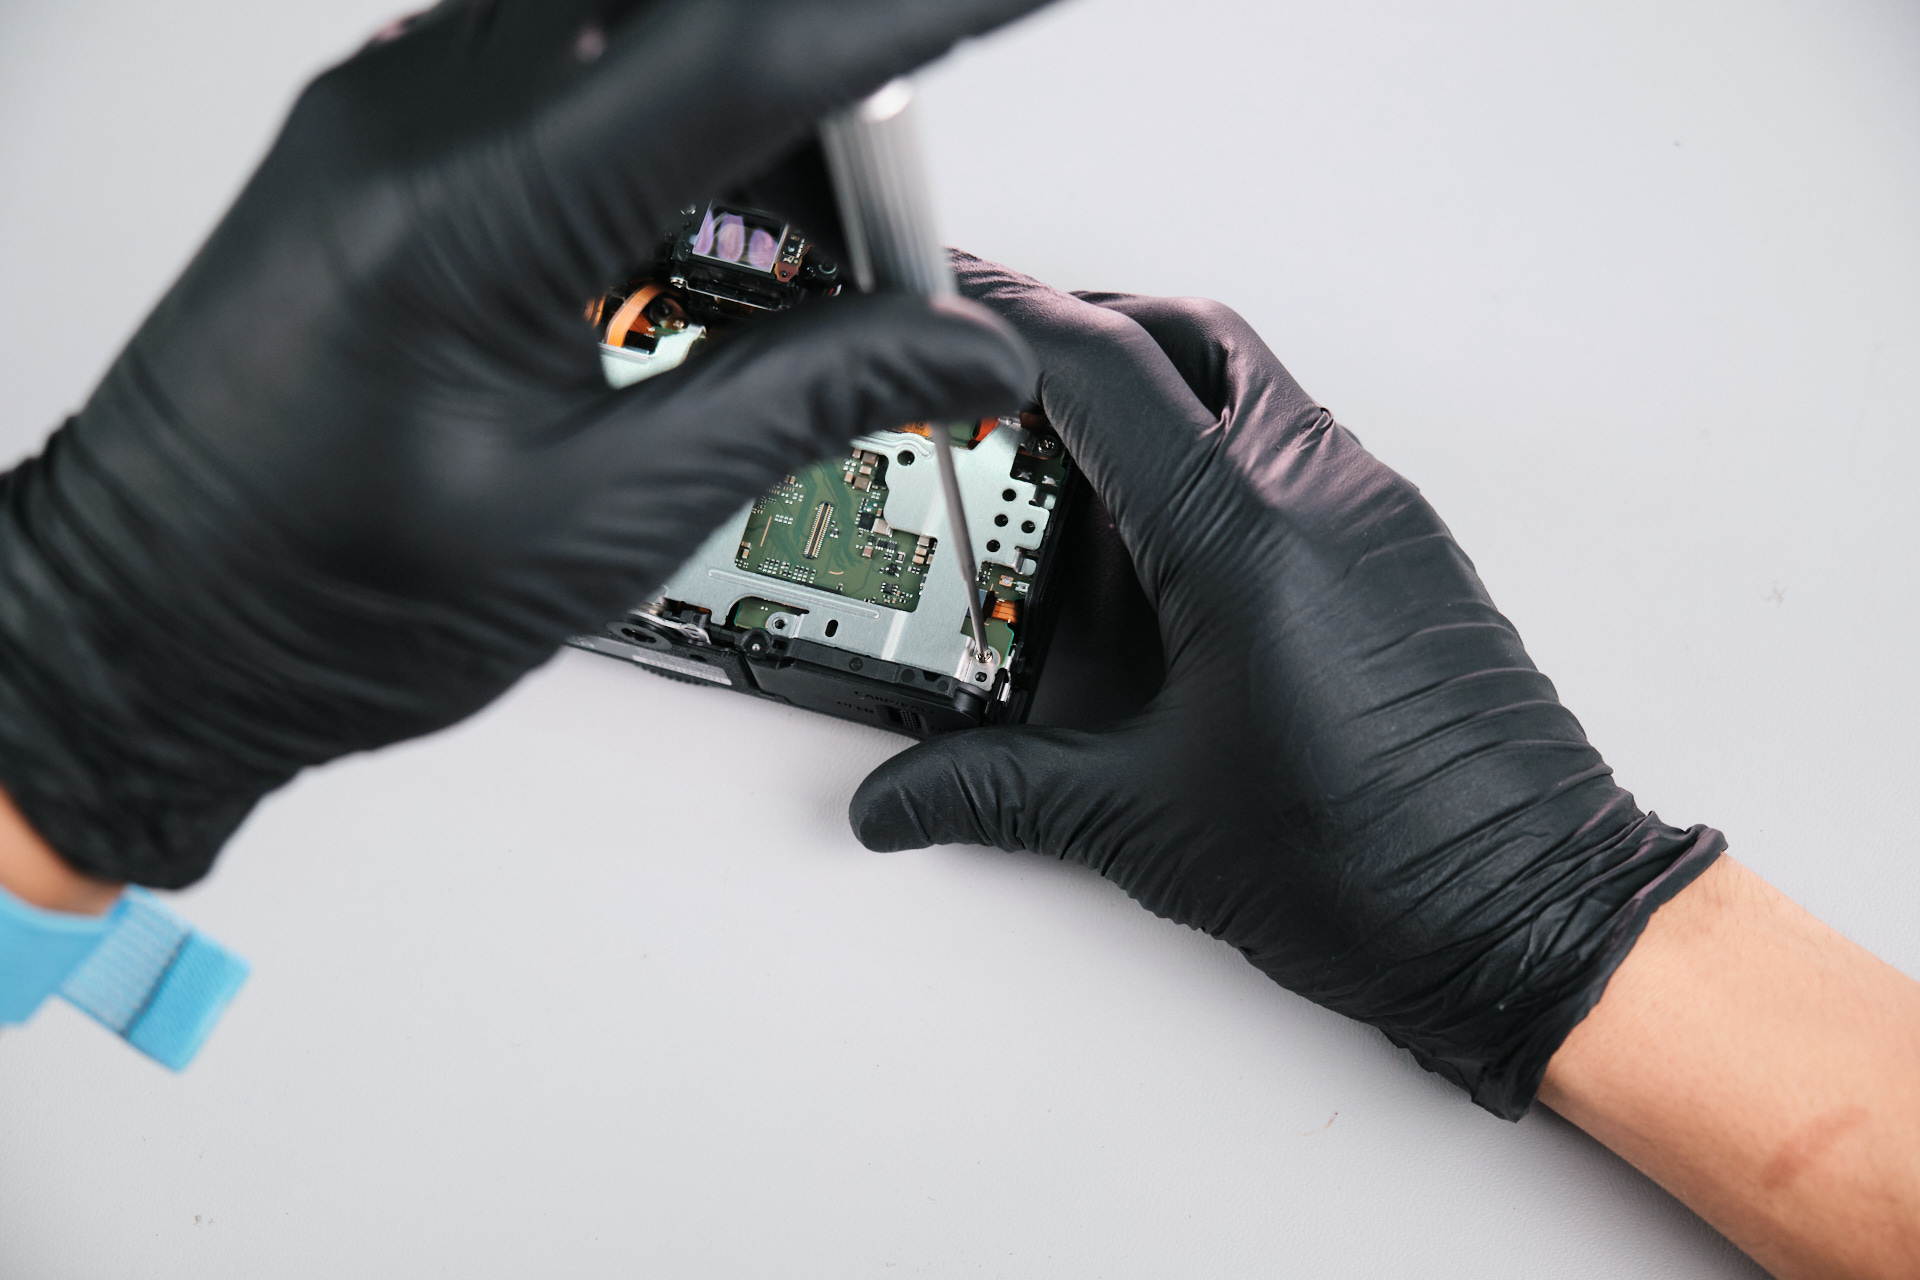
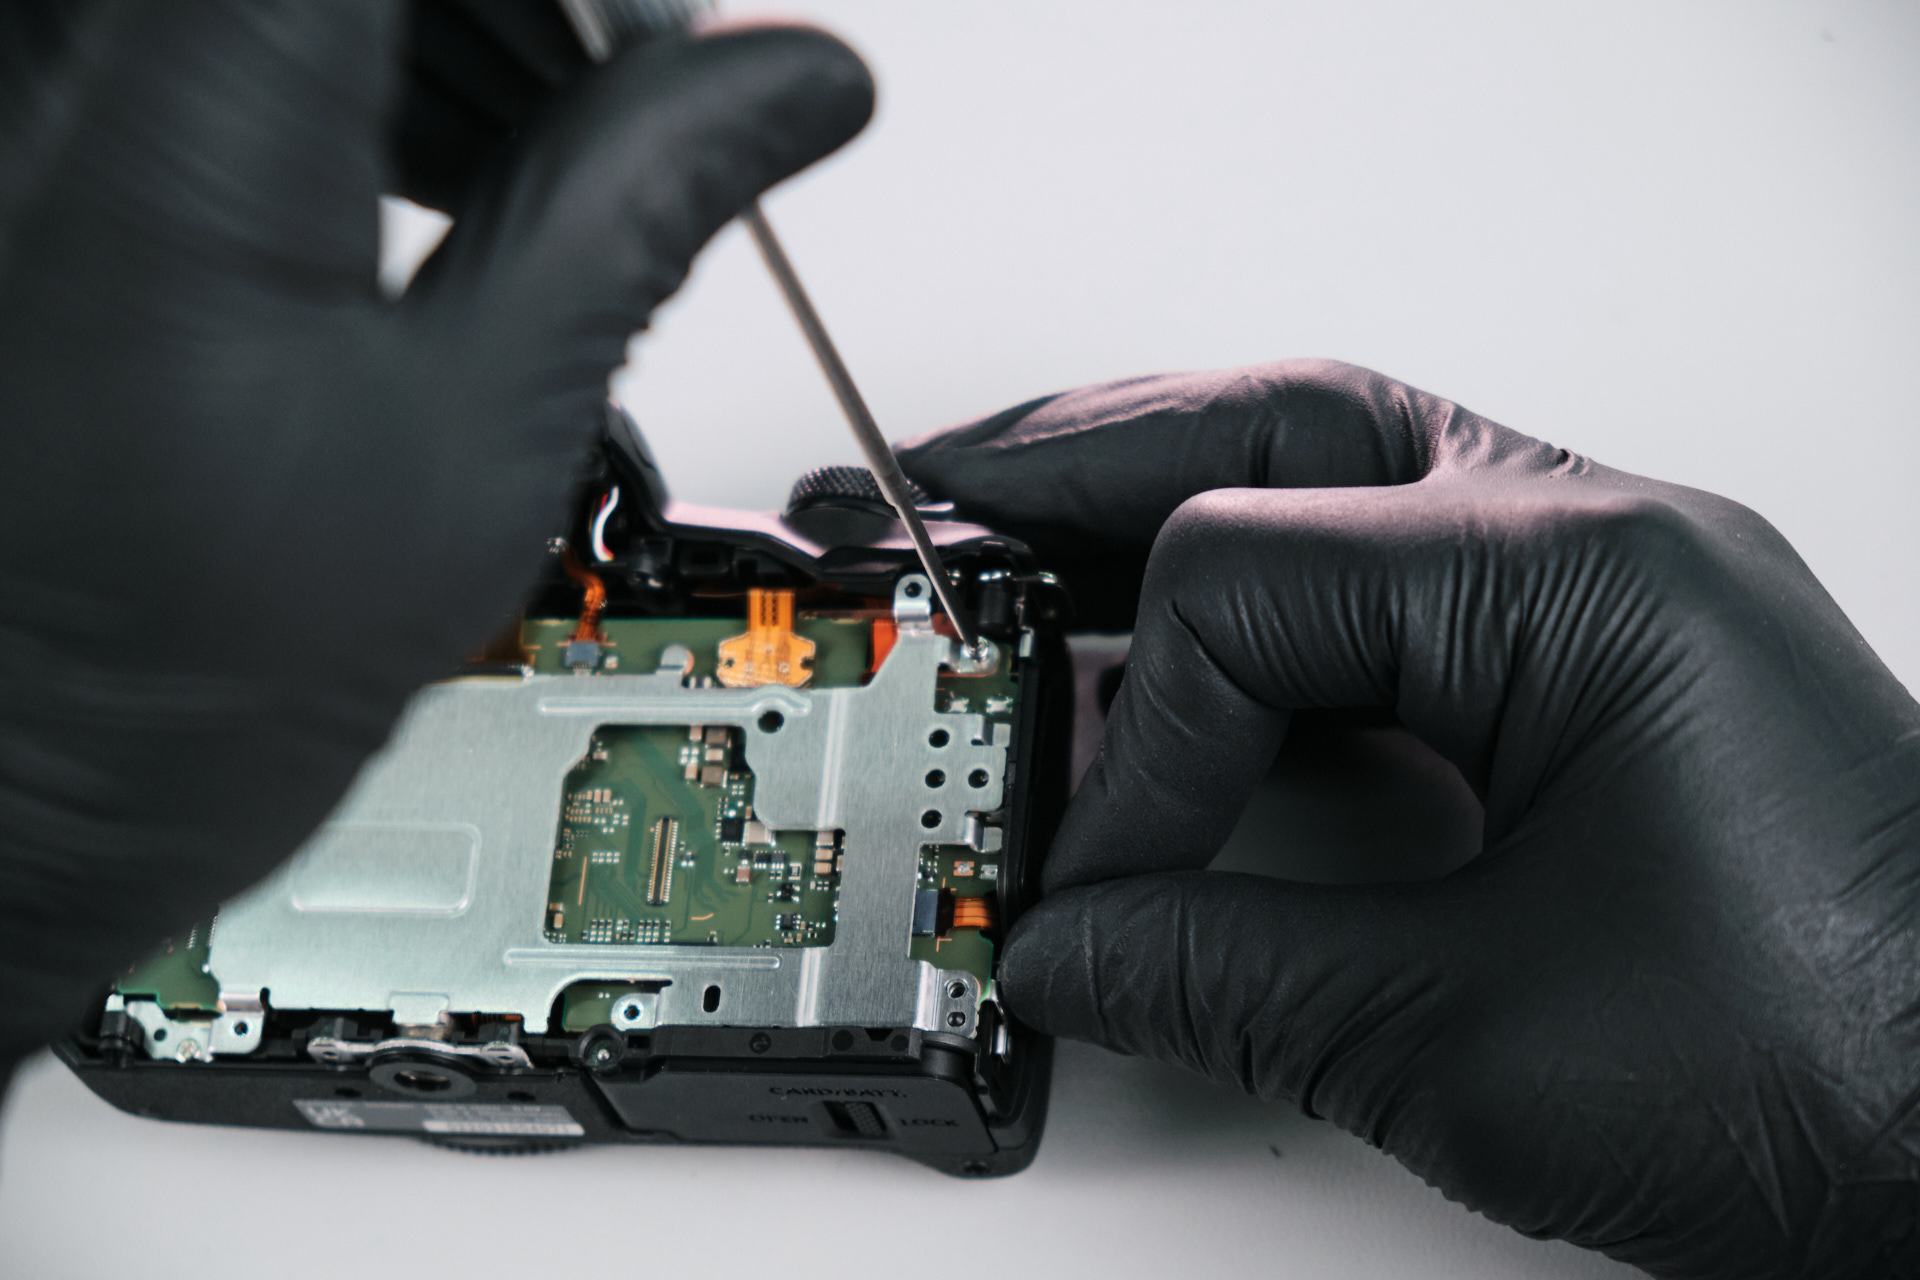
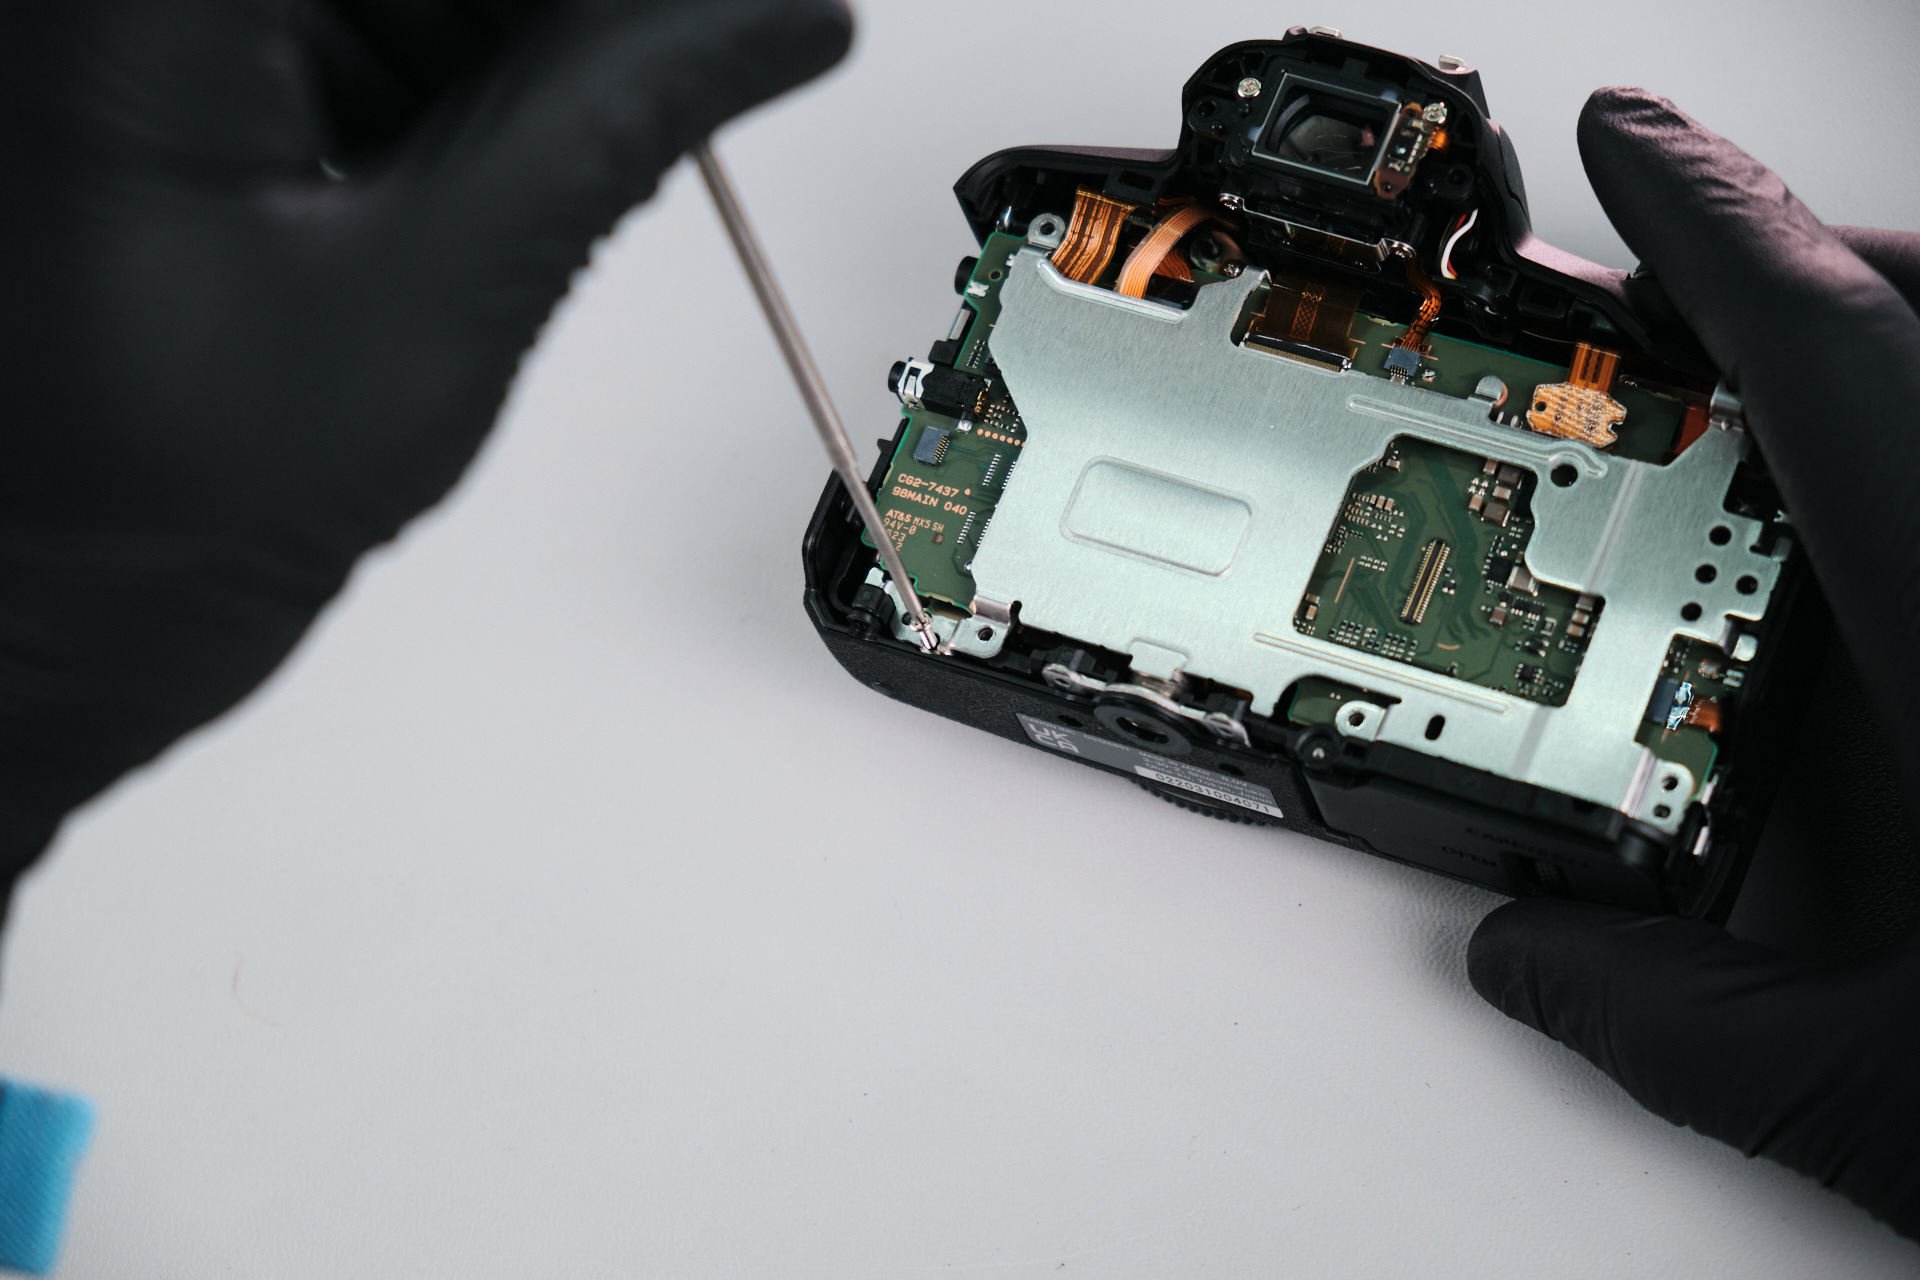
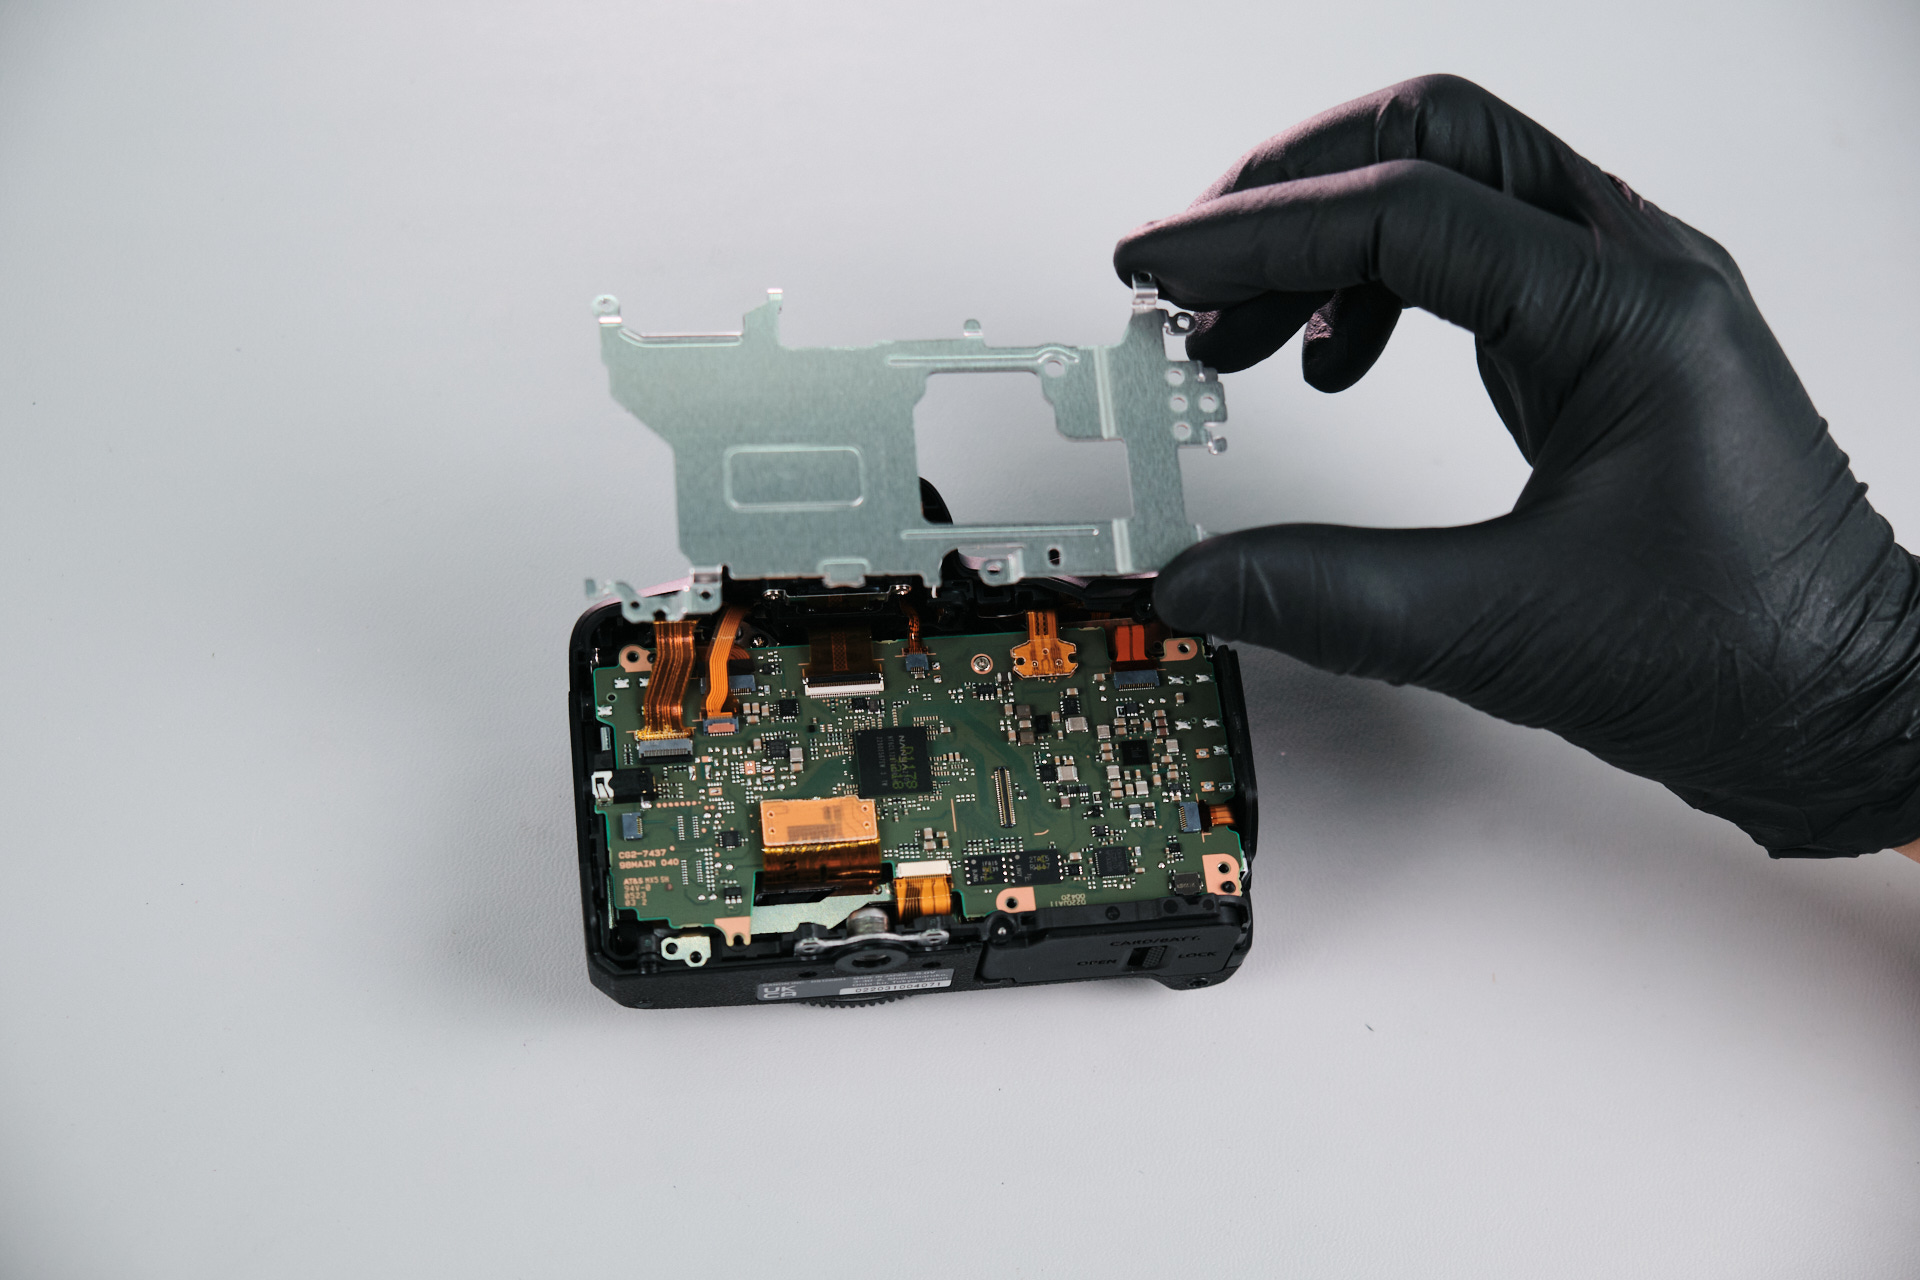
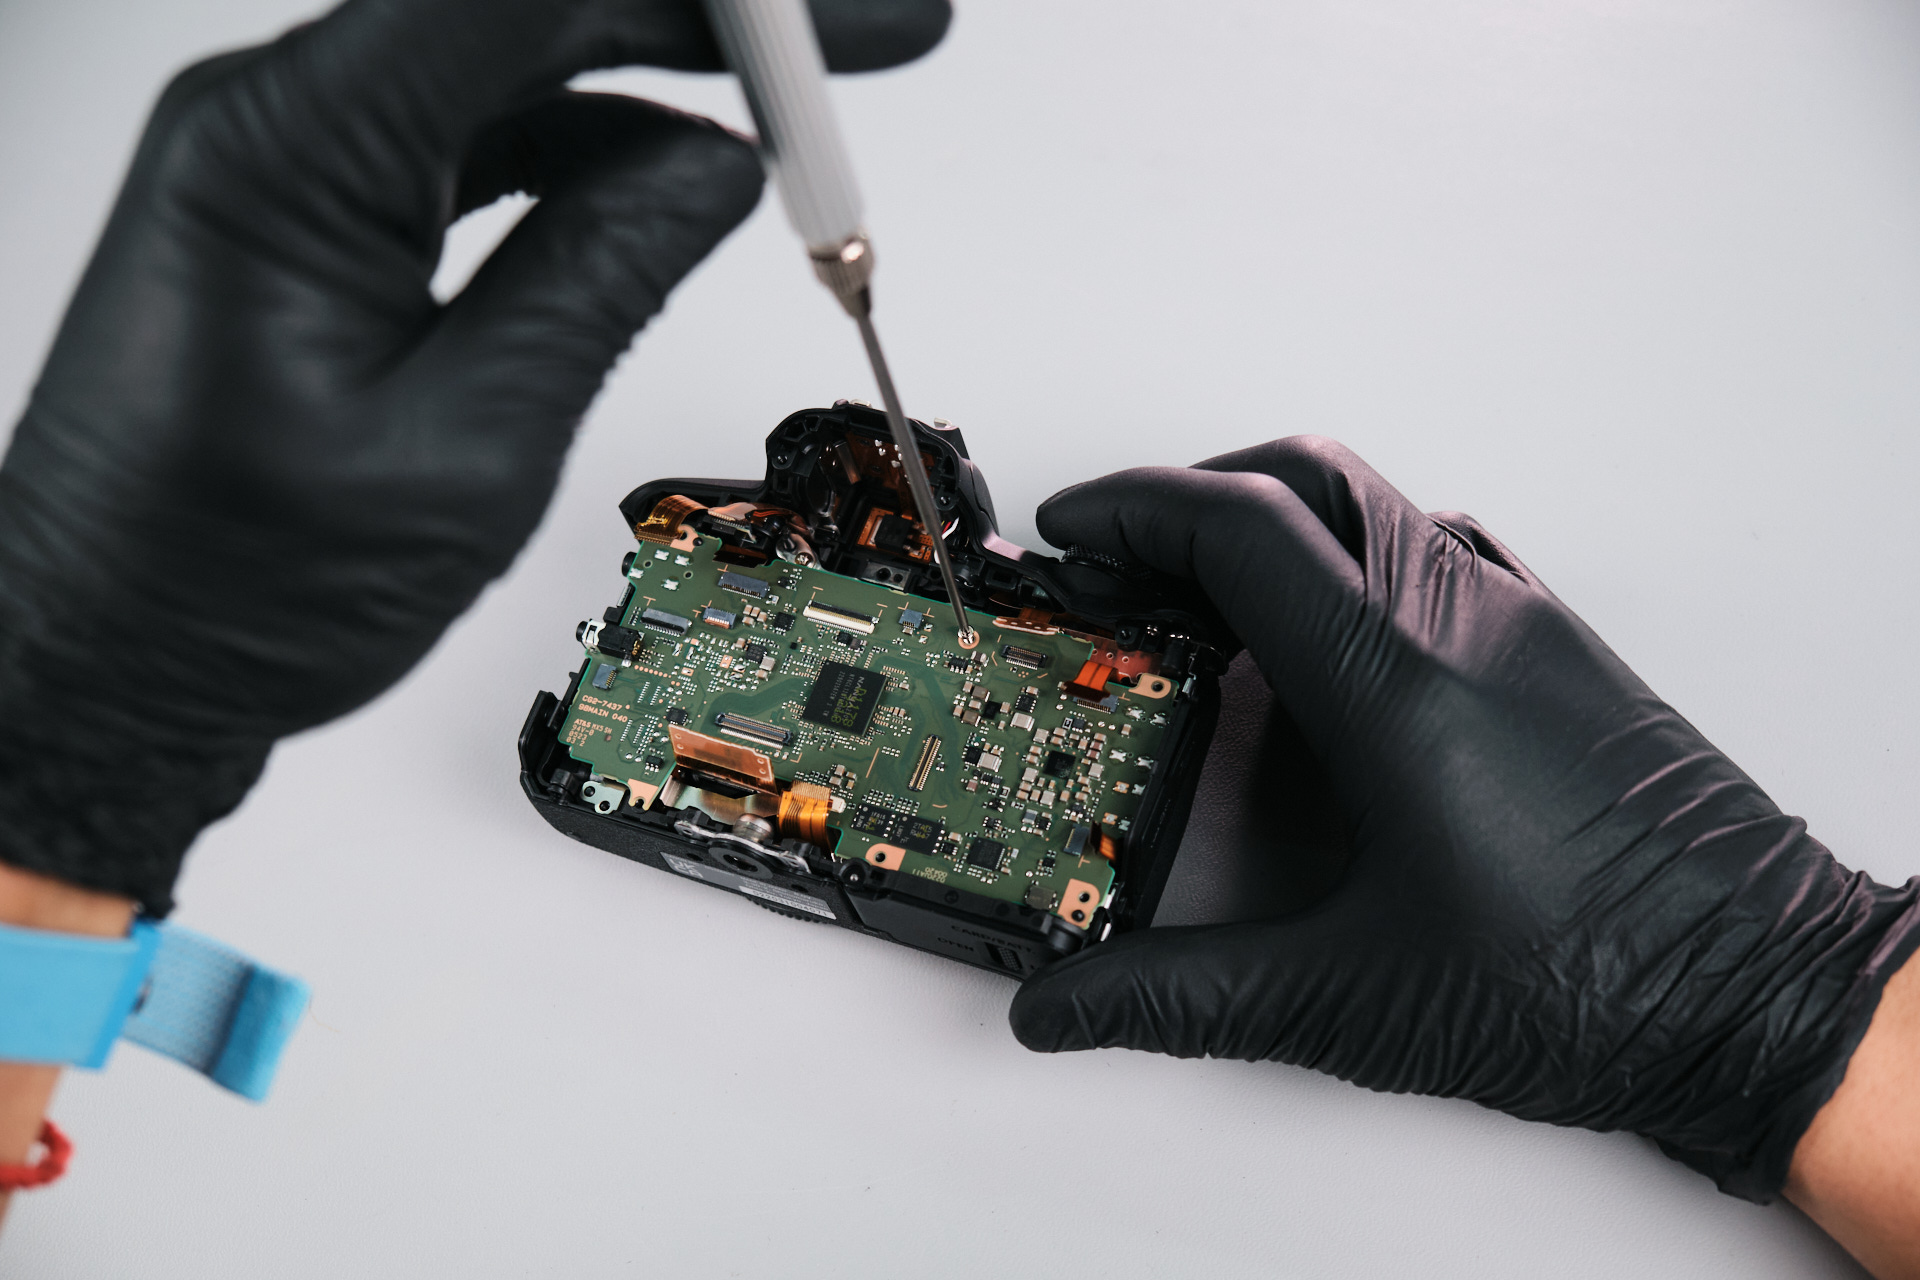
Six screws held down the circuit board bracket. 

DSCF0271 1
DSCF0272 1
DSCF0273 1

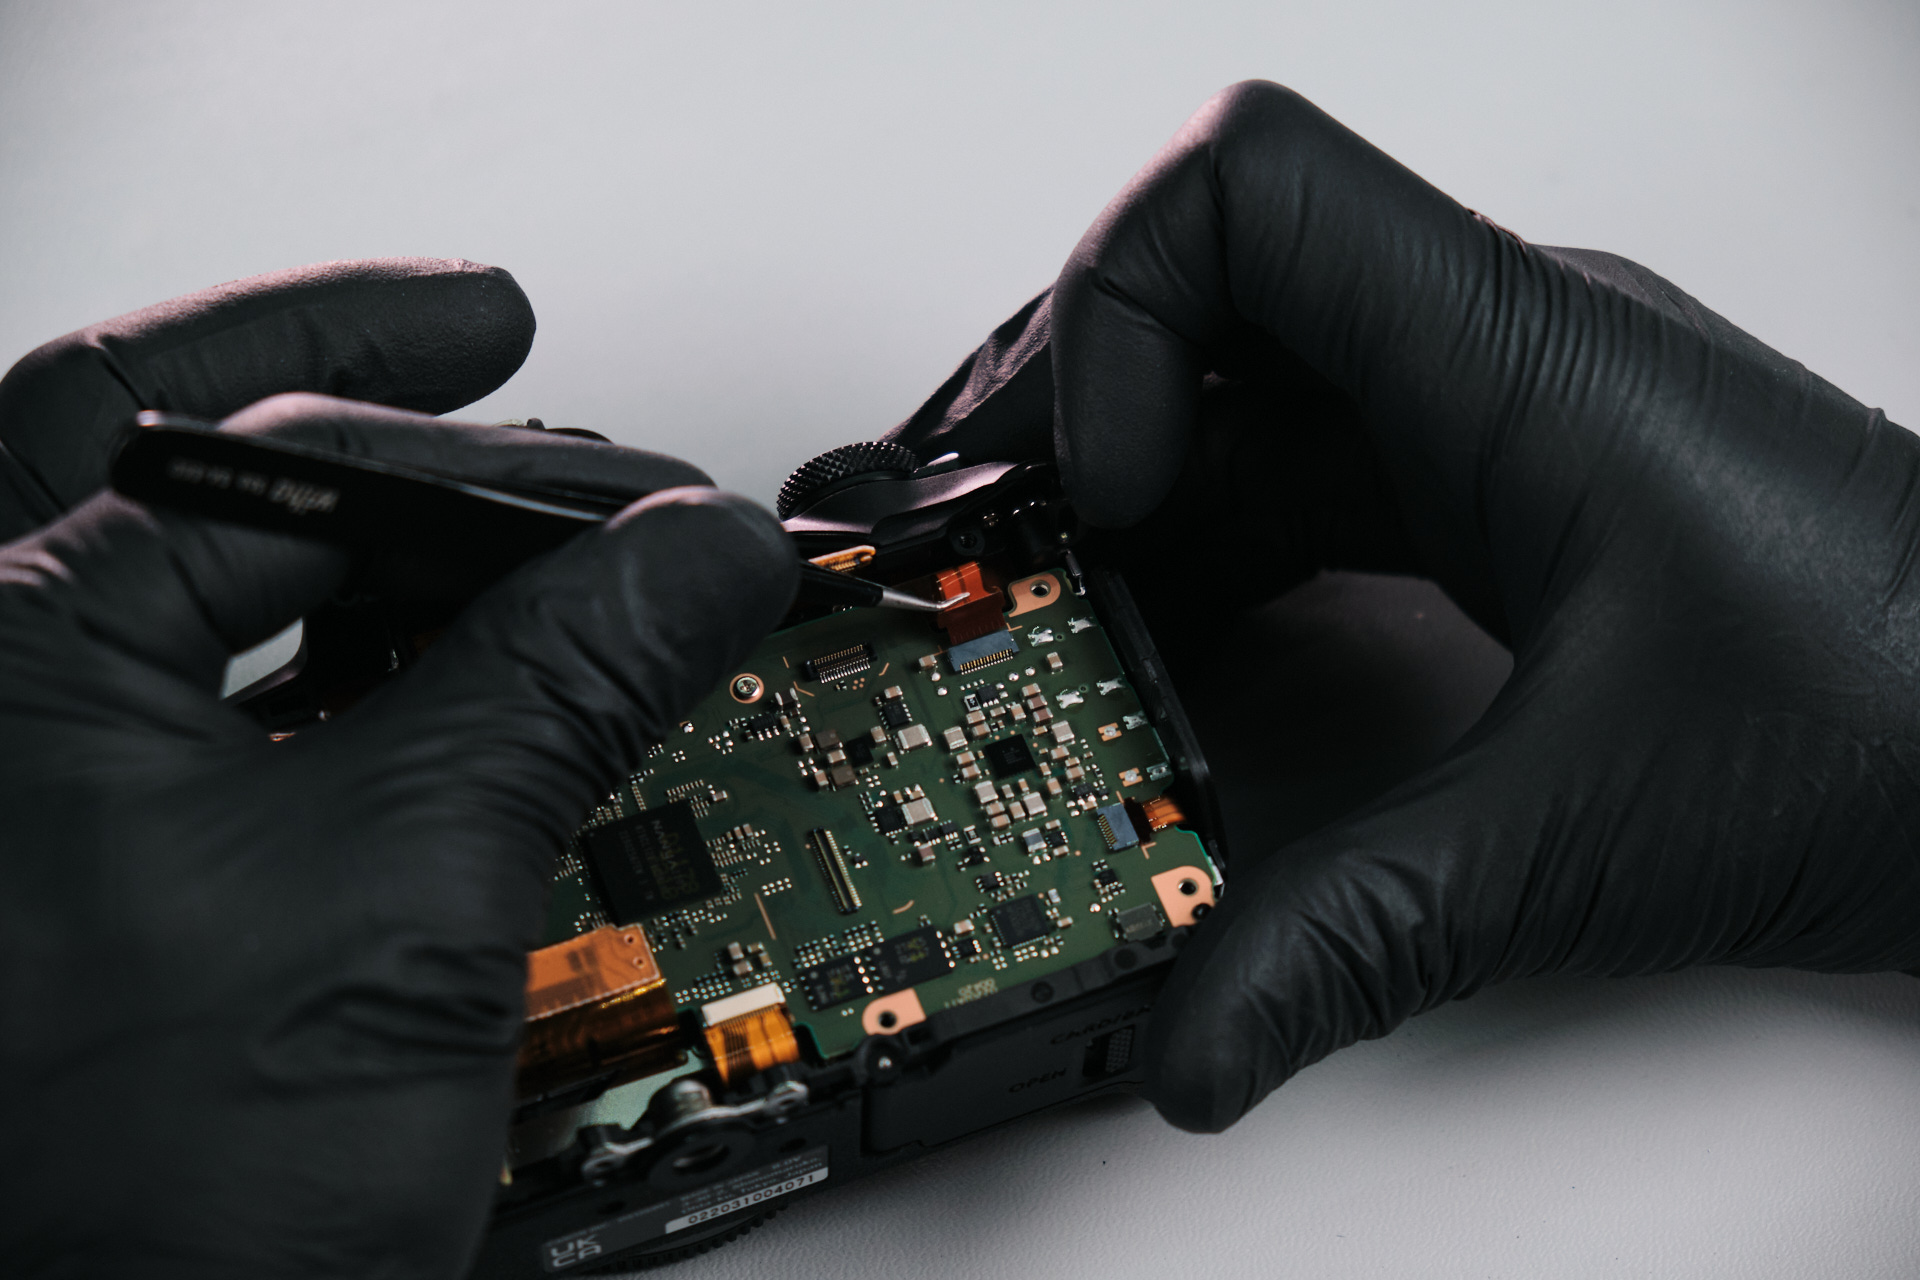
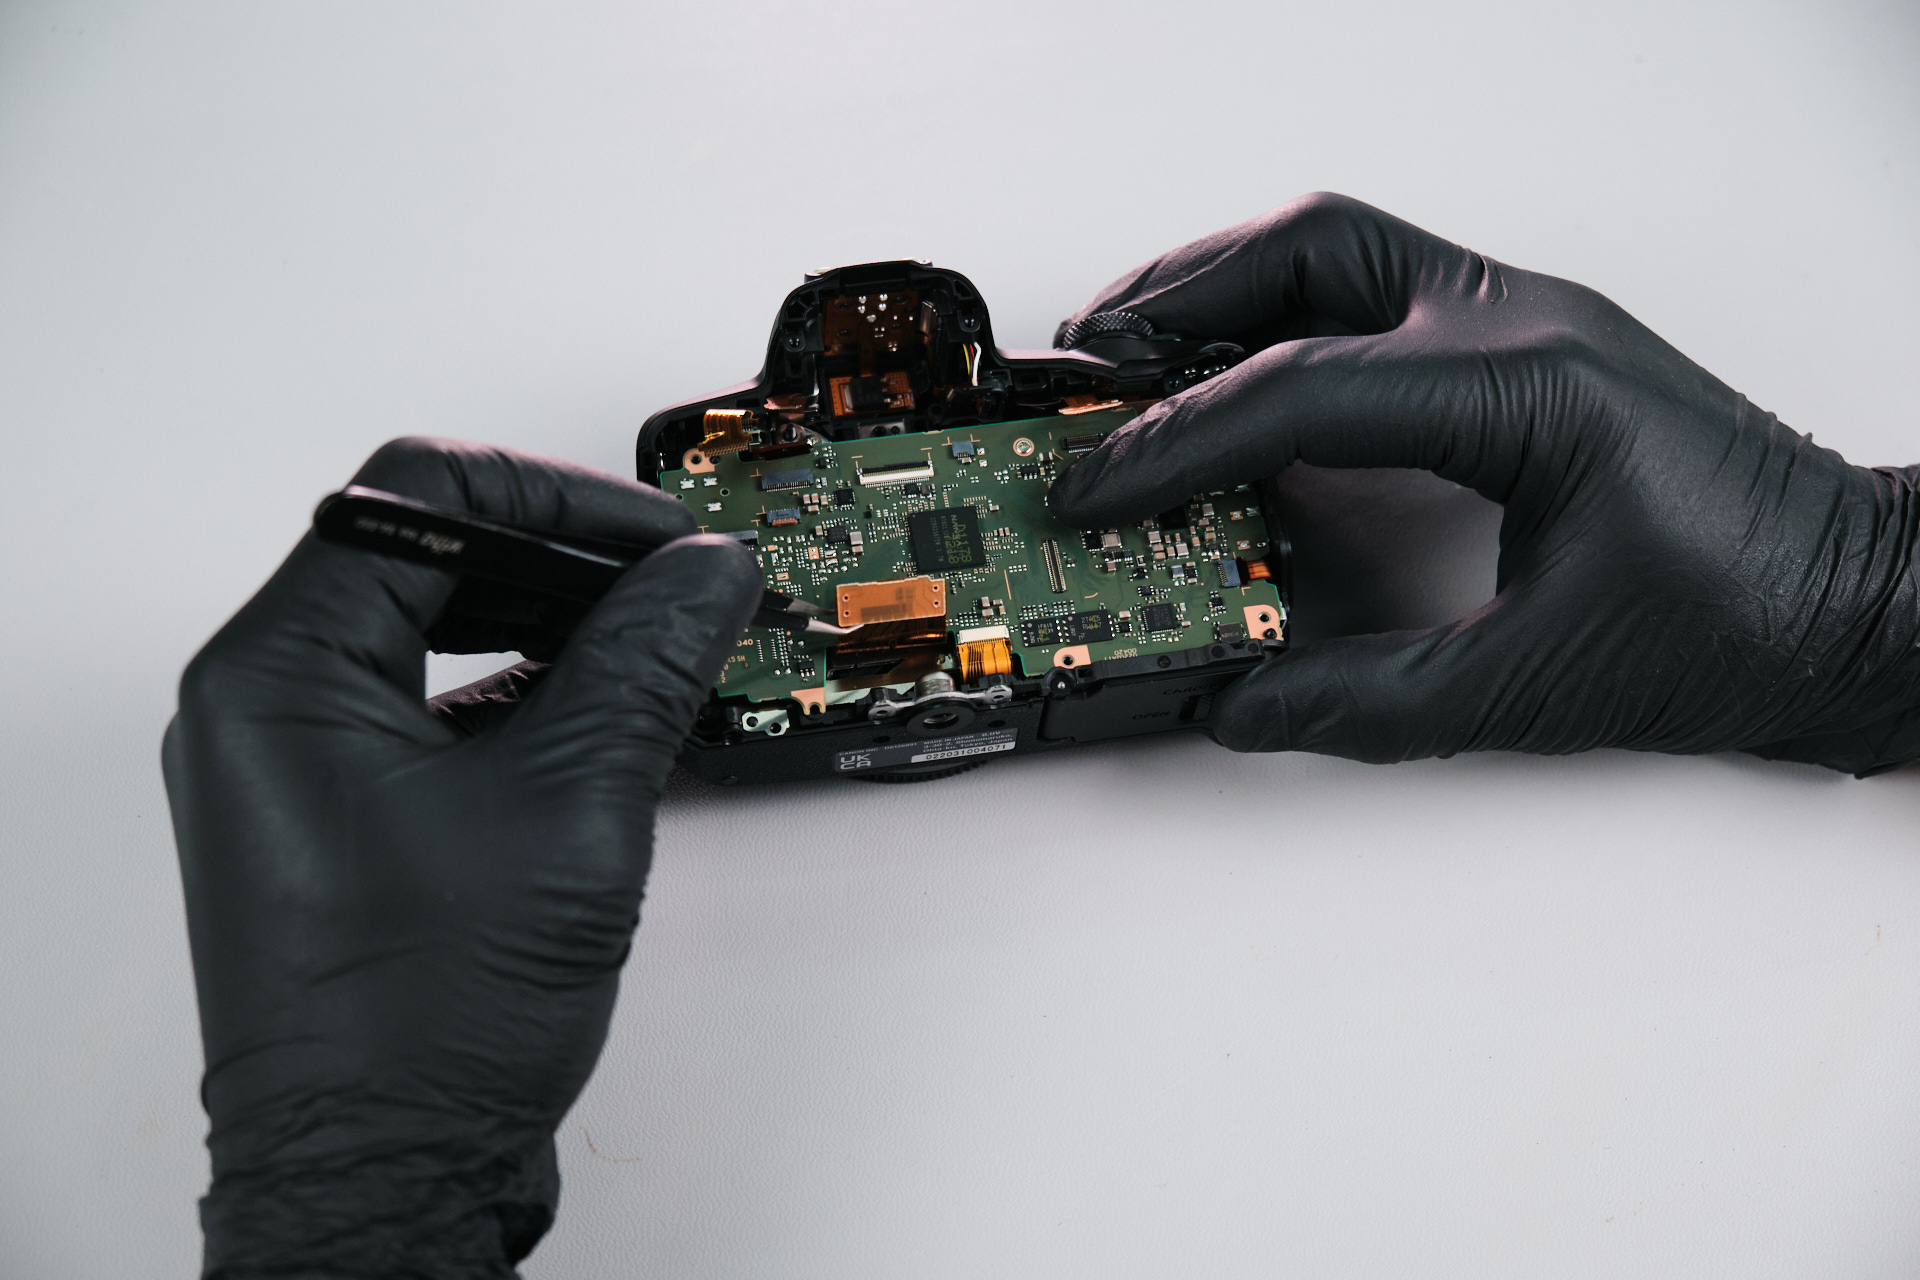
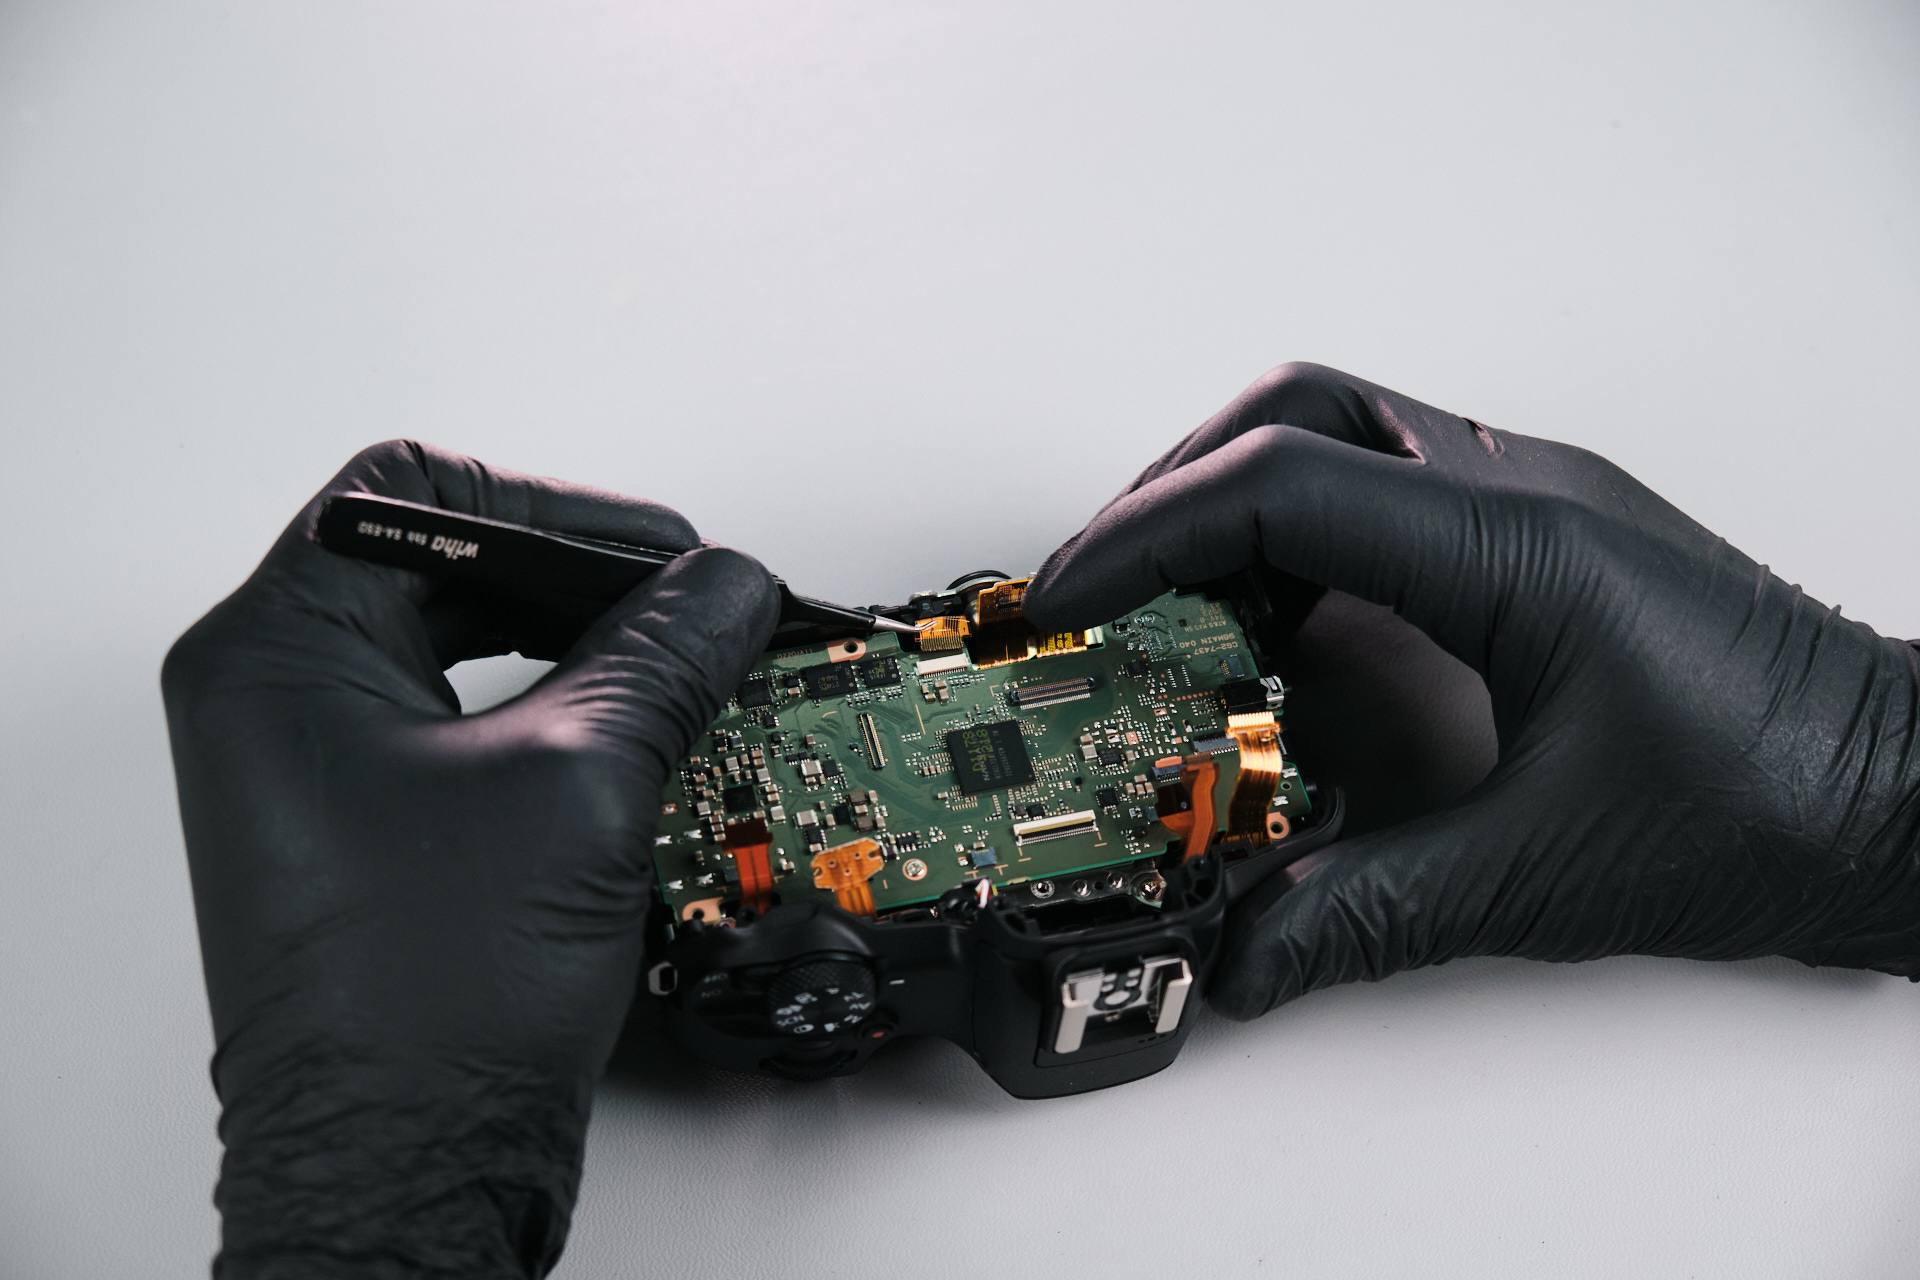
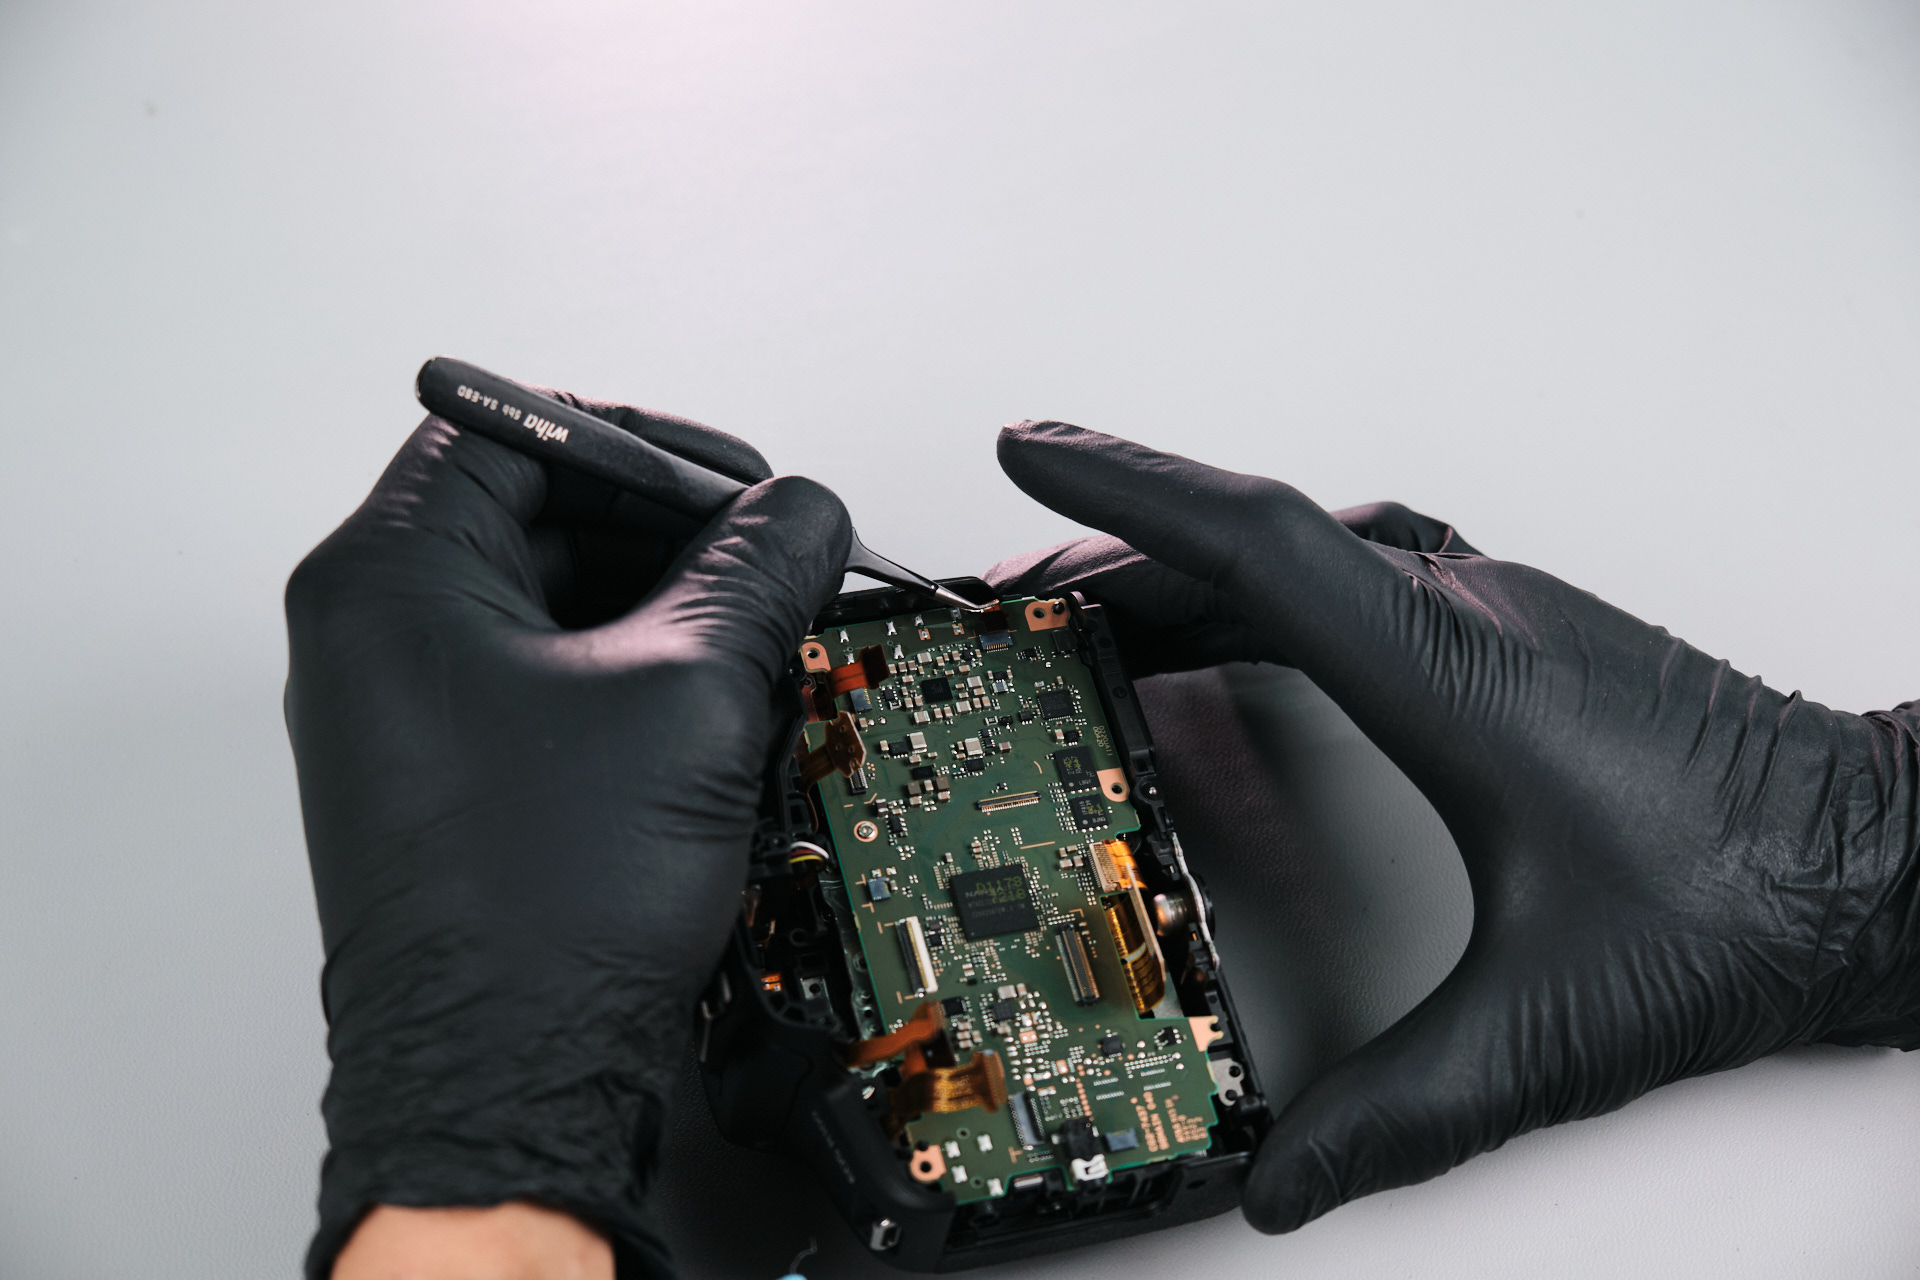
Disconnecting Canon R100 Ribbon Cables

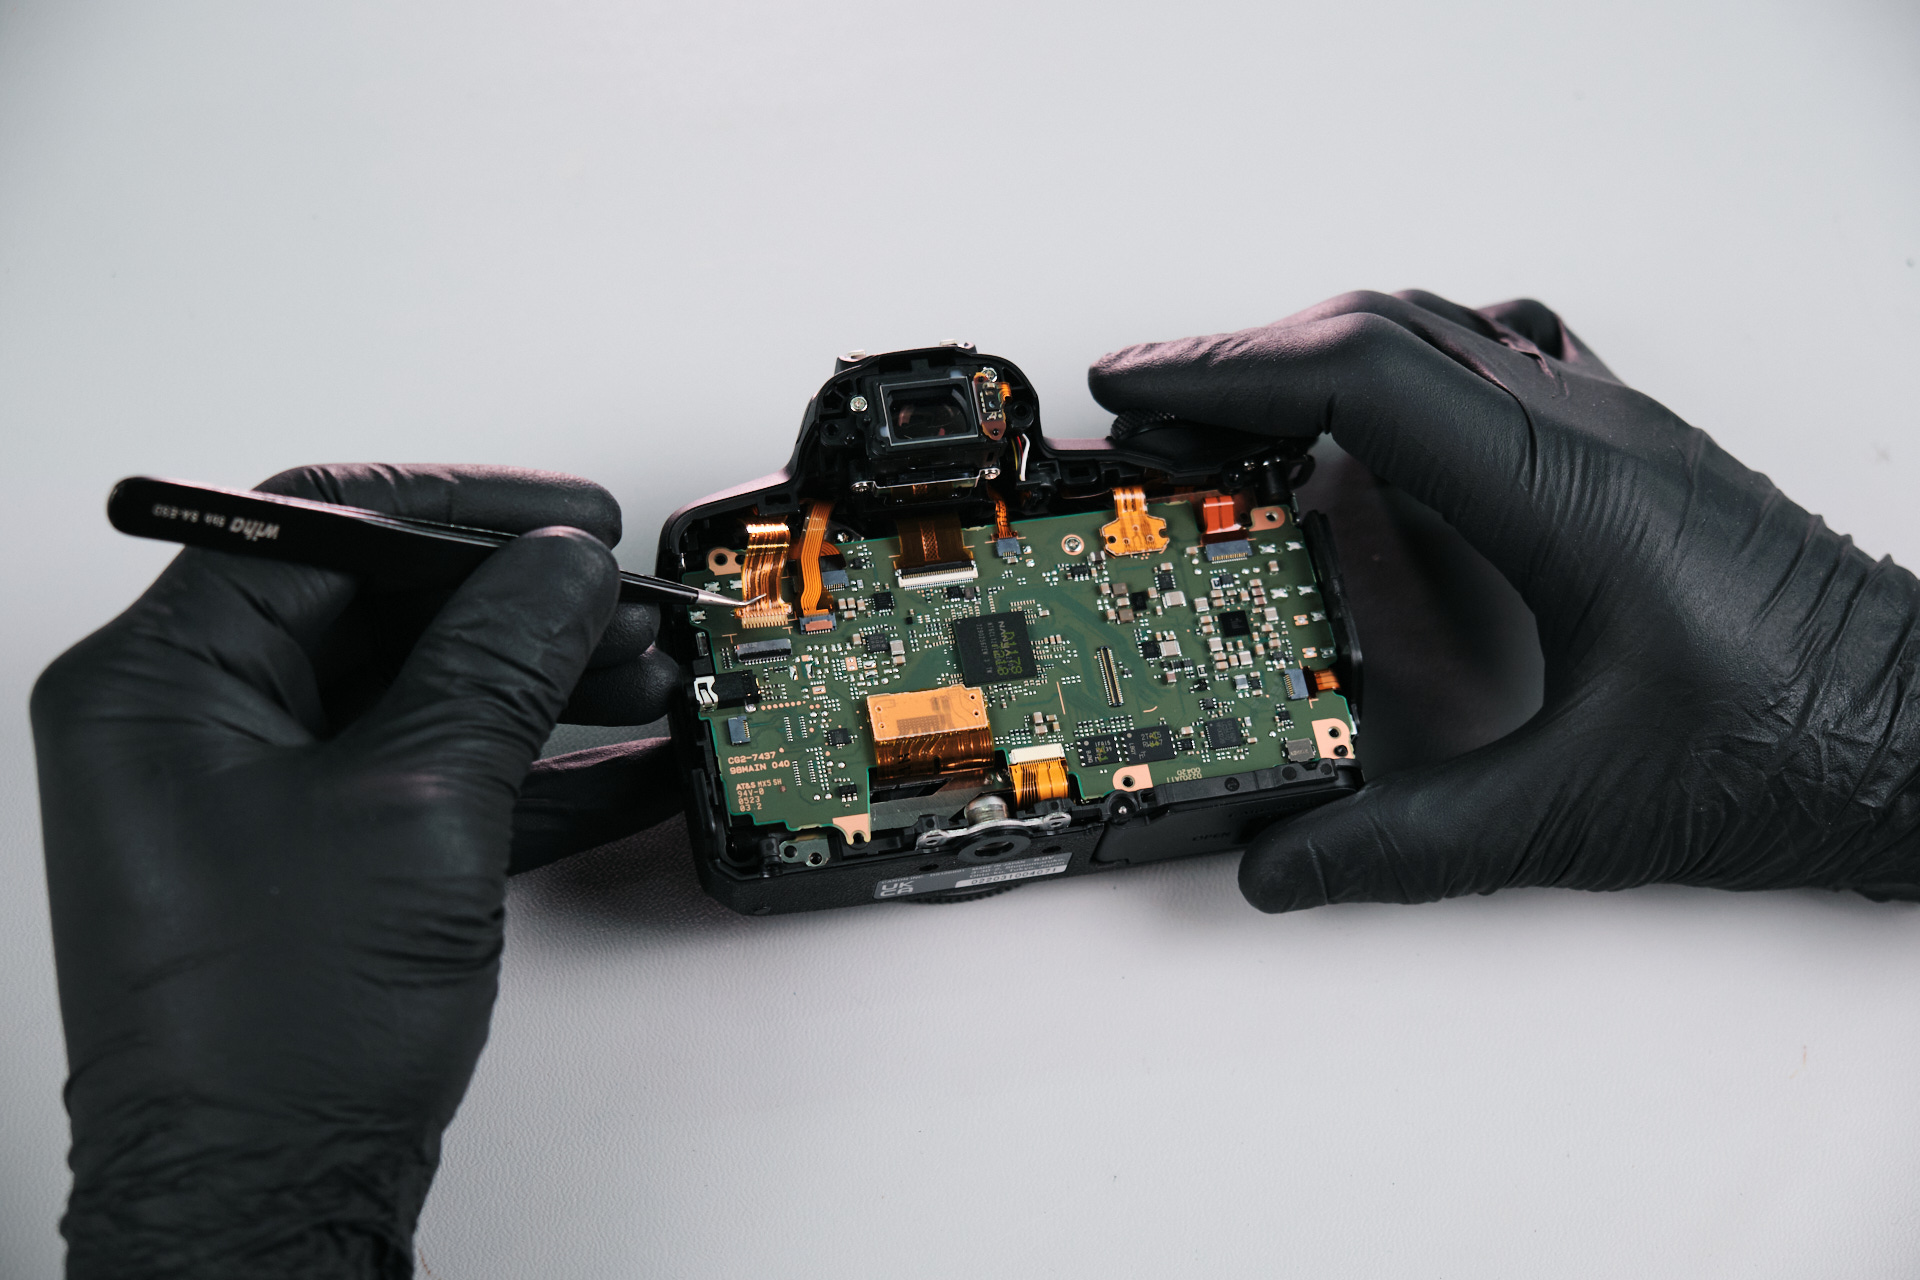
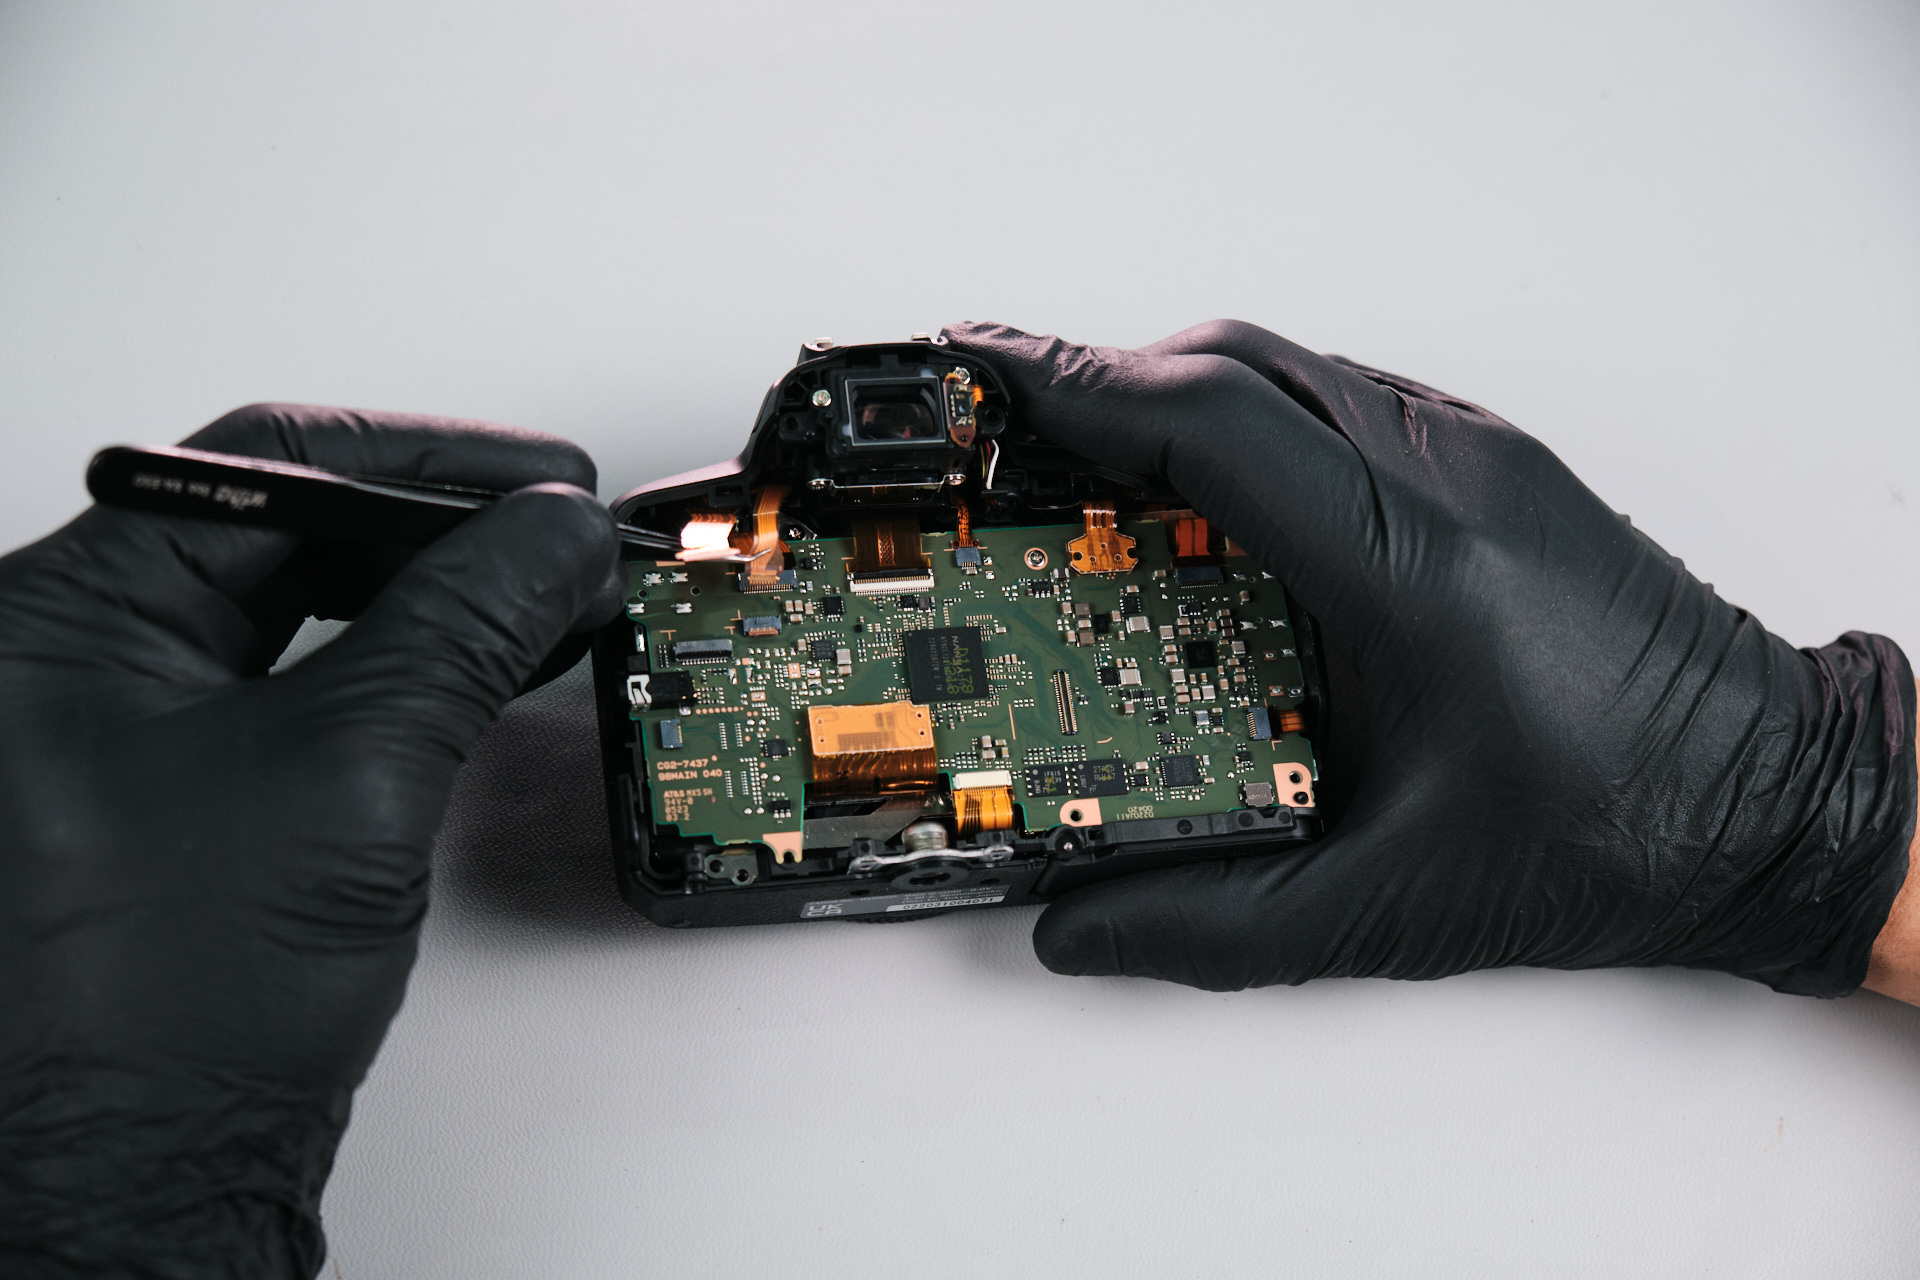
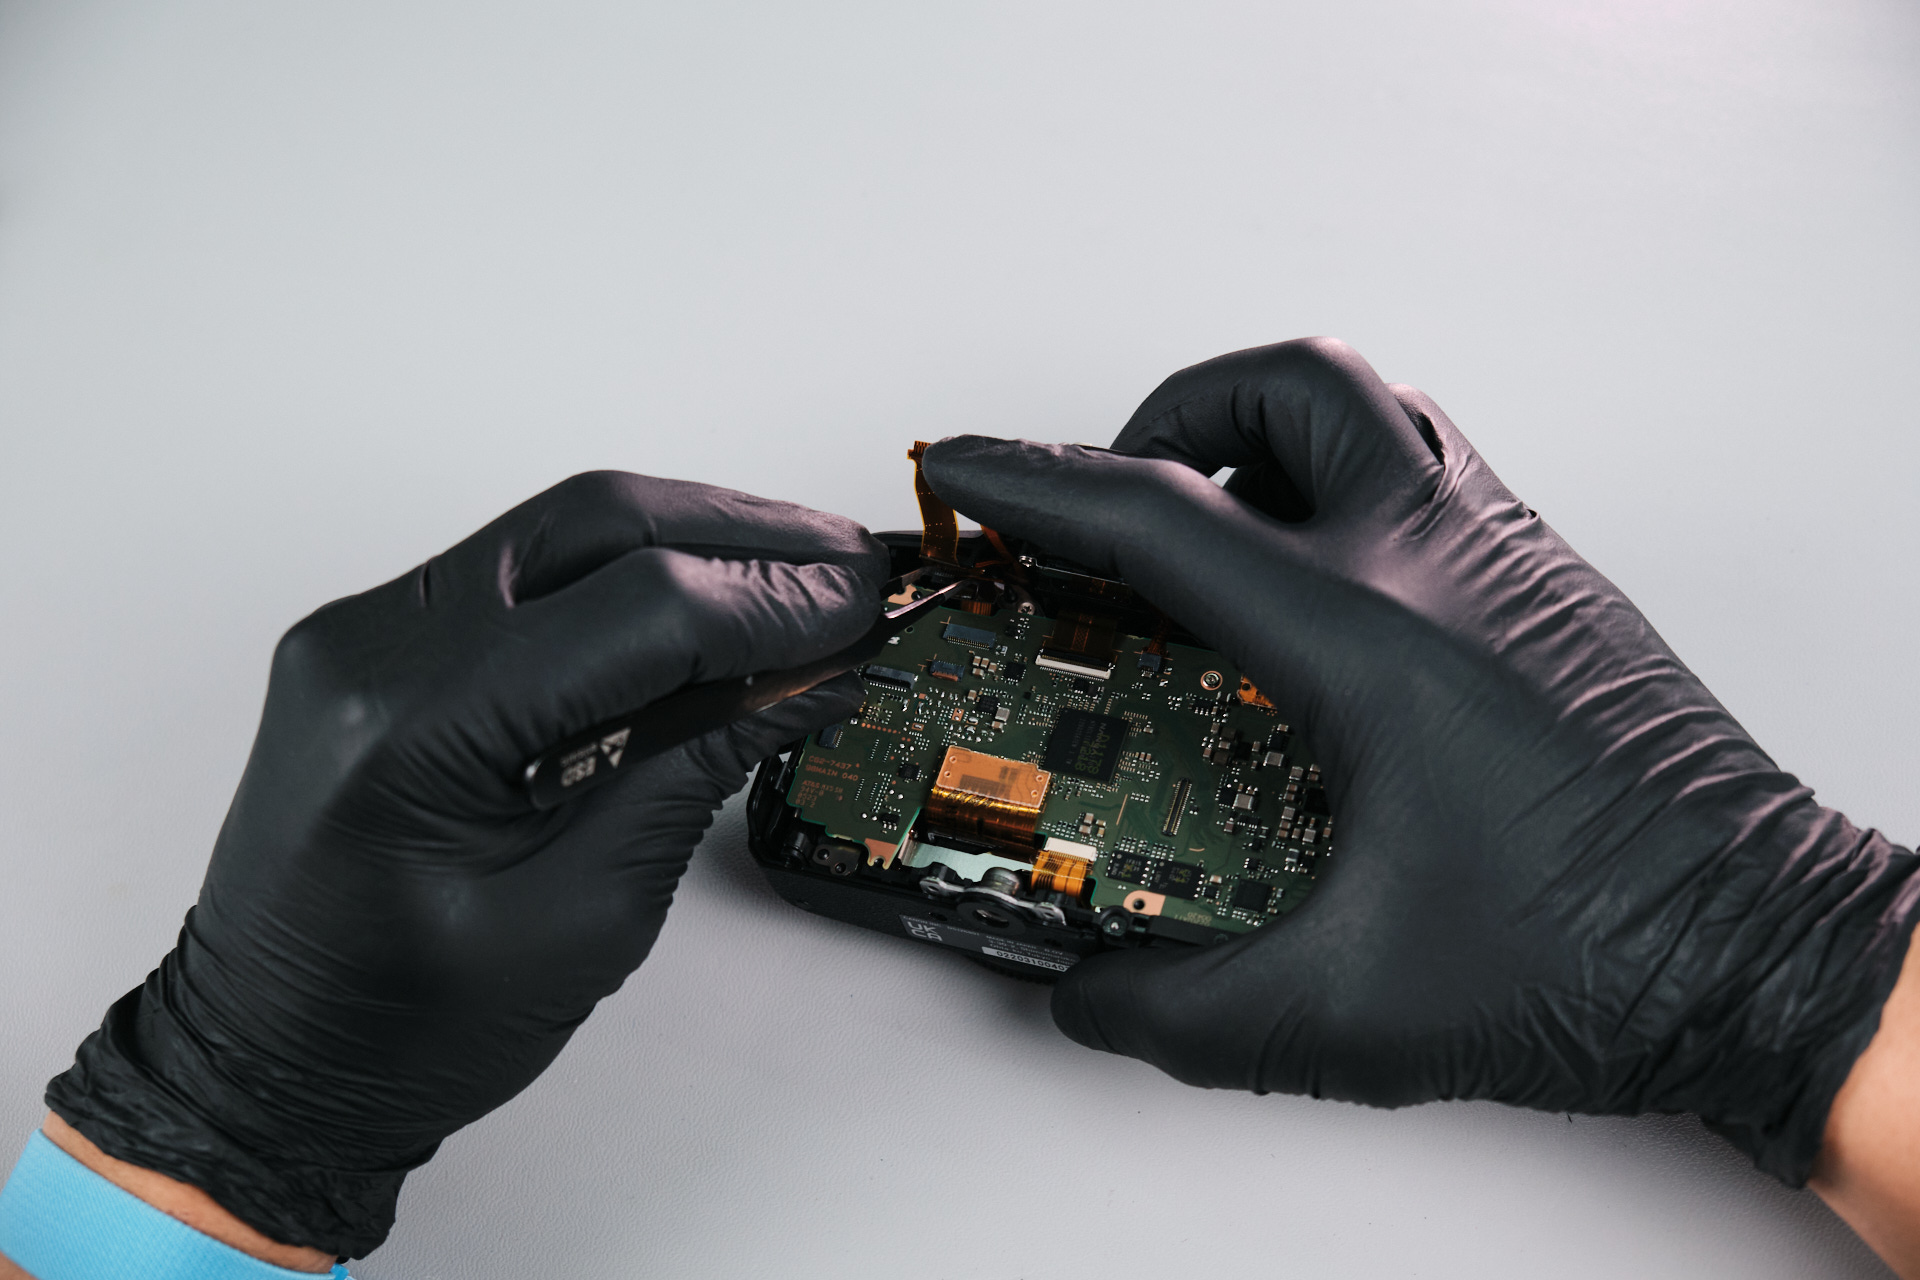
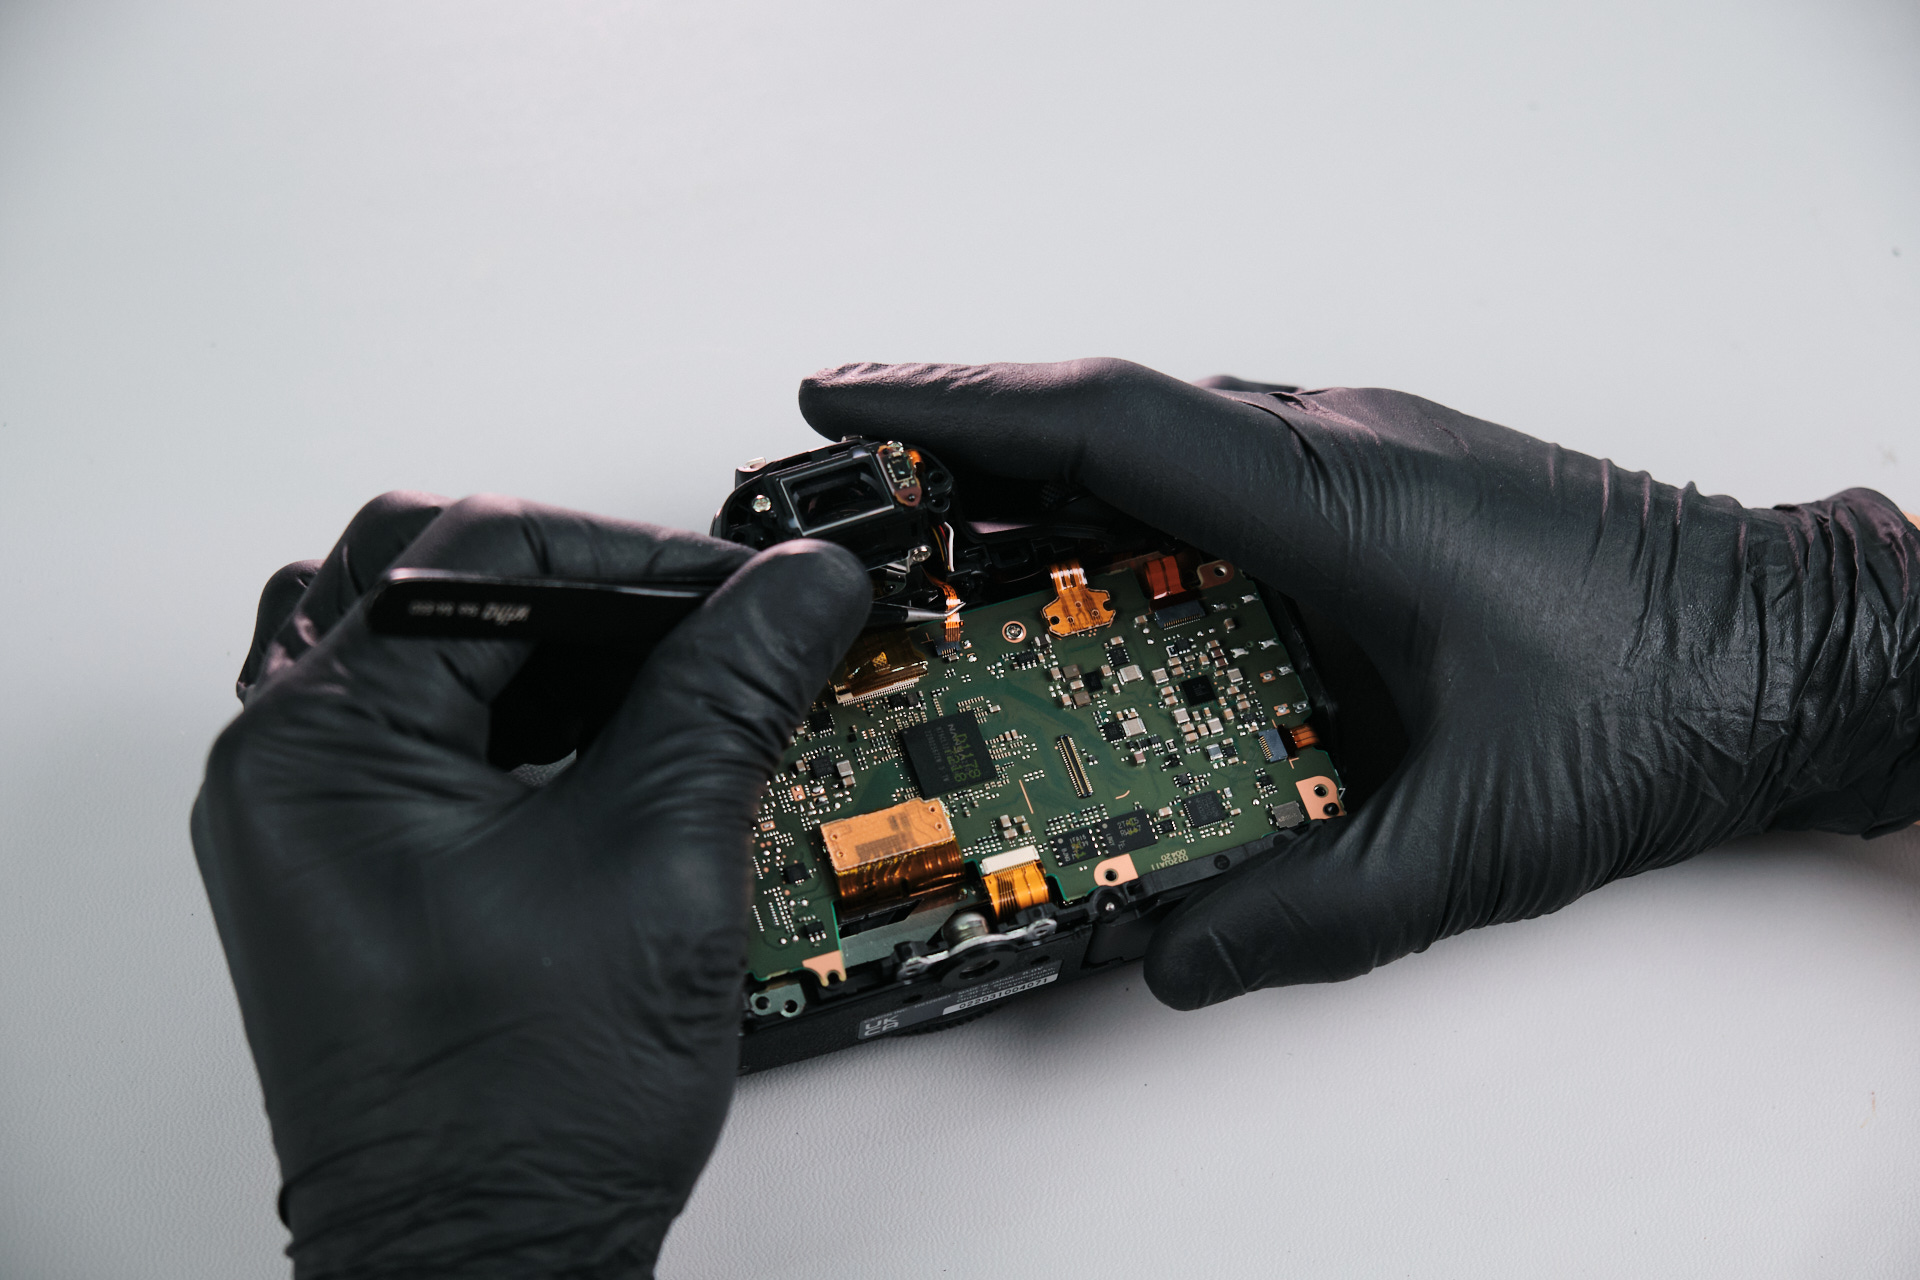
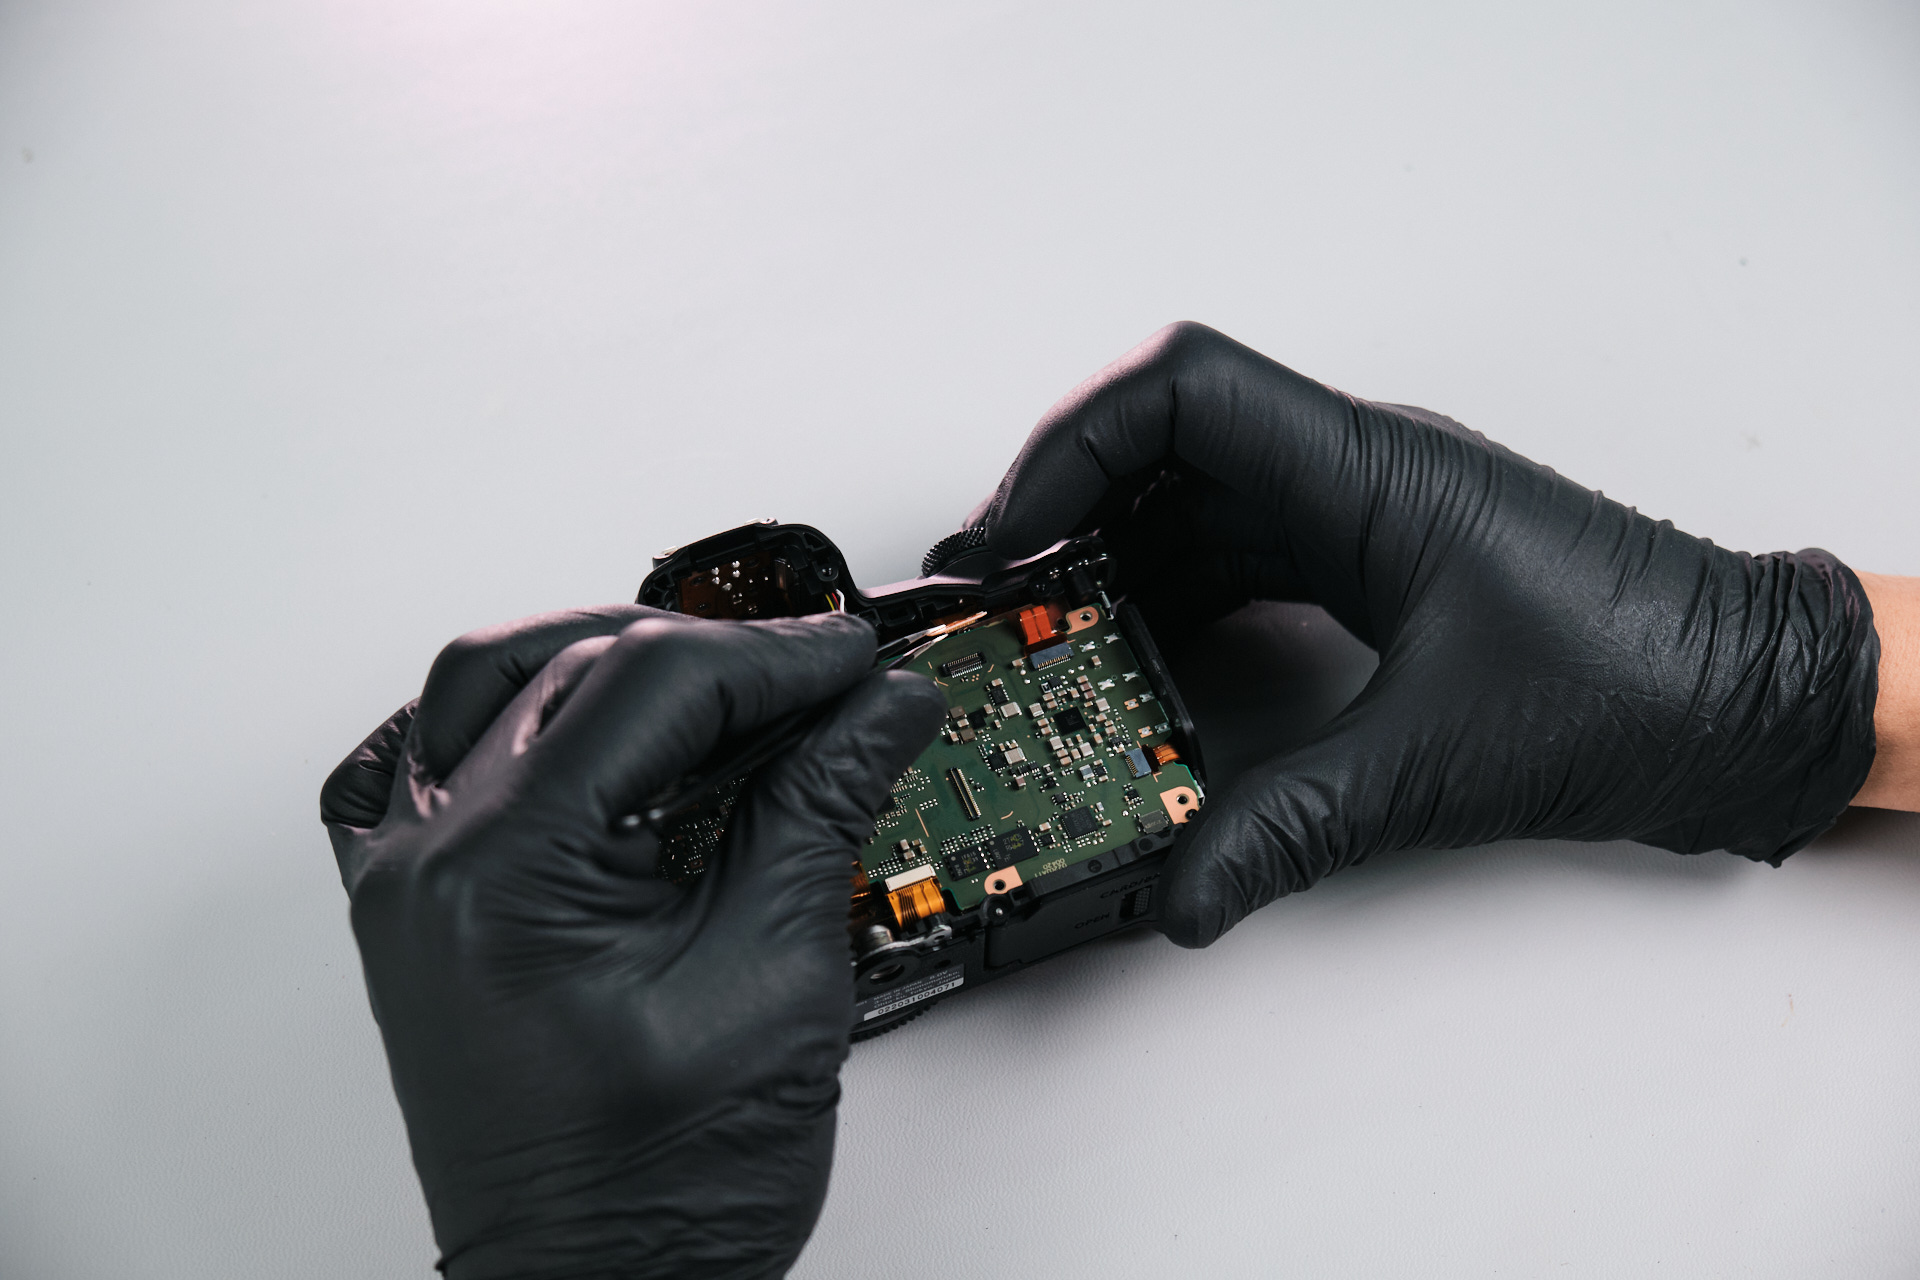
Now that we had access to the circuit board, we needed to disconnect the ribbon cables to remove the circuit board itself.

DSCF0274 1
DSCF0275 1
DSCF0276 1

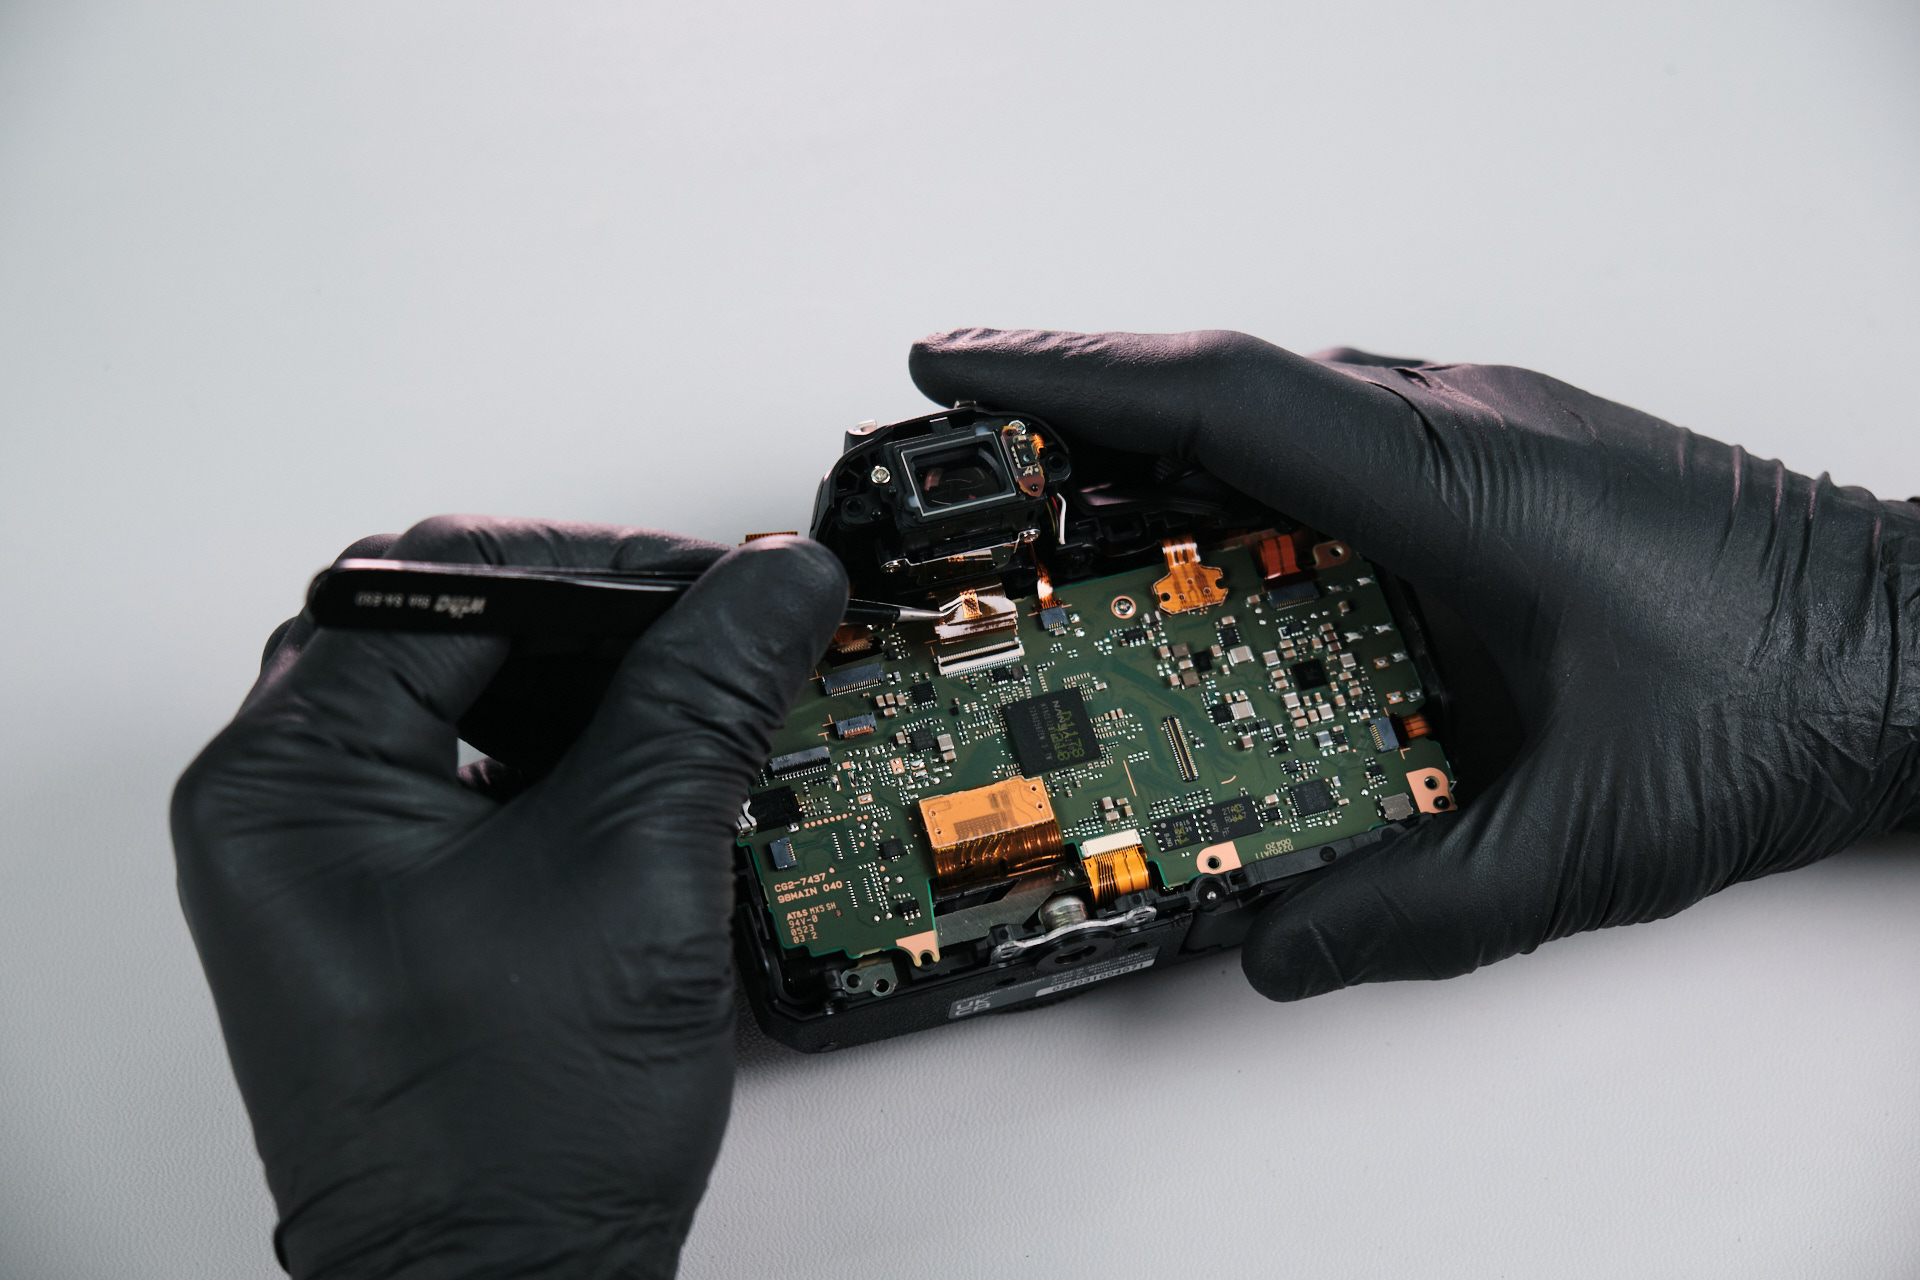
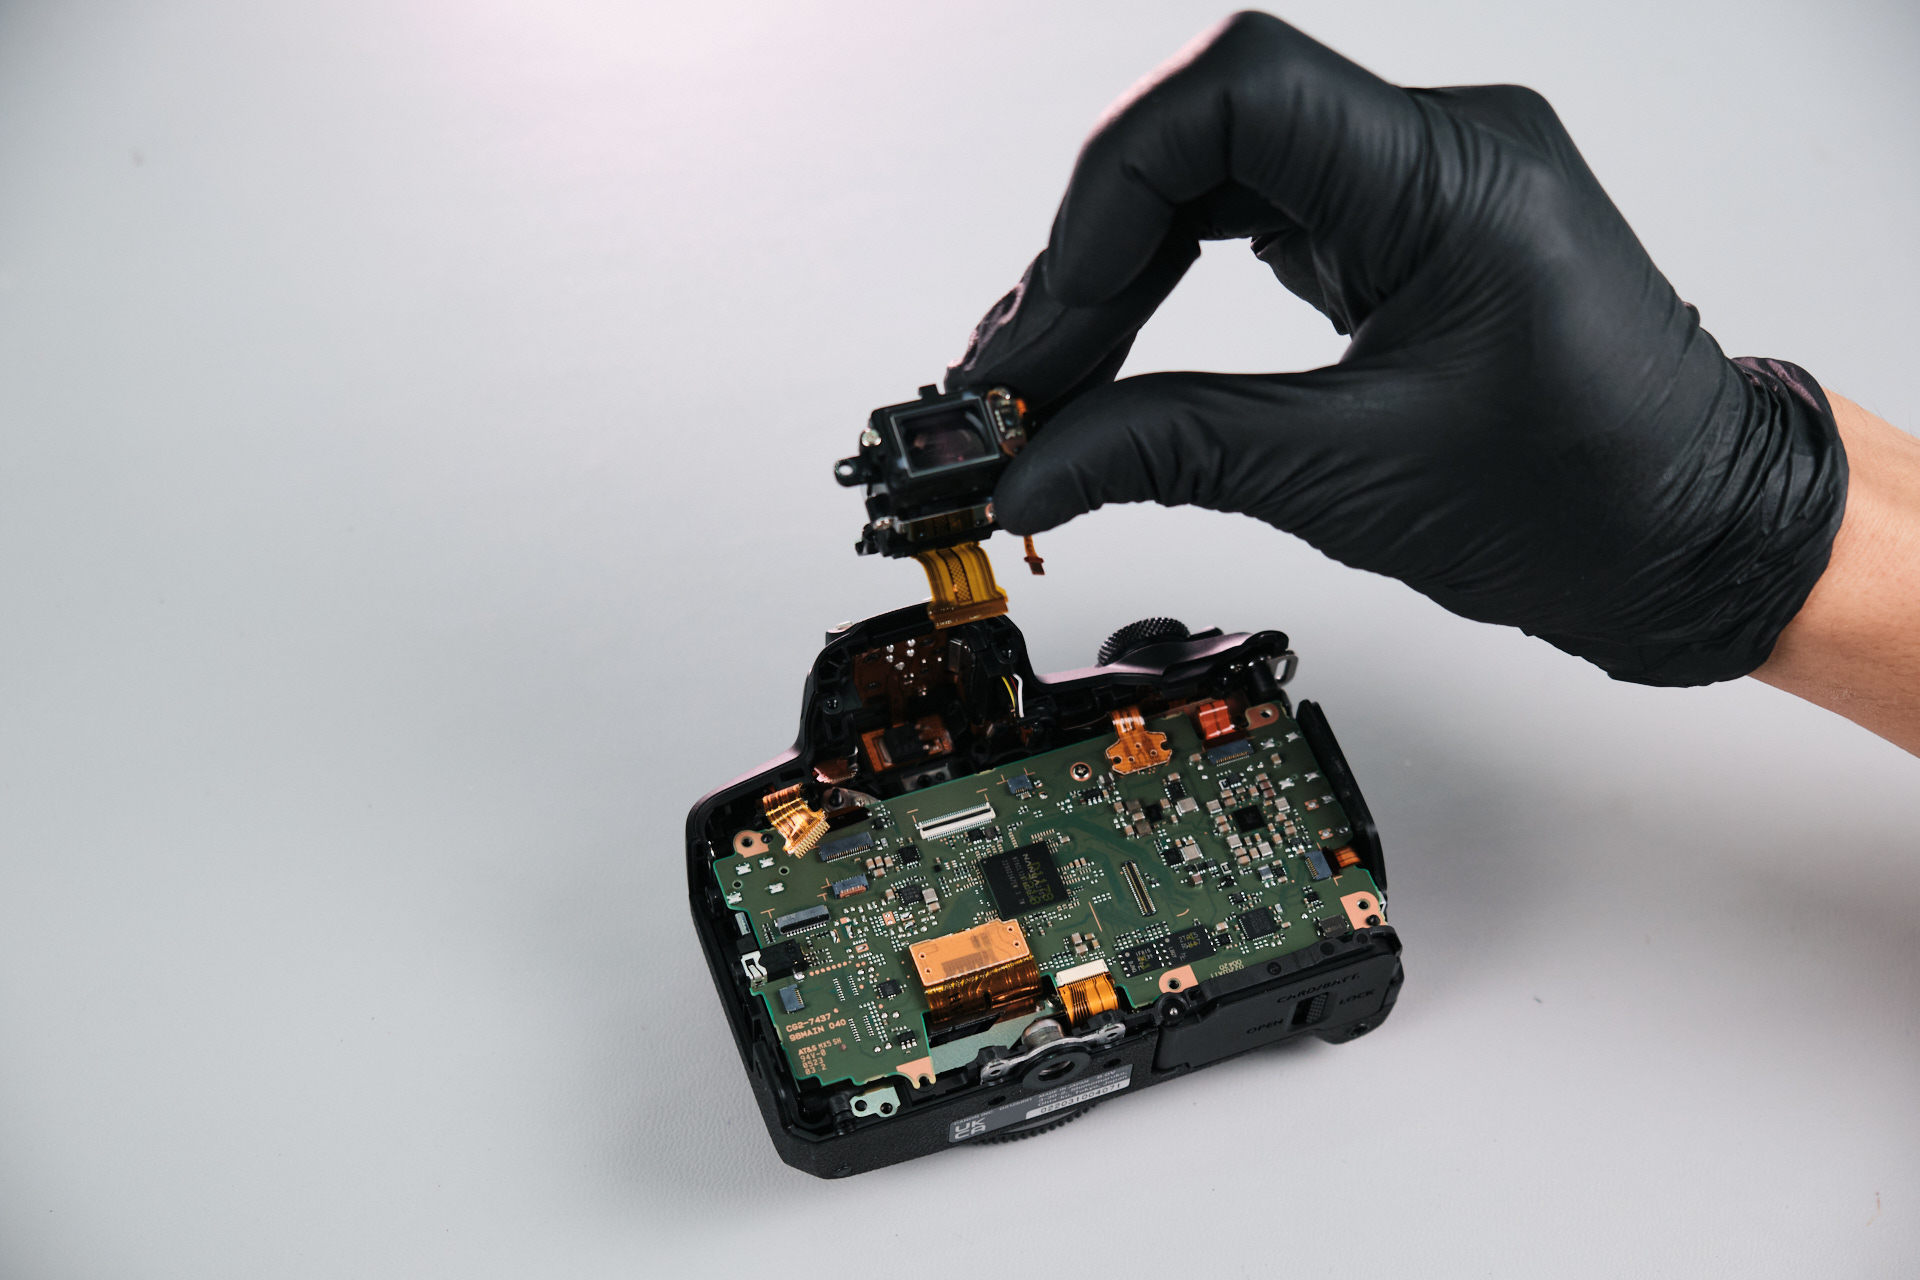
Two ribbon cables were removed here: the first connected the EVF to the LCD, and the second connected the EVF to the sensor.

DSCF0278 1
DSCF0280 1

The two ribbon cables for the top panel were disconnected here.

DSCF0281 1
DSCF0282 1
DSCF0283 1

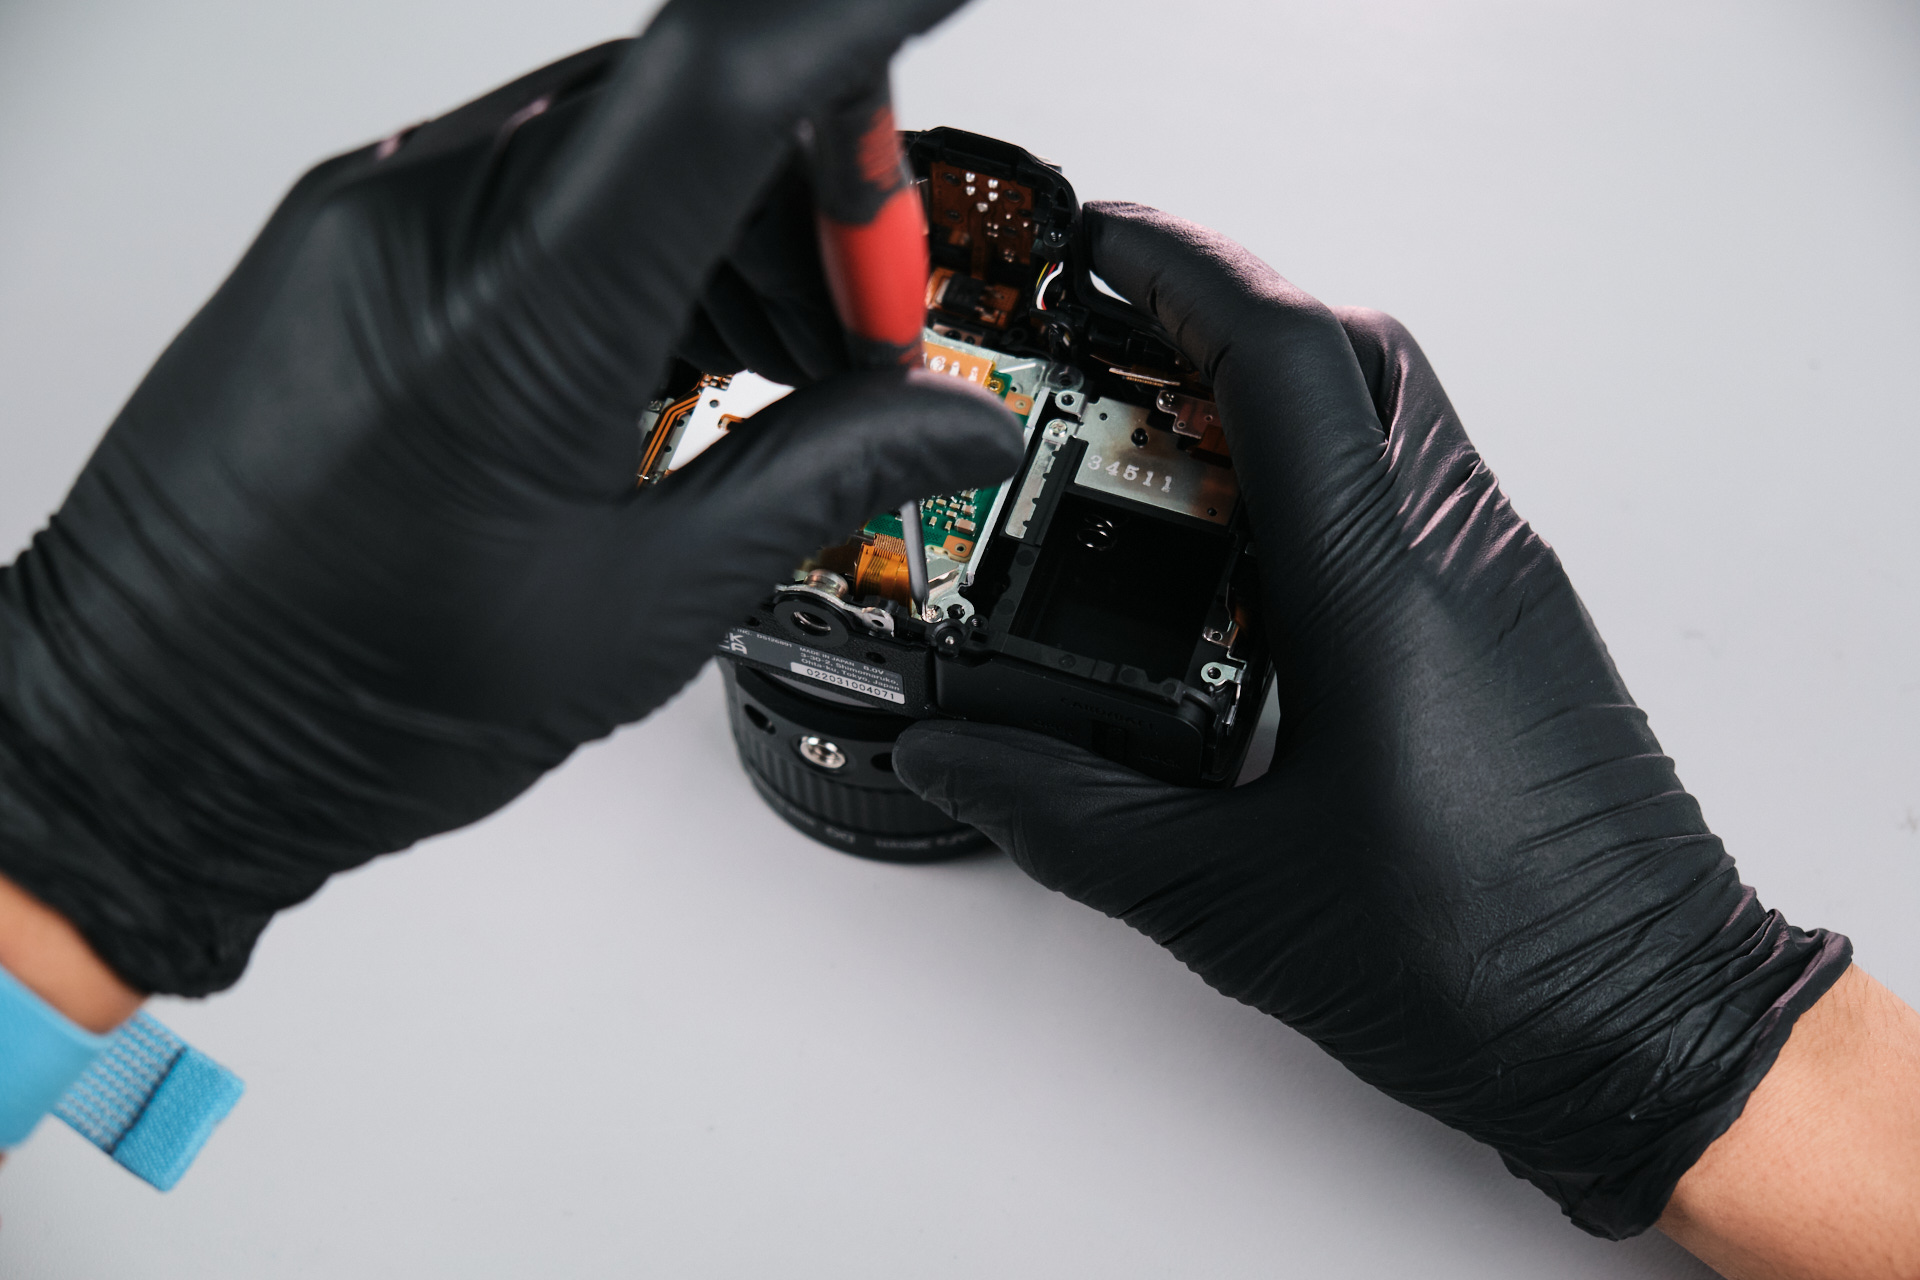
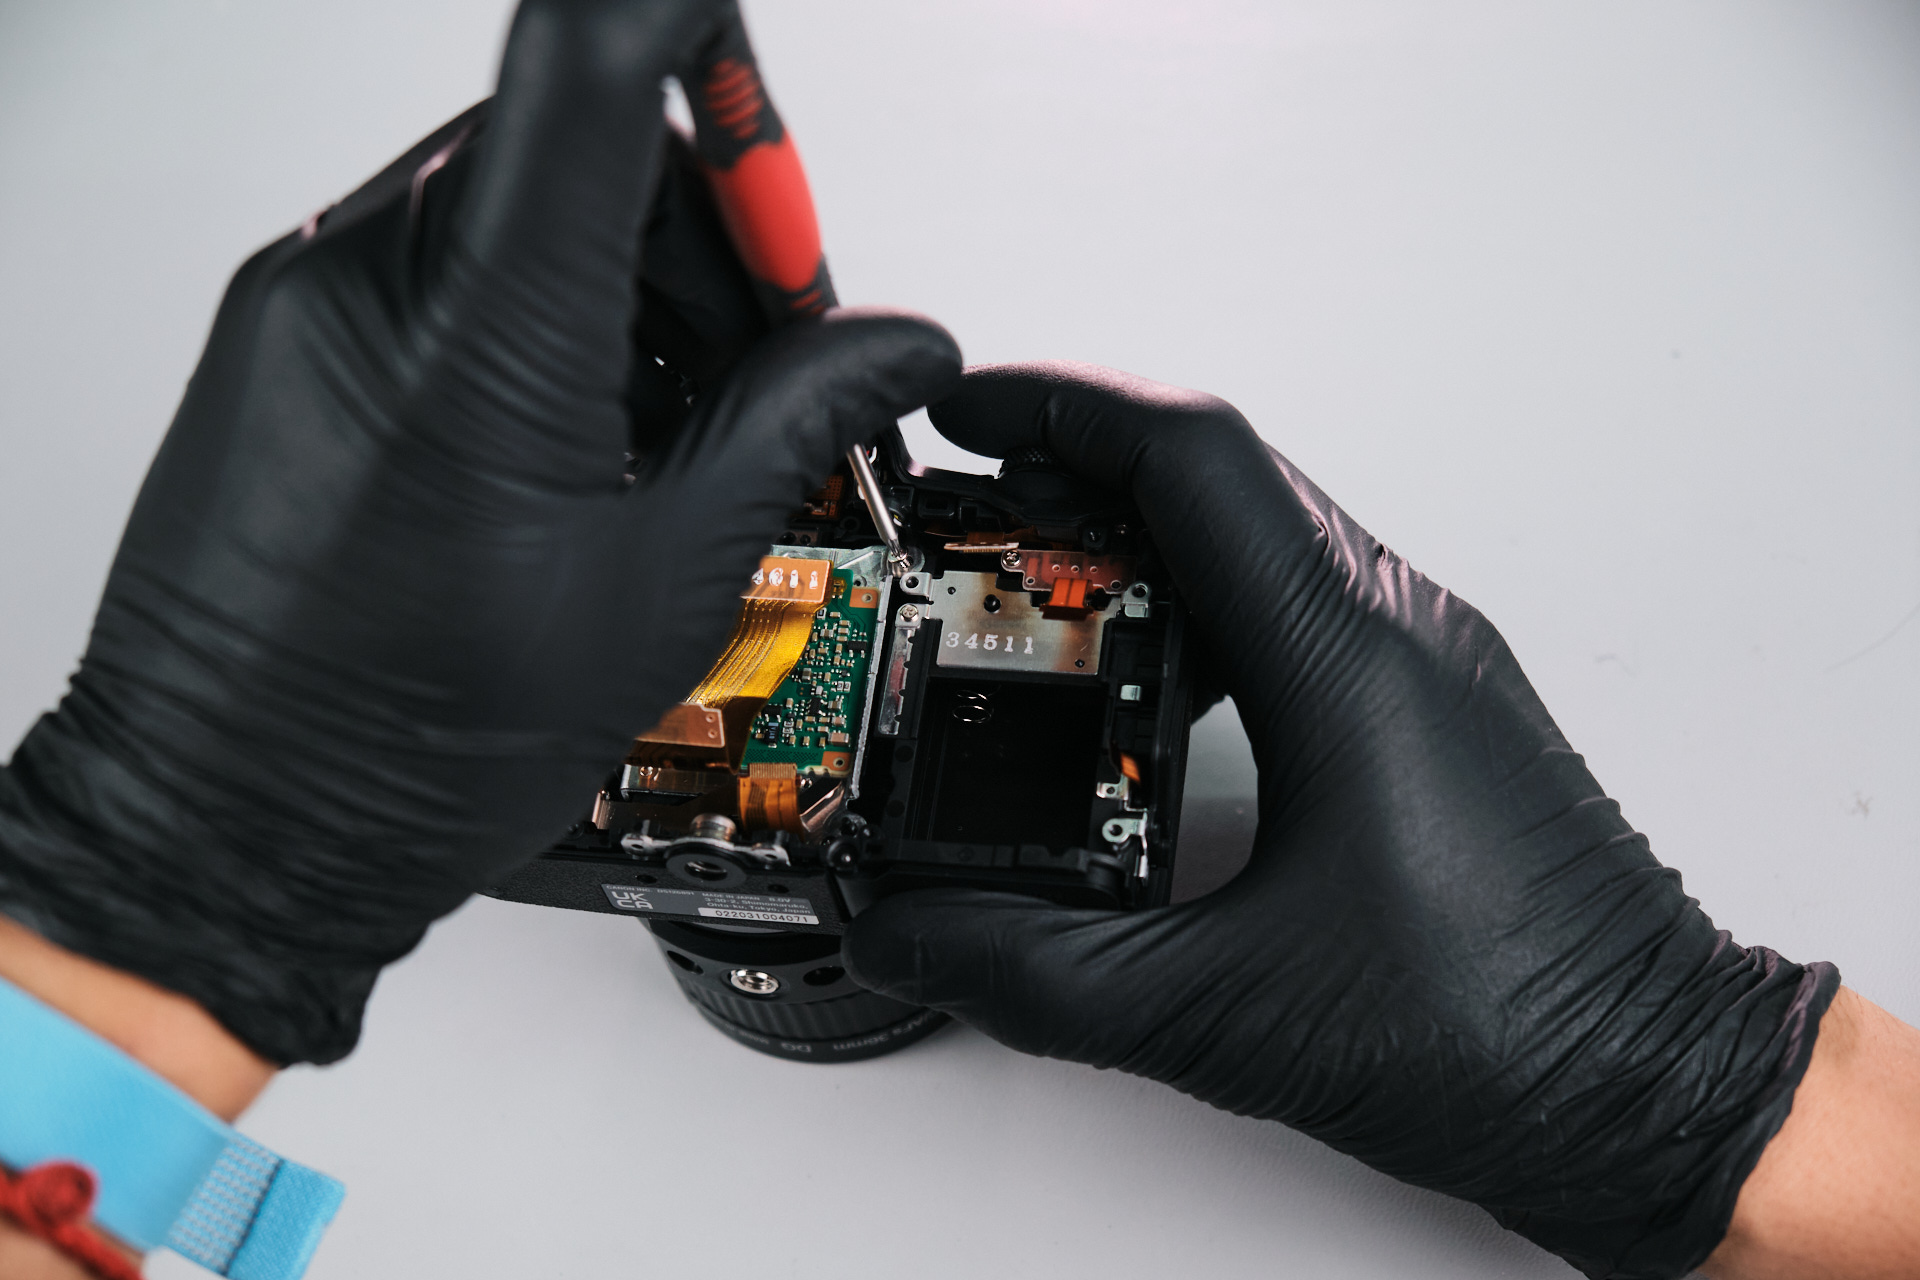
The sensor, shutter, and USB/HDMI ribbon cables were removed from the circuit board. These were the last of the ribbon cables in the camera.

DSCF0284 1
DSCF0285 1
DSCF0286 1

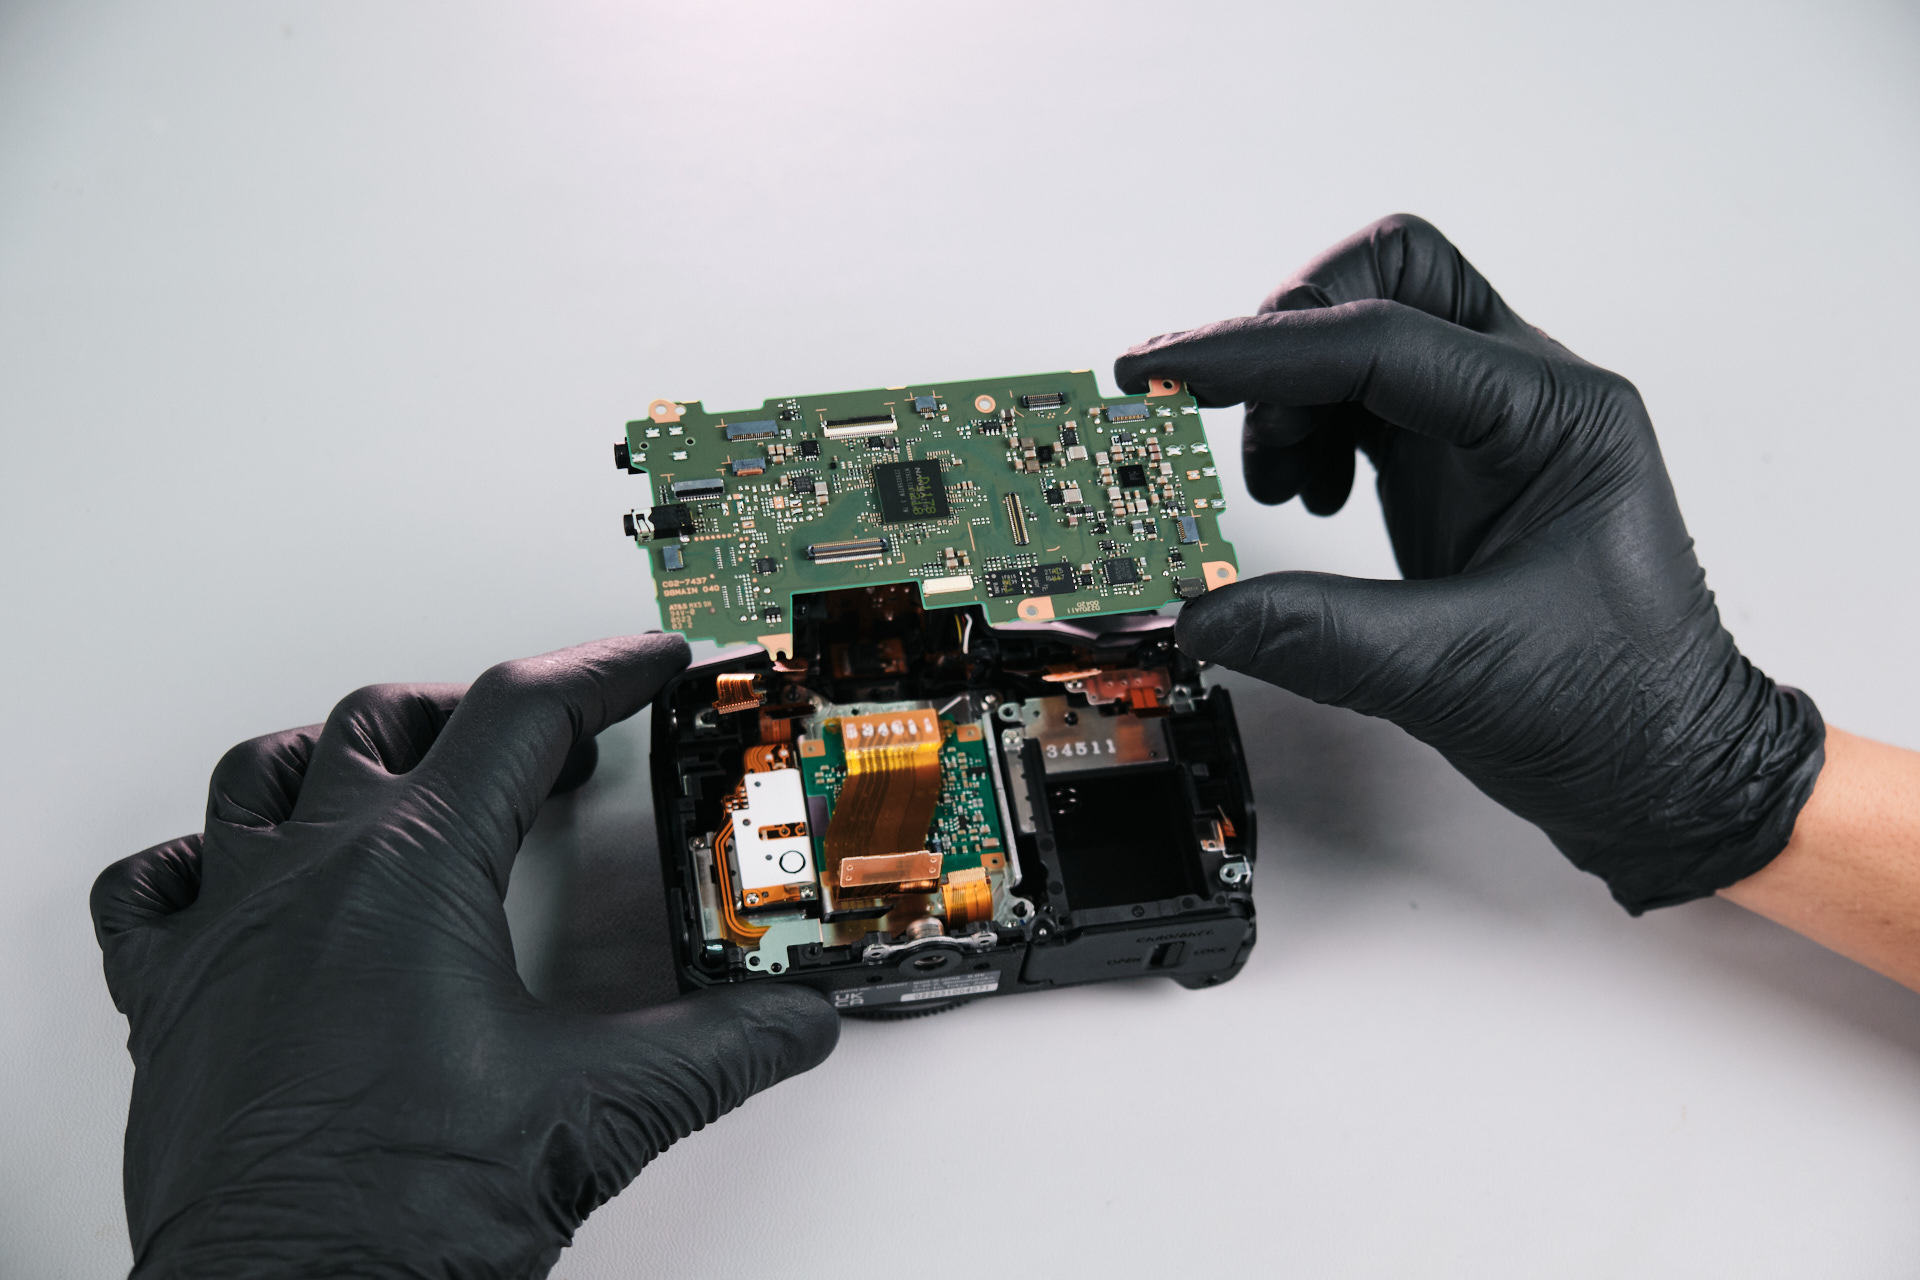
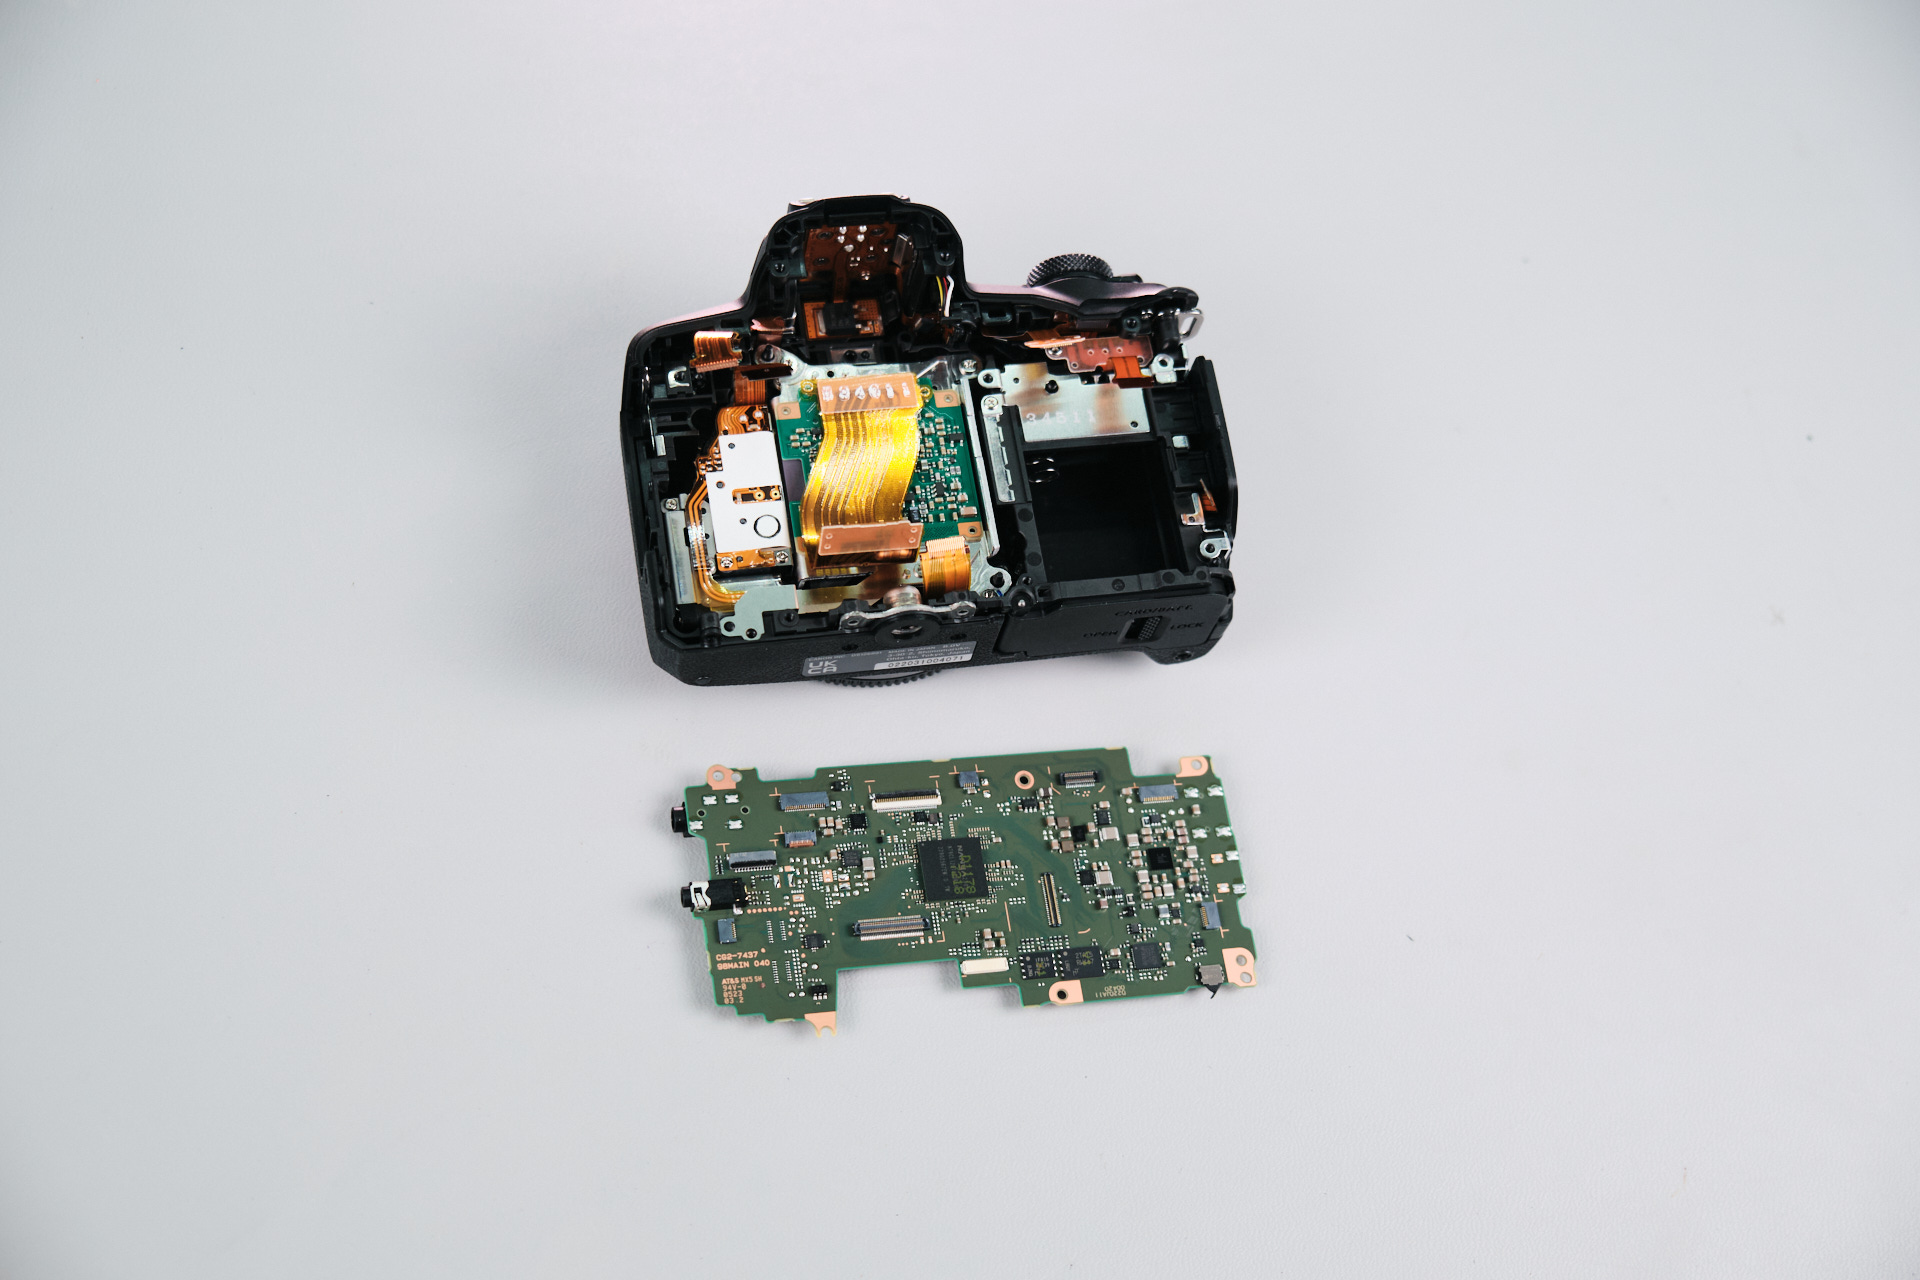
Removing the Canon R100 Circuit Board

The last thing was one silver screw. This allowed us to remove the circuit board altogether (finally!).

DSCF0287 1
DSCF0288 1
DSCF0289 1

Removing the Canon R100 Camera Sensor

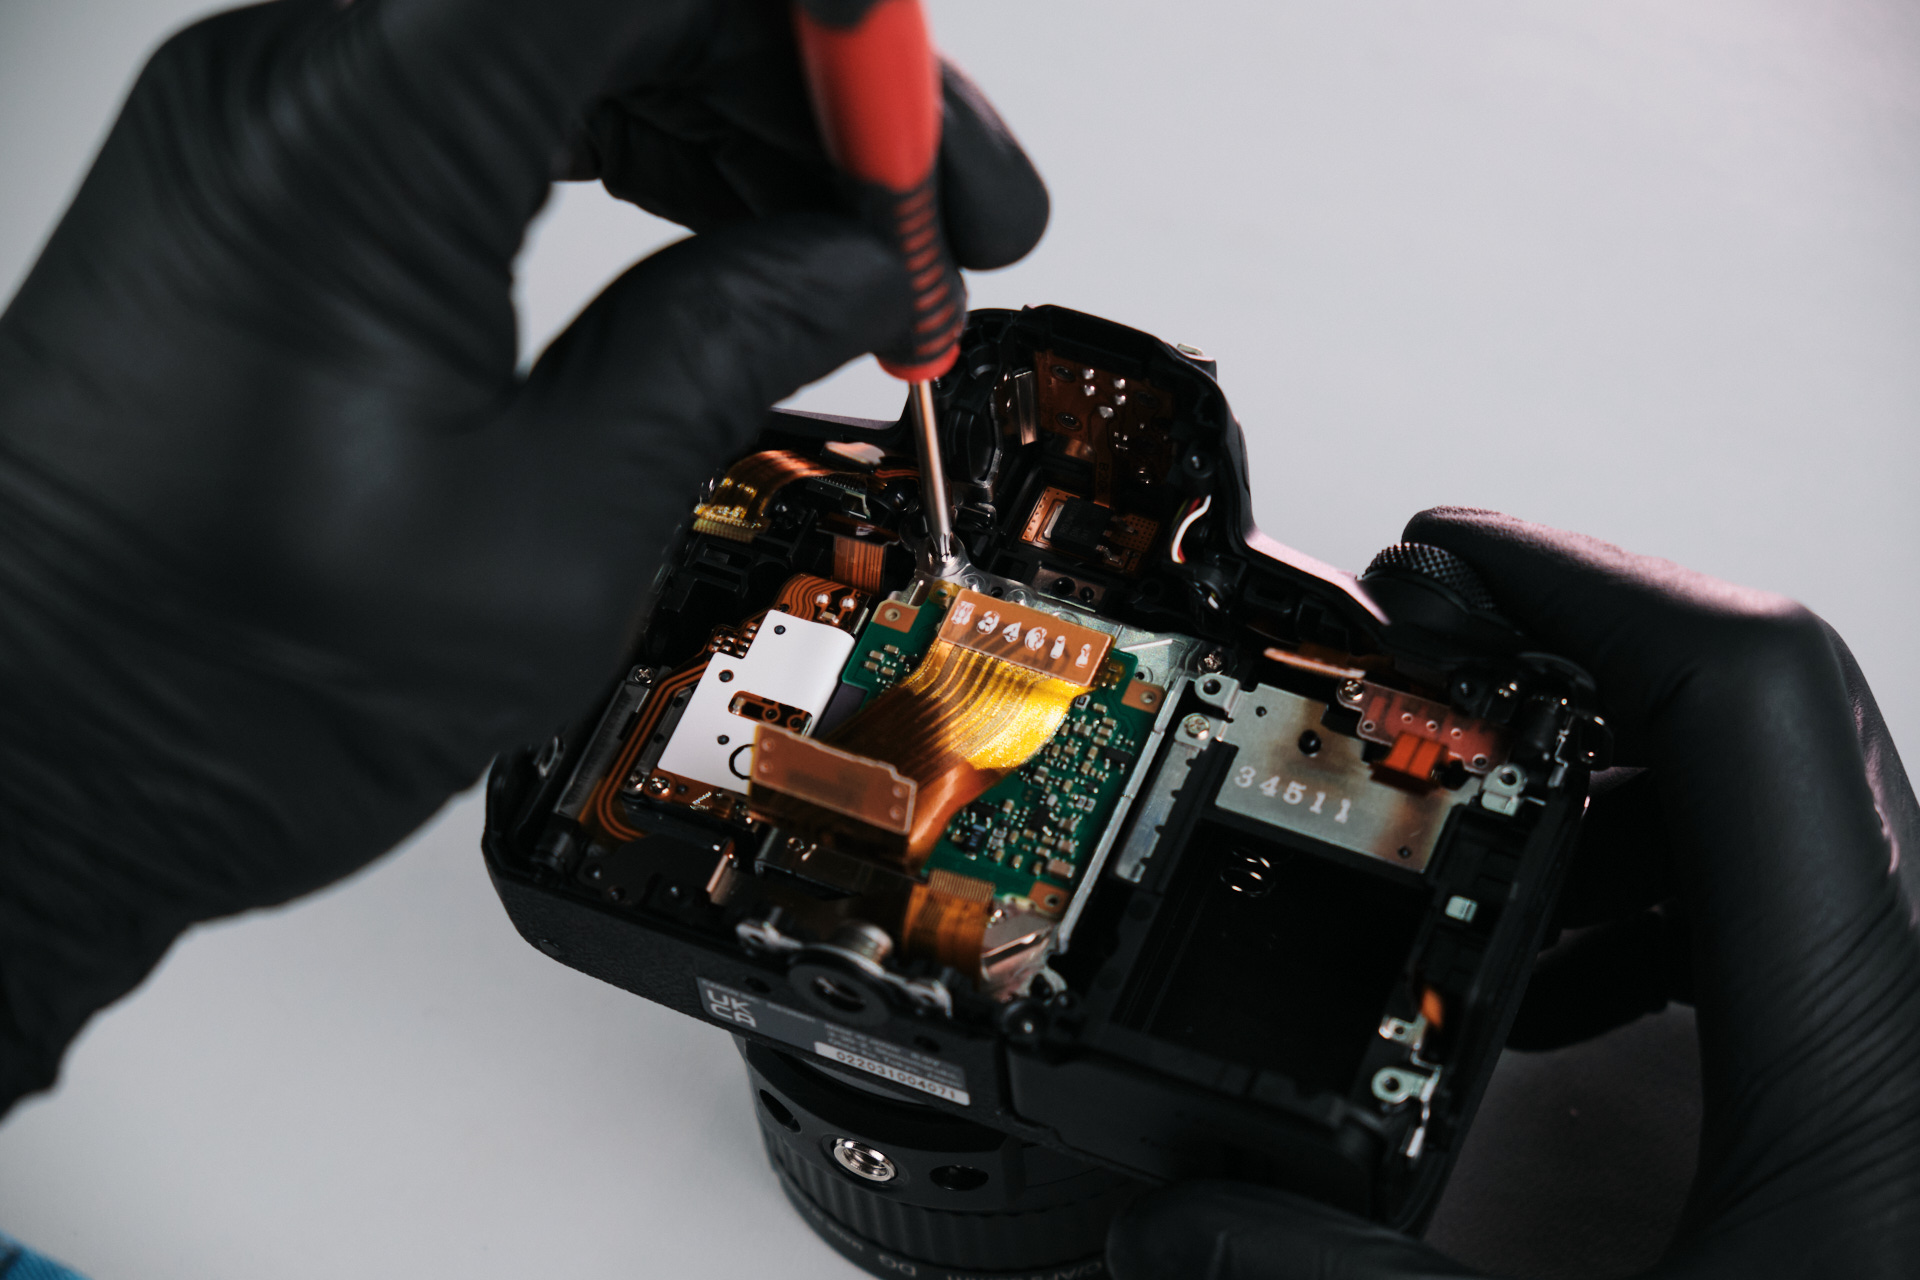
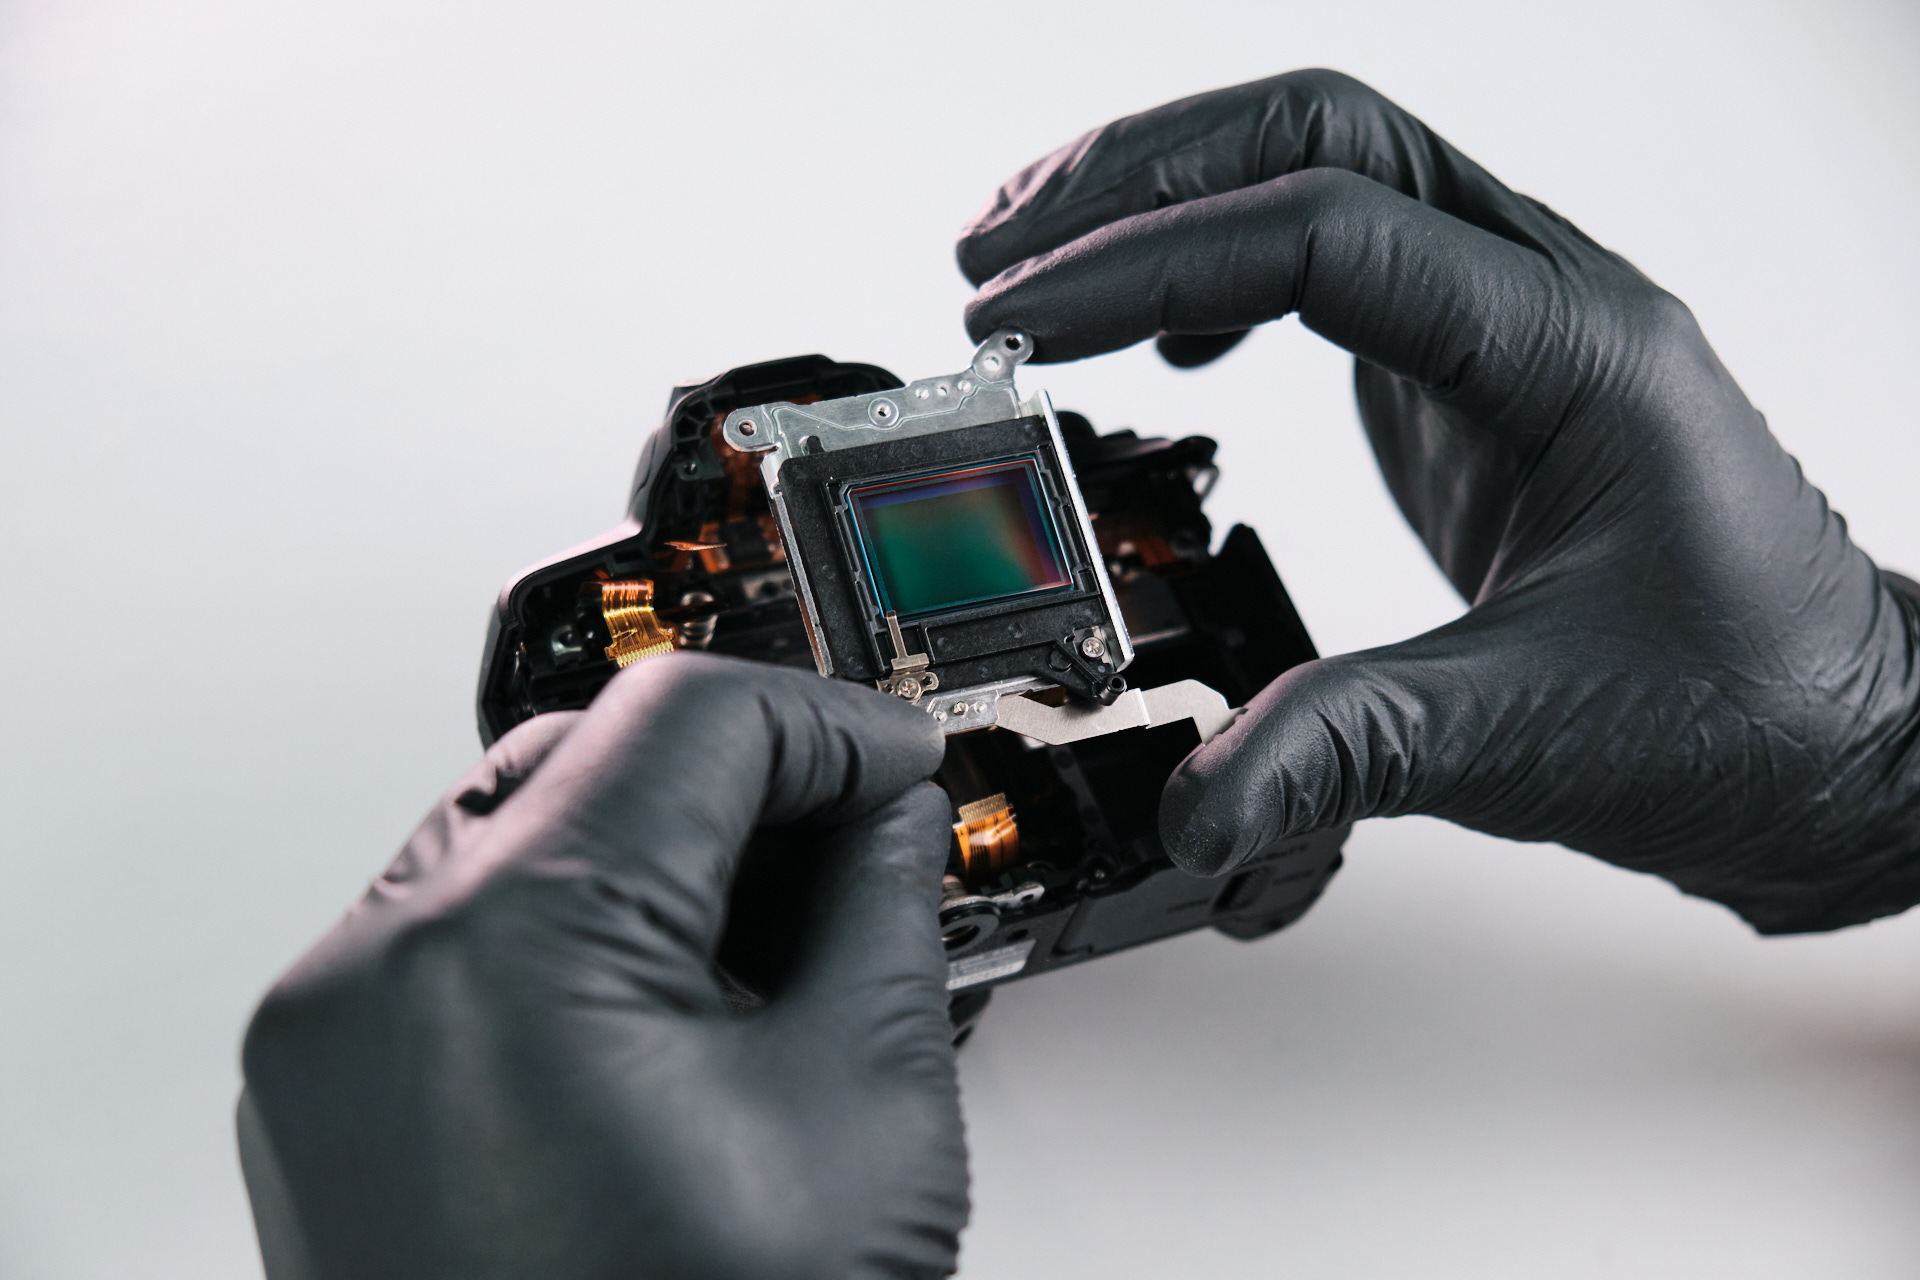
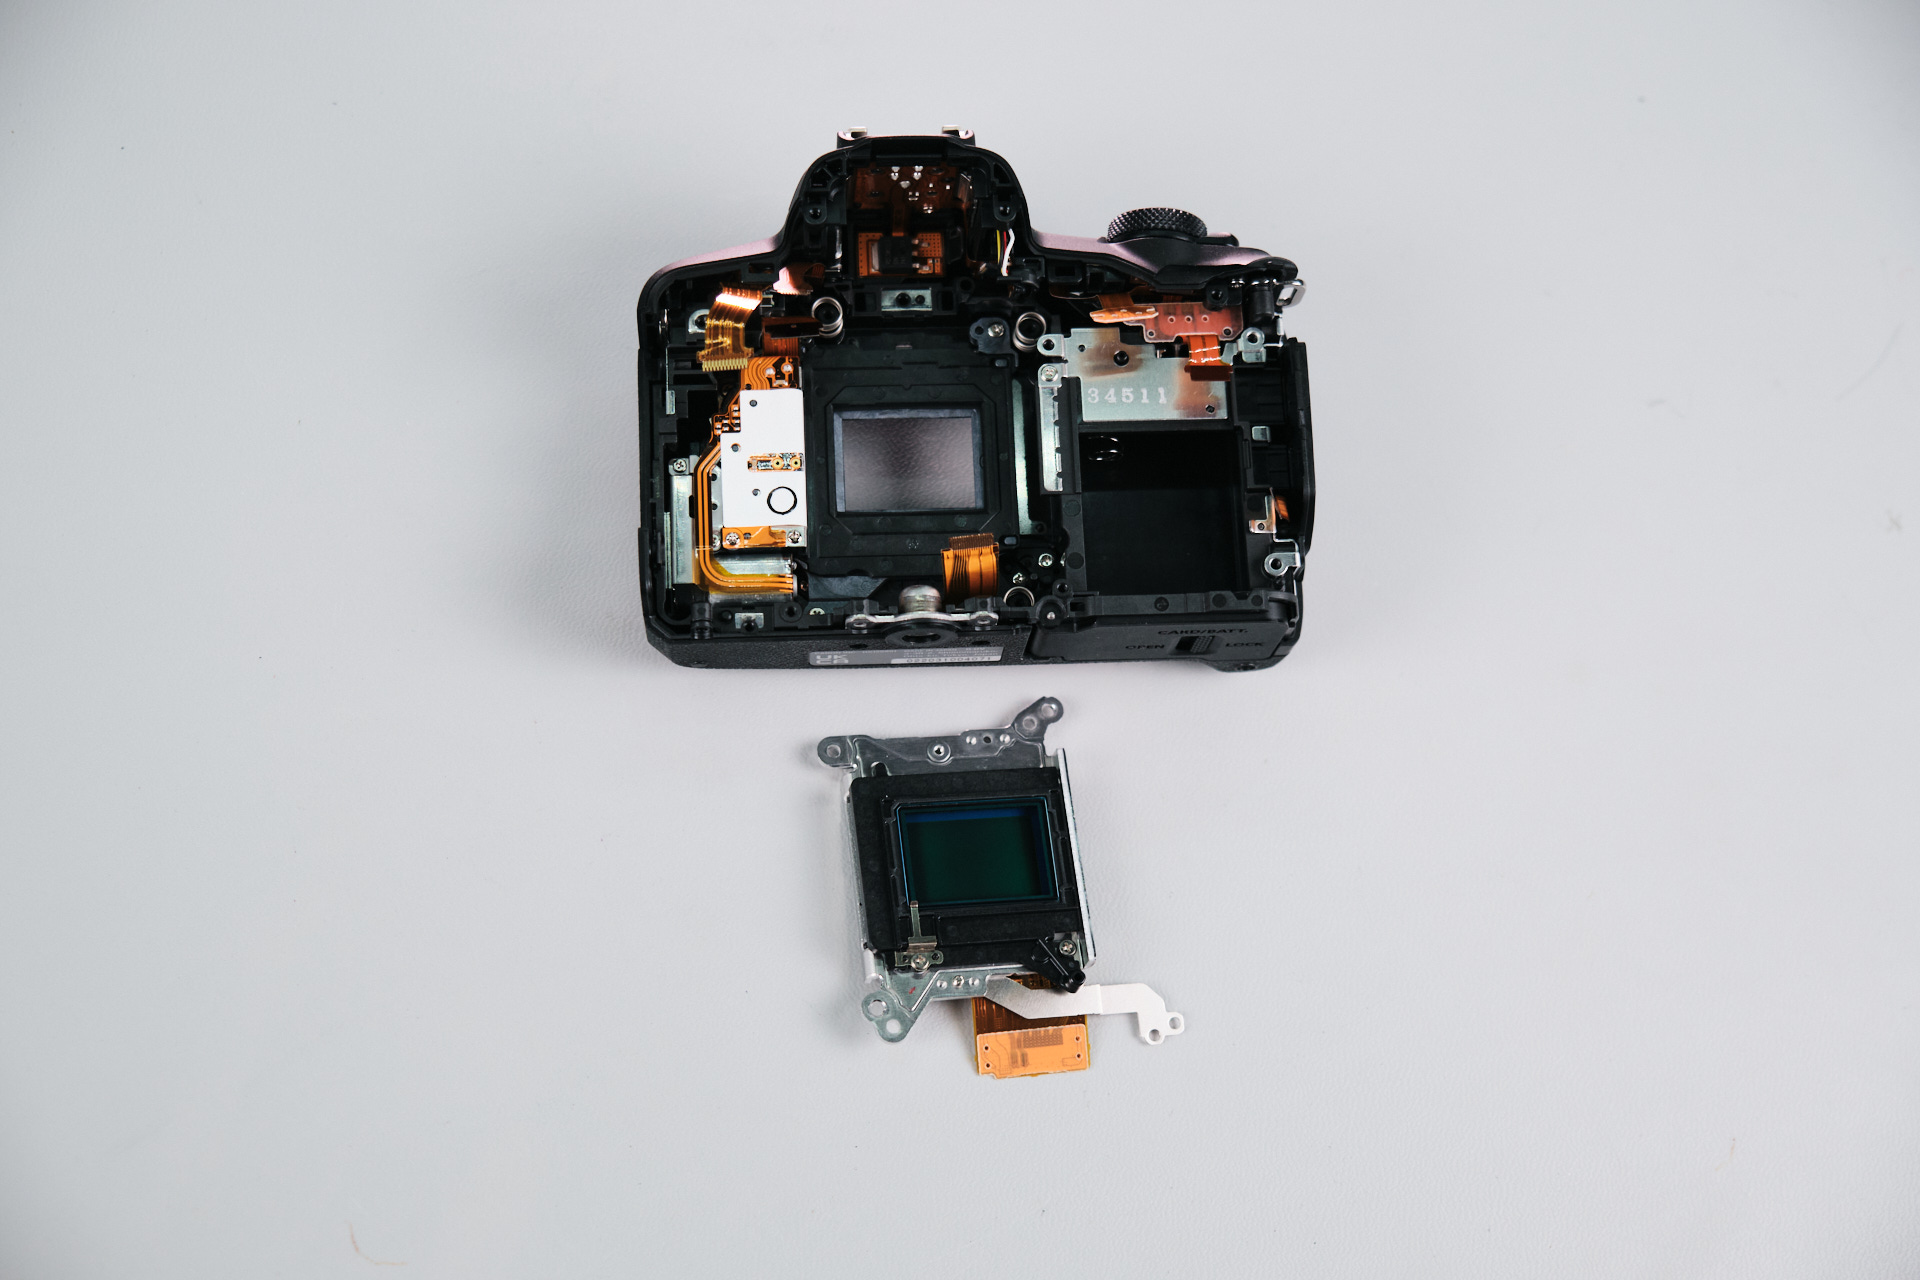
The R100 uses springs for focus calibration, and the sensor is held down with three screws.

DSCF0290 1
DSCF0292 1

Canon R100 Full Spectrum Conversion and Final Thoughts

The sensor came off easily and is now ready for our full spectrum conversion.

DSCF0293 1

The Canon EOS R100 was super easy to tear down. Overall, it’s similar to the Canon EOS R10, which is also an APS-C camera. The layout of the circuit boards between the cameras is slightly different, though.

It’s no surprise that the Canon EOS R100 is a lot easier to disassemble than the Canon EOS RP since the entire assembly is much more simple with less internal parts. According to our lead camera technician, it’s even easier to disassemble than our Kolari Pocket! On a DIY Scale of 1-10 with one being the easiest and ten being the hardest, we would rate this a two. If Canon had used shims instead of springs, the disassembly process would be even faster.

Thanks for reading. If you’re interested in more camera teardowns, we feature a new one every month. Be sure to sign up for our newsletter so you don’t miss them!

Frequently Asked Questions

The Canon R100 teardown starts by removing six Philips screws from the baseplate. After the baseplate is removed, the disassembly continues around the port side, eyecup, right-side ports, flash area, thumb grip, EVF, and battery compartment.

The Canon R100 has hidden screws under the built-in flash and underneath the rubber thumb grip. The teardown also found additional screws around the EVF and inside the battery slot before the rear panel could be removed.

The rear panel can be removed after all visible exterior screws are extracted. It is still connected by one ribbon cable, so that cable needs to be disconnected before the rear panel can fully separate from the camera body.

The Canon R100 circuit board is accessed after removing the circuit board bracket, which is held down by six screws. Several ribbon cables need to be disconnected, including EVF, LCD, sensor, shutter, USB/HDMI, and top panel ribbon cables, before the circuit board can be removed.
The Canon R100 sensor is reached near the end of the teardown. The sensor uses springs for focus calibration and is held down by three screws. Once those screws are removed, the sensor comes off and is ready for full-spectrum conversion.

Table of contents
Related Article

Product Spotlight

Comments

Leave a Reply

Your email address will not be published. Required fields are marked *
Related products

Kolari’s EU store
is now open! 

Filters and accessories now shipping from Slovenia with VAT included and quick DHL shipping.
kolaris-eu-store_is-now-open
Skip to content