FREE SHIPPING FOR ALL DOMESTIC ORDERS OVER $100 - NO SALES TAX OUTSIDE OF NJ!
0

Panasonic Lumix S5 IIX Teardown

Table of content

Panasonic Lumix S5 IIX Camera Overview

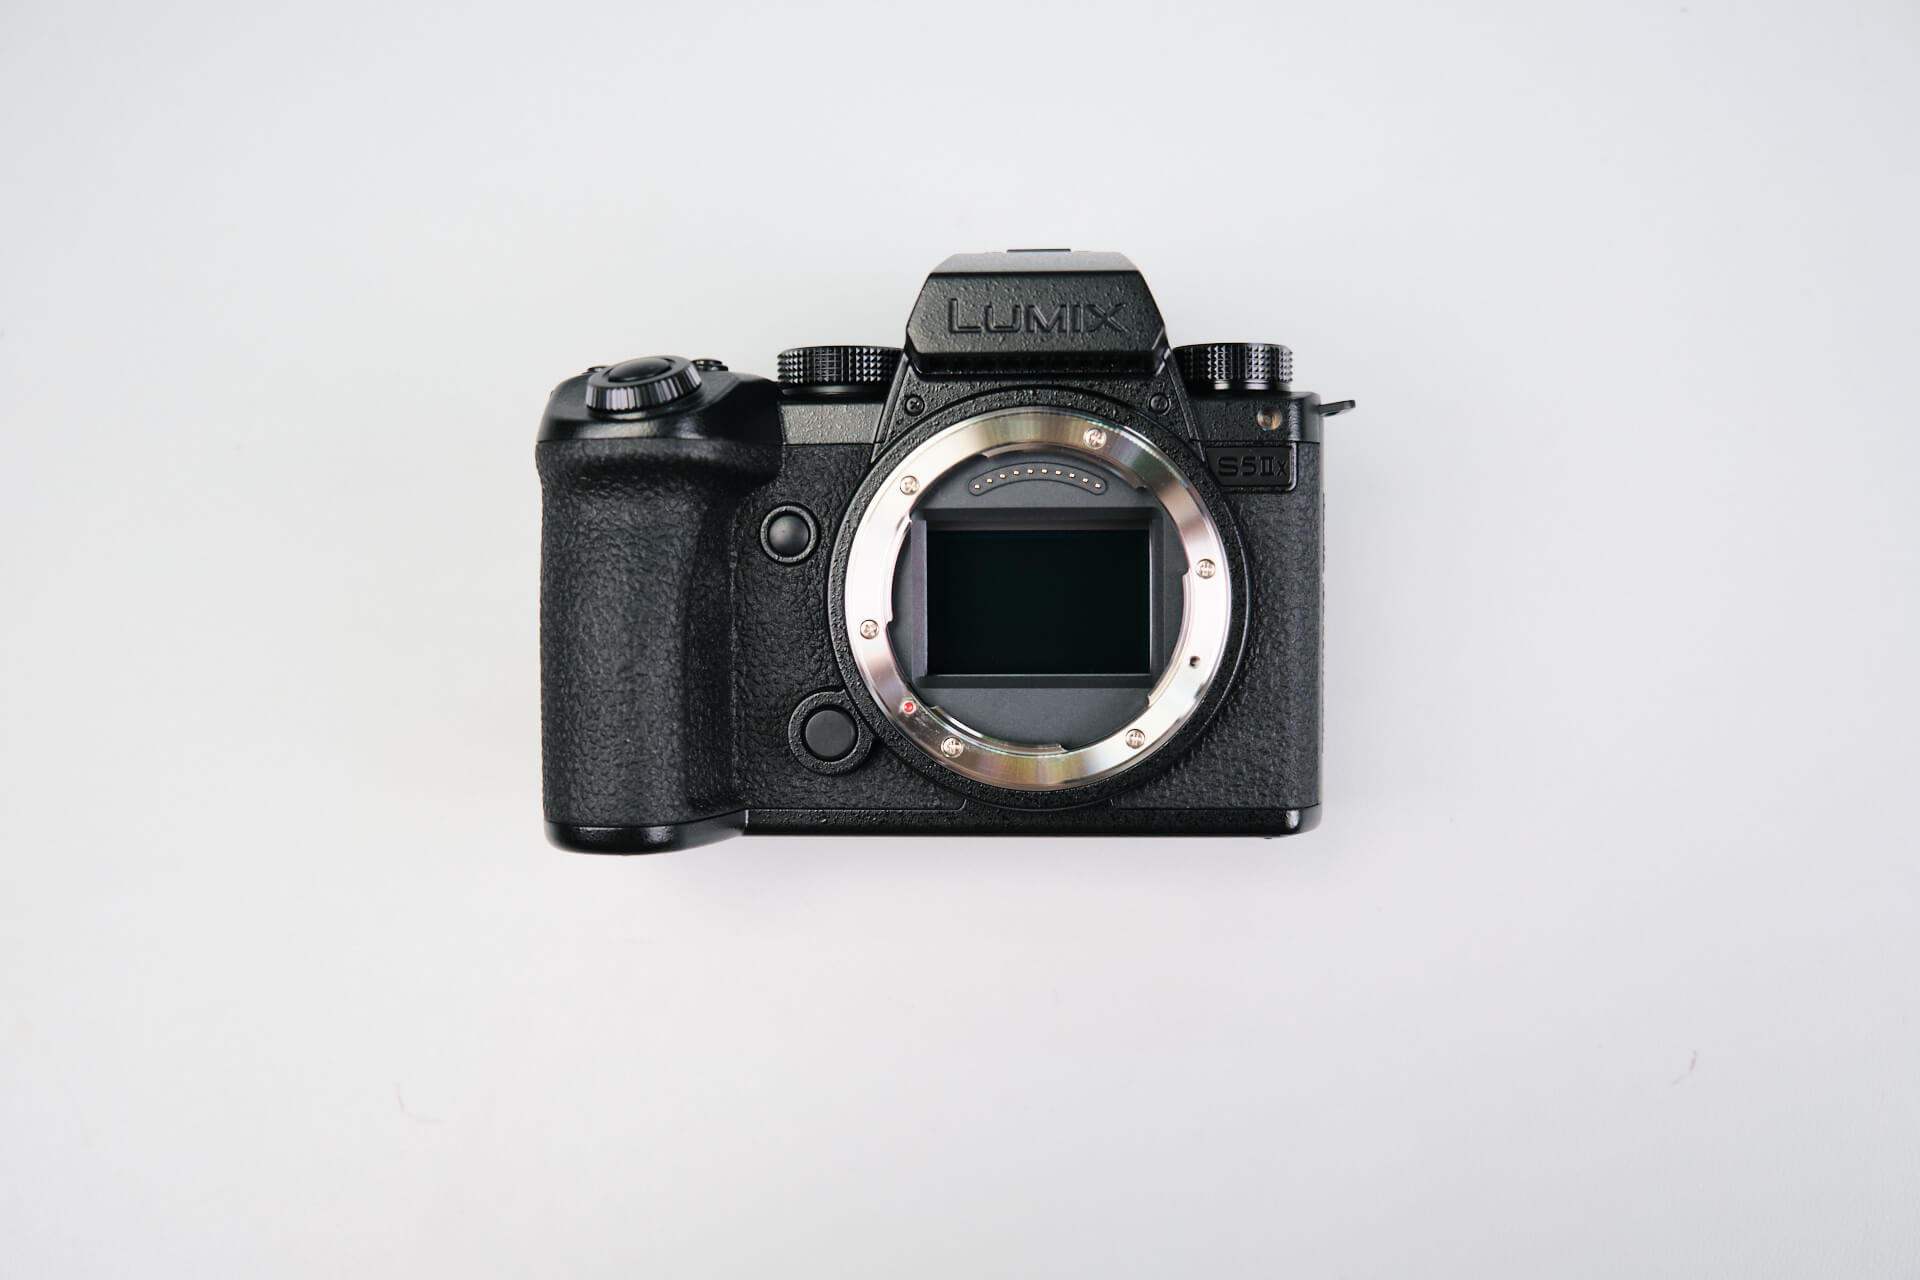
The Panasonic Lumix S5 IIX is a hybrid photo and video camera targeted at professionals and content creators with its hefty features.

Panasonic Lumix S5 IIX Specs and L-Mount Design

The camera was made available on May 26, 2023, after the Panasonic Lumix S5 II was released earlier in January. The S5 IIX comes as a more video-centric camera than the S5 II.

As for its specifications, the camera boasts a 24.4MP CMOS sensor without a Low Pass Filter, L-mount for Leica lenses, two memory card slots for SD/SDHC/SDXC UHS-II, 6k video with no crop at up to 29.97fps, and weather sealing.

Starting the Panasonic Lumix S5 IIX Teardown With the Baseplate

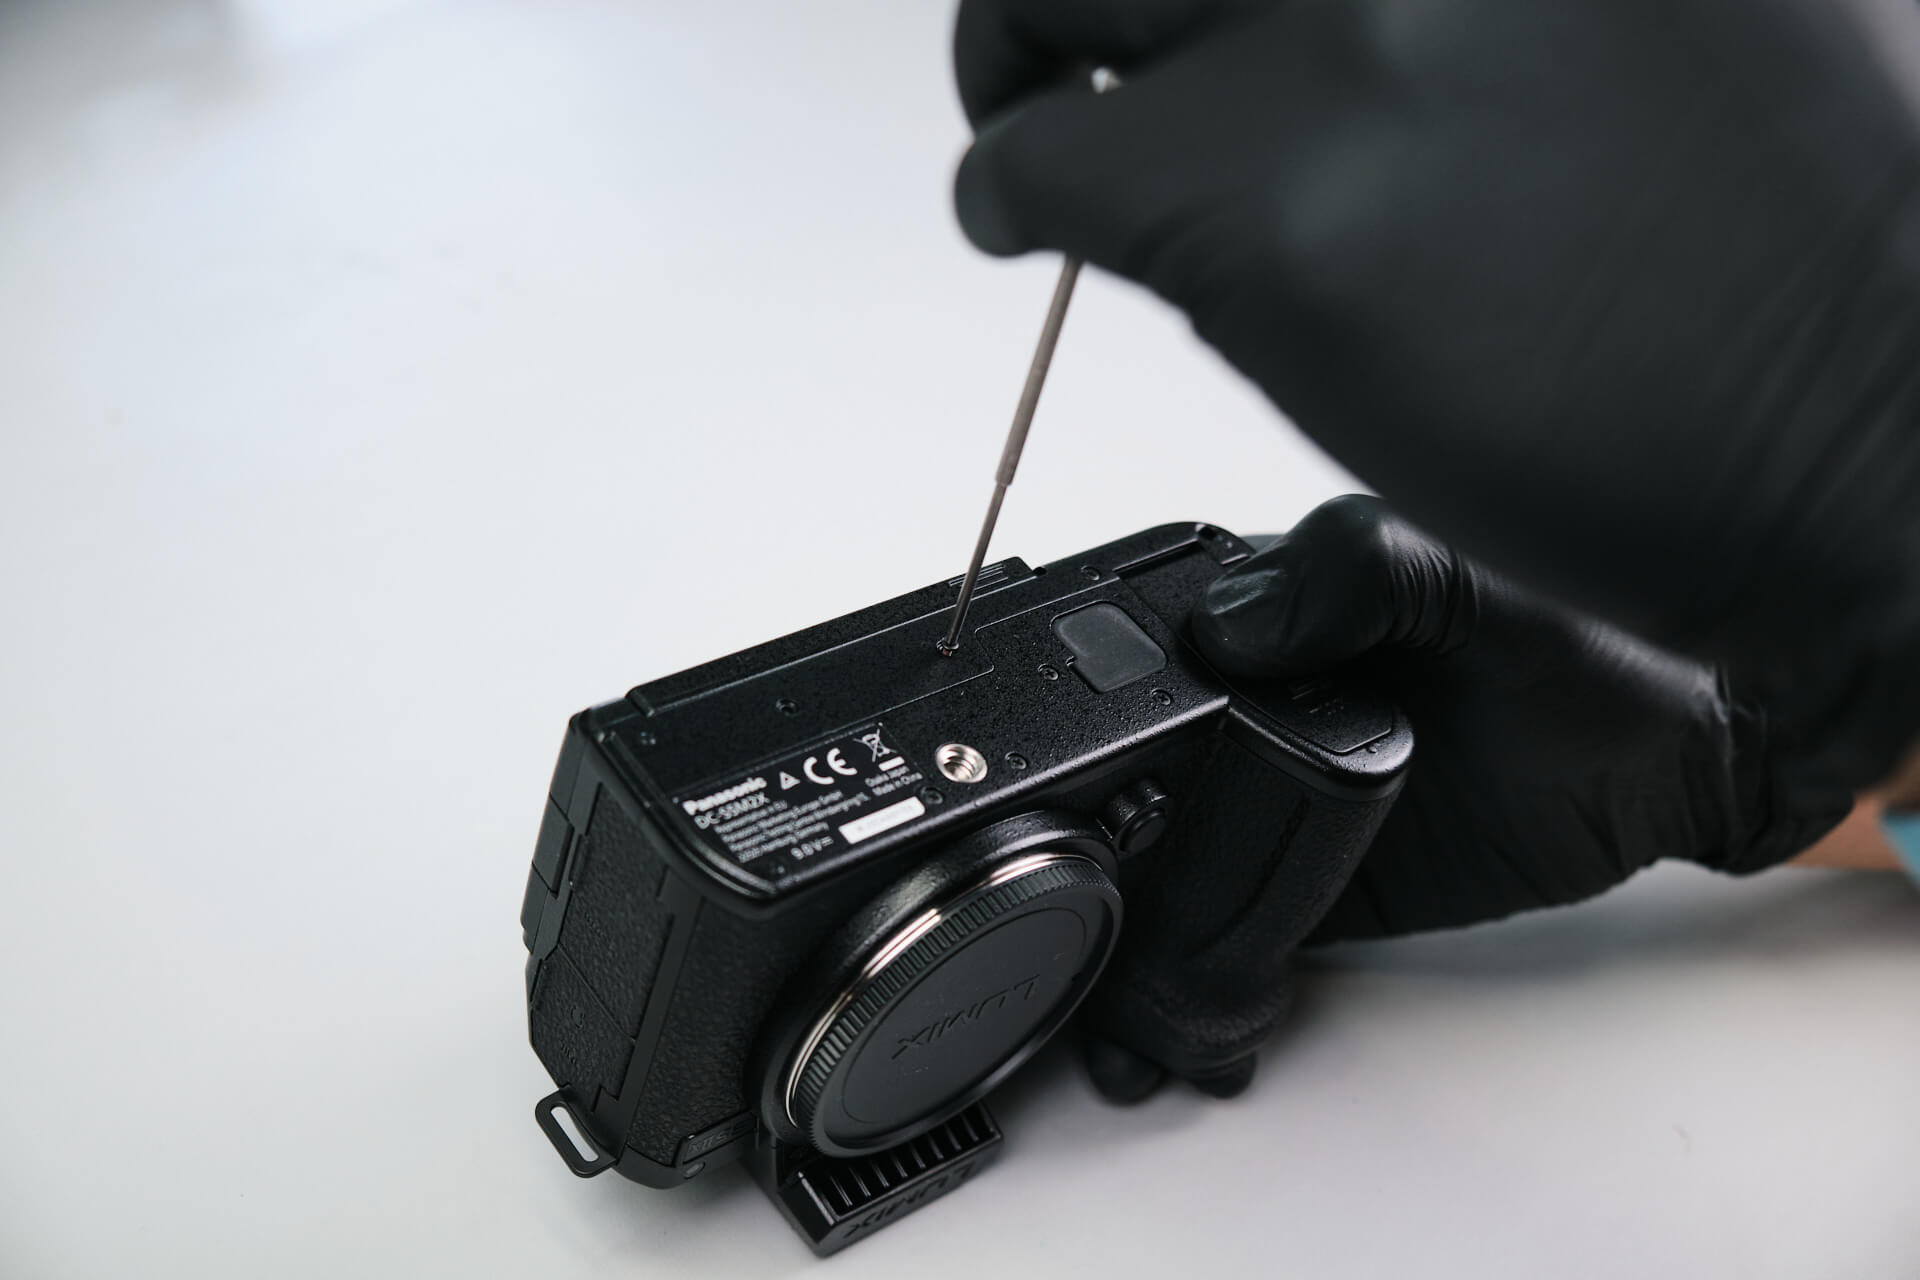
First, we targeted the camera’s baseplate and removed three Philips screws. As usual, this is the first point of access to get inside the camera. 

Removing Port Side Screws and Eye Cap Screws

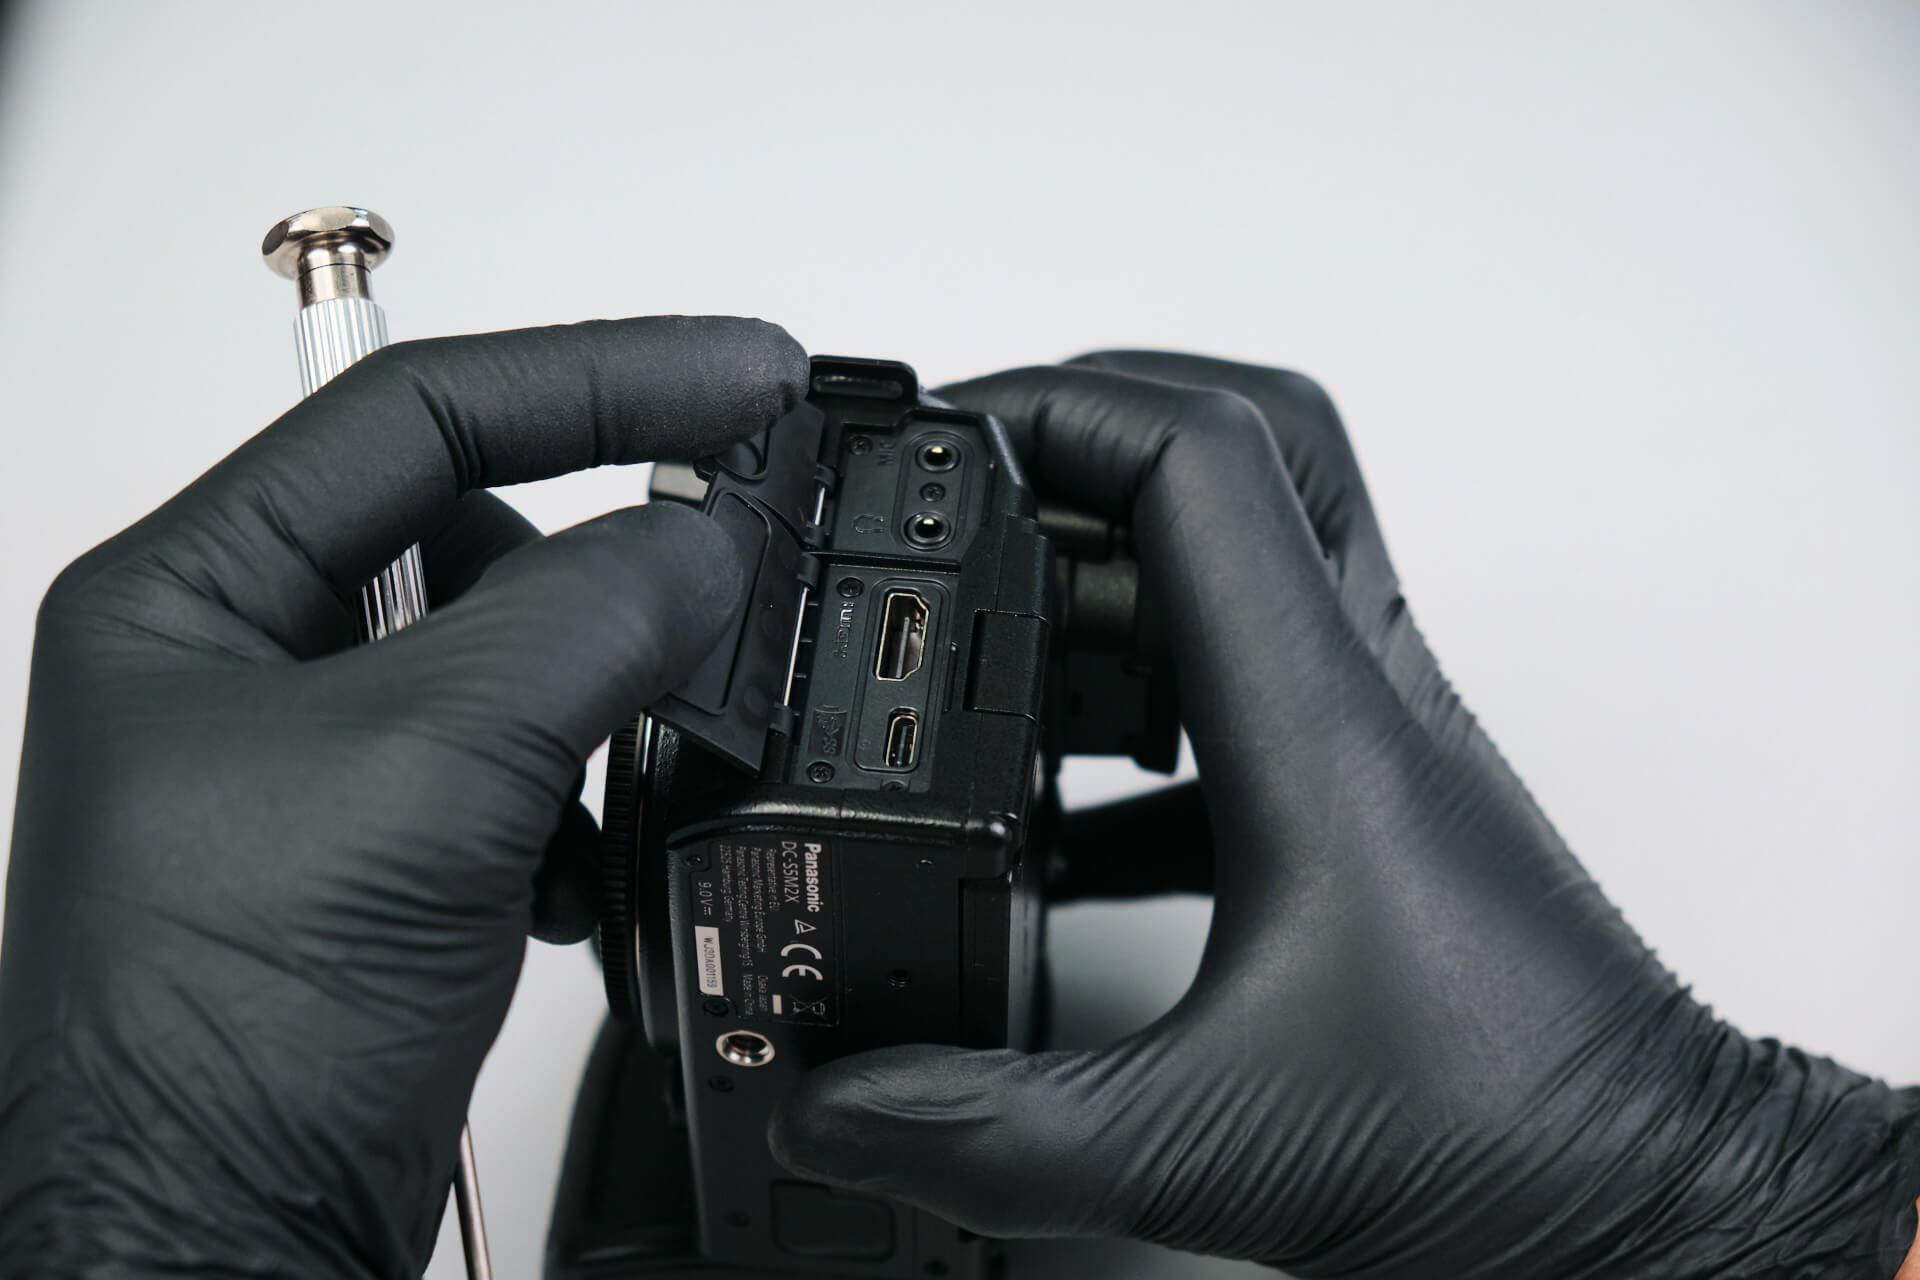
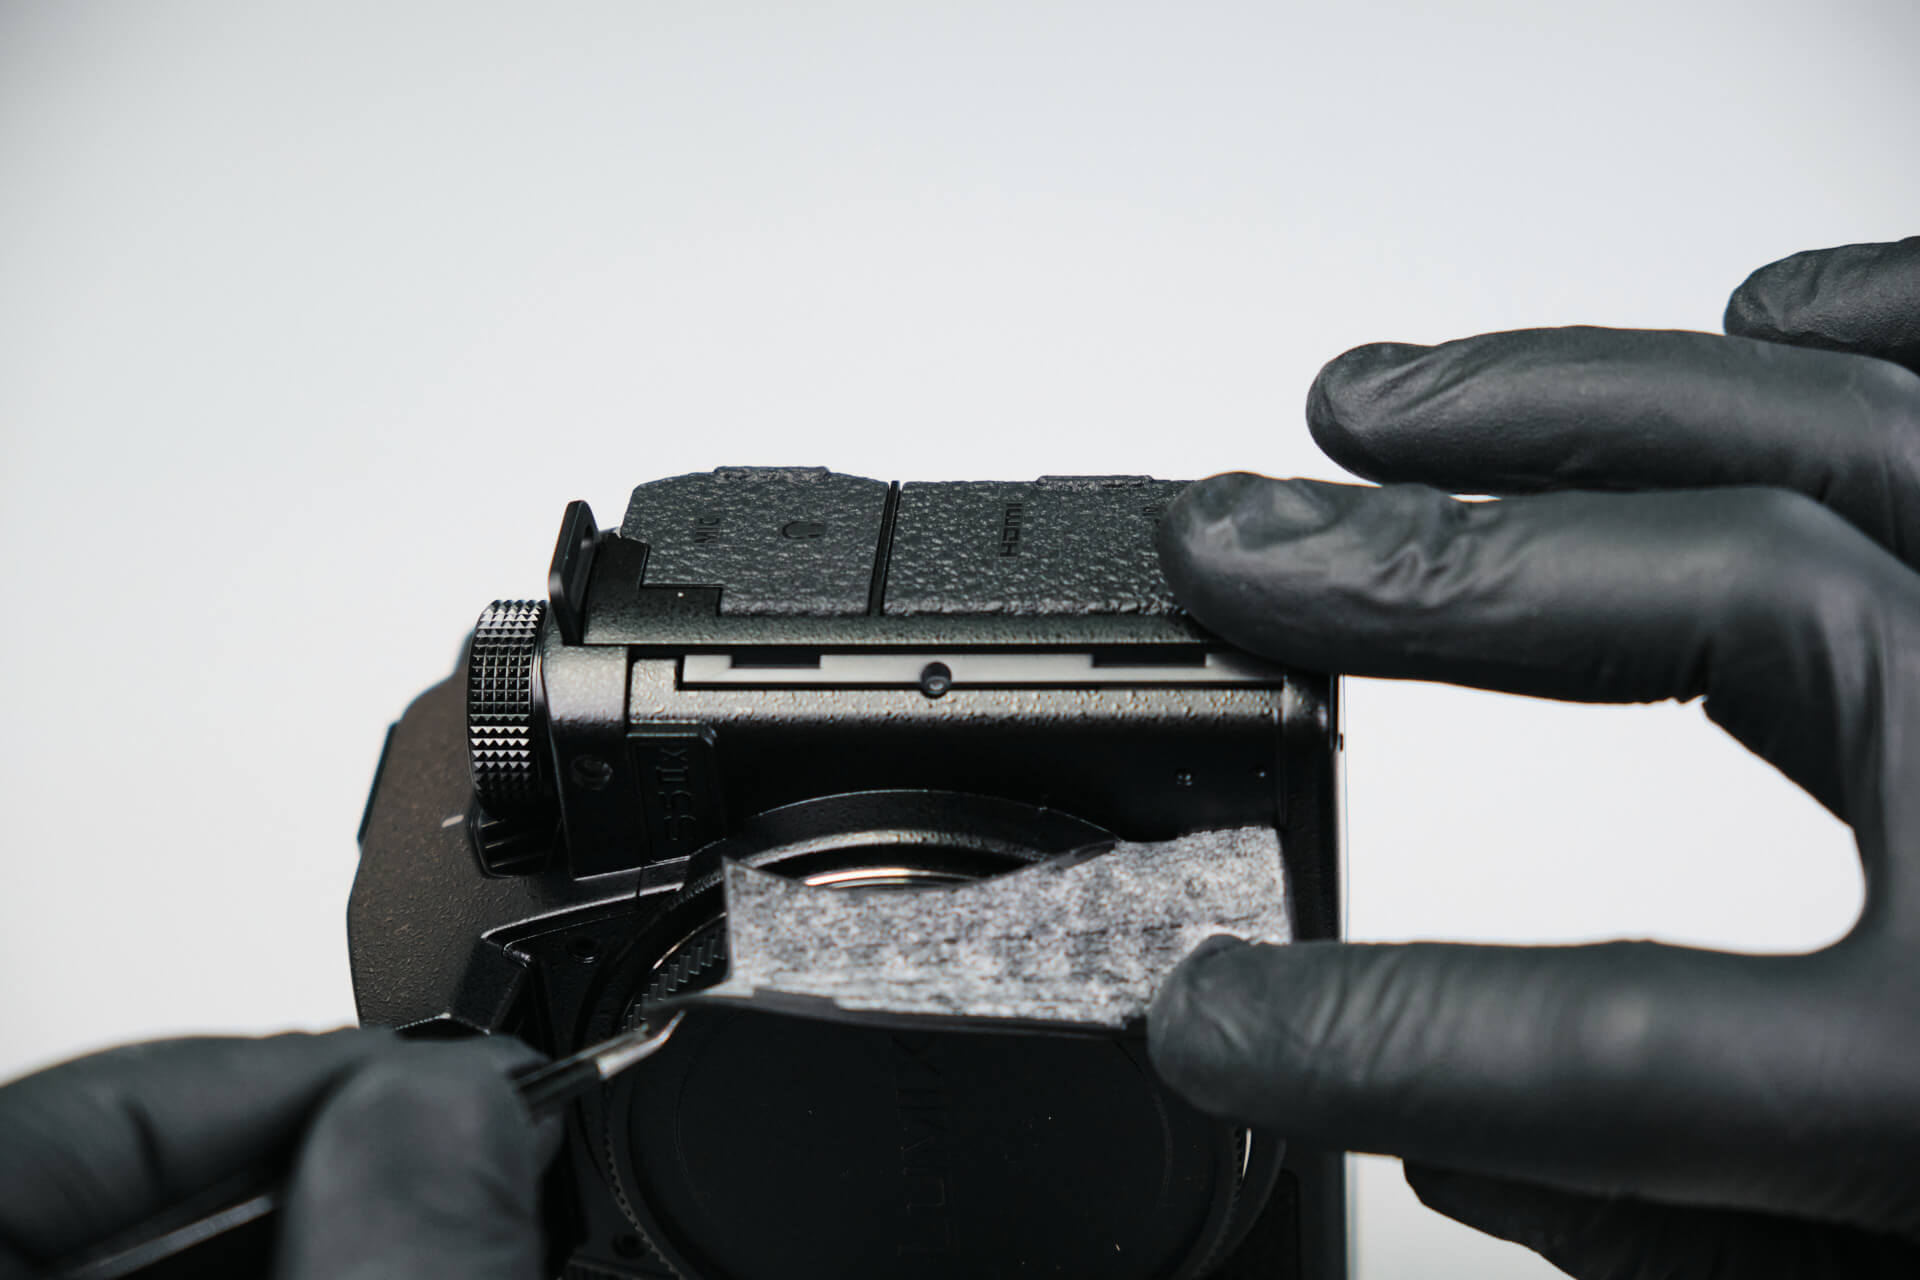
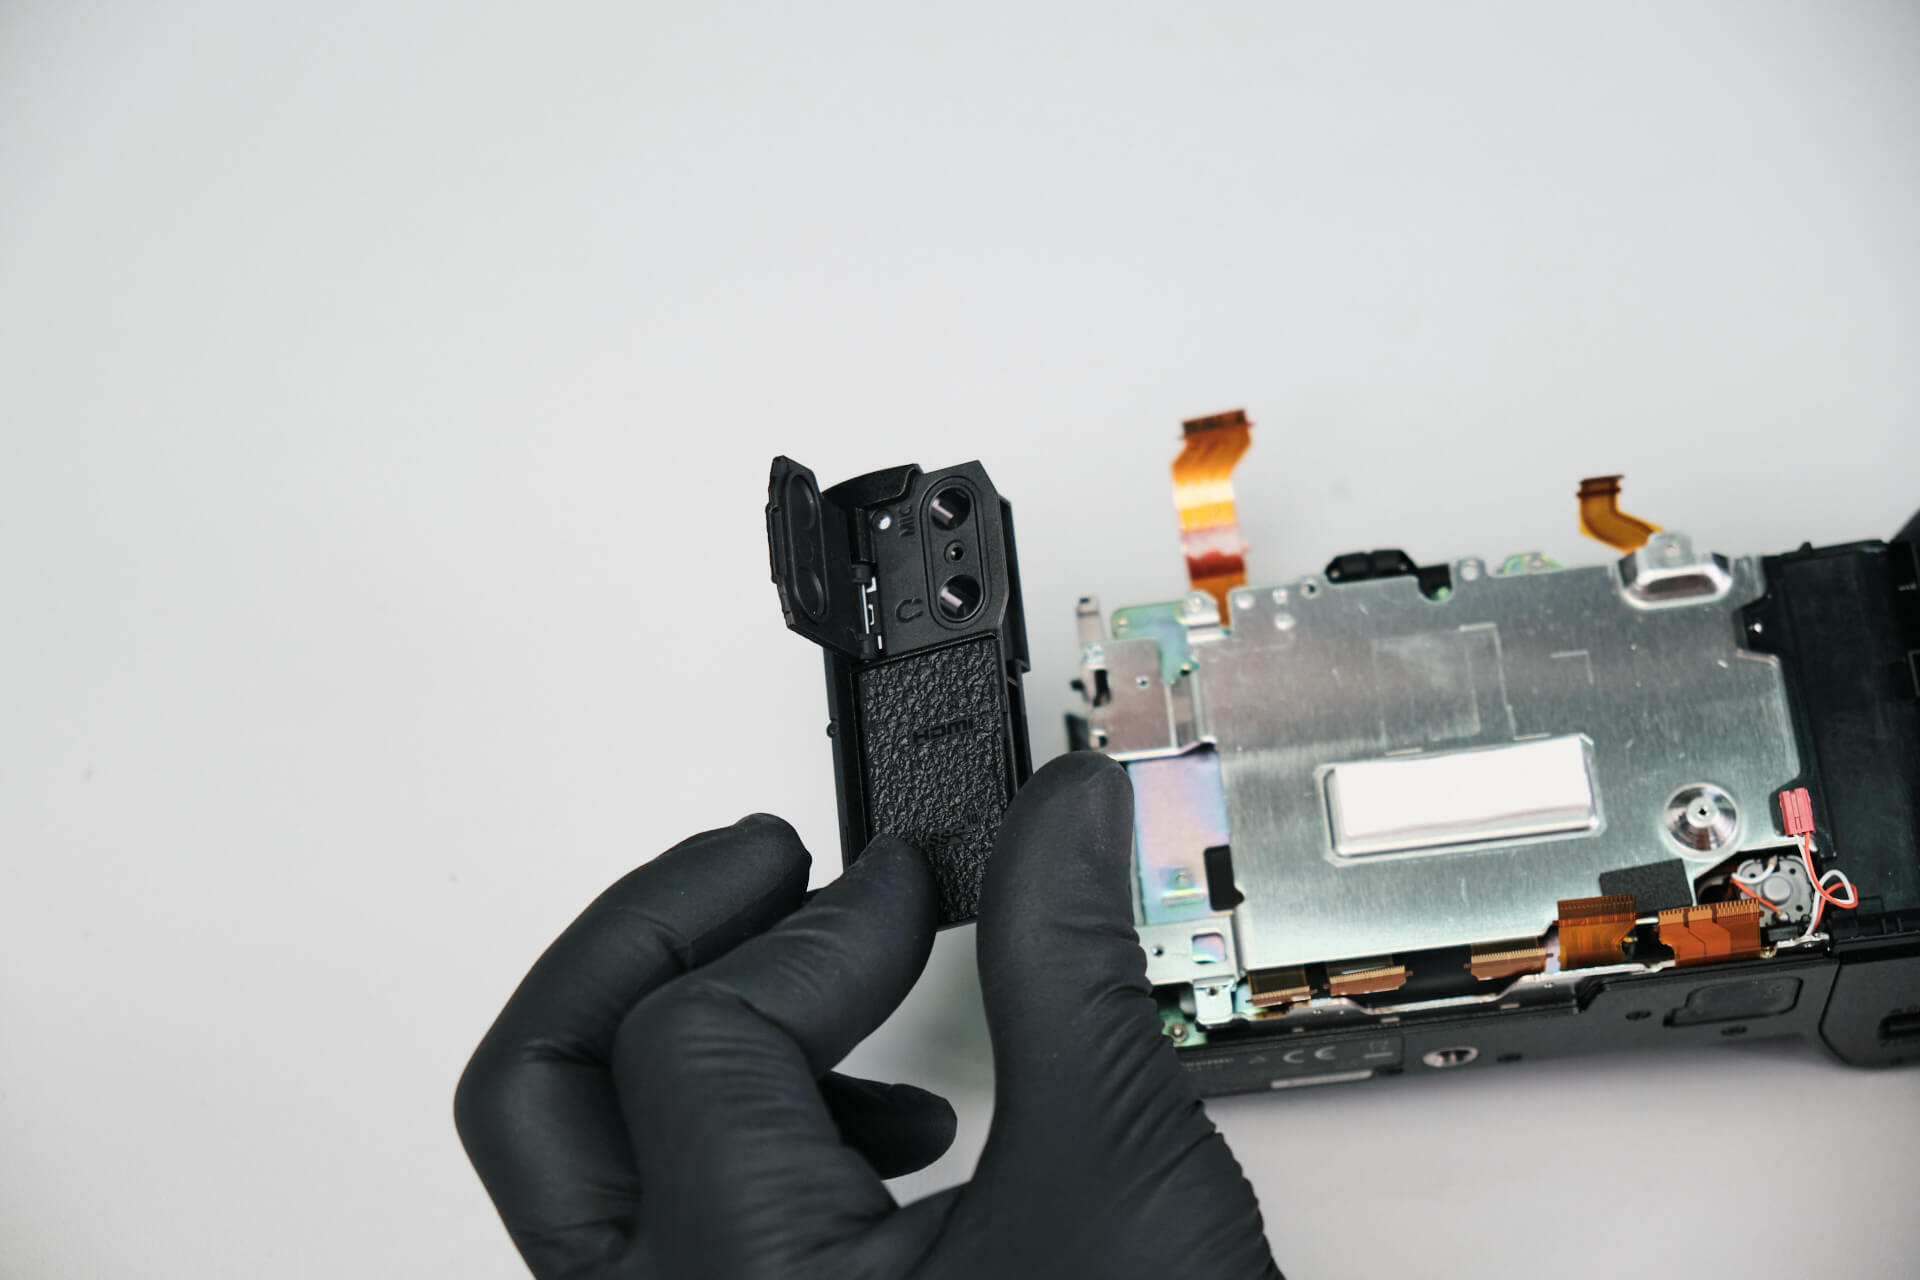
Turning to the port side, we opened the dust cover and found five screws for removal.

Removing the EVF and Diopter Screws

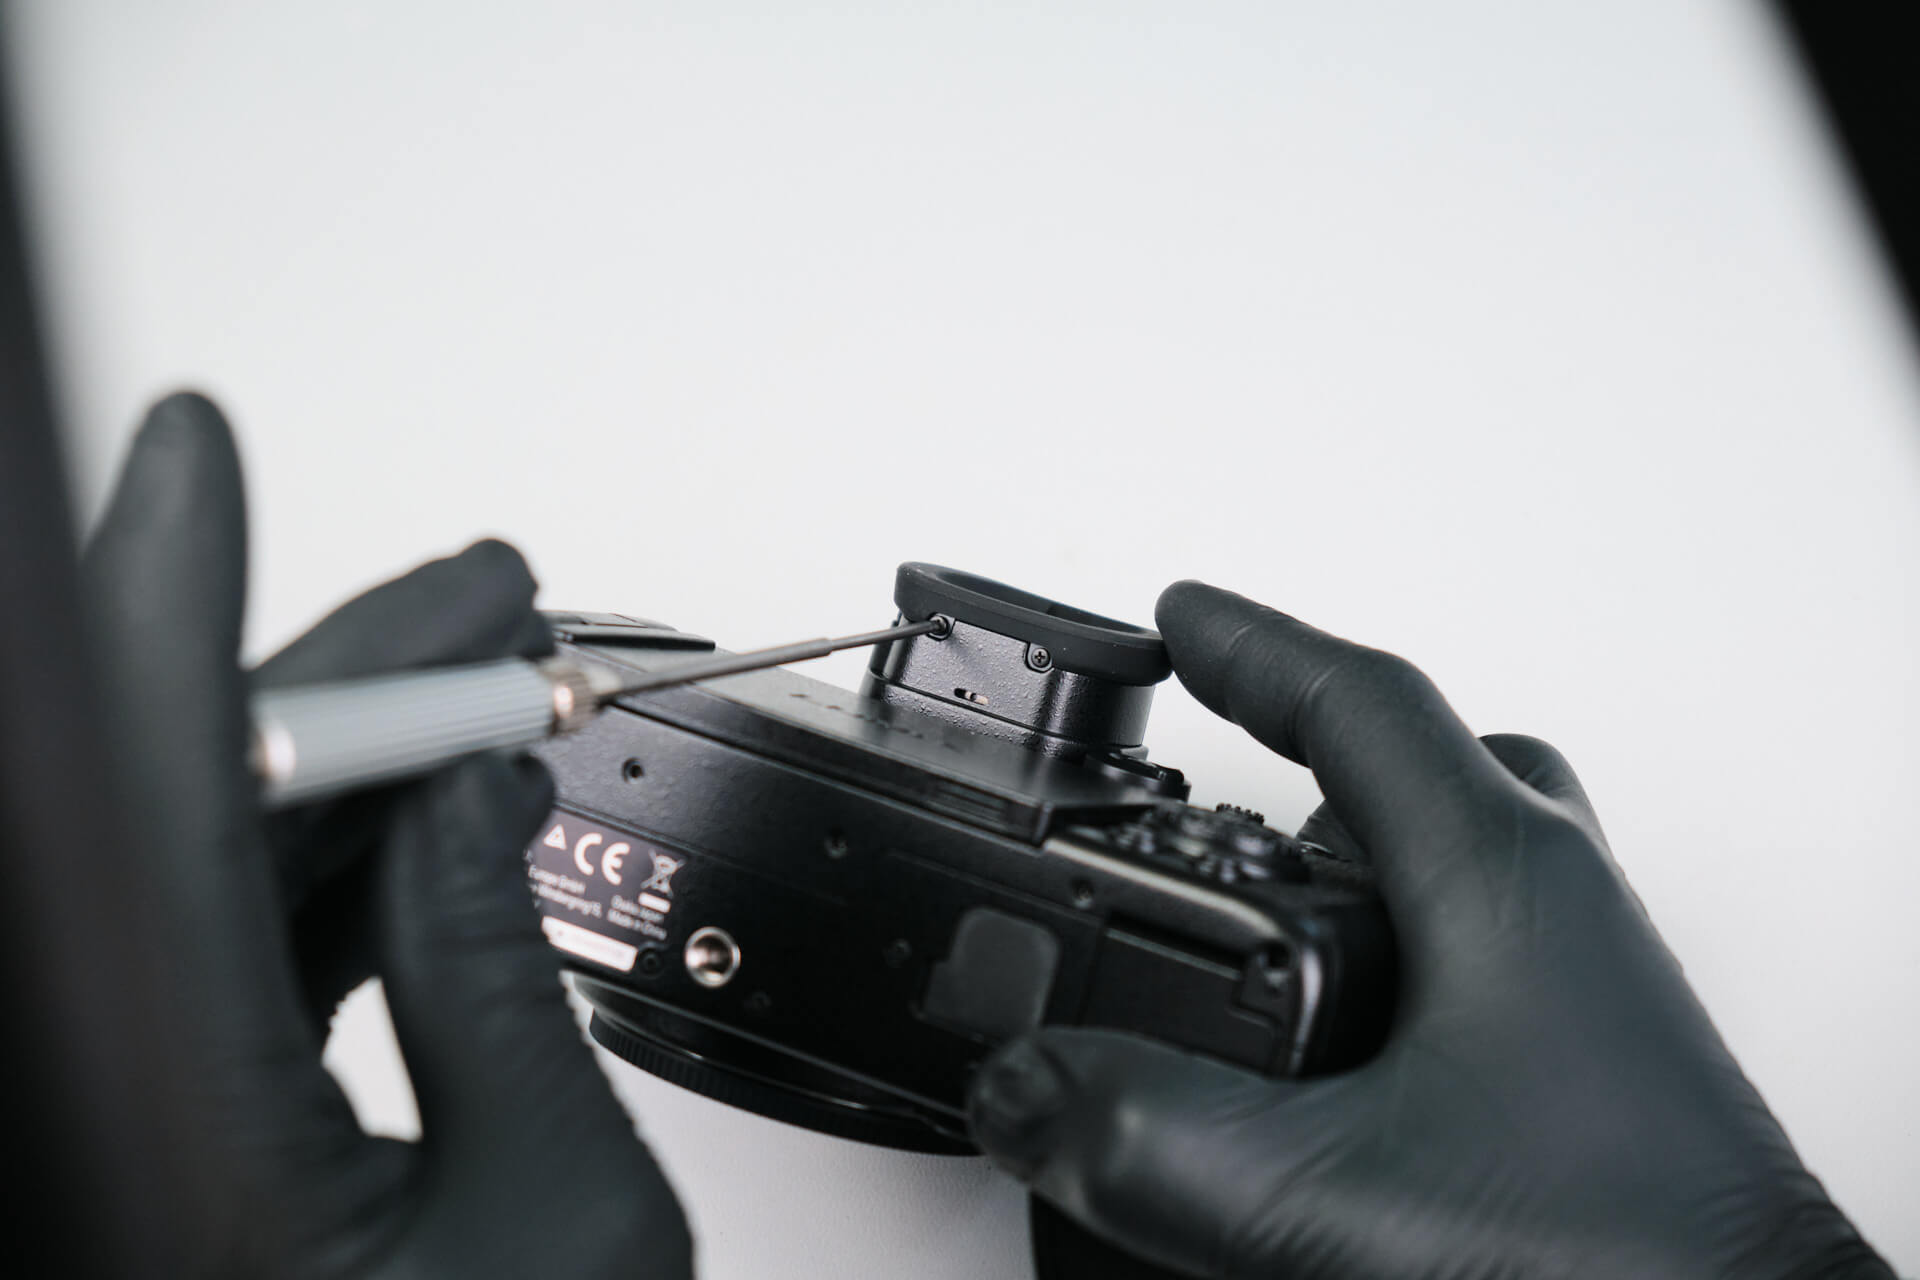
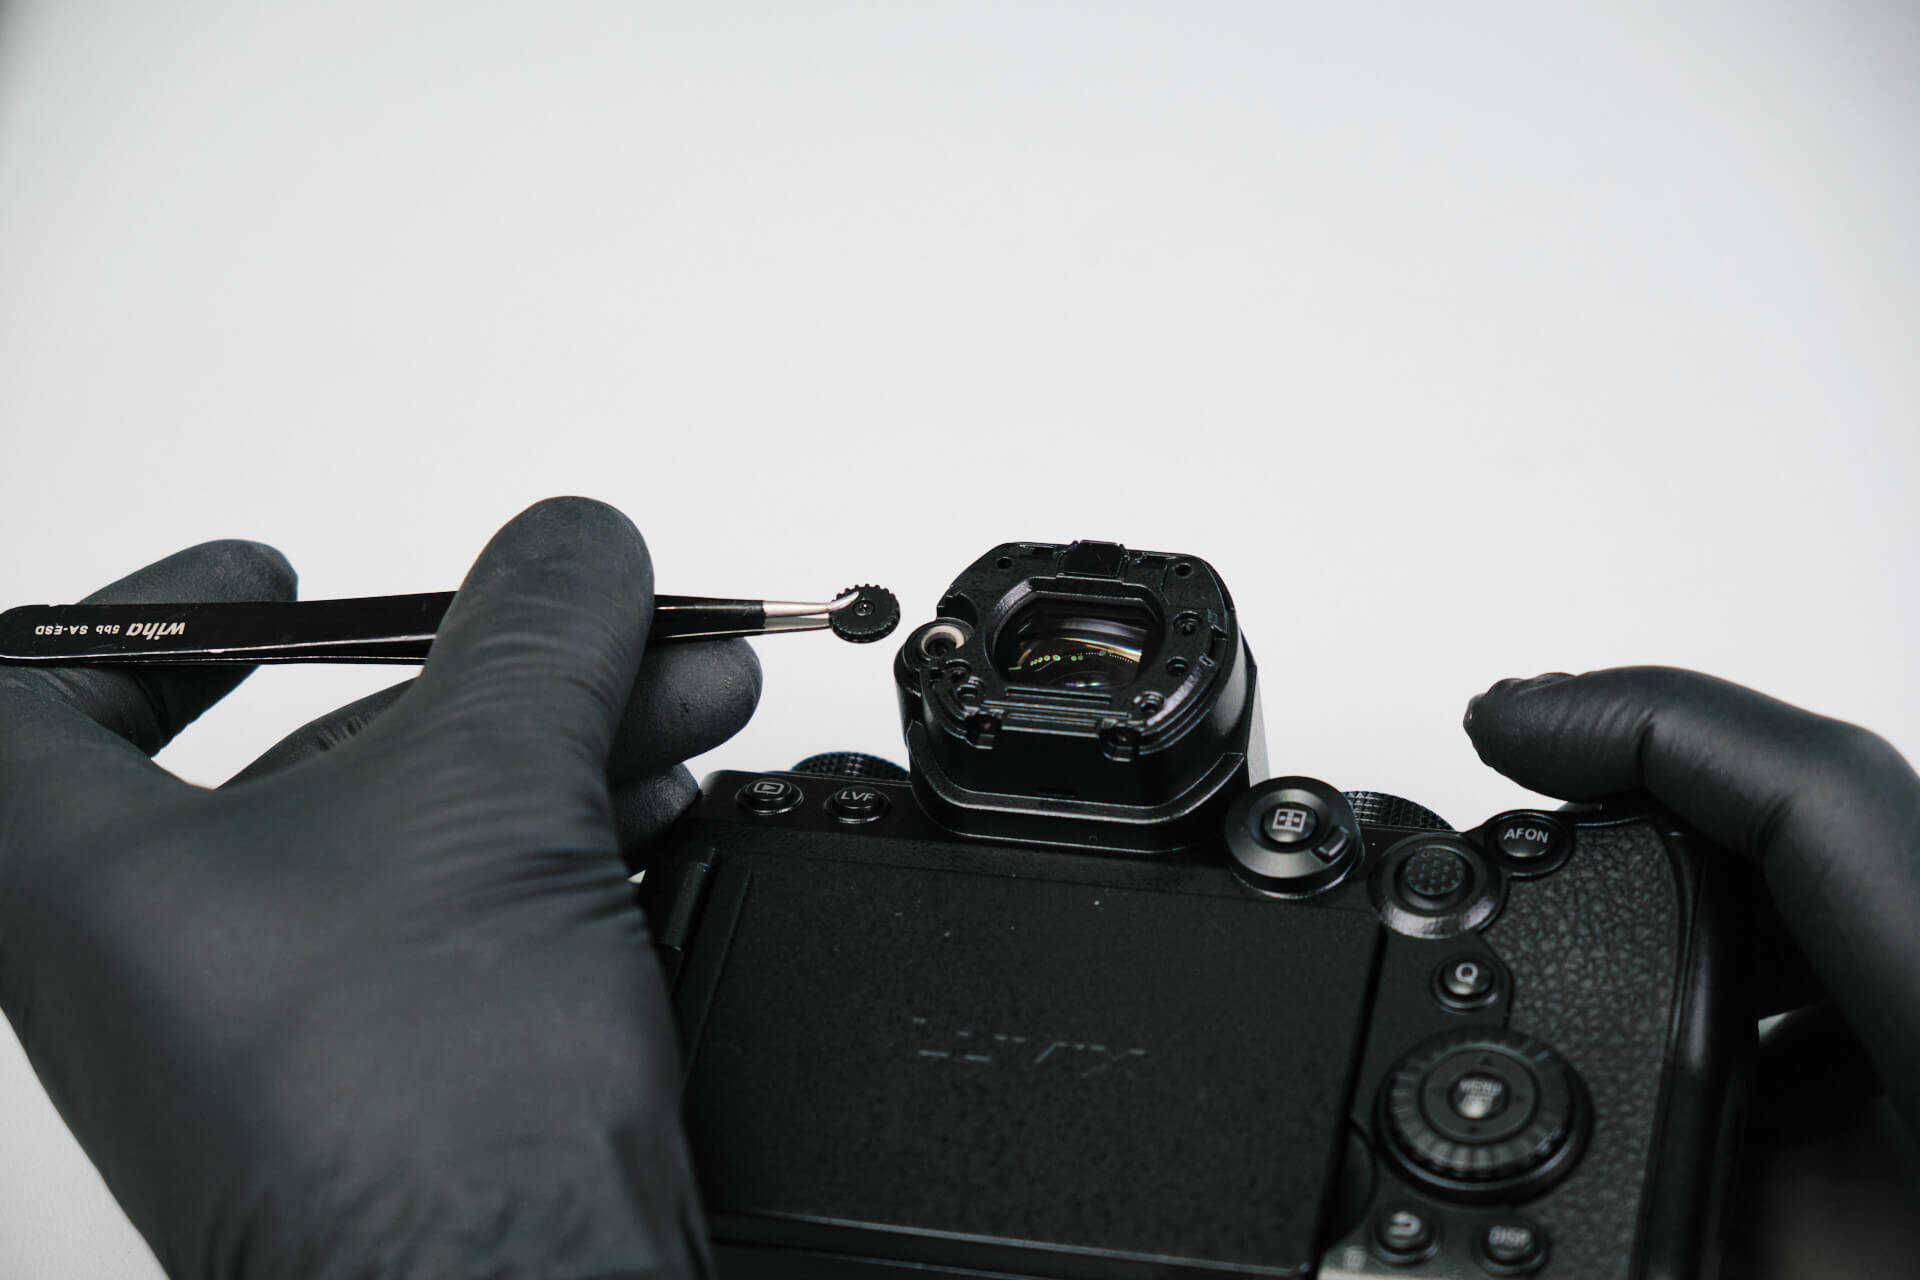
There were two screws that held the eye cap in place. 

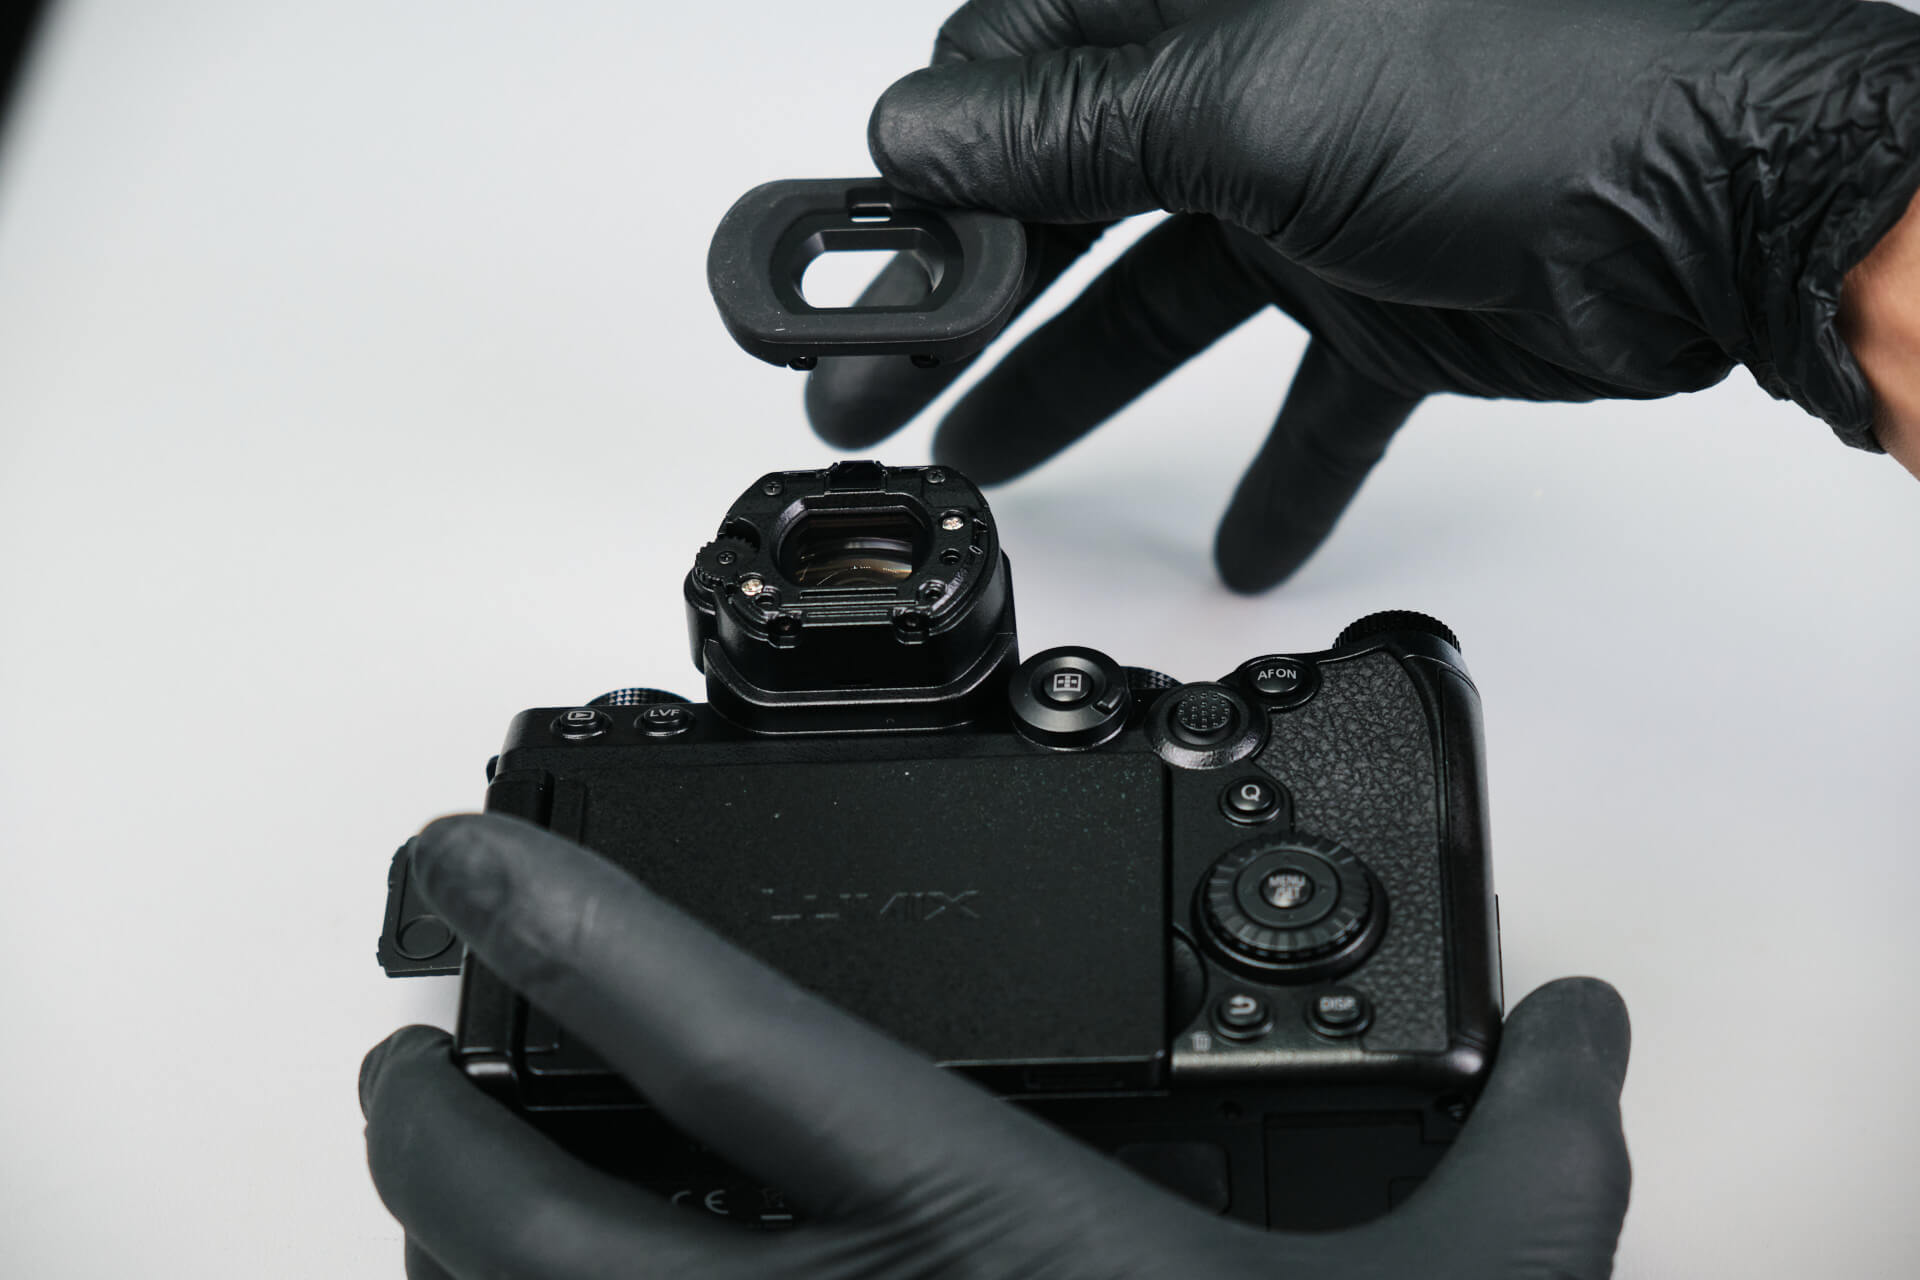
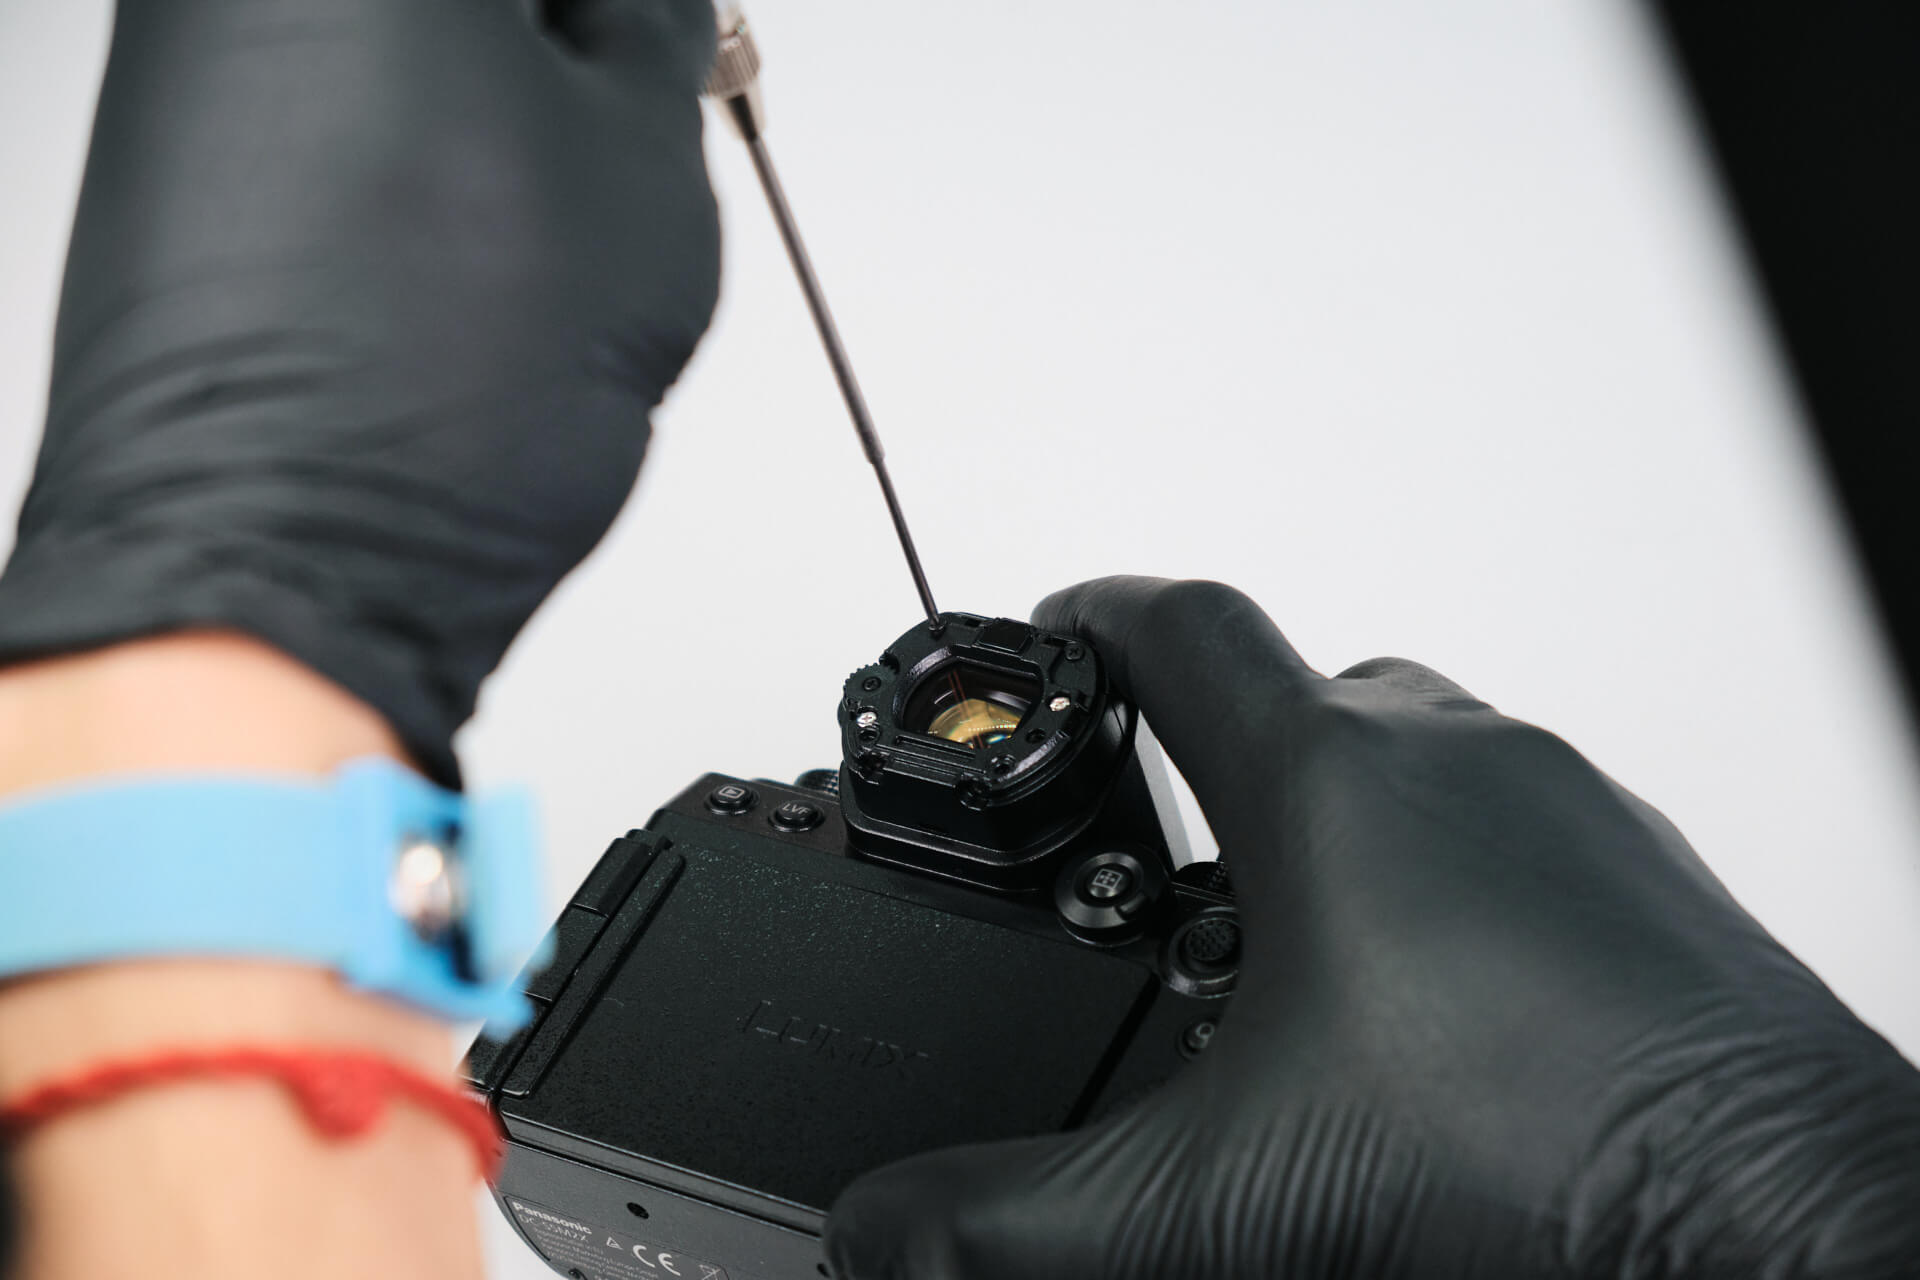
Removing the eye cap revealed four screws along with the diopter screw. 

Here we removed the aforementioned screws. We needed to be careful removing the diopter screw—the plastic felt soft, so there was a possibility that the screw could’ve been stripped.

Finding Hidden Screws Under the Rubber Grip

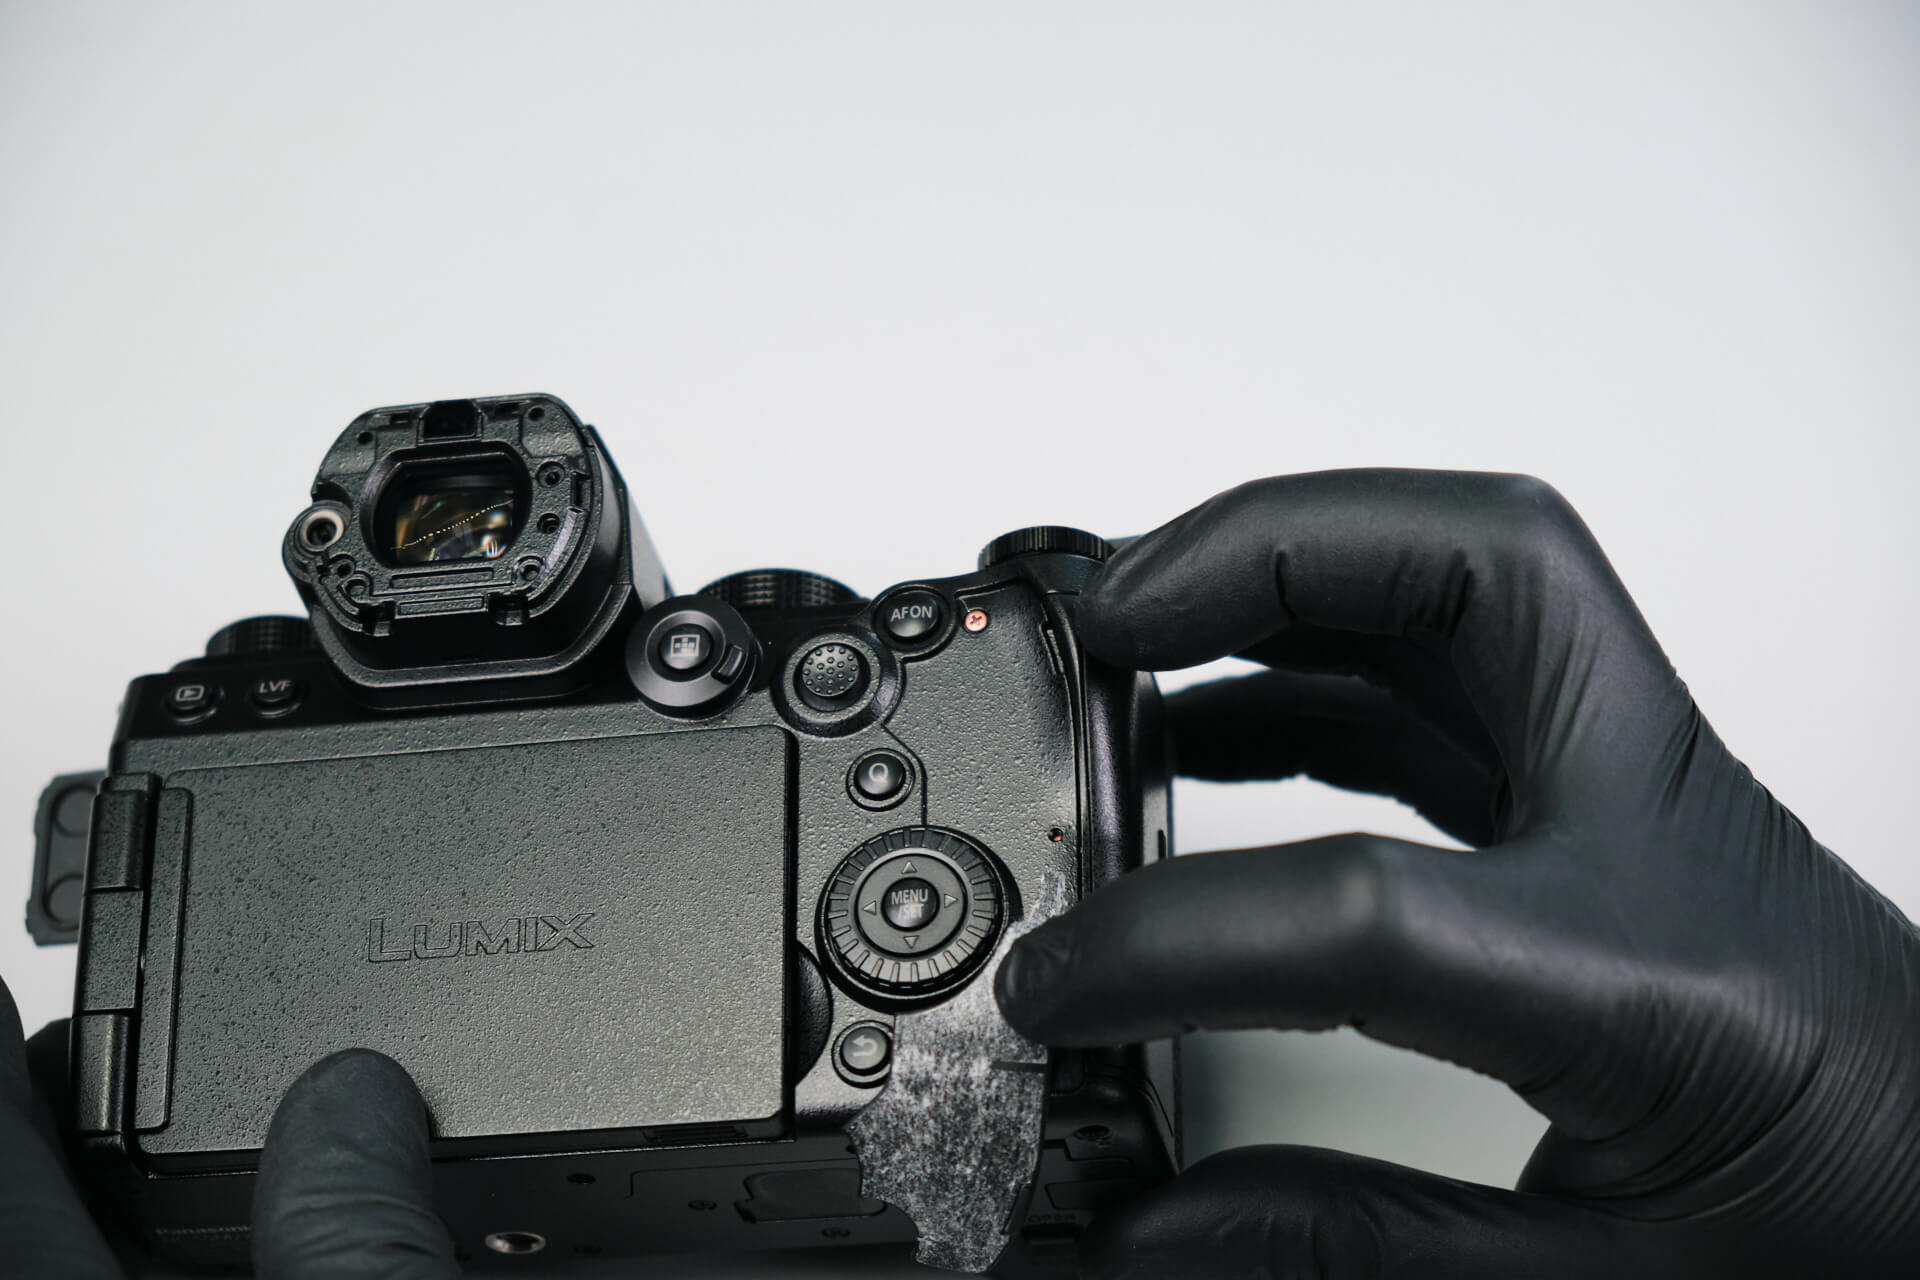
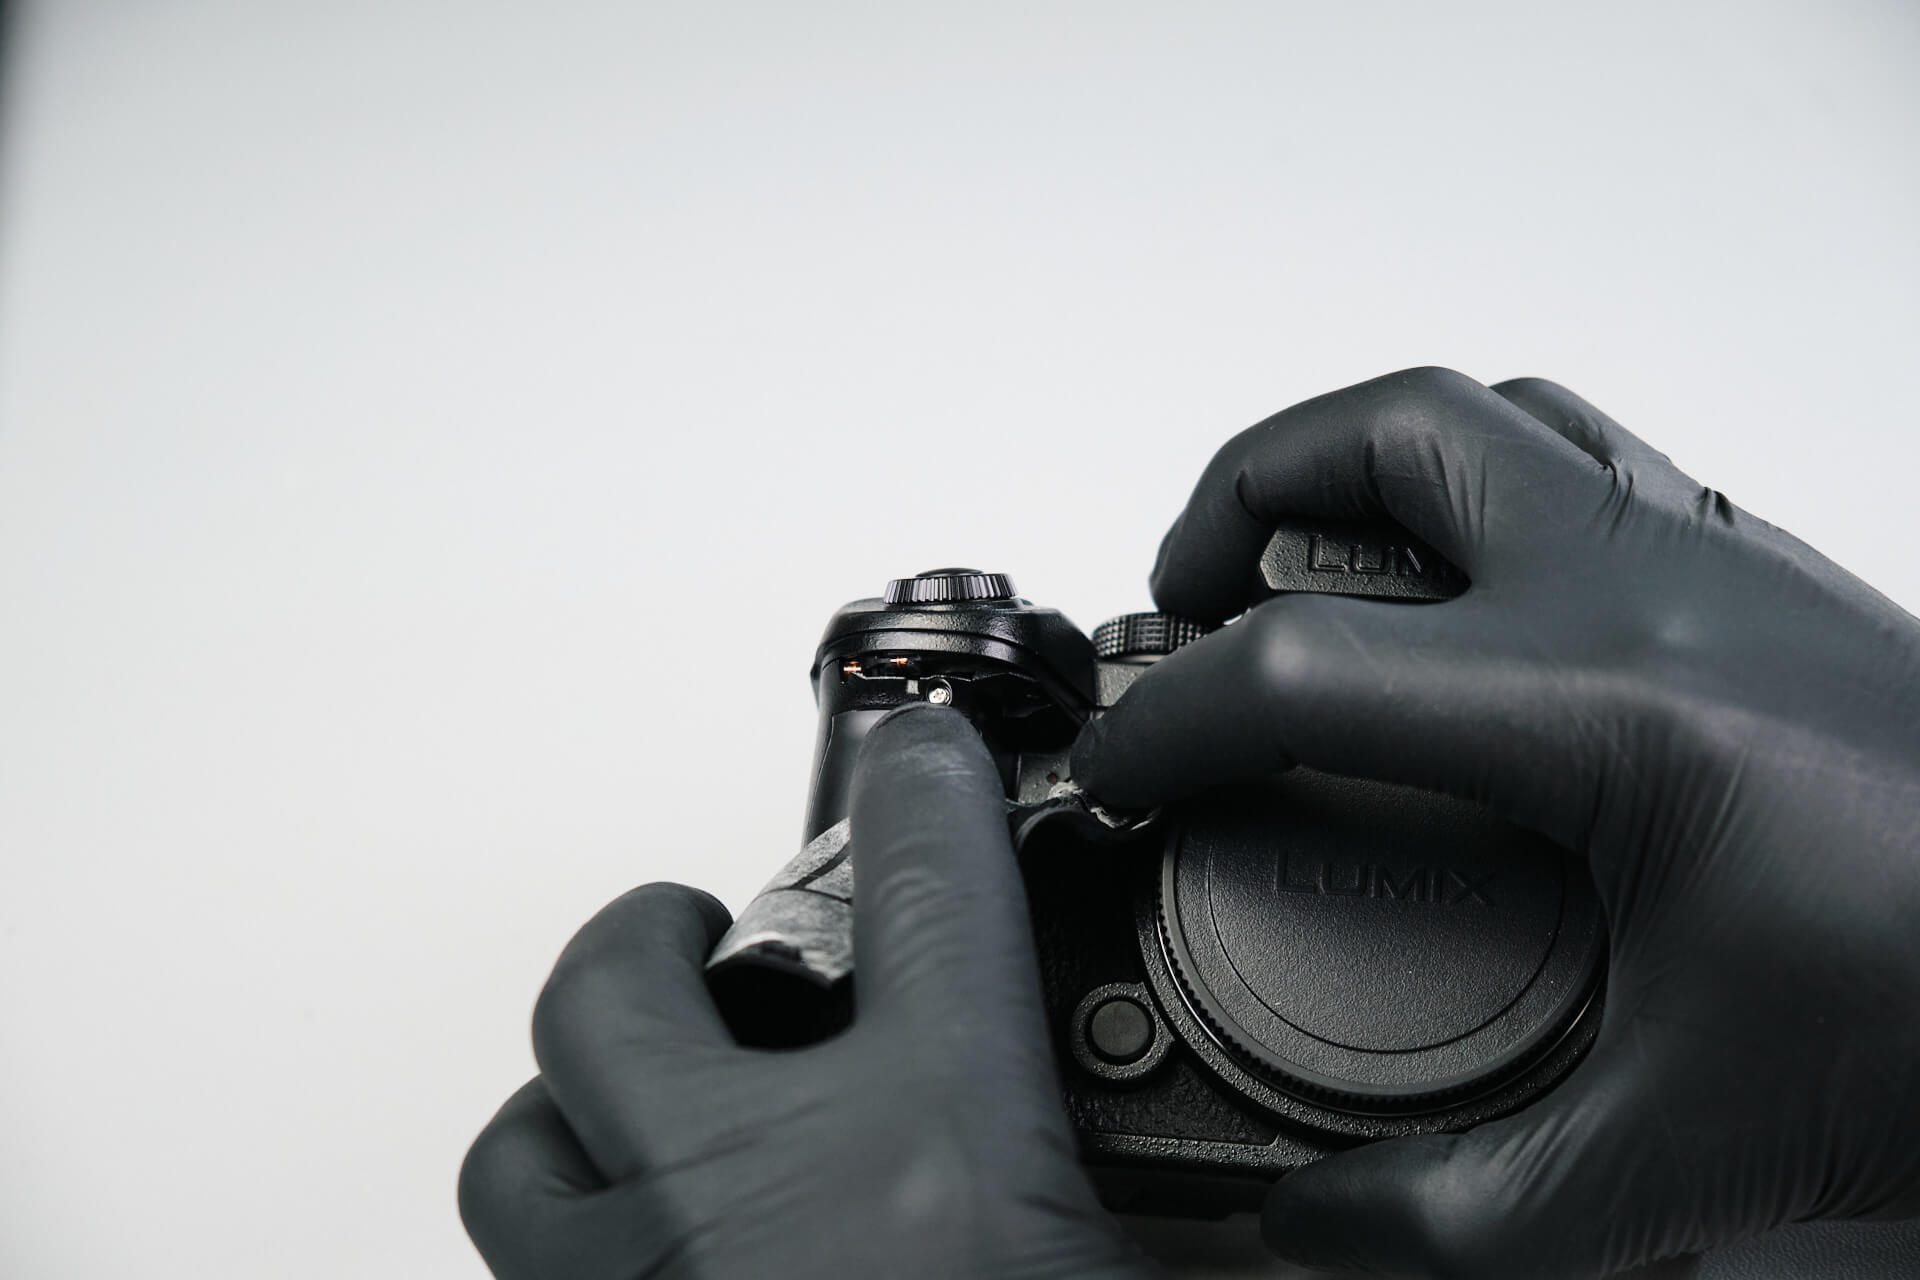
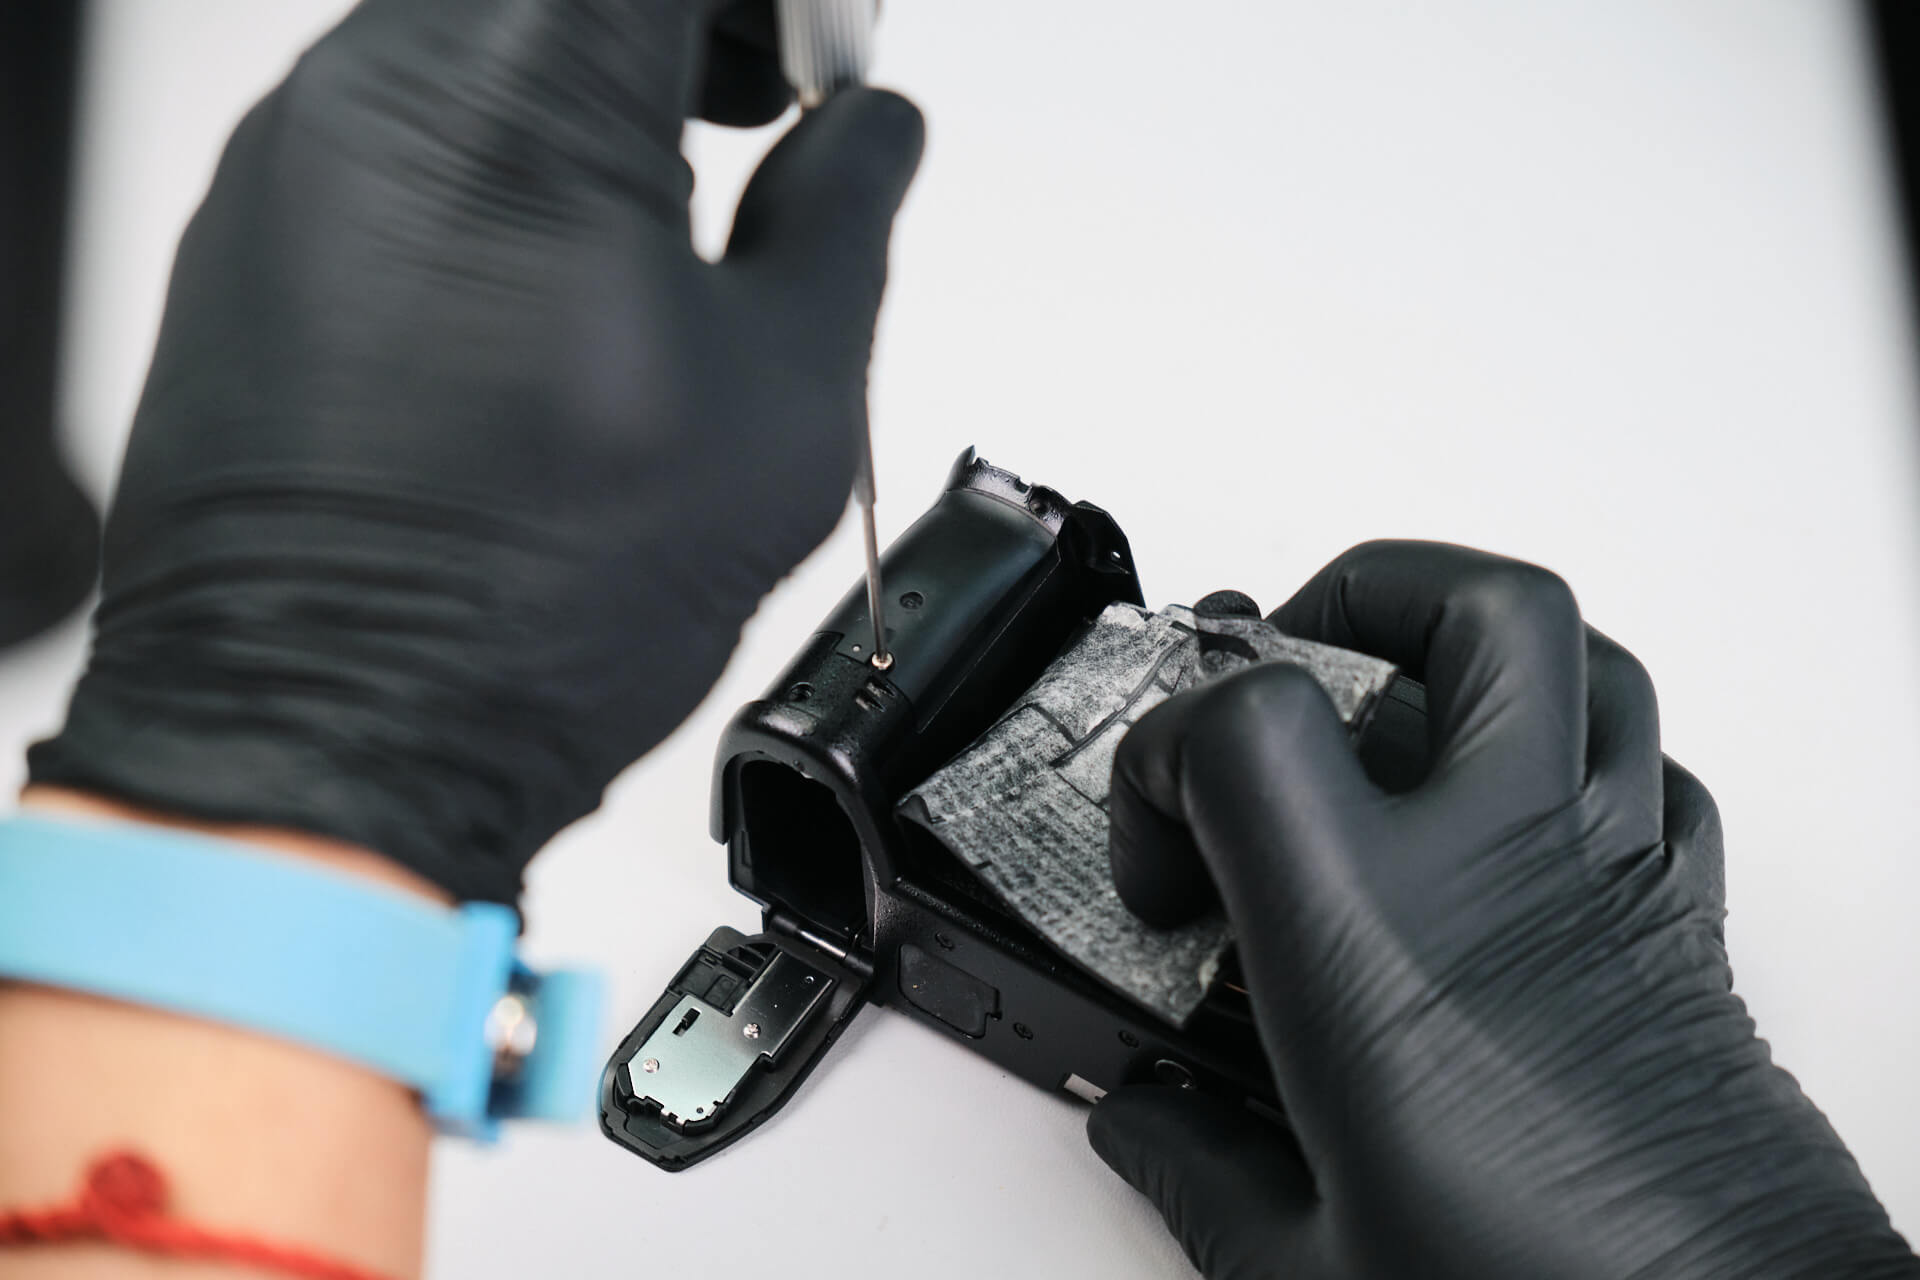
Under the rubber thumb grip towards the backside, we removed one silver screw. 

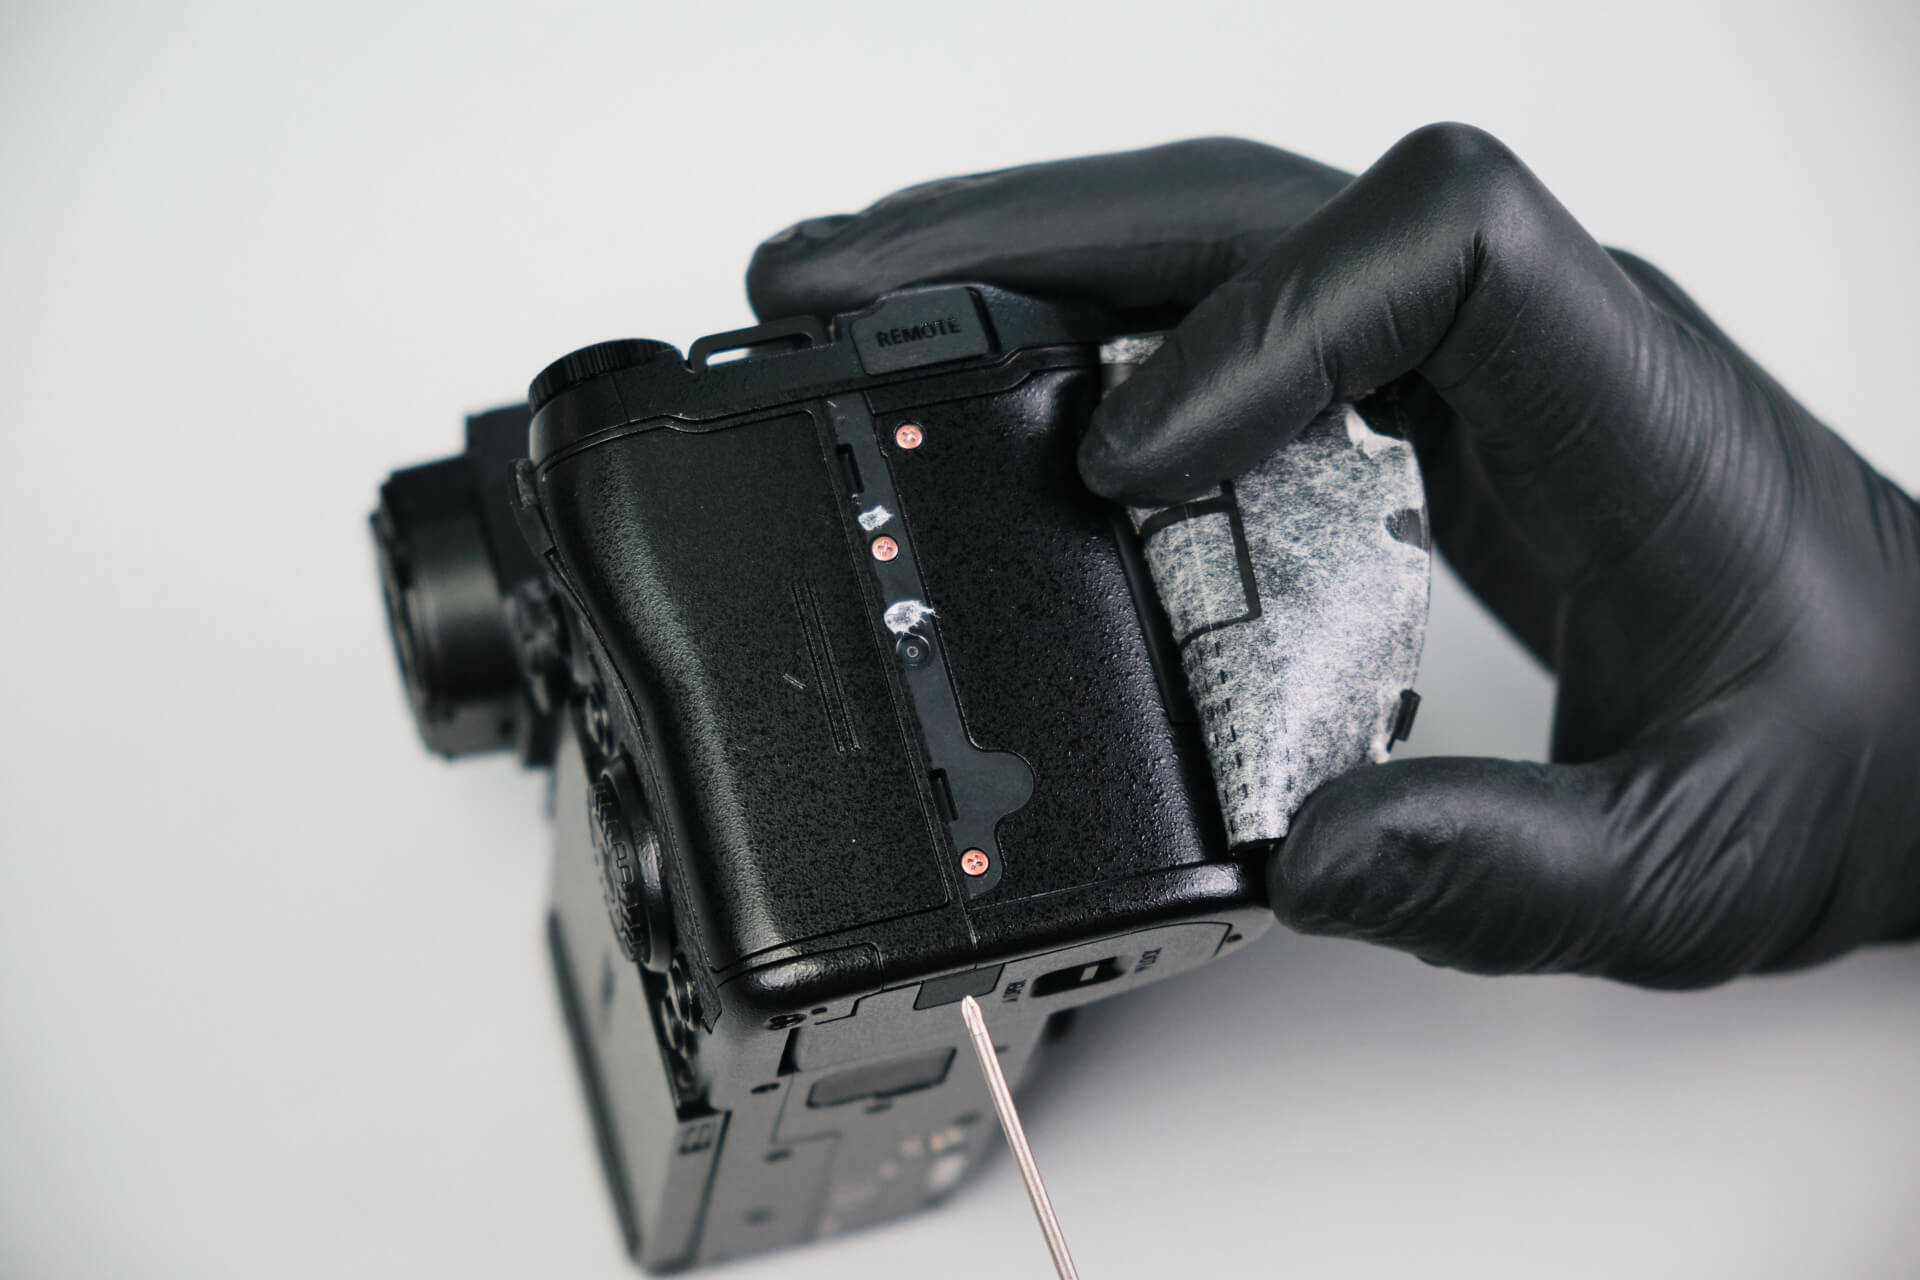
Underneath the rubber grip on the side, we removed two screws next to the memory card door. 

Removing the Rear Panel and Back Panel Ribbon Cables

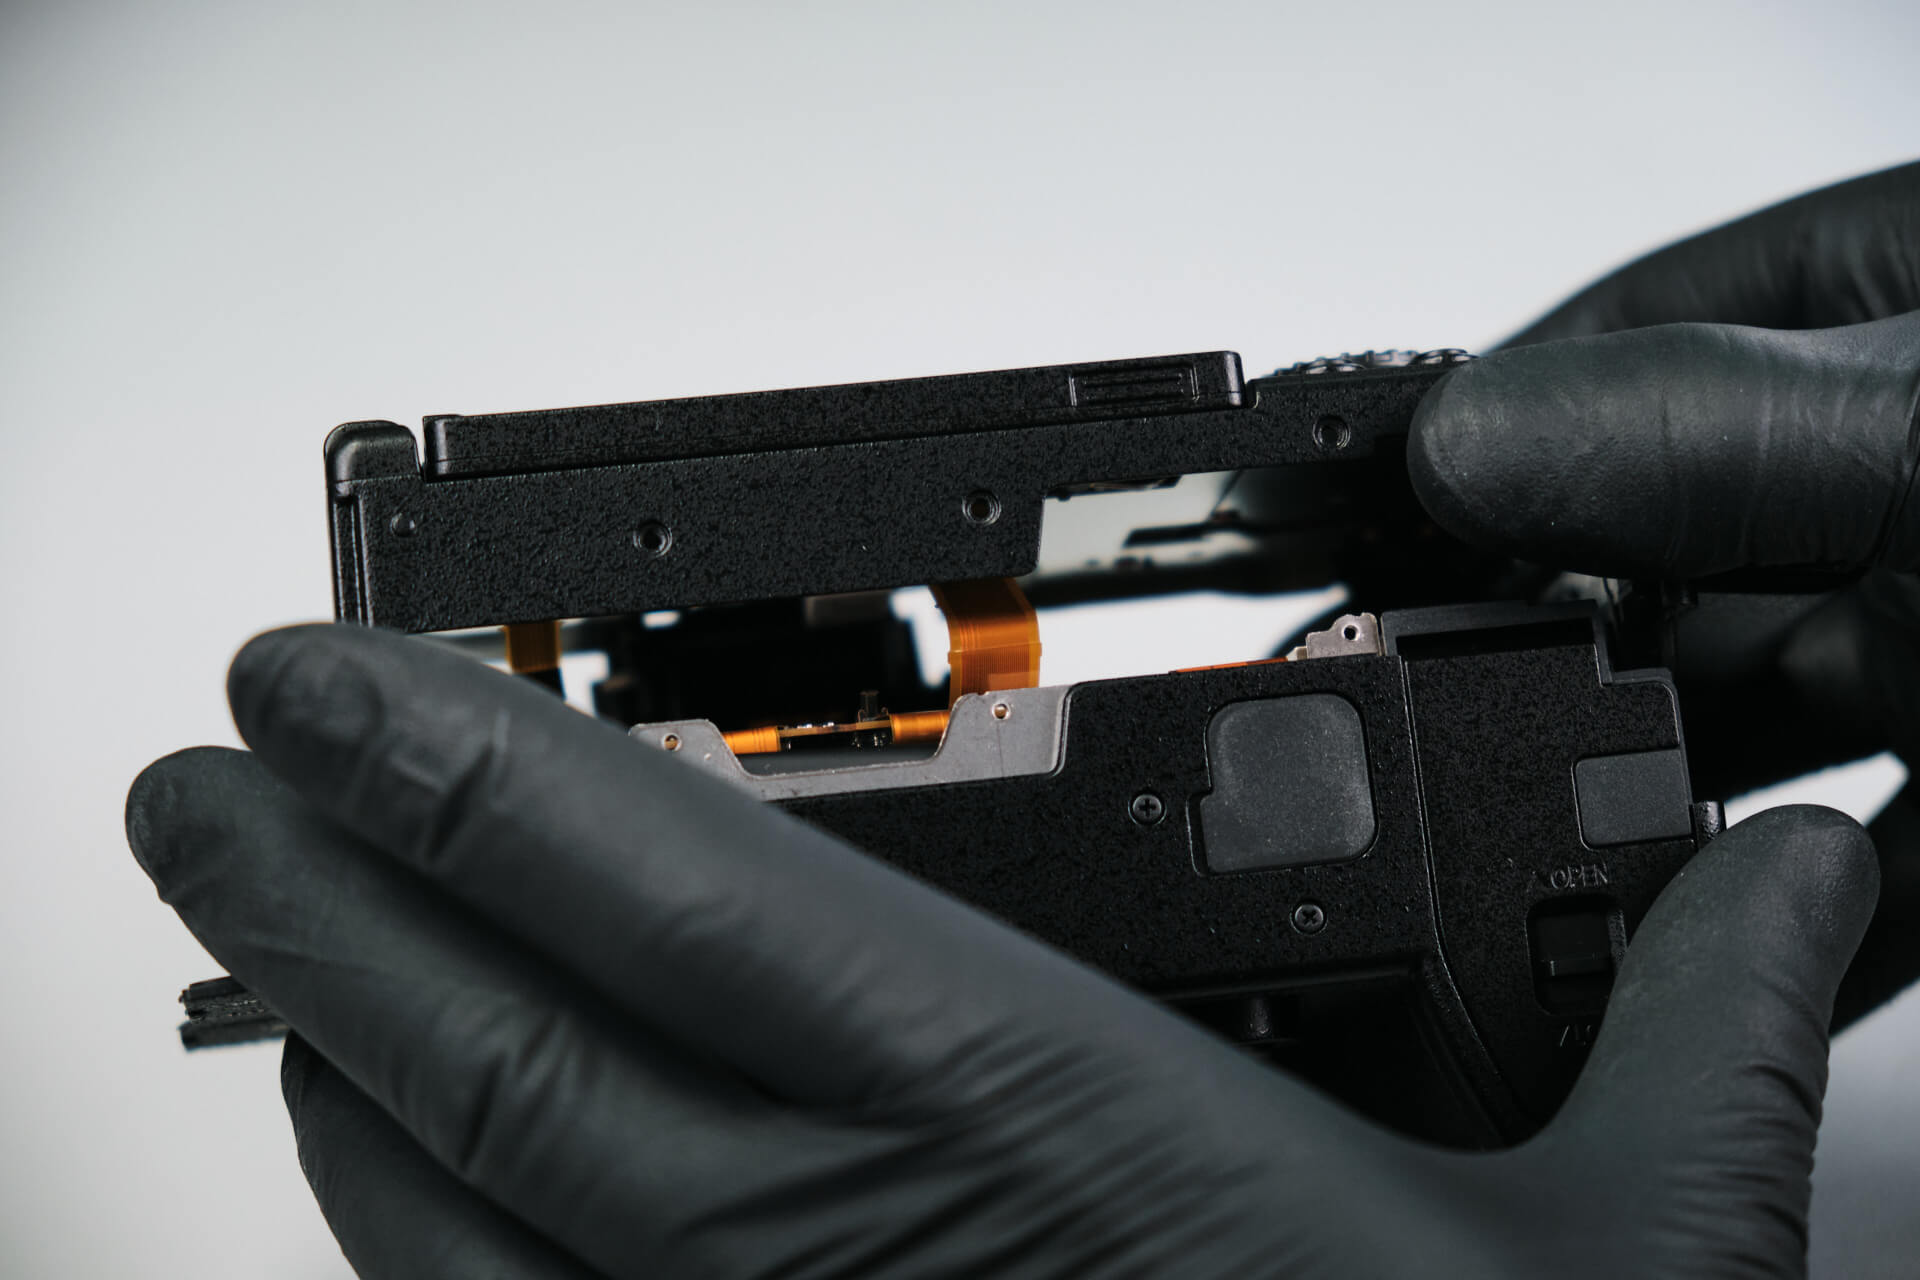
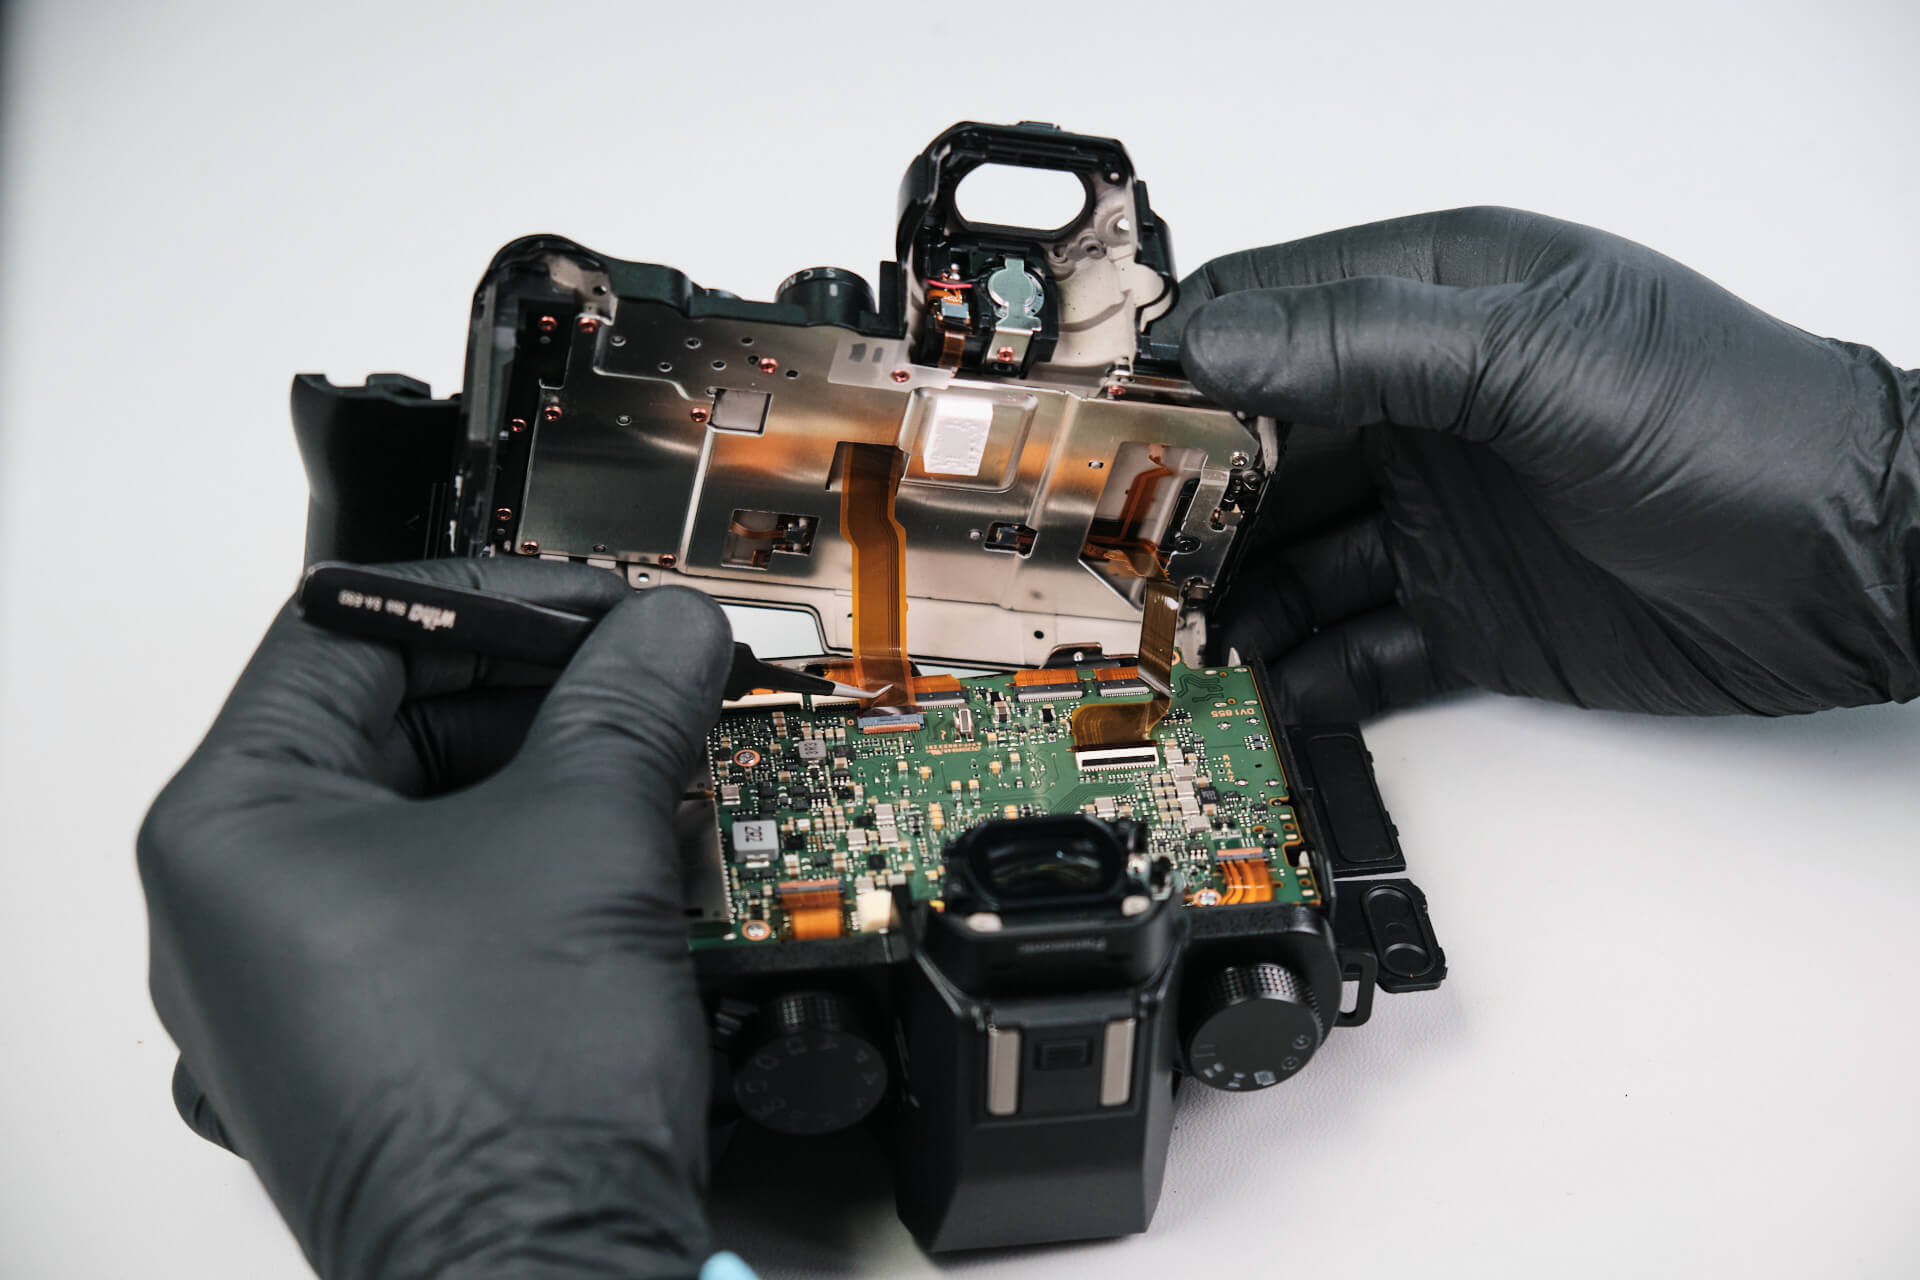
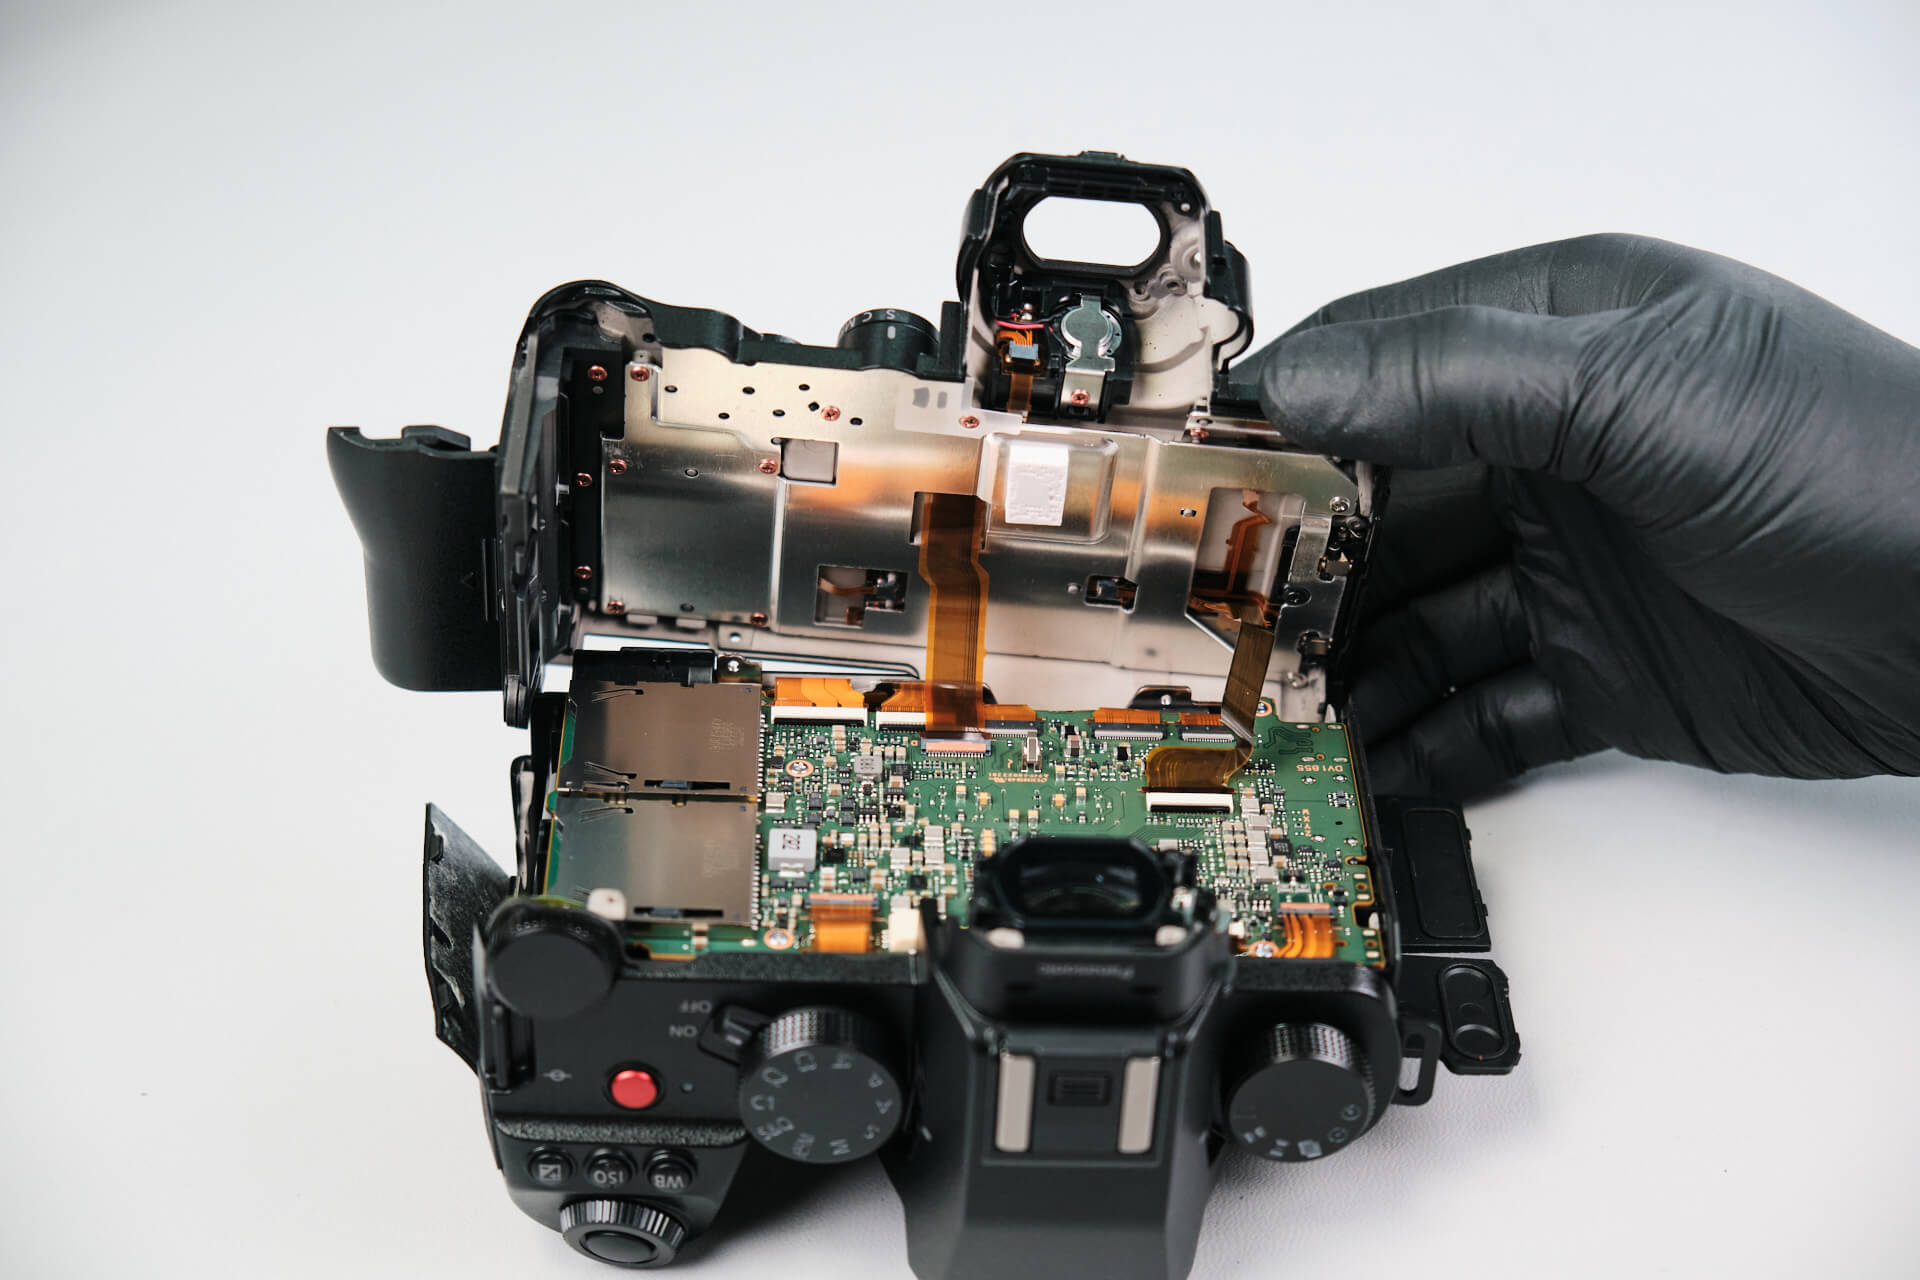
The rear panel smoothly separated from the body. 

Interestingly, the disassembly of the back panel felt similar to a Canon EOS R5 and Nikon Z camera series.

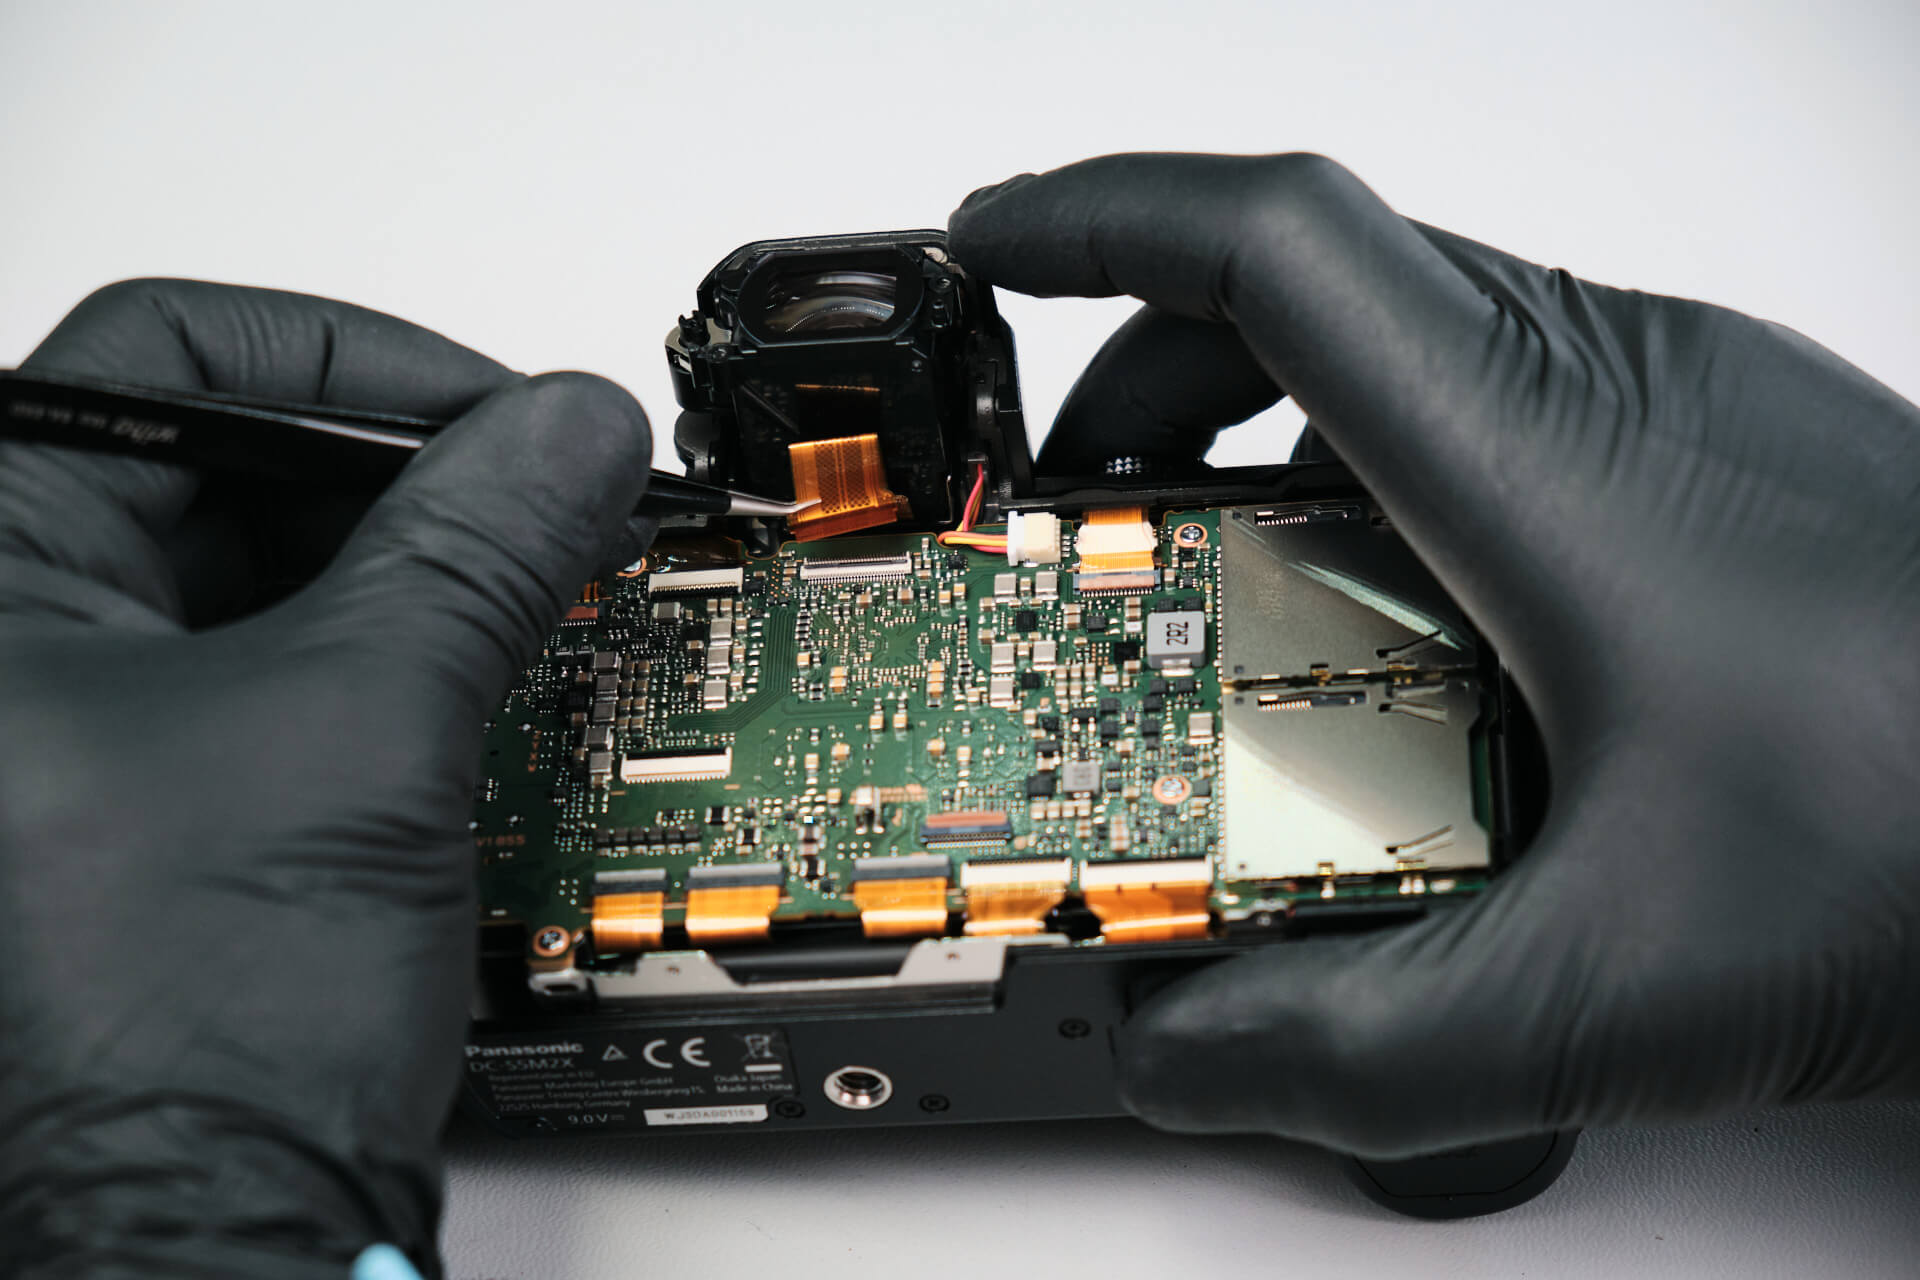
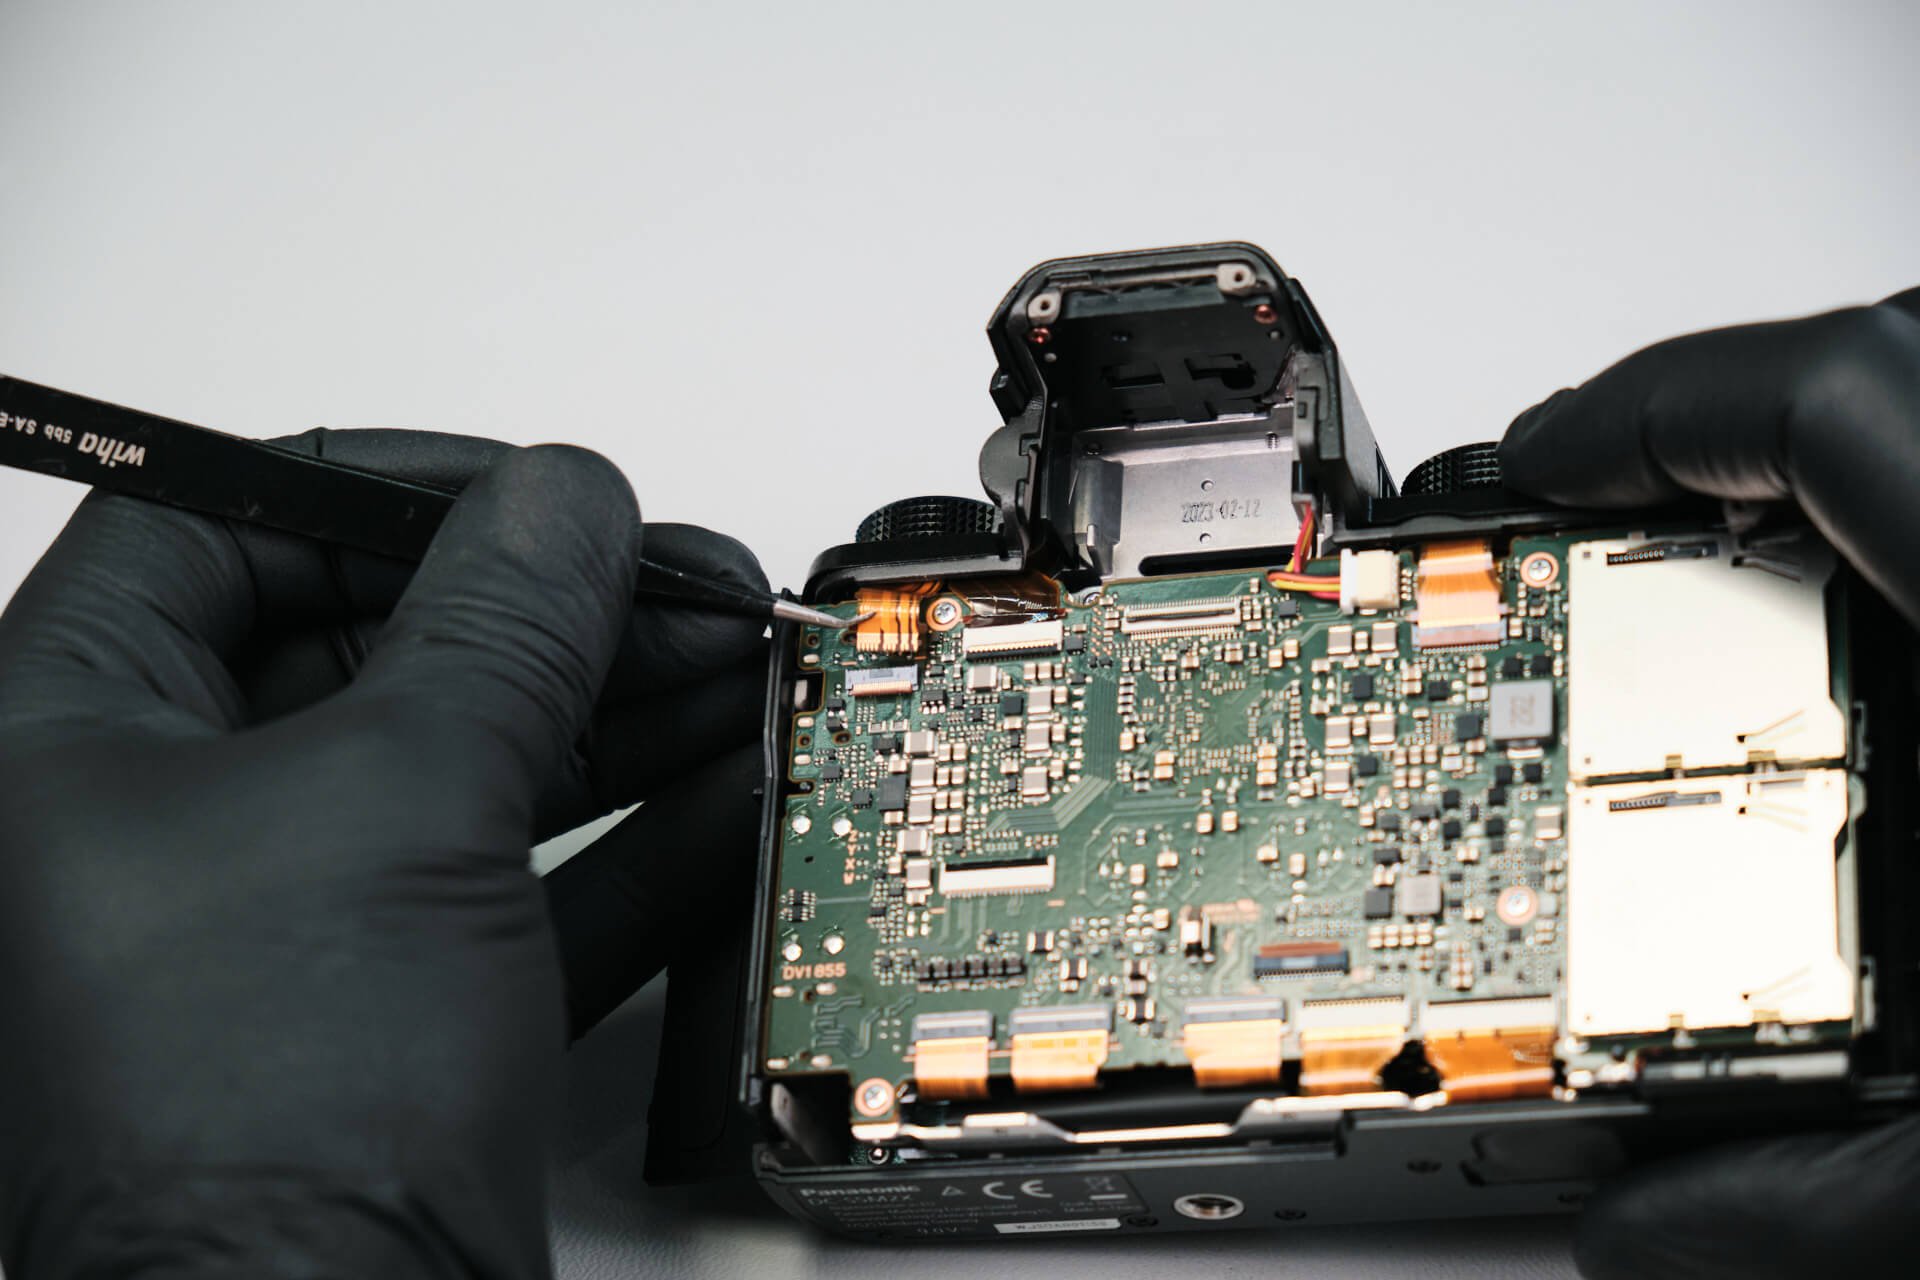
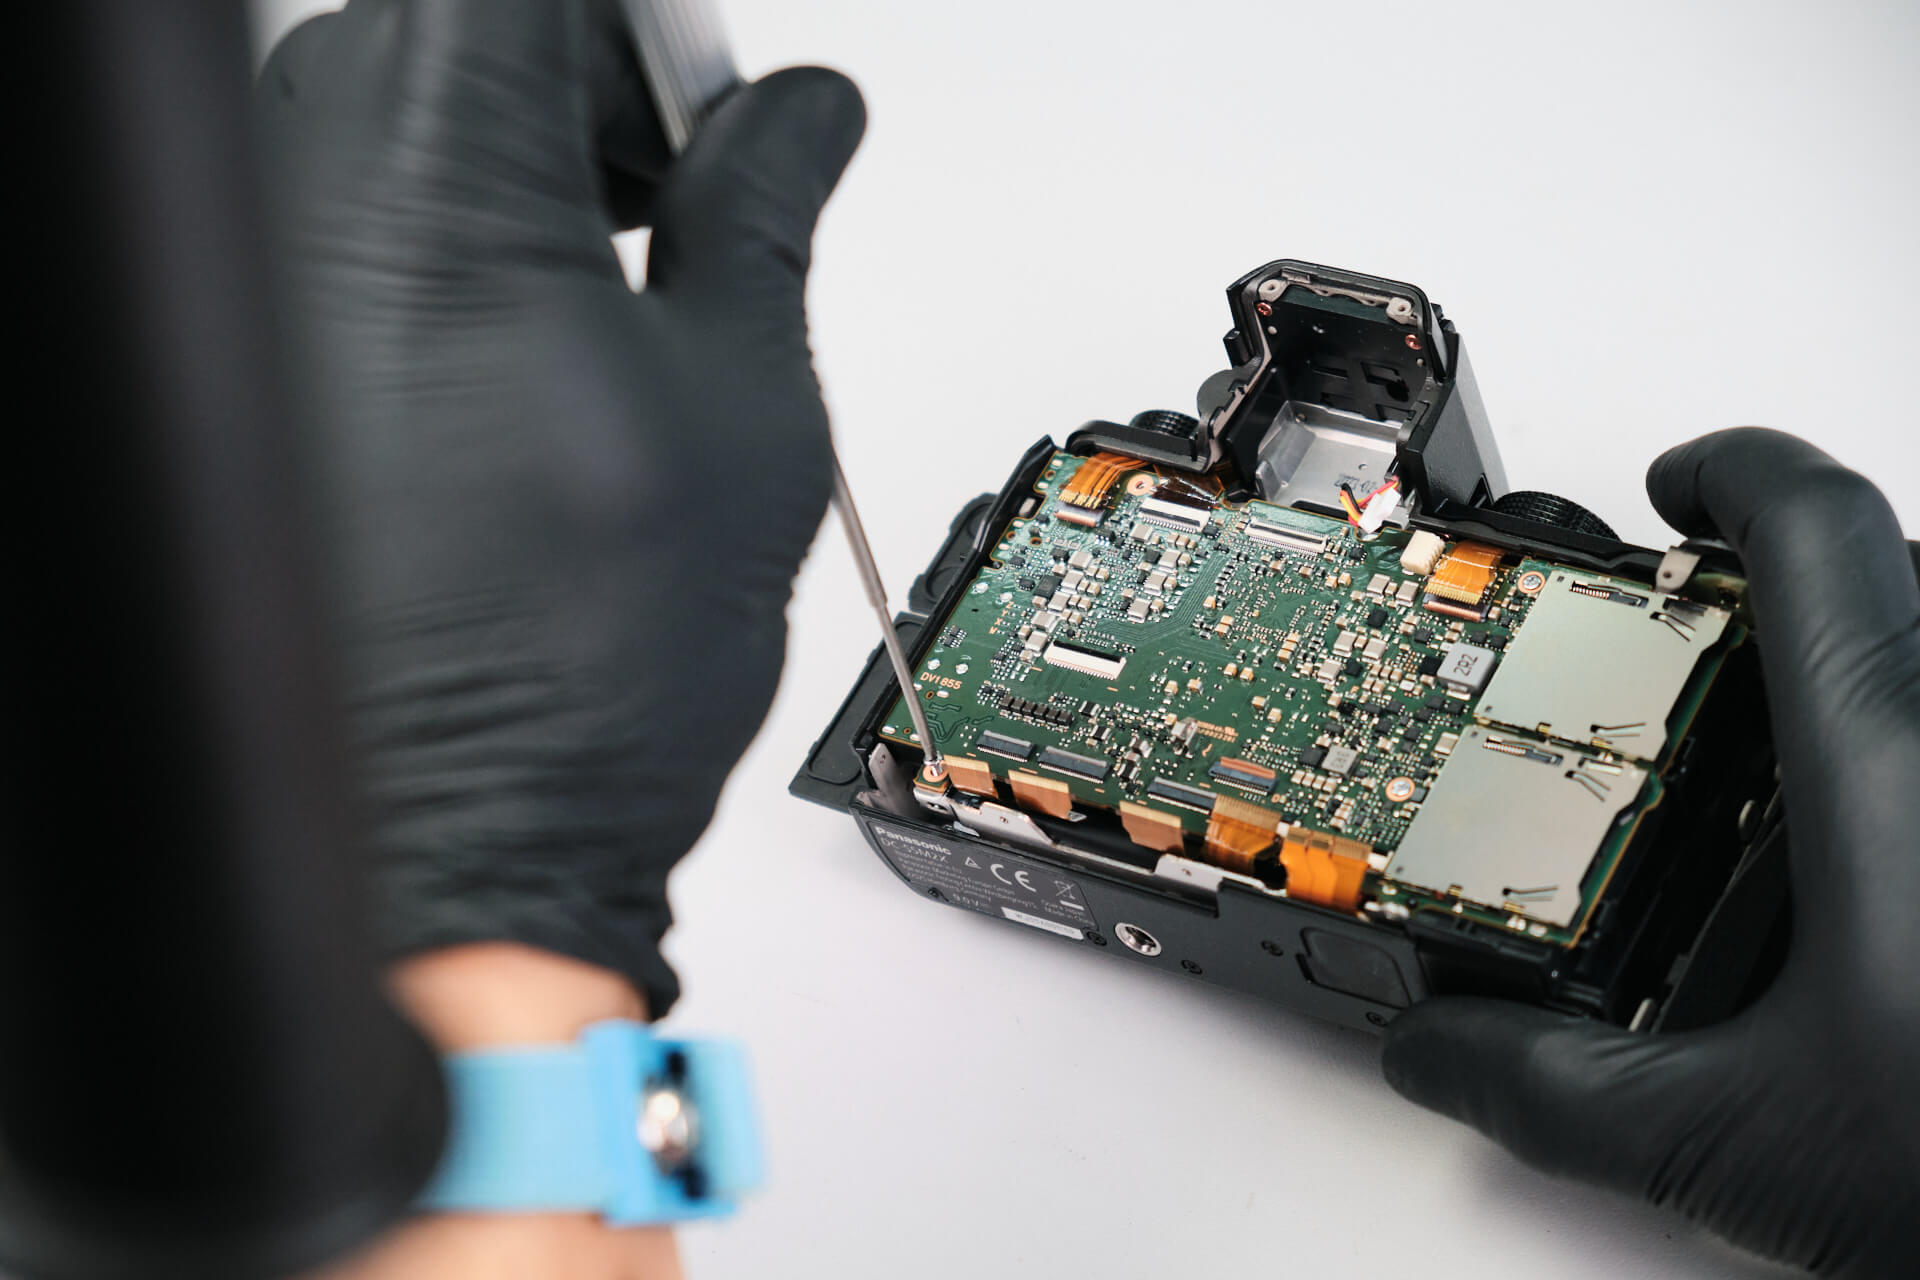
Next, we disconnected both ribbon cables from the motherboard to remove the back panel fully.

Disconnecting the EVF Ribbon Cable

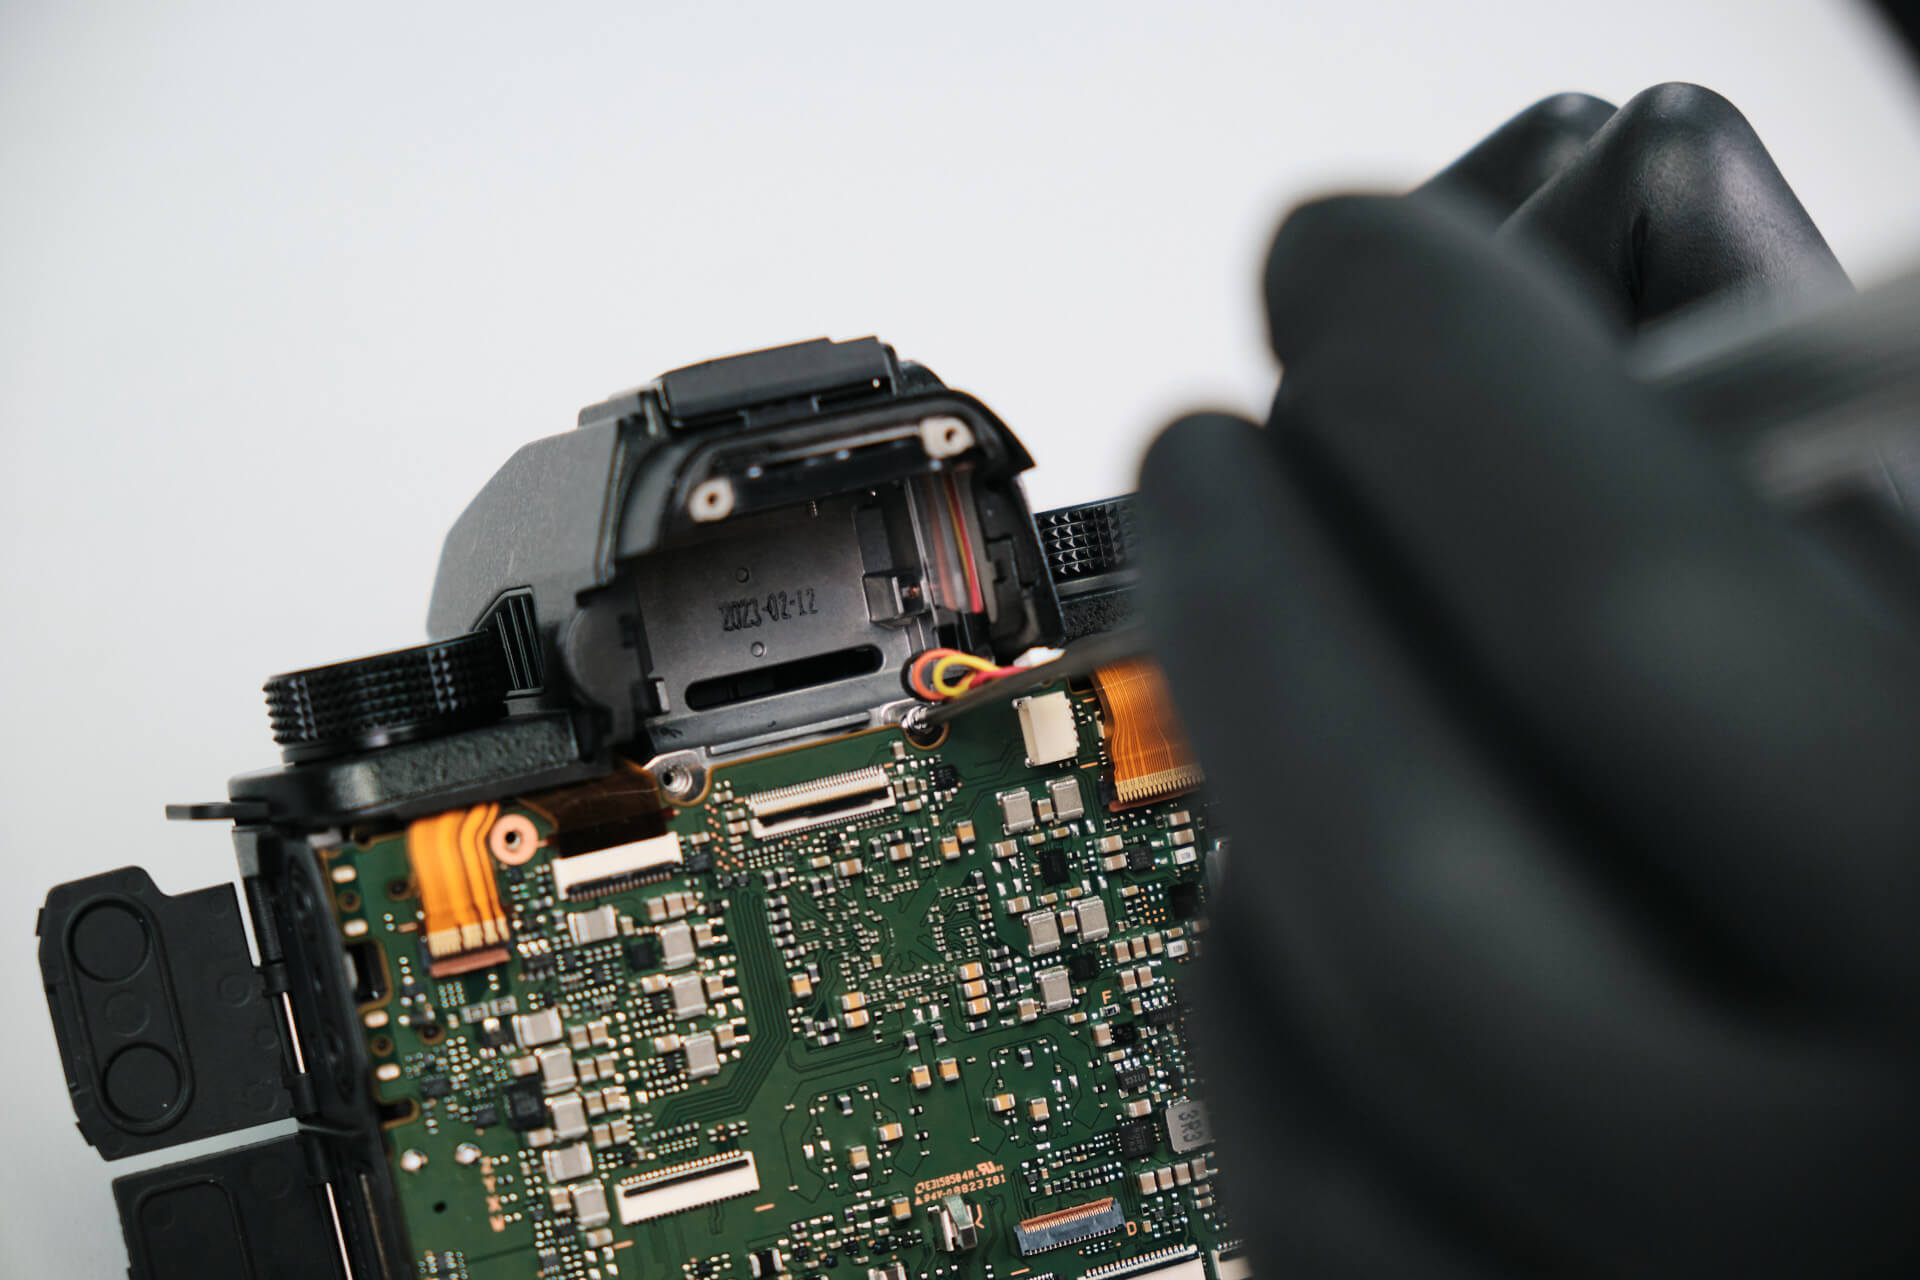
The EVF ribbon was also disconnected from the circuit board. 

Removing Front Screws Before Top Panel Access

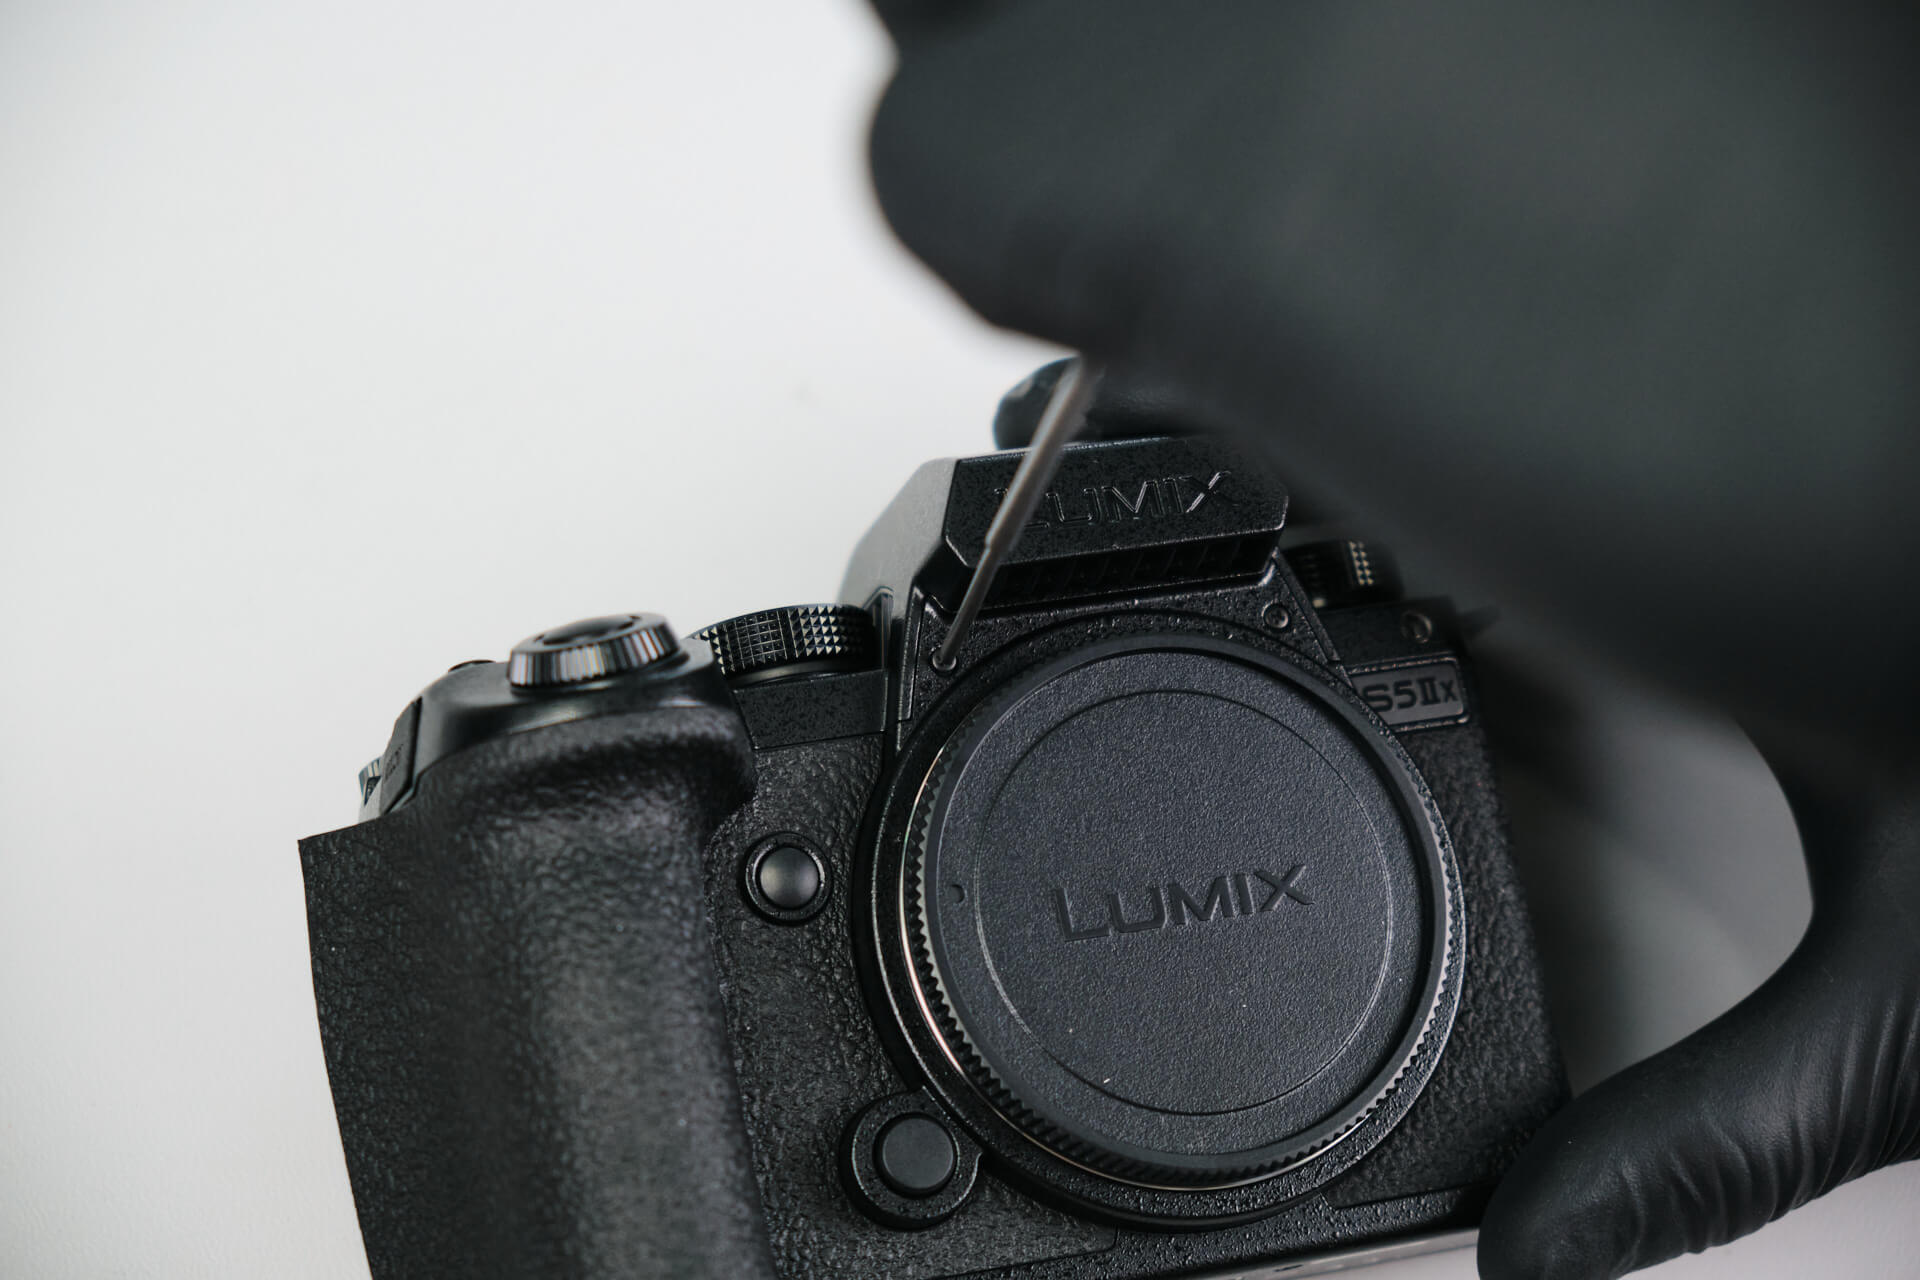
We saw a bracket under the circuit board, so the top panel definitely needed to come off. At the front of the camera, we removed two screws just above the lens mount.

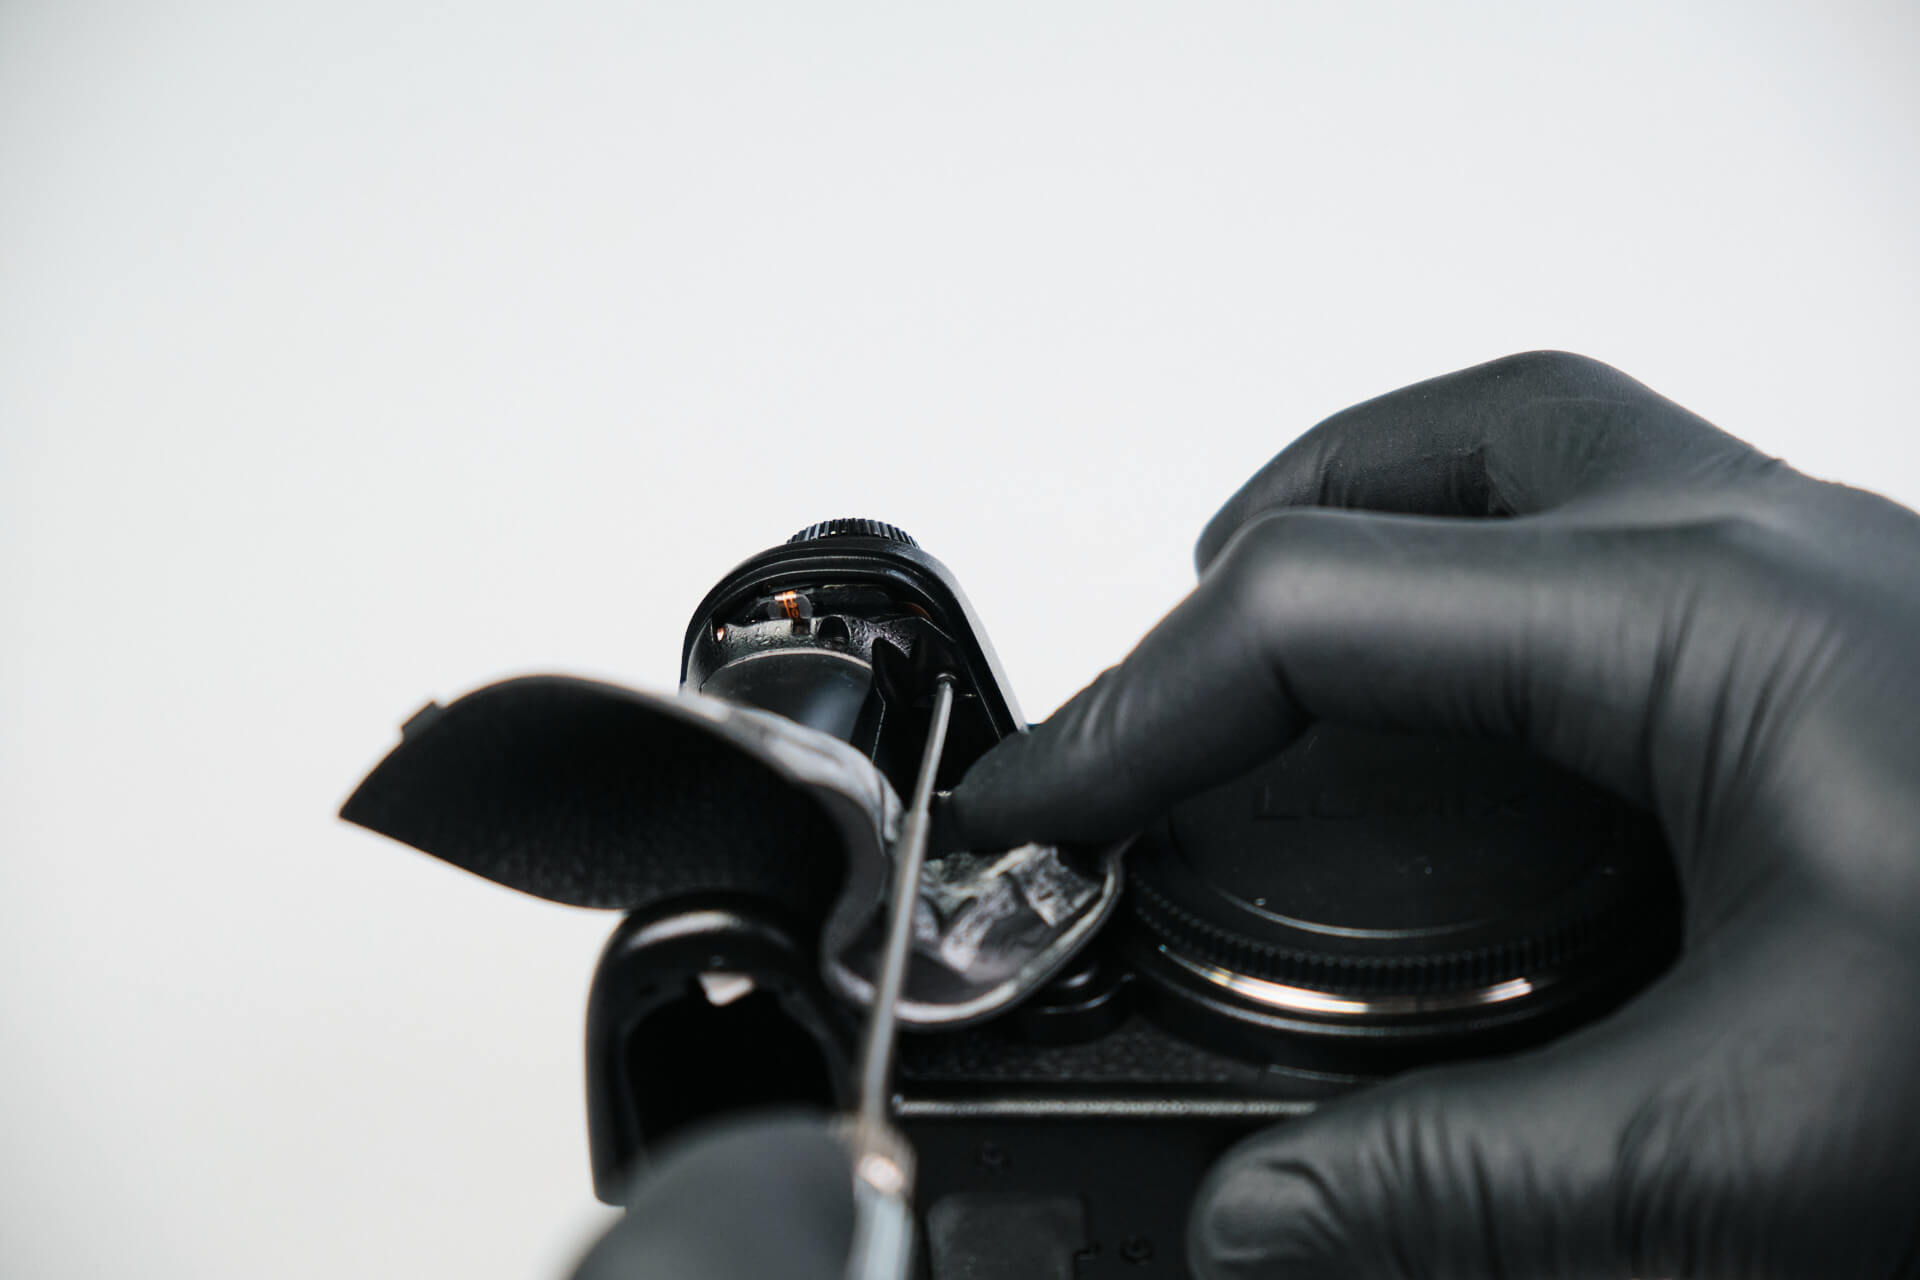
Peeling back the rubber palm grip on the front, one silver screw below the shutter button was removed. 

Back on the port side, we found no screws under the rubber grip.

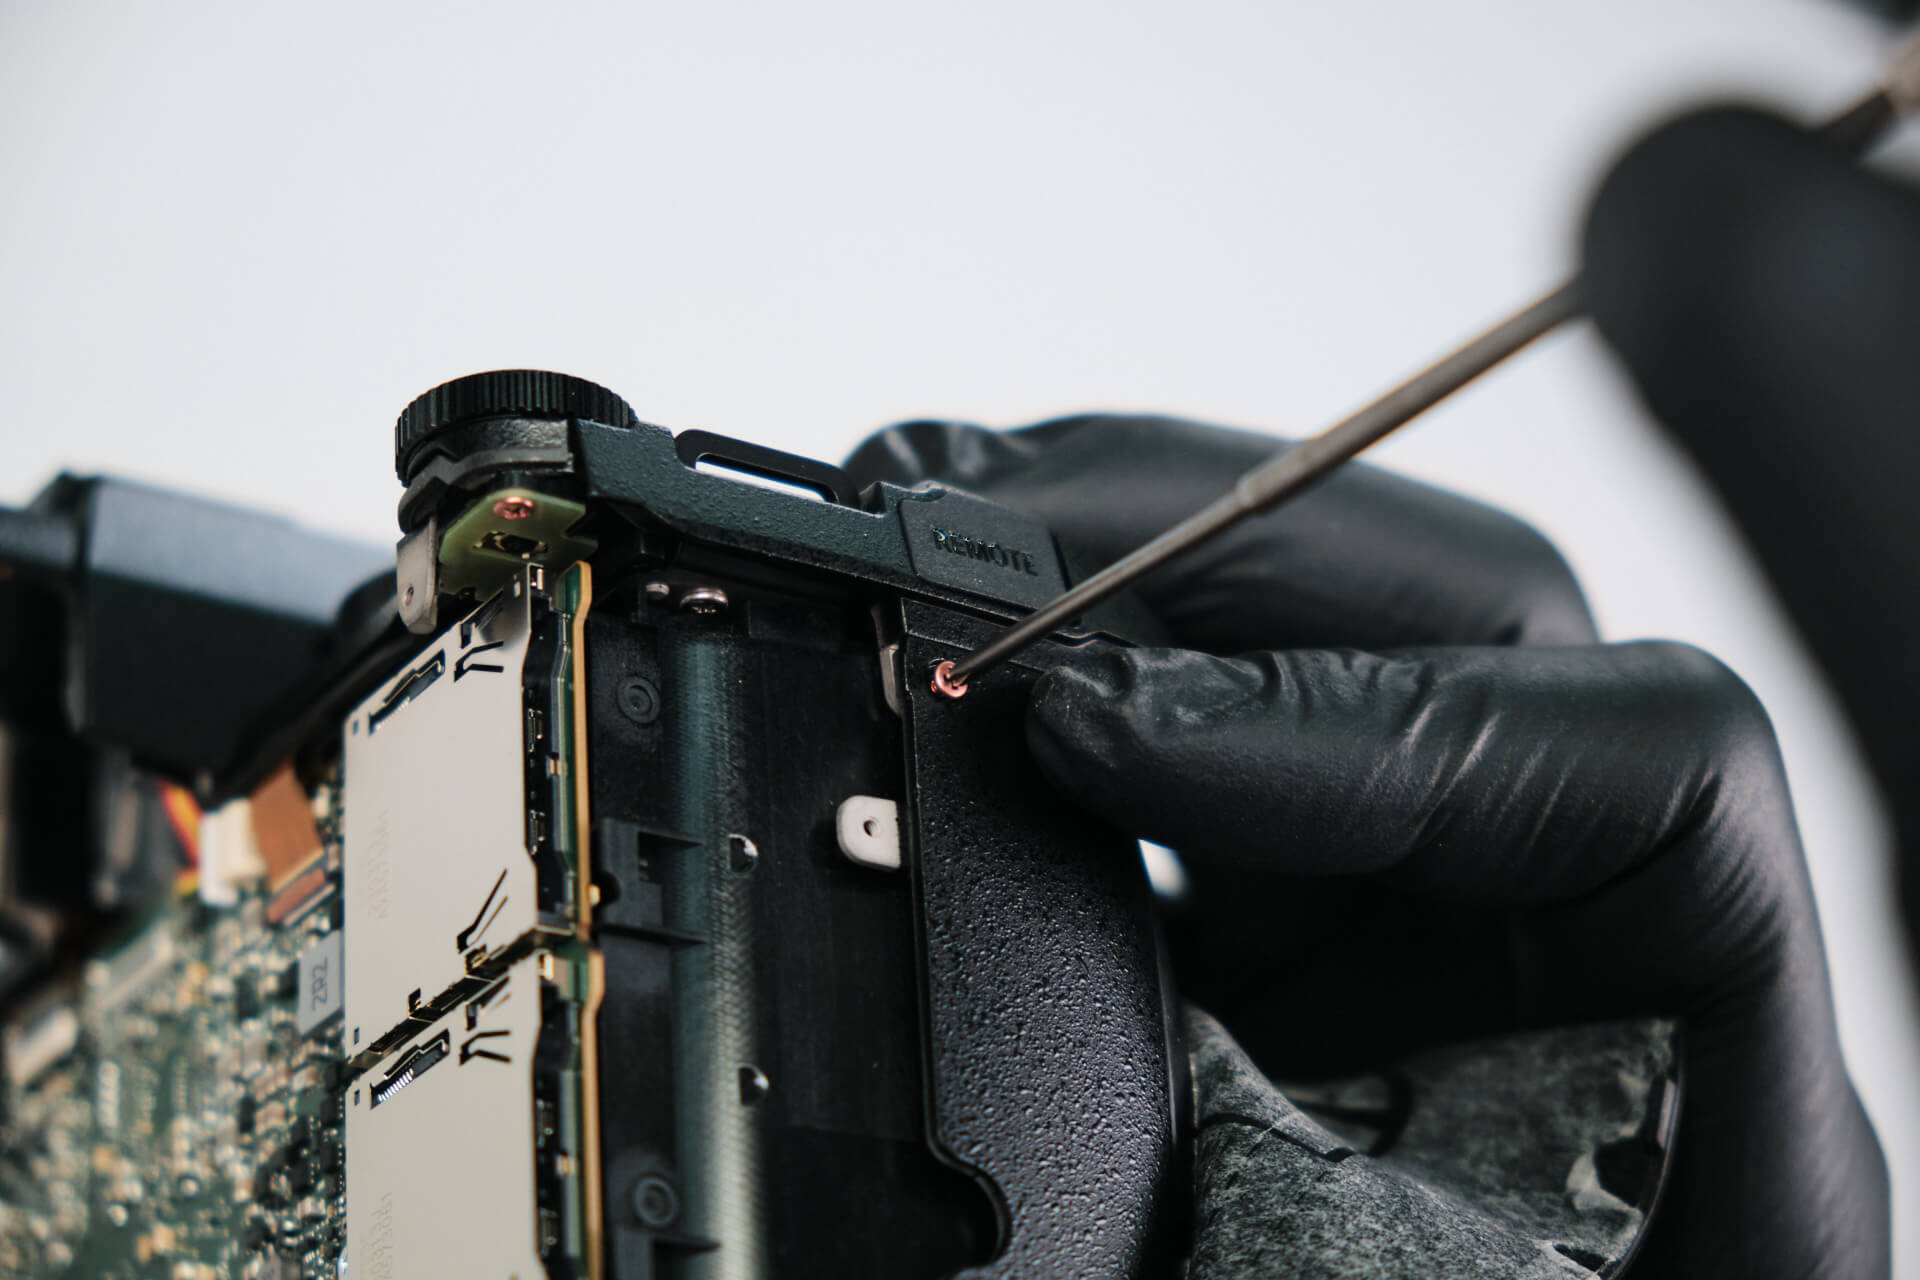
One screw was removed just under the remote port.

Disconnecting Panasonic Lumix S5 IIX Circuit Board Ribbon Cables and Removing Circuit Board & Top Panel Screws

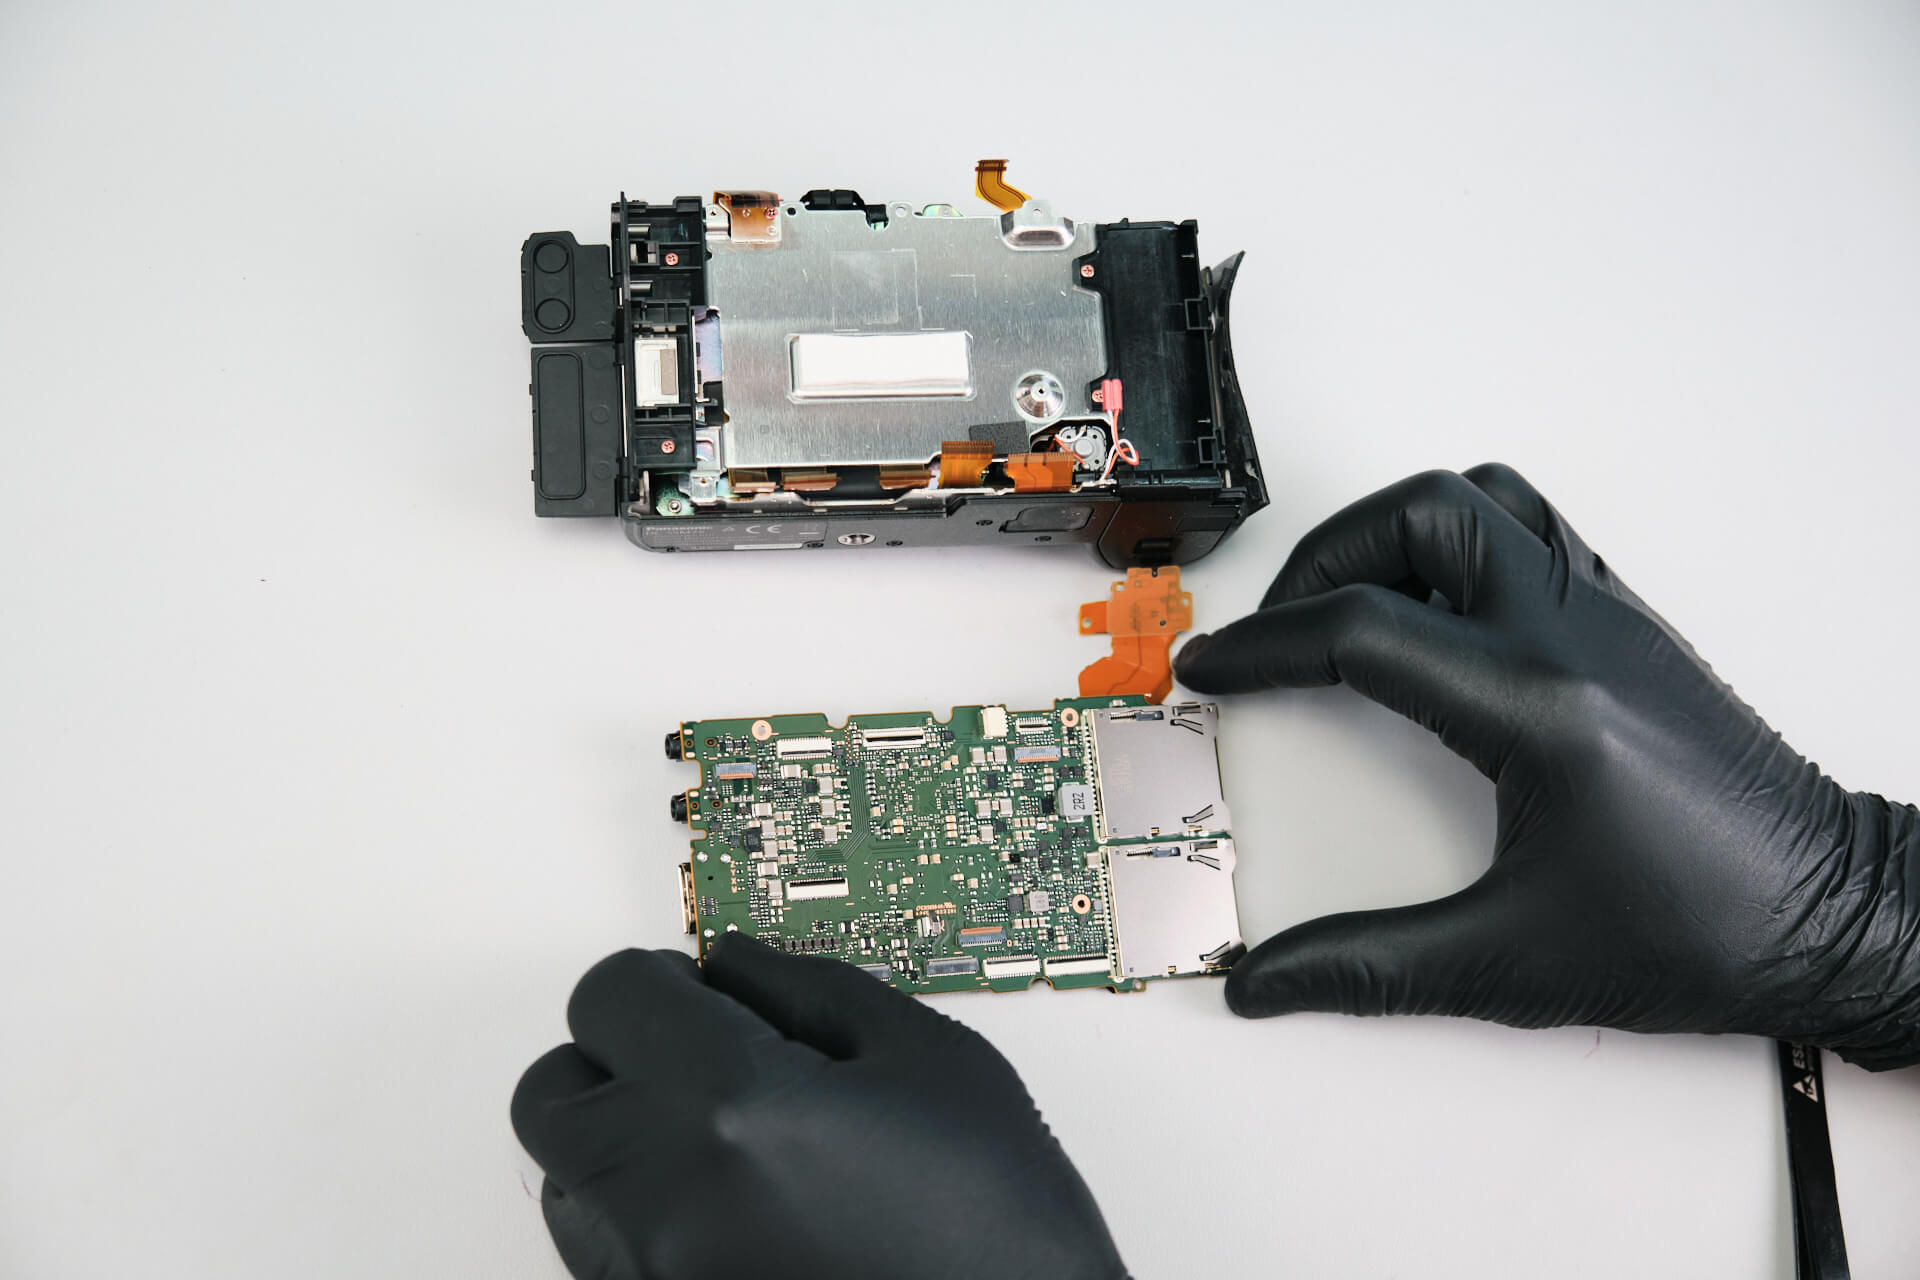
Ten ribbon cables were detached from the circuit board.

The circuit board was held down only by four silver screws.

We removed two screws just above the EVF connector. 

Finding the Hidden Screw Under the White Balance Button

Despite removing the screws and cables, the top panel wouldn’t budge. After looking around the body, the last screw was hidden under the white balance button.

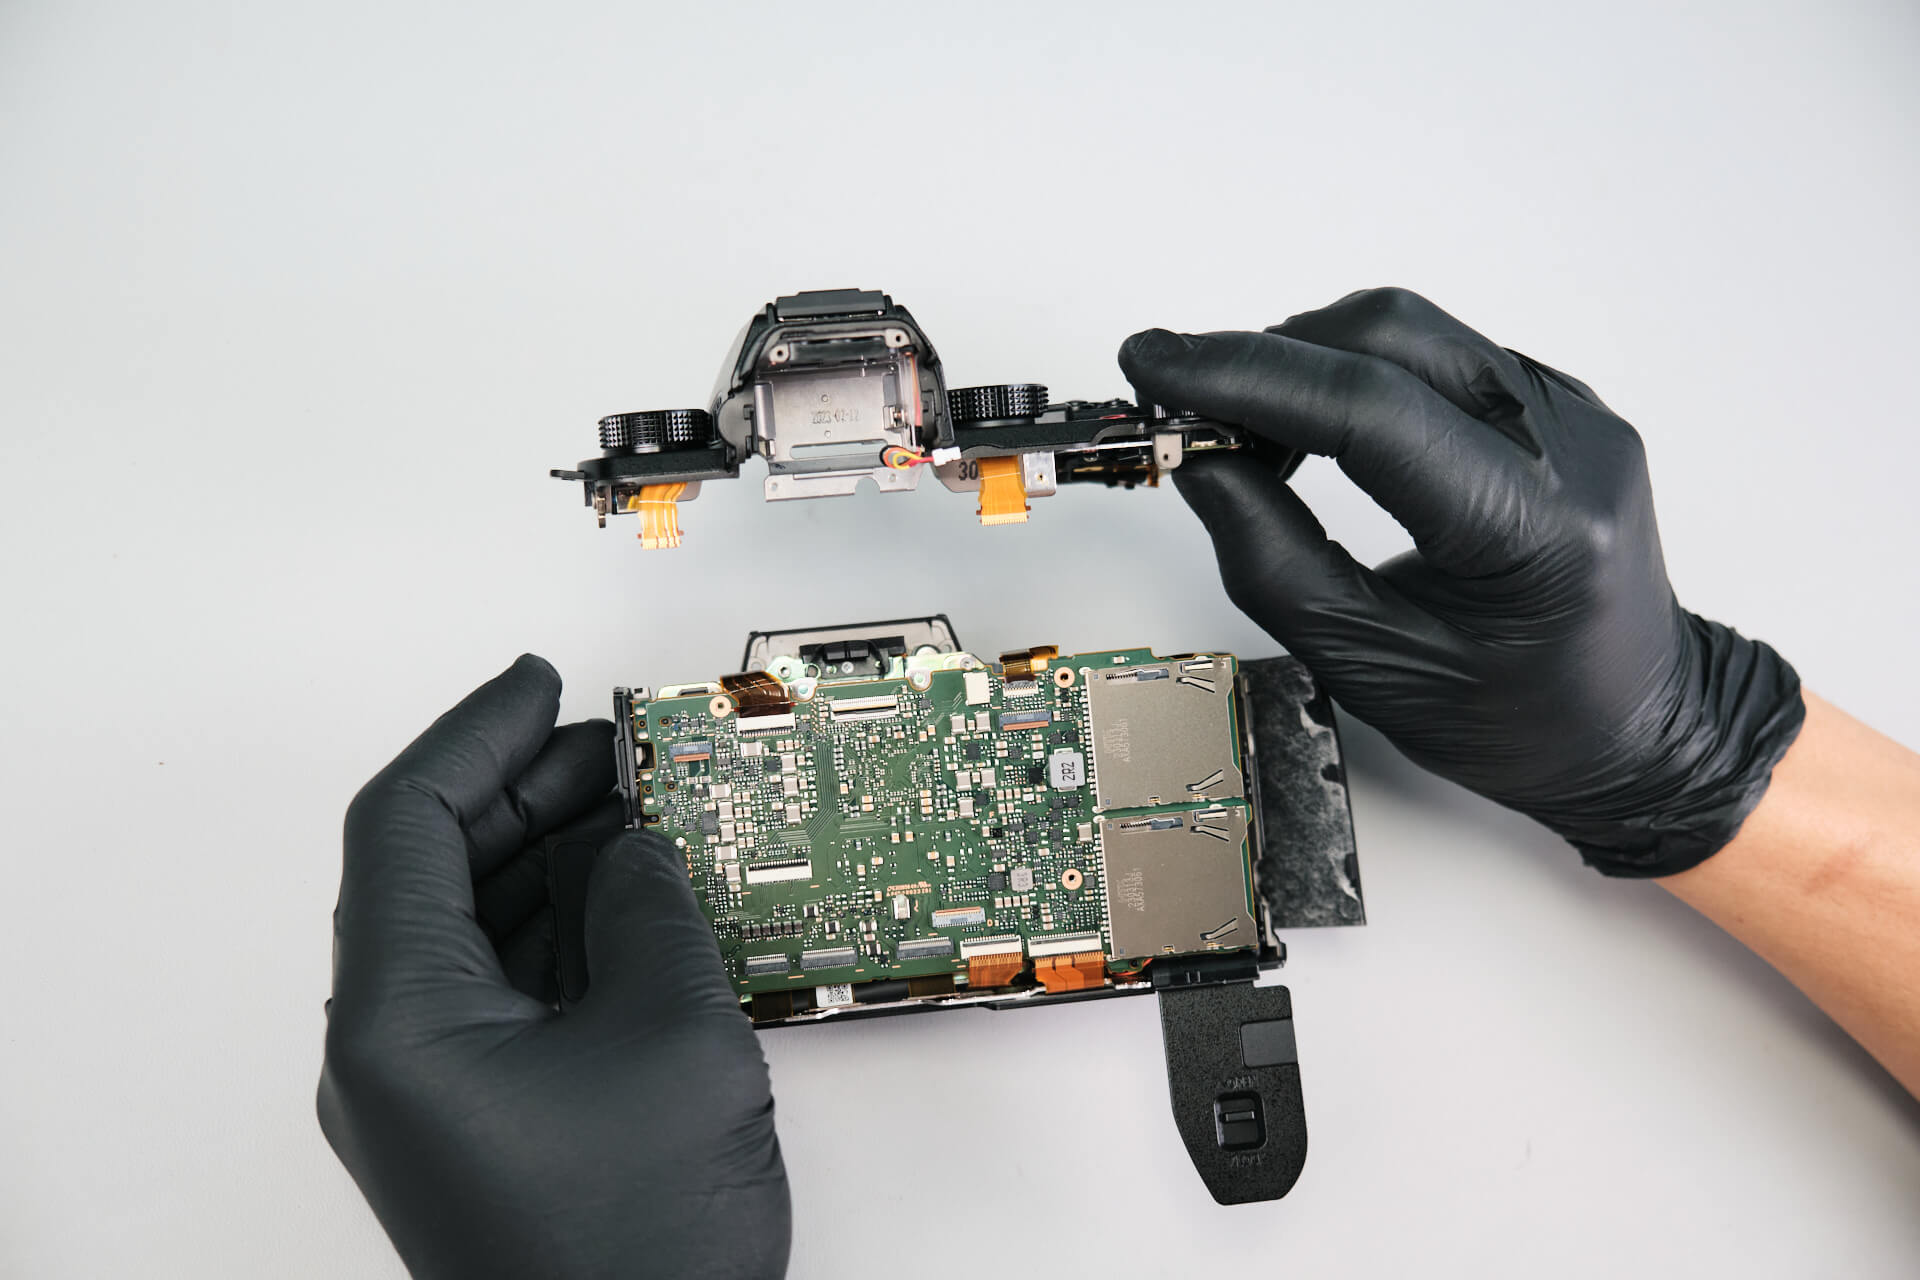
Removing the Top Panel and Battery Slot Power Ribbon Cable

The top panel came off with ease after removing the screw. We found that the weather sealing is not connected to the top panel of the body.

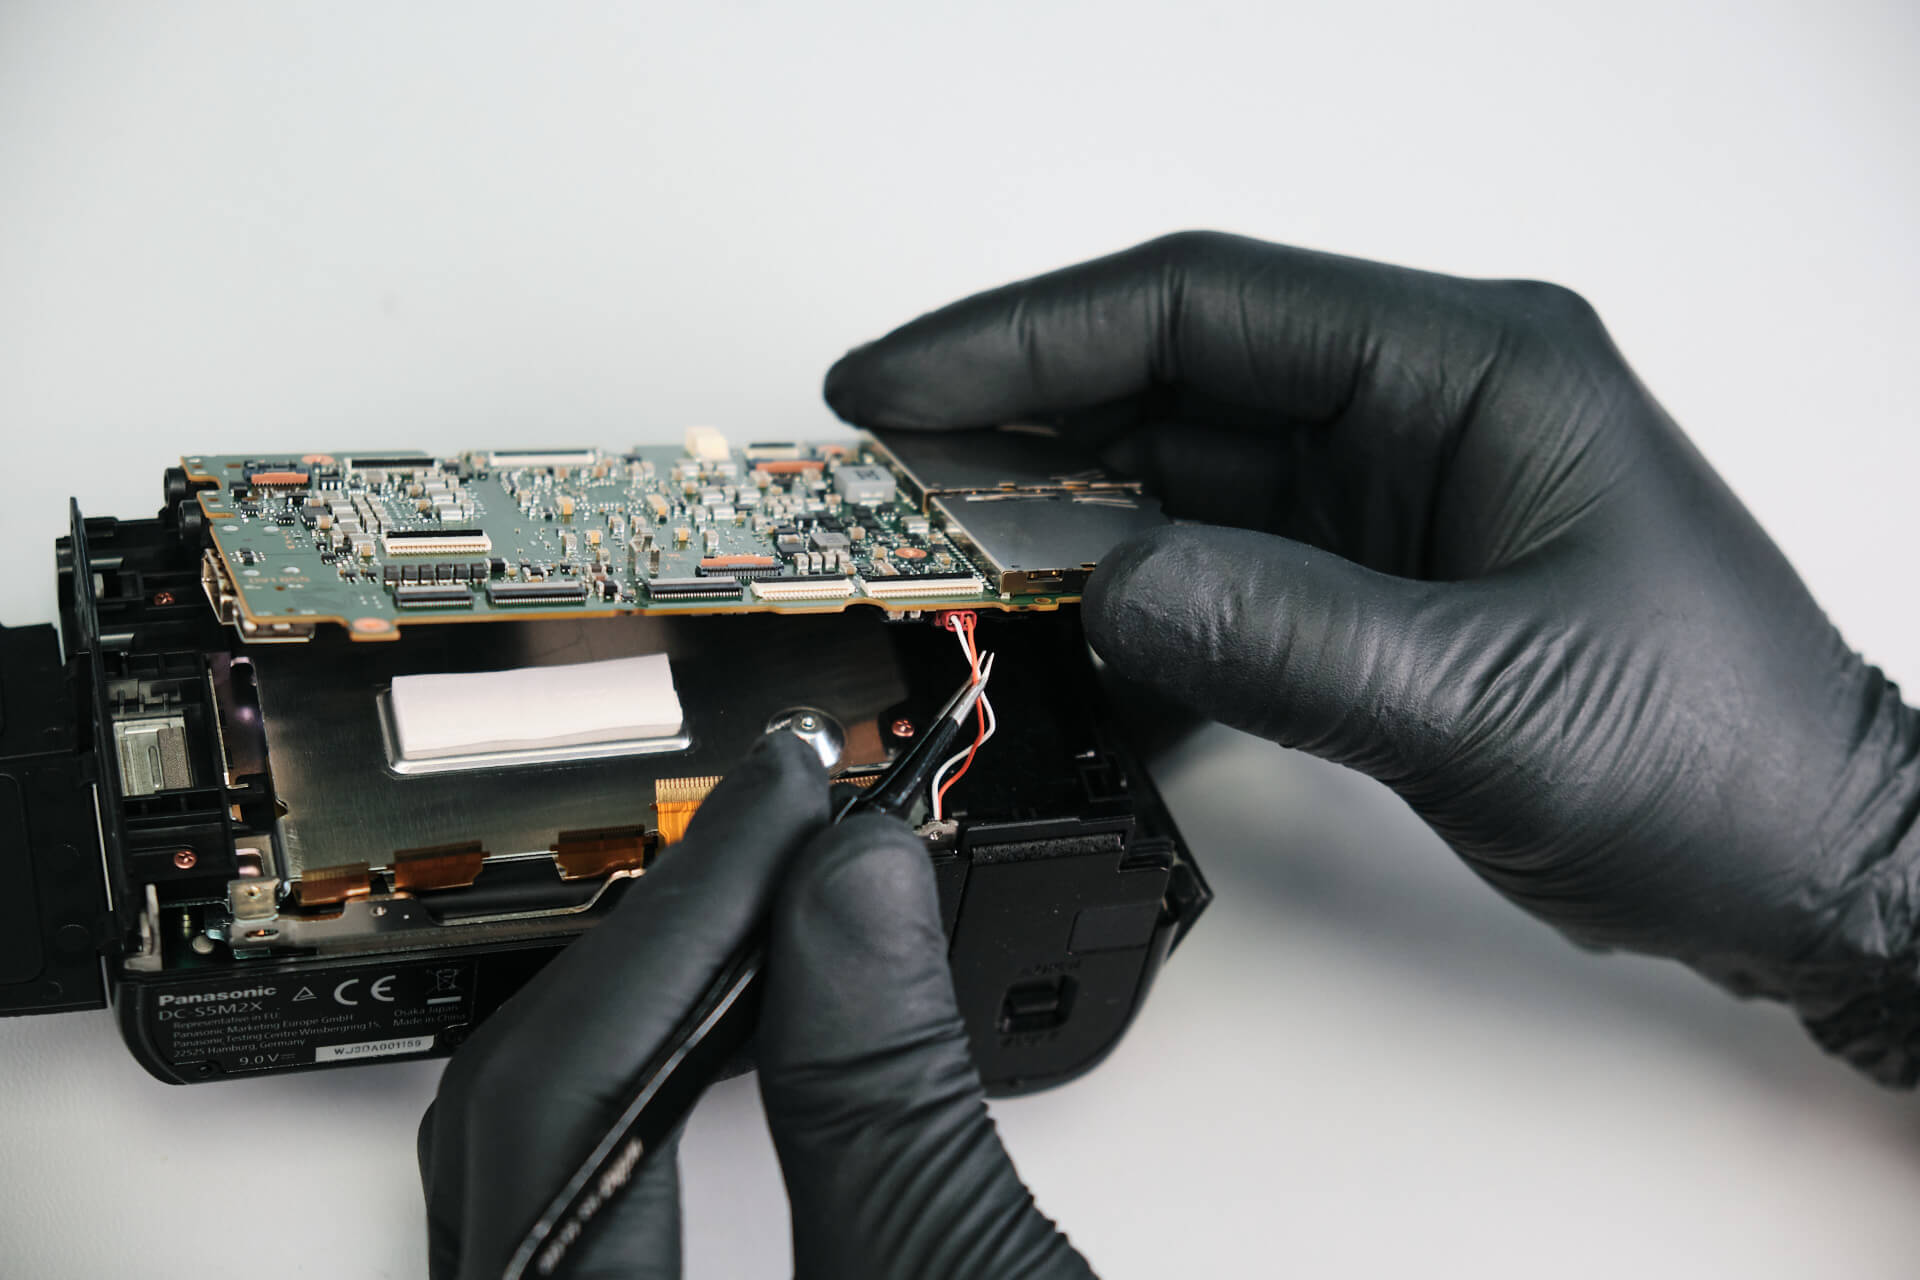
The circuit board power ribbon cable was removed from the battery slot—this was held down with two screws and a bracket. 

A two-wire pigtail connection was removed at the bottom of the board. 

Removing the Panasonic Lumix S5 IIX Circuit Board, Sensor Bracket, and Port Dust Cap Assembly

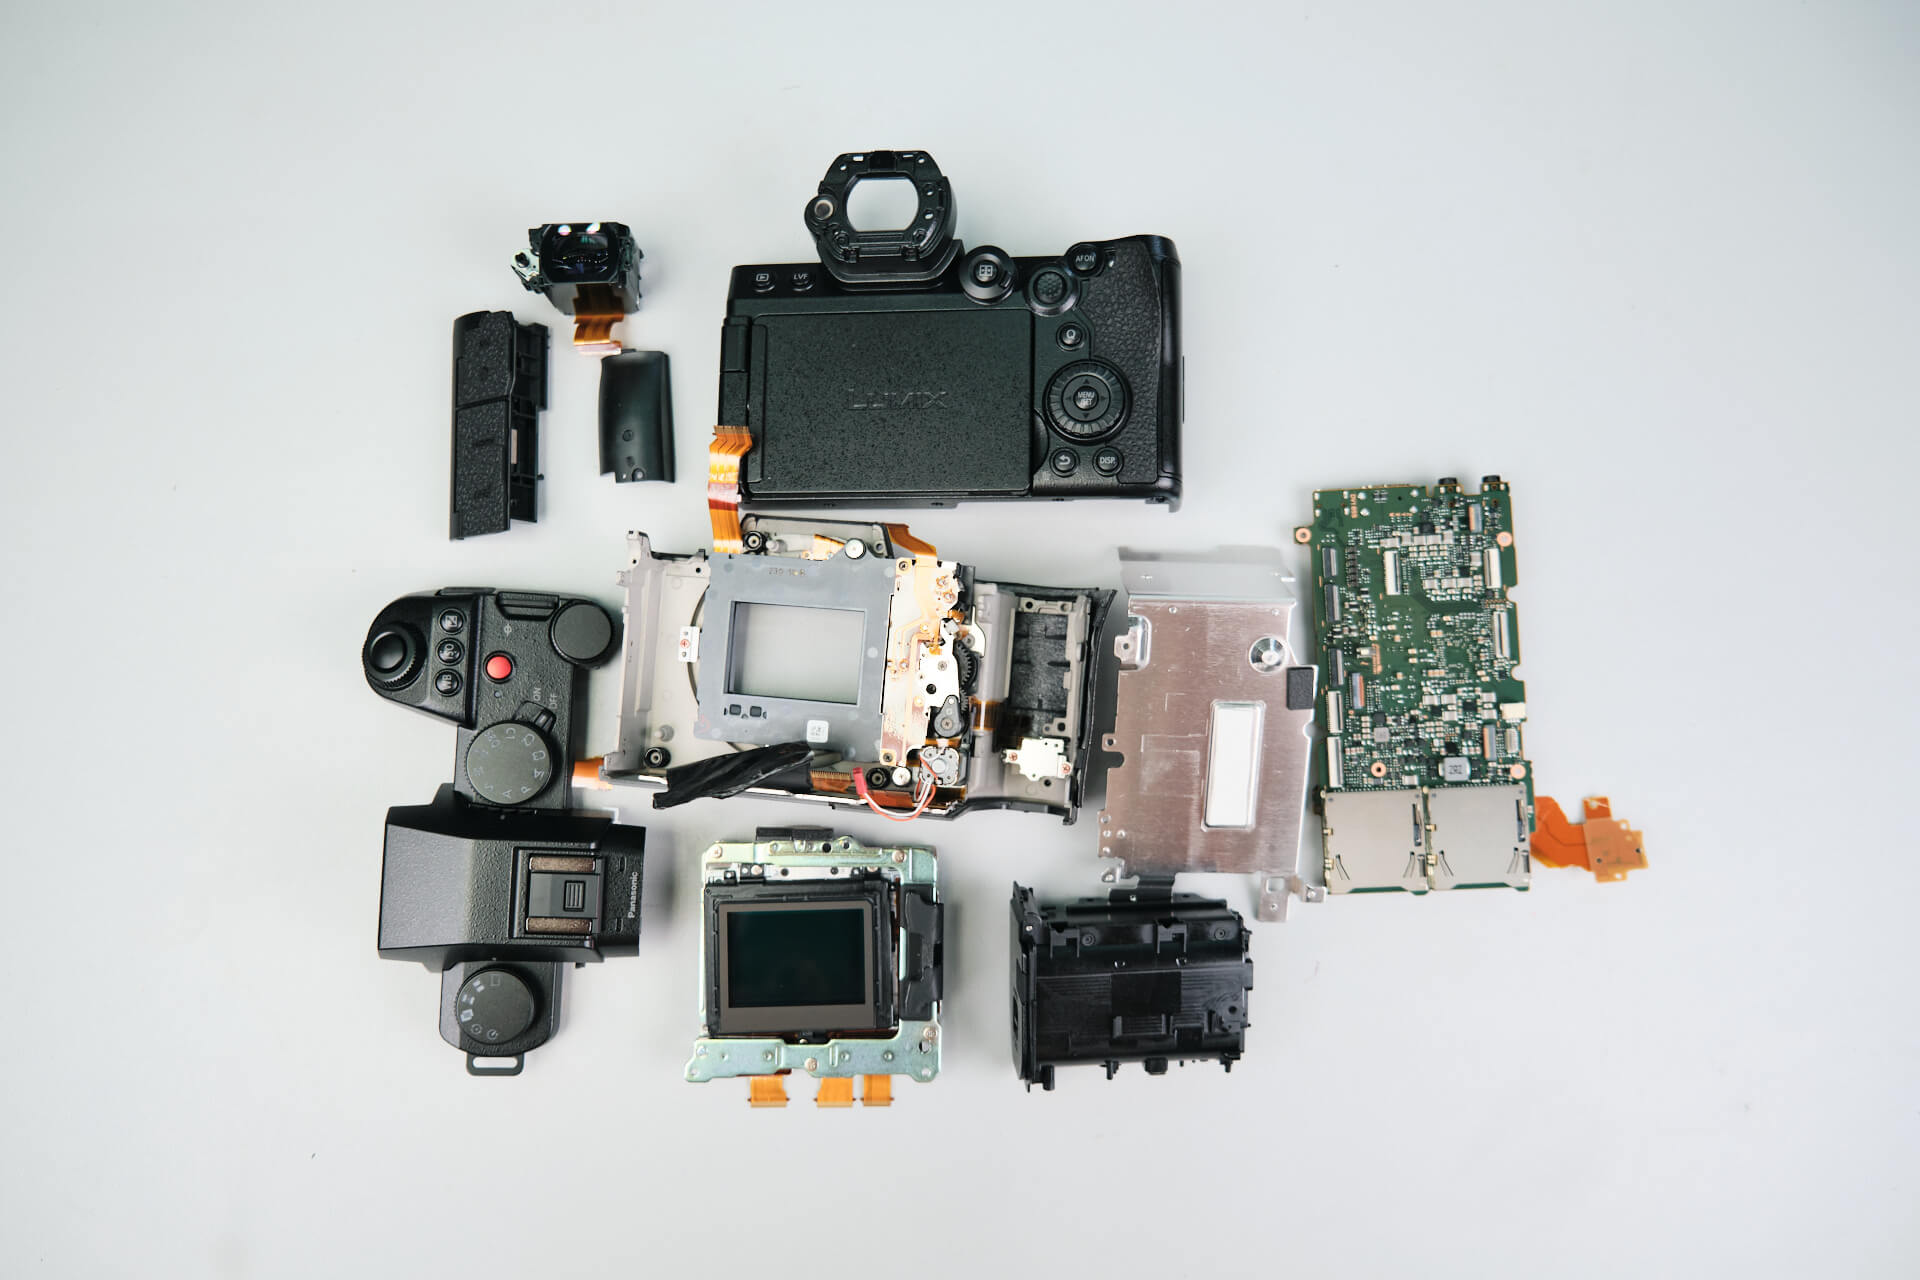
Finally, the circuit board was removed, the cables disconnected, and the screws unfastened.

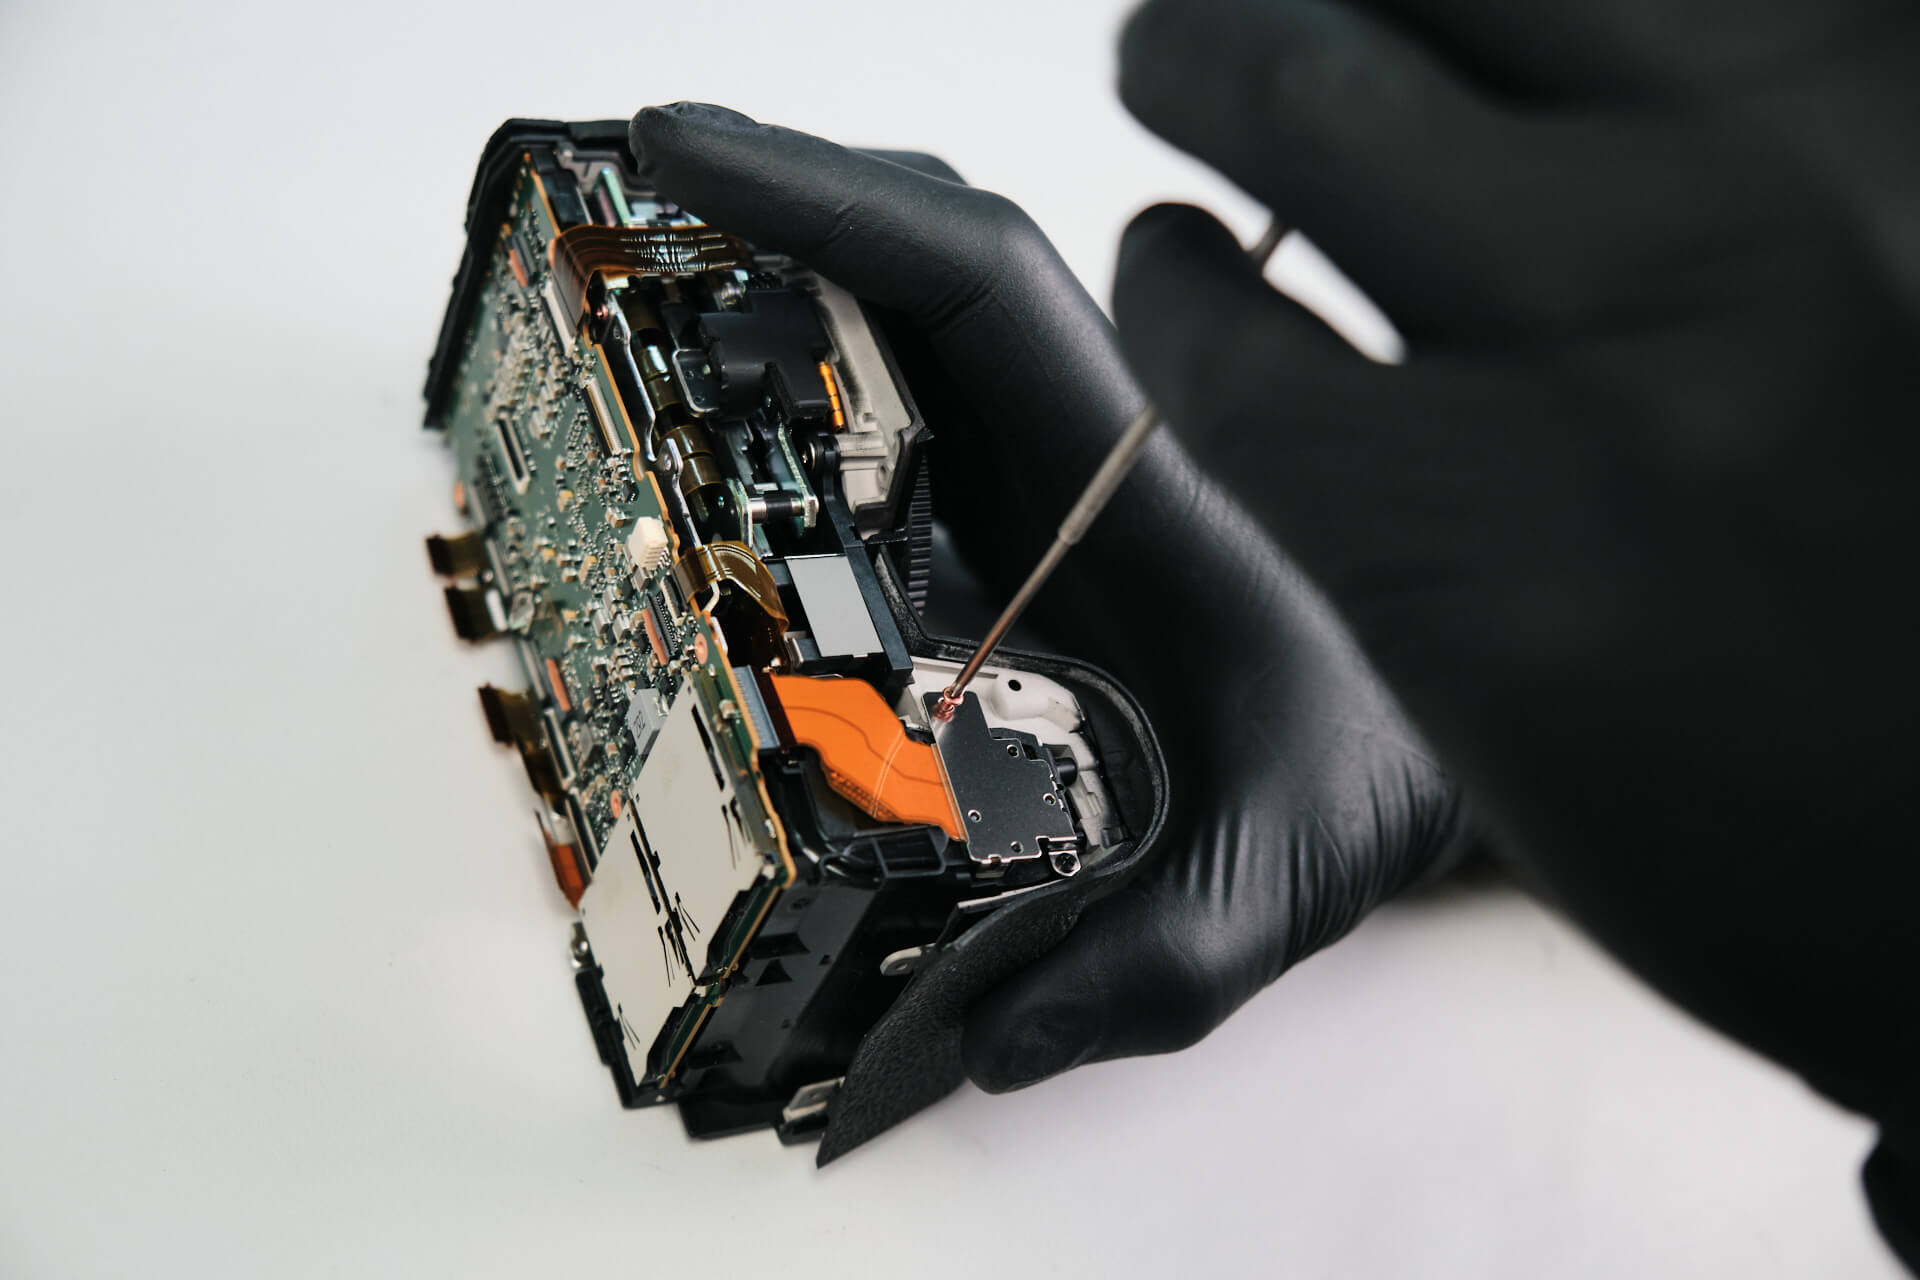
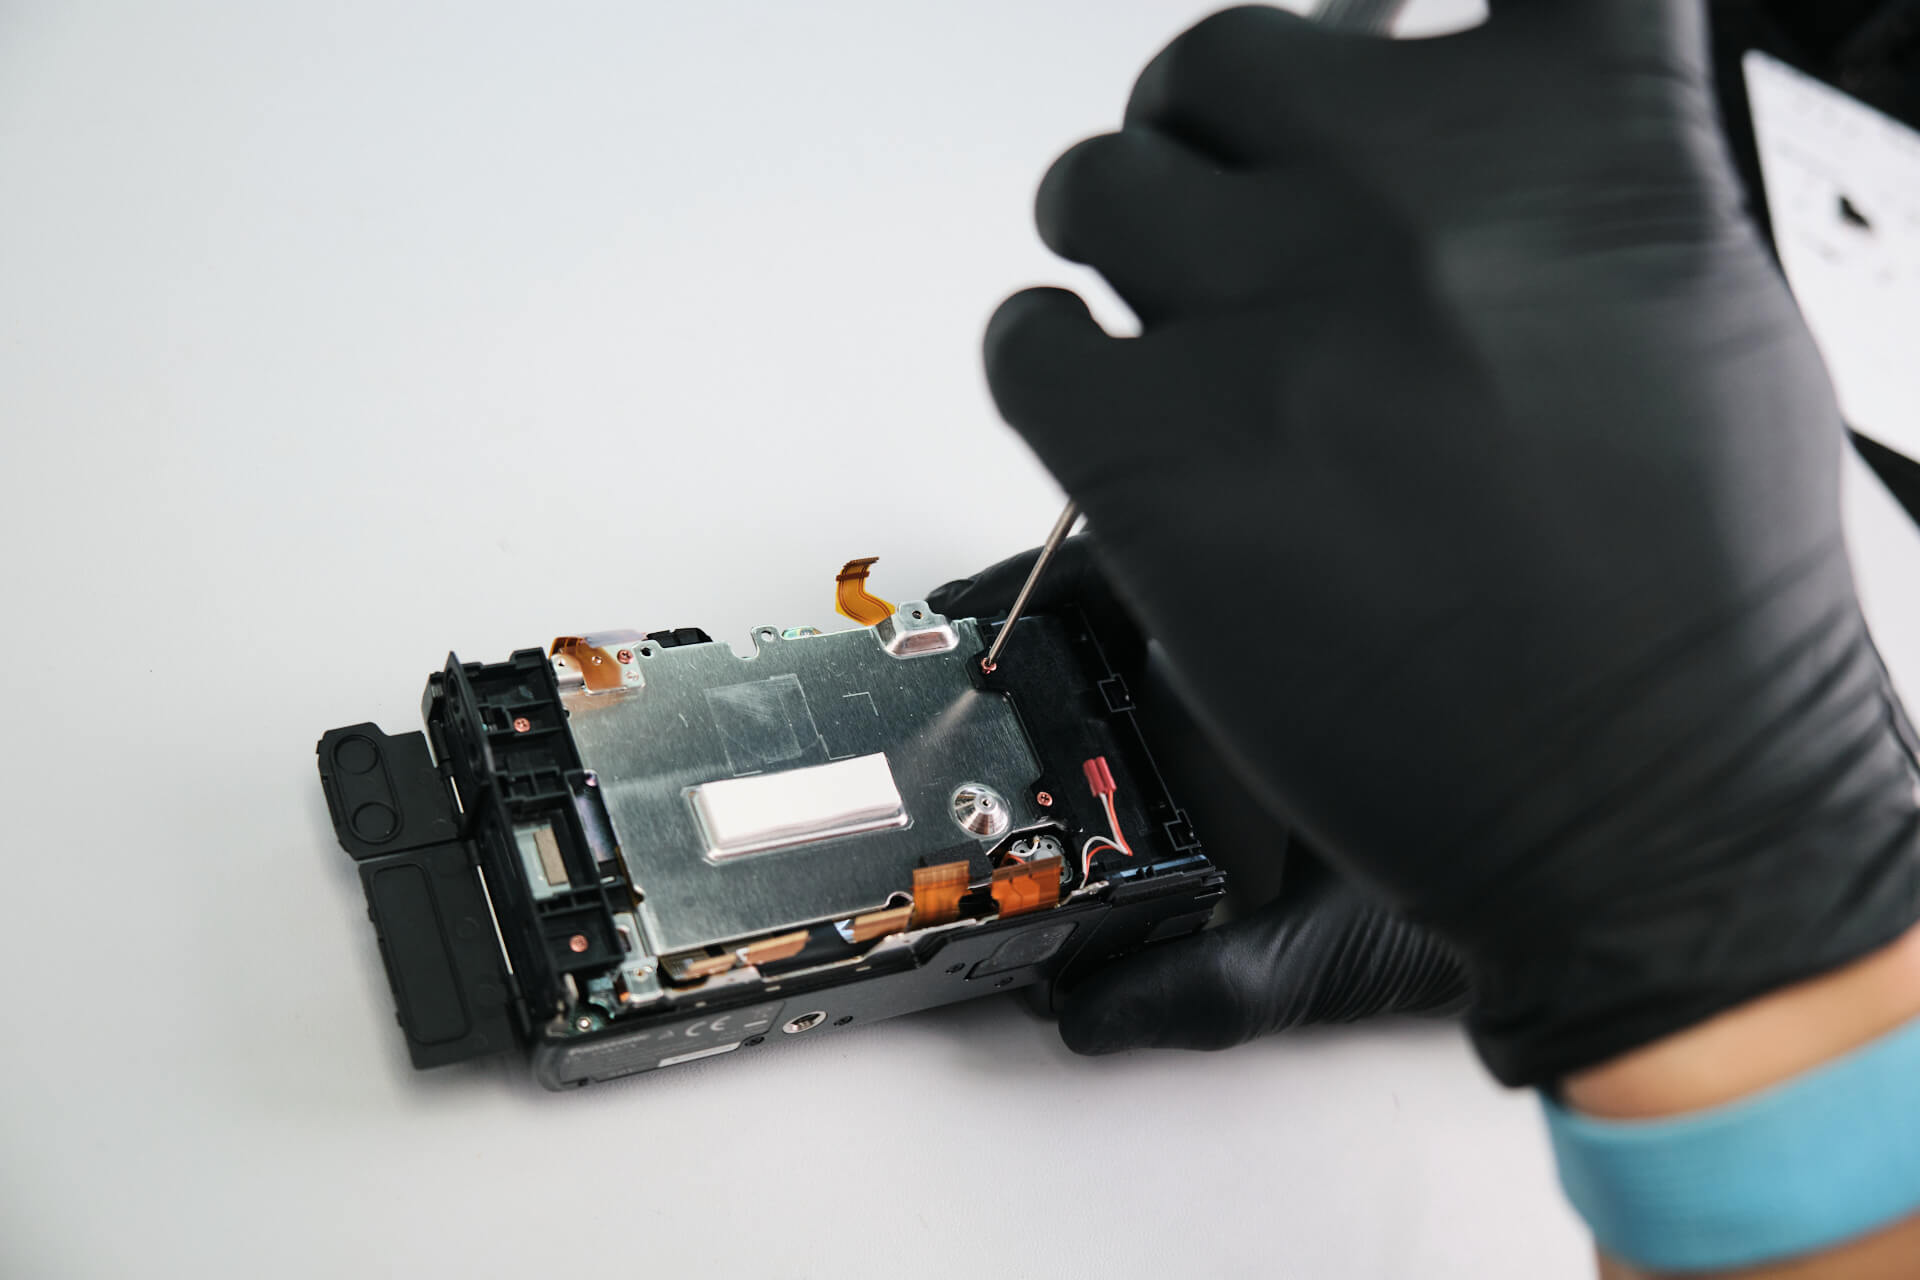
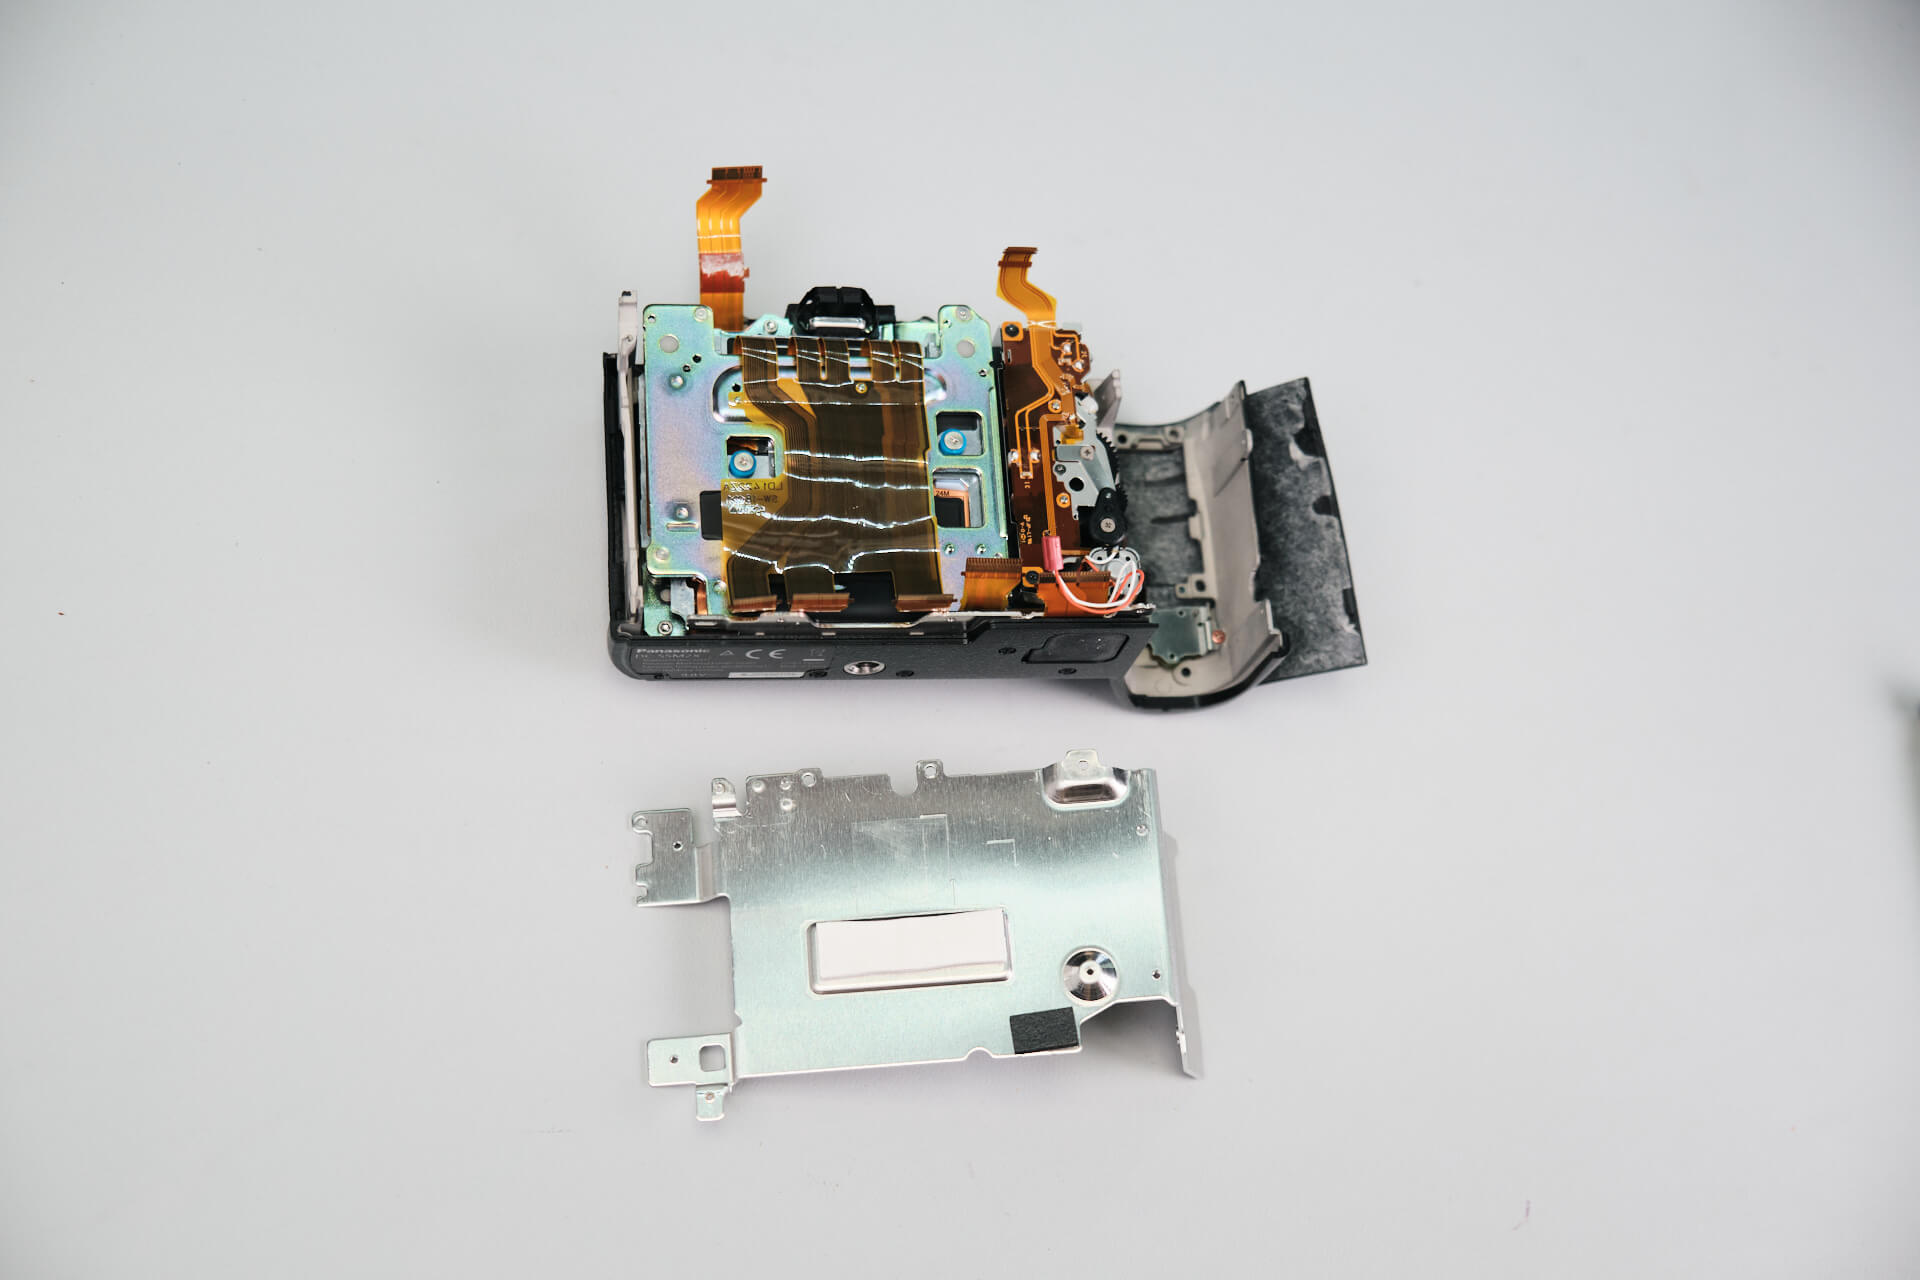
At this point, we were one more layer away from reaching the sensor. This bracket was held down with five screws.

We took out the port dust cap assembly. 

Removing the Battery Slot Housing

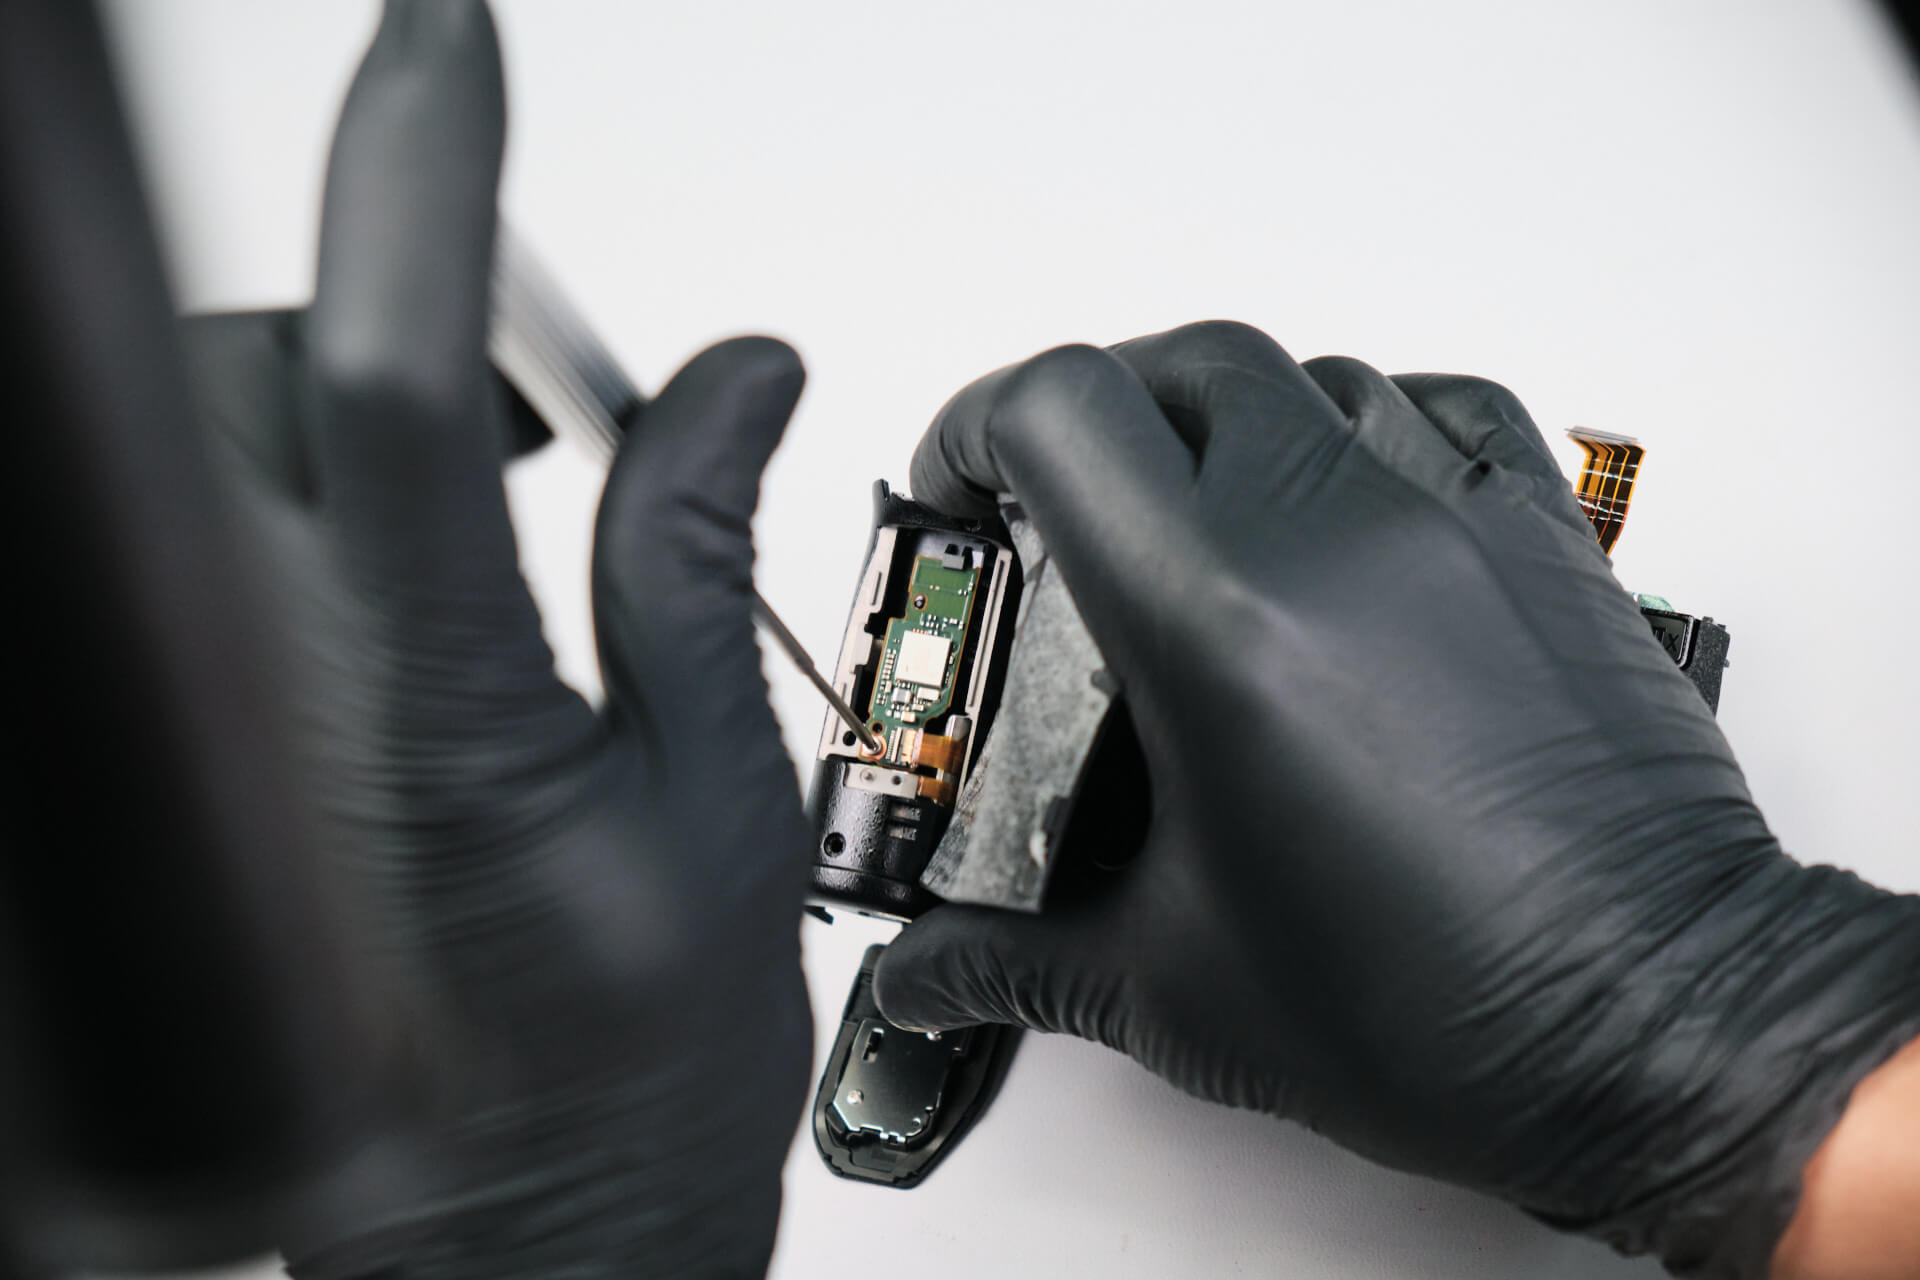
Panasonic decided to wrap this bracket under the battery slot housing. We had to remove two silver screws to remove the battery slot assembly. 

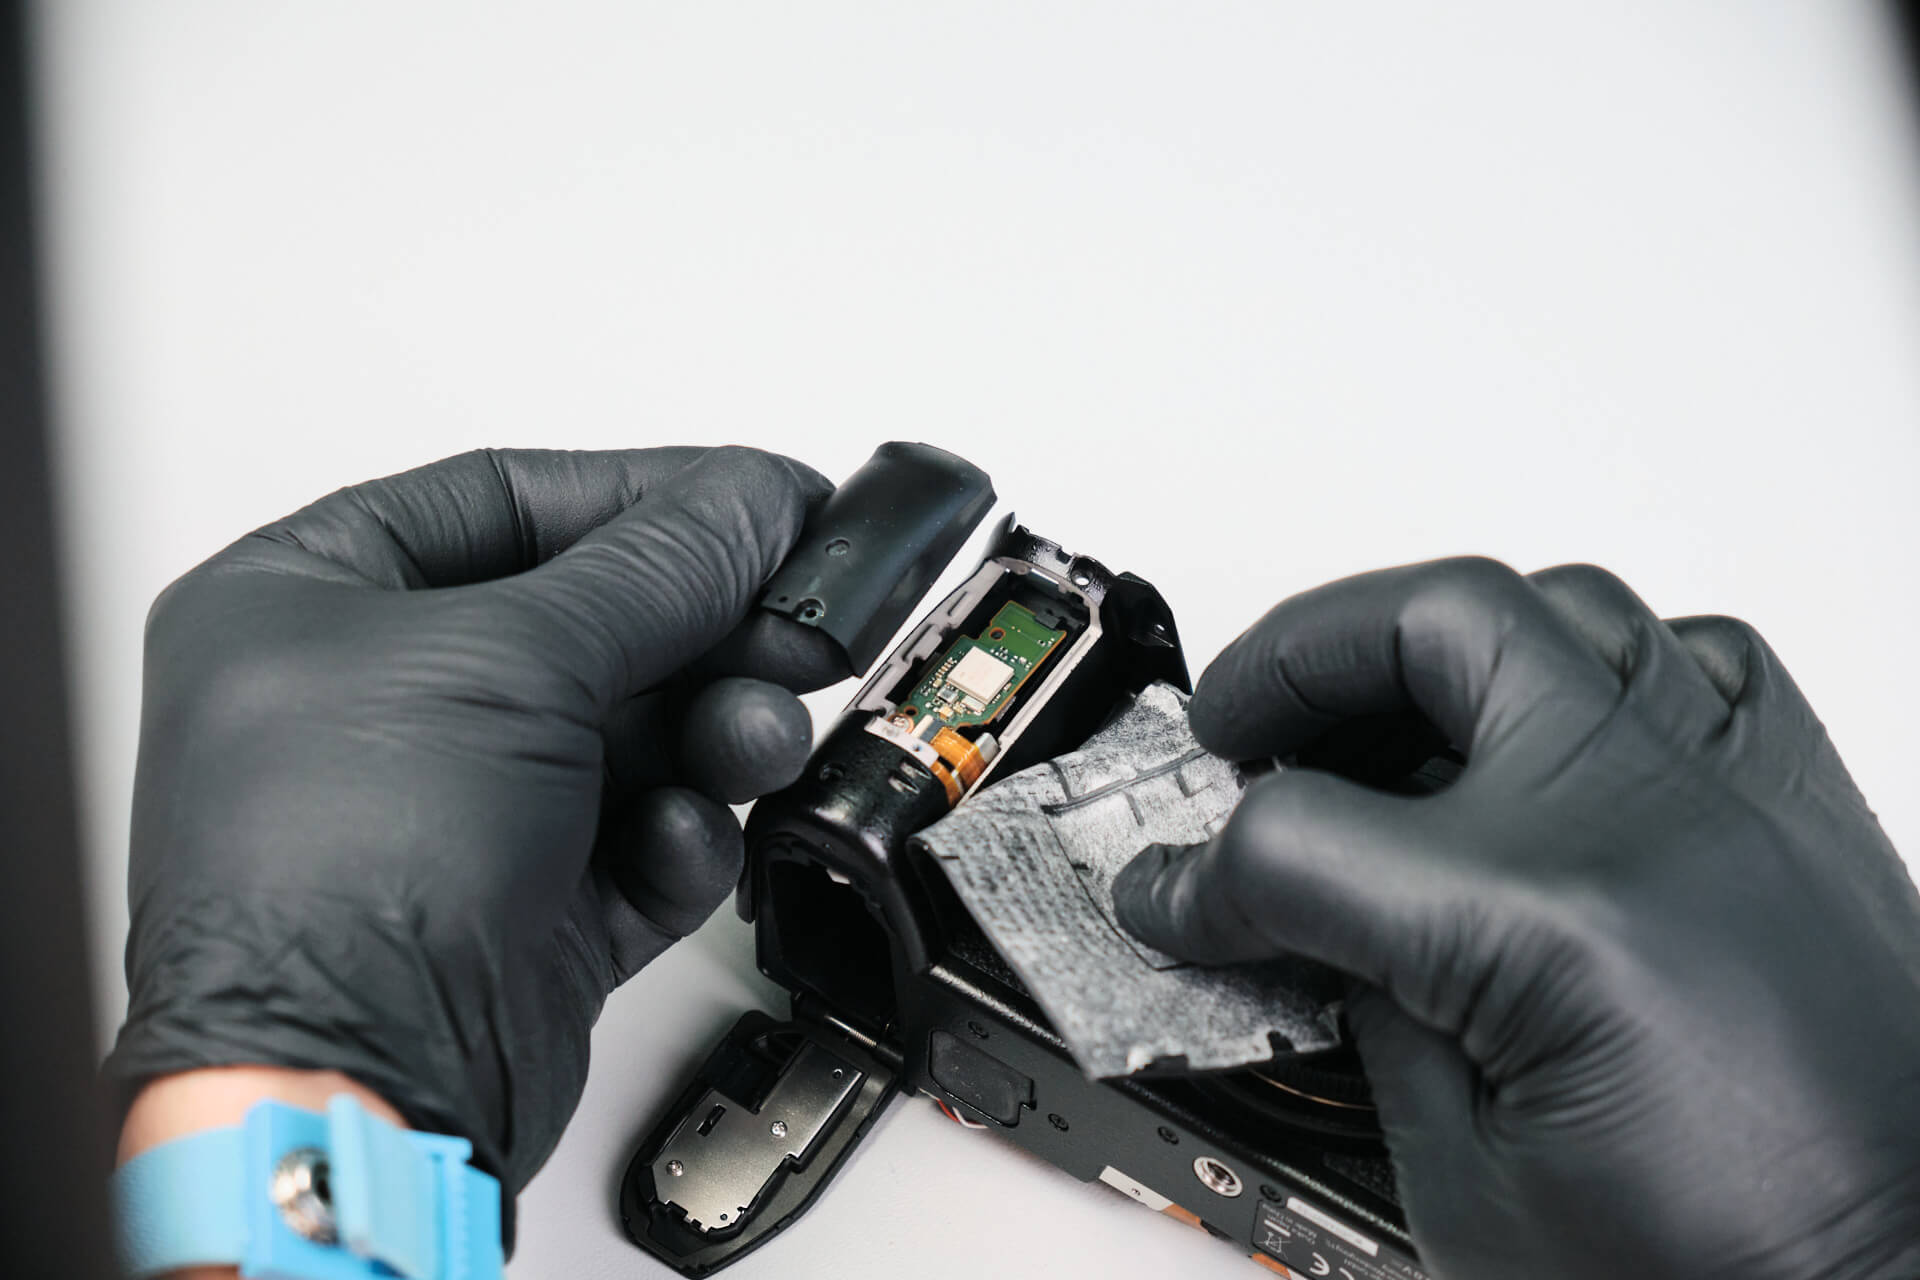
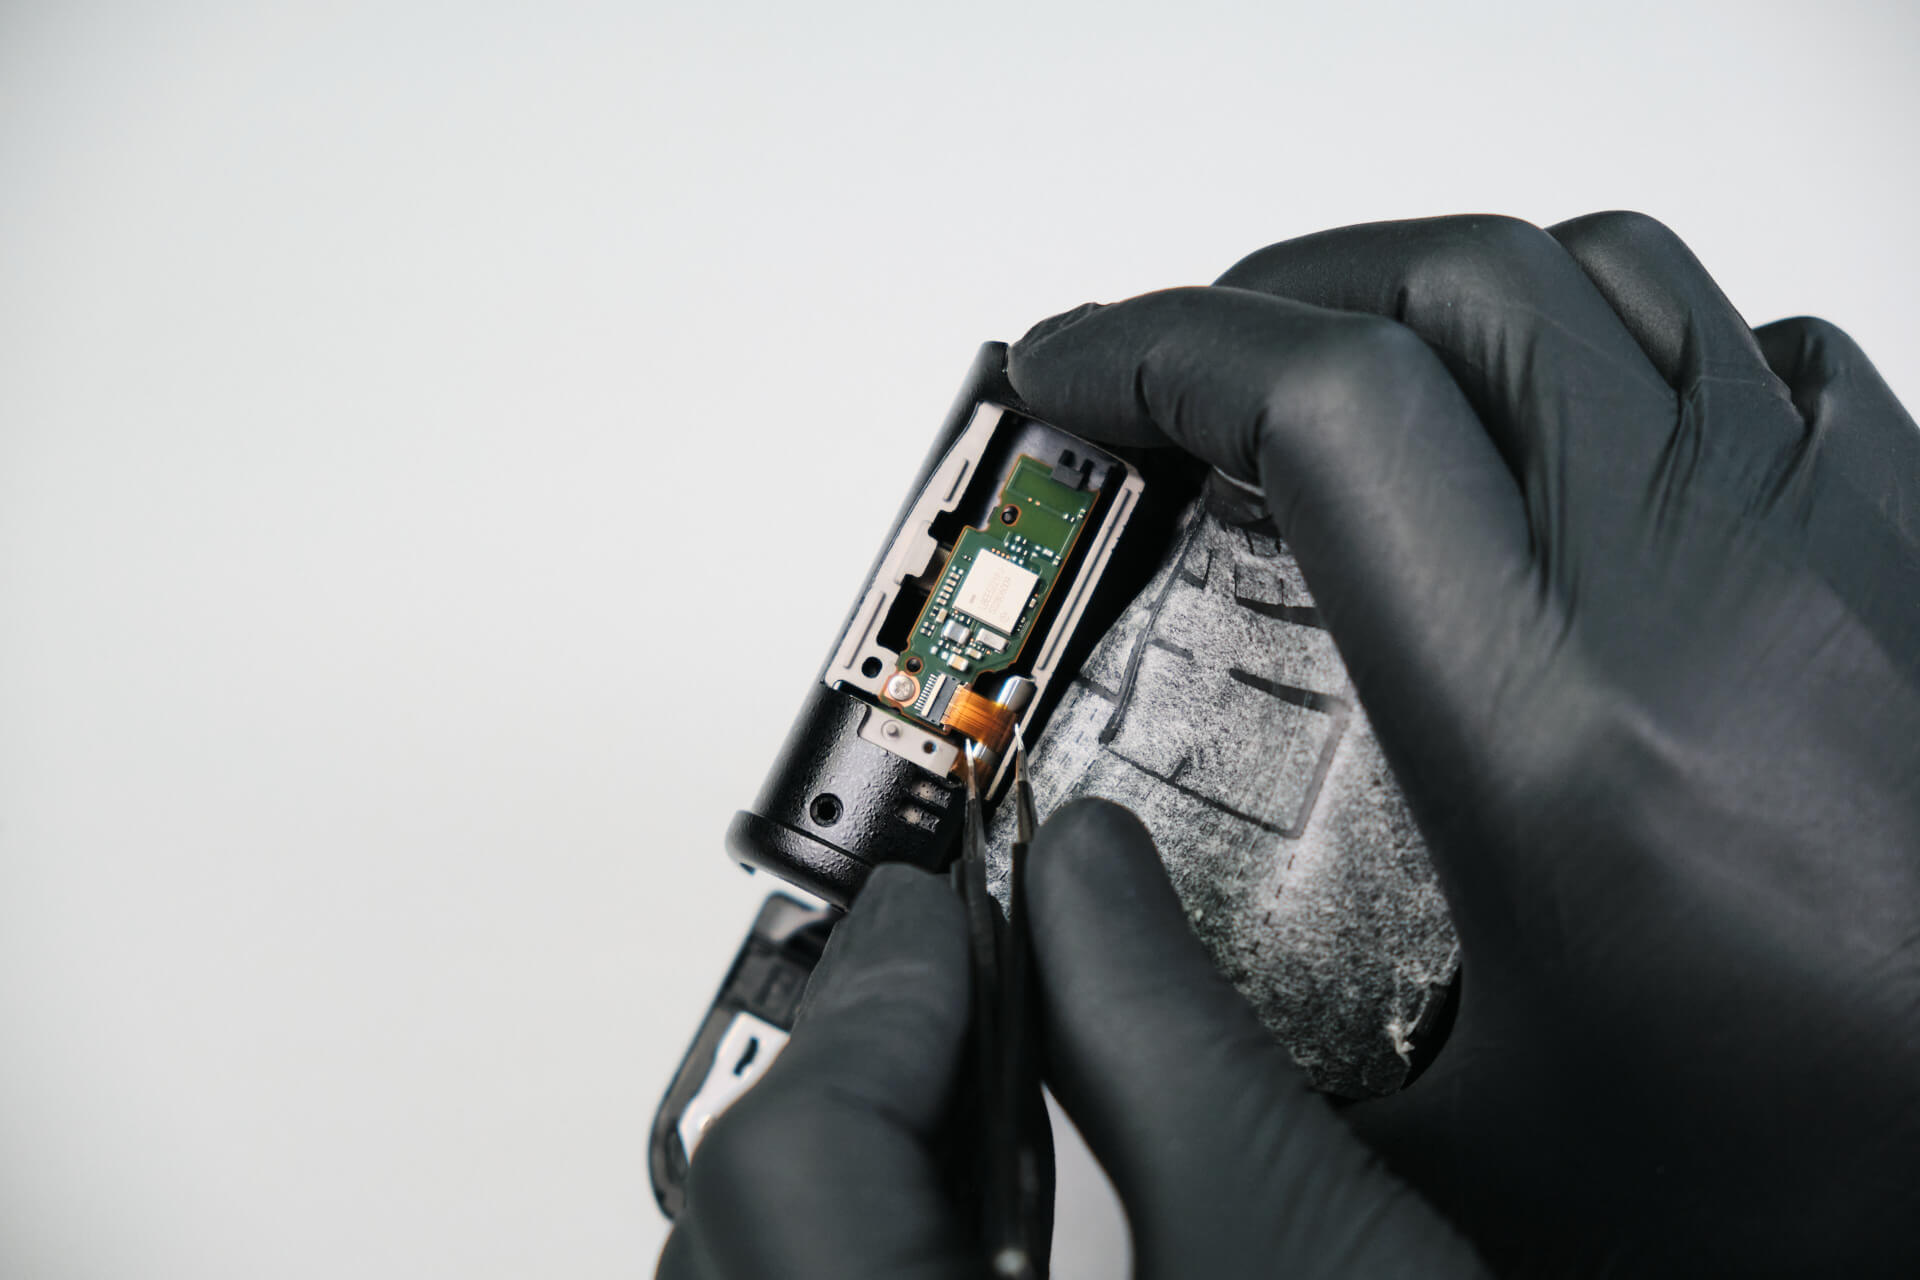
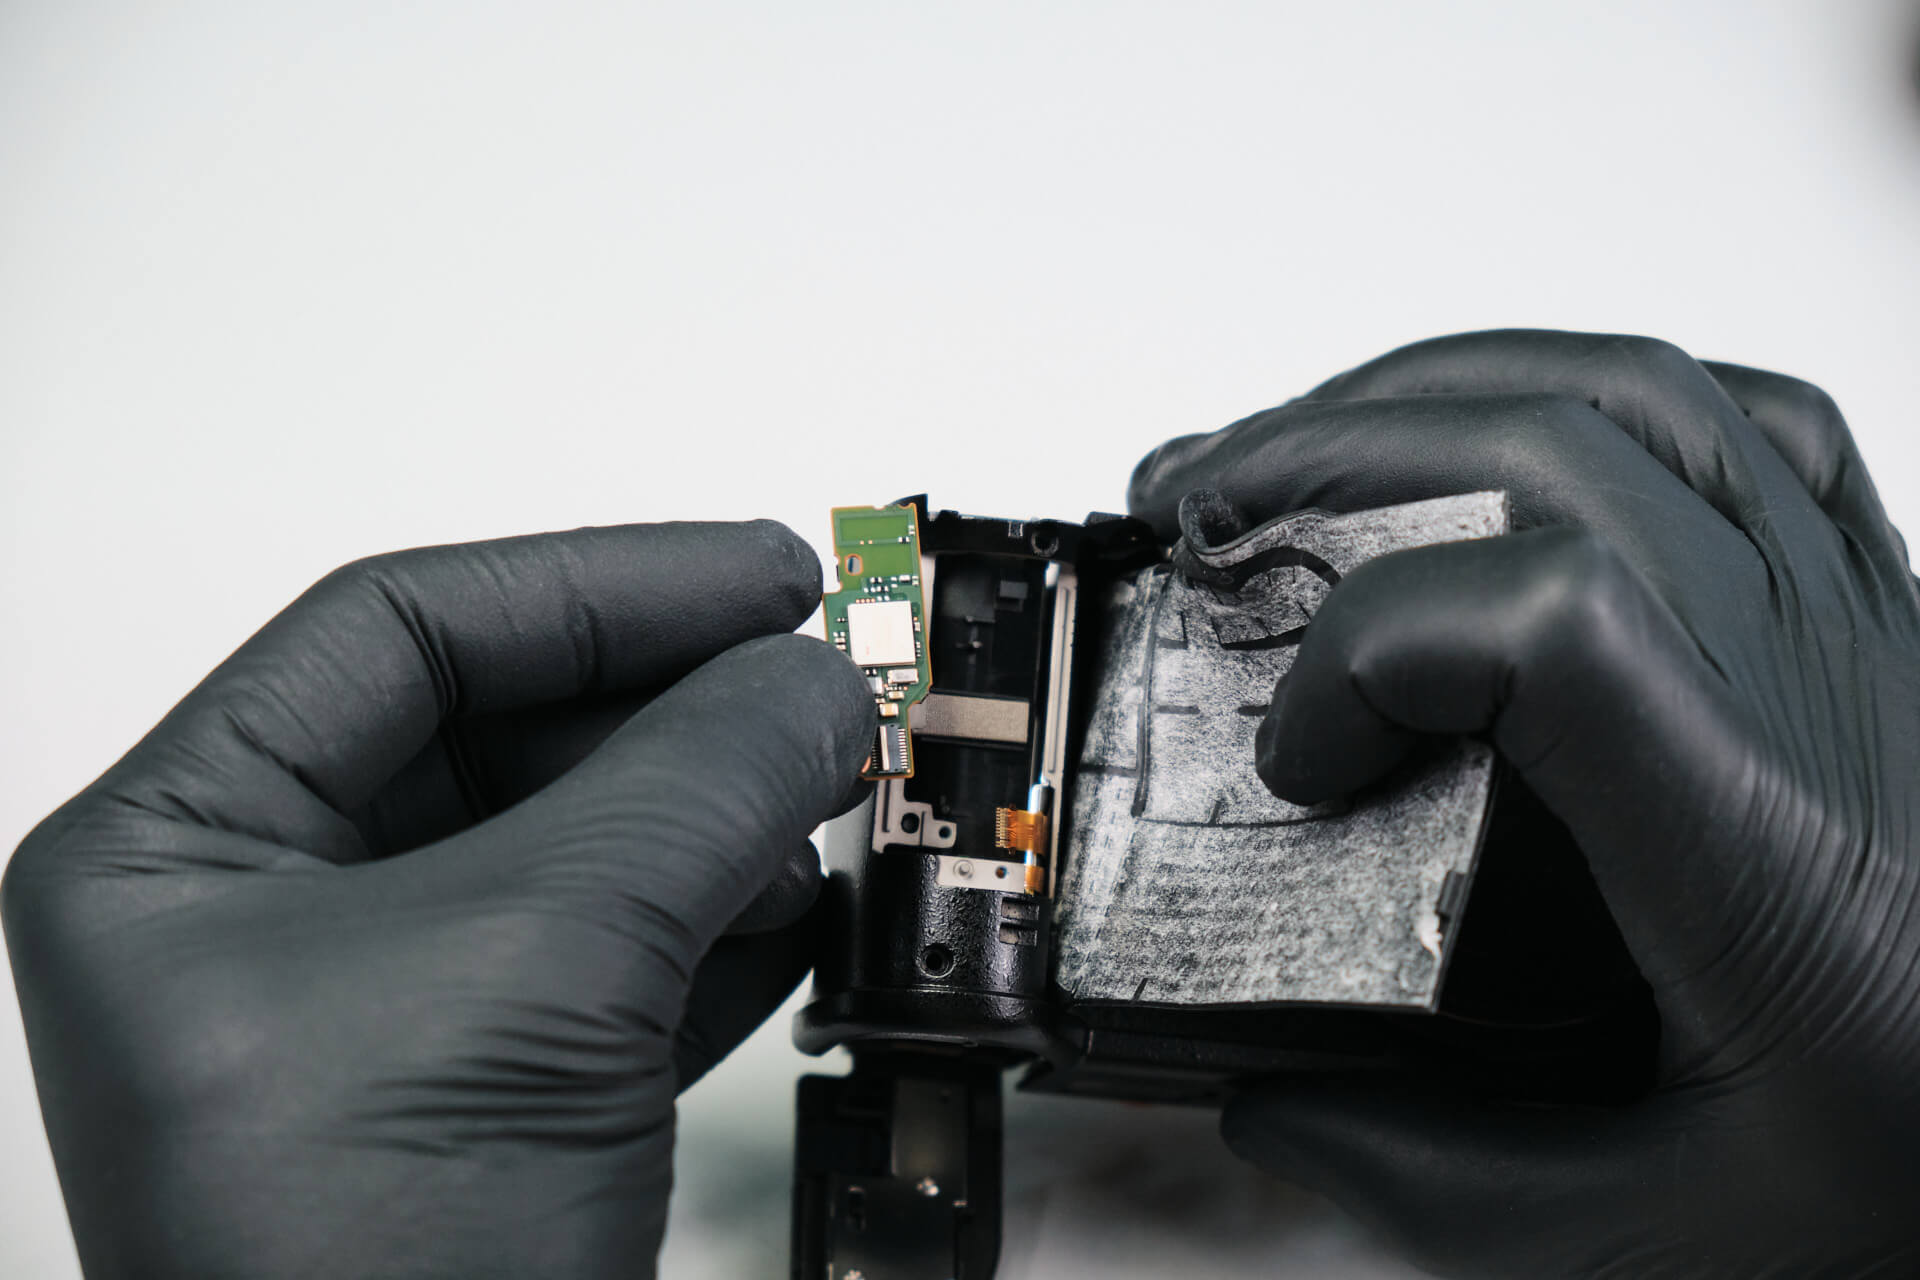
We removed the plastic cover and disconnected a ribbon cable after accessing the inside of the battery slot.

Here, we unfastened one screw and removed the circuit board inside.

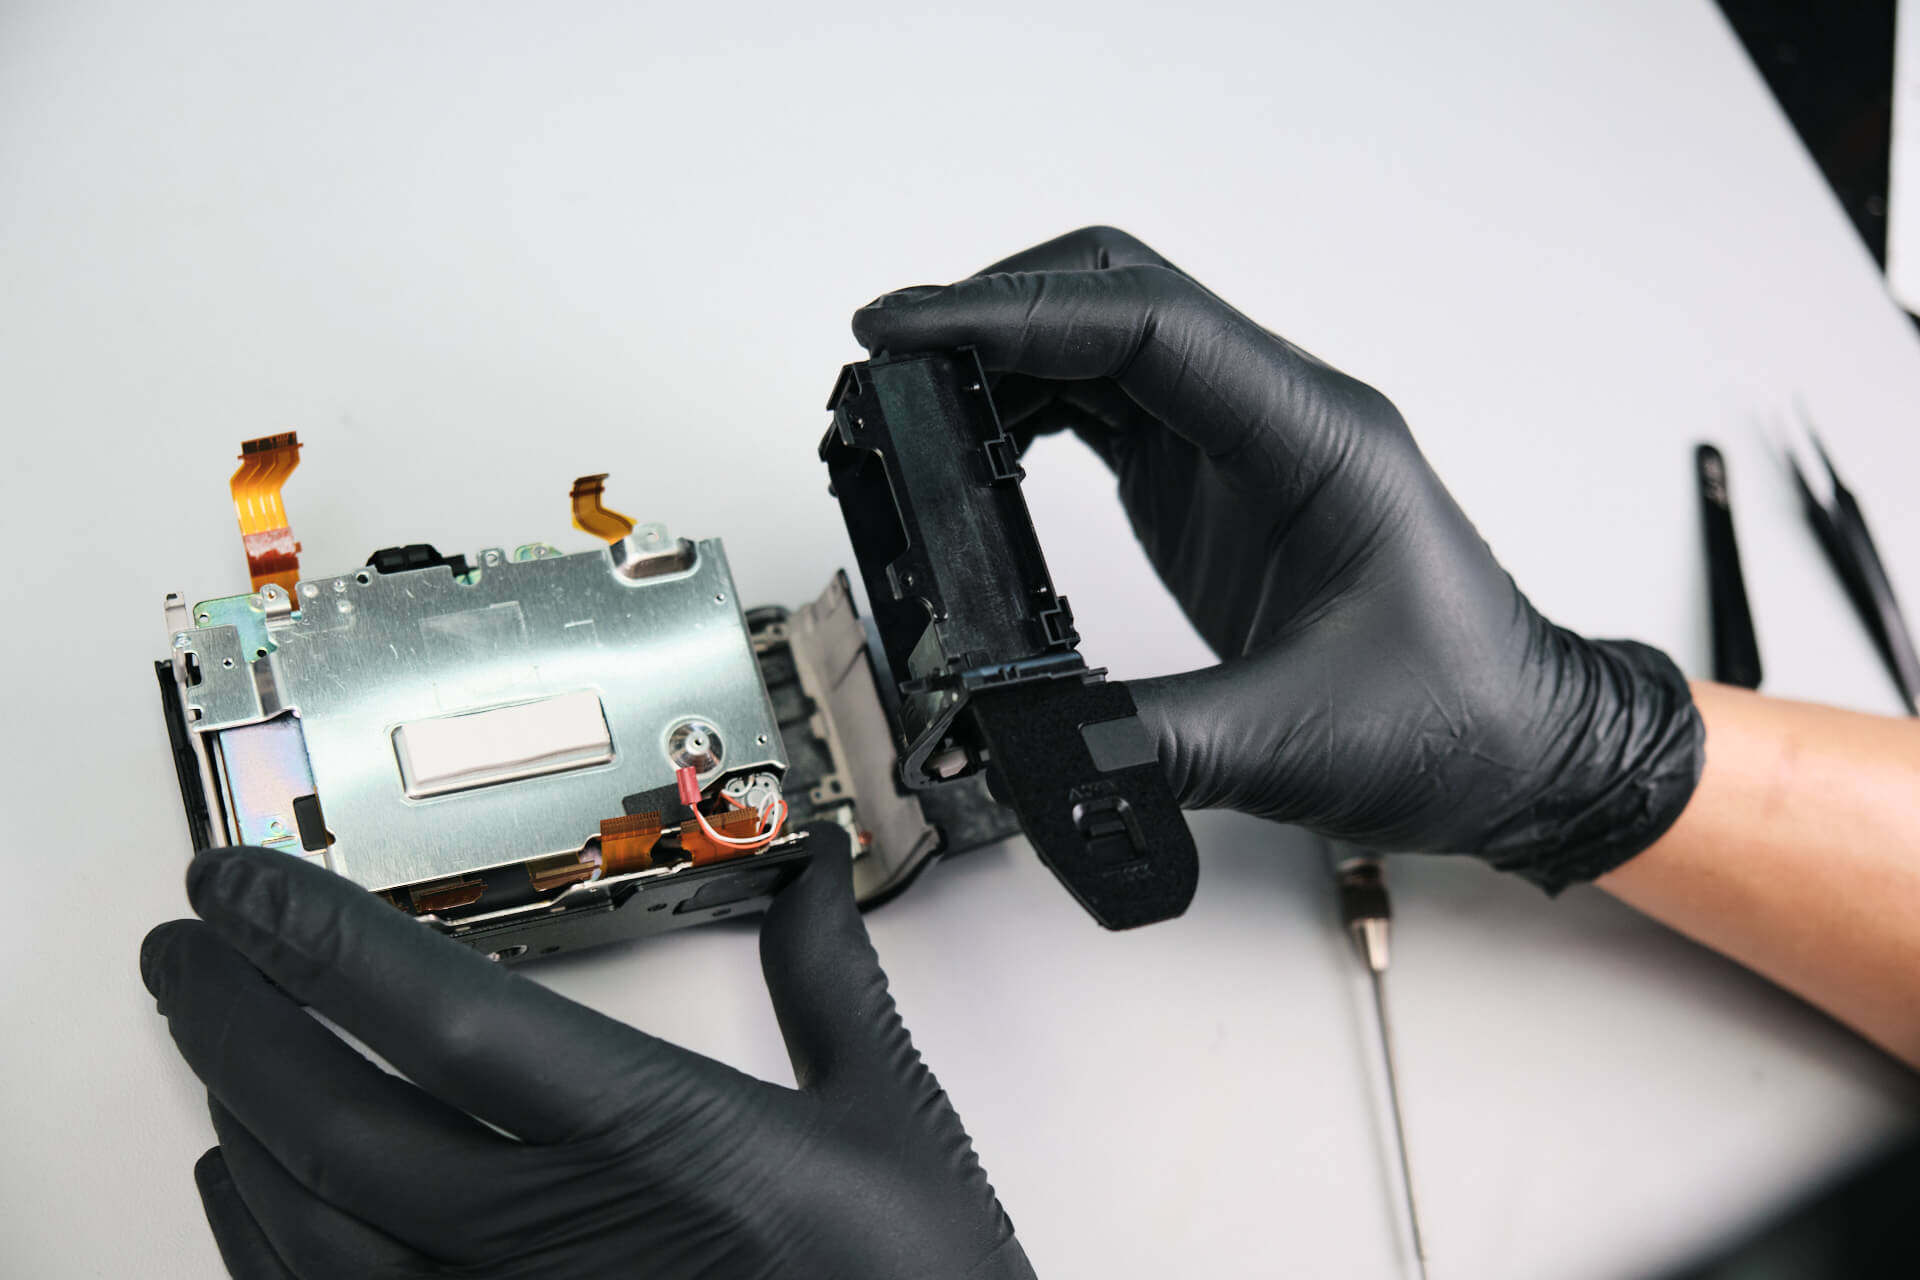
The battery slot housing was removed. 

Removing the Panasonic Lumix S5 IIX Camera Sensor

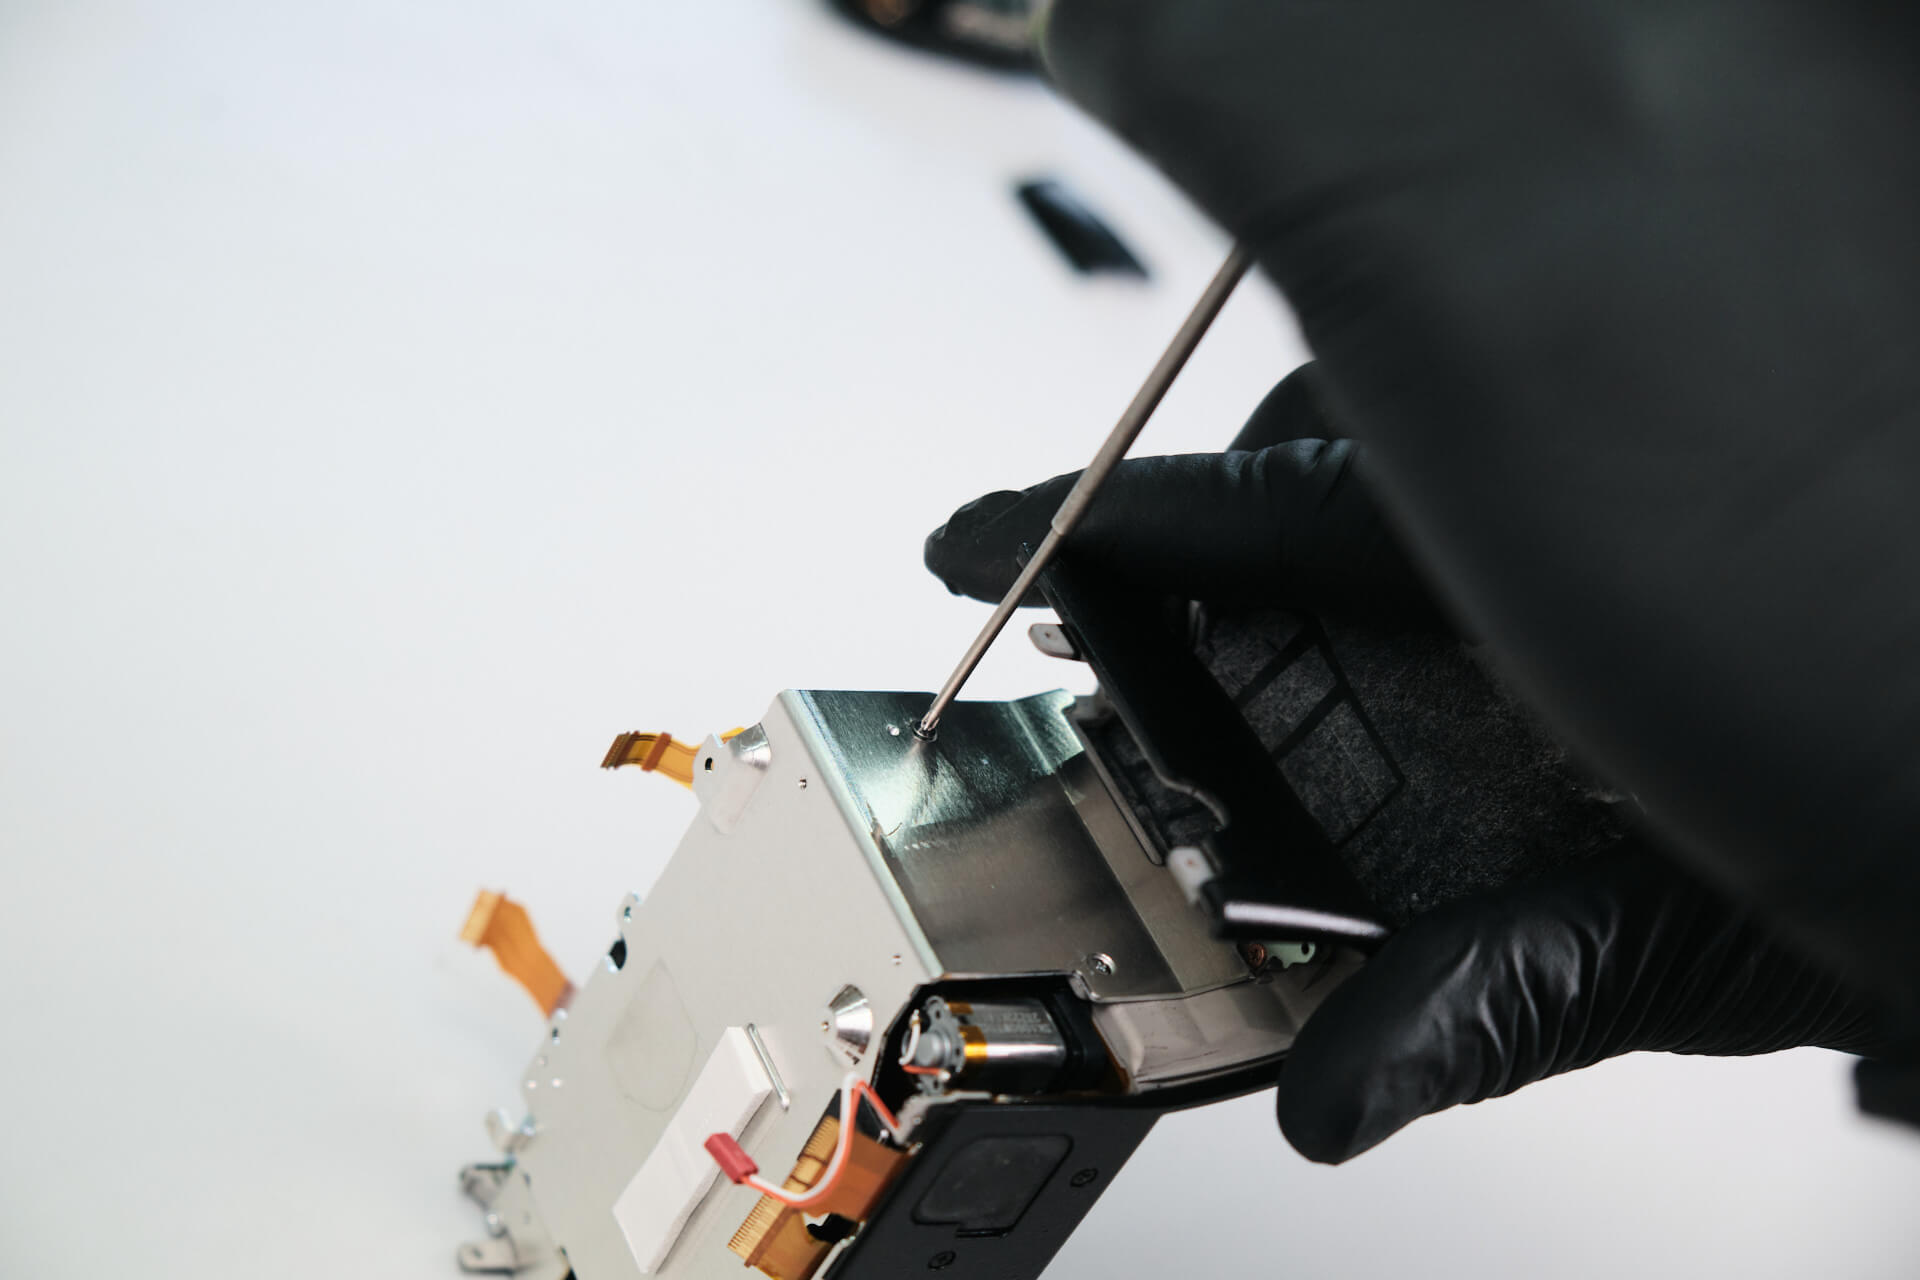
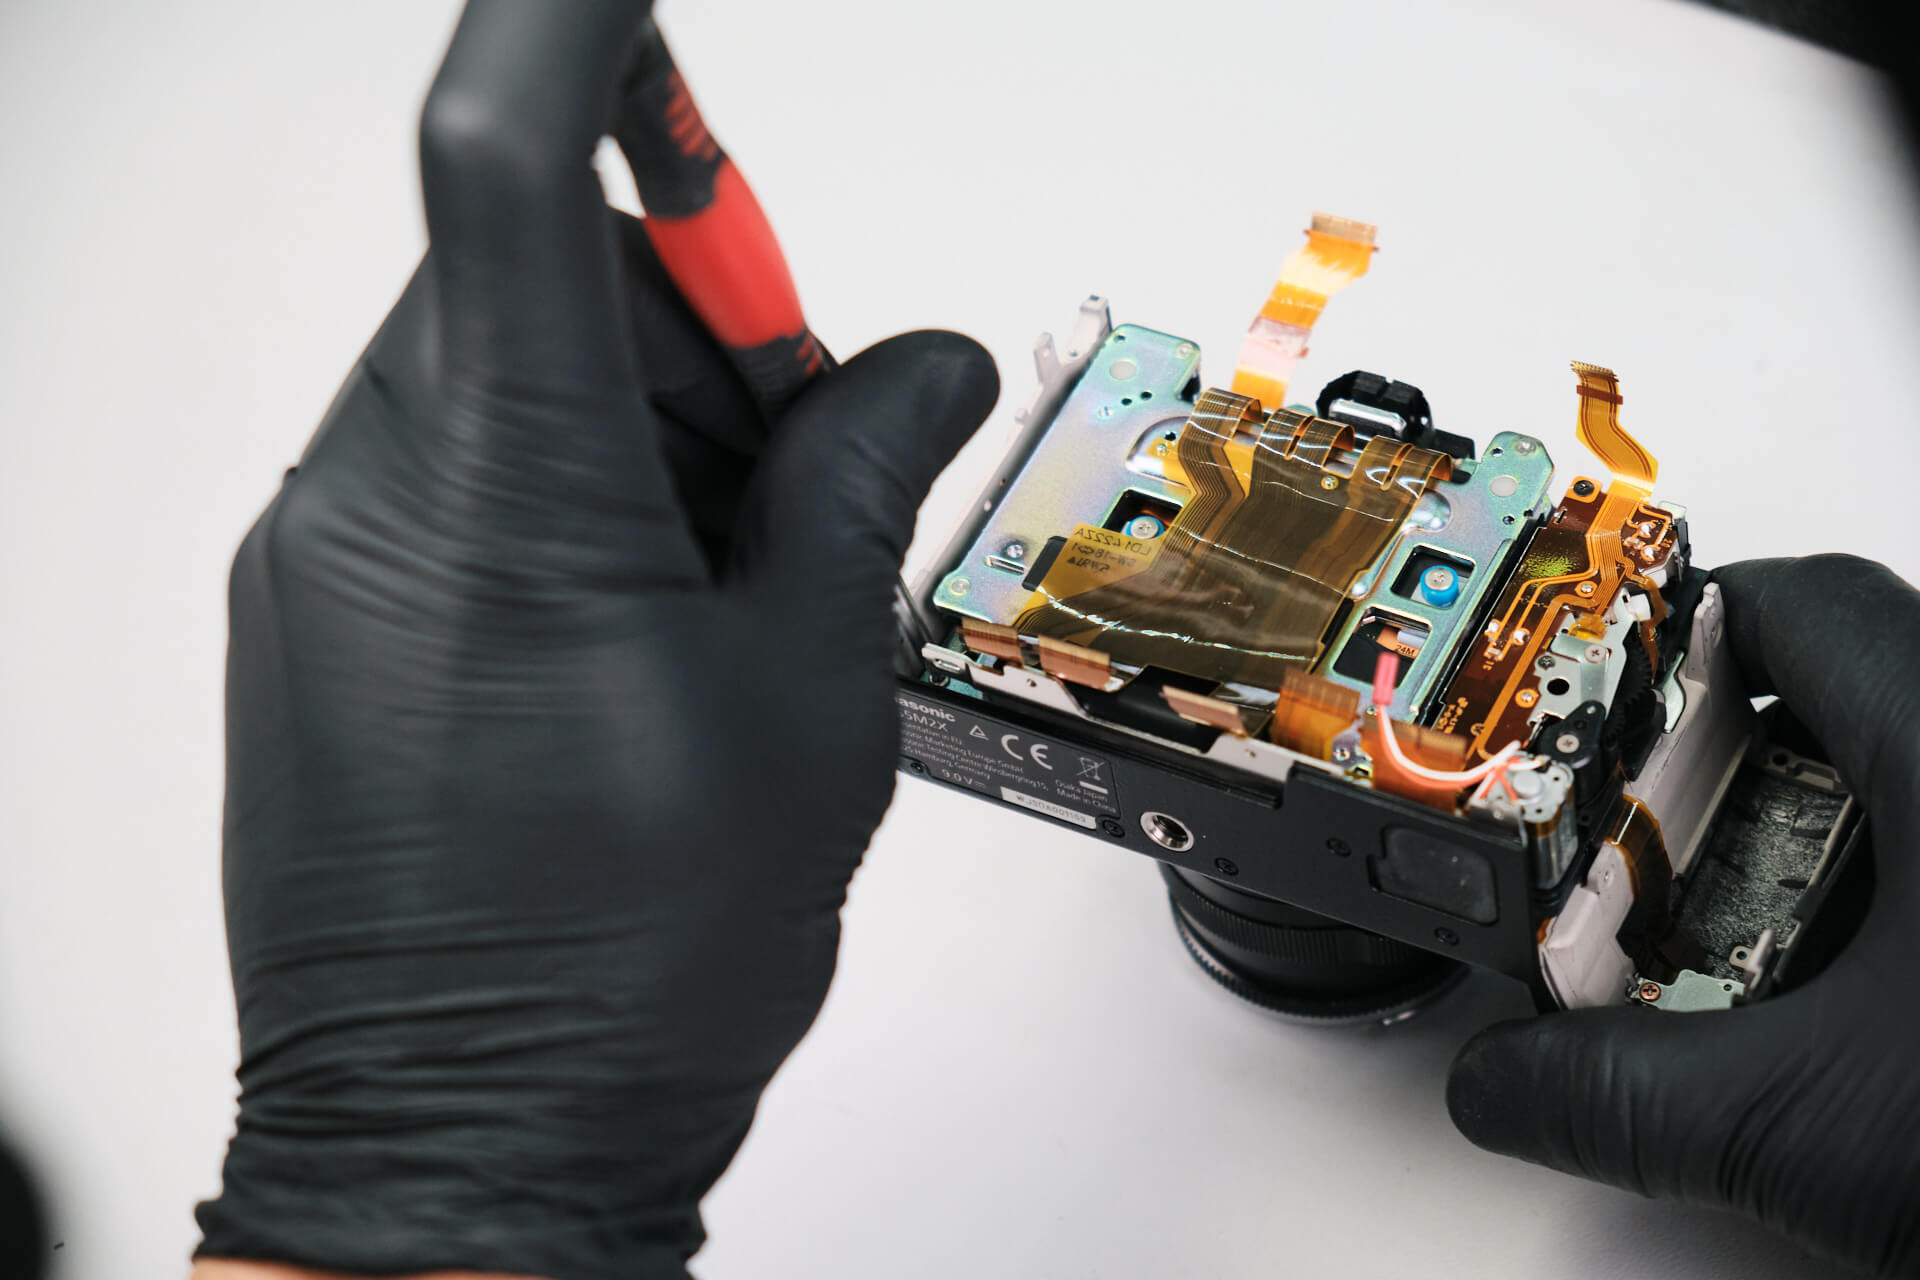
Two more screws were removed from the bracket. 

The bracket was removed after unfastening those screws.

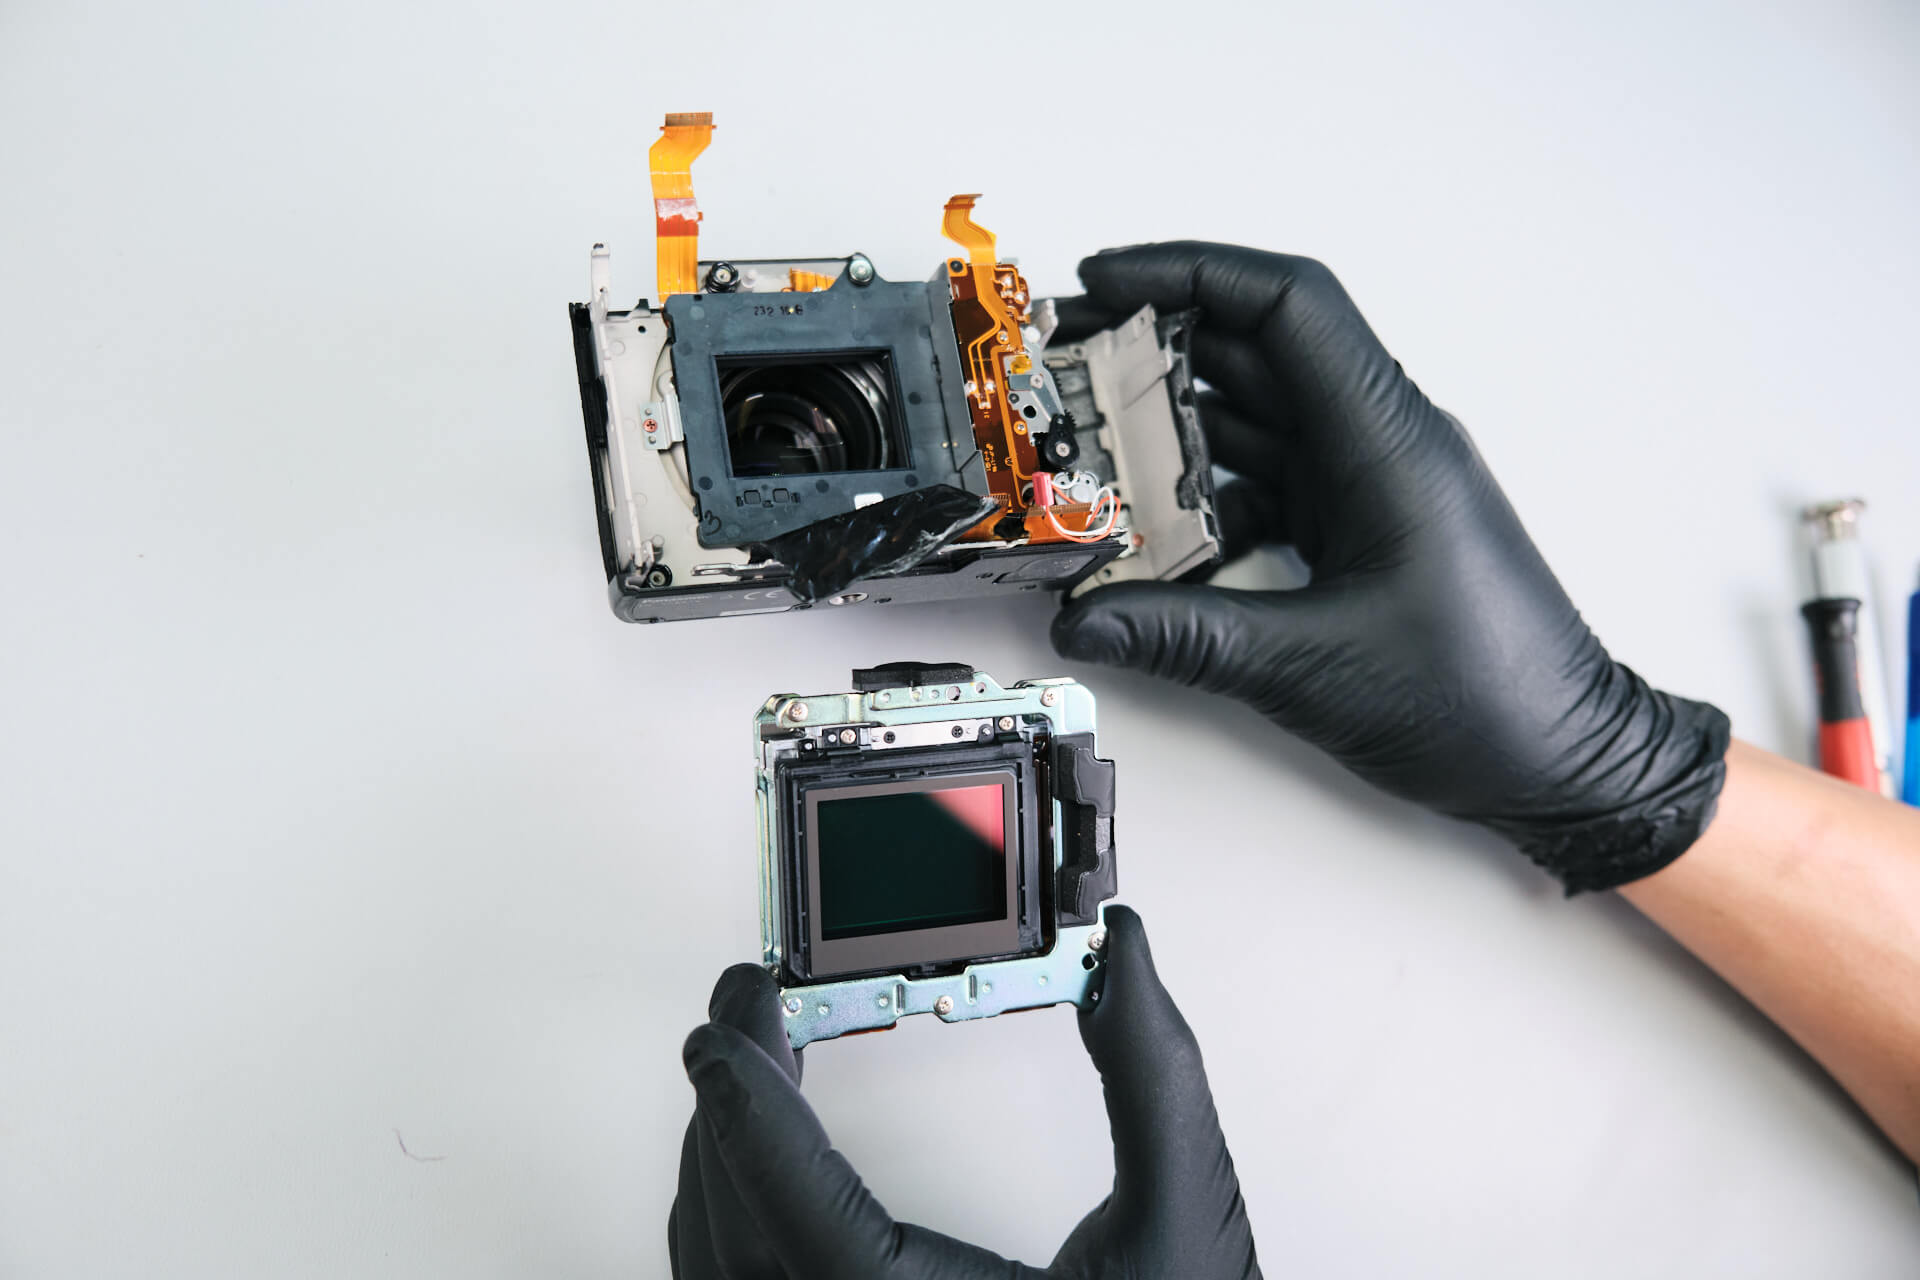
Panasonic used springs for this camera’s focus adjustment. The sensor was held down with three T6 Torx screws. 

With the sensor removed, the camera is now ready for an infrared conversion!

Panasonic Lumix S5 IIX Teardown Difficulty and Final Thoughts

We would rate the Panasonic Lumix S5 IIX camera a 4/10 in disassembly difficulty. According to our technician, there were a few notable similarities between this camera and the Canon EOS R5 and the Nikon Z cameras, including similar ribbon cable locks. Interestingly, our camera technician said it reminds him of the Sony A1. Could it be that Panasonic took design notes from Sony? We can’t say for sure.

Thanks for reading. If you’re interested in more camera teardowns, we feature a new one every month. Be sure to sign up for our newsletter so you don’t miss them!

Frequently Asked Questions

The Panasonic Lumix S5 IIX teardown starts by removing three Philips screws from the camera’s baseplate. This gives the first access point before moving on to the port side, EVF area, rubber grip screws, and rear panel.

The Panasonic Lumix S5 IIX has hidden screws under the rubber thumb grip and side rubber grip. The teardown also found a final hidden screw under the white balance button, which prevented the top panel from coming off until it was removed.

The rear panel separates from the body after the exterior screws and hidden grip screws are removed. To fully remove the back panel, two ribbon cables need to be disconnected from the motherboard.

The Panasonic Lumix S5 IIX circuit board is removed after disconnecting ten ribbon cables, removing four circuit board screws, disconnecting the EVF ribbon, removing top panel screws, and disconnecting the circuit board power ribbon cable from the battery slot.
The camera sensor is reached near the end of the teardown after removing the circuit board, sensor bracket, port dust cap assembly, and battery slot housing. Panasonic uses springs for focus adjustment, and the sensor is held down with three T6 Torx screws.

Table of contents
Related Article

Product Spotlight

Comments

Leave a Reply

Your email address will not be published. Required fields are marked *

Related products

Kolari’s EU store
is now open! 

Filters and accessories now shipping from Slovenia with VAT included and quick DHL shipping.
kolaris-eu-store_is-now-open
Skip to content