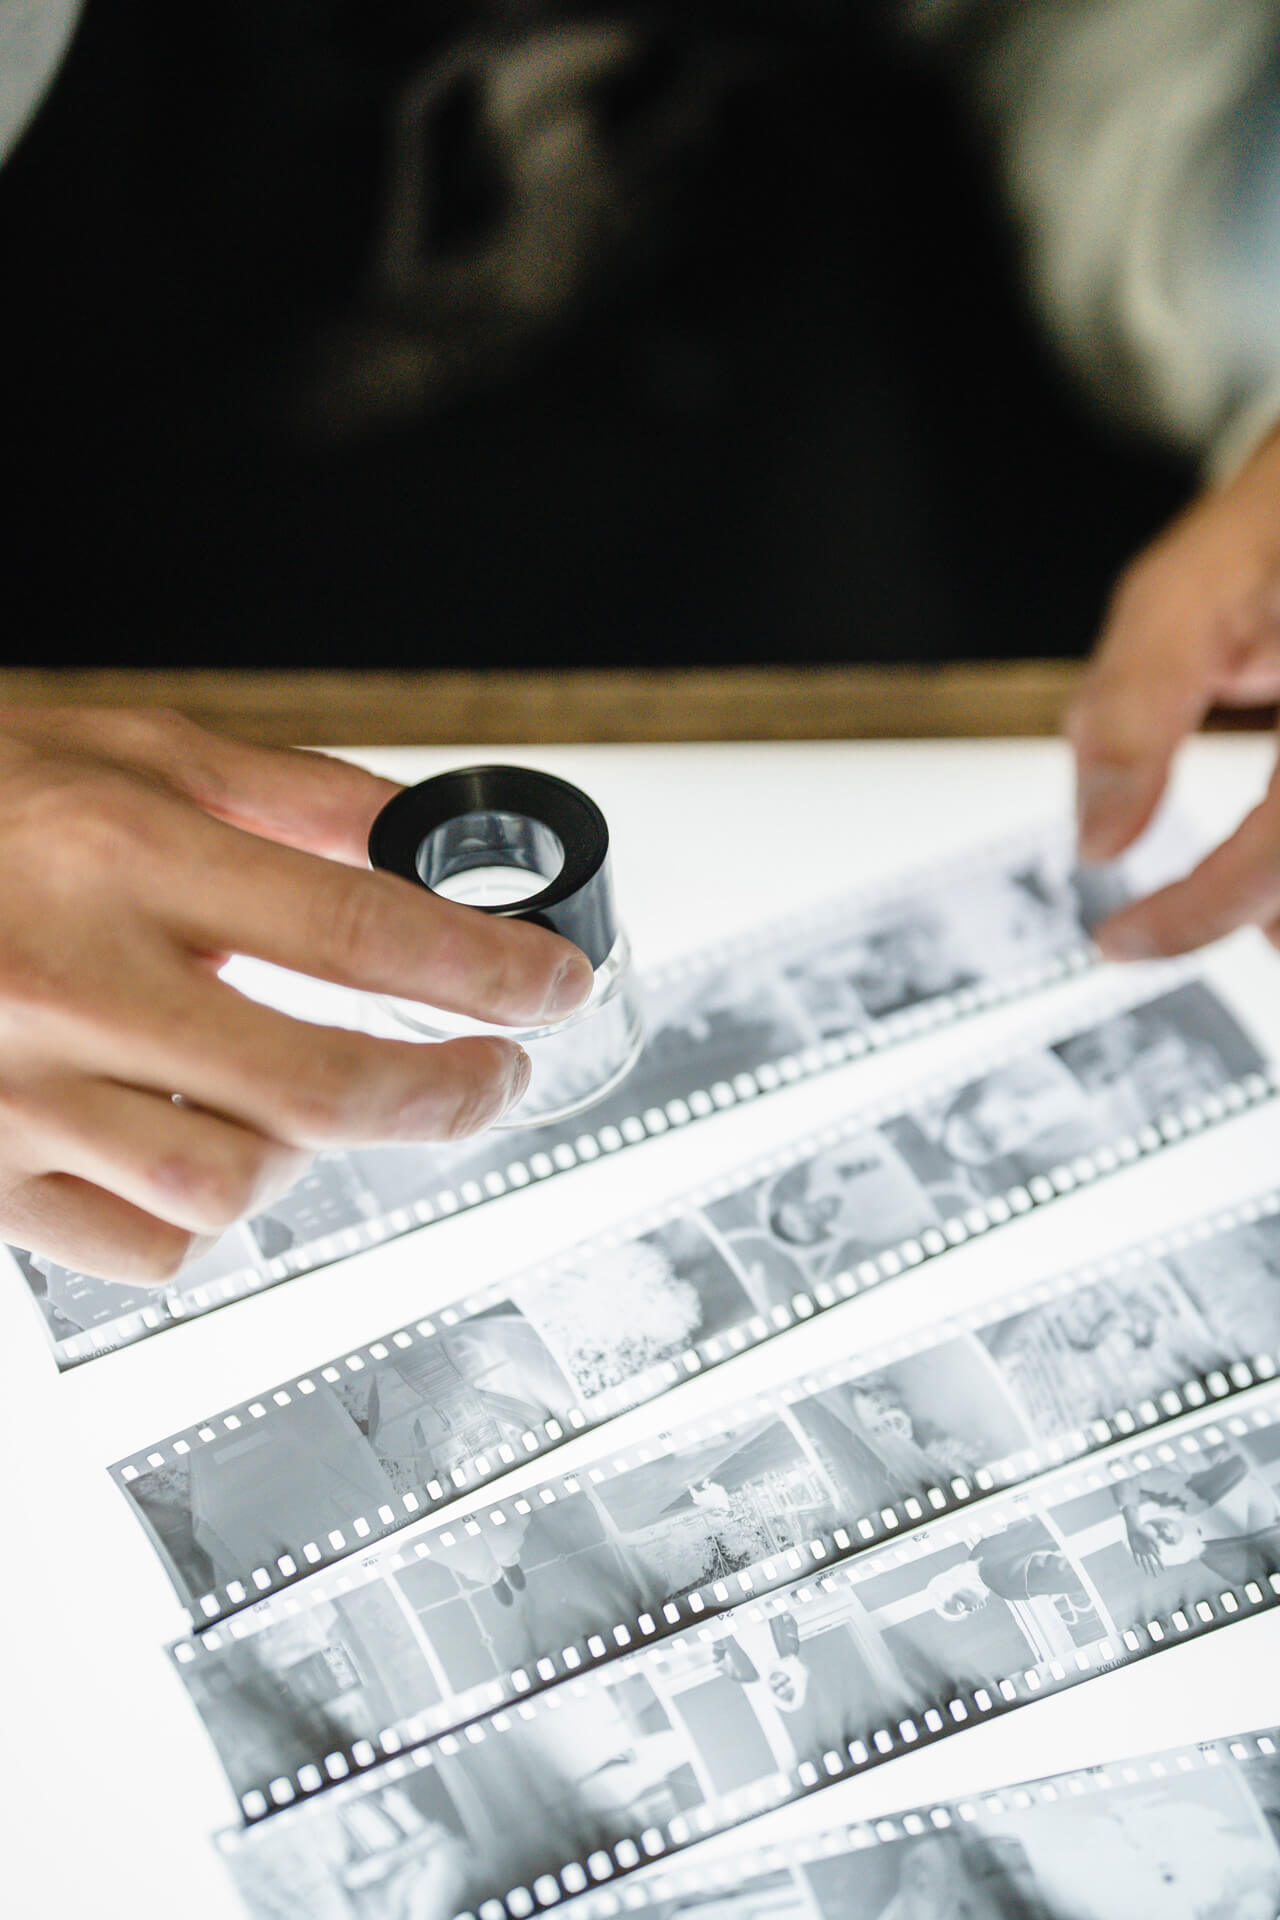
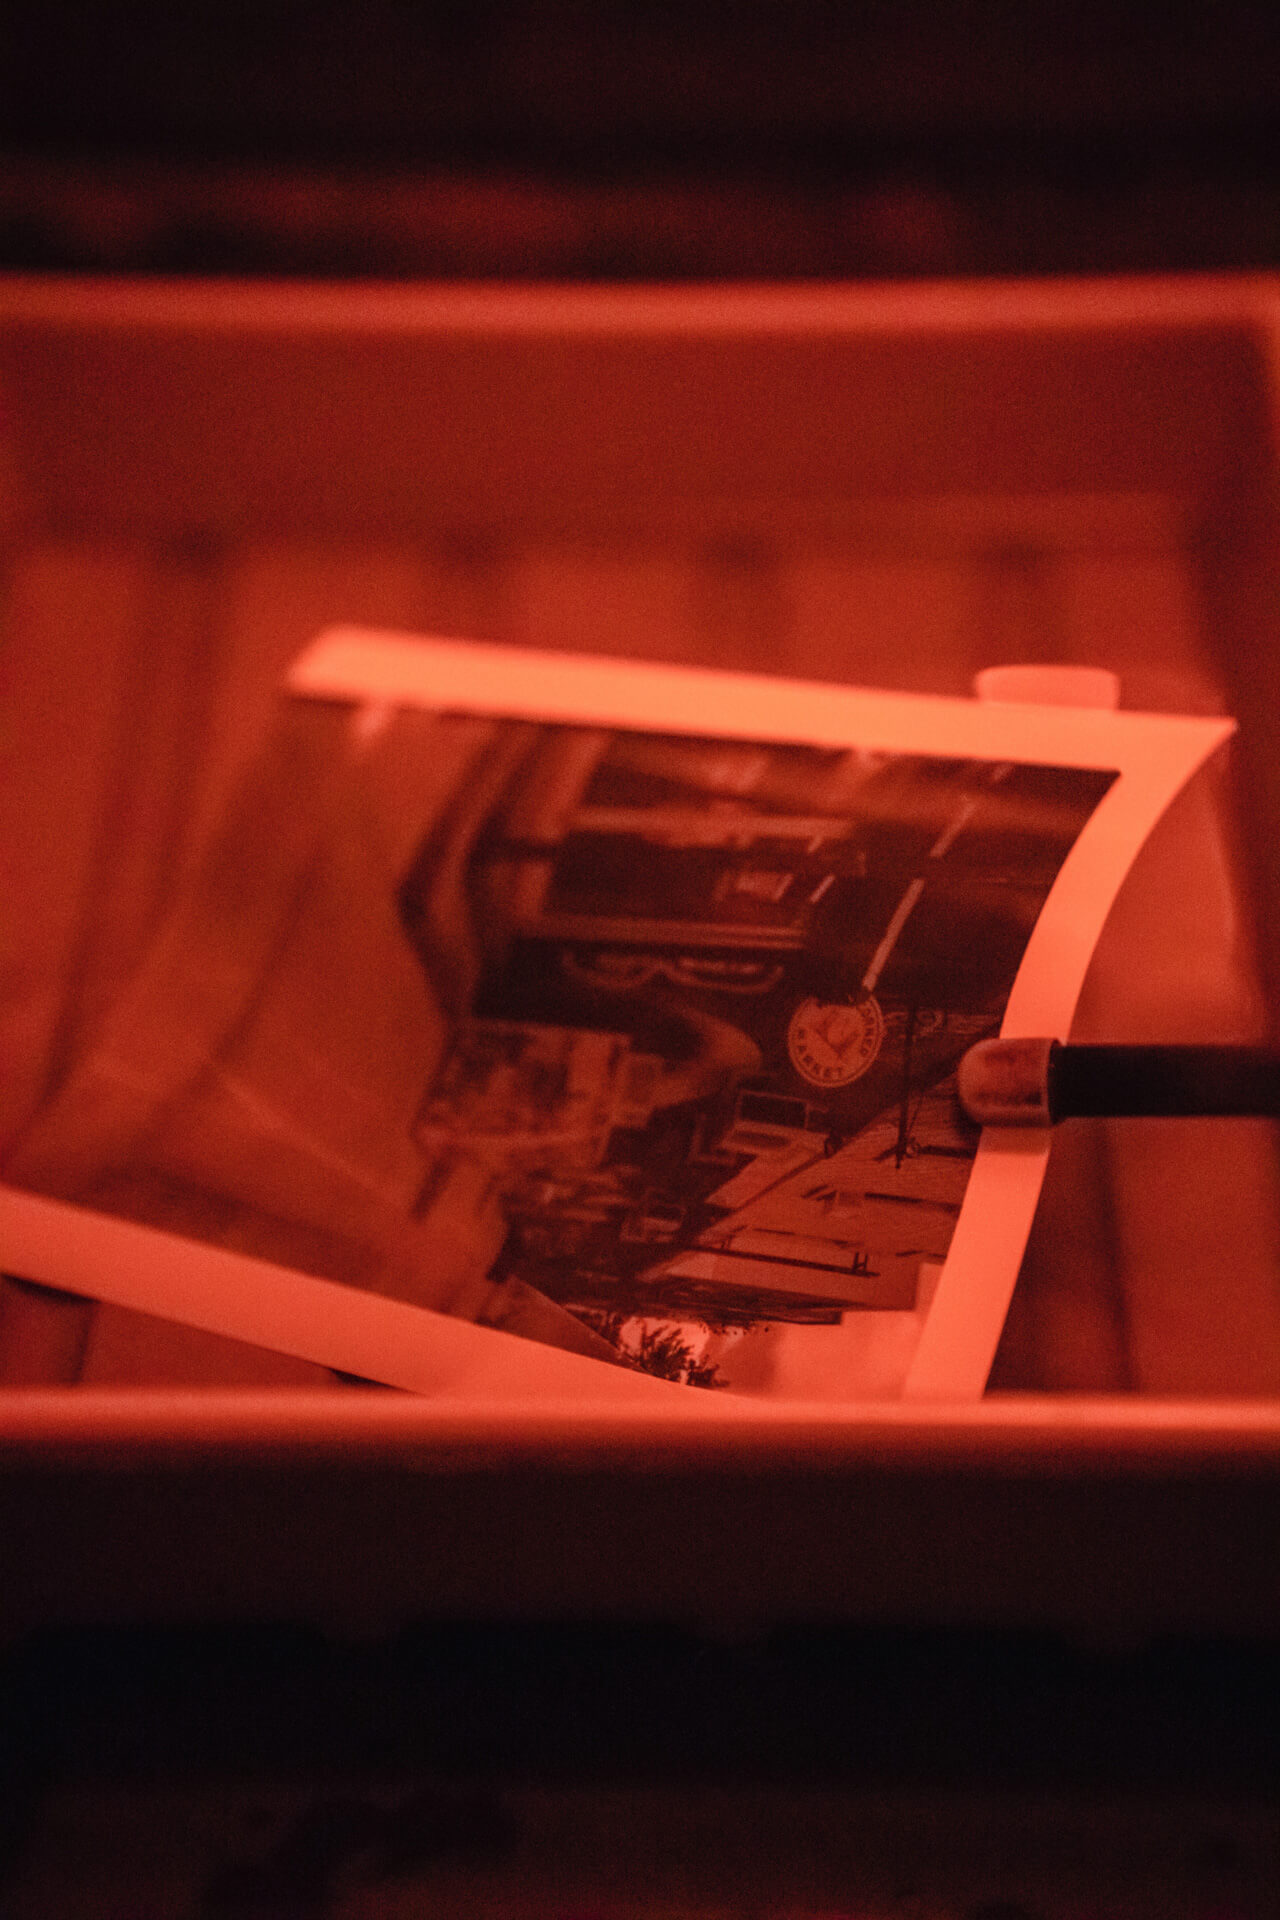
If you’re new to shooting film, you must learn a few key things. First, you need to know how your camera works. Then it’s learning how to load the film into your camera. The last piece of the puzzle is figuring out how to get your film developed. In this article, we will be discussing the options available to new and seasoned film photographers alike.
Local Labs
One of the best options to utilize, if you can, is local film labs. Sometimes these can be difficult to find if a bigger lab isn’t located in your area, but there are still many smaller film labs around, from older mom-and-pop shops to newer labs popping up as a result of the recent film resurgence.
Local labs are ideal for a number of reasons. The turnaround times are often faster because you can drop off and pick up your film in person and don’t have to deal with shipping time. Smaller labs generally have less workload, so they can develop your film faster, sometimes within 1-2 days without rush service! On the flip side, if they receive a lot of development orders, smaller labs often don’t have the capacity or the equipment to accommodate the volume of orders, so it might take longer to get your film back.
Being able to drop off your film in person means you’re able to meet the people handling your precious work face-to-face. You’re able to build a relationship with them and work with them to get your film developed and scanned in just the right way you like it. Building a relationship with your lab makes every aspect of your work feel that much more personal.
Finding a local lab can sometimes be challenging, especially if you live in a smaller area. A Google search is a great place to start, but it might not give results because older mom-and-pop labs may not be widely known or present on the internet. You can also try websites like Lens Lurker to find a curated list of the best places for developing film near you. If your search doesn’t come up with much, try asking around your local photography community. You might be surprised to find somewhere that didn’t appear on Google.
While Walmart, Walgreens, CVS, and other large chain stores develop film, the results may not come back as you hope. They may be cheaper than a real lab, but you get what you pay for. Once upon a time, these places used to develop film in-house, but that has long since changed. These places now outsource development elsewhere, and you have no control or say in how it gets developed or scanned.
A professional lab will give you either flat scans (basically film’s equivalent of a RAW file) or professional scans with density adjustments to ensure proper tonal accuracy. Some labs even offer pro scans that include color grading adjustments for a more consistent look. These labs will often work with you over time to learn your style and adjust their scanning techniques to complement your work.
Mail to Professional Labs
If you aren’t able to find any film labs in your local area, you can always place your order online and mail your film to your preferred professional lab. There are many great labs out there, but my personal favorite is State Film Lab in Louisville, KY. Each lab is different in its processes, prices, turnaround times, and services and offerings, so dig around their websites and give them a call if you have any questions.
If you’re a professional film photographer, you want to find a lab that’s a good fit for you and your work. Building a relationship with your lab is highly important as they can play an integral part in developing and maintaining your style, and they can likely accommodate you if you’re ever in a pinch. Mailing your film out to a lab can be a bit more costly and take longer than going to a local lab, but it might be the next best option if there isn’t one around you.
DIY at Home
Alternatively, there is always the fully hands-on DIY option of developing your film at home. As with anything, this approach has a few pros and cons. The upfront investment needed to obtain the materials and equipment necessary for developing and scanning your film at home can quickly add up to a few hundred dollars or more. In the long run, this method of developing film is more cost-effective than going to a lab, especially if you shoot film often. With an at-home setup, the only item that needs regular replacing is the developing chemicals, but they can be reused for several rolls – usually about 10-20 rolls per batch of chemicals – before being replaced.
Being so hands-on with every step of the process, from taking the photos to developing and scanning them yourself, can make you feel more connected to your work. With this method, you have complete control over the entire process from start to finish. On the other hand, the DIY approach is much more time-consuming, and there’s more room for error than when leaving it up to the professionals.
If you want to give developing film at home a go, there are many great tutorials online, like Sean Tucker’s video tutorials on developing and scanning. It can be a great process to experiment with your personal projects to see if it works for you.
Film development is, arguably, the most important part of the process because, without it, your work would go unseen. As the final piece of the puzzle, it is essential that you find the method that works best for you and your art. How do you develop your film? Share your favorite labs in the comments below!
Check out our Education section for more photography tips and articles, and be sure to sign up for our newsletter to stay up to date on new releases.
