Fuji X100S Infrared Conversion DIY Tutorial and Disassembly Guide
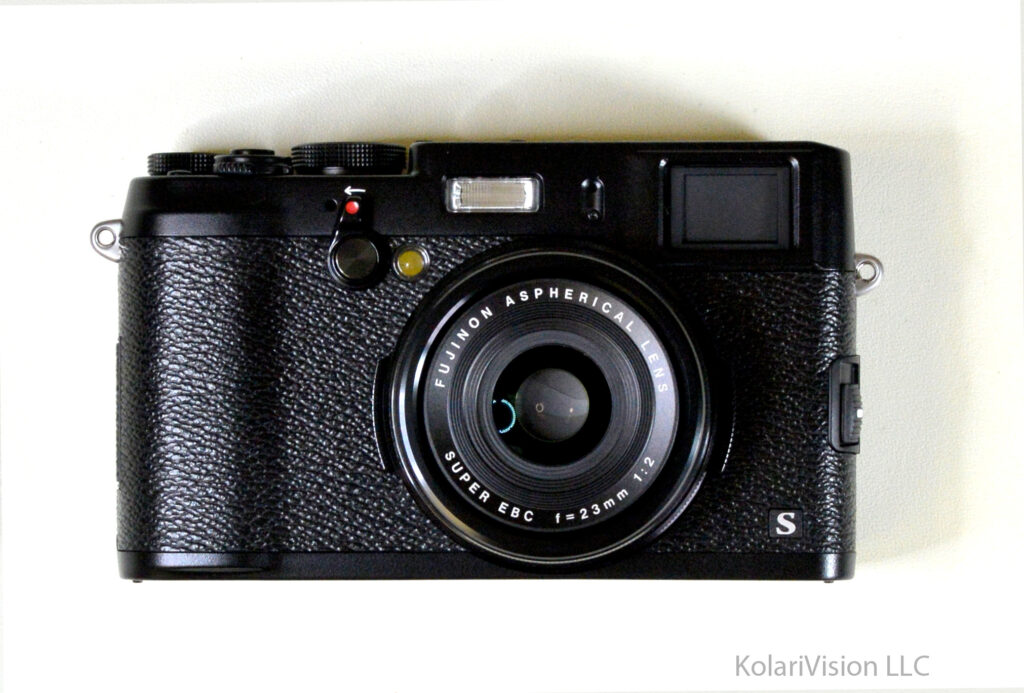
Difficulty
Moderate
Steps
17
Time Required
15 minutes
Small Phillips Screwdriver
Tweezers
Soft Pry tool (optional but recommended)
Grounding strap with current limit resistor
Grounded work mat (optional but recommended)
Canned/compressed air
Sensor wet cleaning solution and tissue
Capacitor Discharge Tool (optional but recommended)
Introduction
Welcome to the DIY tutorial of the FujiFilm X100S. Before you get started, be sure to be grounded to avoid any static damage to the electronic components.
1
Step 1
Turn the camera where the bottom is facing you and remove the two screws as indicated. The other 4 screws hold the silver frame that is underneath the panel. No need to touch those.

2
Step 2
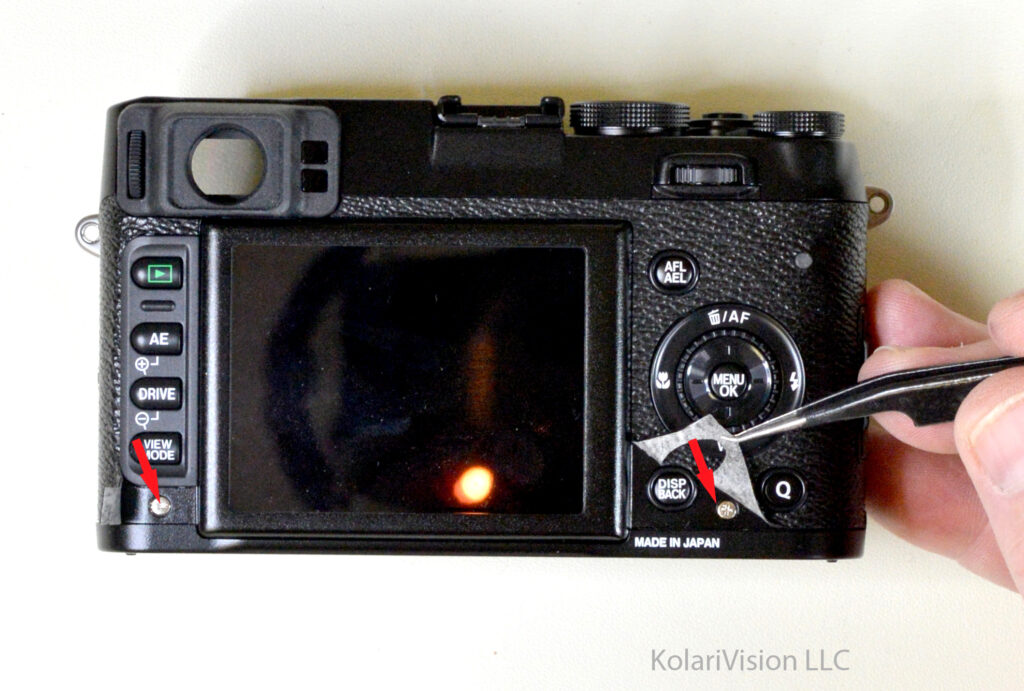
- Turn the LCD section of the camera towards you and carefully peal off the rubber grip. Be sure not to stretch the rubber. Under the rubber you will find 2 screws on the bottom, which you will remove.
3
Step 3
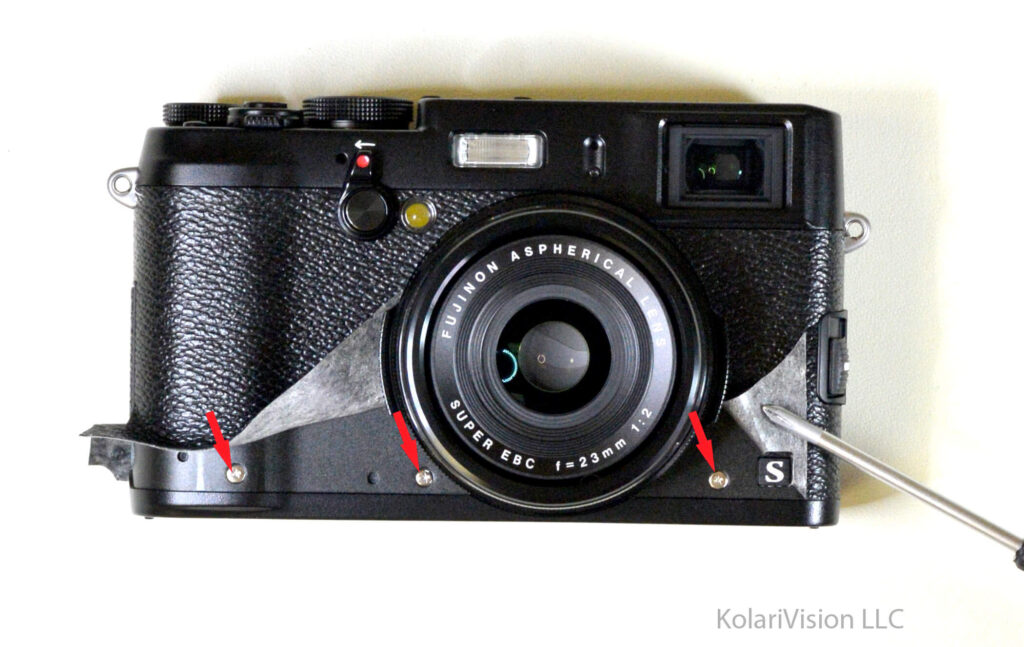
- Put the camera on its back and have the front of the camera facing you and again slowly peal off the rubber grip and be sure not to stretch it. Remove the 3 screws as indicated.
4
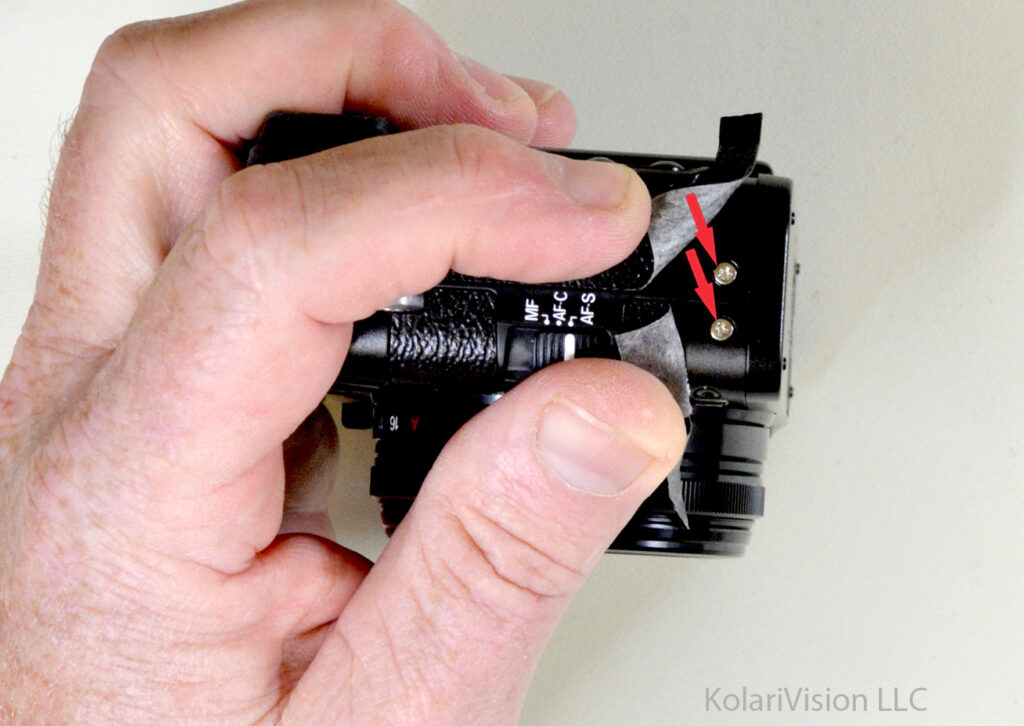
Step 4
- Rotate the camera towards the MF-AF switch side and slowly peal the rubber grip from the bottom, just enough to reach the screws. Remove the 2 screws as indicated.
5
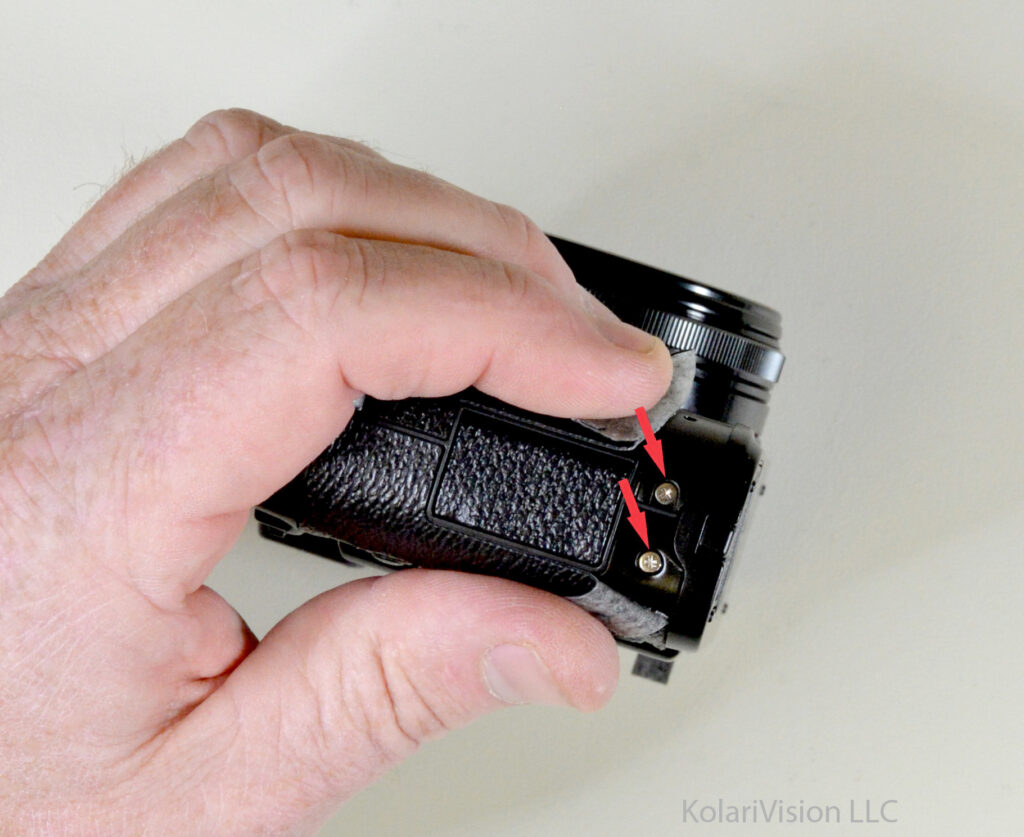
Step 5
- Rotate the camera towards AV OUT side and do the same process of removing the rubber grip and remove the two screws as indicated.
6
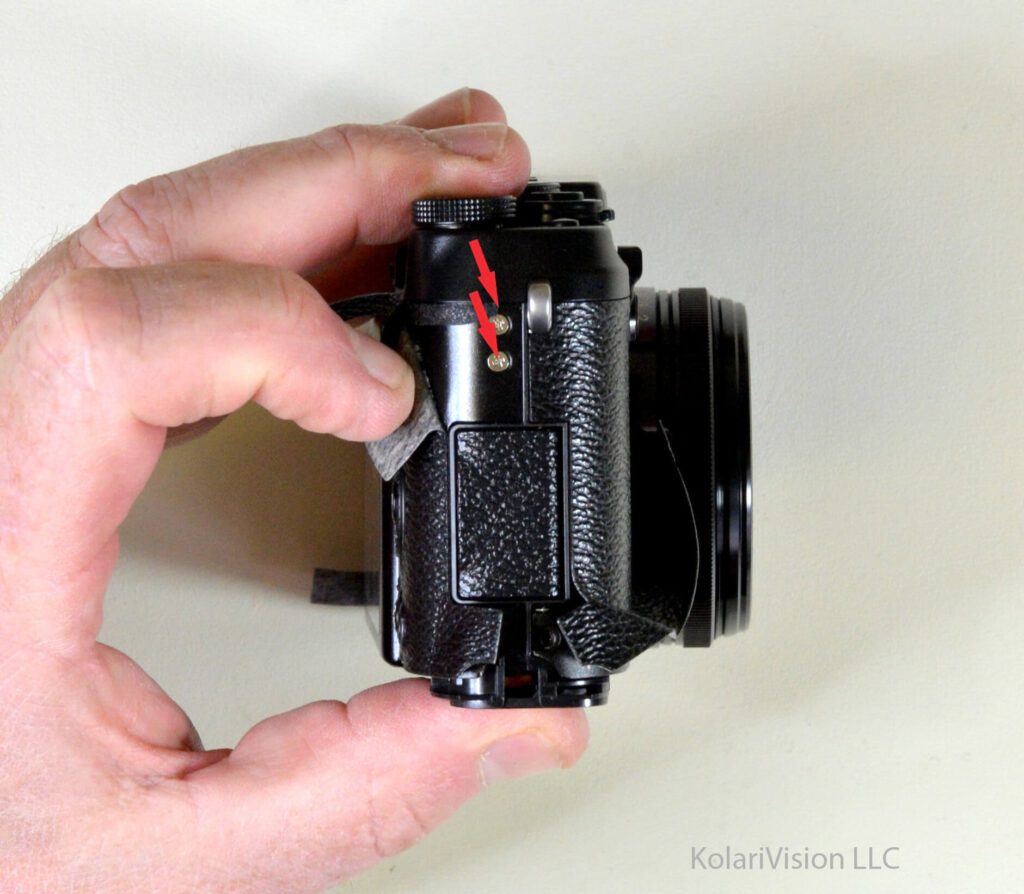
Step 6
- Do the same on the upper portion of the Av Out panel and remove 2 screws as indicated.
7
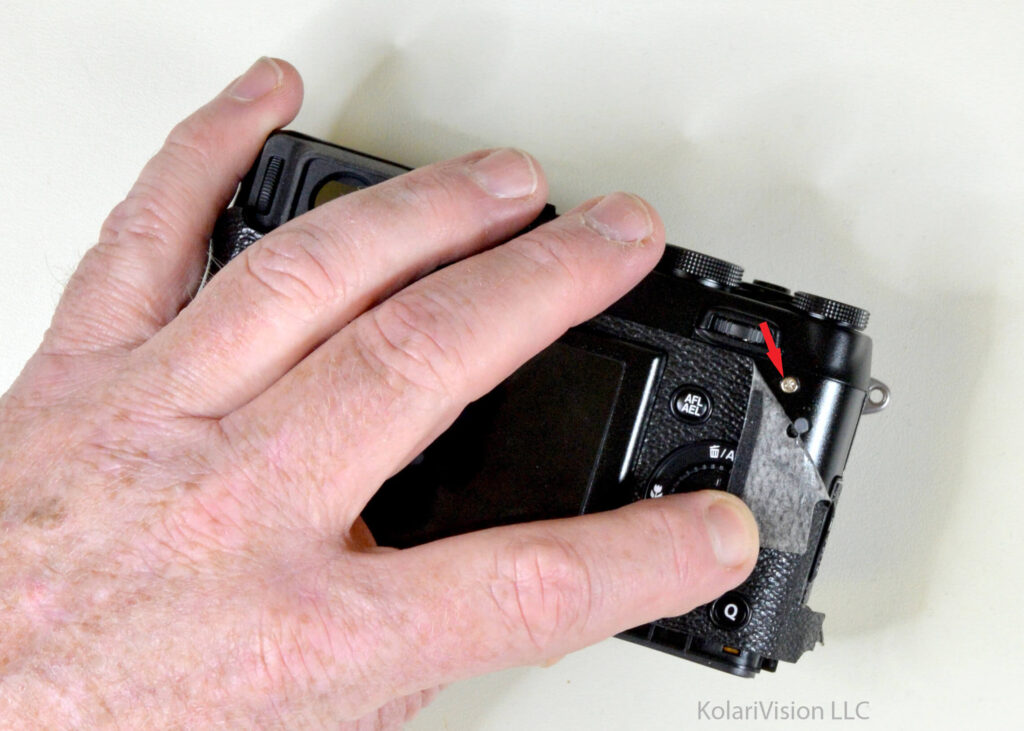
Step 7
- Above the control wheel, remove the rubber grip slowly without stretching it and remove the screw as indicated.
8
Step 8
Once the above steps are complete, now here comes the fun part. Remove the 4 screws as indicated. This will loosen up the LCD panel.
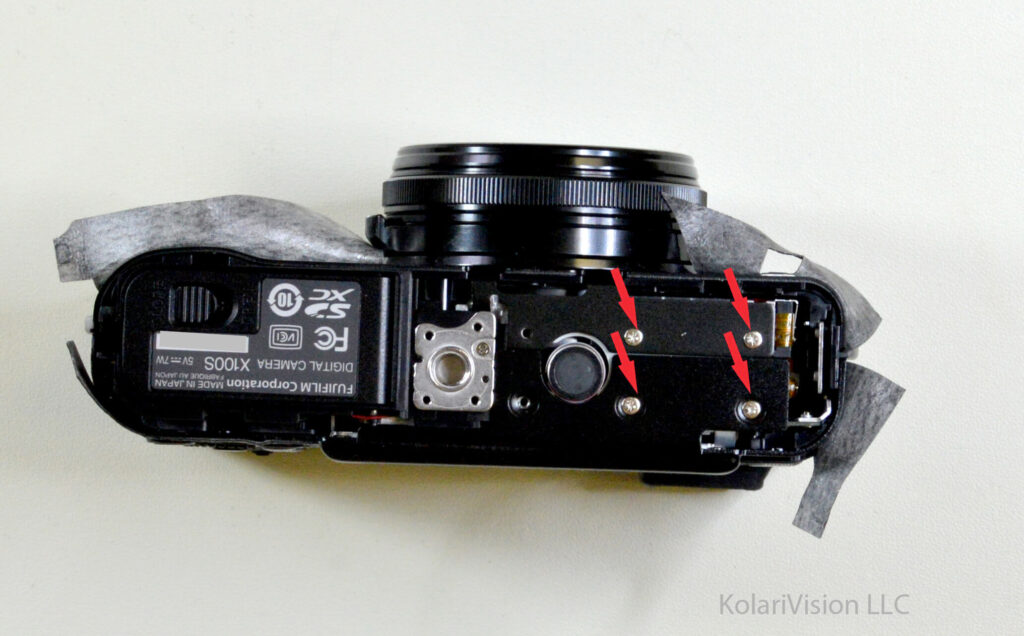
9
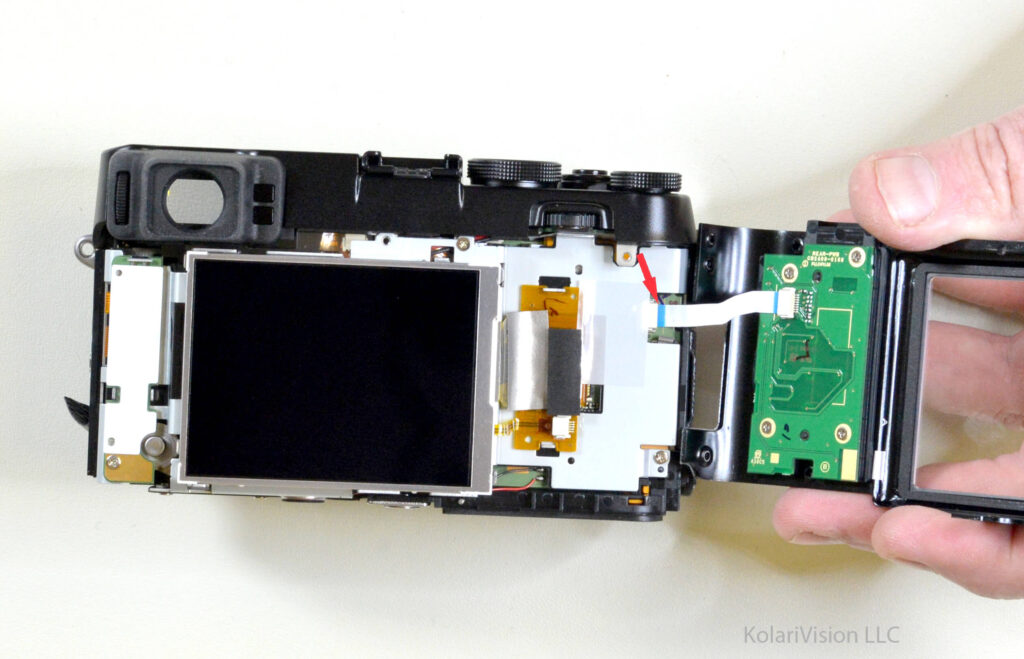
Step 9
- Now the LCD panel can come off but before you completely take it off, their is a cable connected from the LCD panel to the board. Be sure to remove it before completely taking off panel.
10
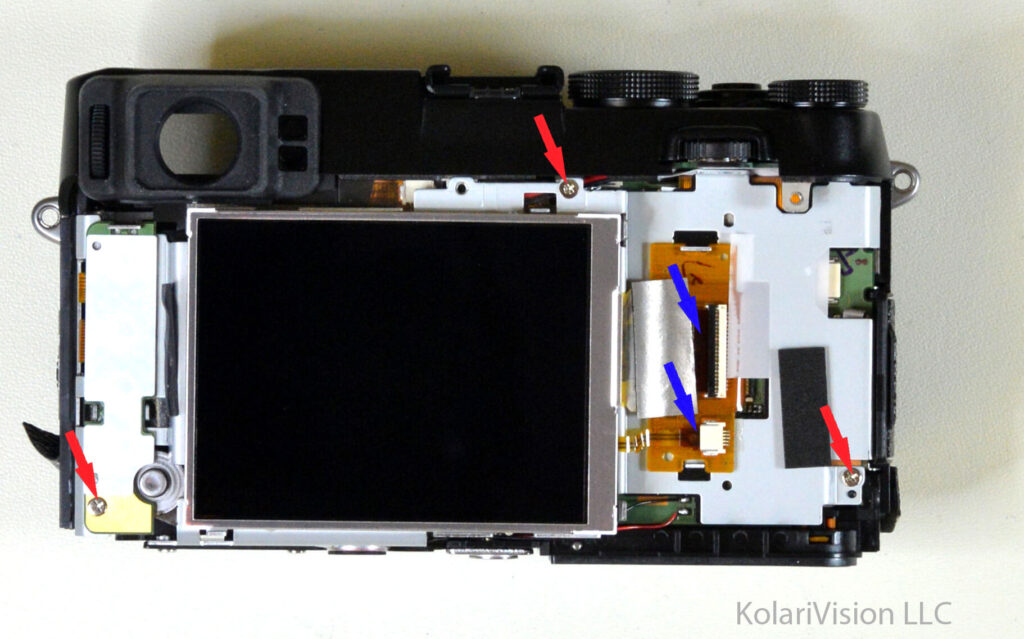
Step 10
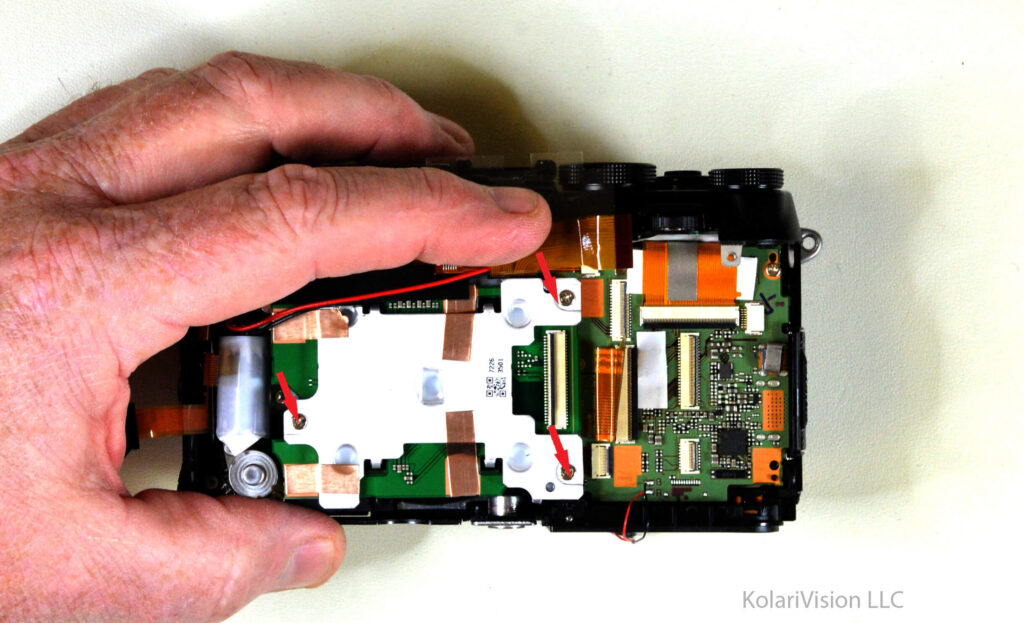
- Once the back cover is removed, You have 2 cables and 3 screws to remove as indicated. Take your time while remove the cables.
11
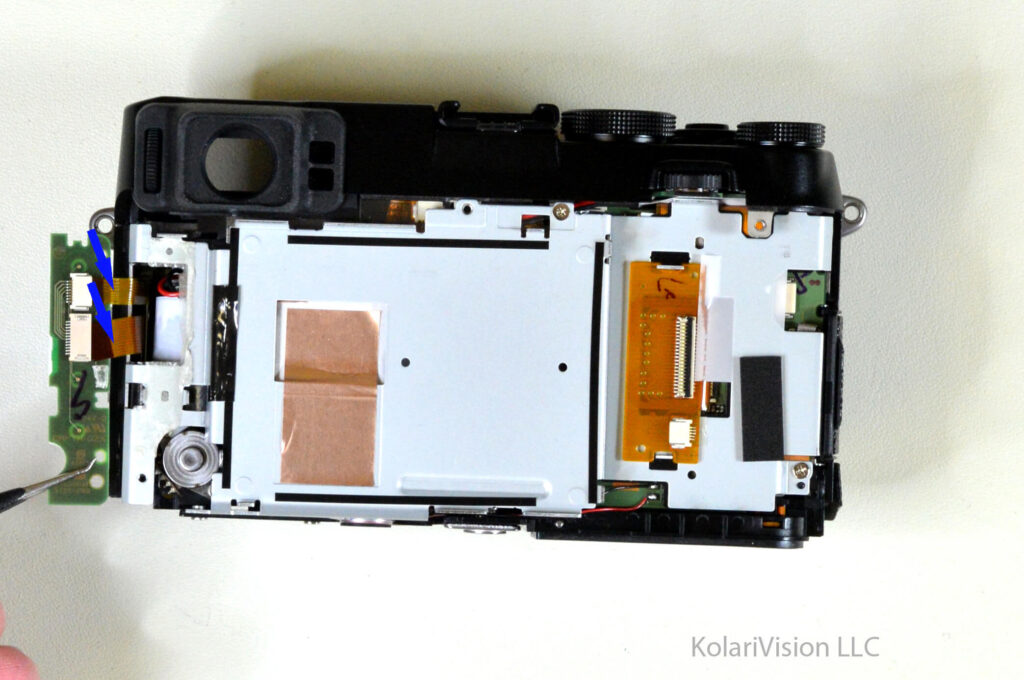
Step 11
- Now be VERY CAREFUL! The buttons board is held down by double sided adhesive. Lift up the board very slowly and carefully since their are 2 cables directly underneath it which can be damaged. Once you have lifted up the board, now carefully release the 2 cables.
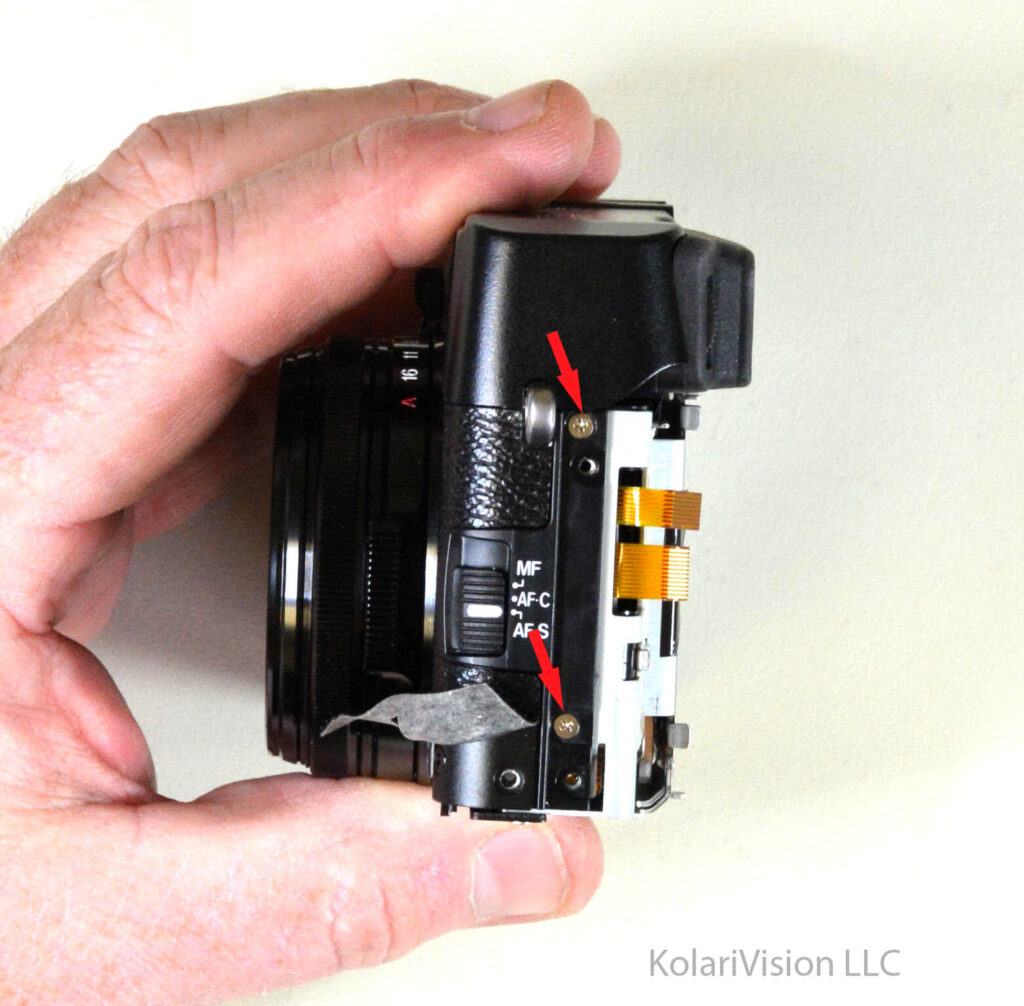
12
Step 12
- Turn the camera to its side and remove these 2 screws. These screws are attached to the silver bracket.
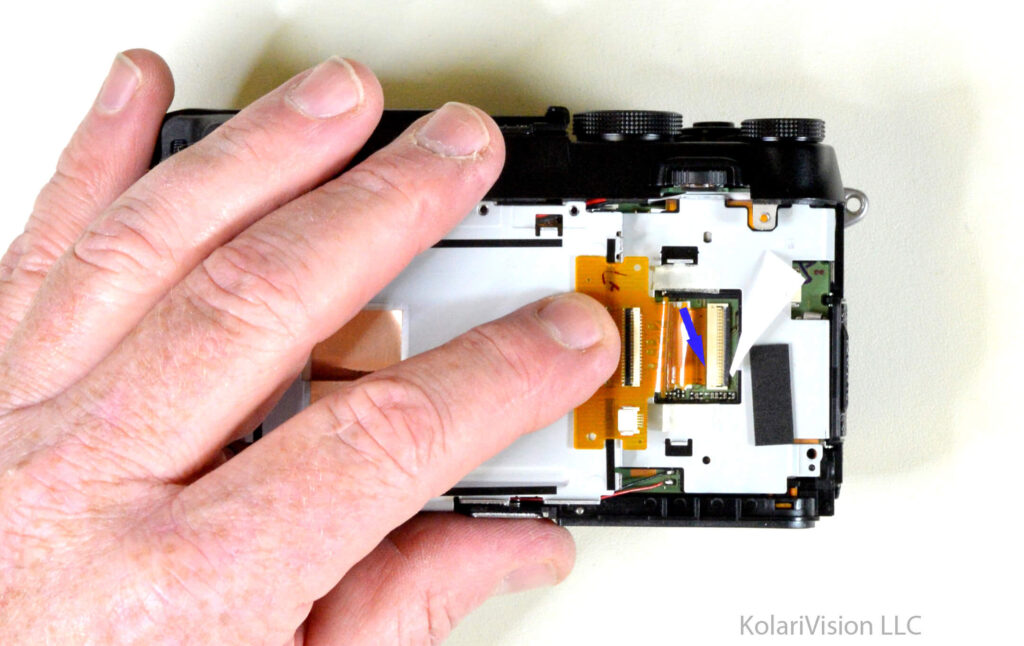
13
Step 13
- Release the cable as indicated where it may get caught while removing the silver bracket.
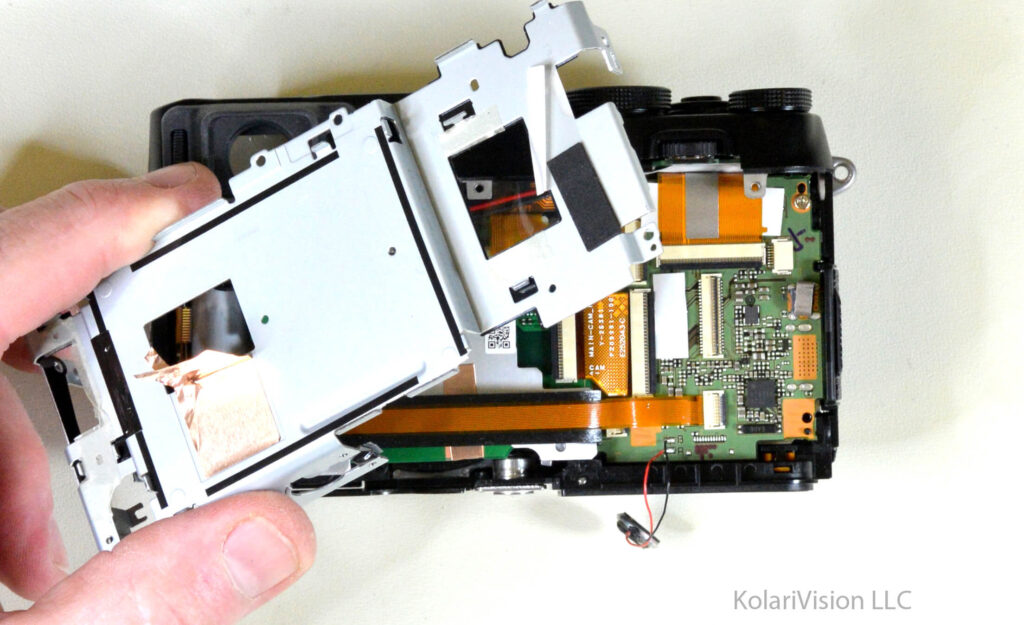
14
Step 14
- Now you can lift off the silver bracket.
15
Step 15
- Here you will notice 3 cables that have to be released before you get to the sensor.
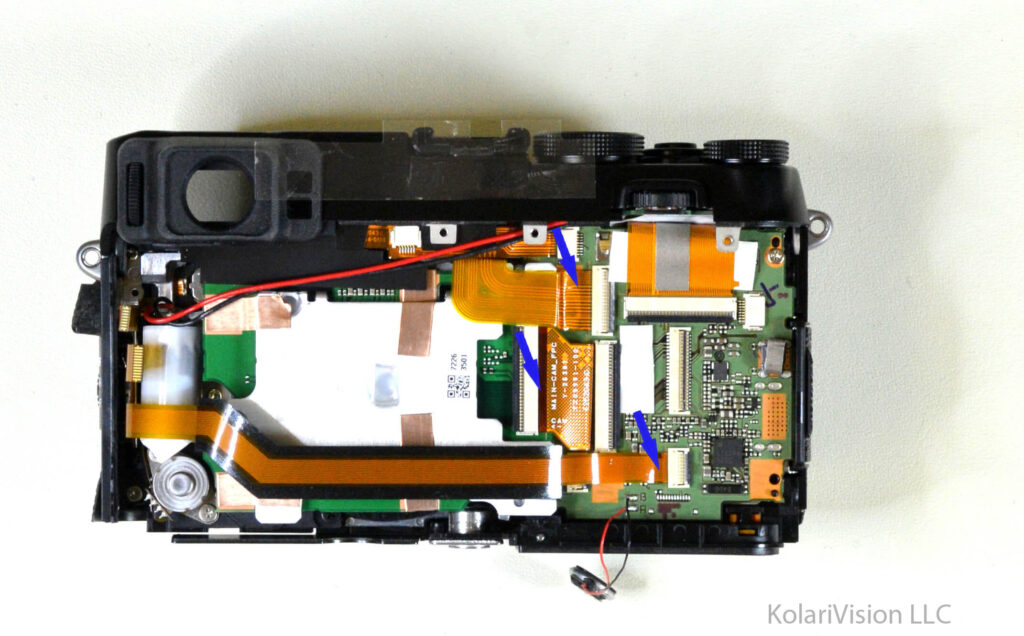
16
Step 16
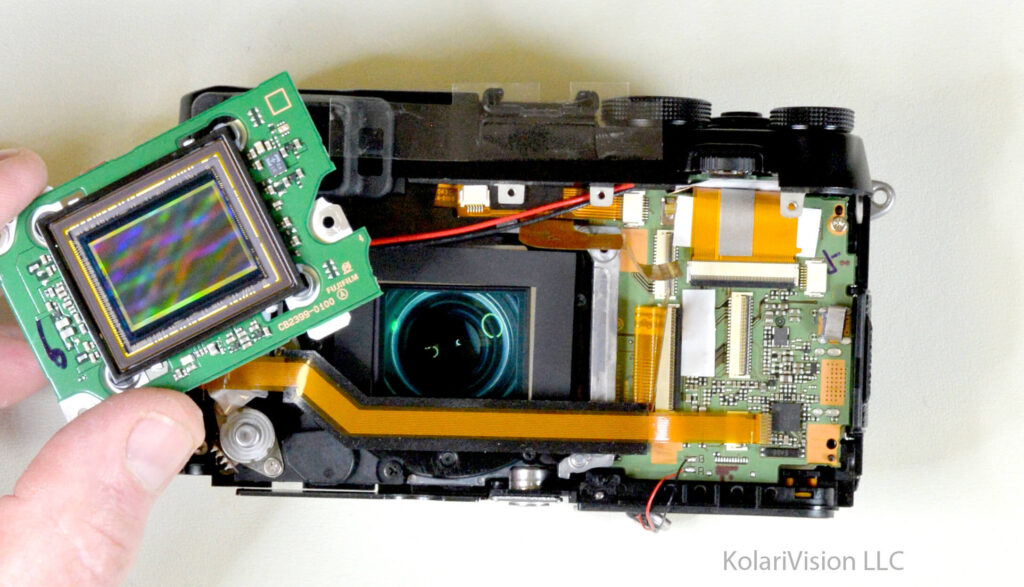
Once you have released the 3 cables from their connections, now remove the 3 screws that hold down the sensor.
17
Step 17
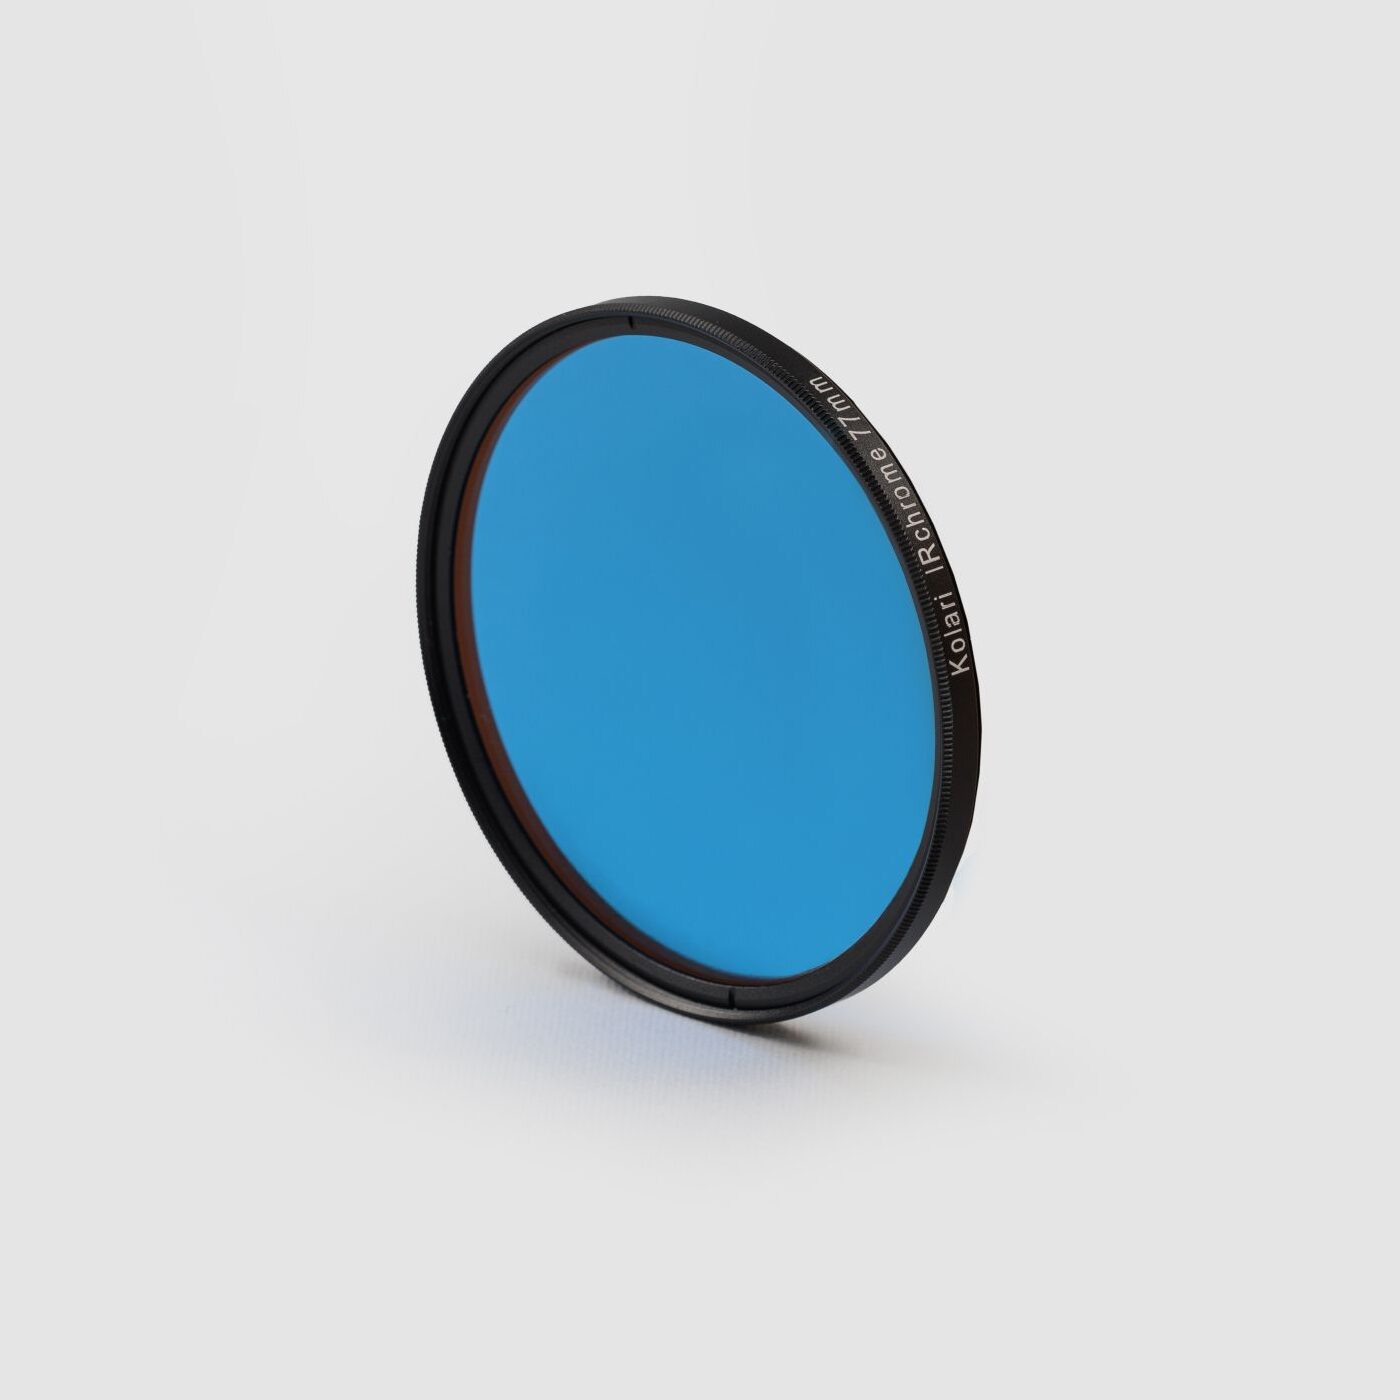
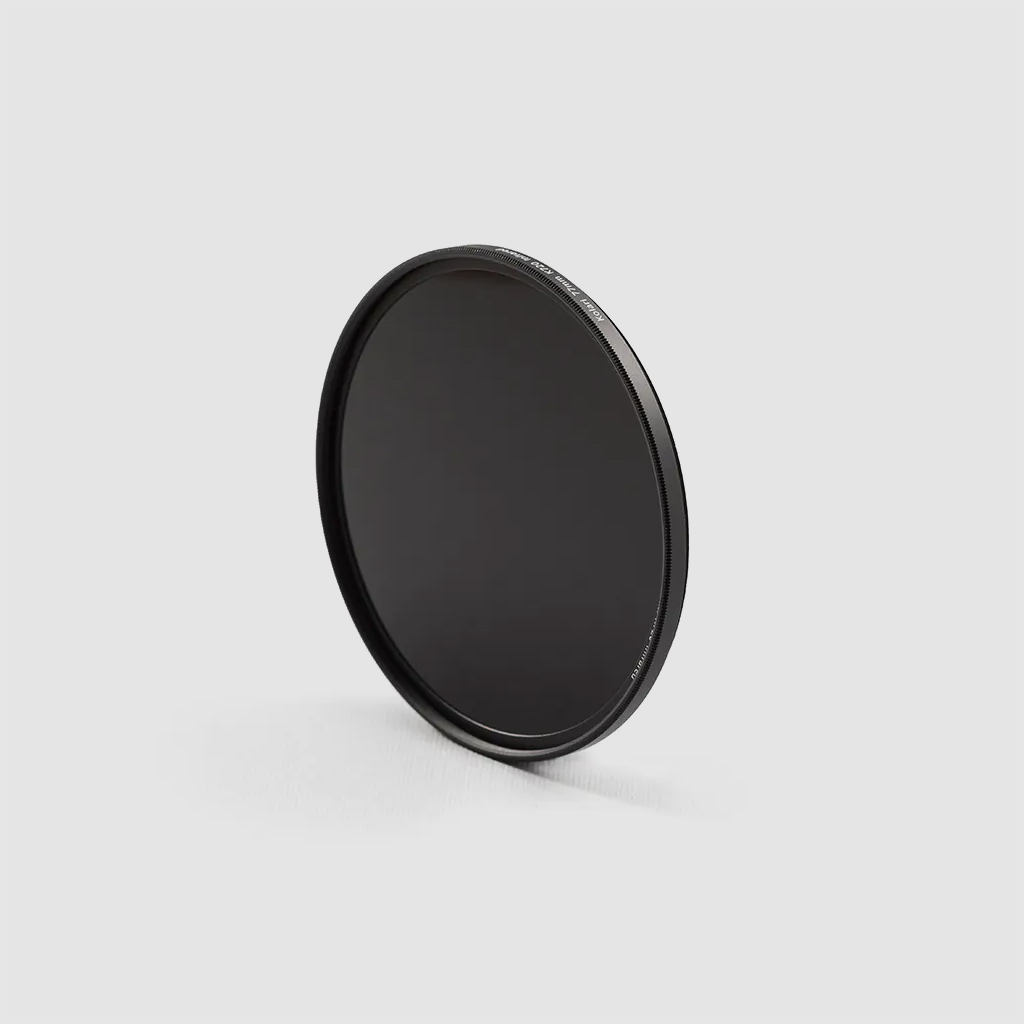
You have made it! Congratulations on your long journey to the finale! You are now an expert at disassembling your Fujifilm camera. The IR filter is attached to the lens, not the sensor, in this case. Replace the blue filter with any desired filter of your choice, and follow the steps backwards to close up the camera. Best of luck!
