★★★★★ 5/5
Canon EOS Rebel T3i DIY Conversion Tutorial
Difficulty
Moderate
Steps
20
Time Required
10 minutes
Phillips #000 Screwdriver
Spudger
Tweezers
Introduction
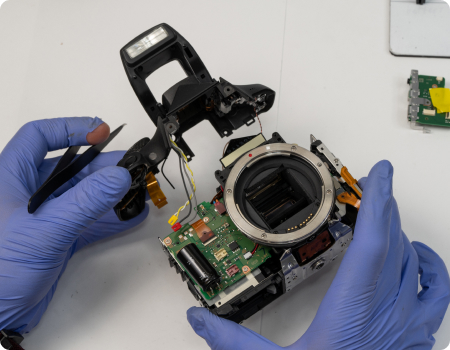
Use this guide to replace the top casing on your Canon EOS Rebel T3i.
1
Step 1
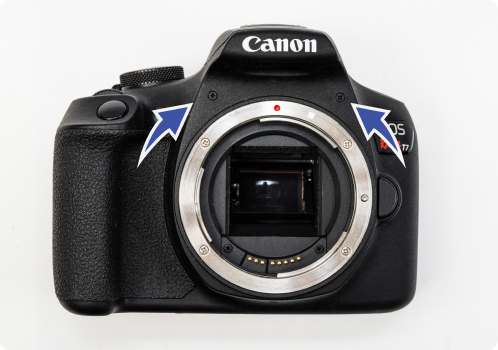
- On the front of the camera, remove the top 2 screws.
2
Step 2
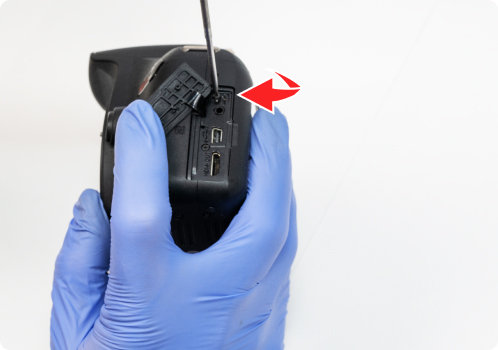
- On the left side, remove the screw above the port cover.
- Then open the port cover and remove the 2 screws located on the port panel.
3
Step 3
- On the right side, remove the 2 screws.

4
Step 4
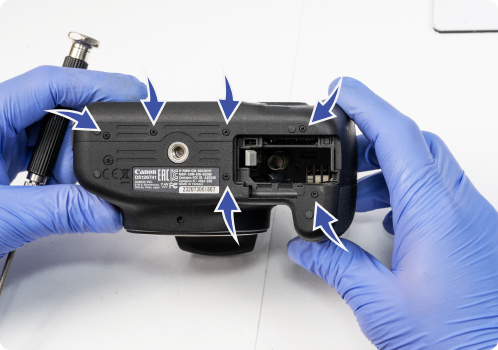
- On the bottom, remove all 6 screws, including the one under the lens mount.
5
Step 5
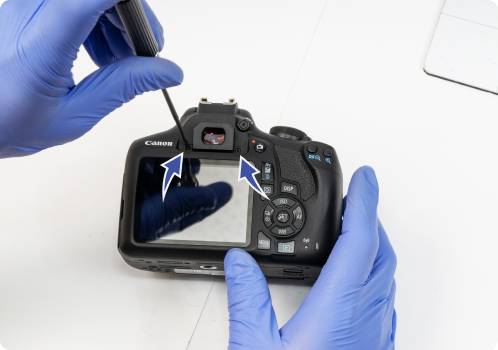
- Take off the cup if you have one and then remove the two screws from under the viewfinder and remove the diopter.
6
Step 6
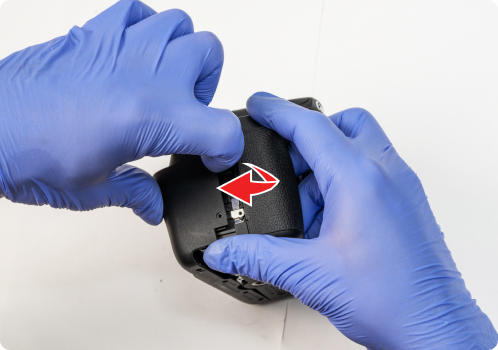
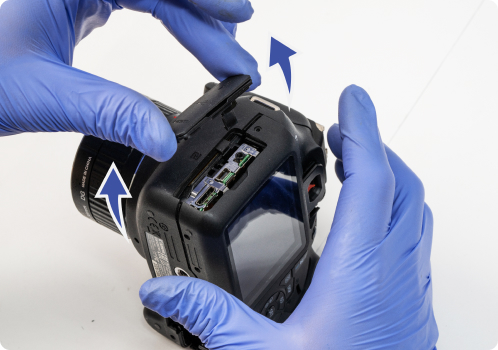
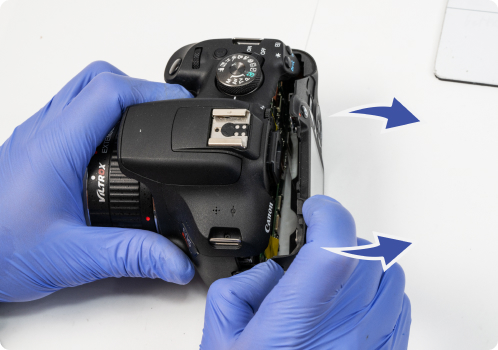
- Now you can start to slowly pull the back panel separate from the body.
- Be careful not to completely remove it, because there are still two ribbons connecting it to the circuit board.
- This is also a good time to remove the port panel on the left side.
7
Step 7
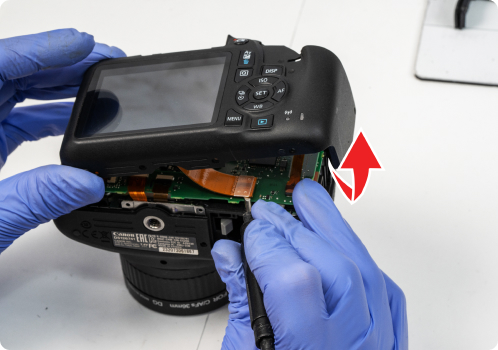
- Place the camera face down with the bottom side facing you. Lift the back panel and you’ll see the ribbon connecting it to the board. You can disconnect the larger one on the left by carefully prying it up.
8
Step 8
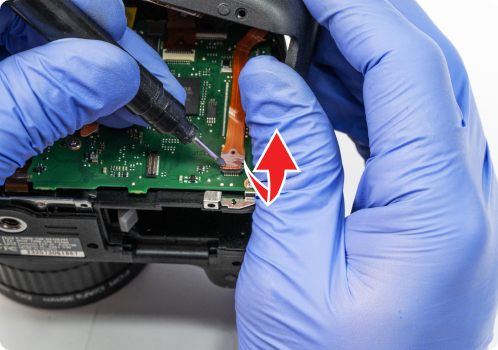
- For the one on the right, you’ll need to unclip it by lifting the orange tab towards you, and the you can pull the ribbon out.
9
Step 9
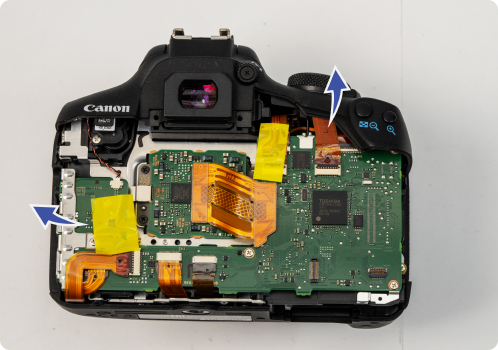
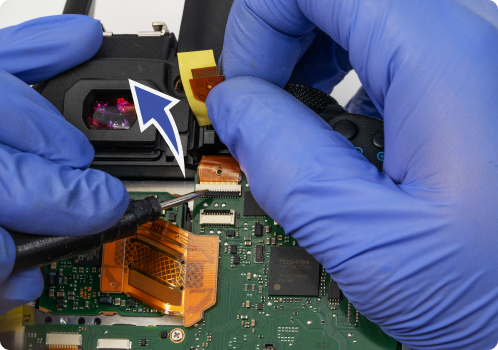
- Disconnect all ribbons from the circuit board.
10
Step 10
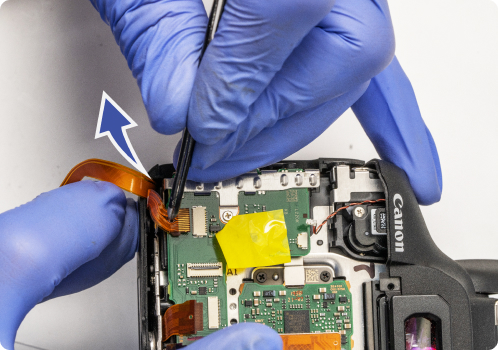
- In the top right corner and bottom left, you’ll find some ribbons hiding beneath other ribbons.
- Disconnect those as well.
11
Step 11
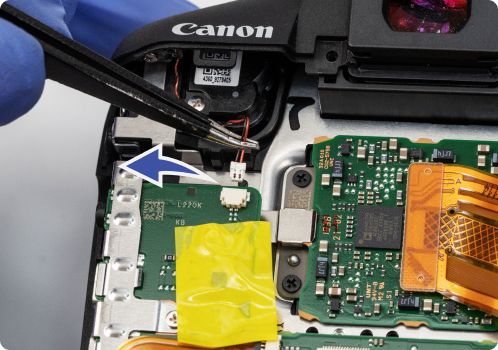
- Also disconnect the clip holding the red and black wires.
12
Step 12
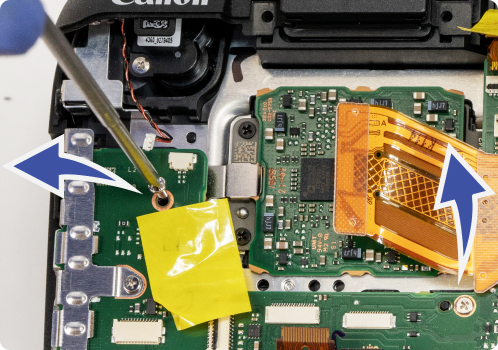
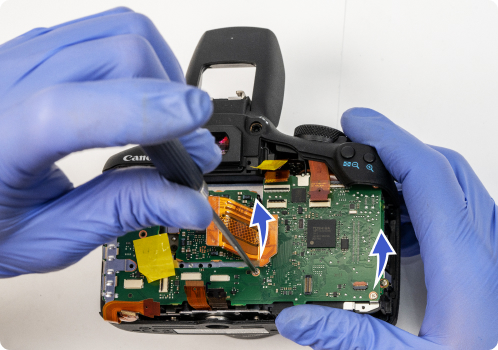
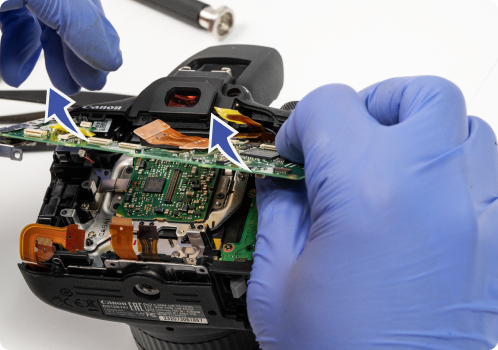
- Move aside the yellow tape revealing a screw and remove the 5 screws holding the circuit board.
- Theres one in the top corner, hiding under the top panel. You should be able to get under it to remove it but if not we’ll show to take off the top panel in a moment.
13
Step 13
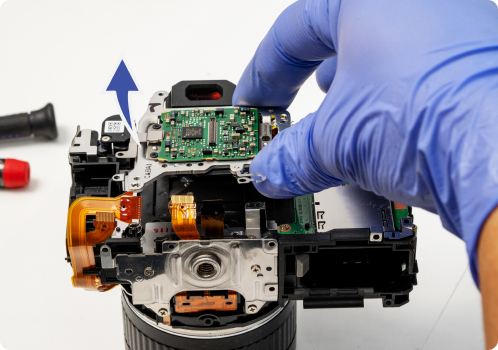
- Lift up the board but do not pull it out.
14
Step 14
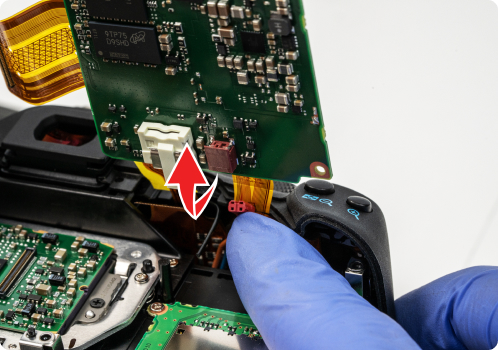
- On the underside of the board are connections to a black wire and a red wire. Disconnect those and remove the board.
15
Step 15
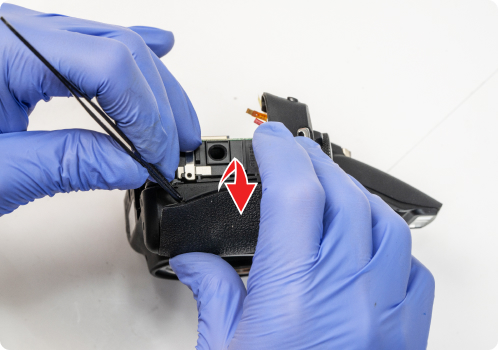
- To remove top piece, peel the leathers off of the grip and
16
Step 16
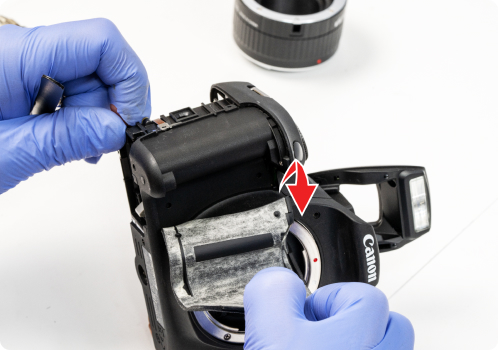
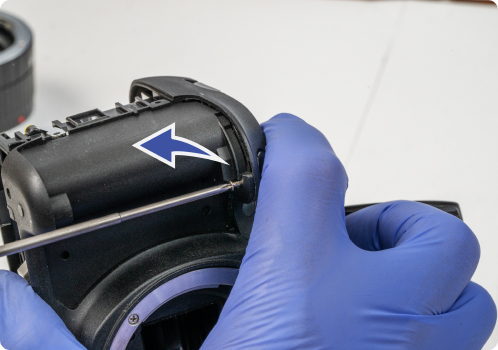
- Remove the screw from the top of grip (under the shutter button).
17
Step 17
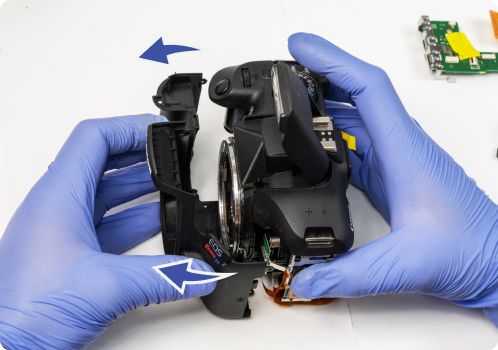
- Pull off the front panel.
18
Step 18
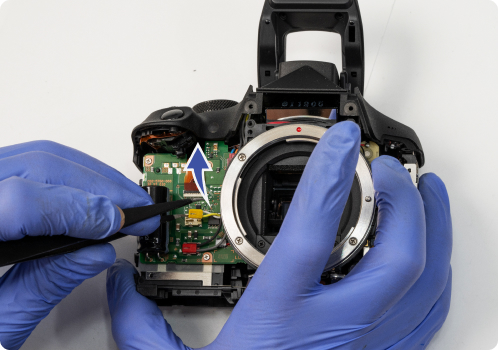
- On the front side, disconnect the red and yellow clips by prying them up.
19
Step 19
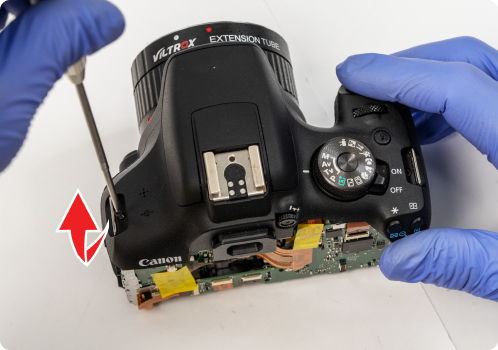
- Remove the screws on the top located in the strap loops.
20
Step 20
- Pull off the top.
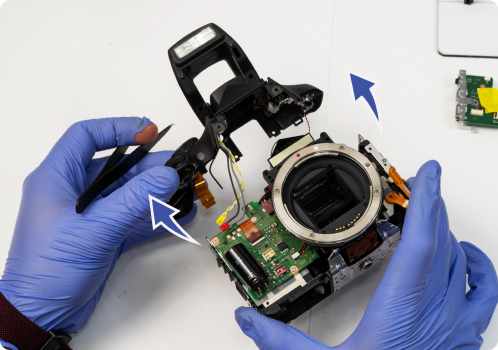
21
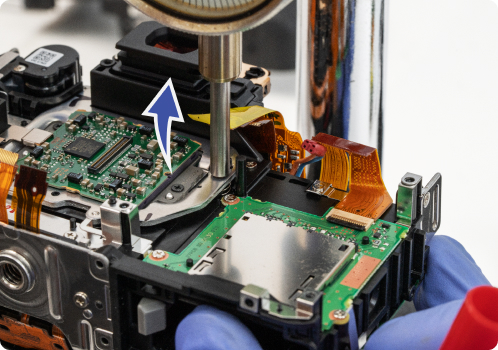
Step 21
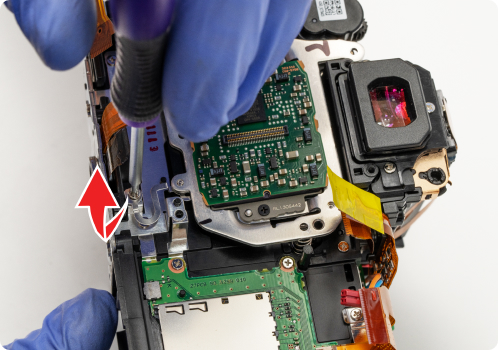
- The sensor has springs around its screws holding it at a specifically distance from the frame. Before unscrewing the sensor, measure the depth to determine the stock position of the sensor, in order to reinstall it at the proper height.
22
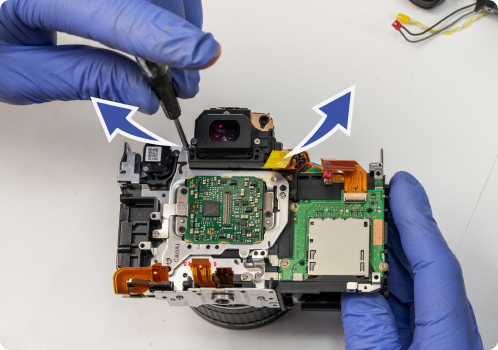
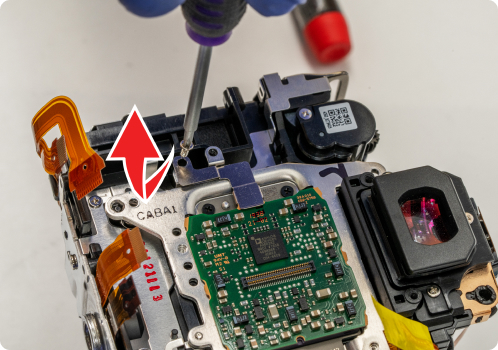
Step 22
- Remove the 5 screws holding the sensor
23
Step 23
- Take out the sensor, and be careful not to lose the springs.
