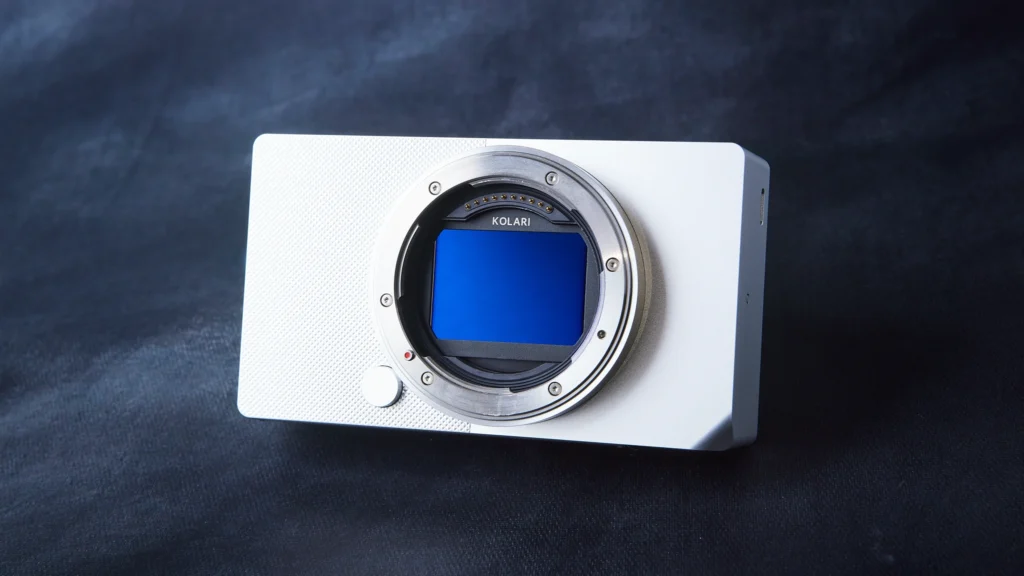
The Sigma BF is probably one of the most aesthetic-looking cameras we’ve ever come across (and we’ve had many cameras come through our shop). The design is so clean and modern that you’d almost be led to believe this was Apple’s take on a mirrorless camera if they ever decided to enter the photography industry with their own dedicated camera.
Fortunately, the Sigma BF allows for full lens compatibility with our Magnetic Clip-in Filters for Sigma L-mount cameras. Our filters sit above the camera’s sensor and behind the lens, making for convenient filtration between multiple different lenses. These are currently compatible with the Sigma BF, fp, and fp-L mirrorless cameras.
With that out of the way, let’s get into this teardown and see what makes up the Sigma BF!
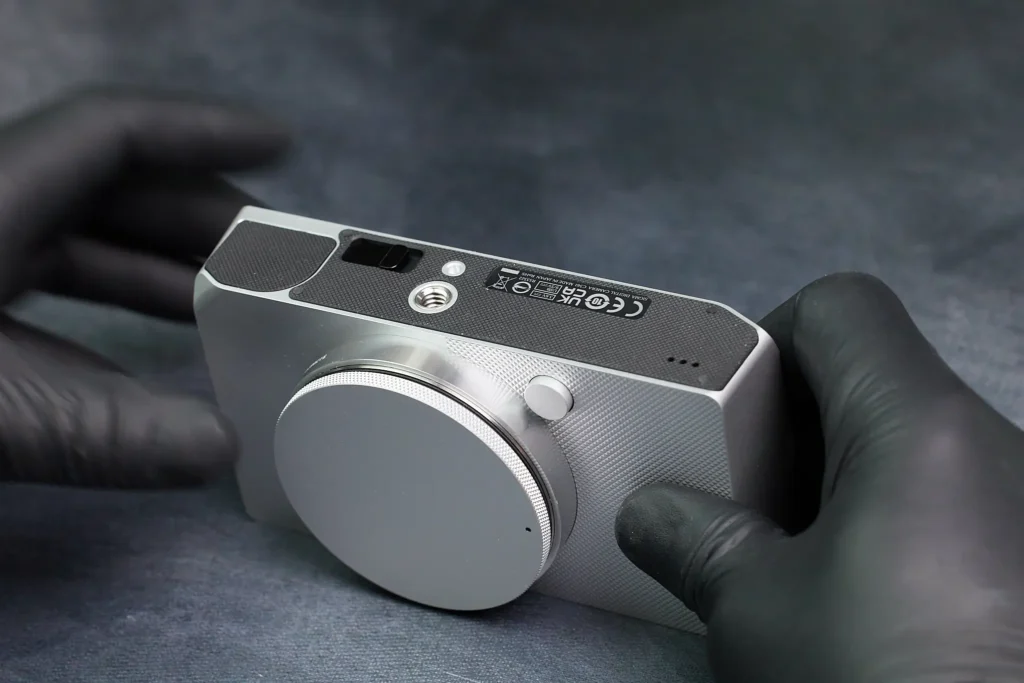
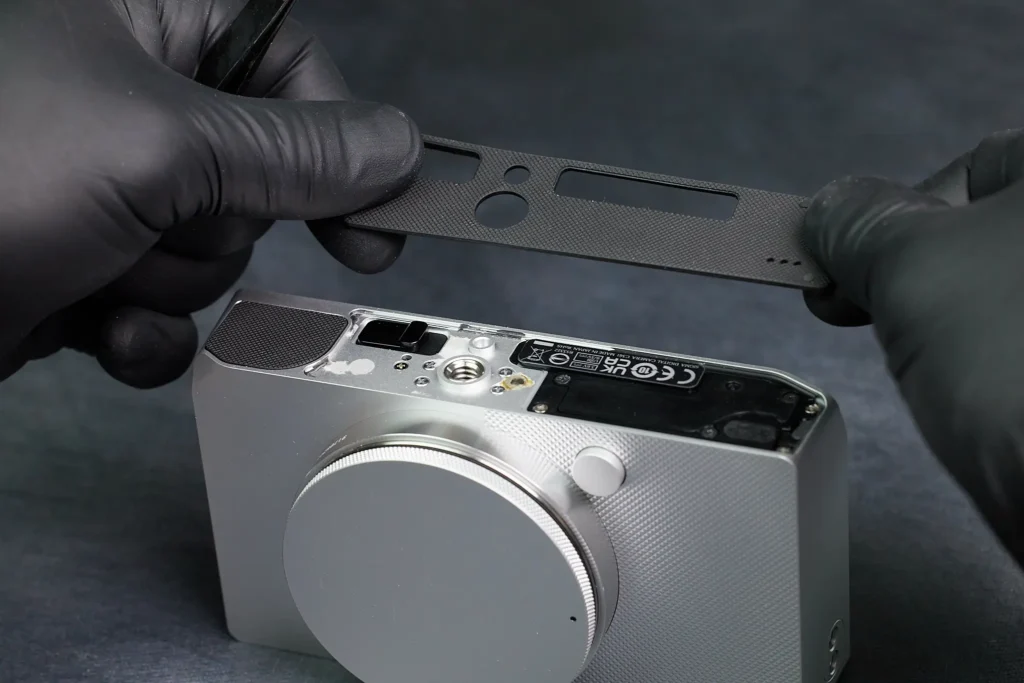
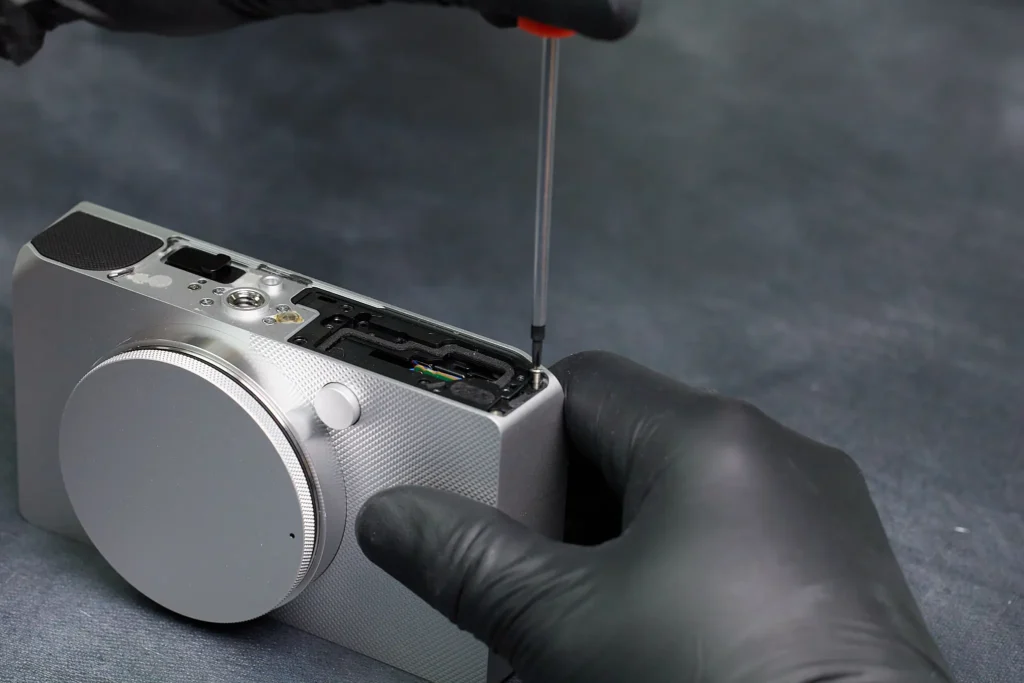
The minimal design of this camera is unlike most of the mirrorless cameras we’ve come across. In fact, it seemed to be a bit too minimal, as we were stumped on how to open the camera—there were no visible screws surrounding the exterior of the camera! Eventually we realized that the screws of the camera was located beneath the rubber pad of the bottom of the camera. Typically, the baseplate is a separate, removable plate that allows us access to the interior of the camera. For the Sigma BF, the camera frame is essentially one piece of aluminum, so reaching the interior was going to take some effort.
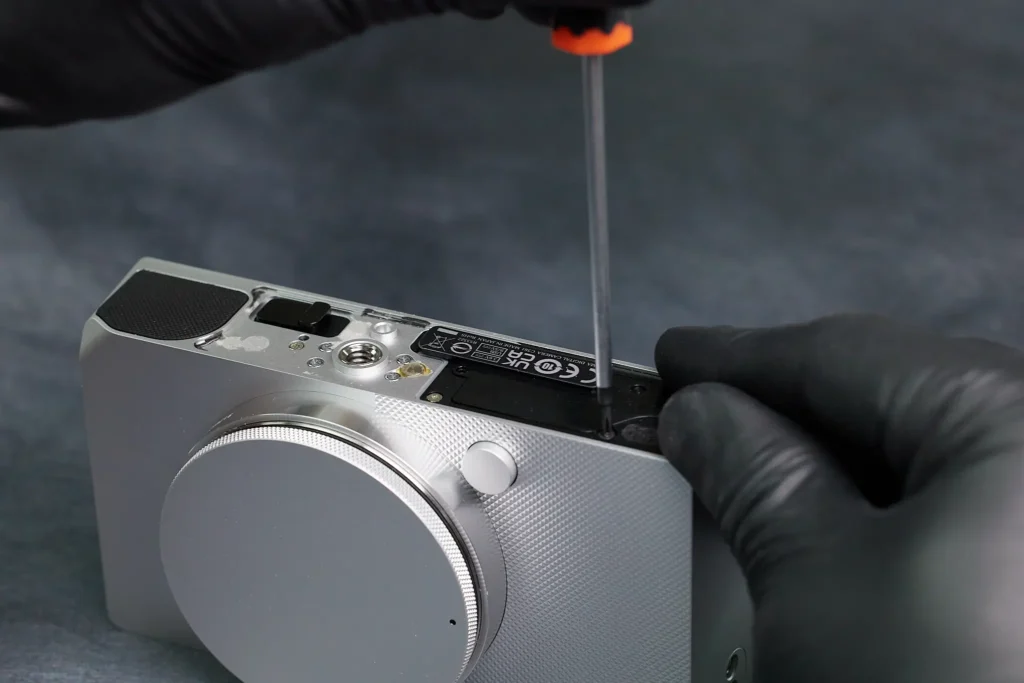
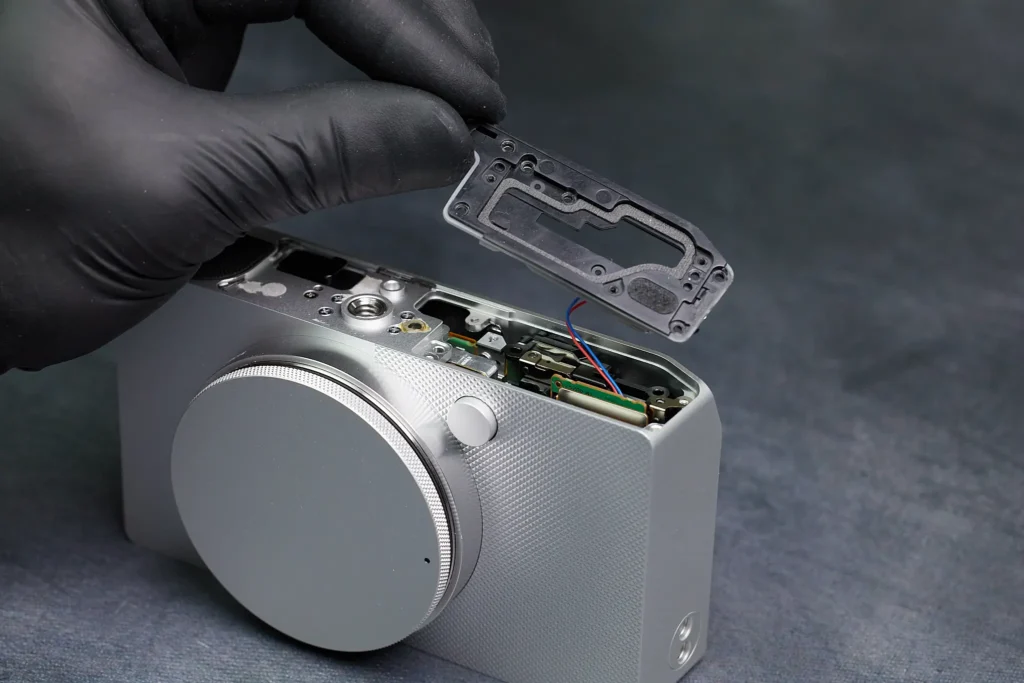
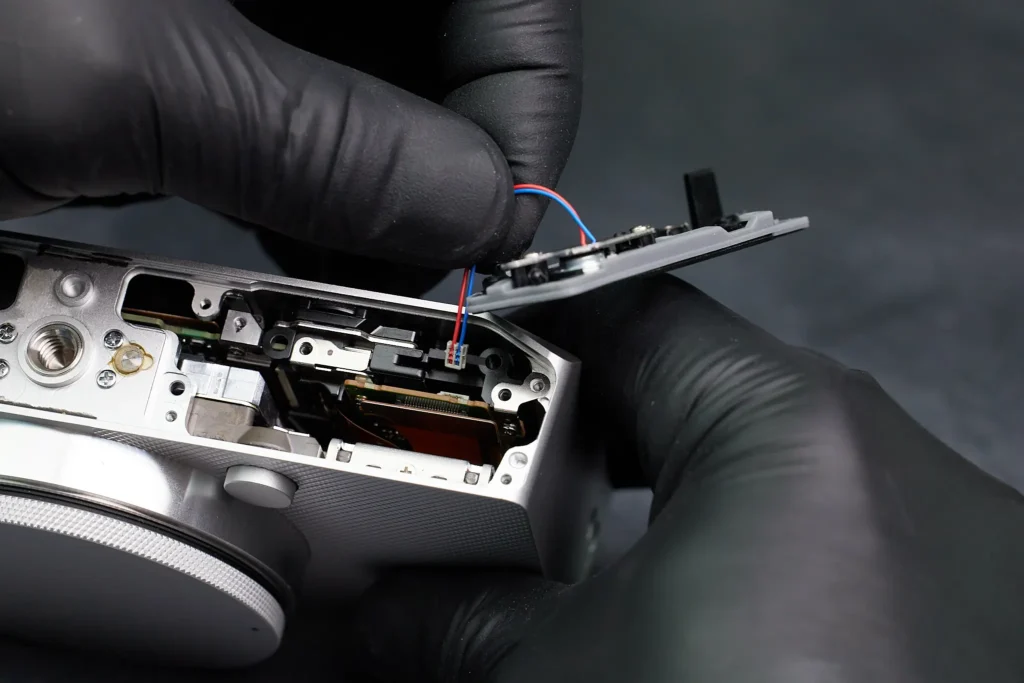
Beneath the rubber cover, we removed a plastic cover. This seemed to be the first entry point for the interior of the camera. On top of being fastened with a few screws, it was connected with a wire.
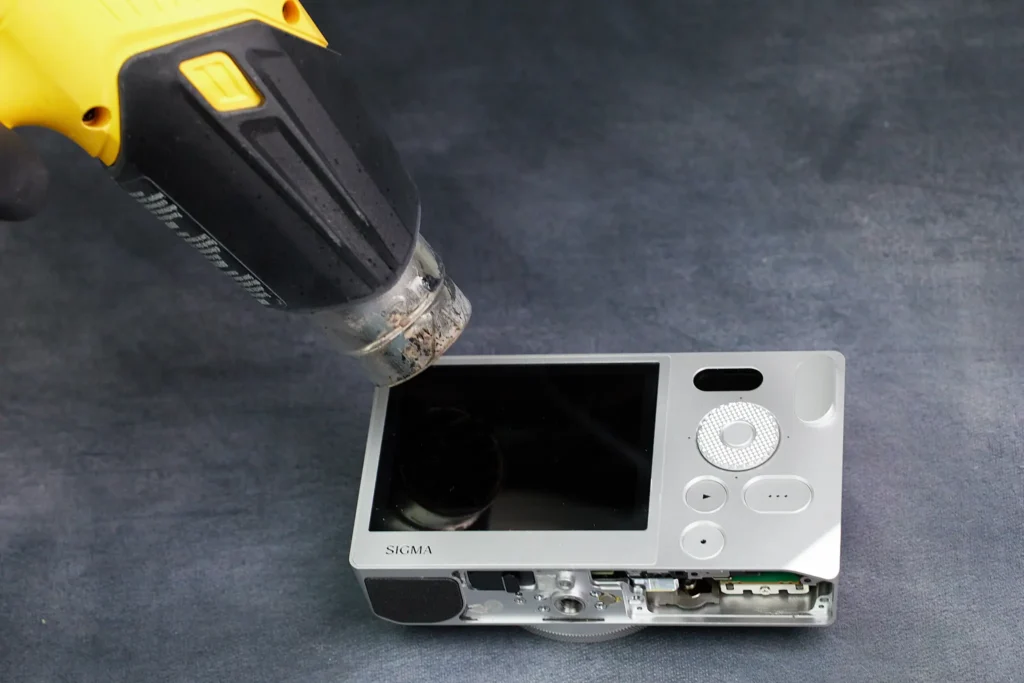
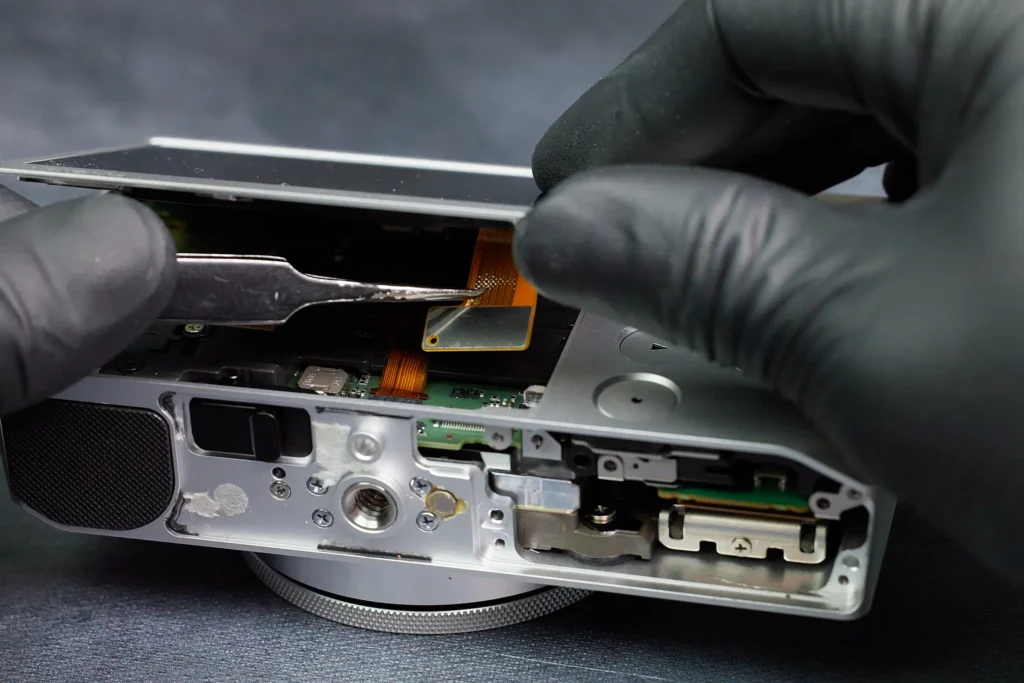
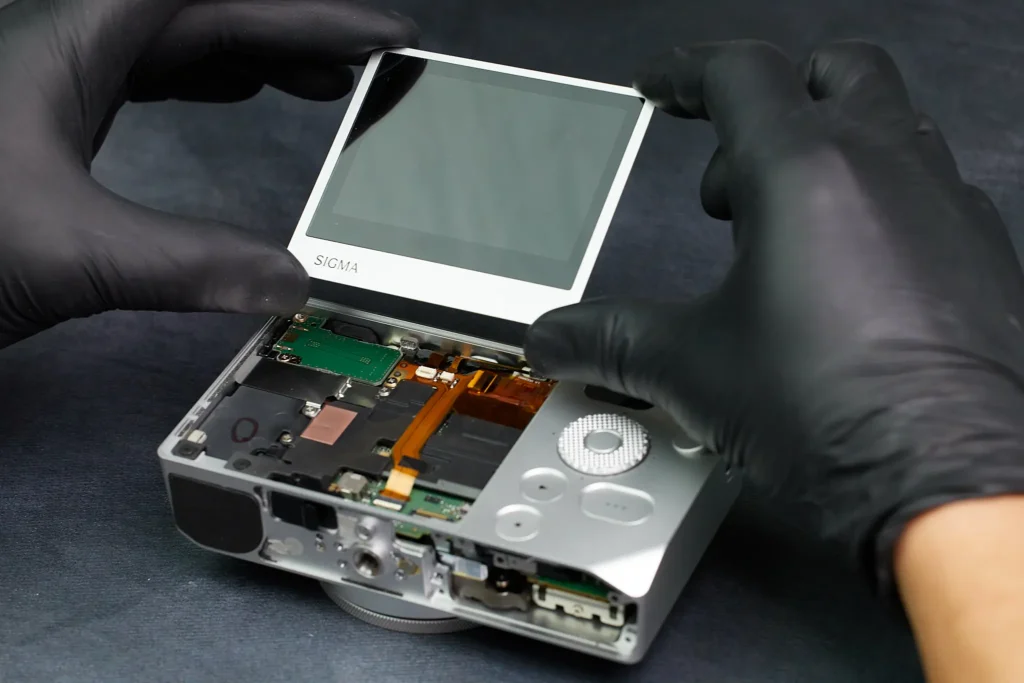
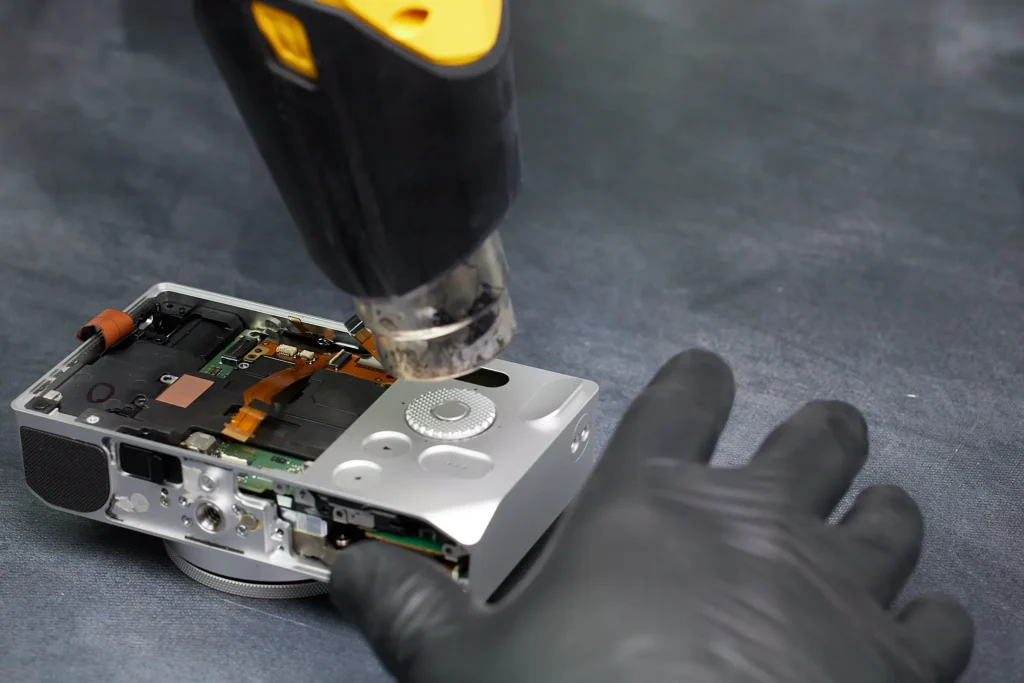
Further exploring the camera led to us realizing that the LCD screen was removable. We used a heat gun to weaken any adhesive and then applied mild force to push the screen out of place, all while making sure to keep the ribbon cable in tact. The LCD screen is connected to the circuitboard via one ribbon cable.
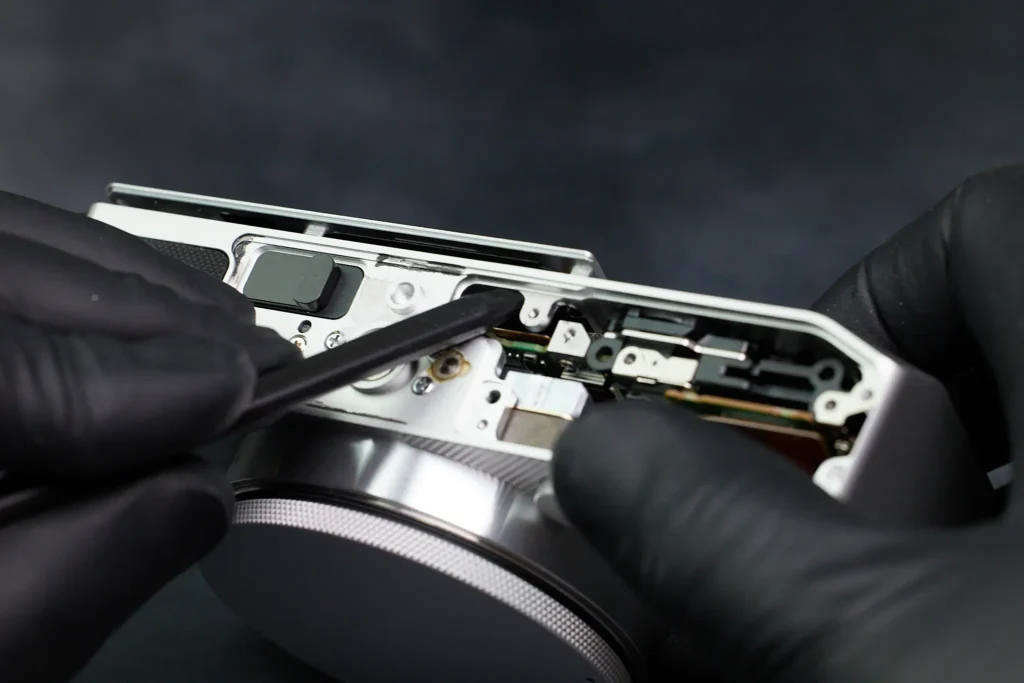
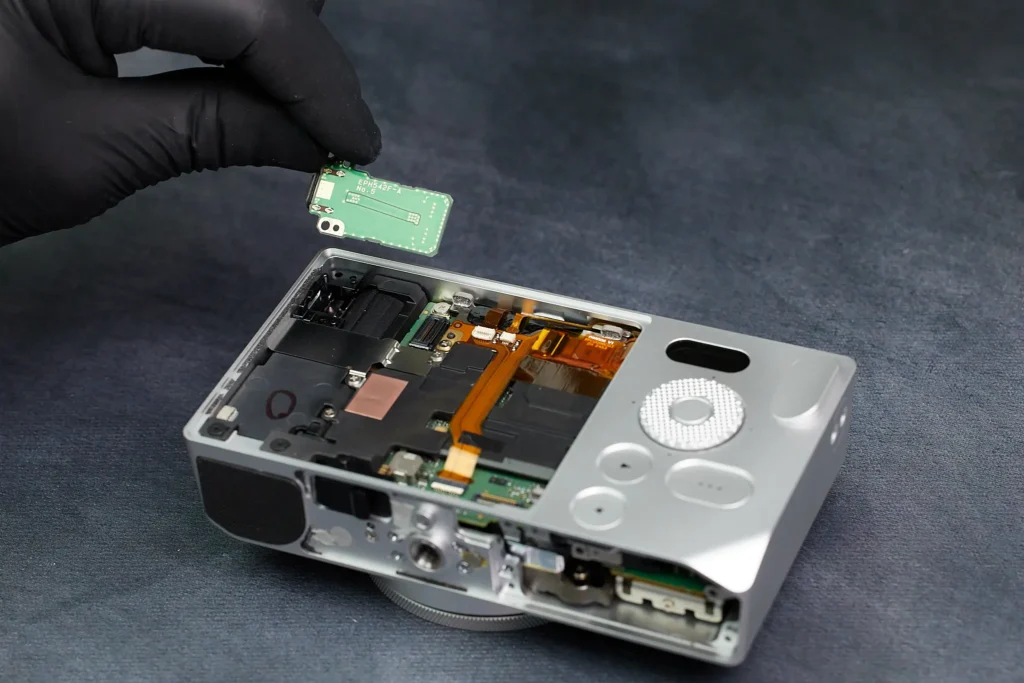
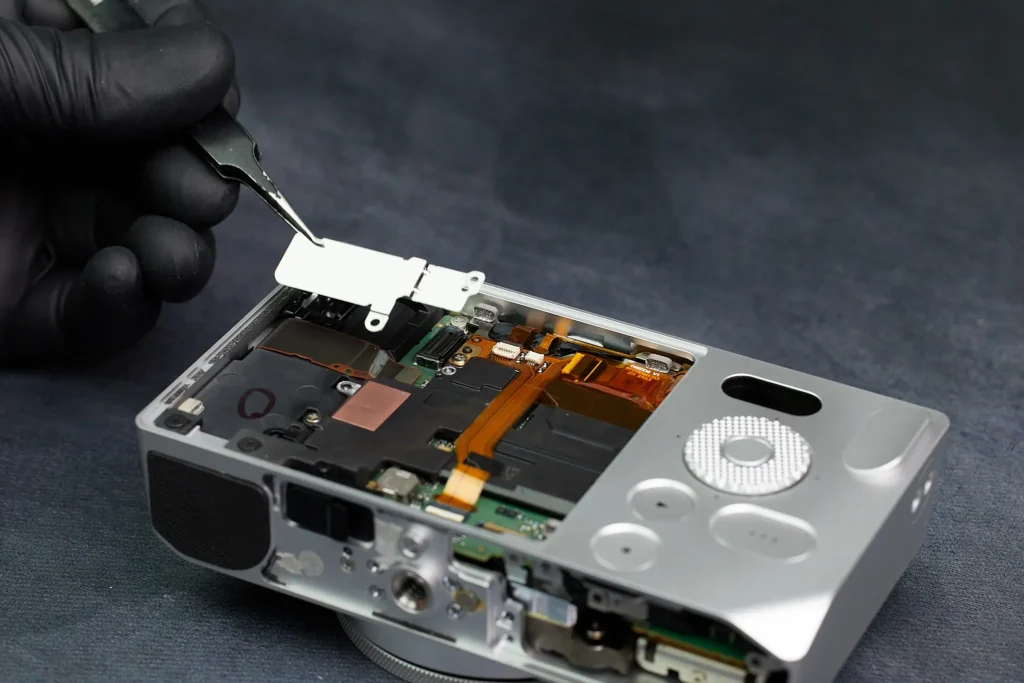
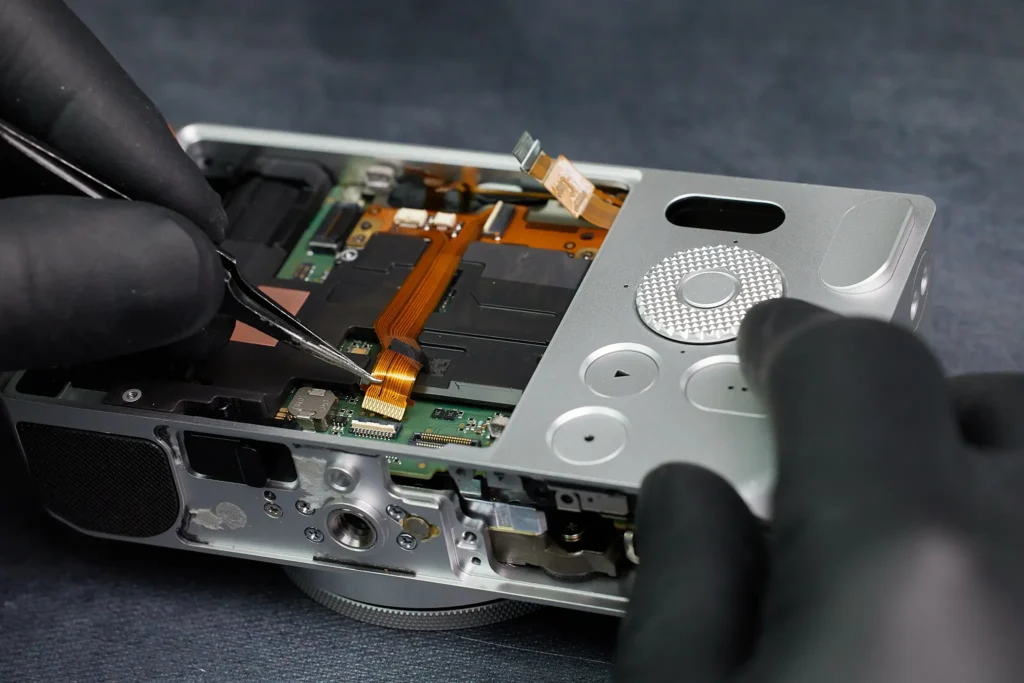
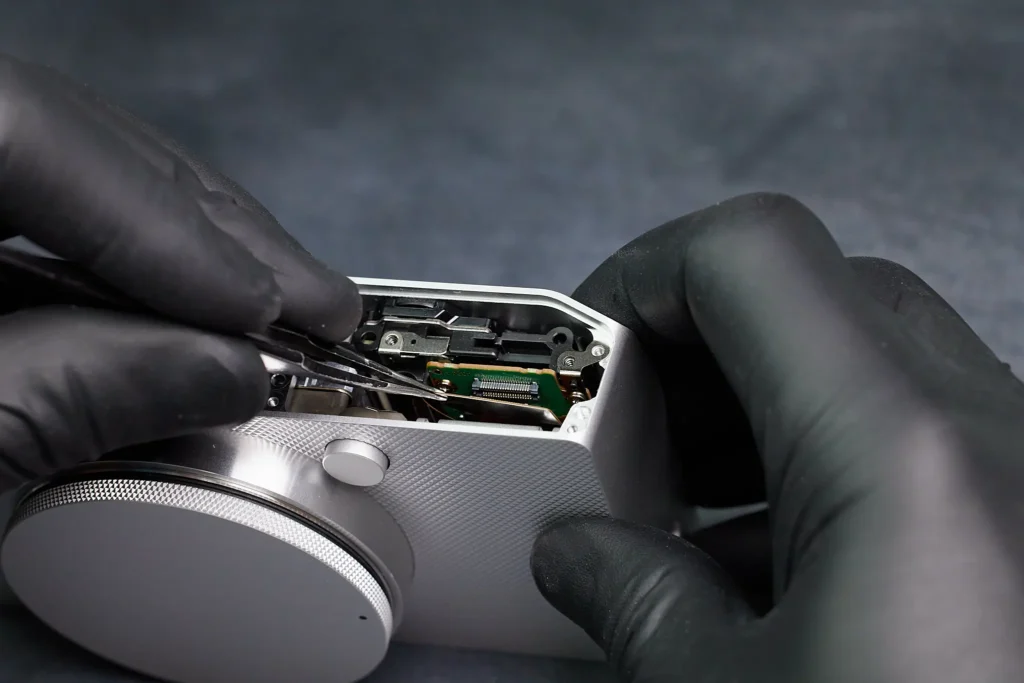
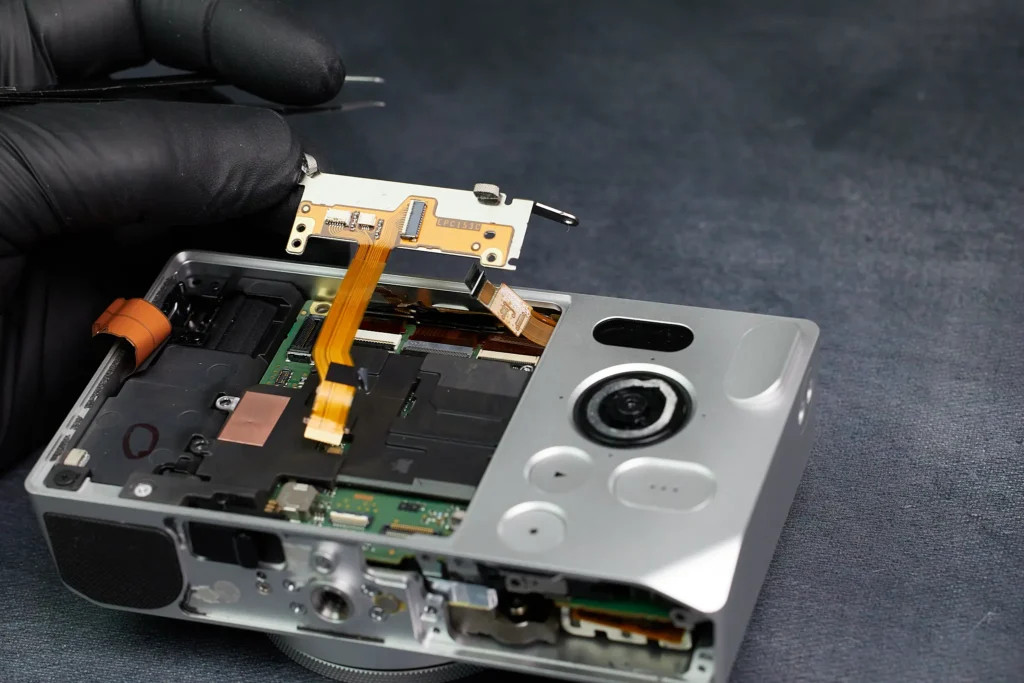
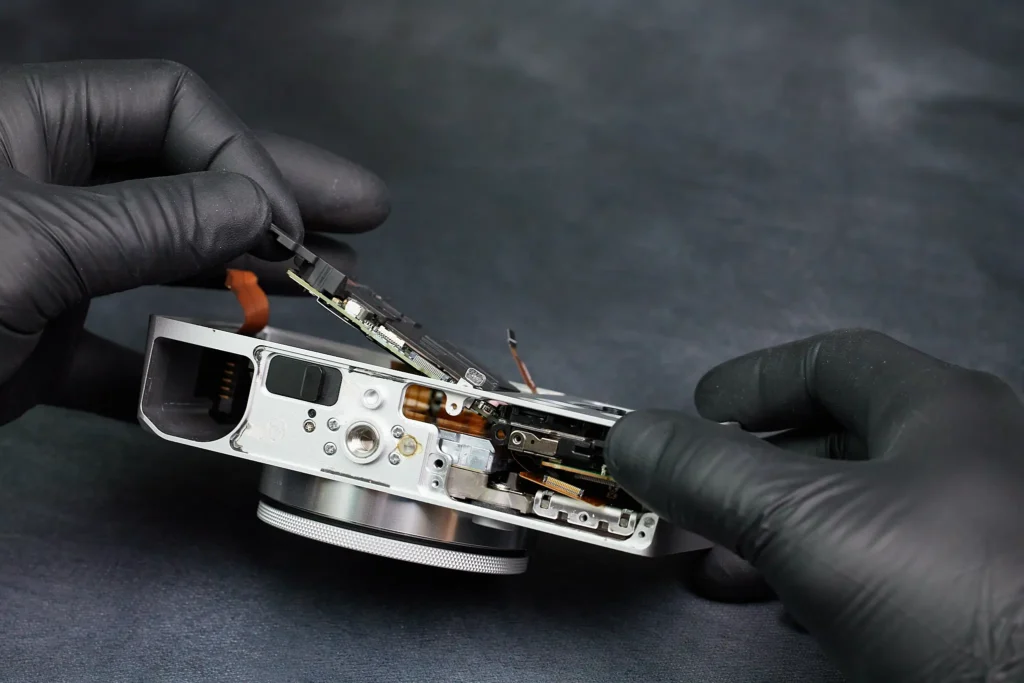
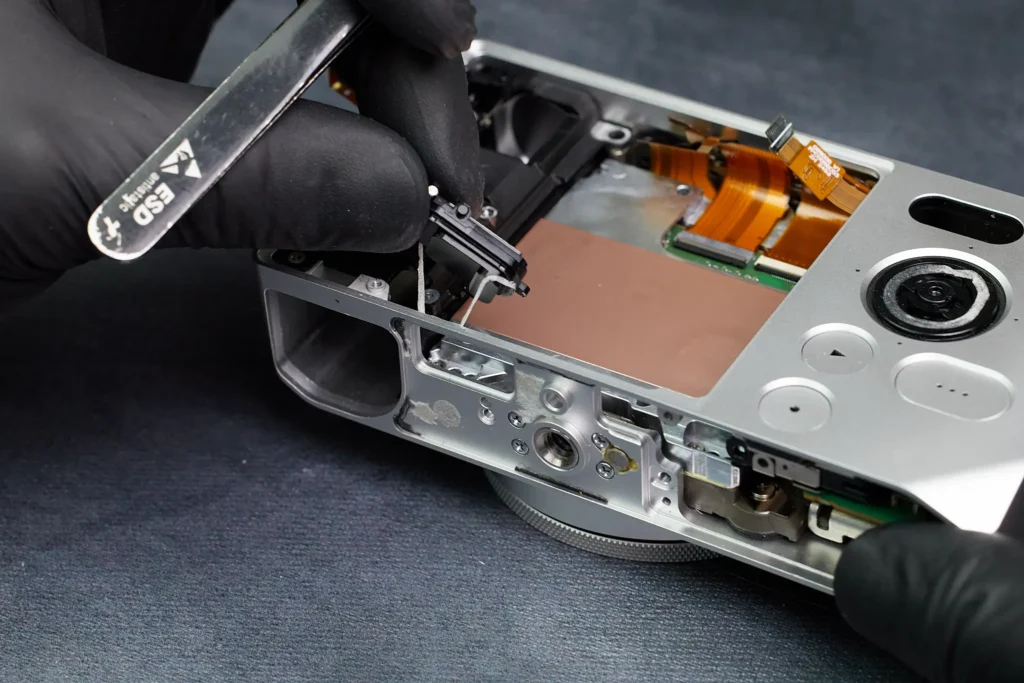
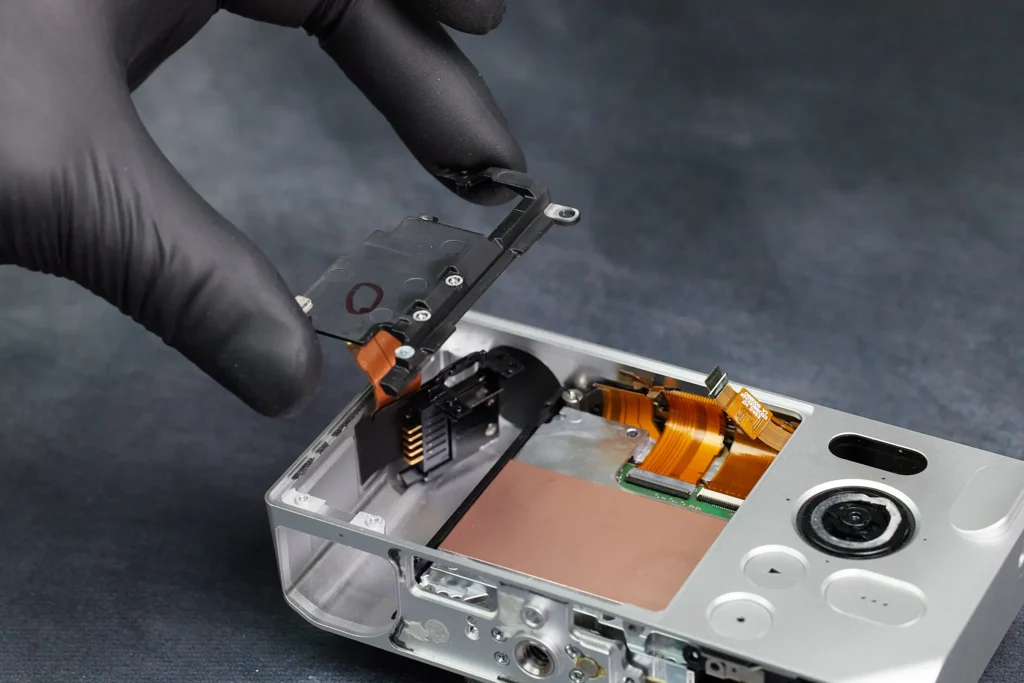
The interior of the Sigma BF is highly layered. From this point on, we needed to remove many smaller individual parts to access the larger pieces such as the circuitboard. The first two parts we removed was a smaller PCB and metal bracket.
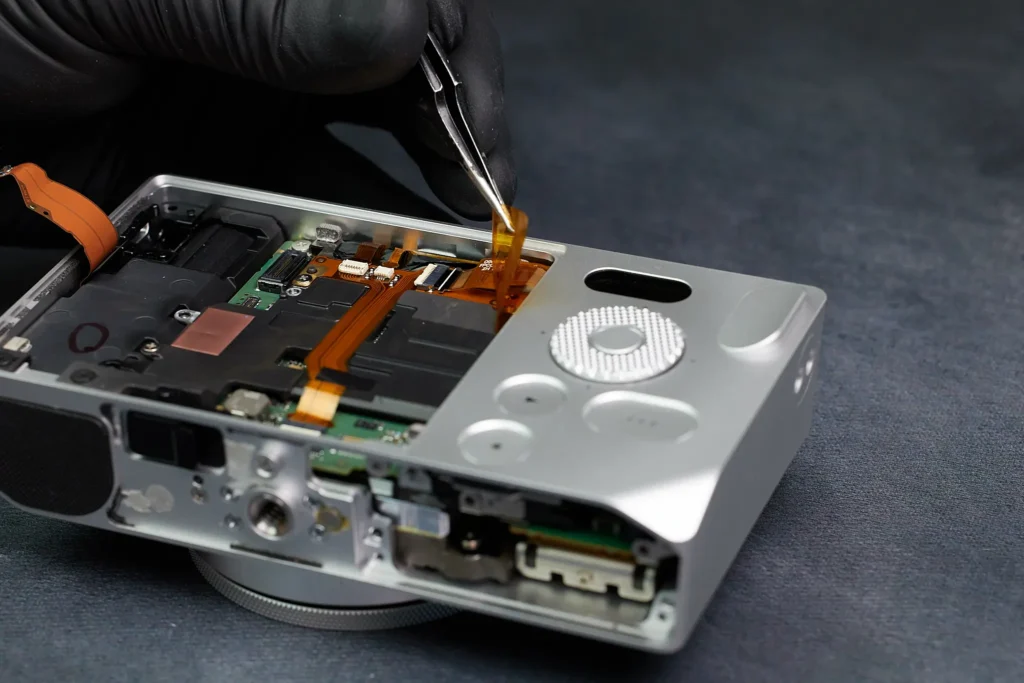
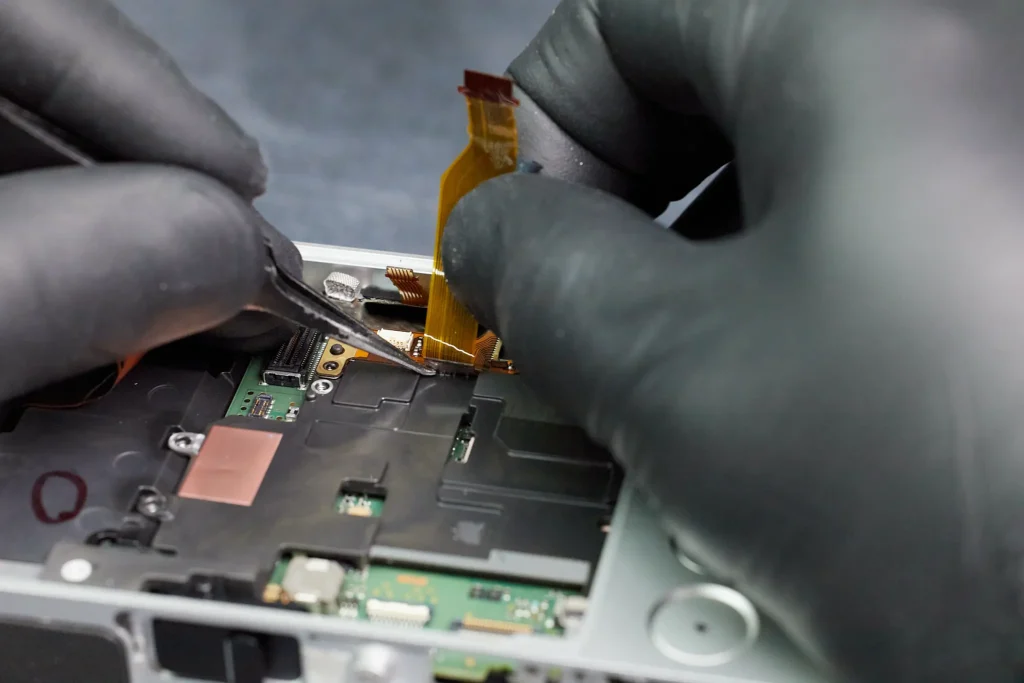
Removing those previous parts gave access to a few ribbons cables that needed to be removed.
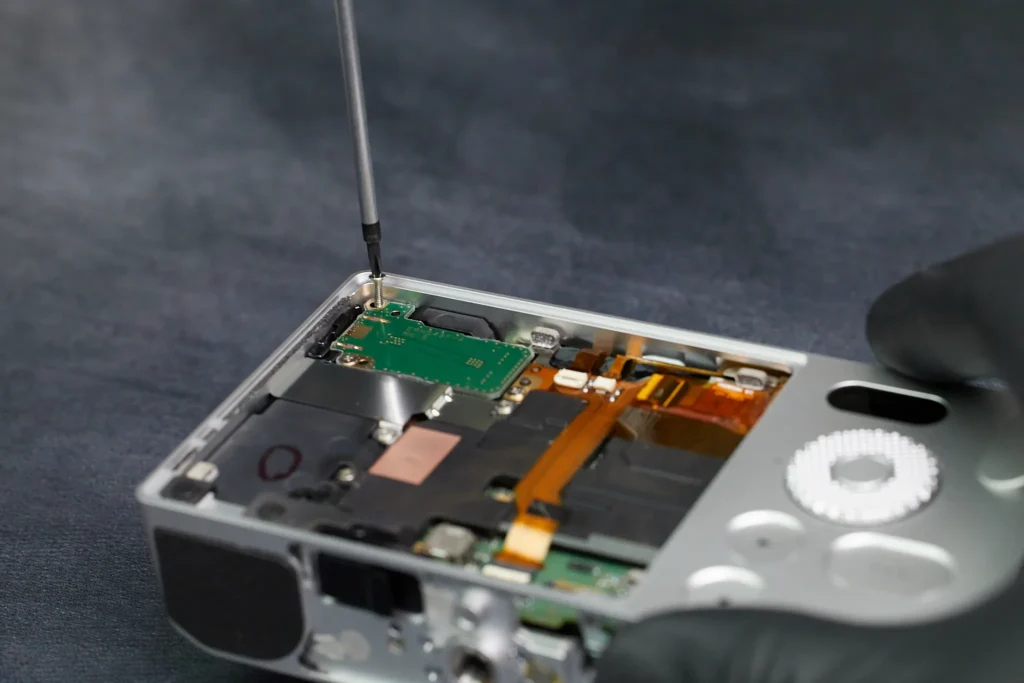
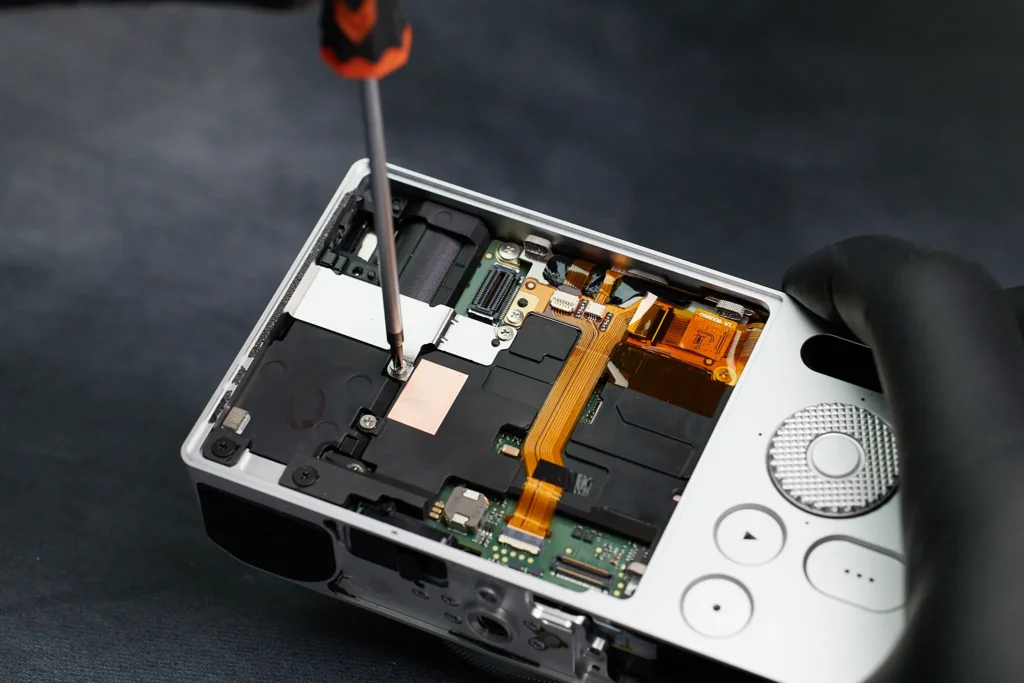
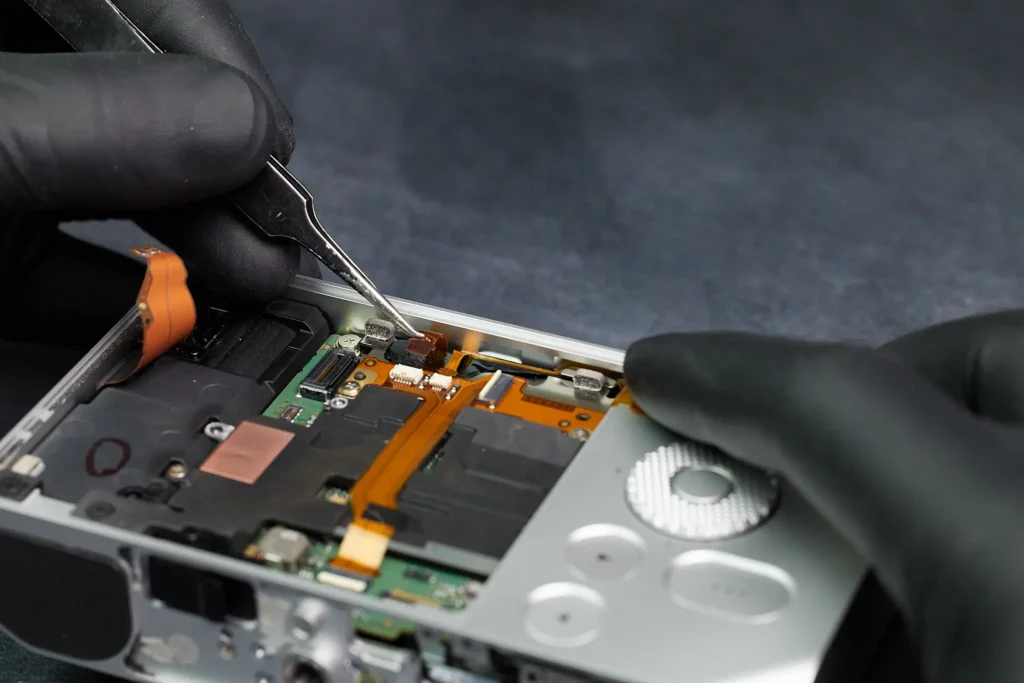
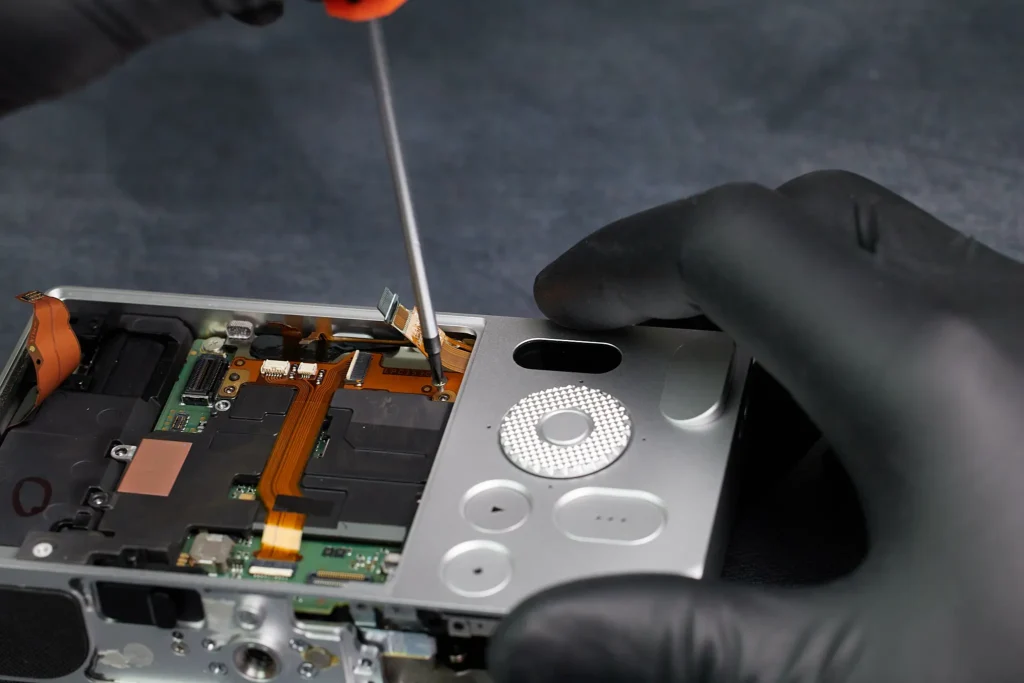
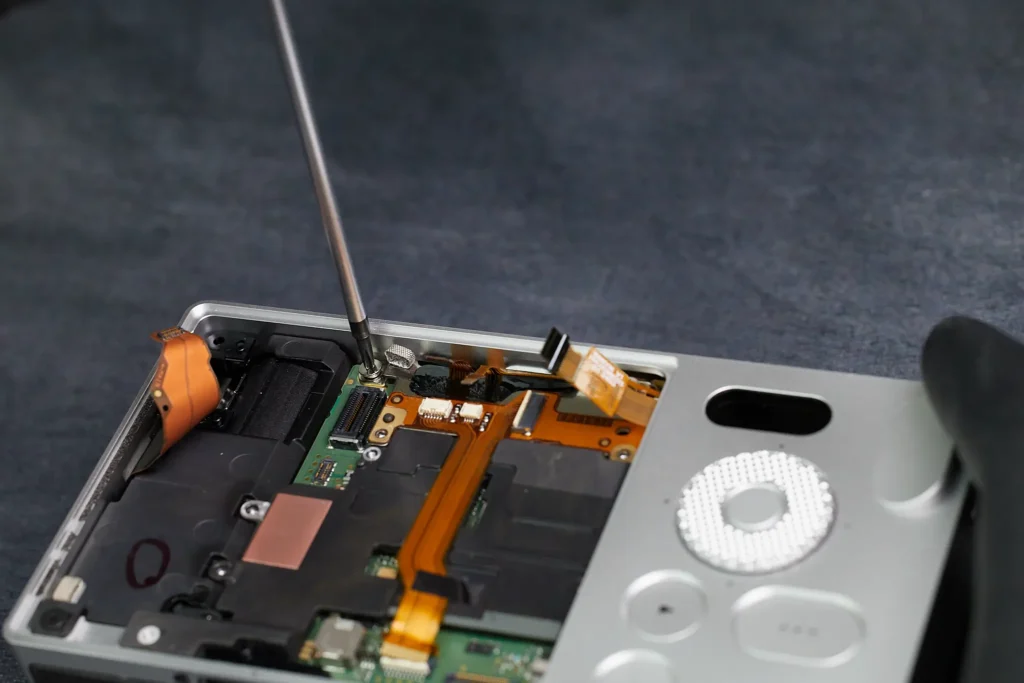
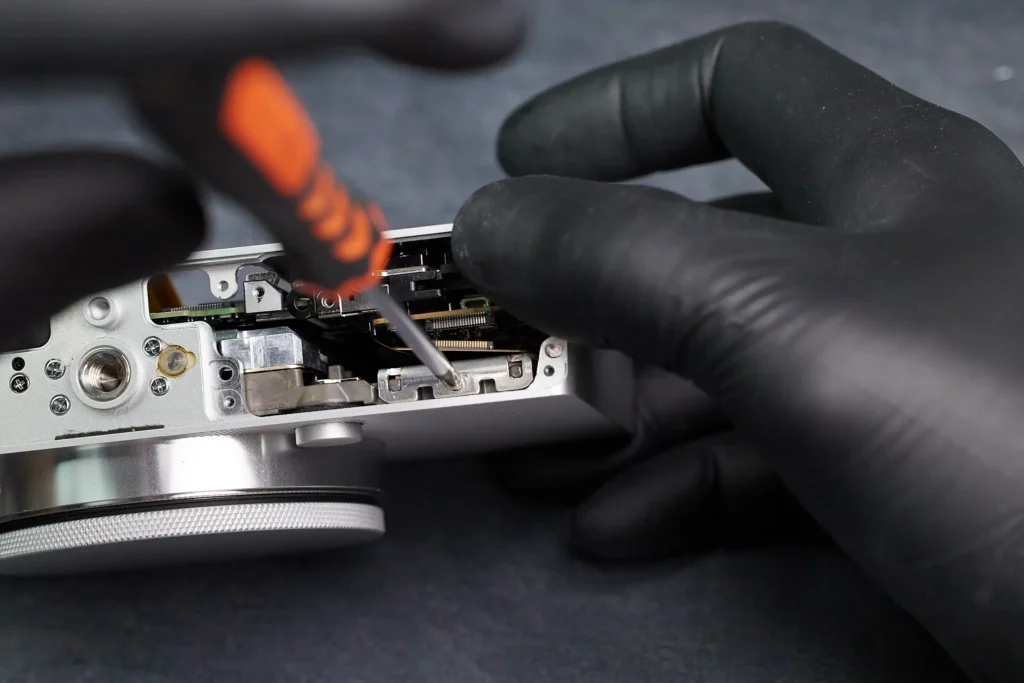
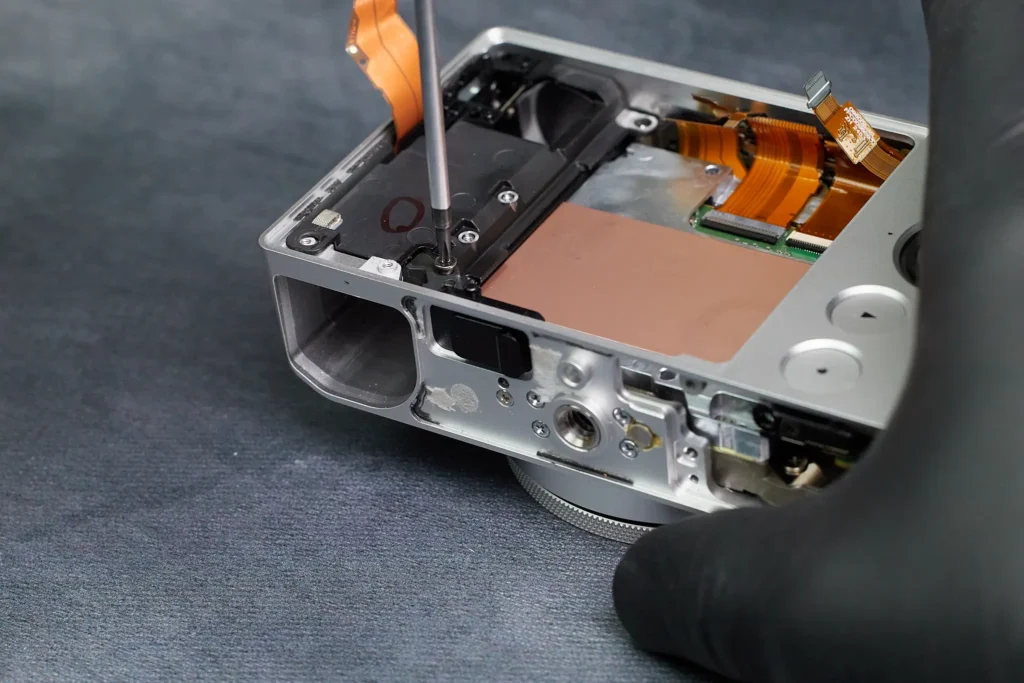
Here we removed several screws holding down the interior framing of the camera.
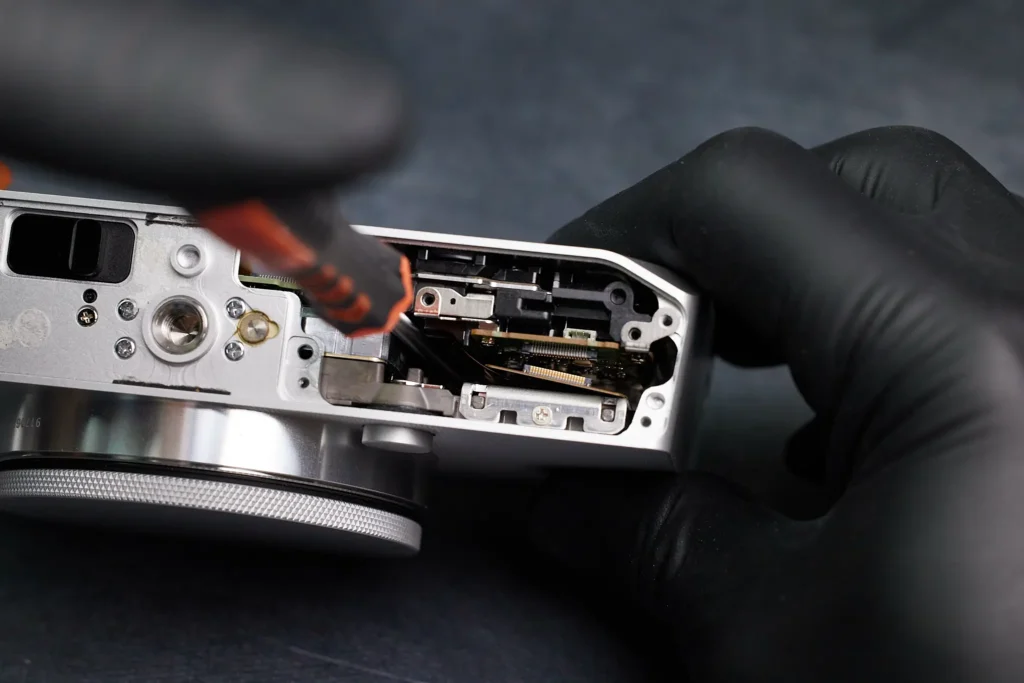
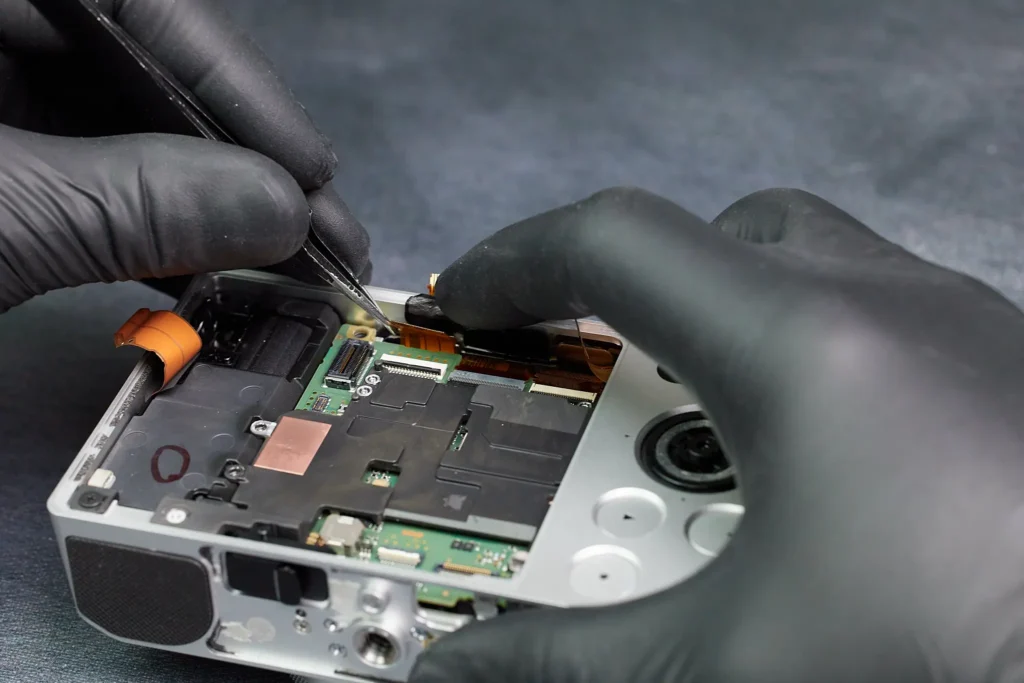
In the middle of it all, we removed a ribbon cable.
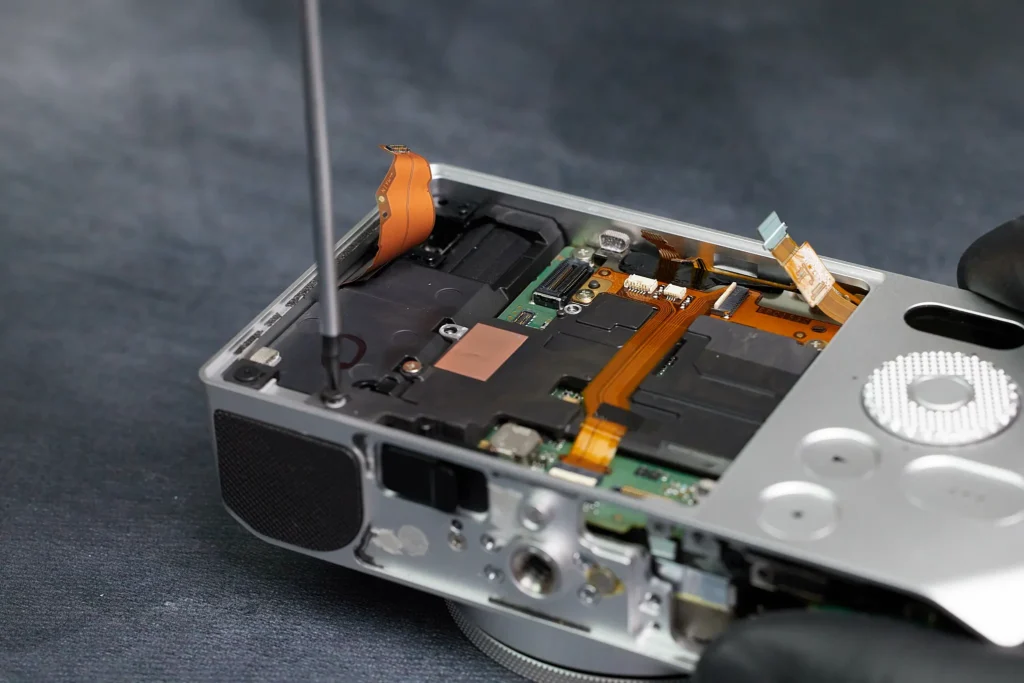
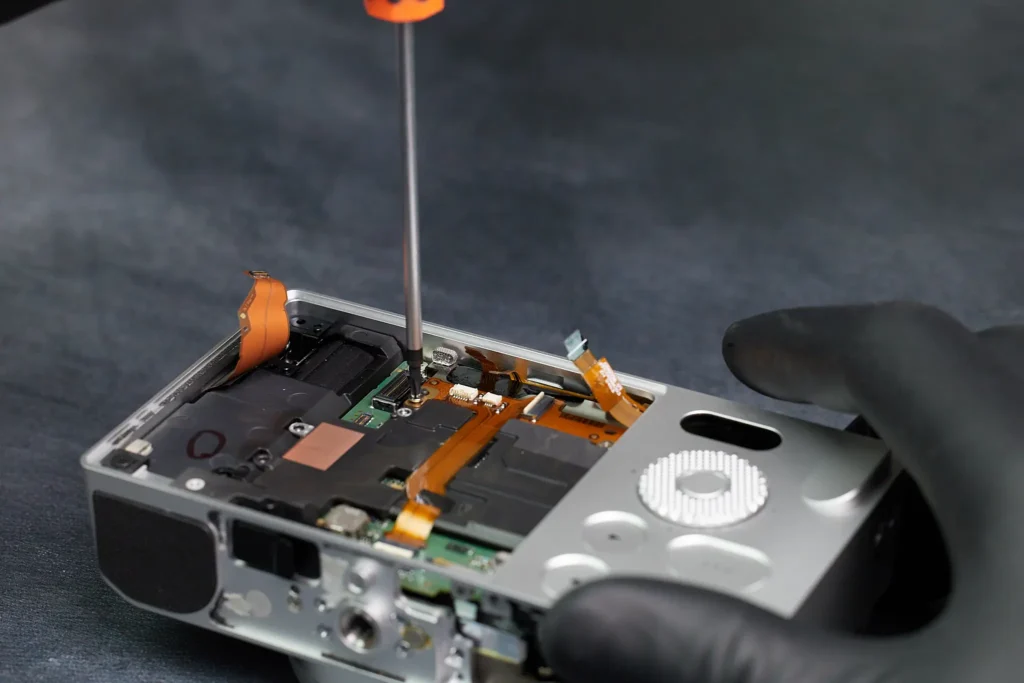
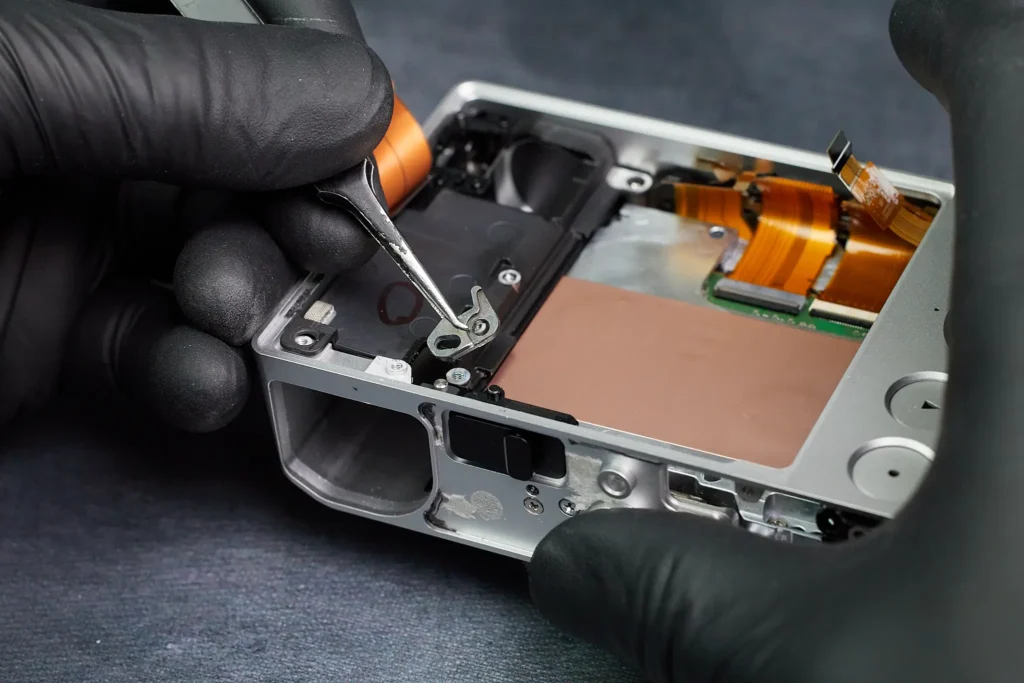
Removing a few more screws. We also noticed there’s a connection underneath the ribbon cable we just detached. Despite removing most of the visible screws here, we weren’t able to remove parts to further access the circuitboard.
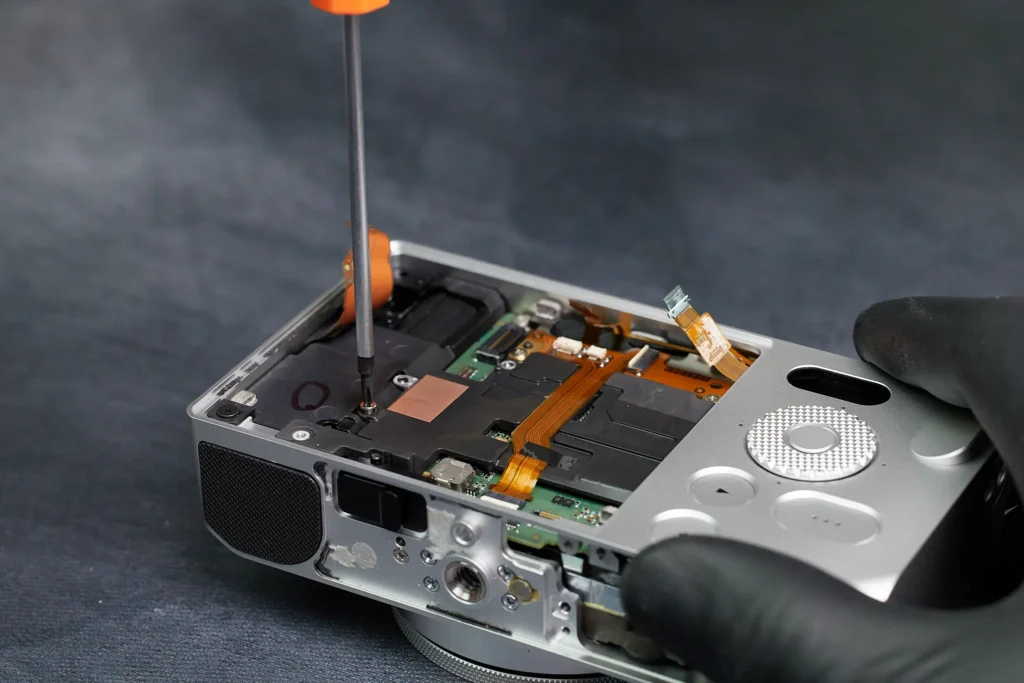
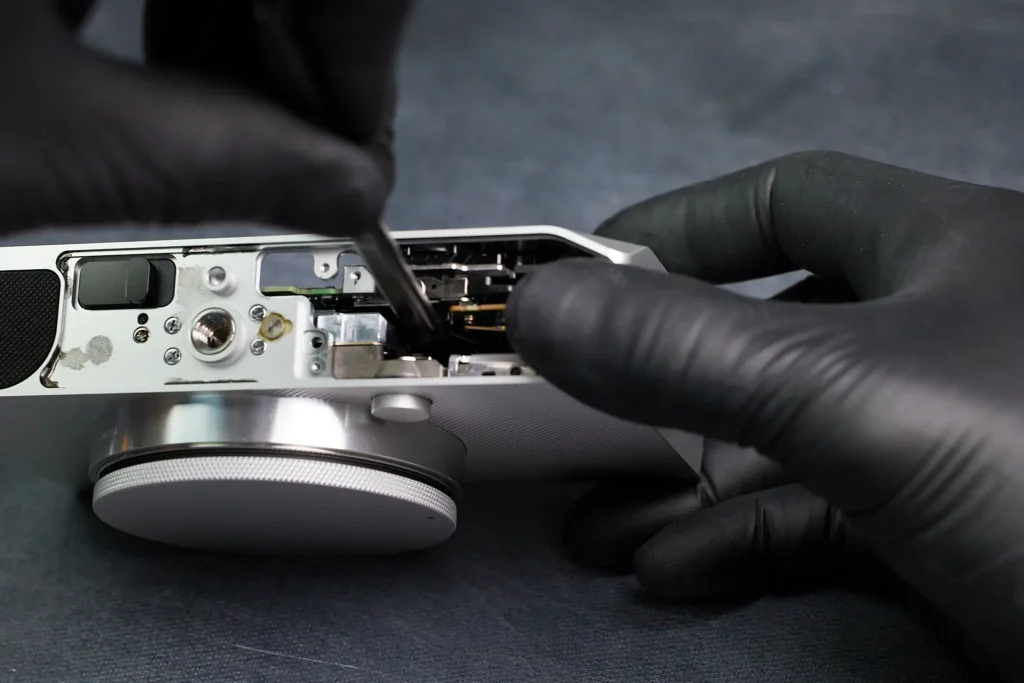
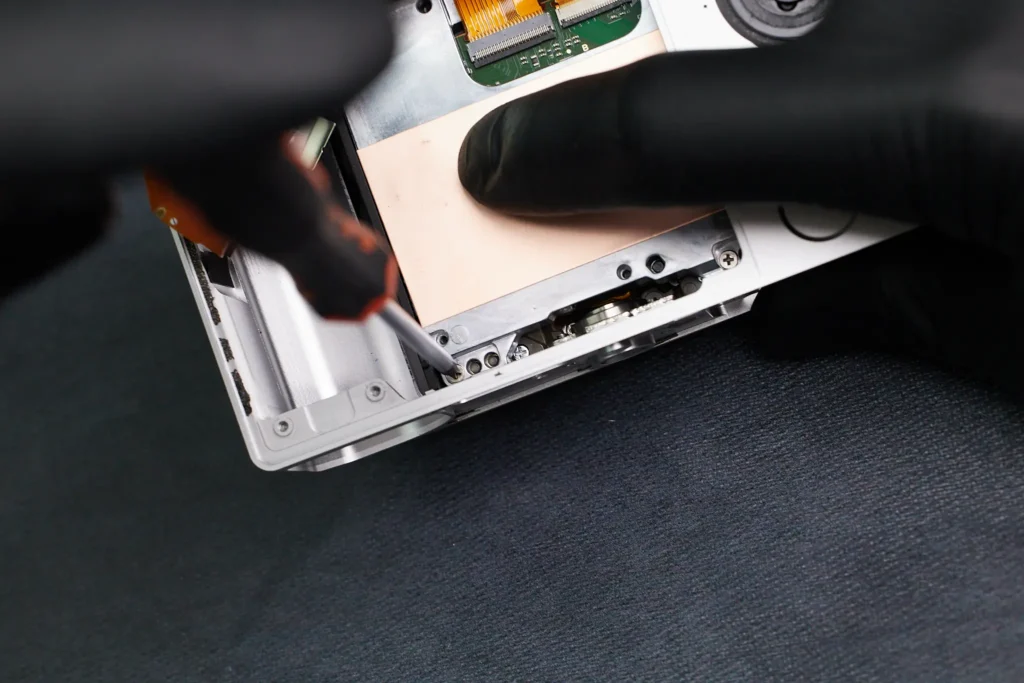
Going back to the bottom interior portion of the camera, we found two screws within the camera. The last screw held down a metal bracket that was easily removable.
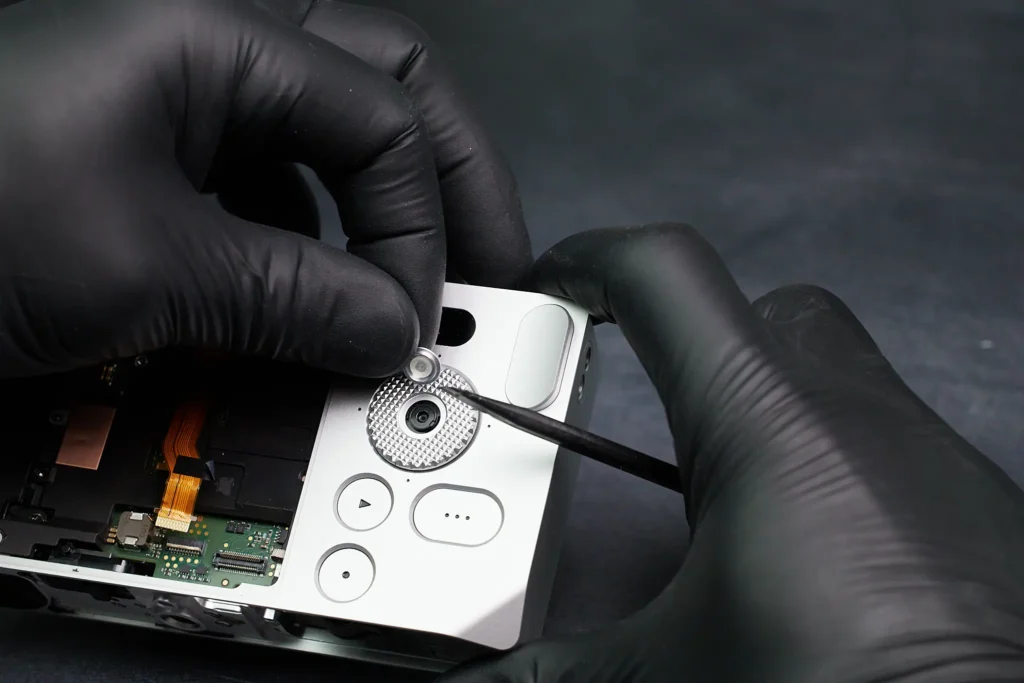
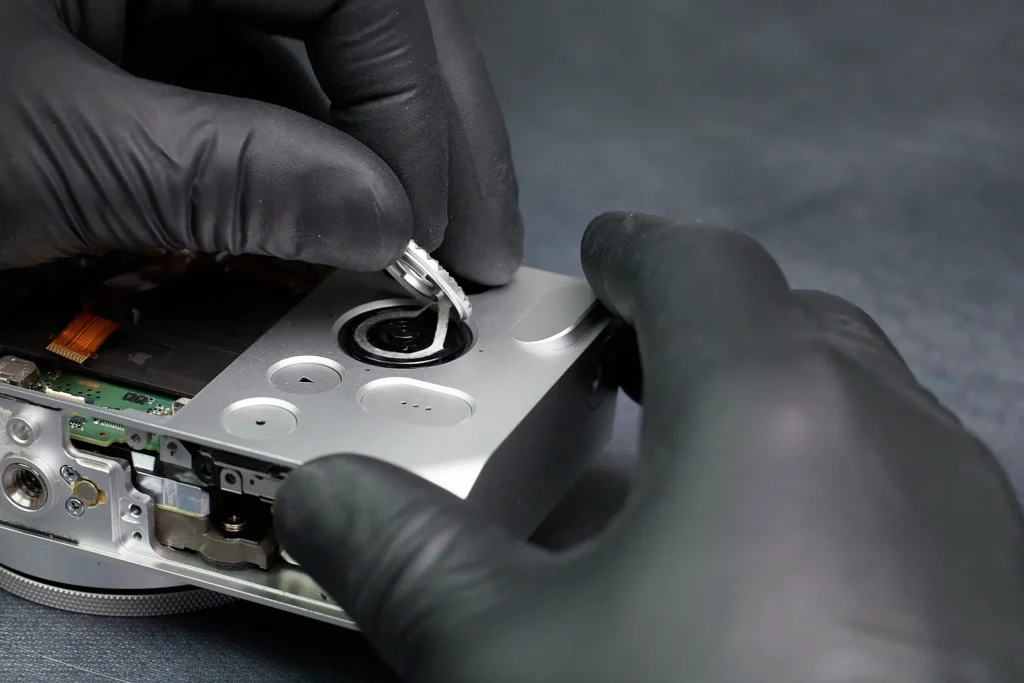
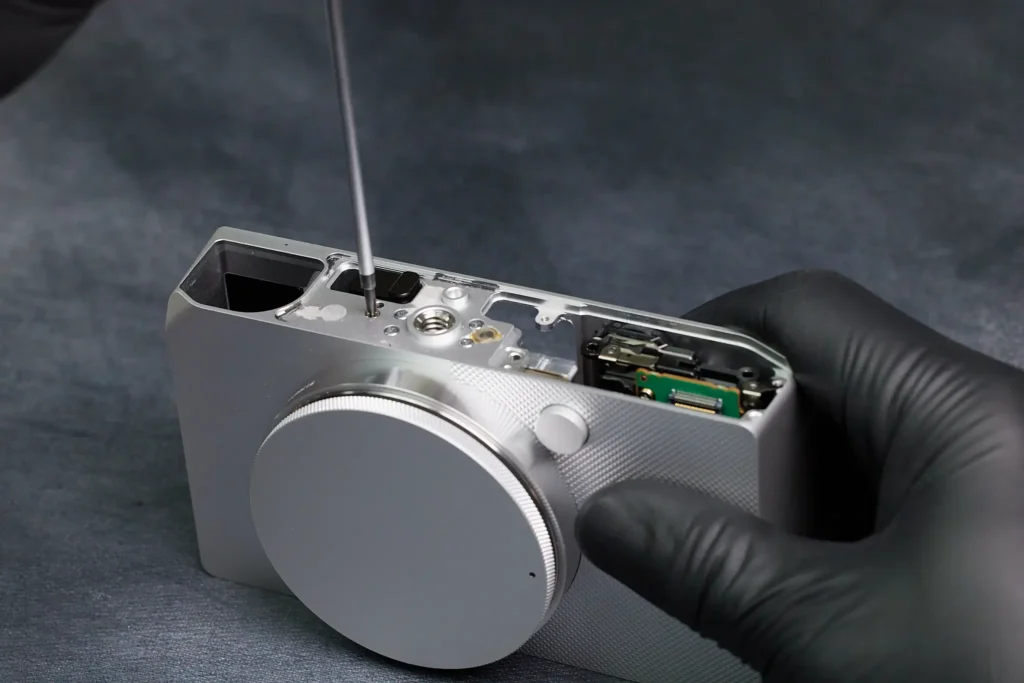
In a twist of events, we thought of the possibility that there may be a screw underneath the scroll wheel. It turns out our intuition was right. On occasion, cameras have a screw beneath the scroll wheel, as shown here.
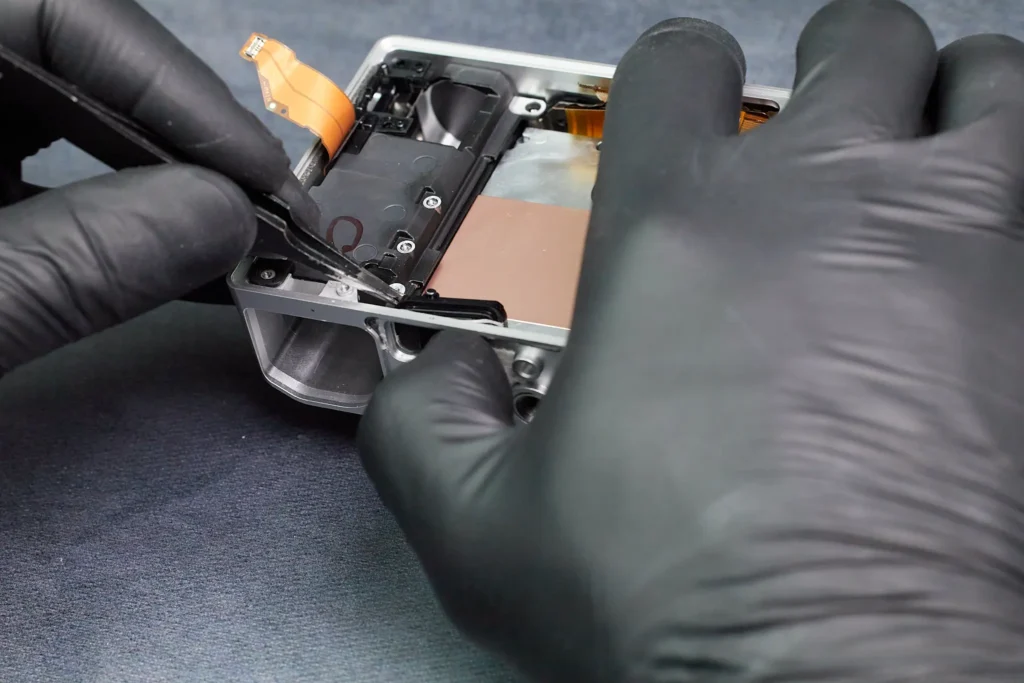
Removed this piece of the camera
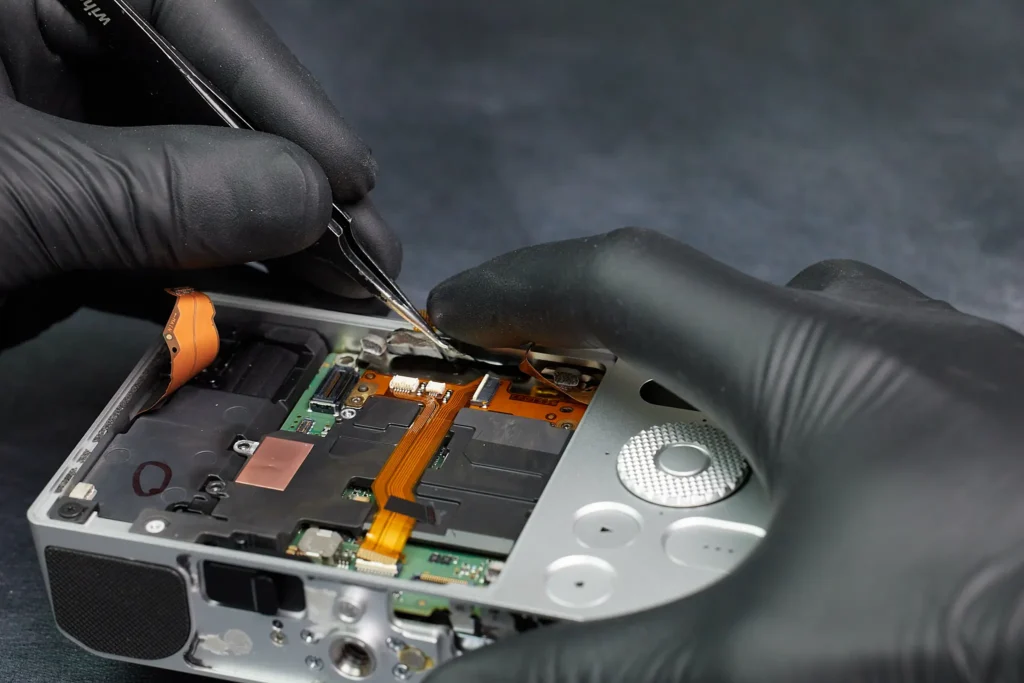
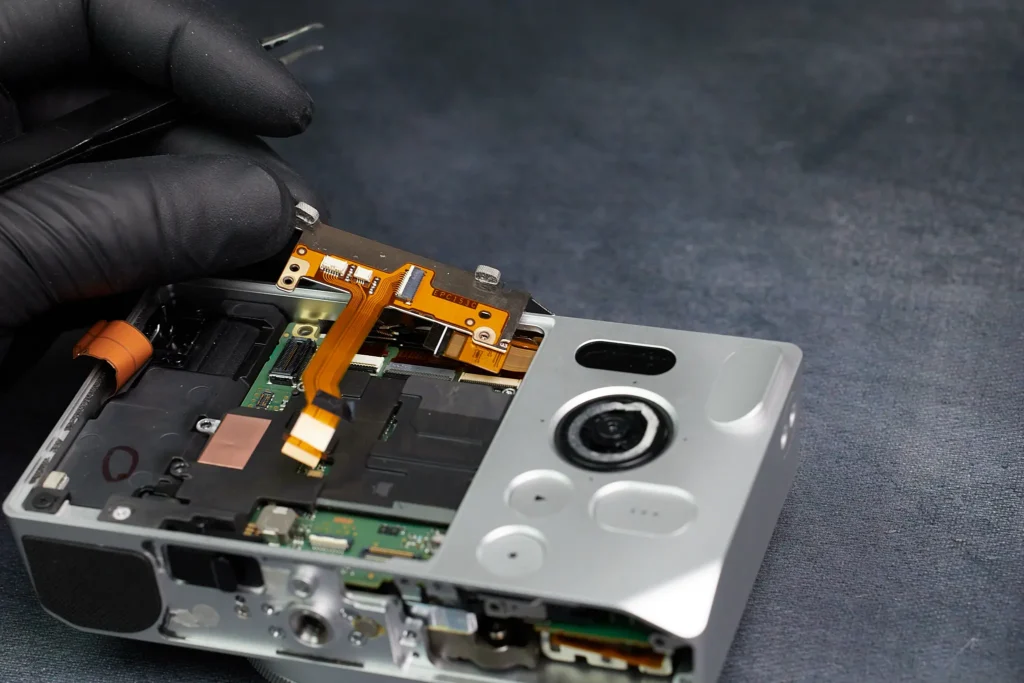
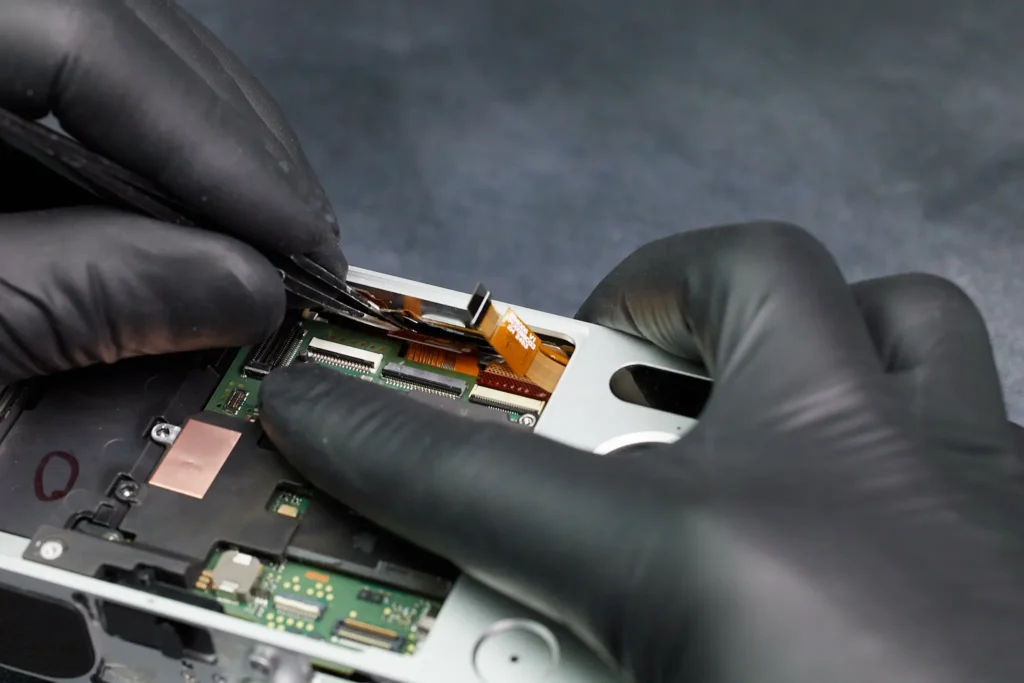
We removed two ribbon cables here.
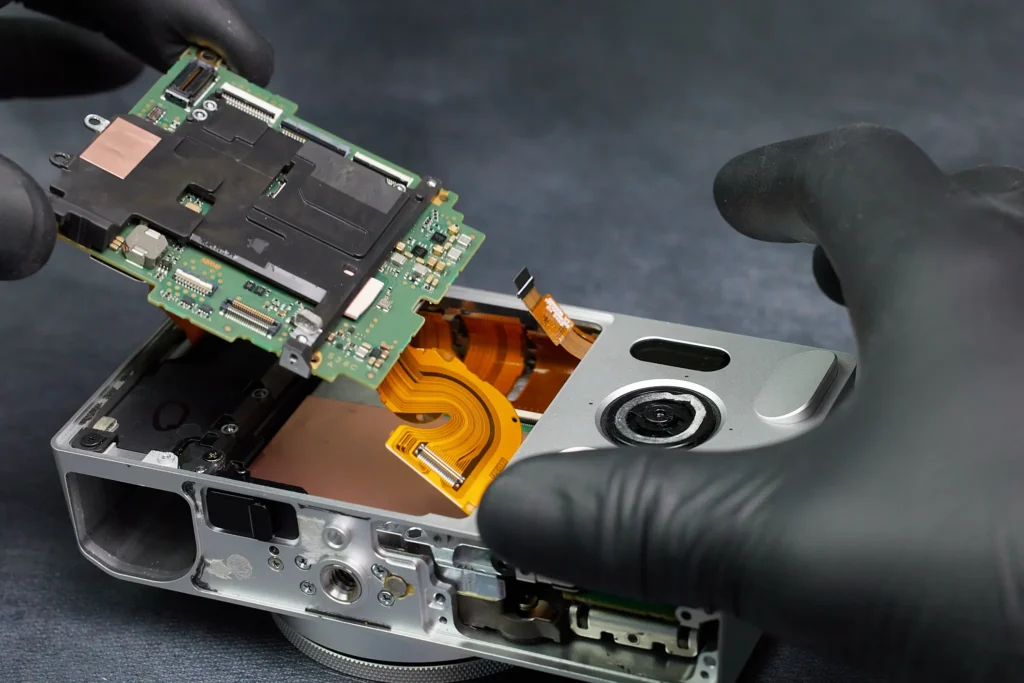
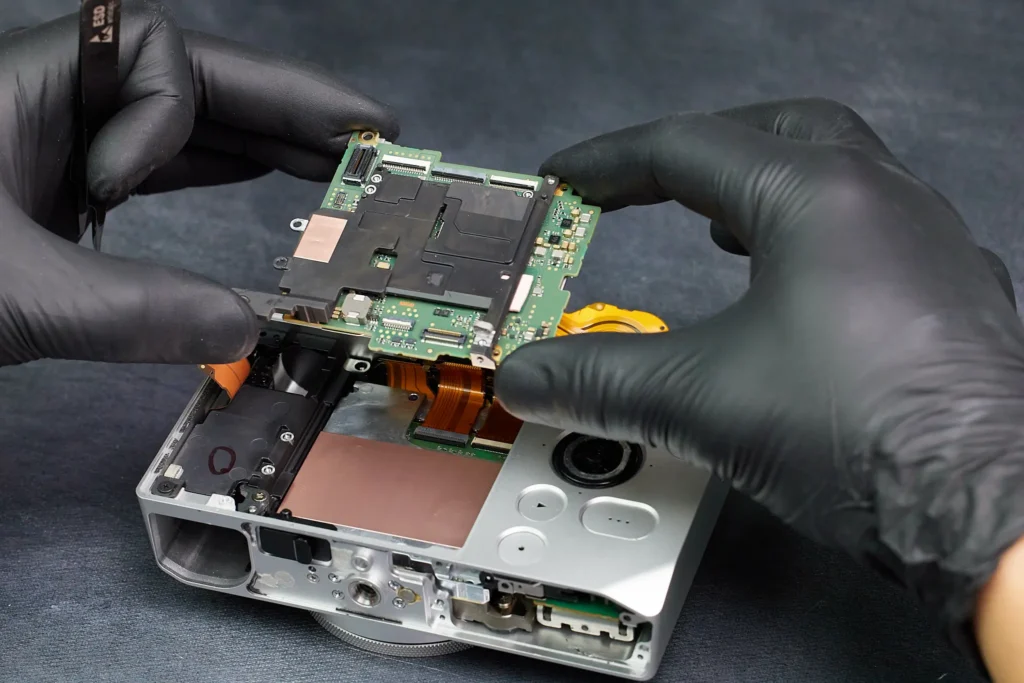
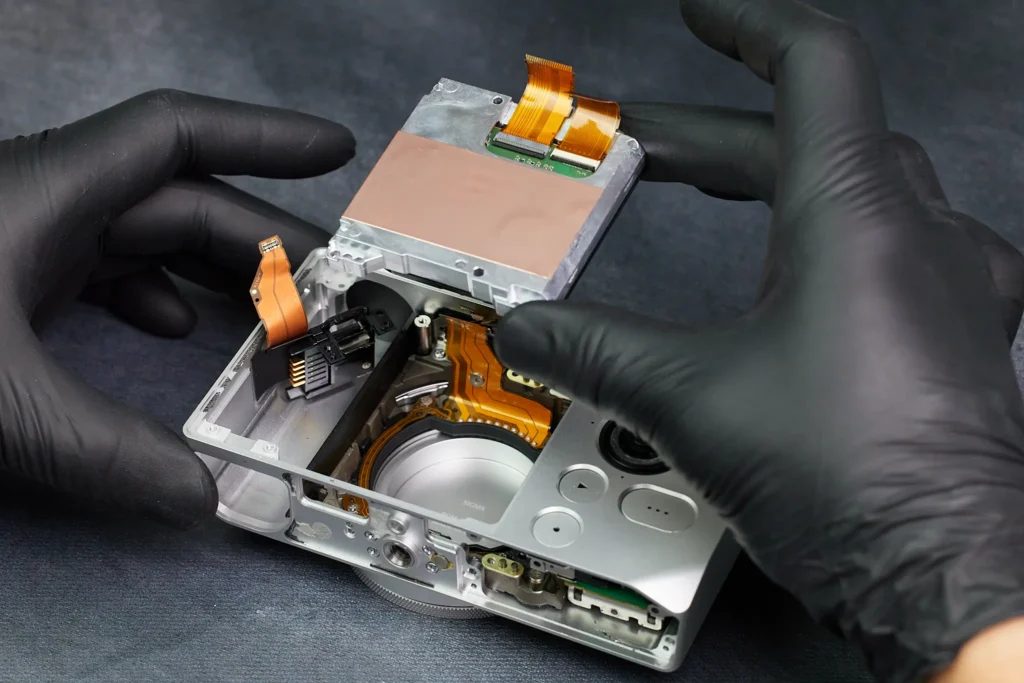
Once we removed the ribbon cables and screws, we were able to push up the circuitboard from the interior of the camera and carefully lift it outside of the camera. Evidently, the parts within the camera are tightly packed between all the parts that fasten the parts in place.
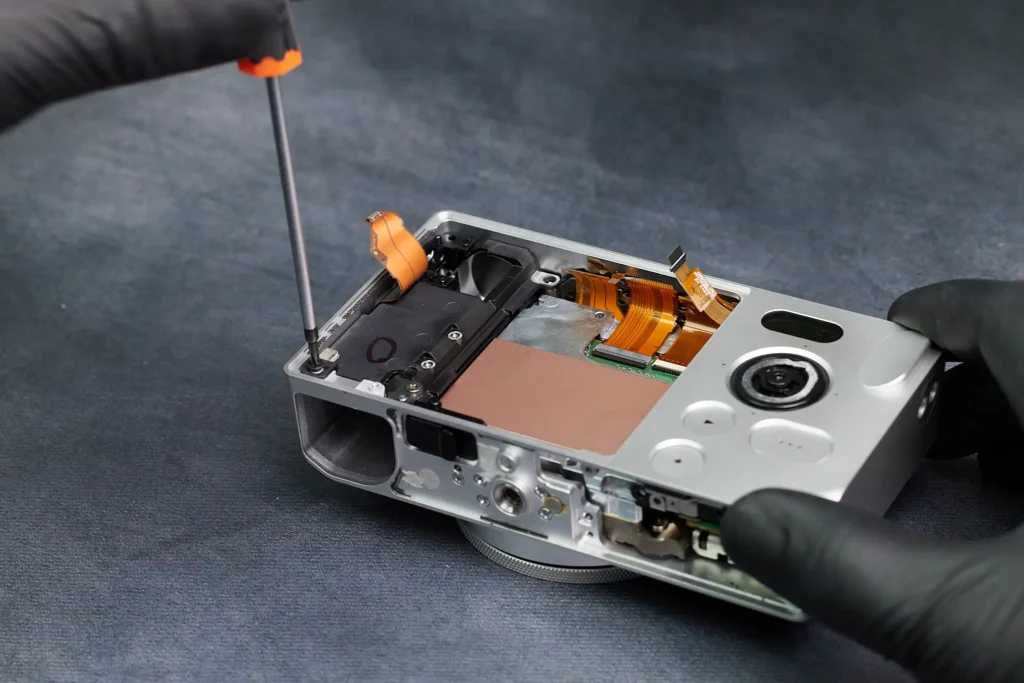
We have essentially reached the camera sensor, but we needed to remove all the battery compartment that is partially holding it in. That said, it’s a short process from this point on. Several screws held the battery compartment from both the back and bottom sides of the camera. A small cover easily fell out after removing a bottom screw.
Here is the camera battery compartment removed.
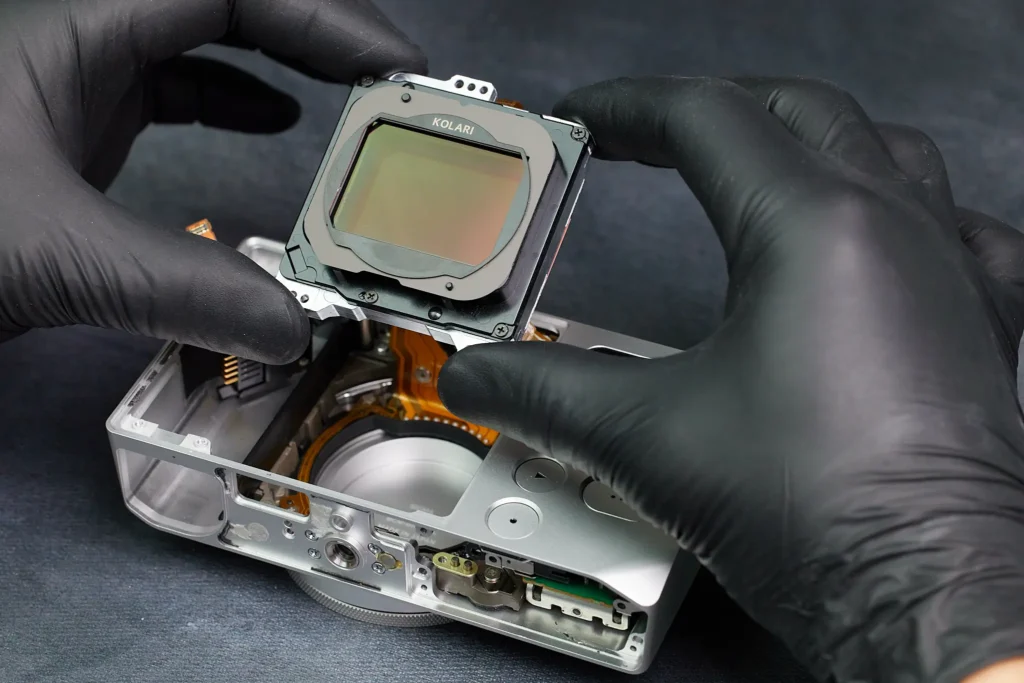
Now that the majority of the internal parts have been removed, the sensor can finally be taken out. This part is relatively quick since it’s just a matter of removing the screws surrounding the perimeter of the sensor. All the ribbon cables connecting the sensor to the circuitboard have been previously removed.
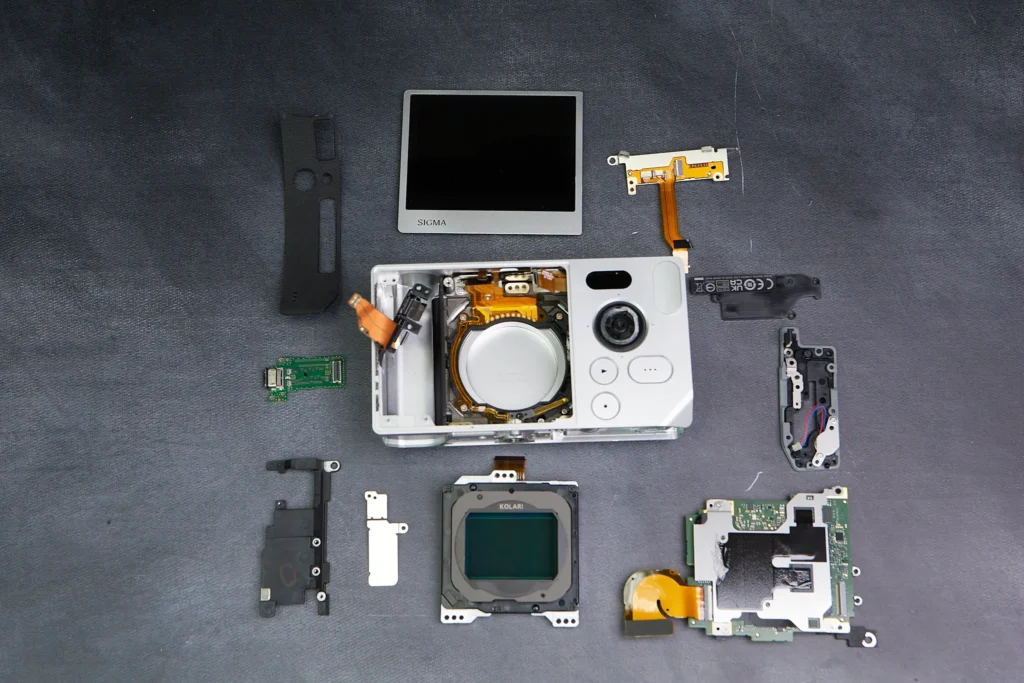
Despite our initial confusion on how to begin taking the camera a part, the overall teardown for the Sigma BF was fairly simple. It had many parts packed into an already tight frame.
Thanks for reading. If you’re interested in more camera disassembly and teardowns, be sure to subscribe to our newsletter so you don’t miss them!
Table of content
Related Article
Product Spotlight
Comments
One Response
Fascinating article clearly written and illustrated. Glad there are people with the skill to assemble and repair such complicated equipment. Well done. Kolari Vision converted my Pentax K-1 to full spectrum and it works like perfectly.


One Response
Fascinating article clearly written and illustrated. Glad there are people with the skill to assemble and repair such complicated equipment. Well done. Kolari Vision converted my Pentax K-1 to full spectrum and it works like perfectly.