Hasselblad X1D II 50C Camera Overview
It’s not often that you get your hands on a Hasselblad, so when we received the Hasselblad X1D II 50C in the office, to say we were excited would be an understatement. According to Hasselblad, the medium format camera is described as compact, powerful, and enhanced, and we can attest to it.
Hasselblad X1D II 50C Specs and Medium Format Sensor
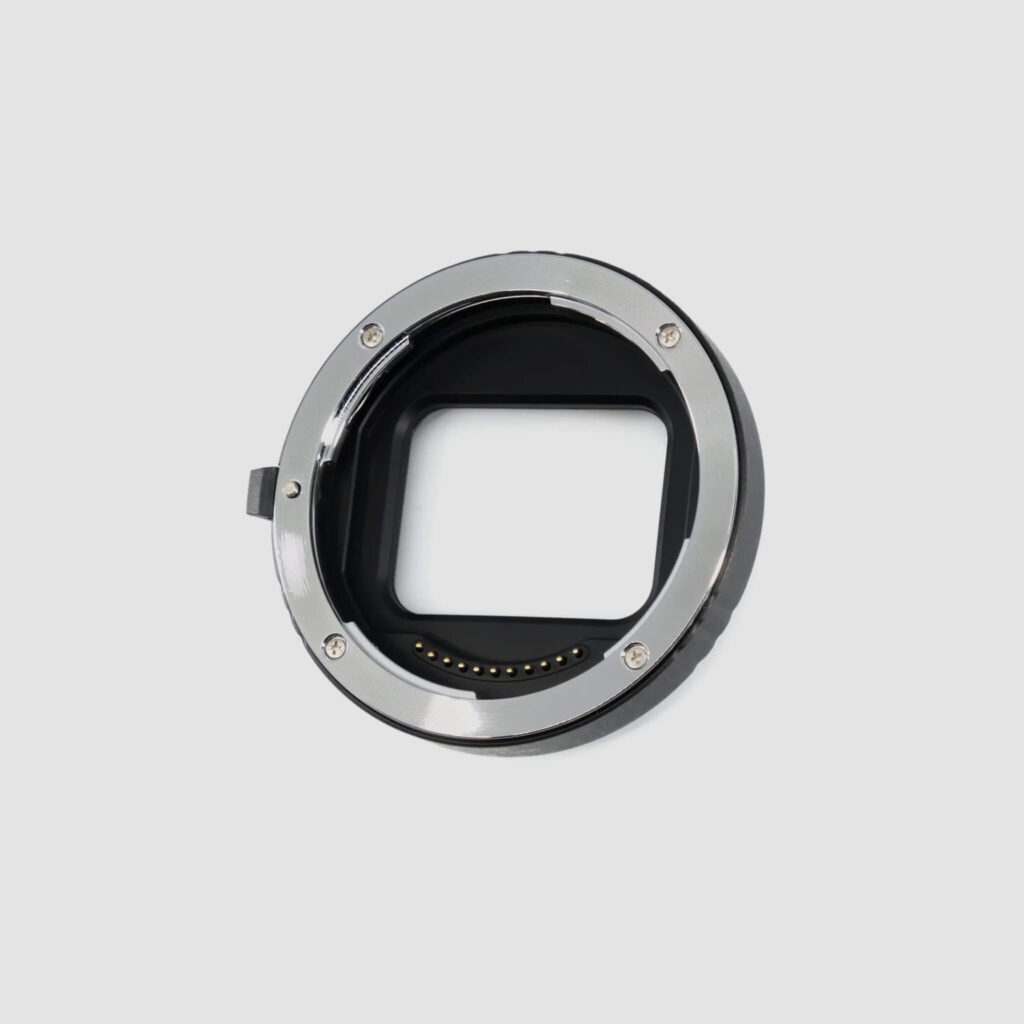
Regarding the camera’s specifications, it features a Hasselblad X mount, a 50 MP medium format sensor, dual slots for SD/SDHC/SDXC (UHS-II) cards, USB-C input/output, and a fixed touchscreen LCD.
Starting the Hasselblad X1D II 50C Teardown Without a Baseplate
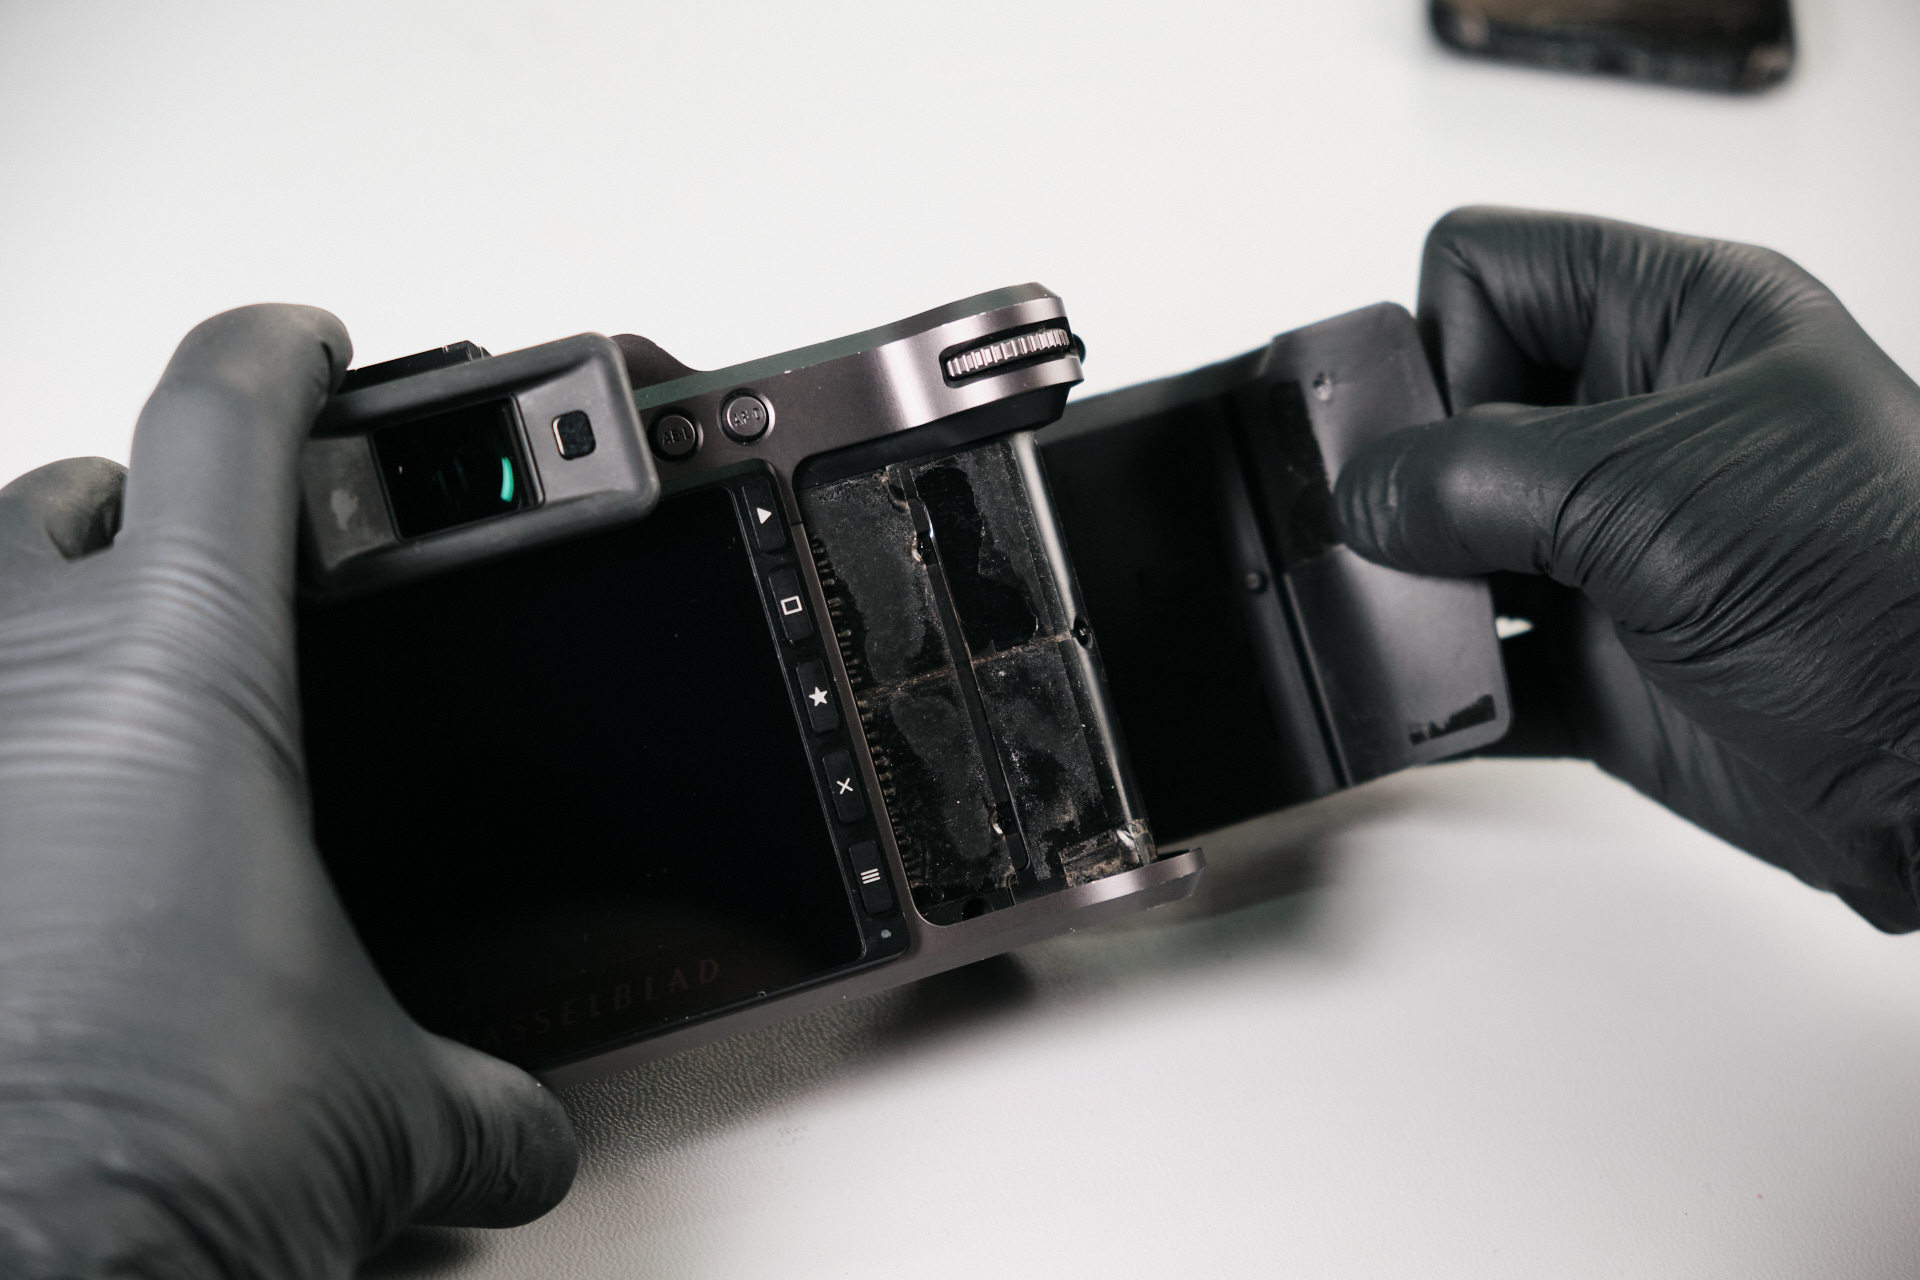
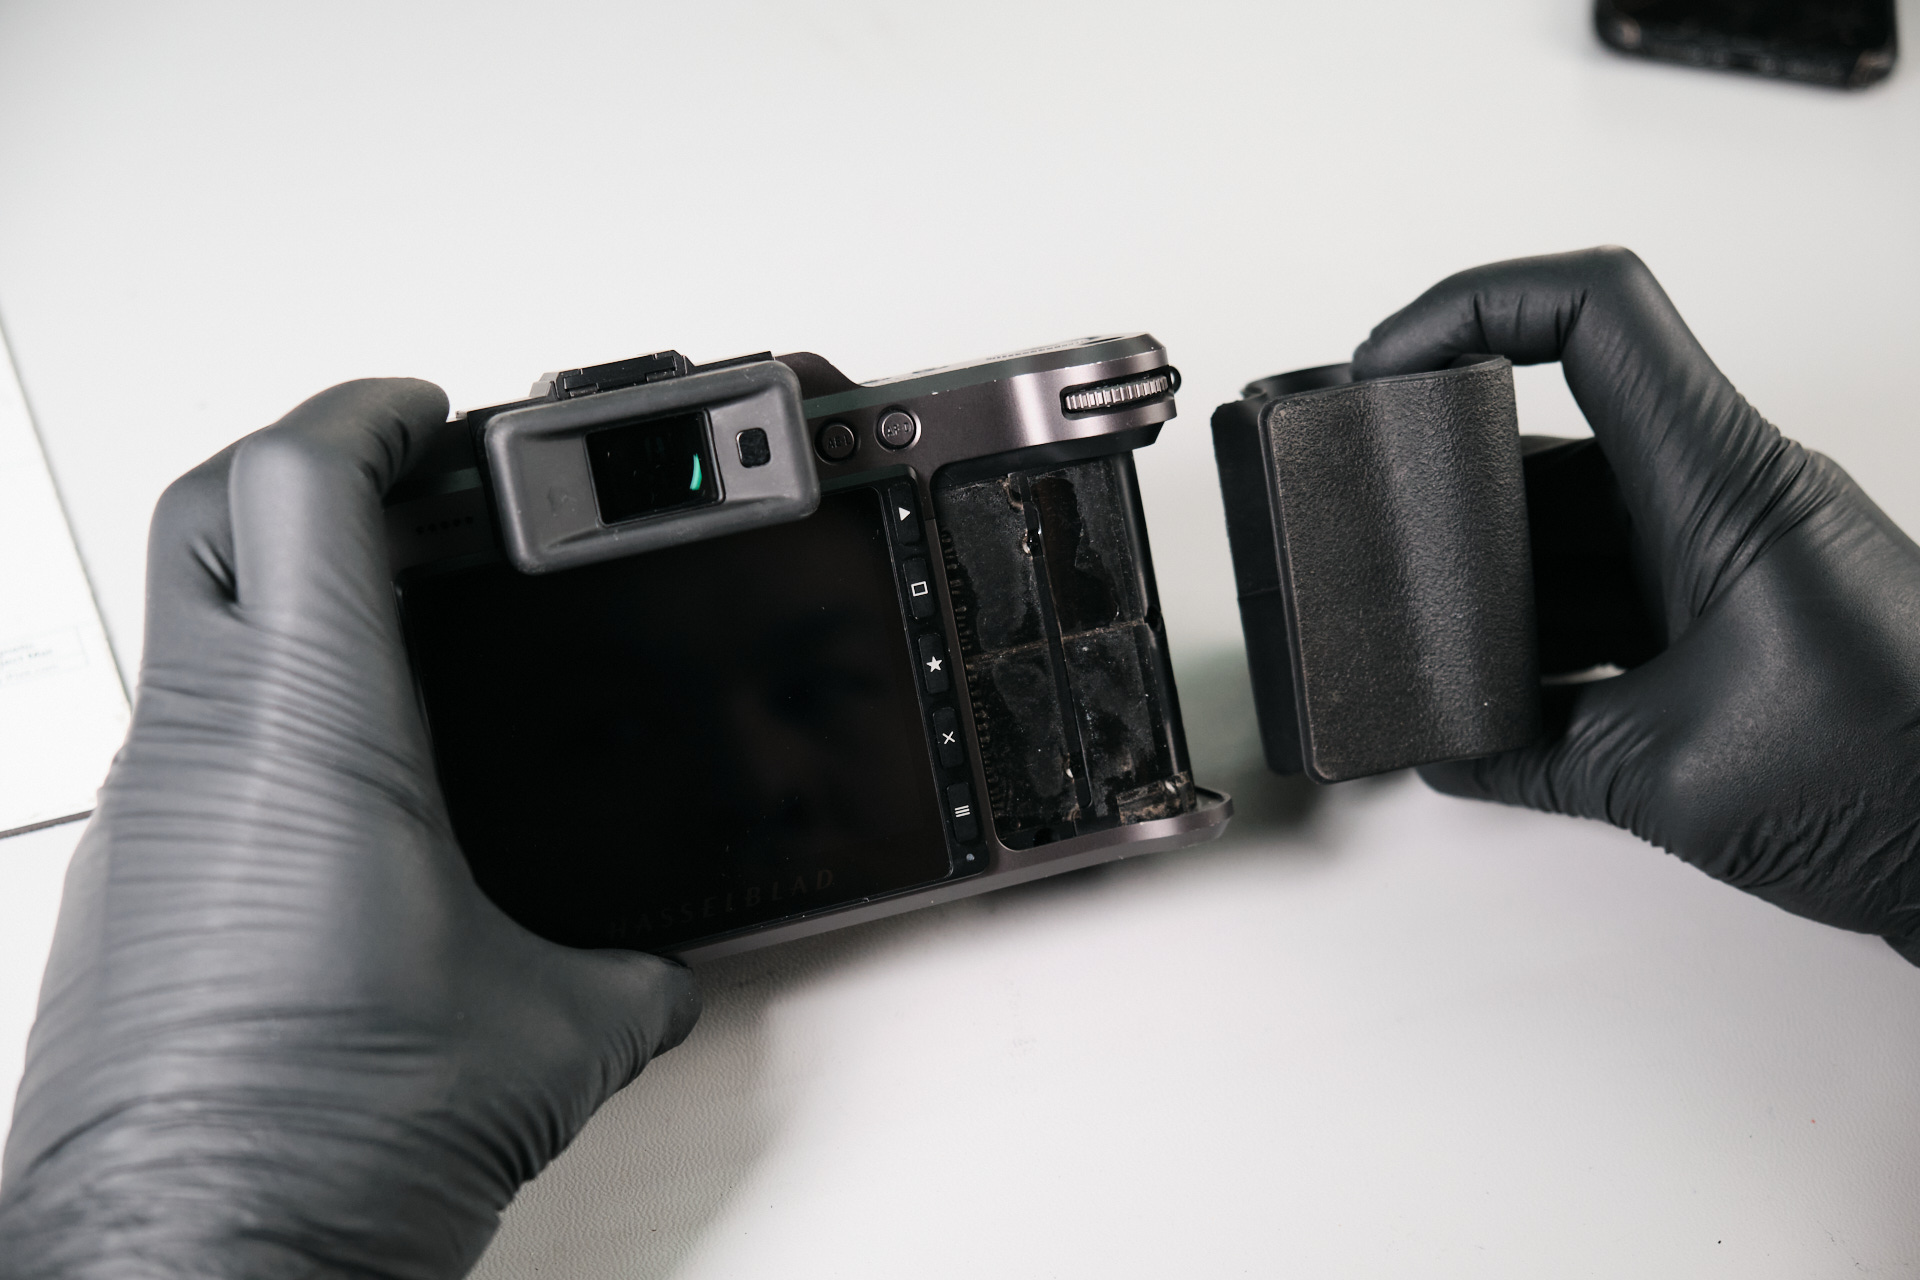
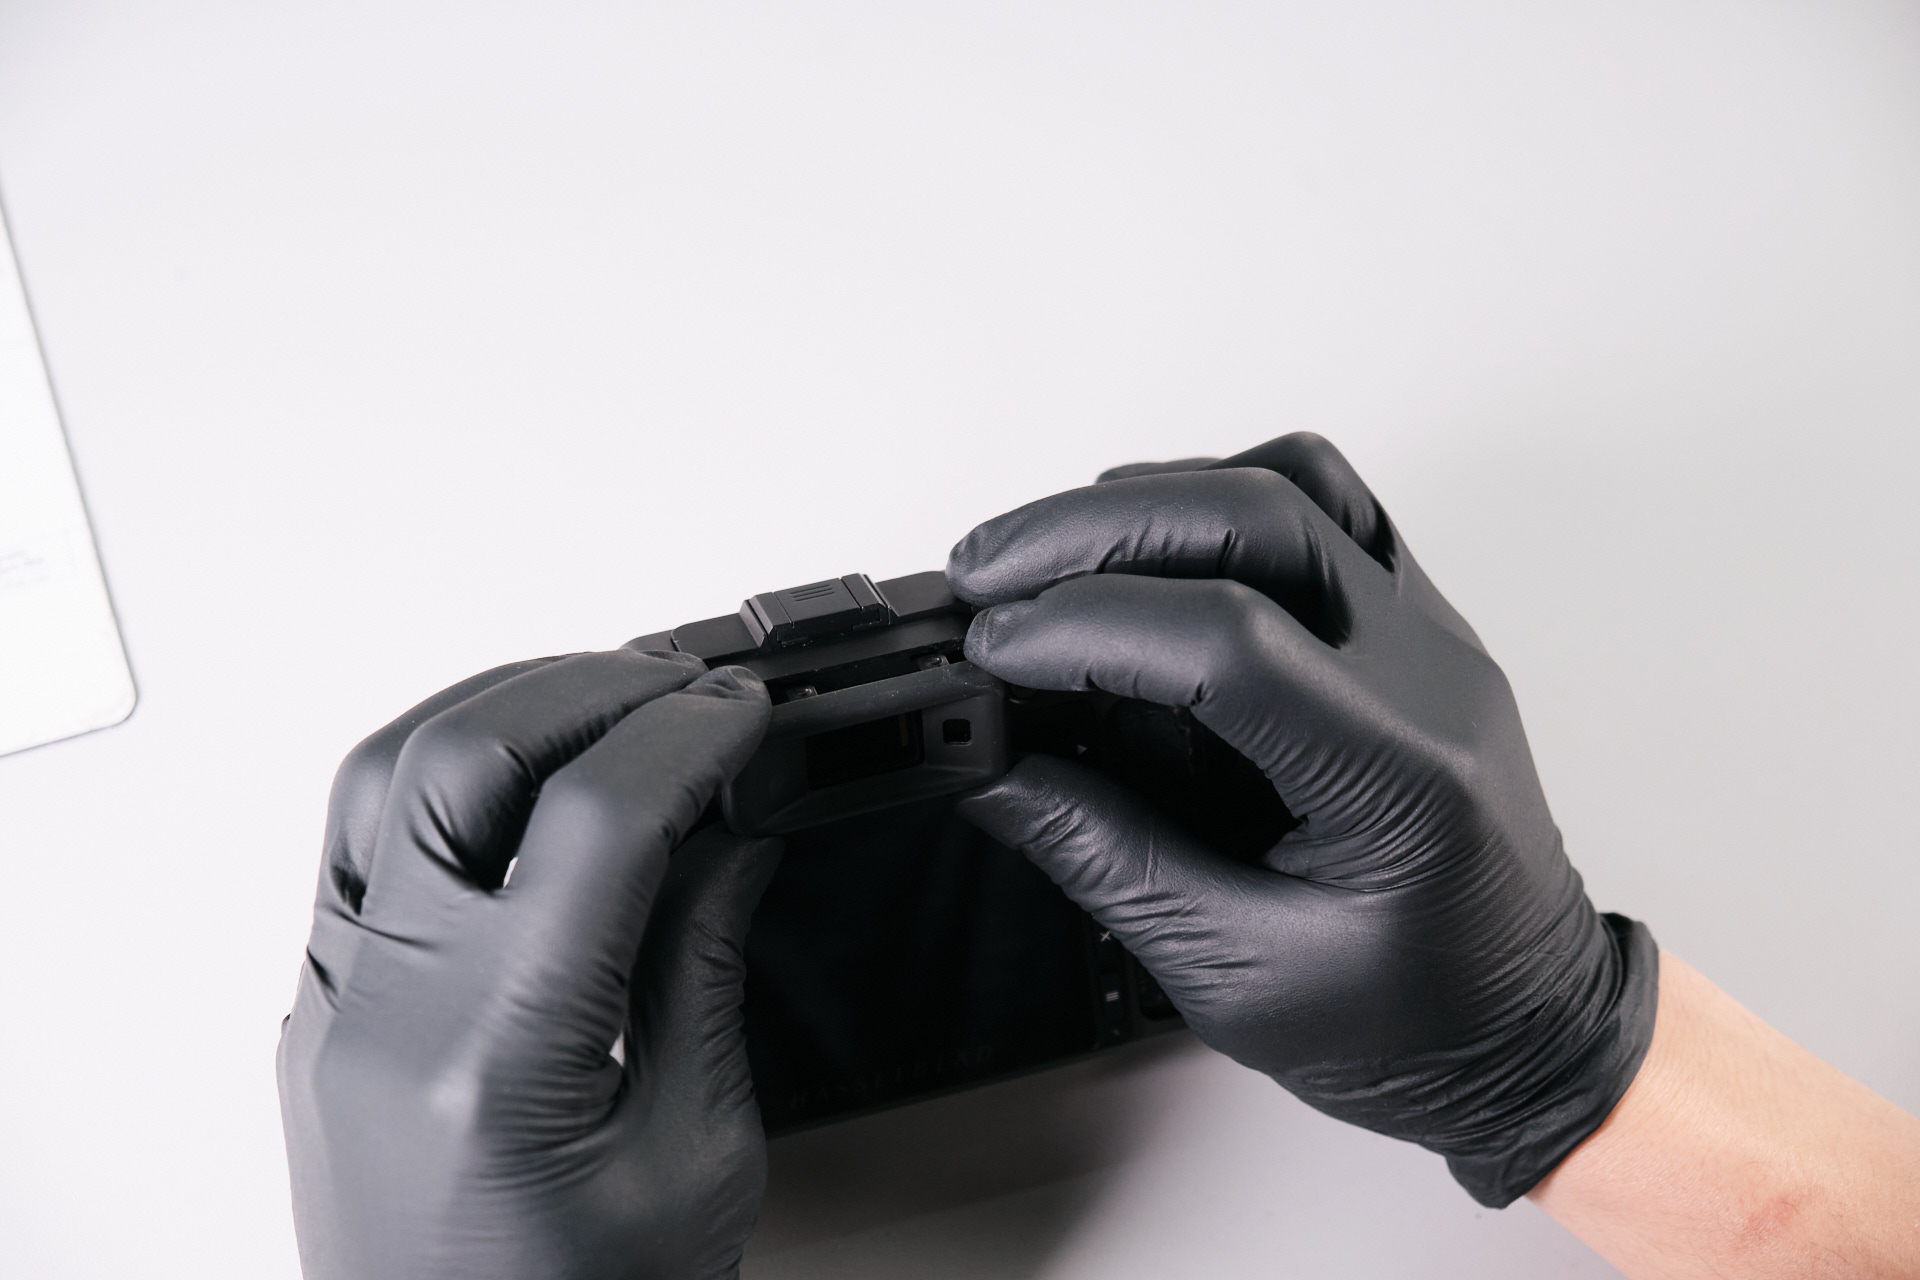
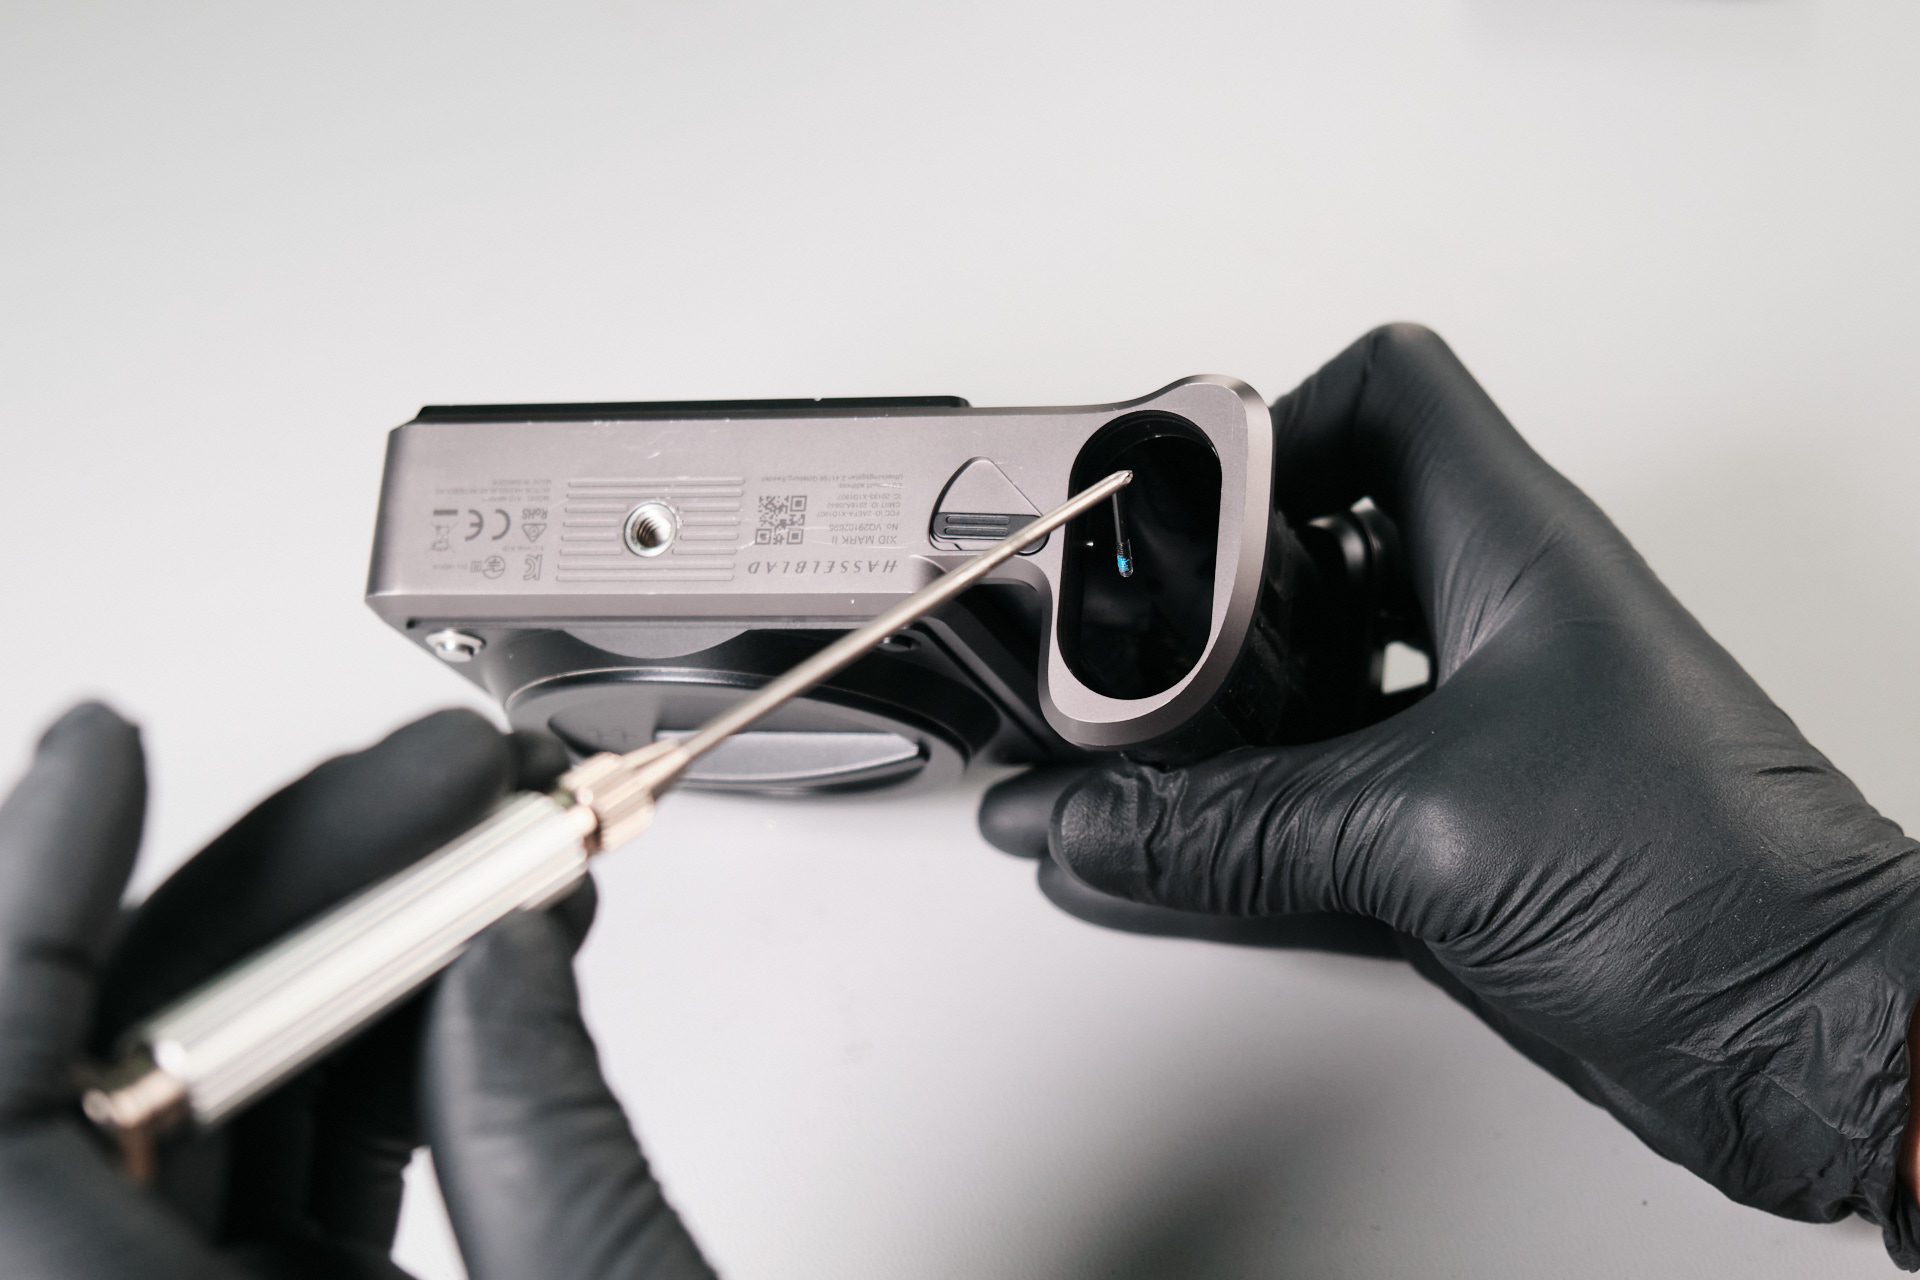
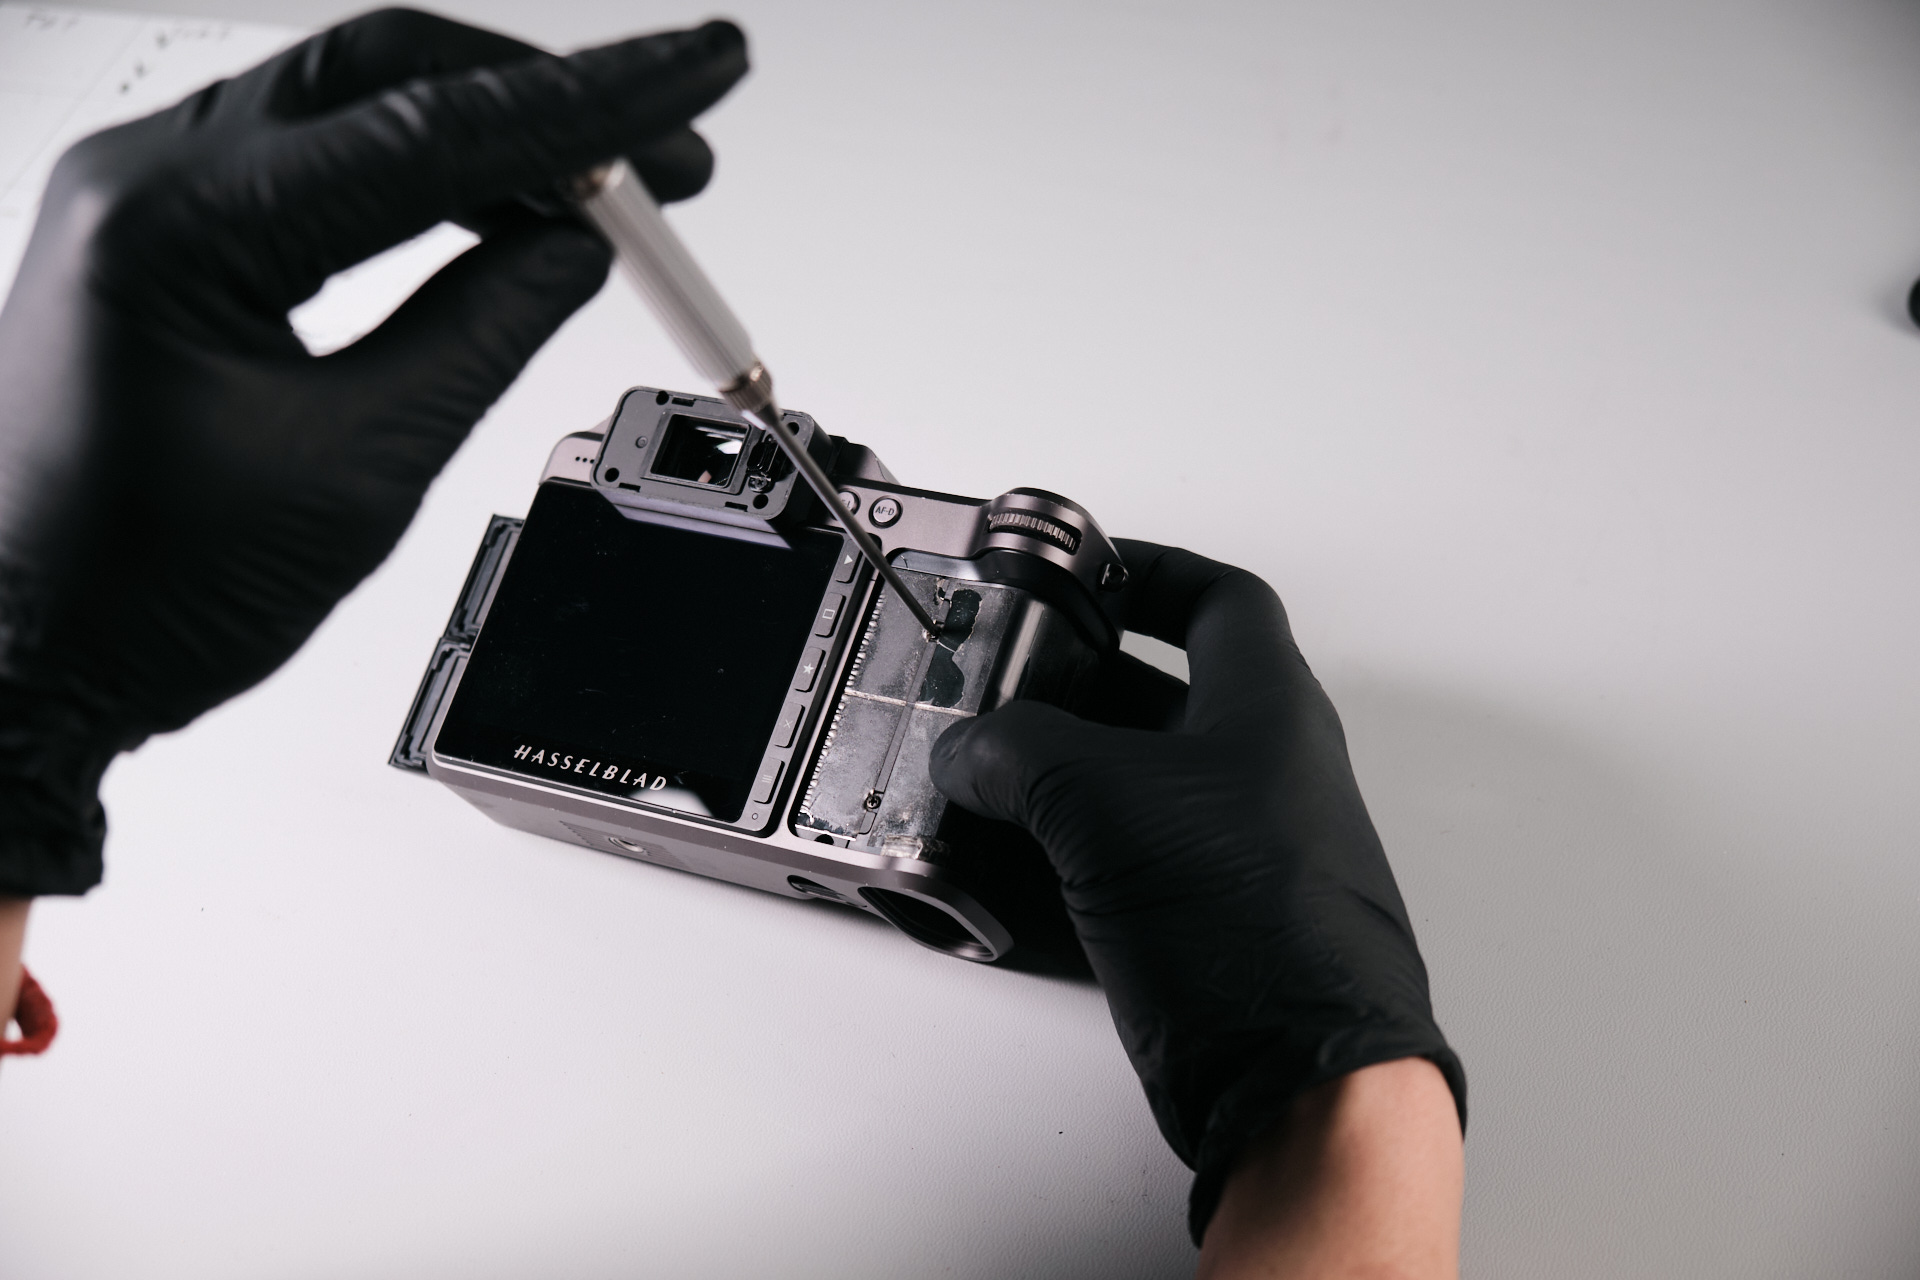
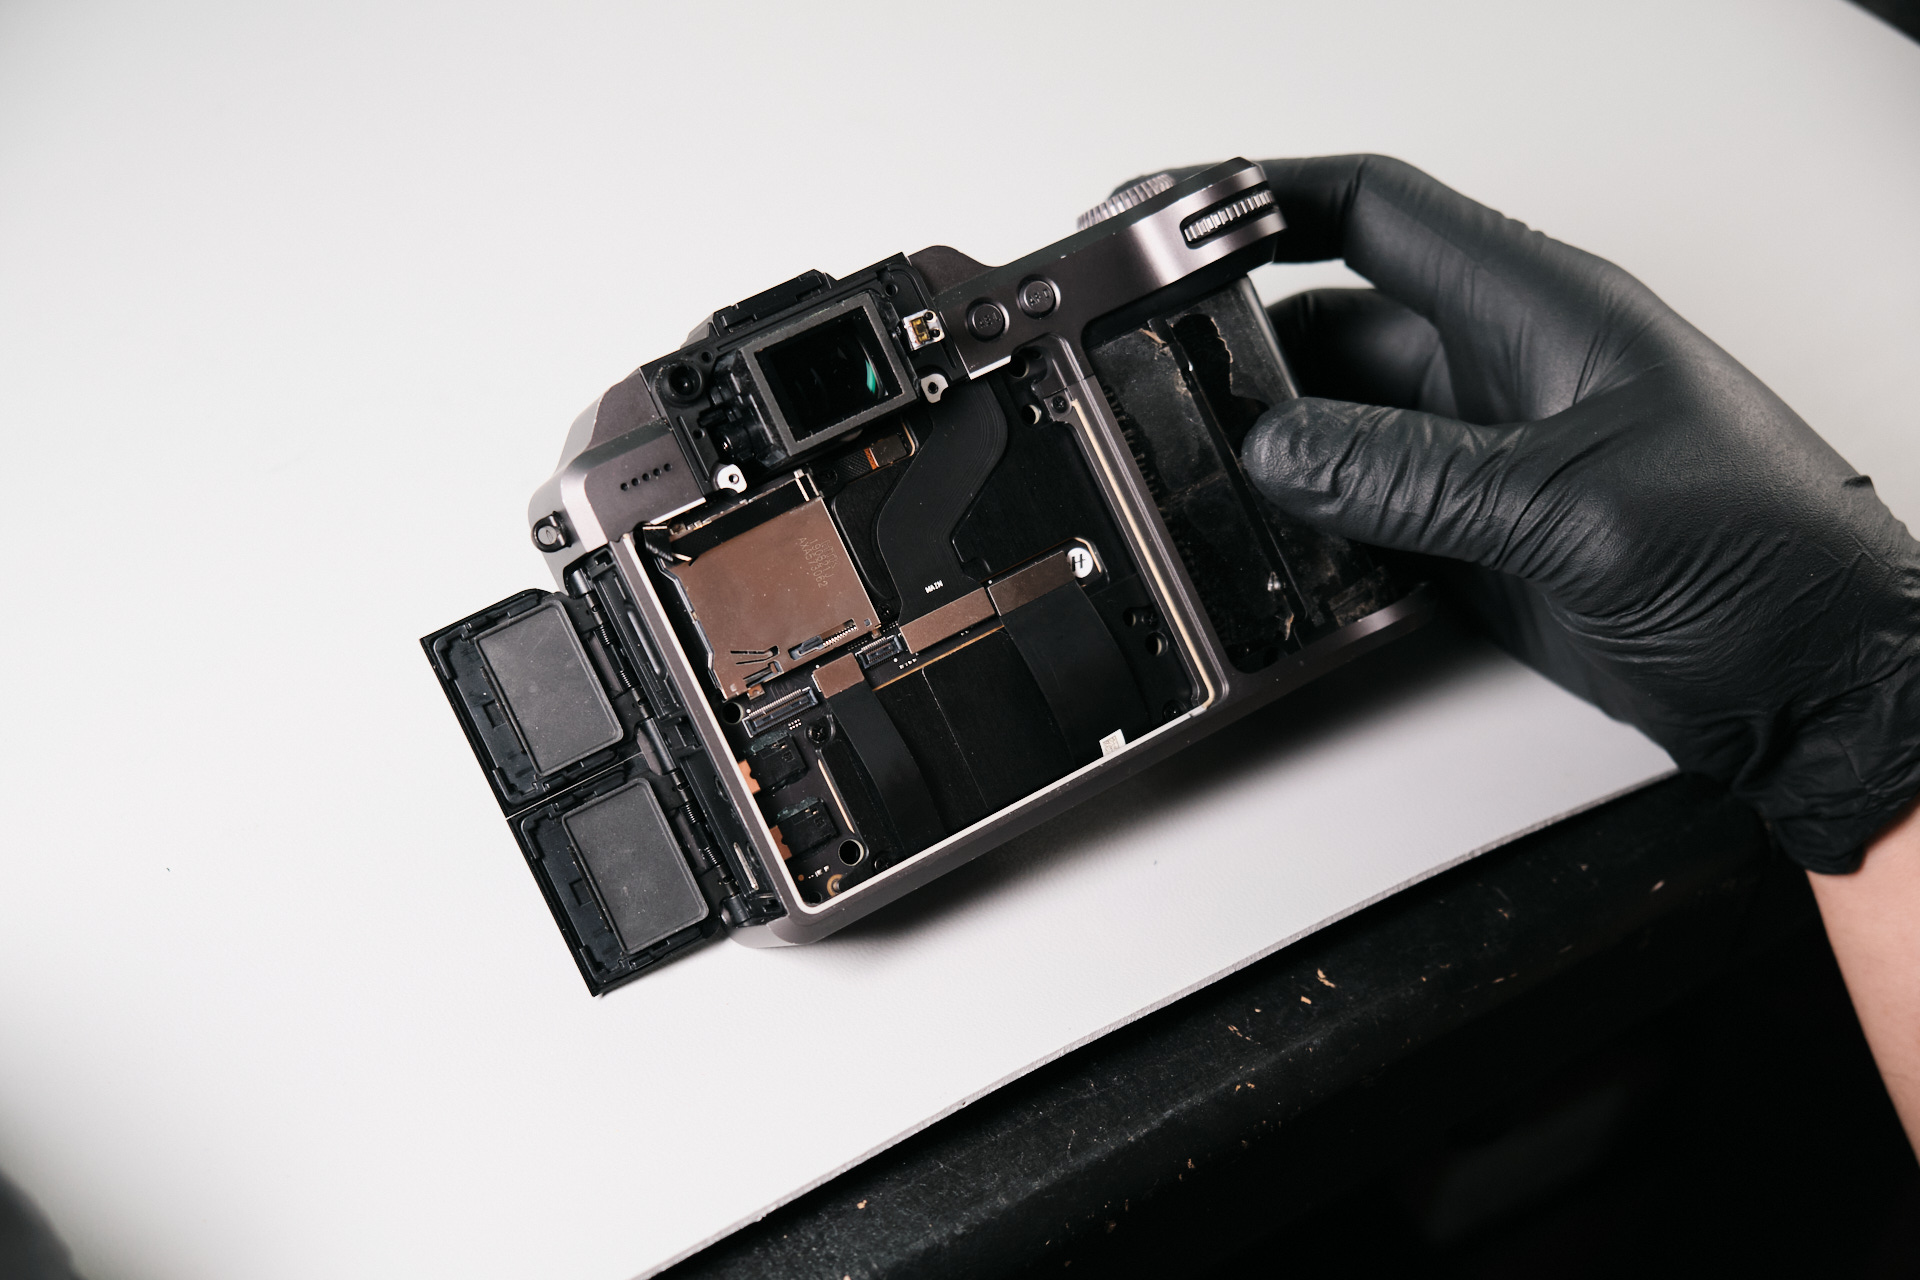
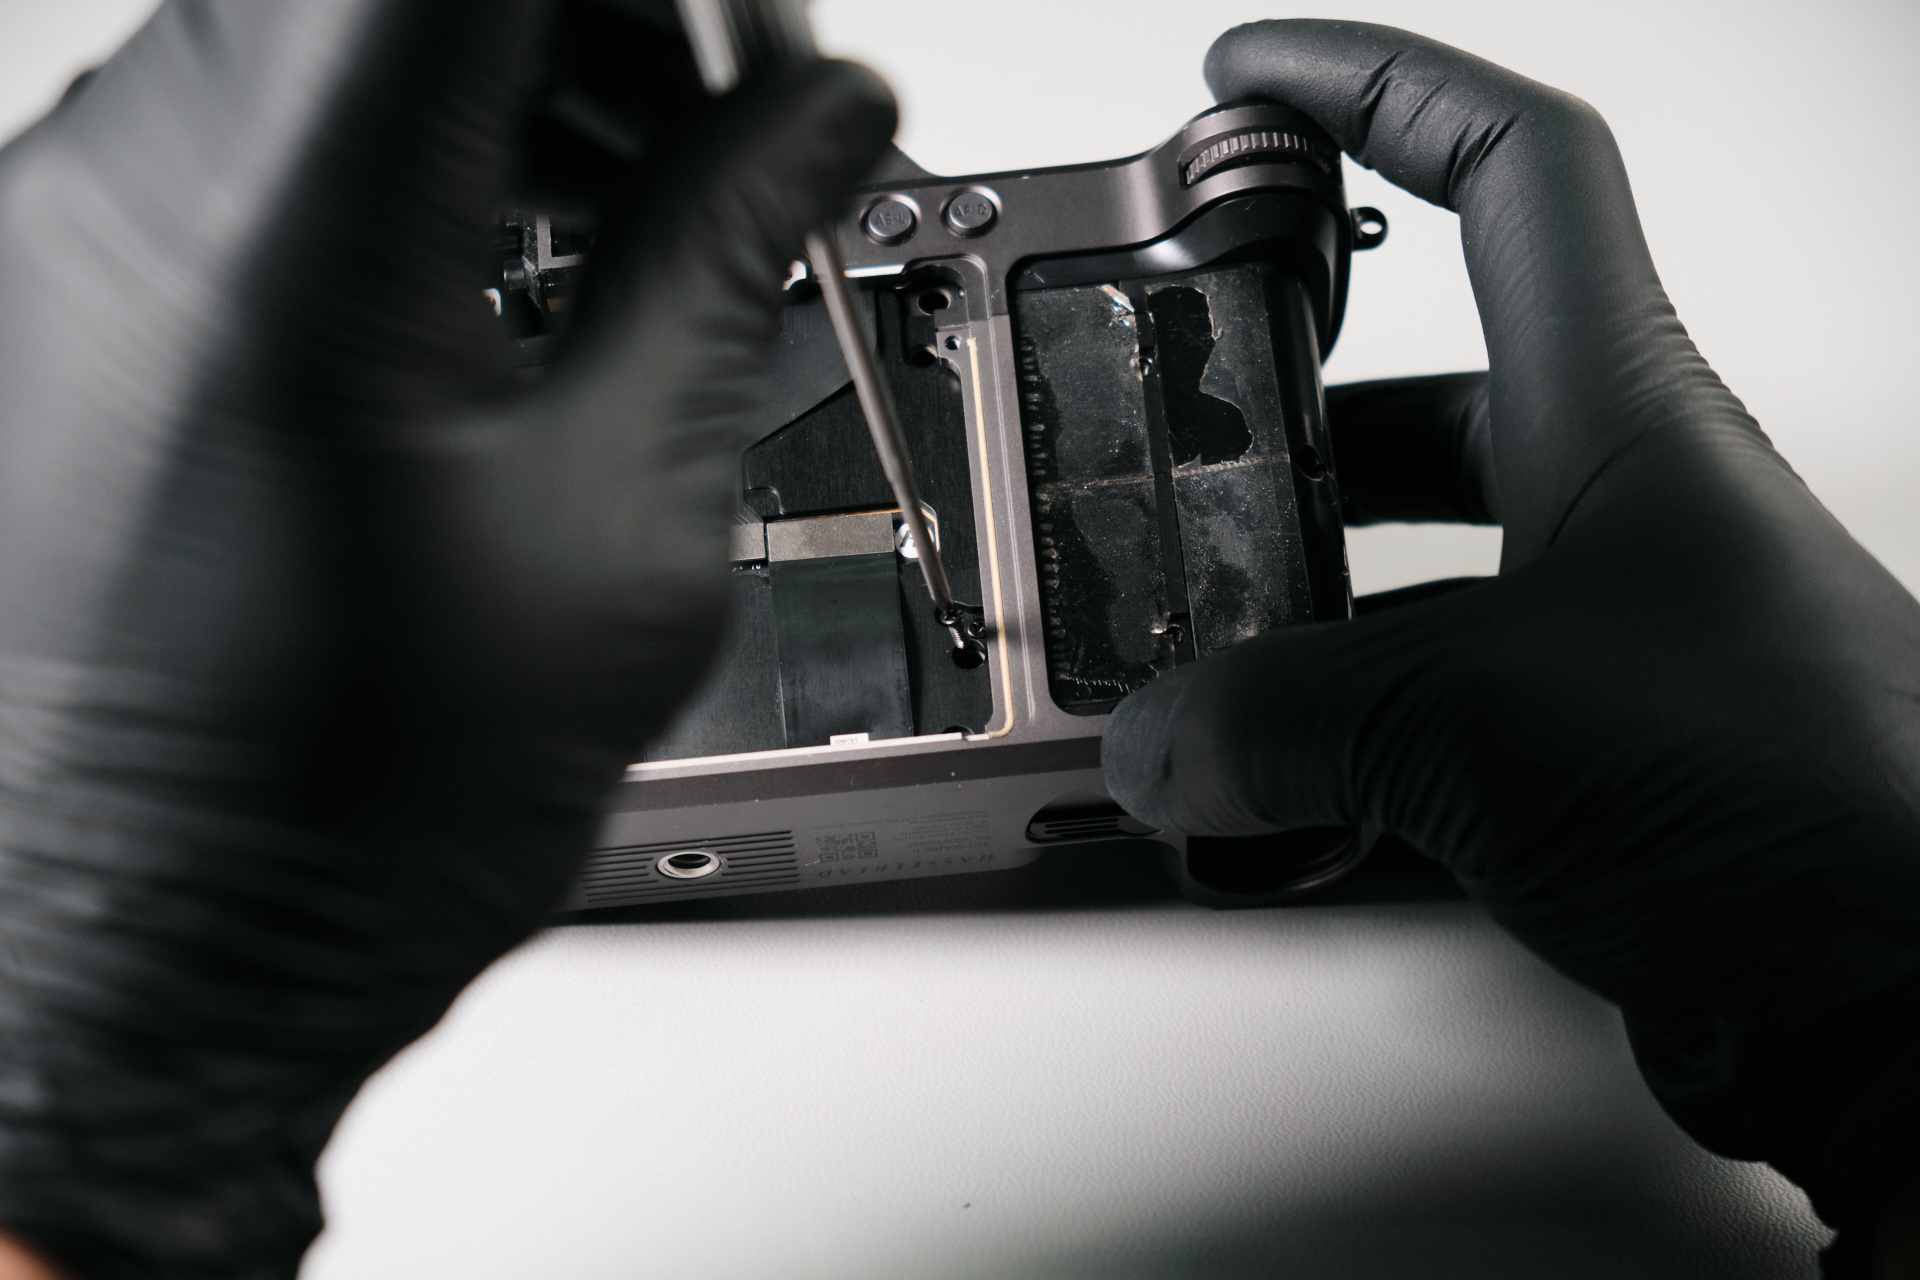
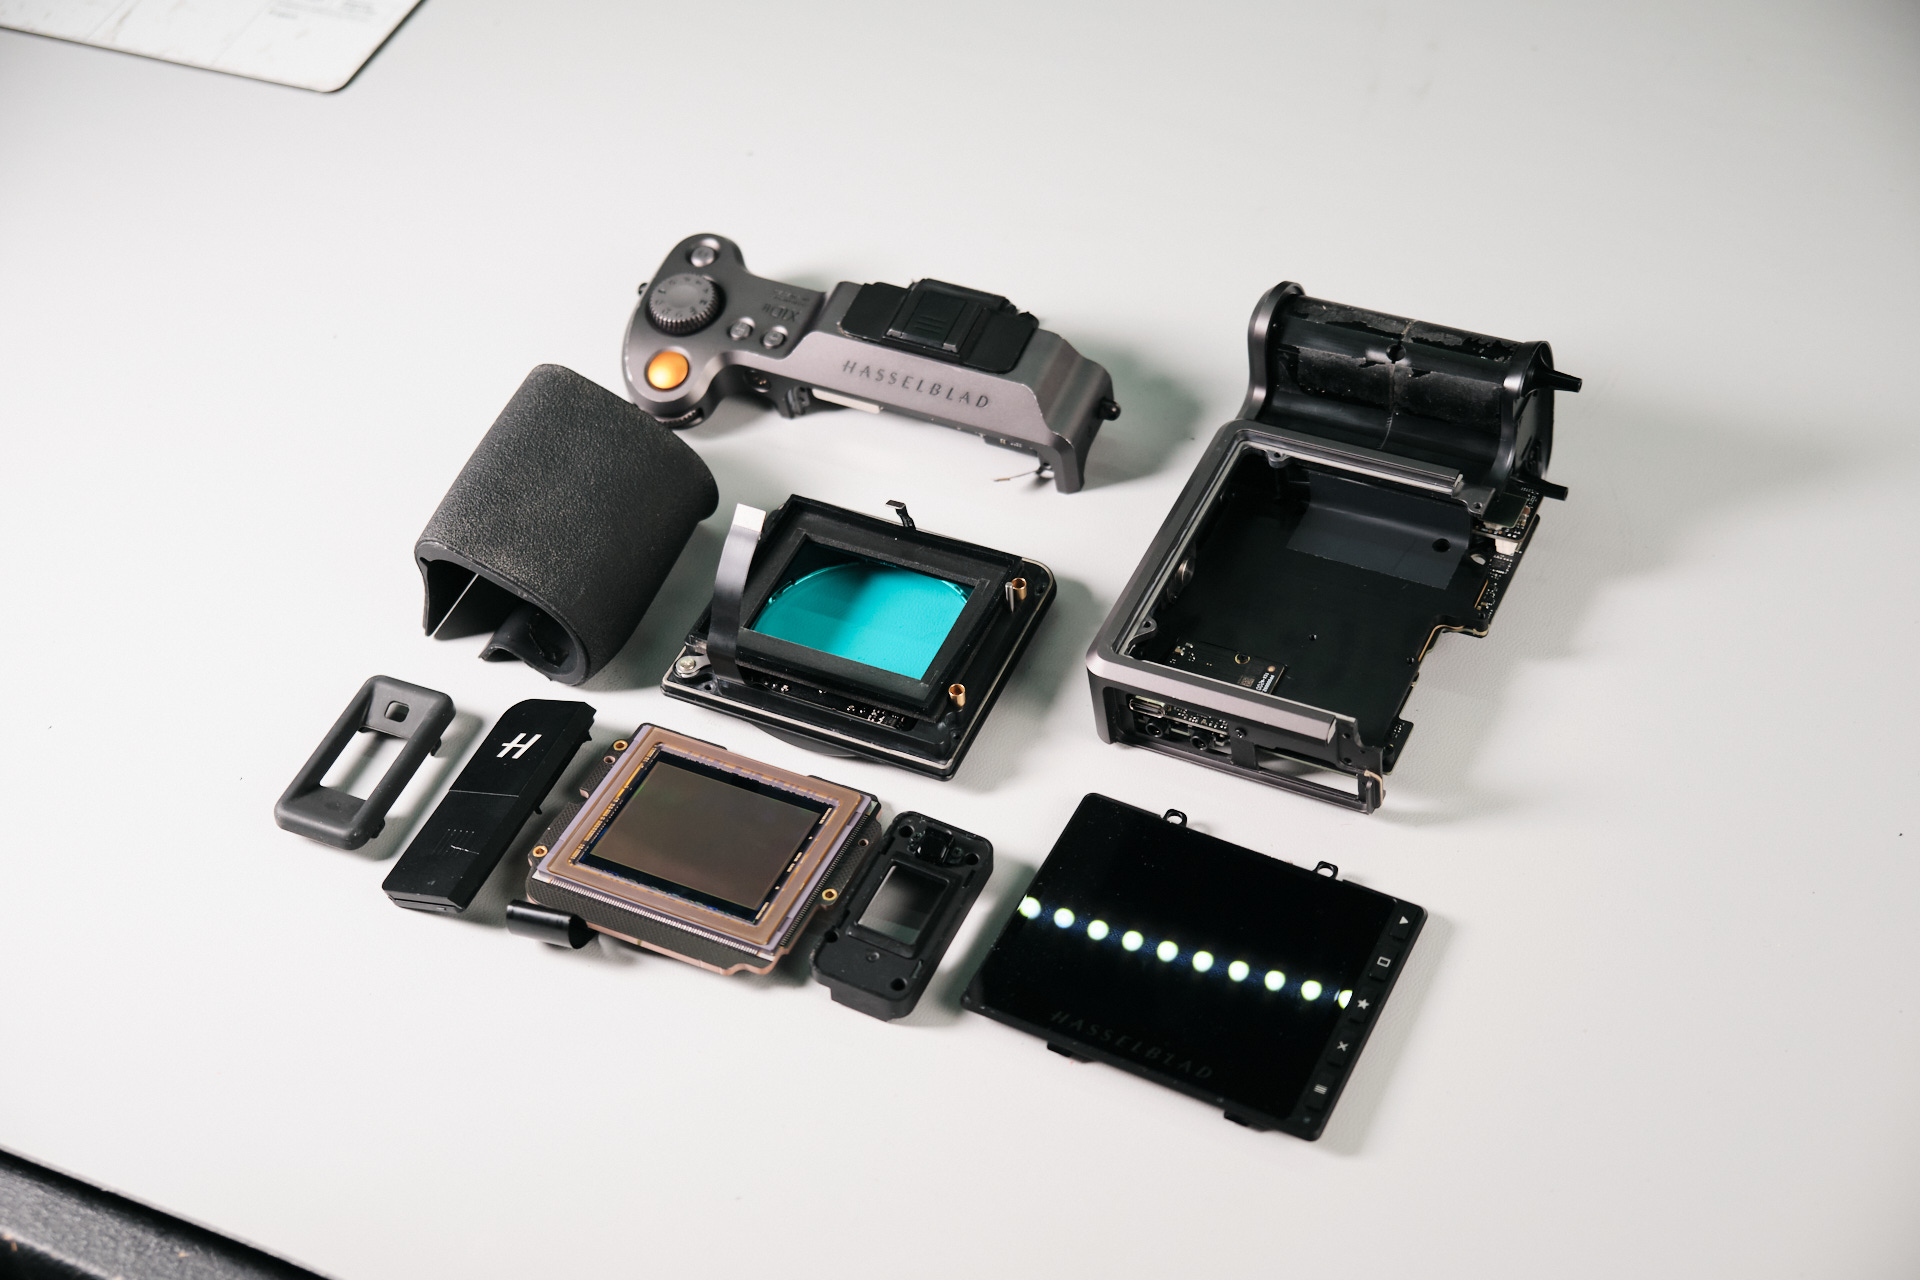
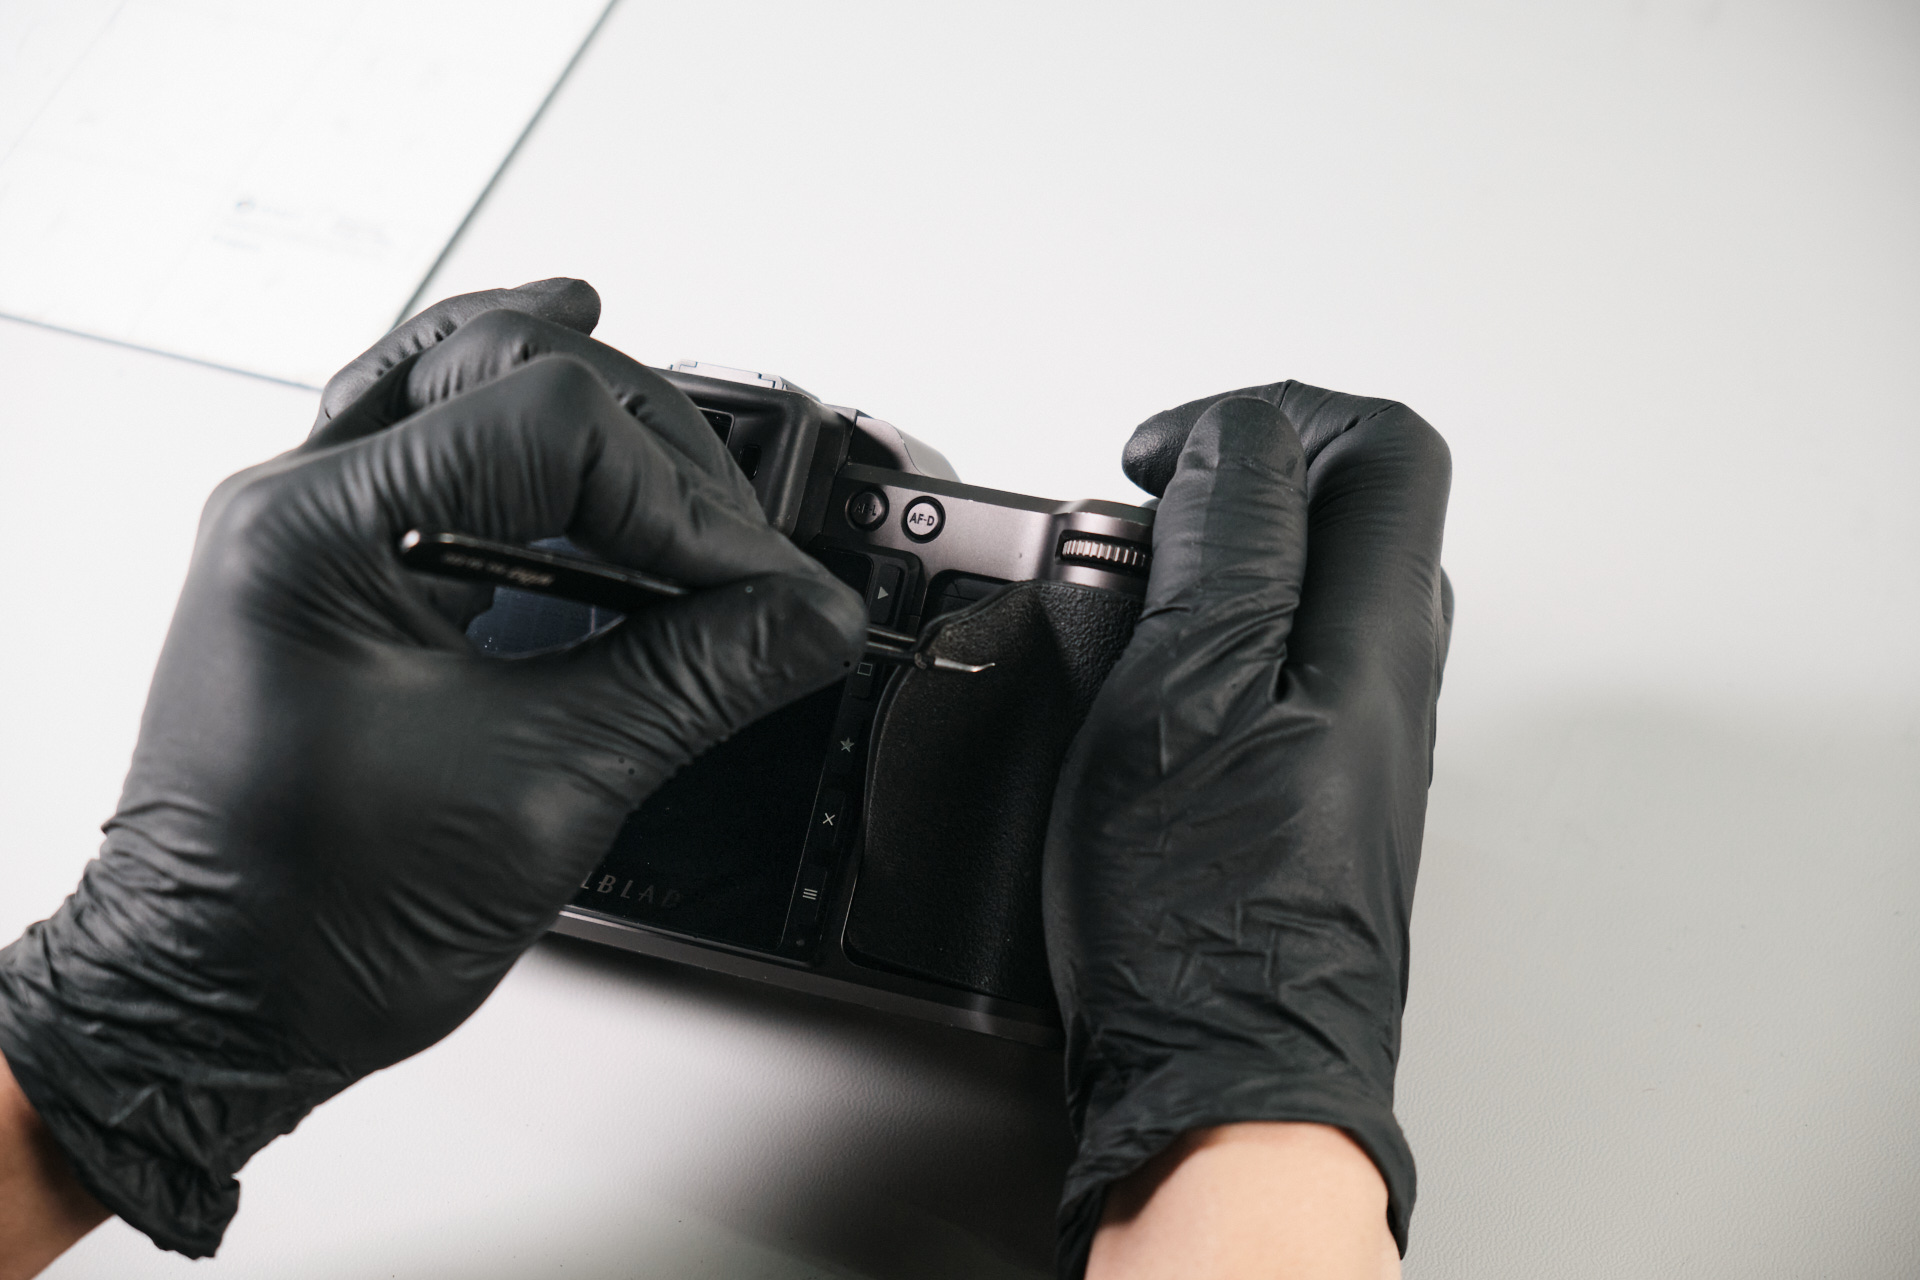
Normally, we start with removing the baseplate of the camera. However, this camera did not have a baseplate in this case—the entire frame was one piece. Instead, we peeled off the rubber right-hand palm grip.
Removing the Eyecup and Battery Slot Screws
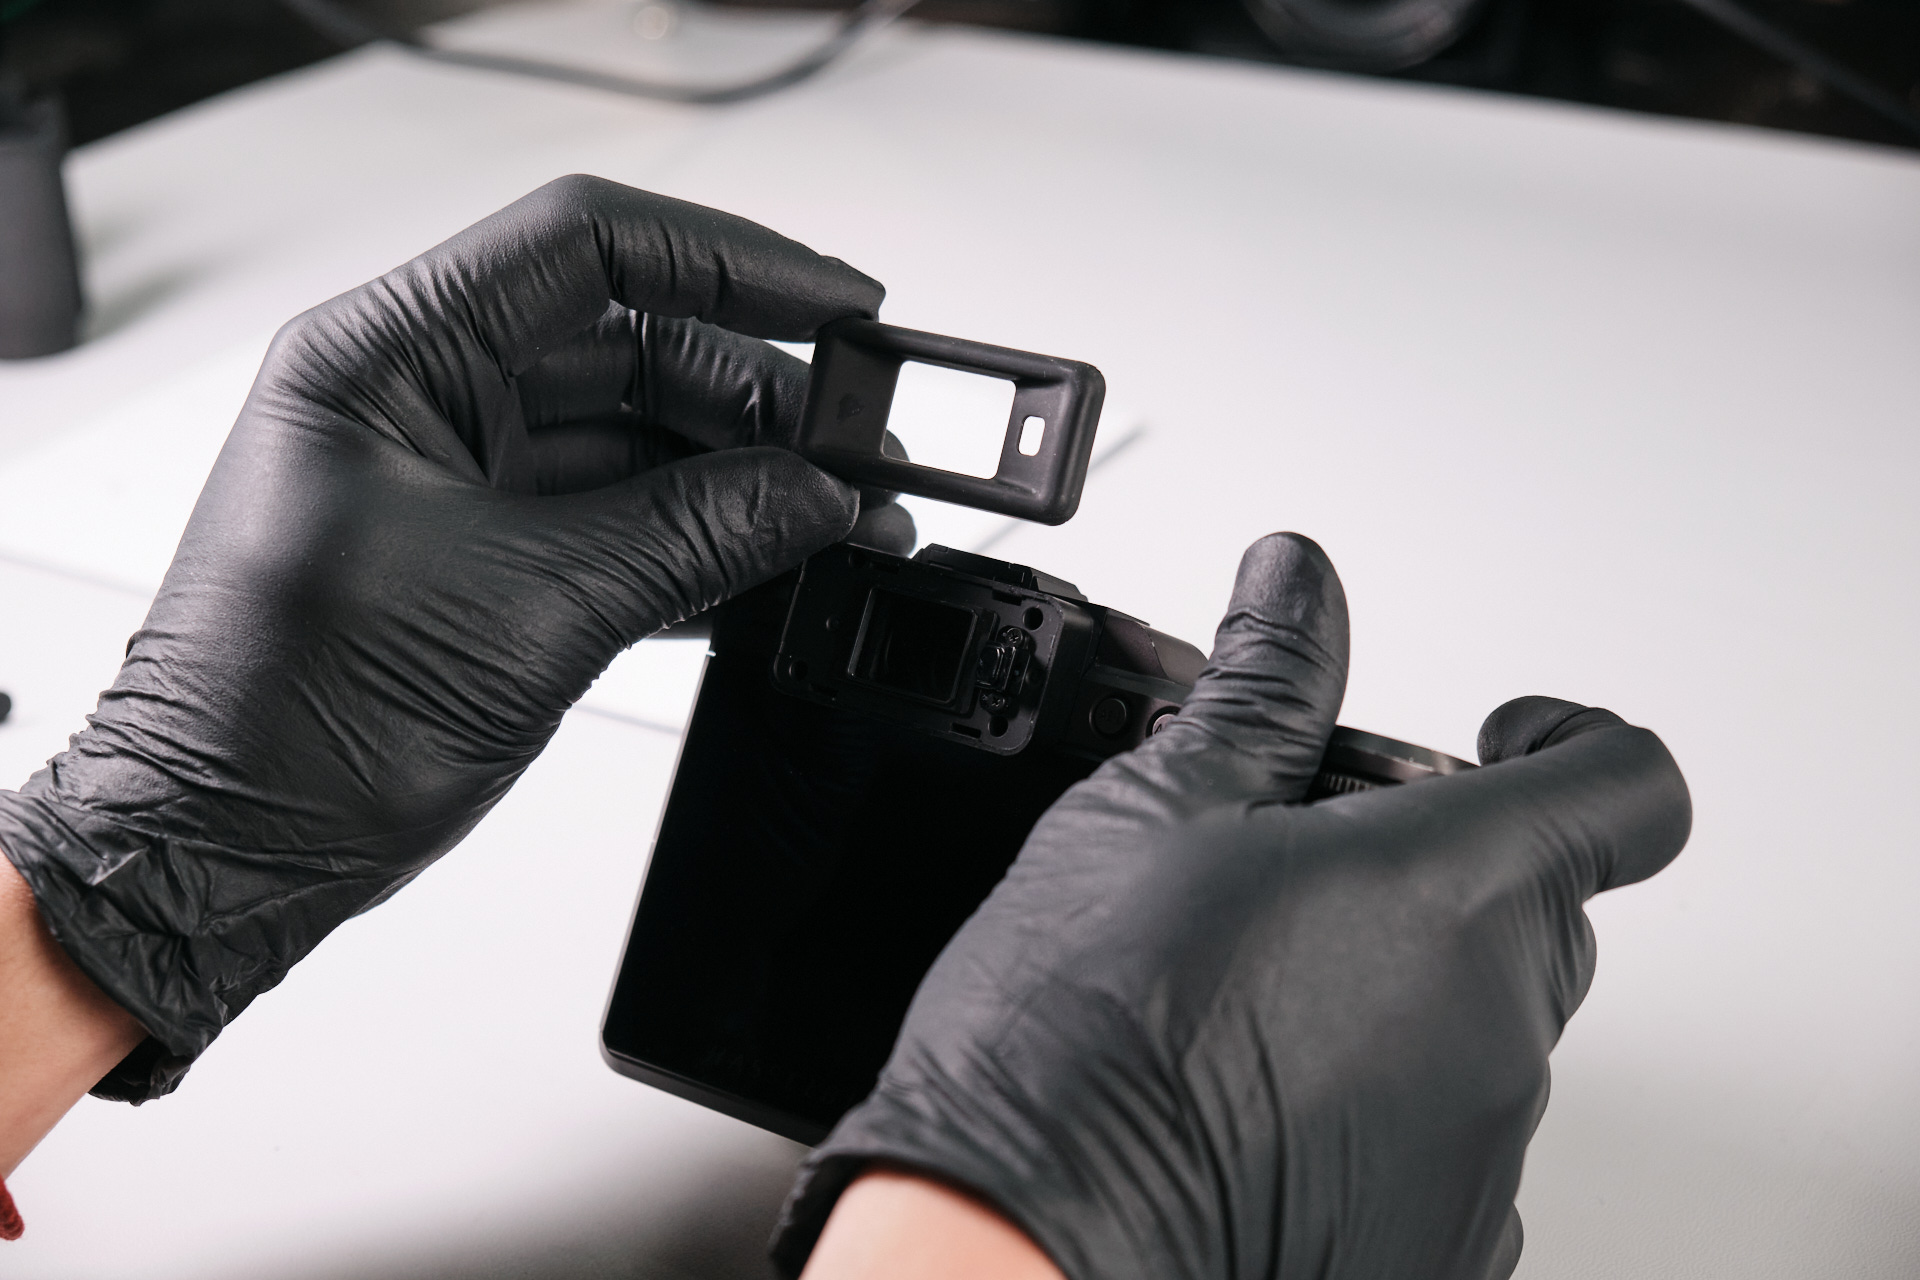
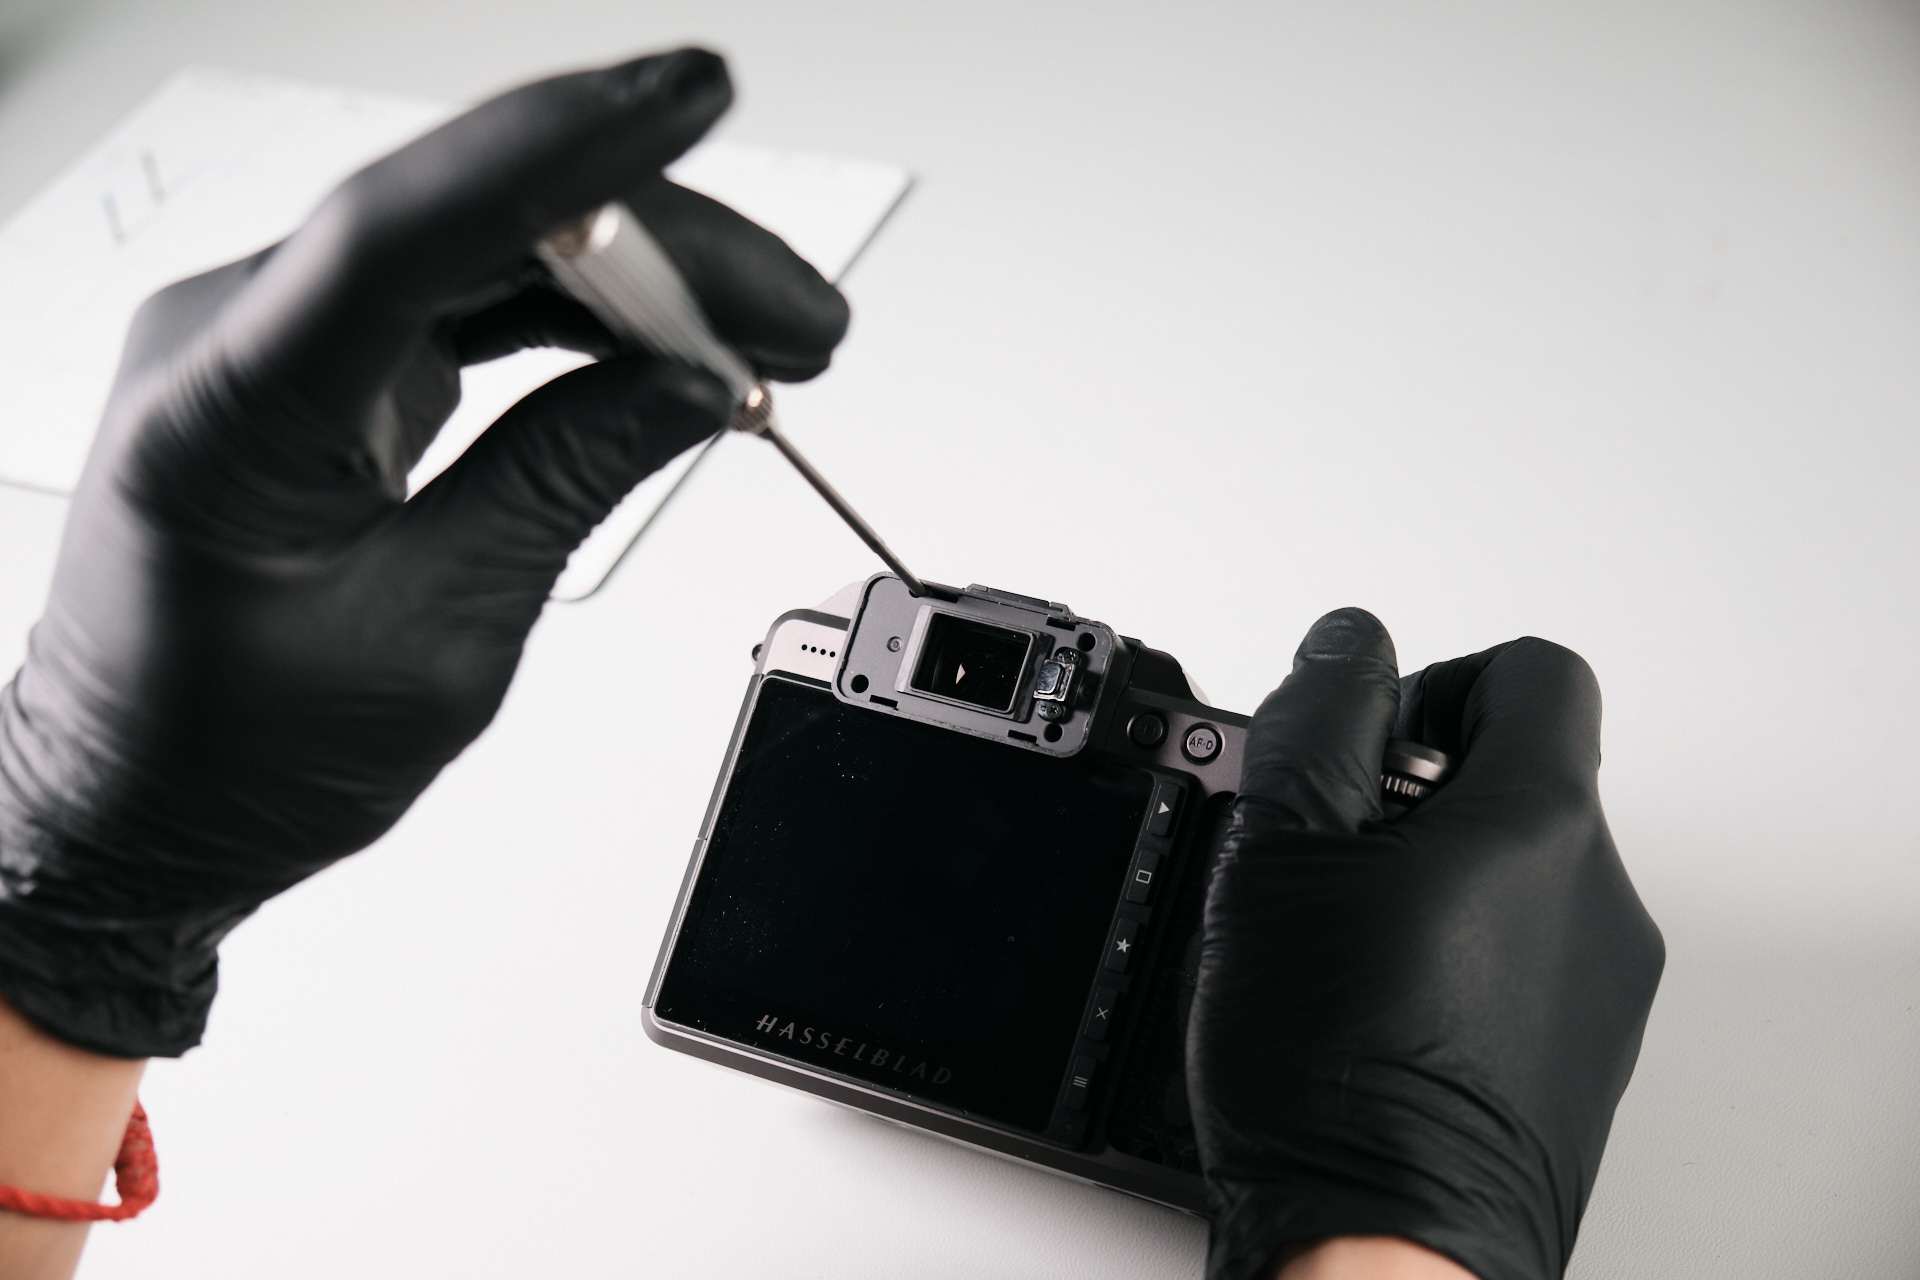
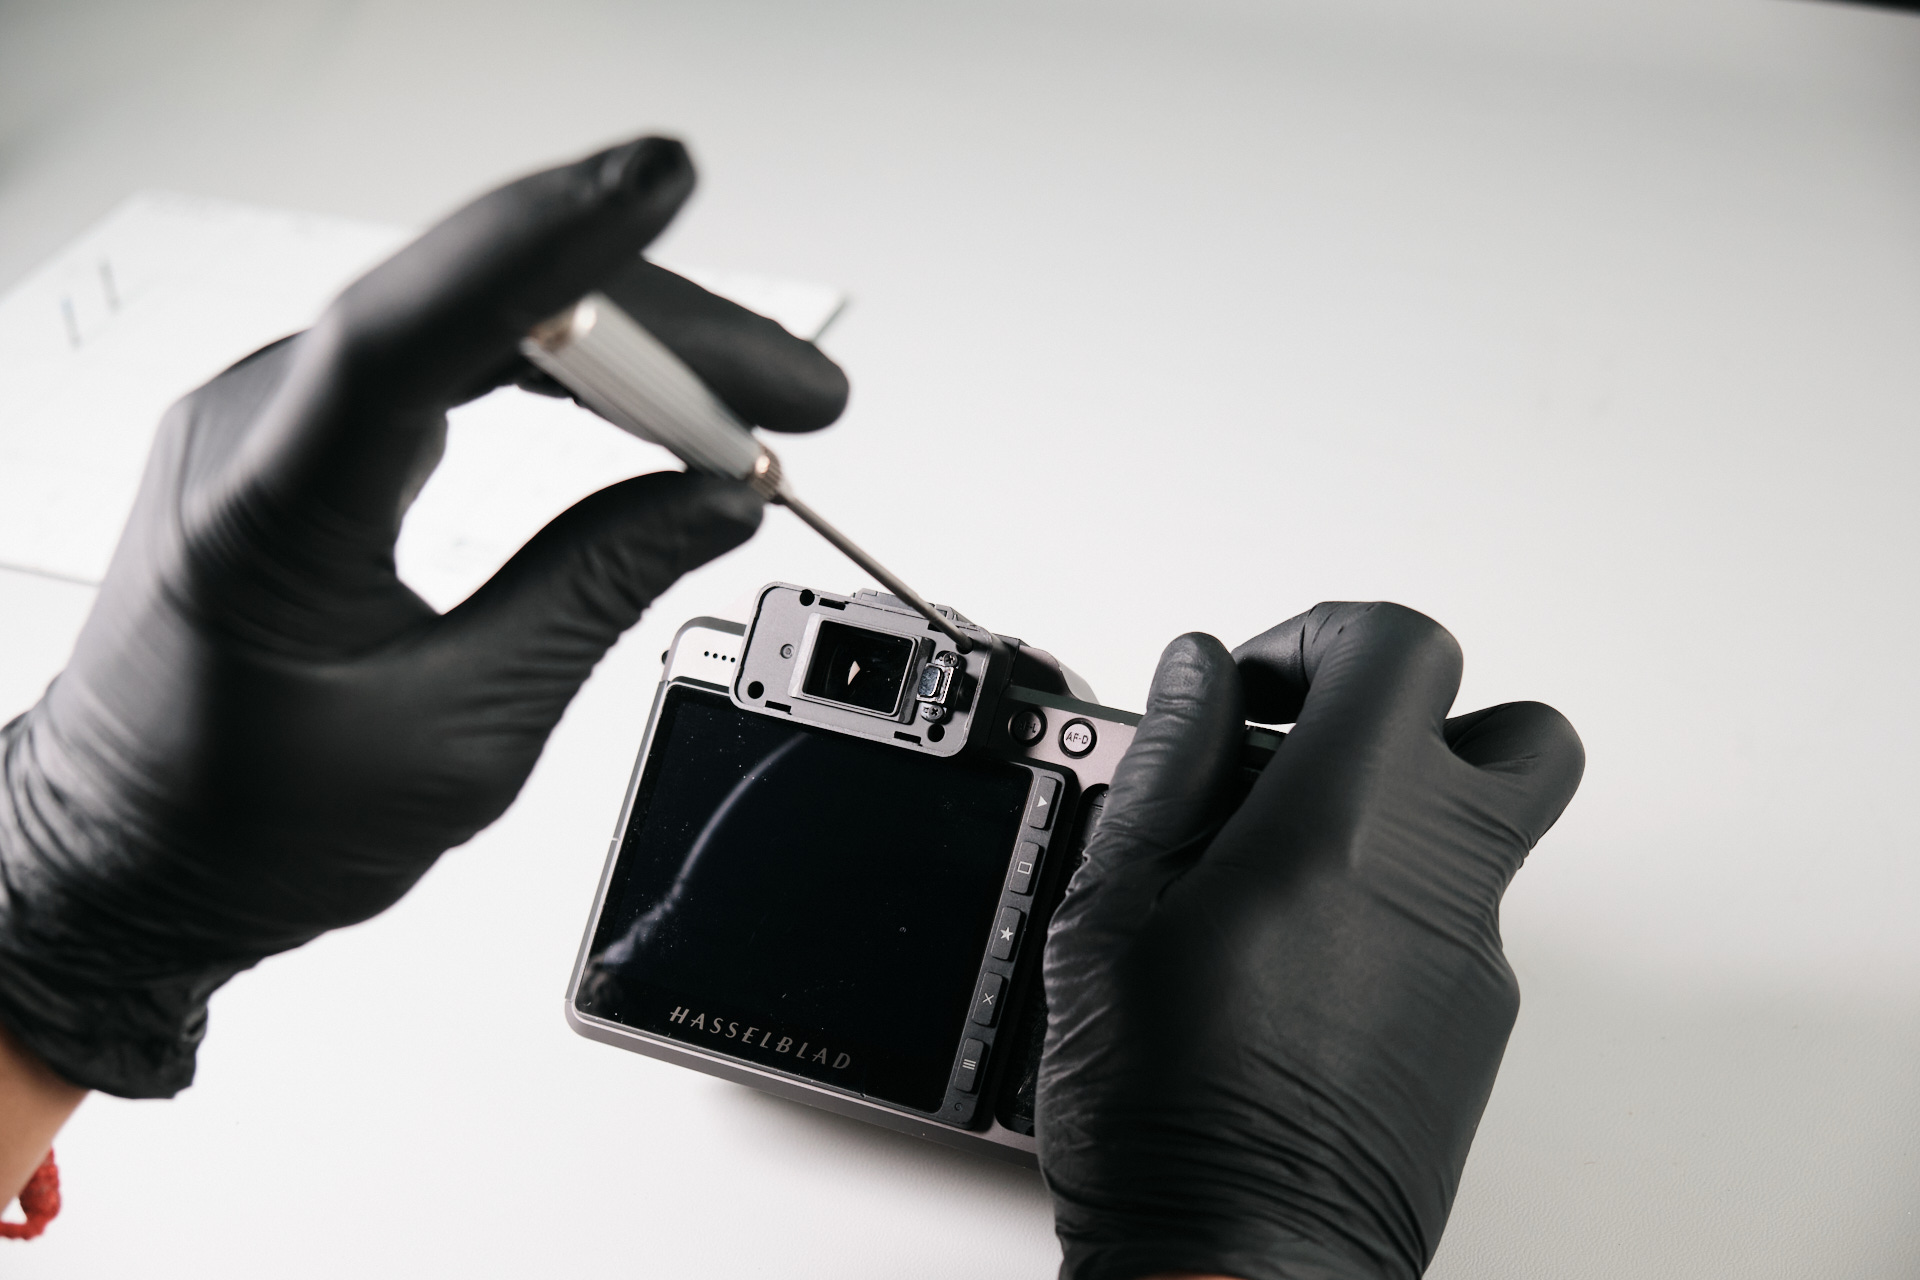
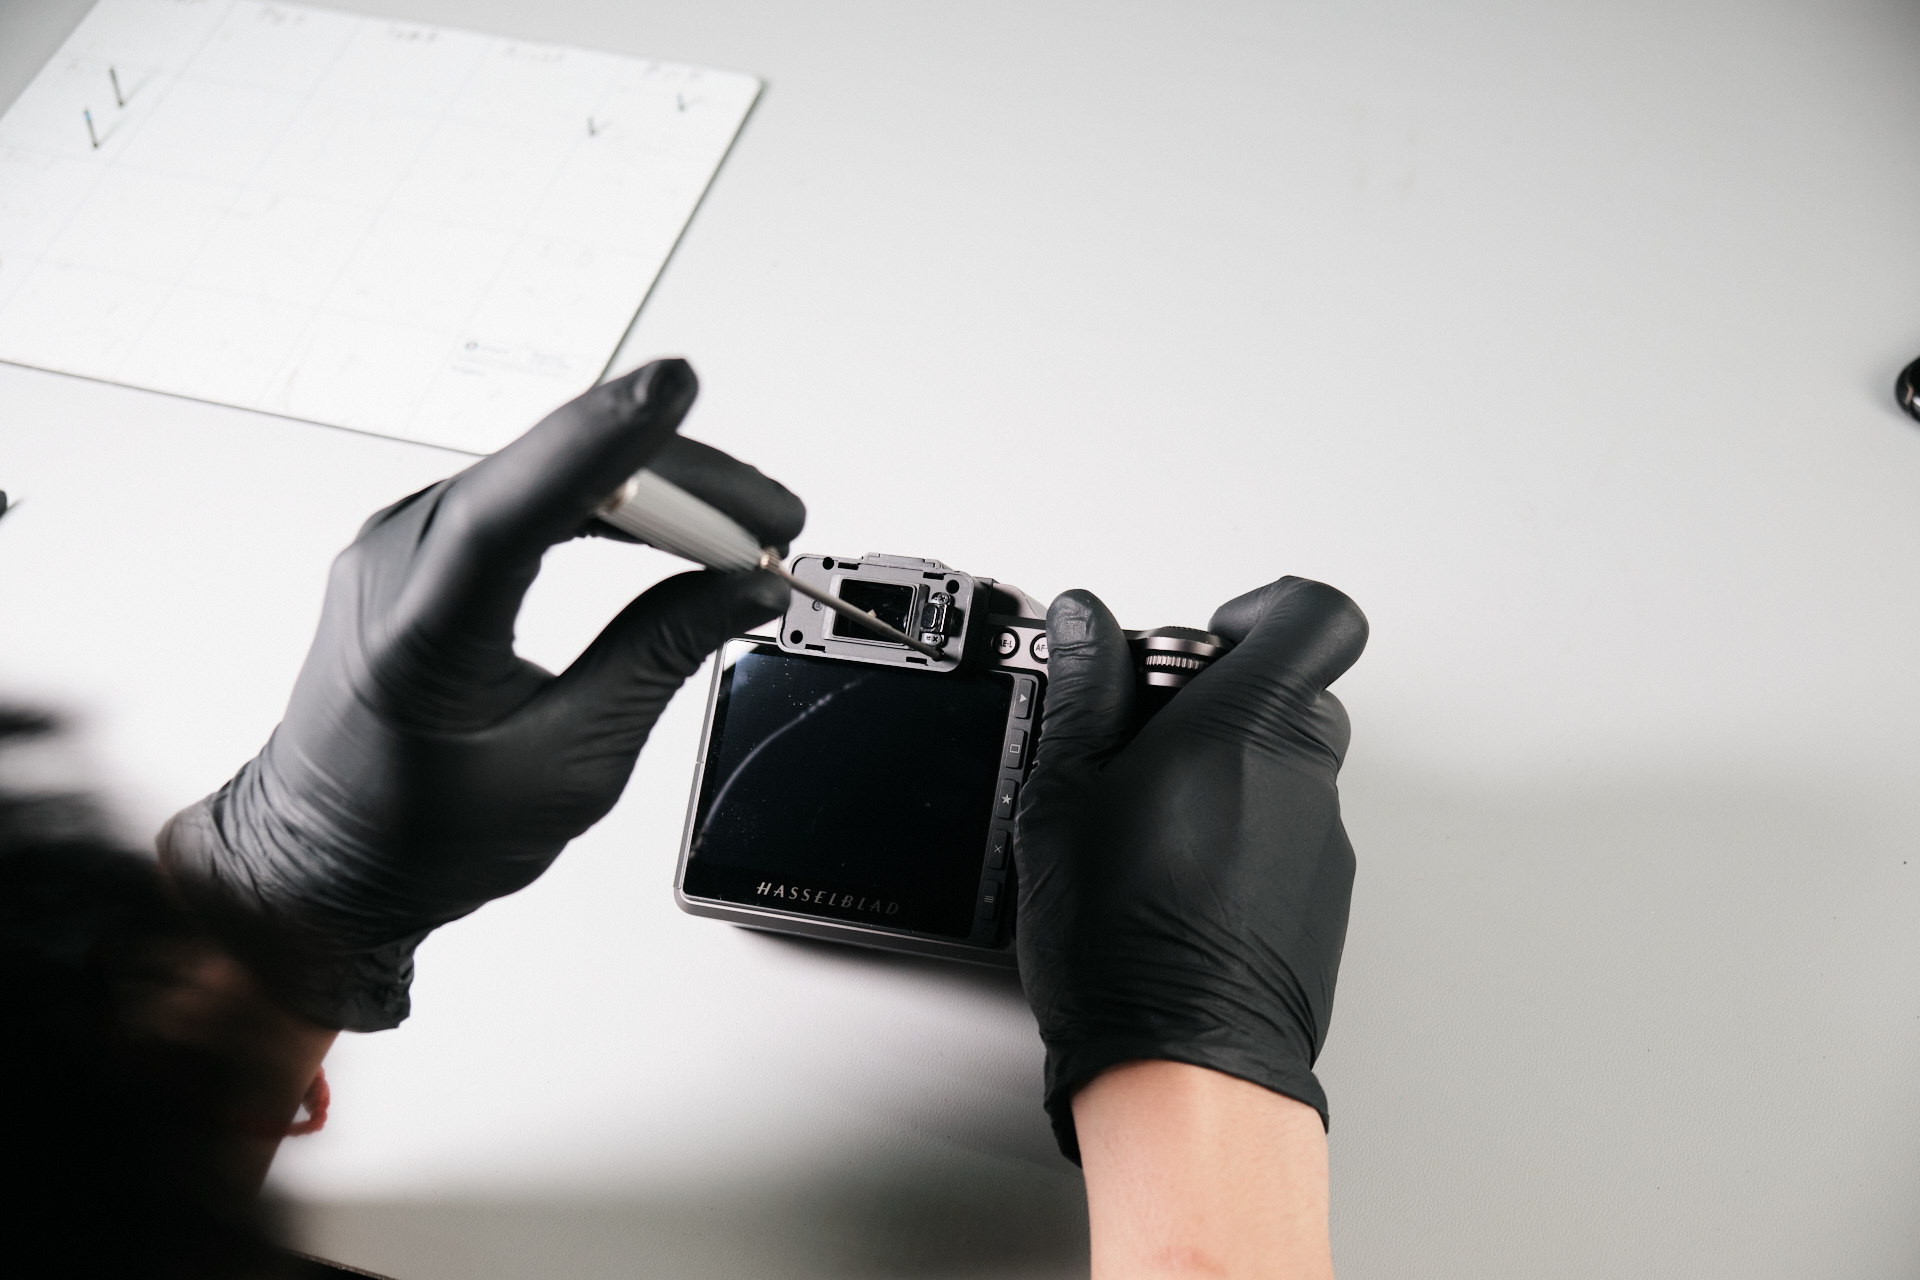
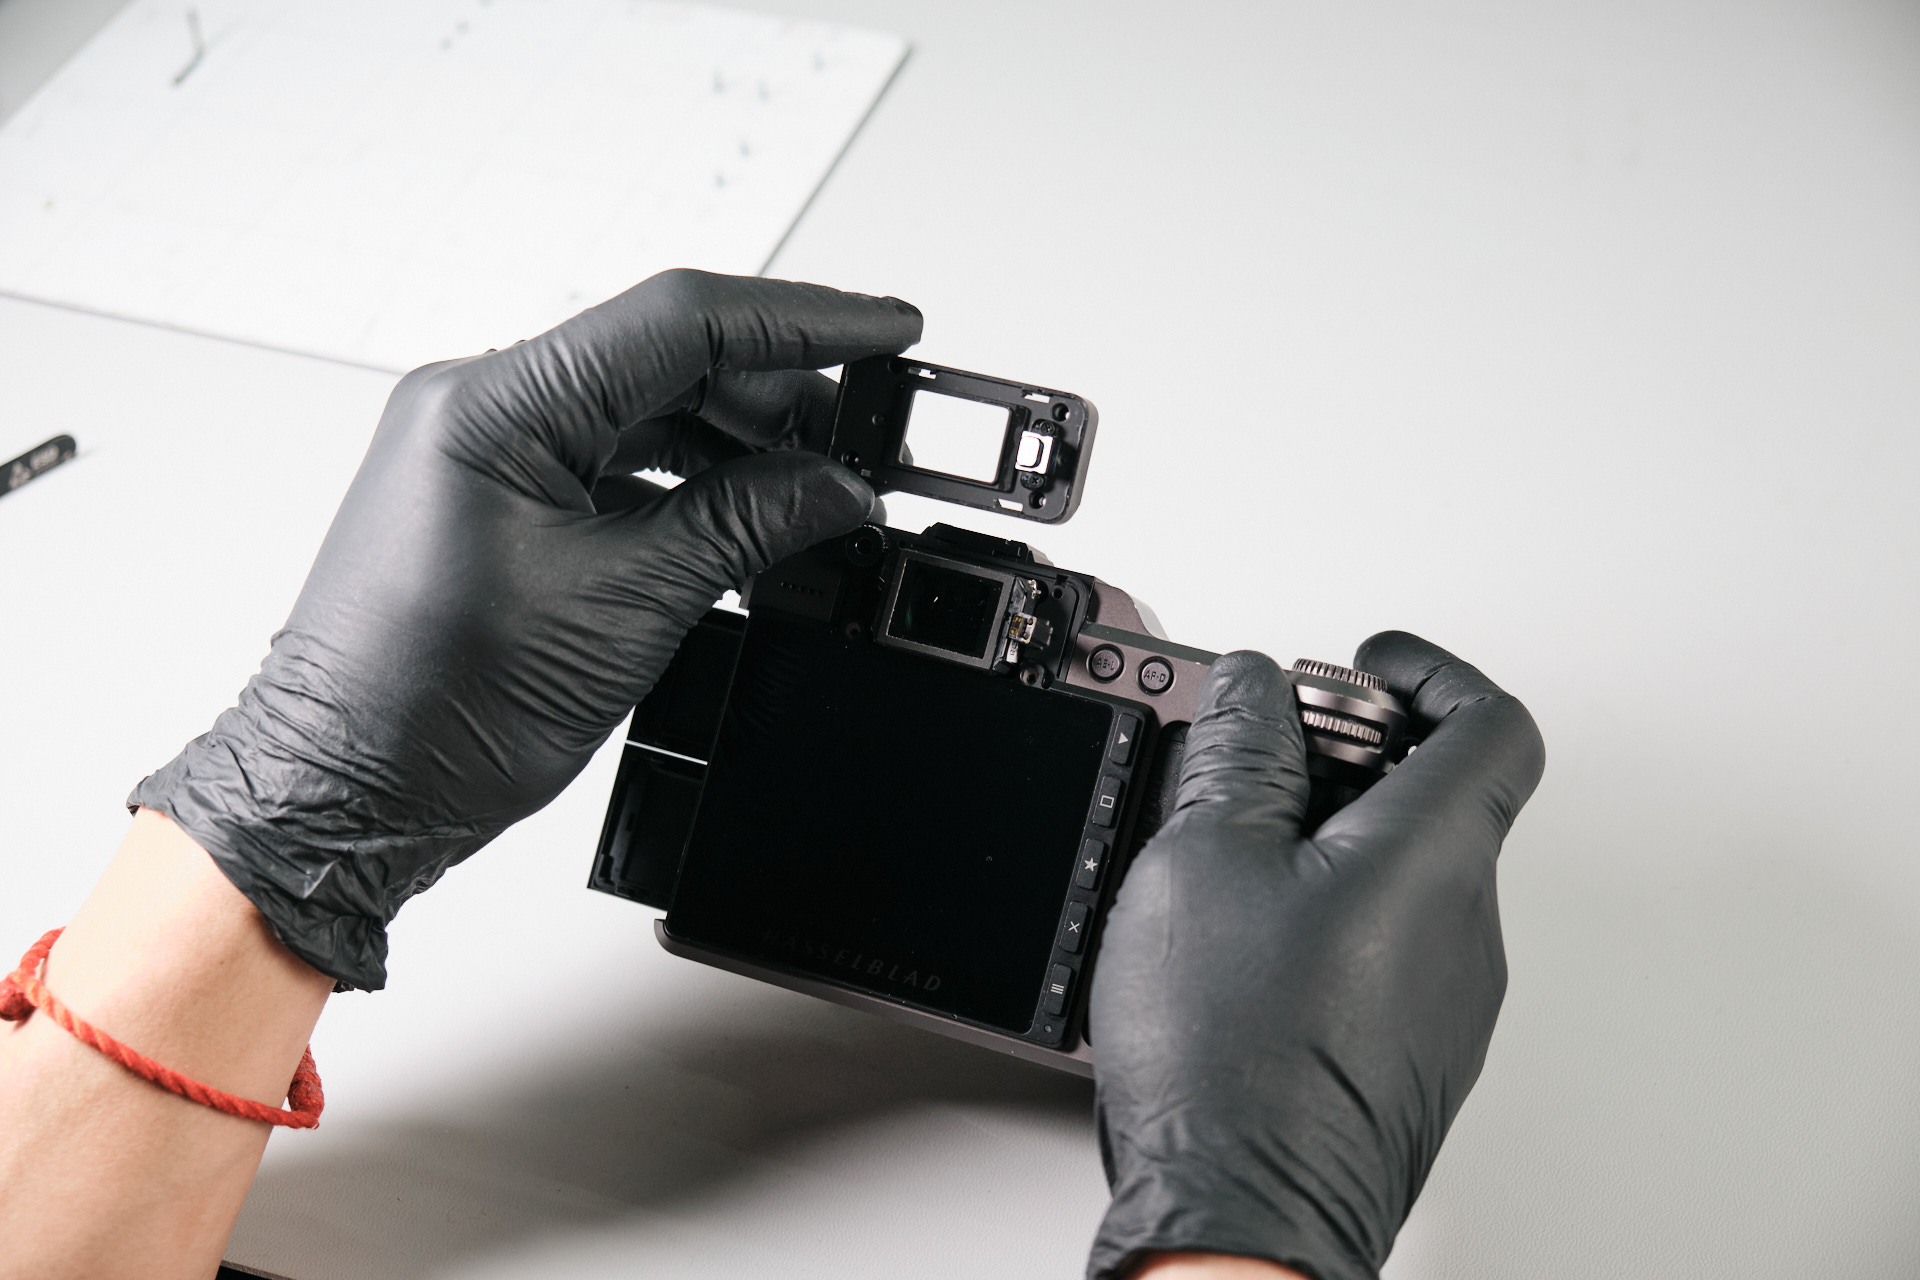
Afterward, we removed the eyecup.
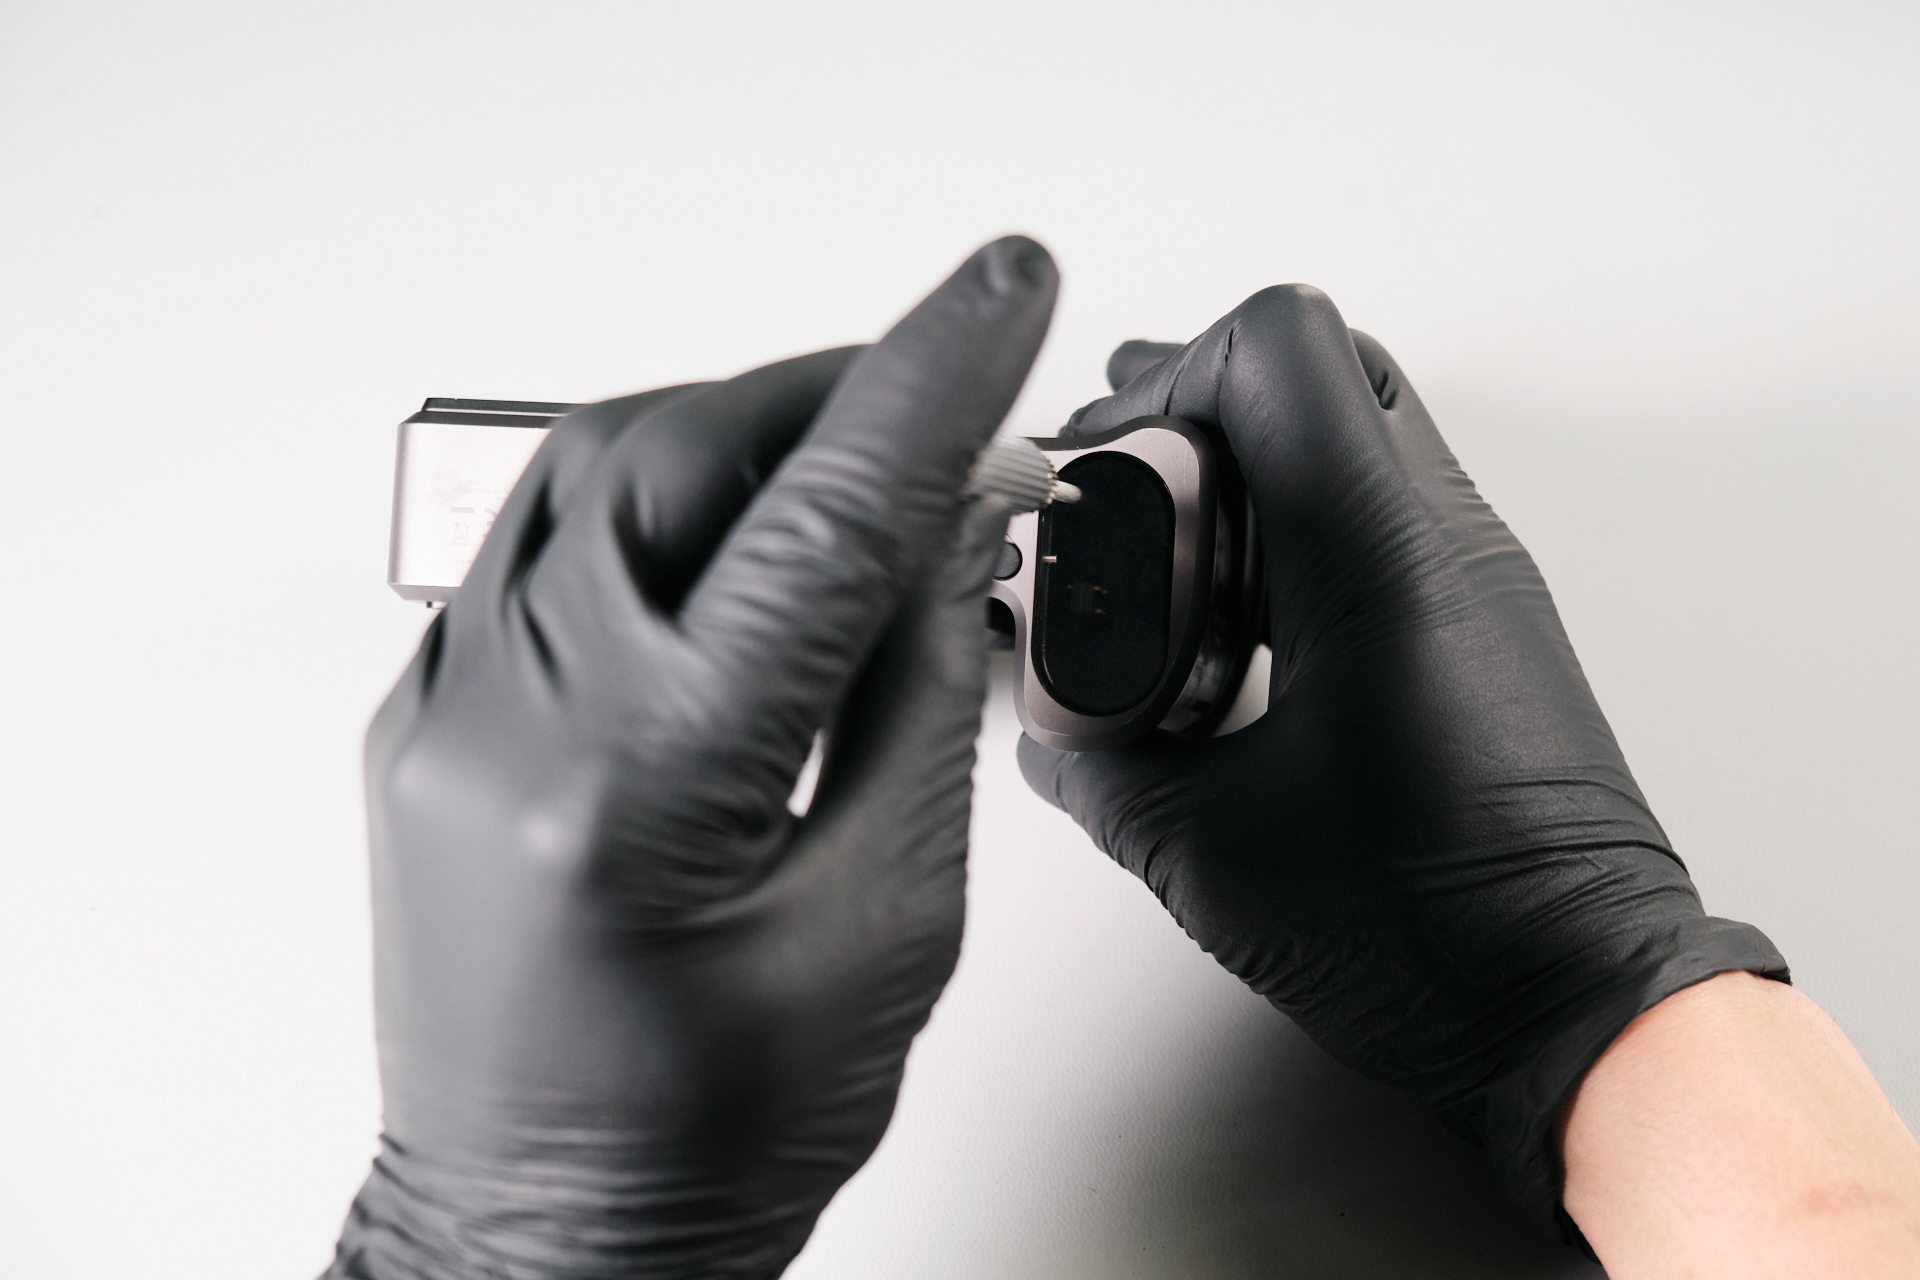
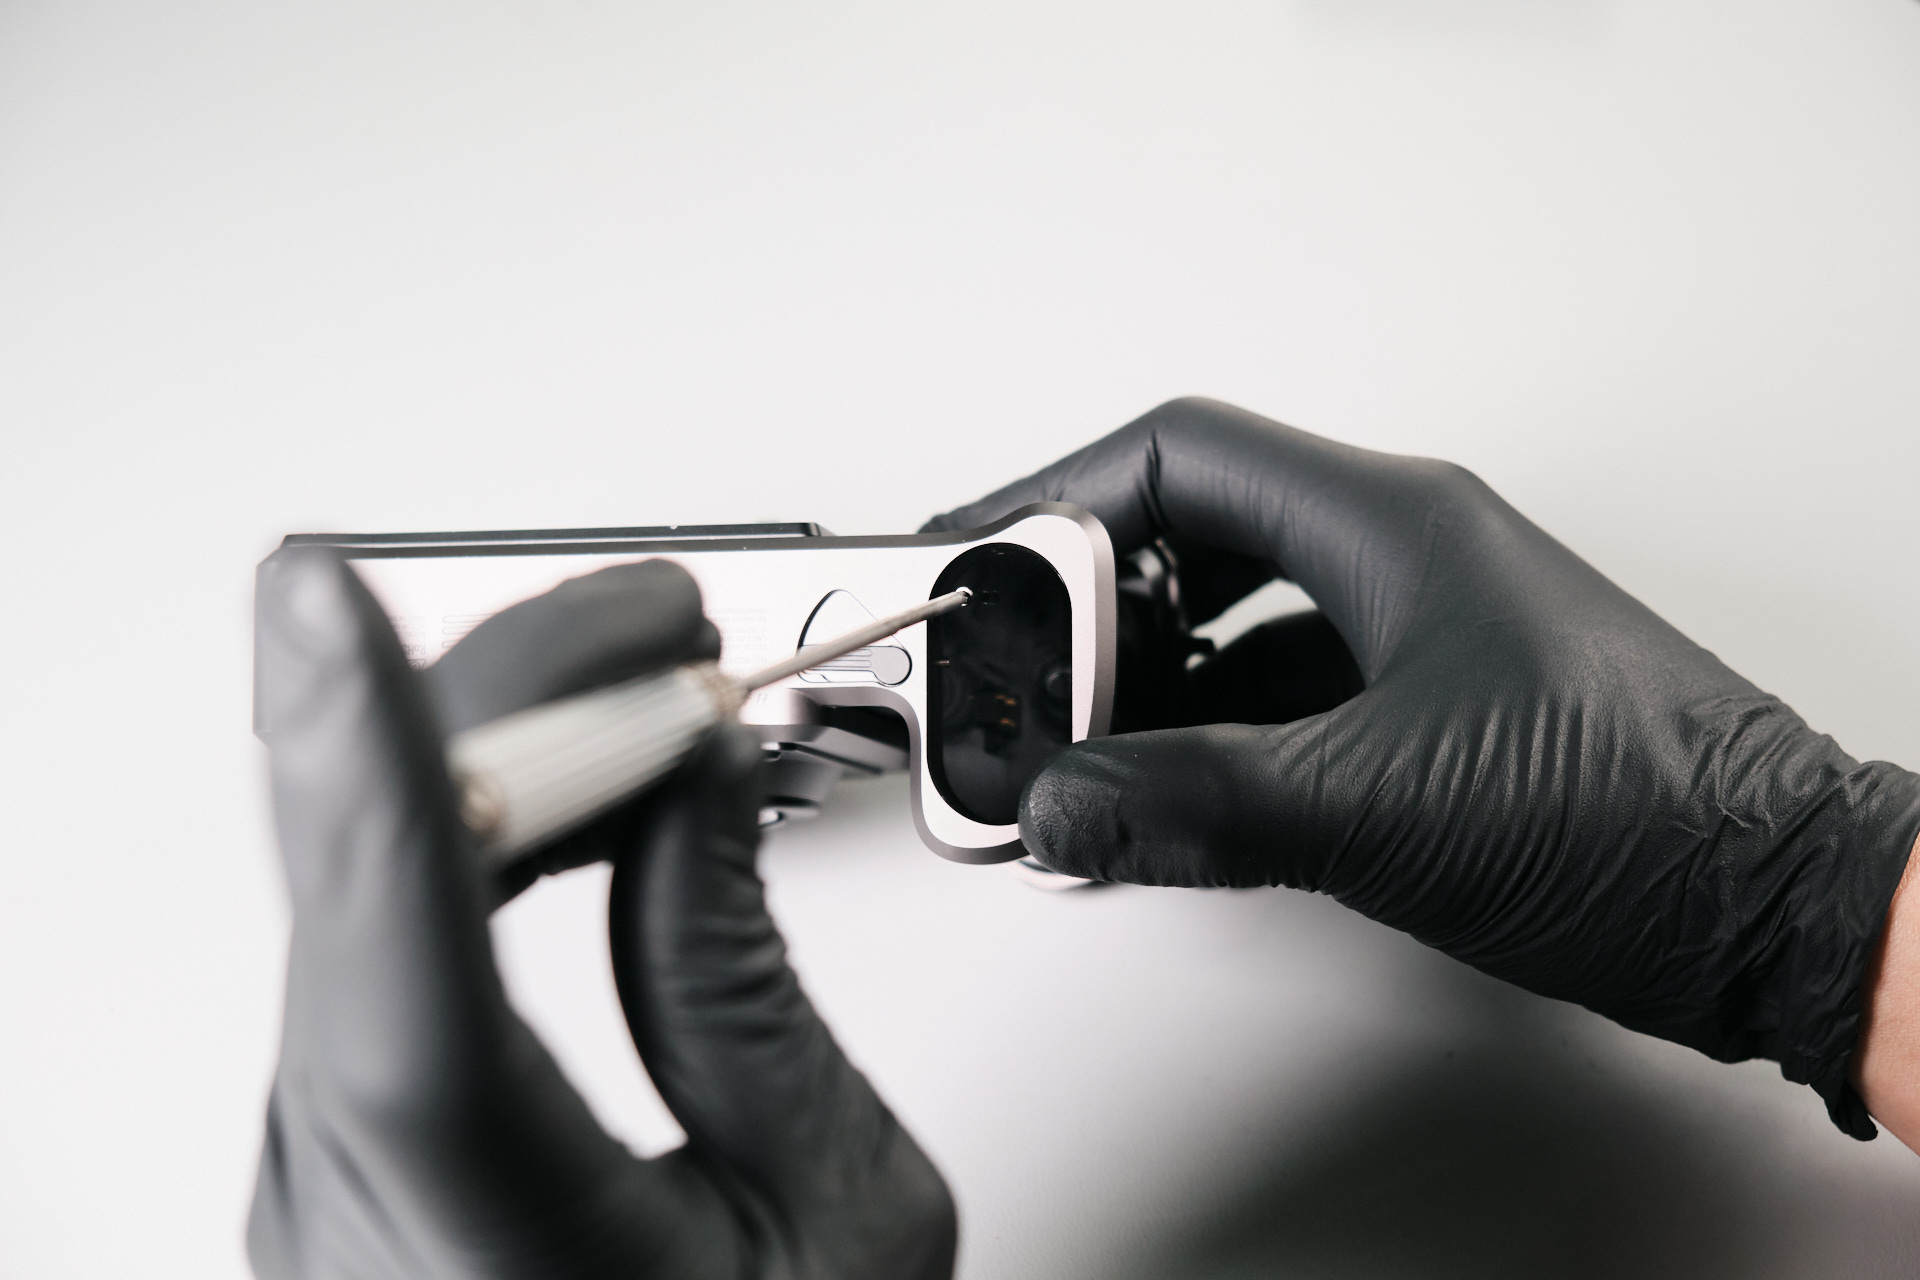
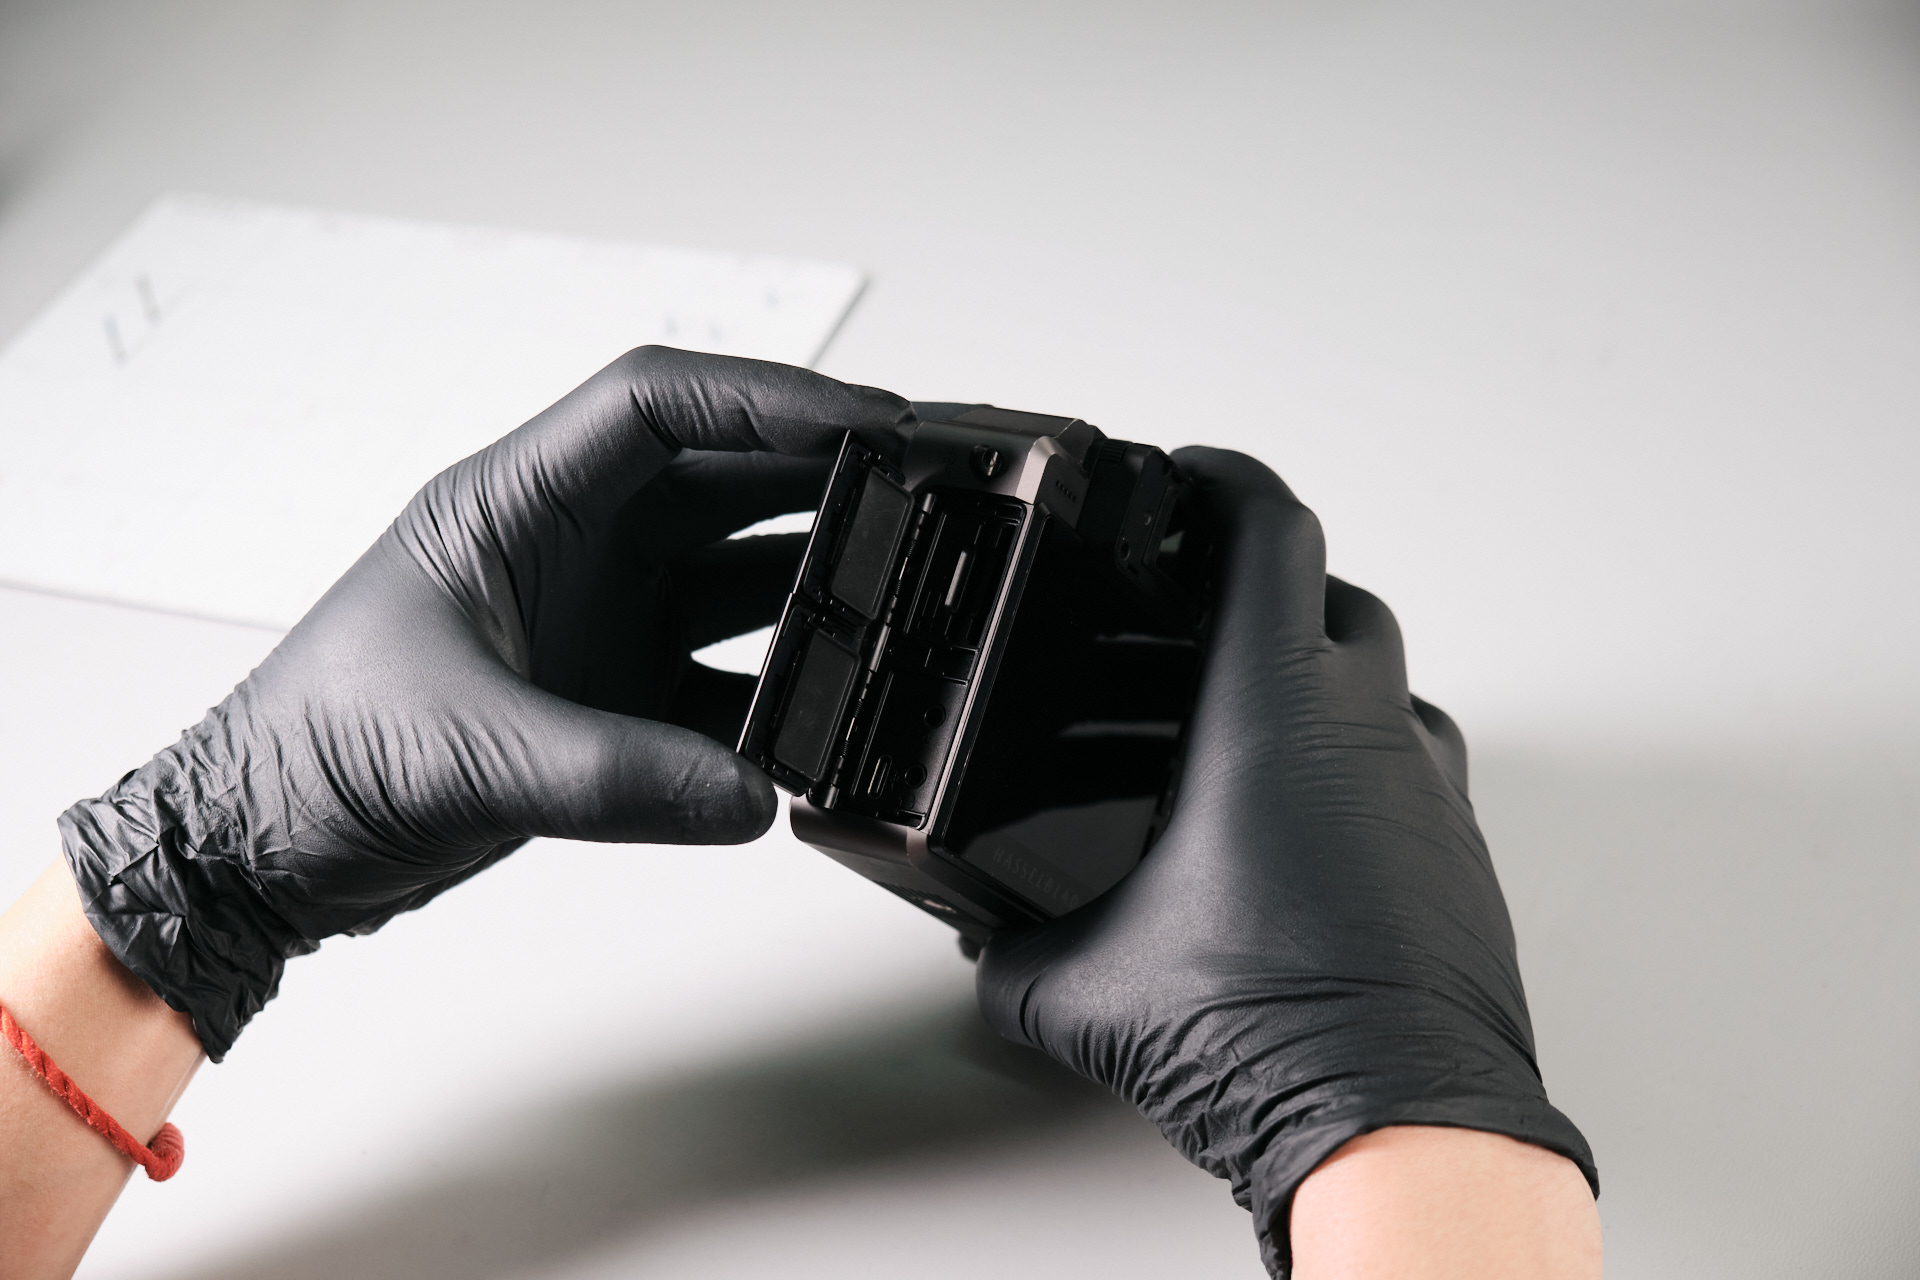
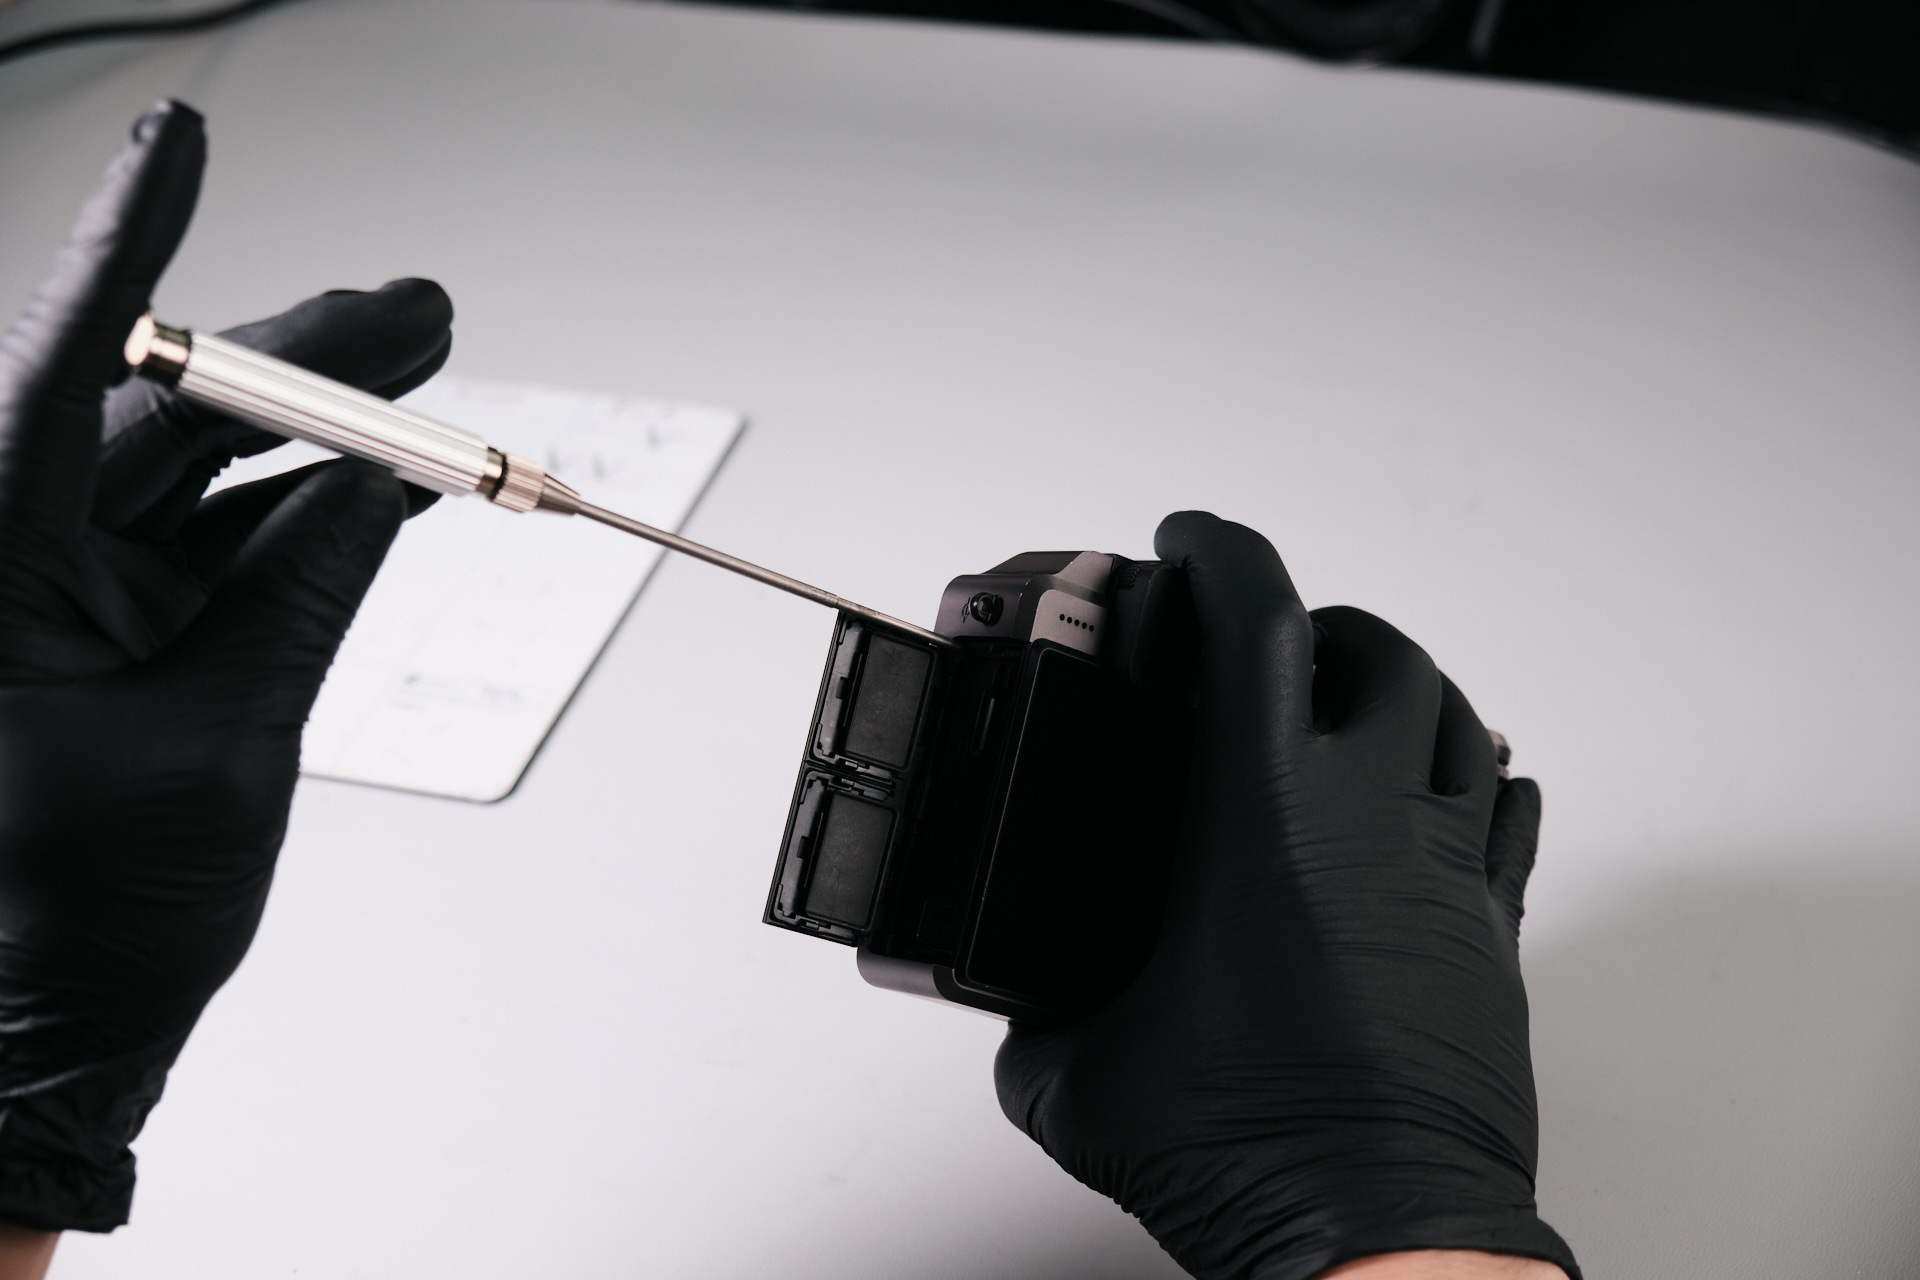
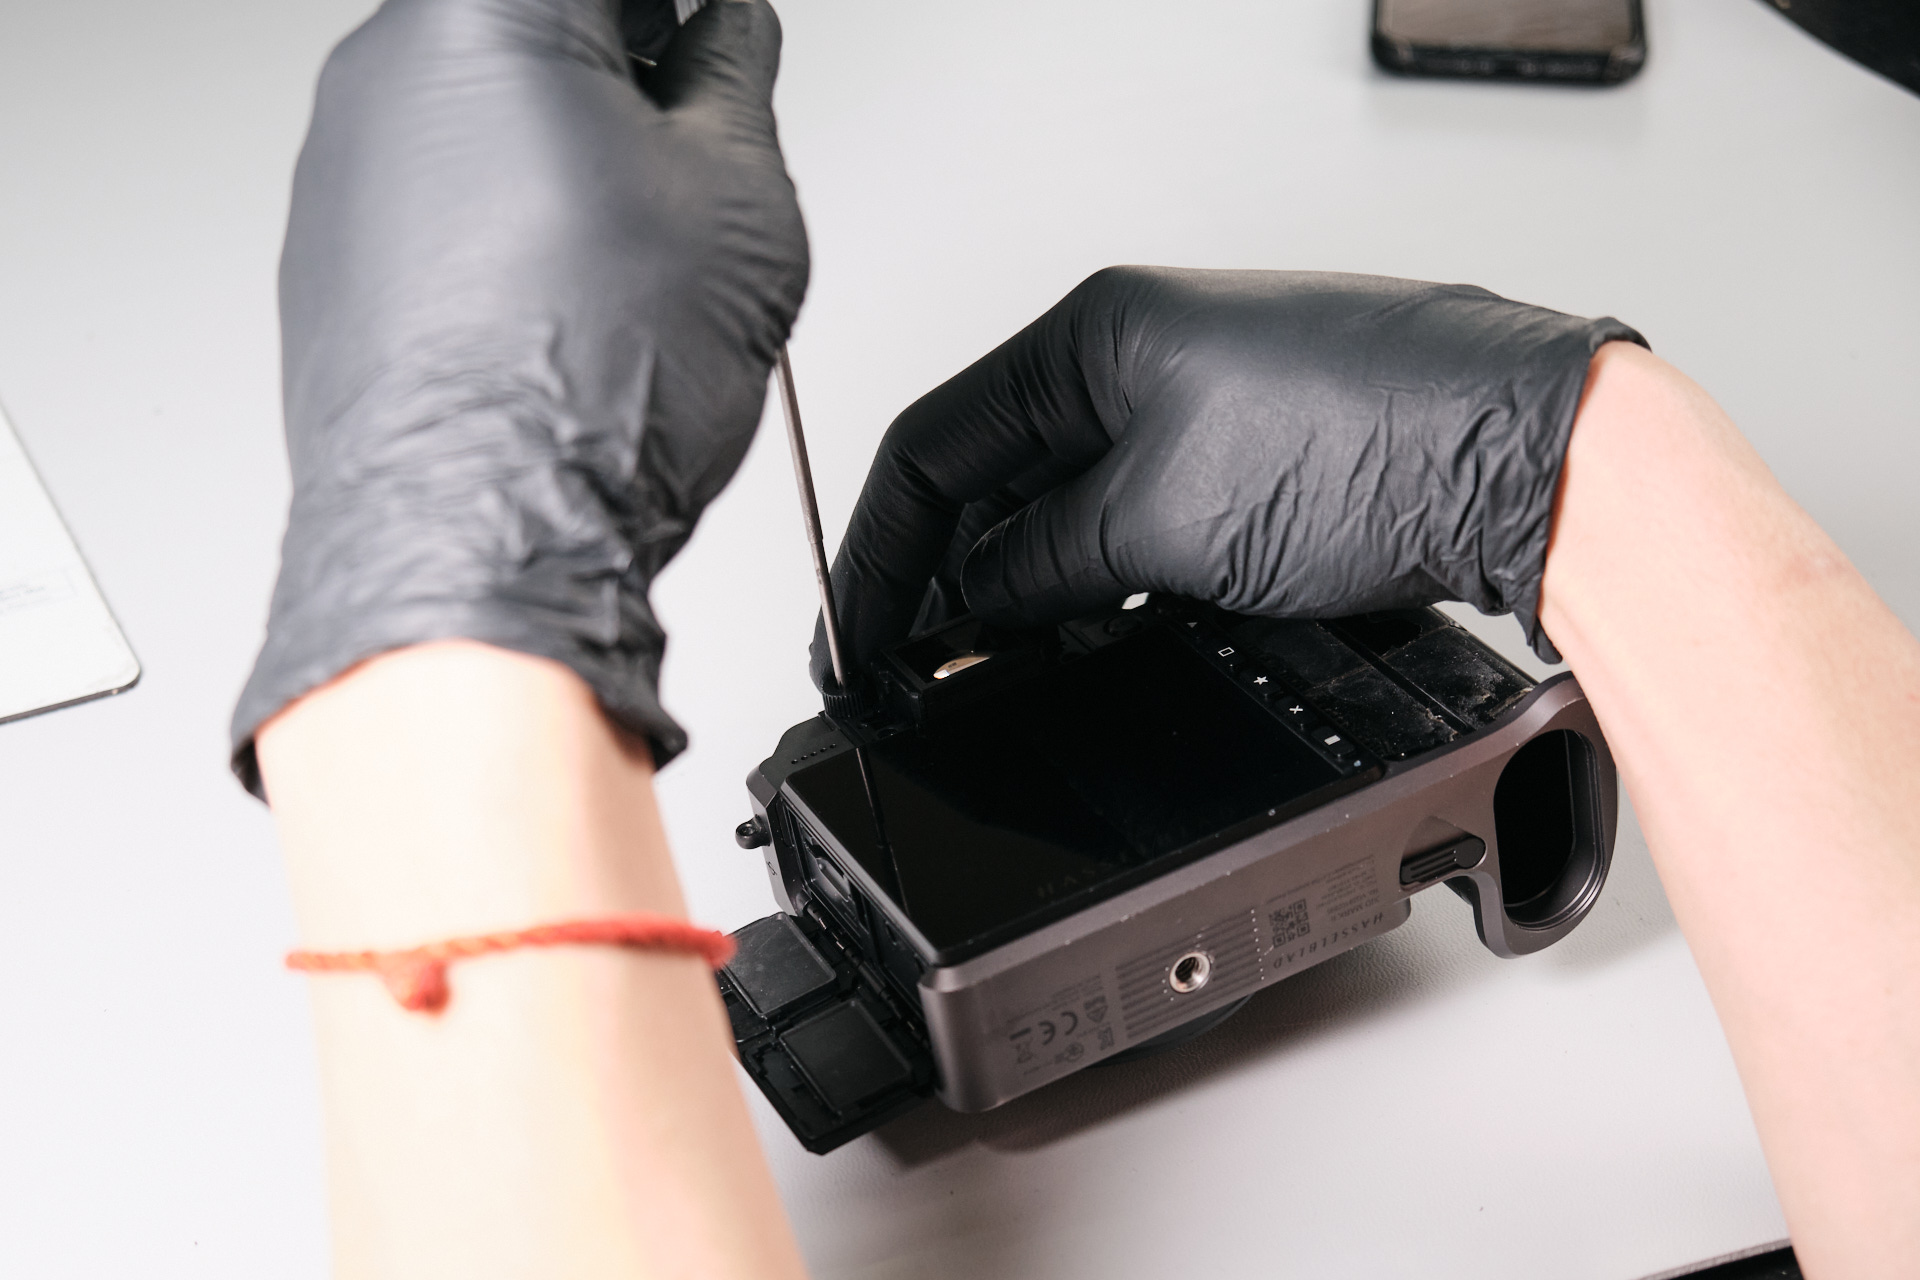
Two Philips screws were found and removed from the battery slot.
Removing the EVF and Port Side Screws
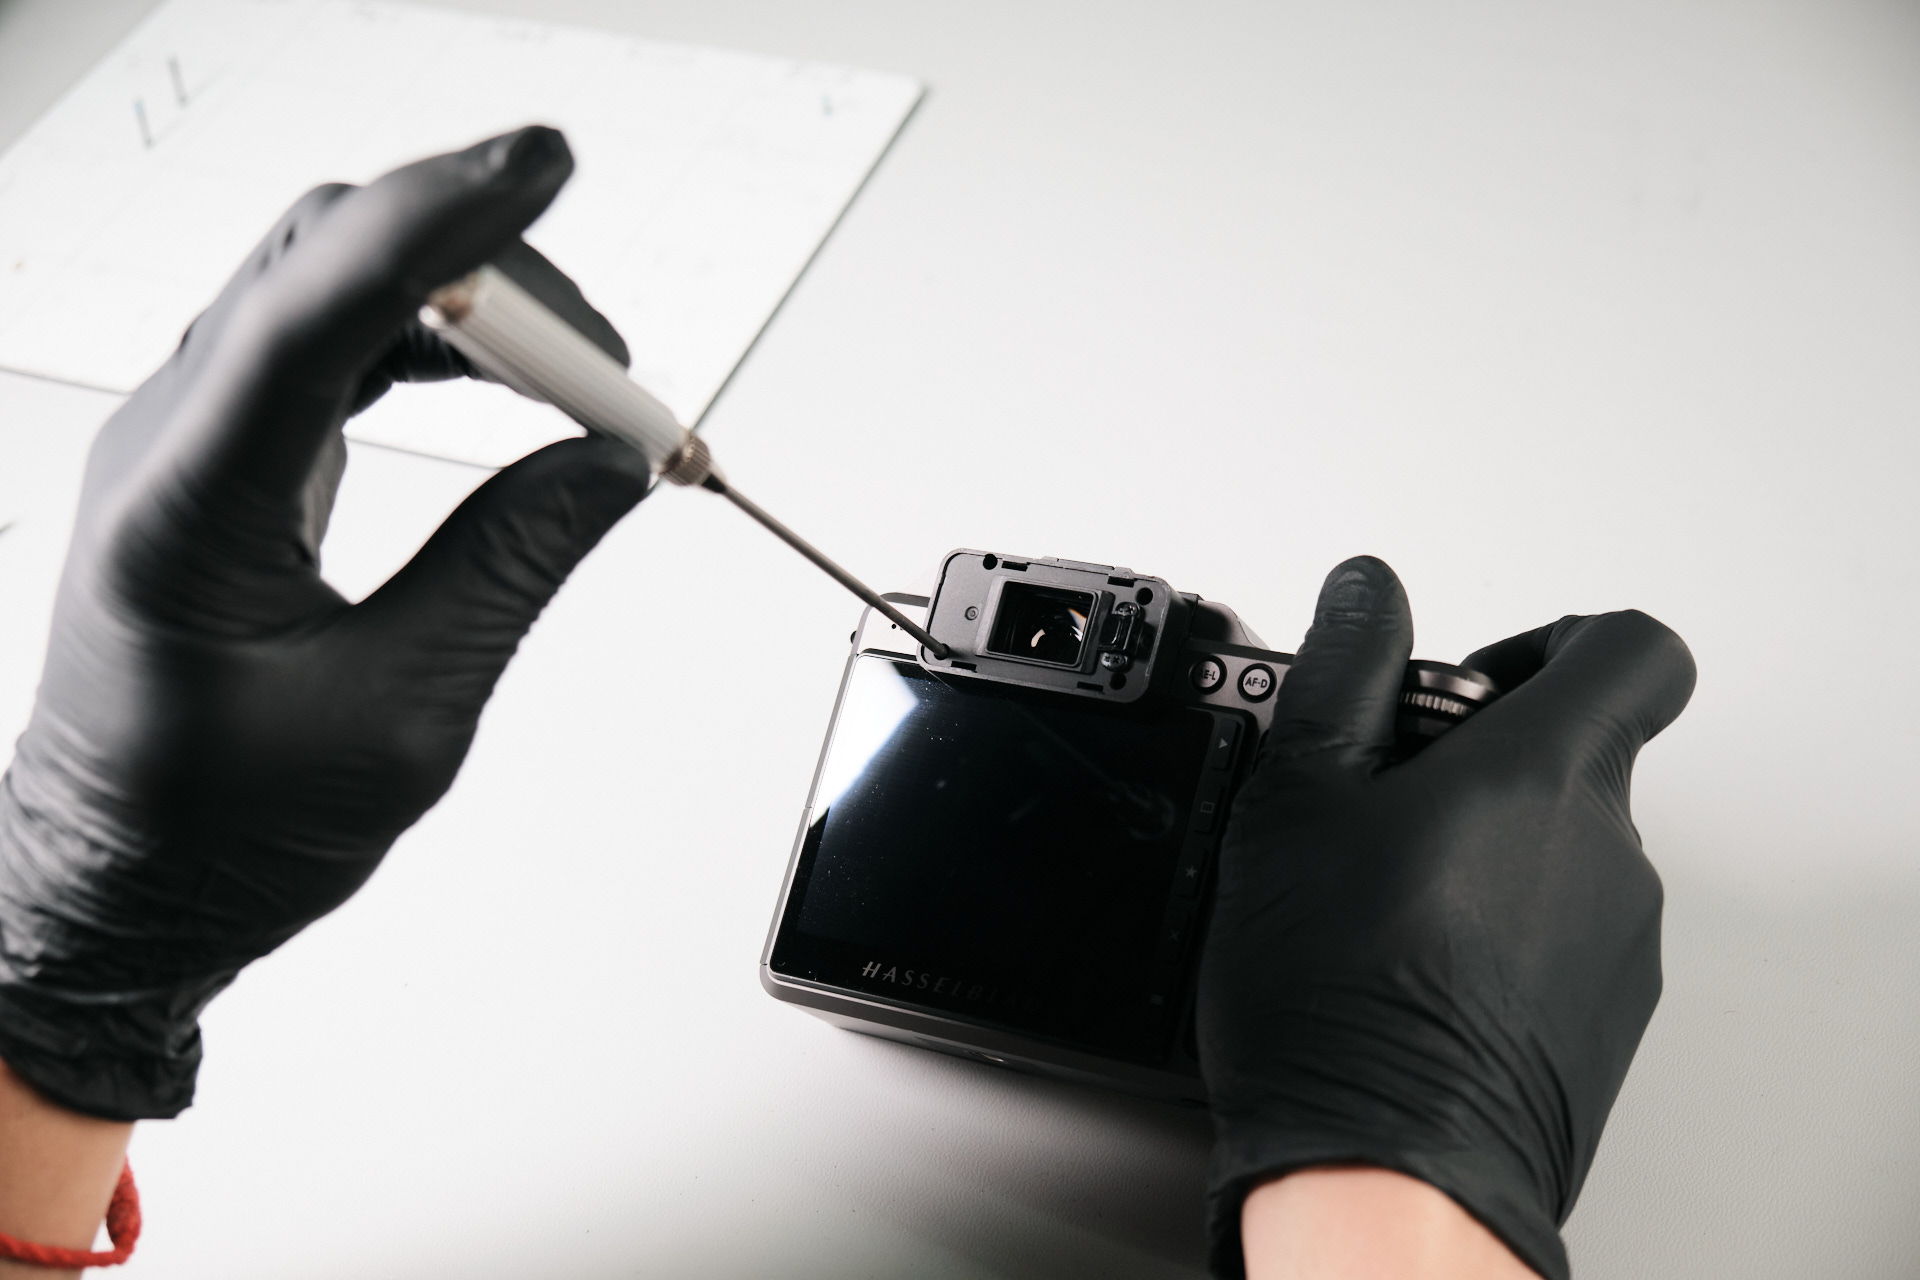
Four screws surrounded the EVF and were extracted.
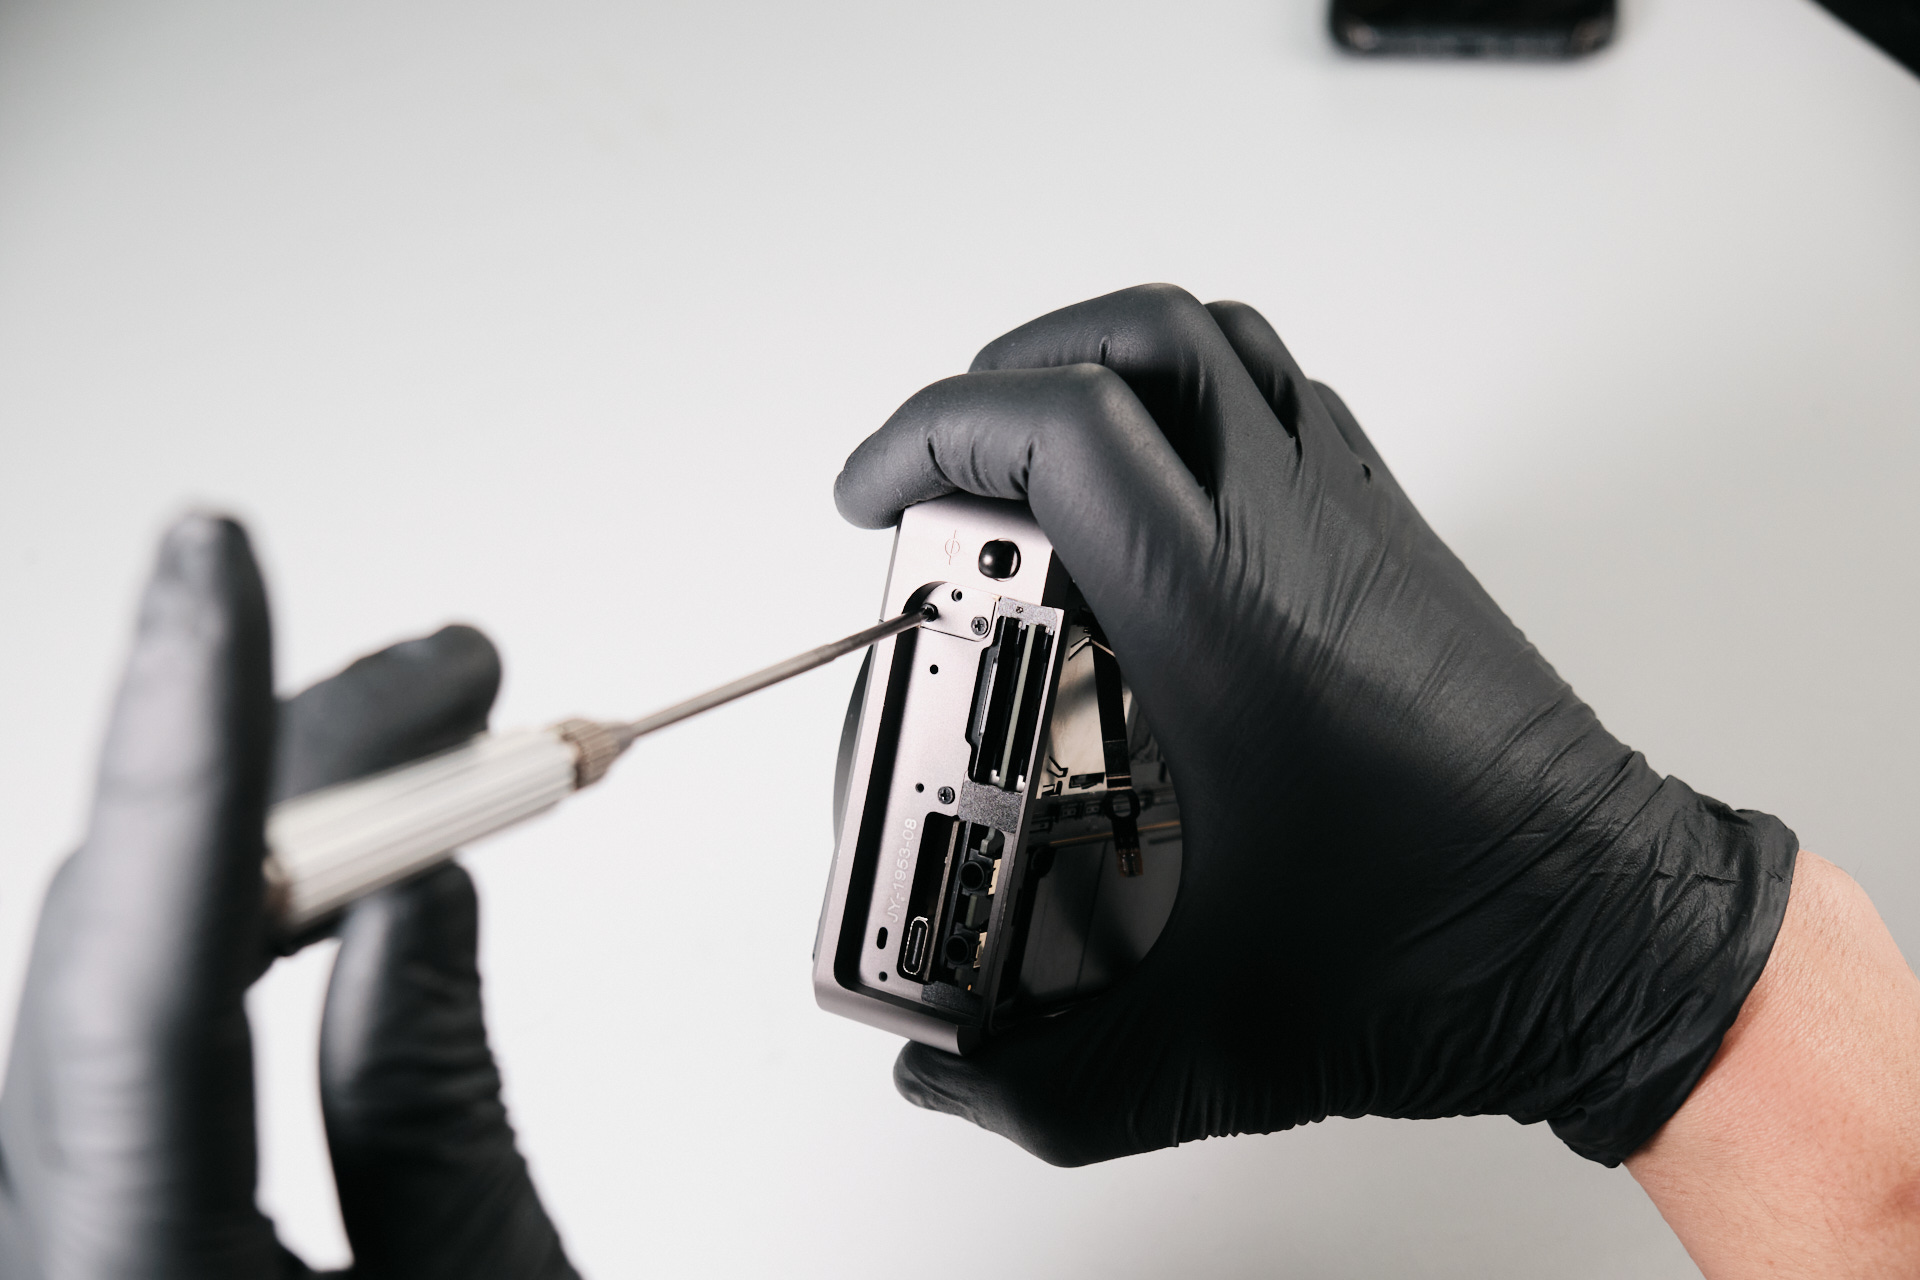
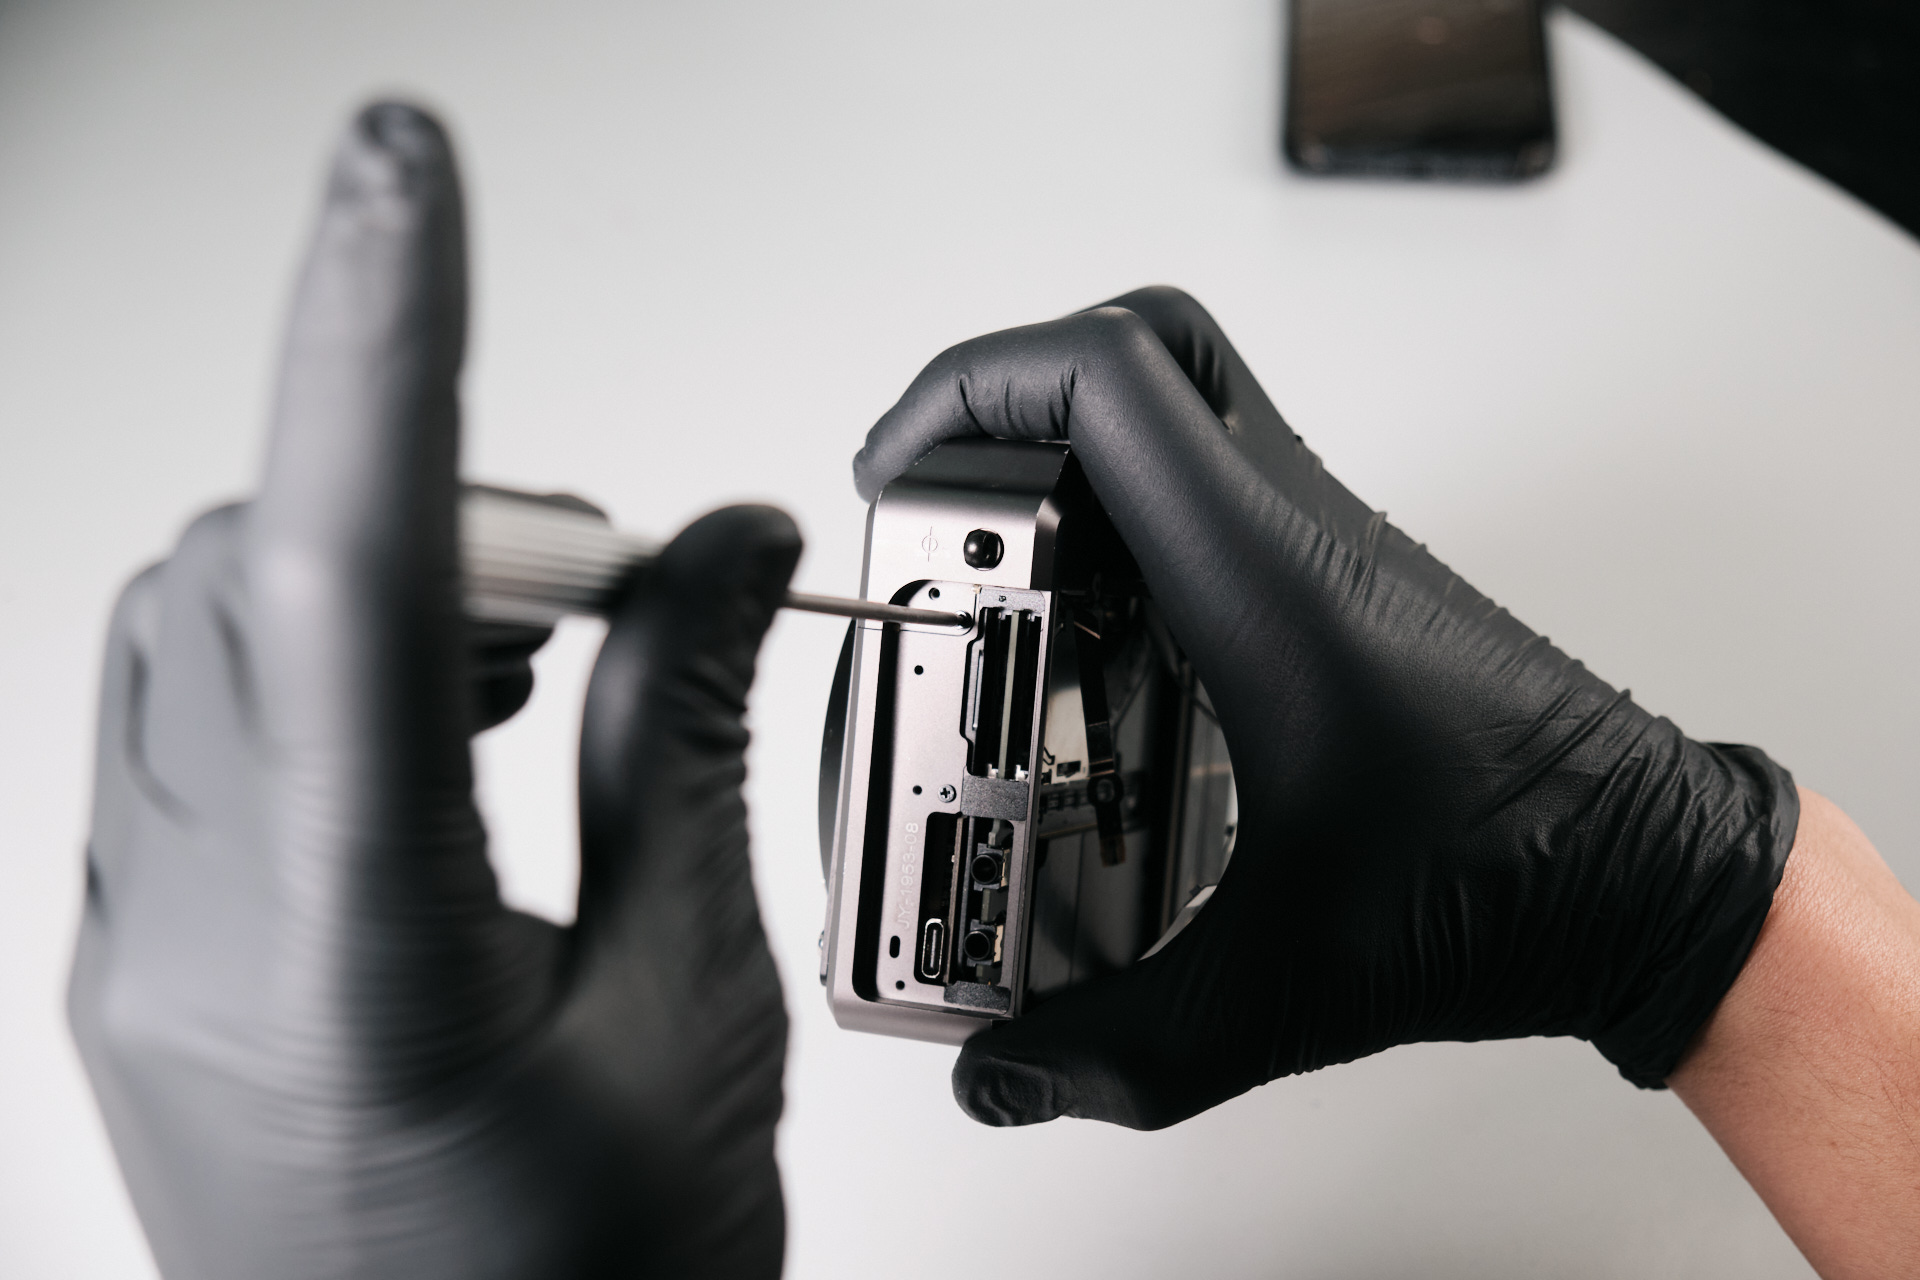
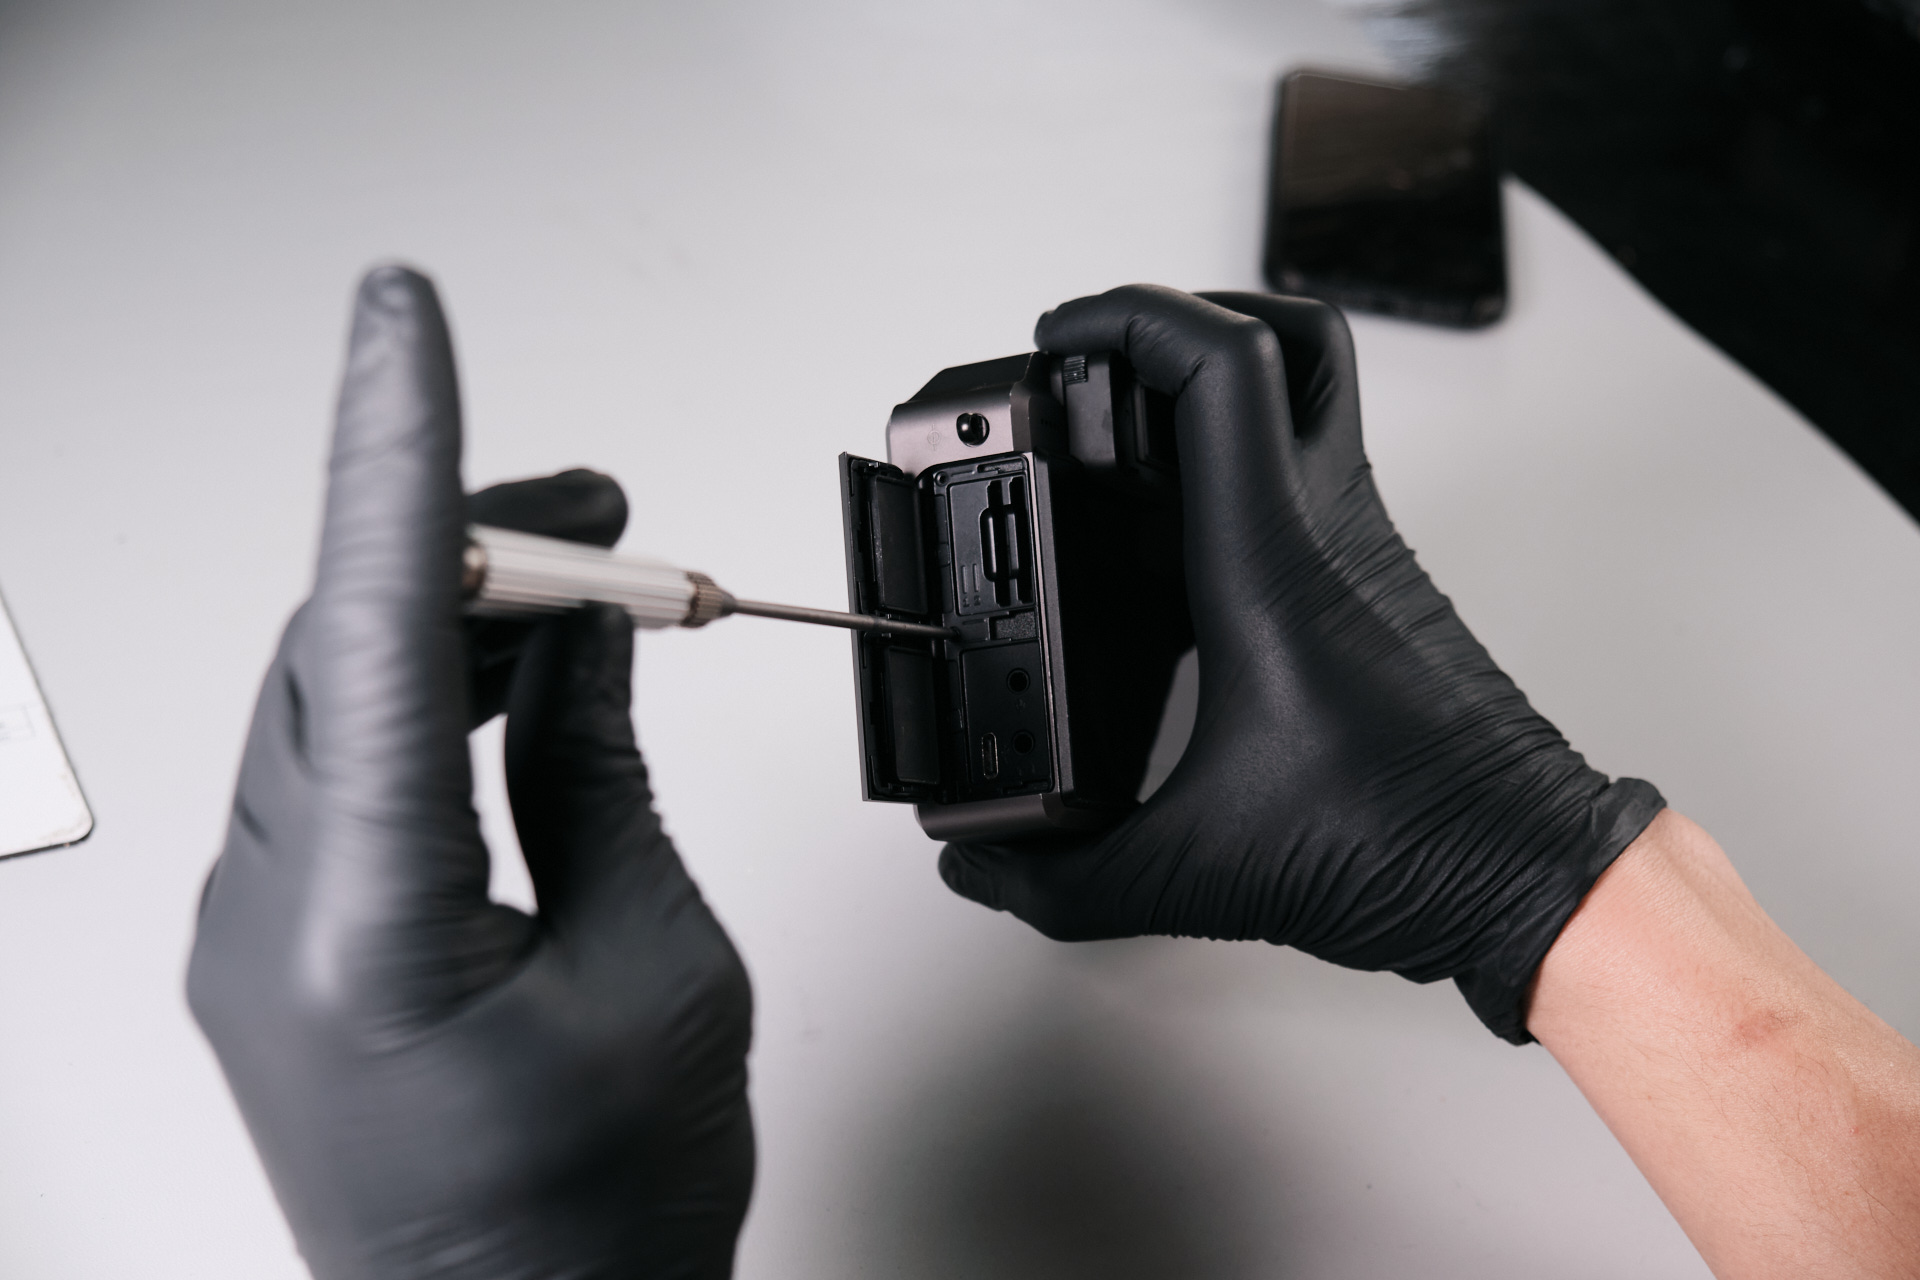
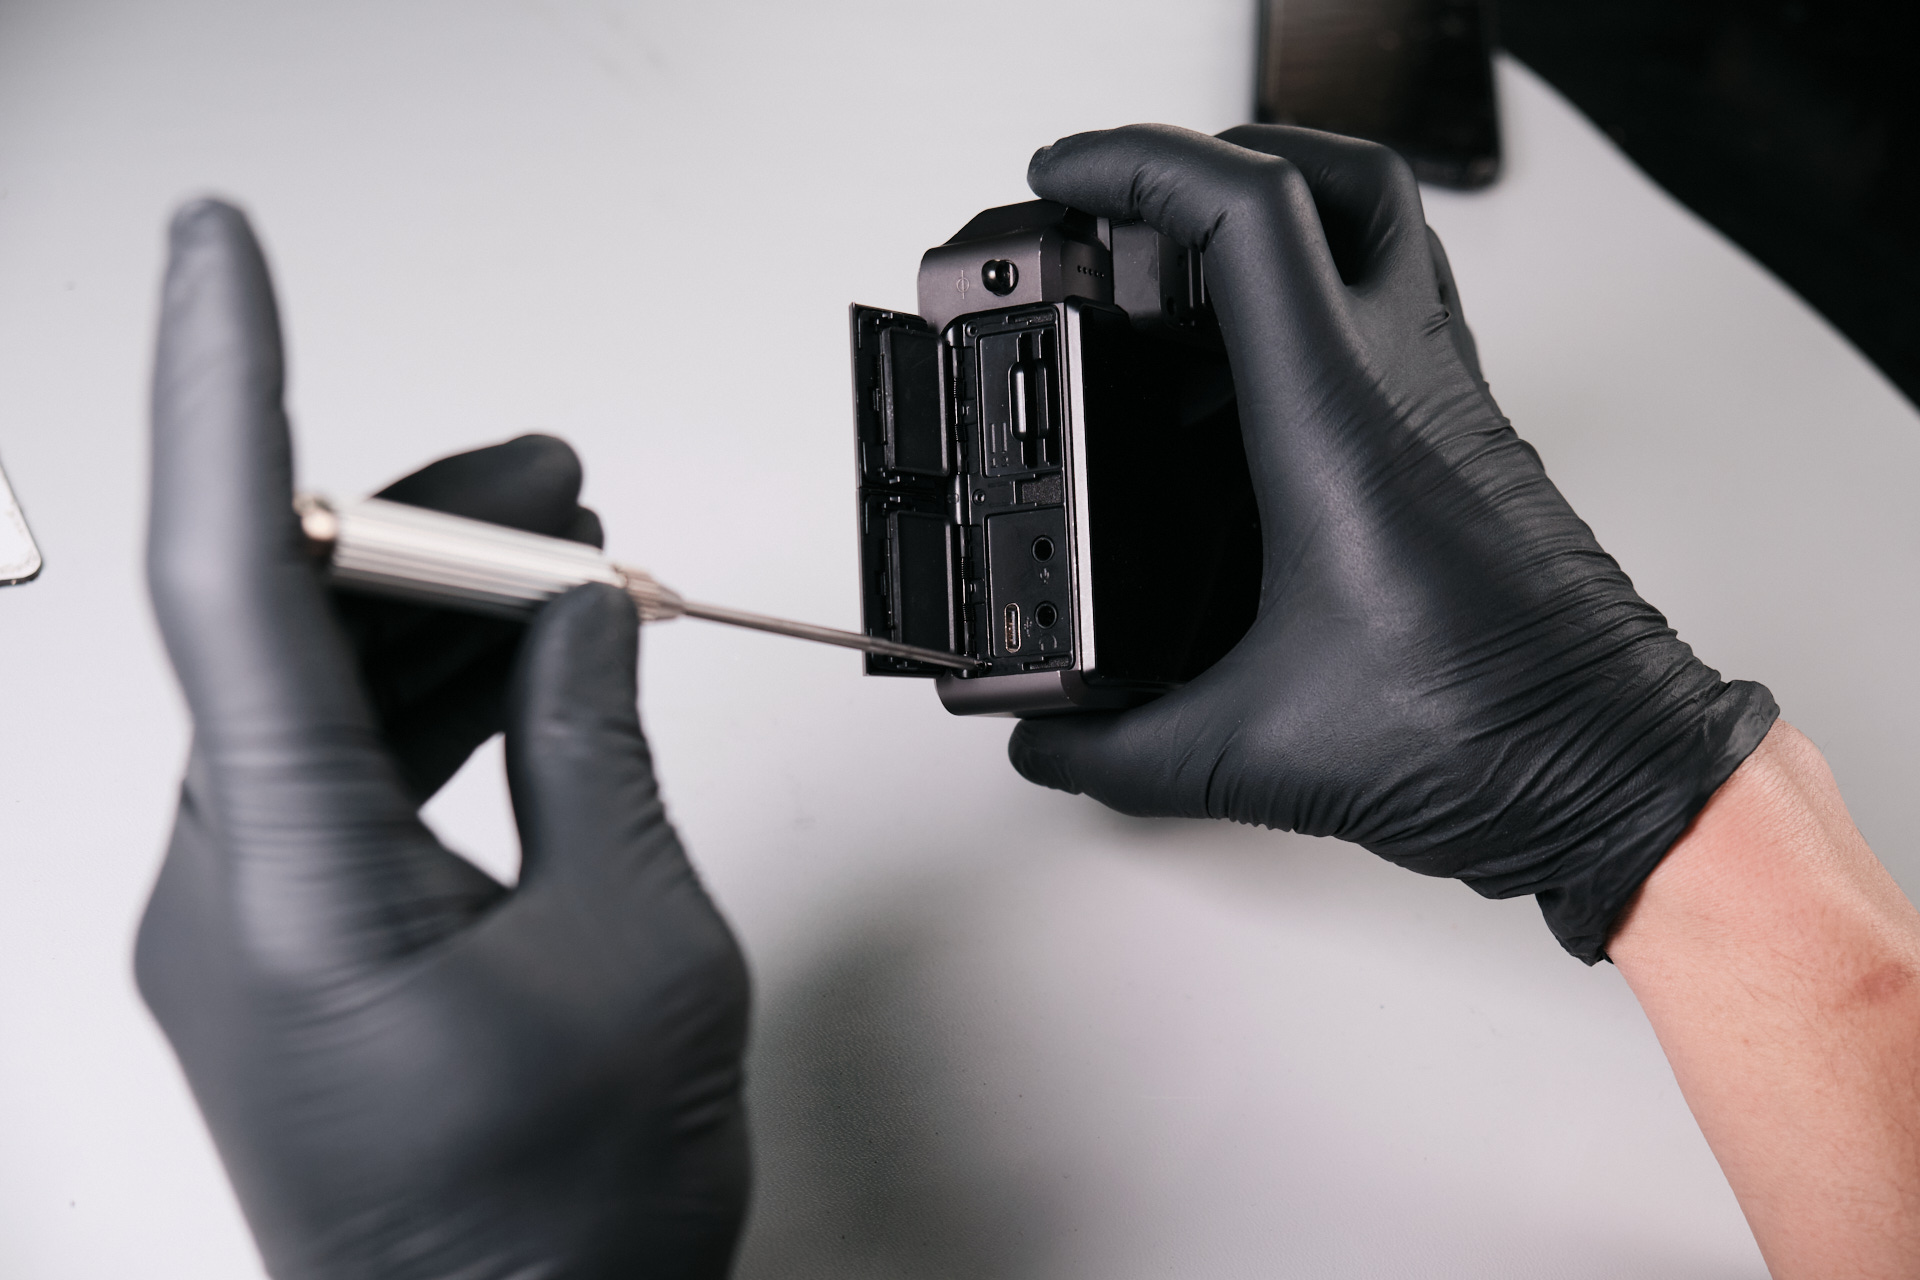
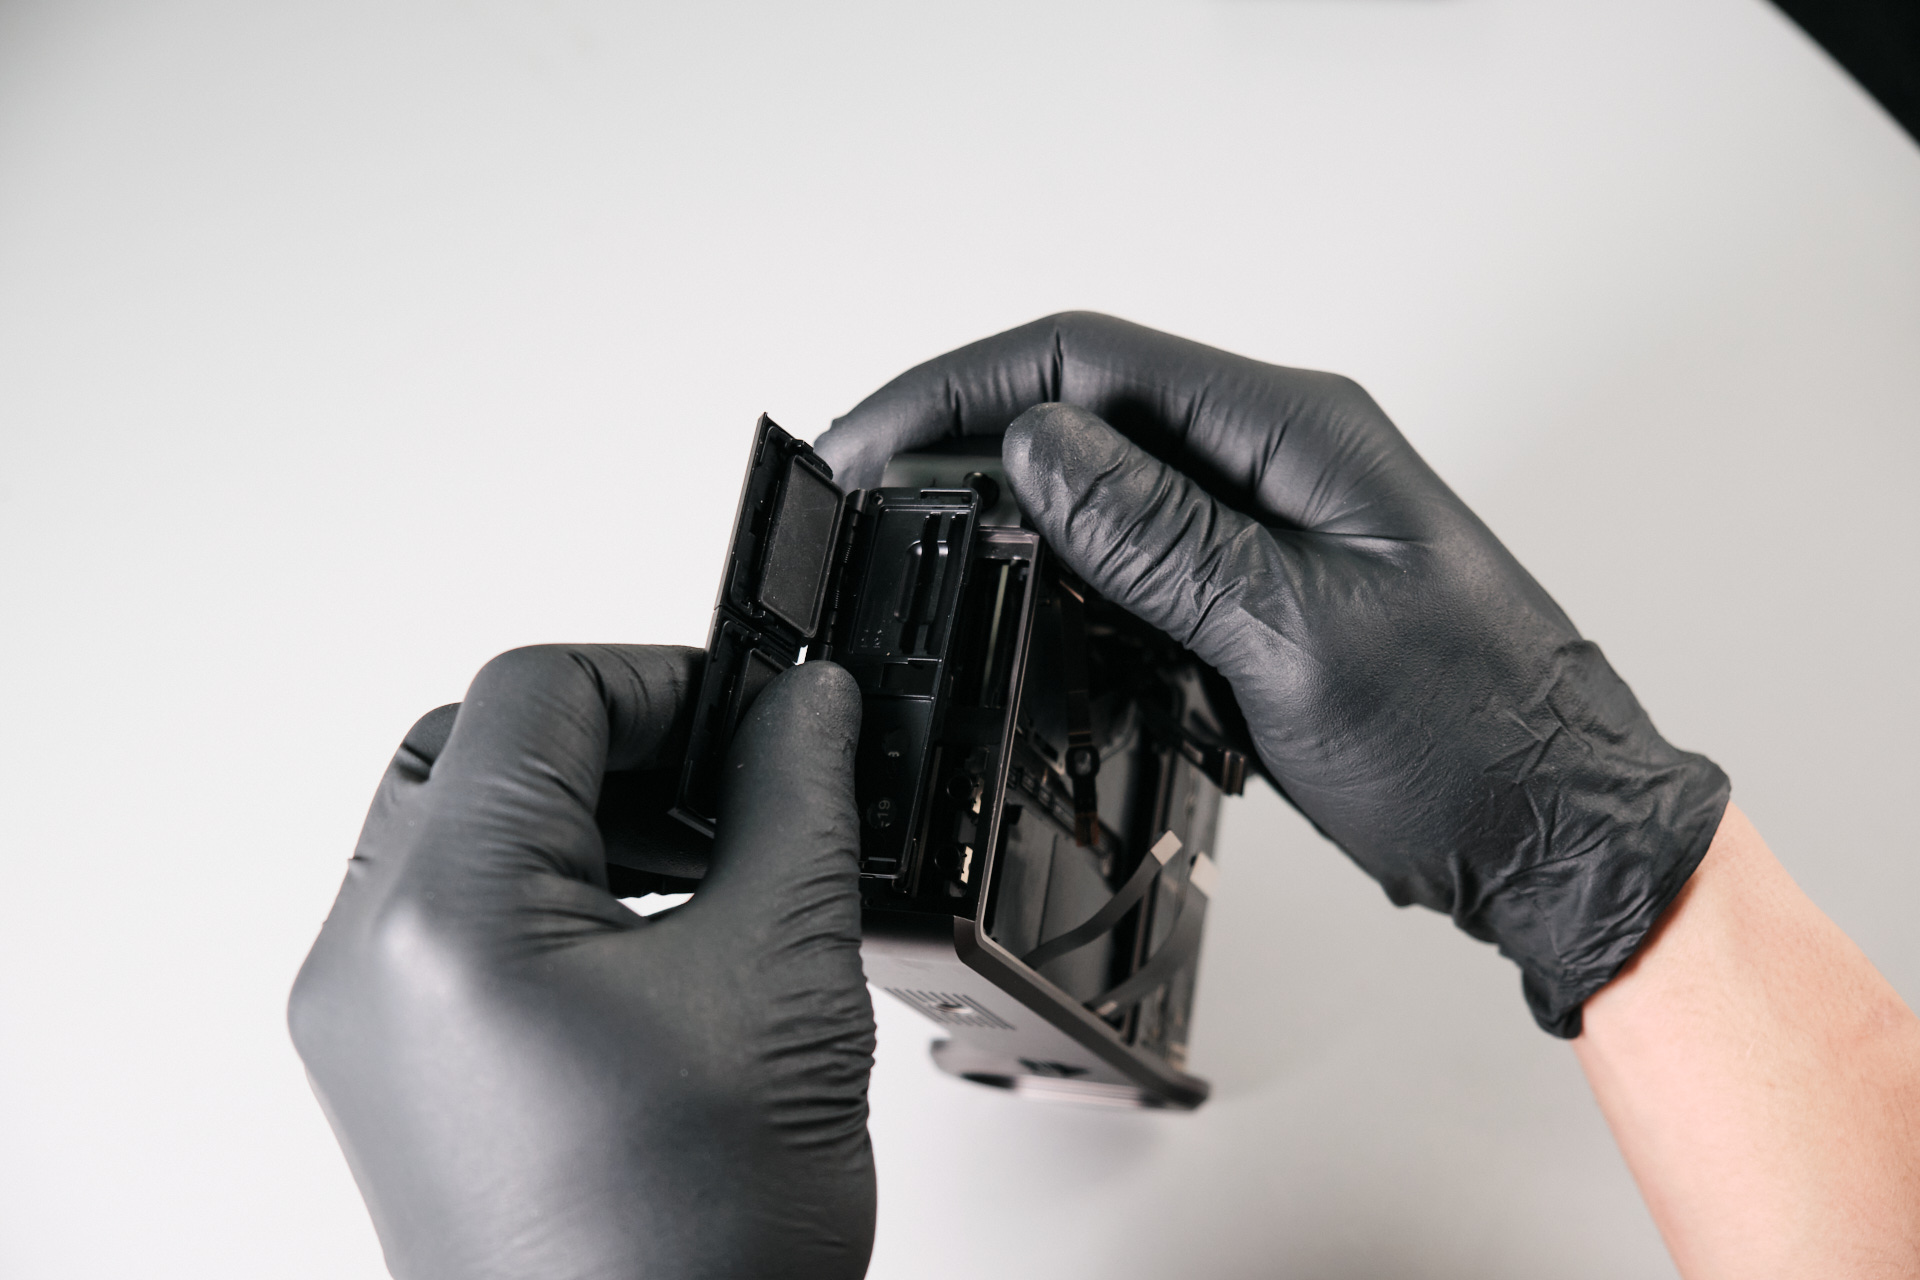
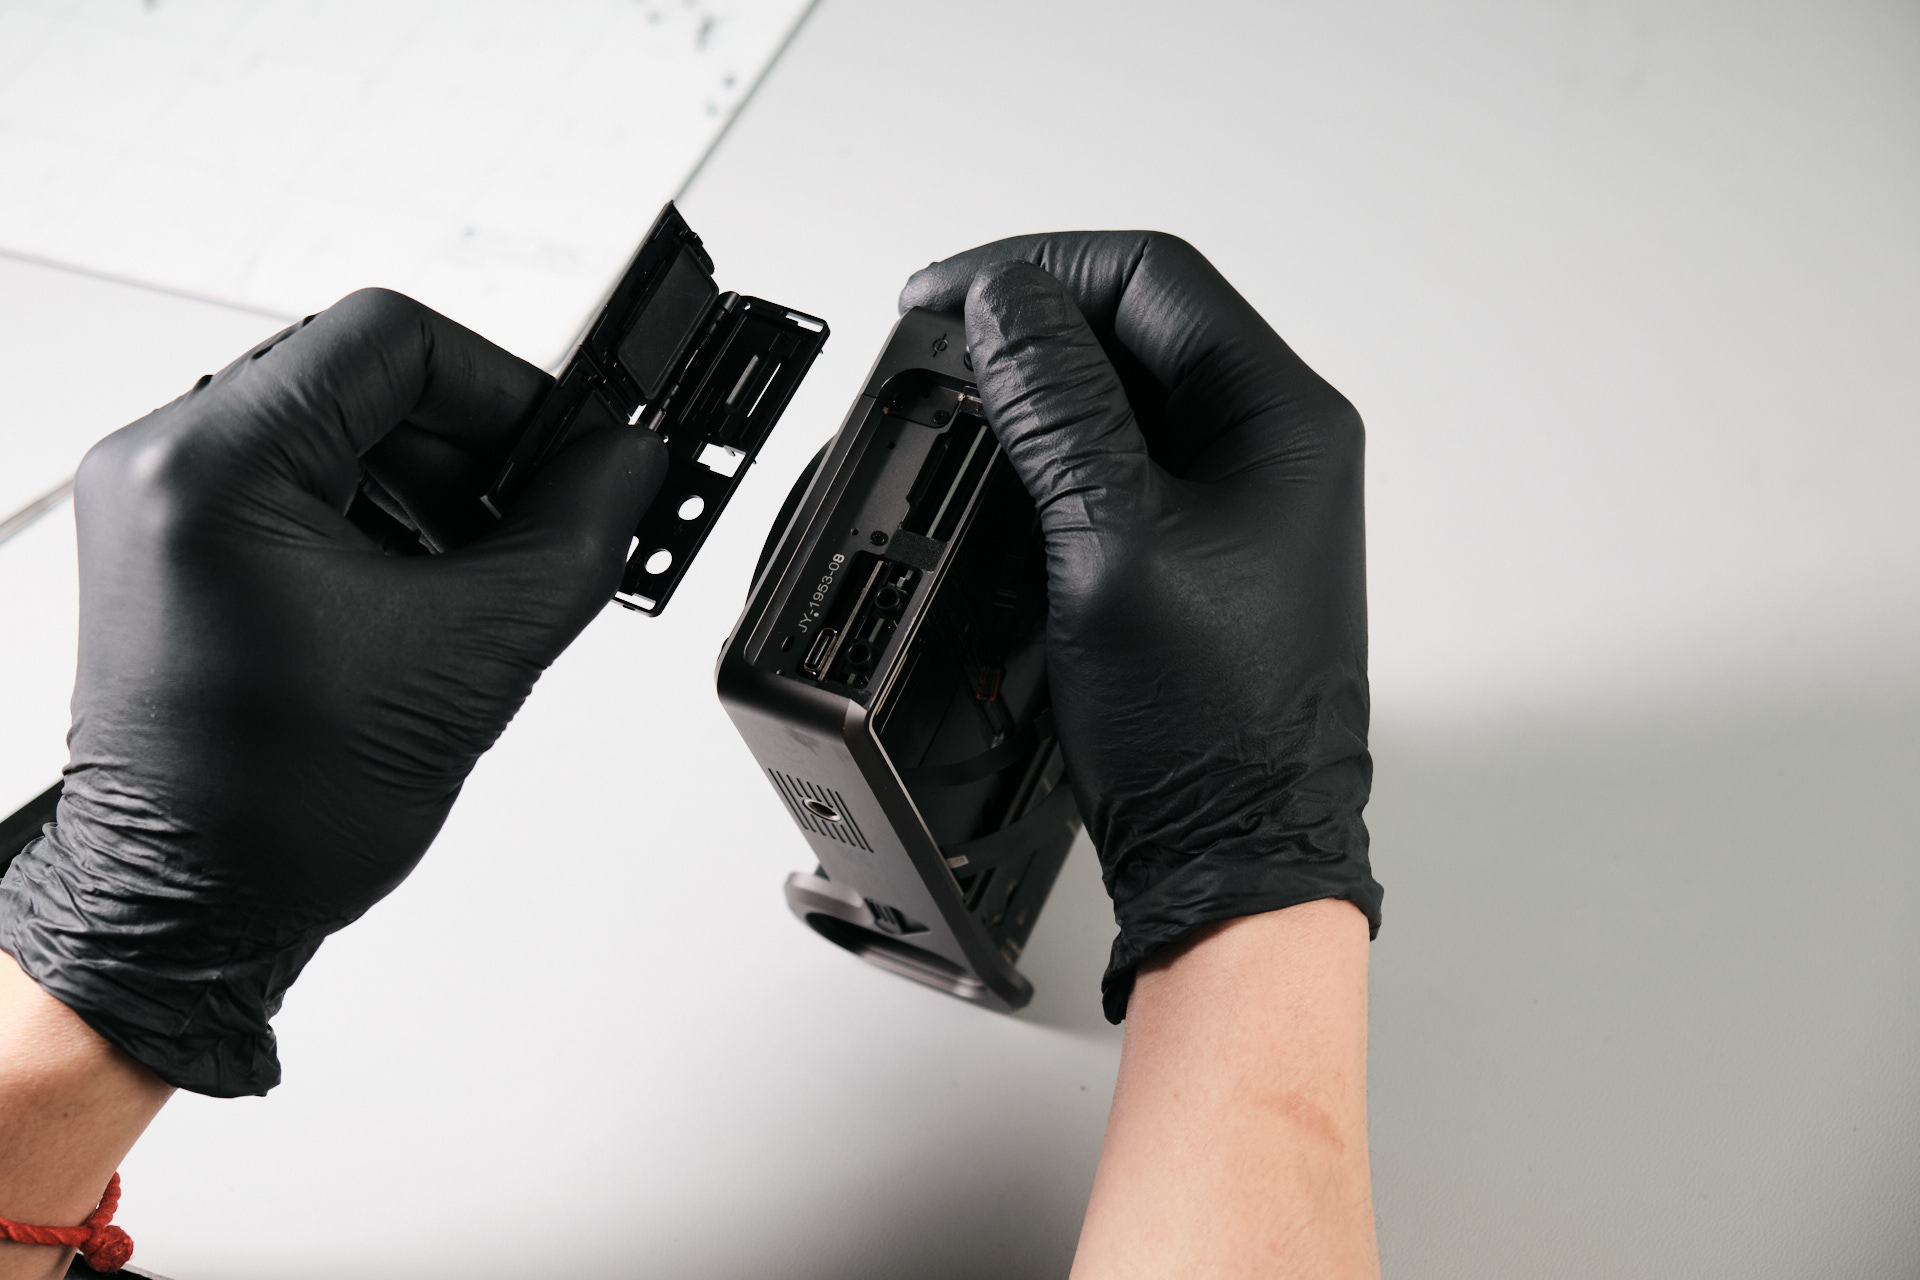
There were three screws under the dust caps.
Removing Hidden Screws Under the Right-Hand Palm Grip, Eye Cap Trim, and Diopter Screw
Removing the Hasselblad X1D II 50C LCD Screen
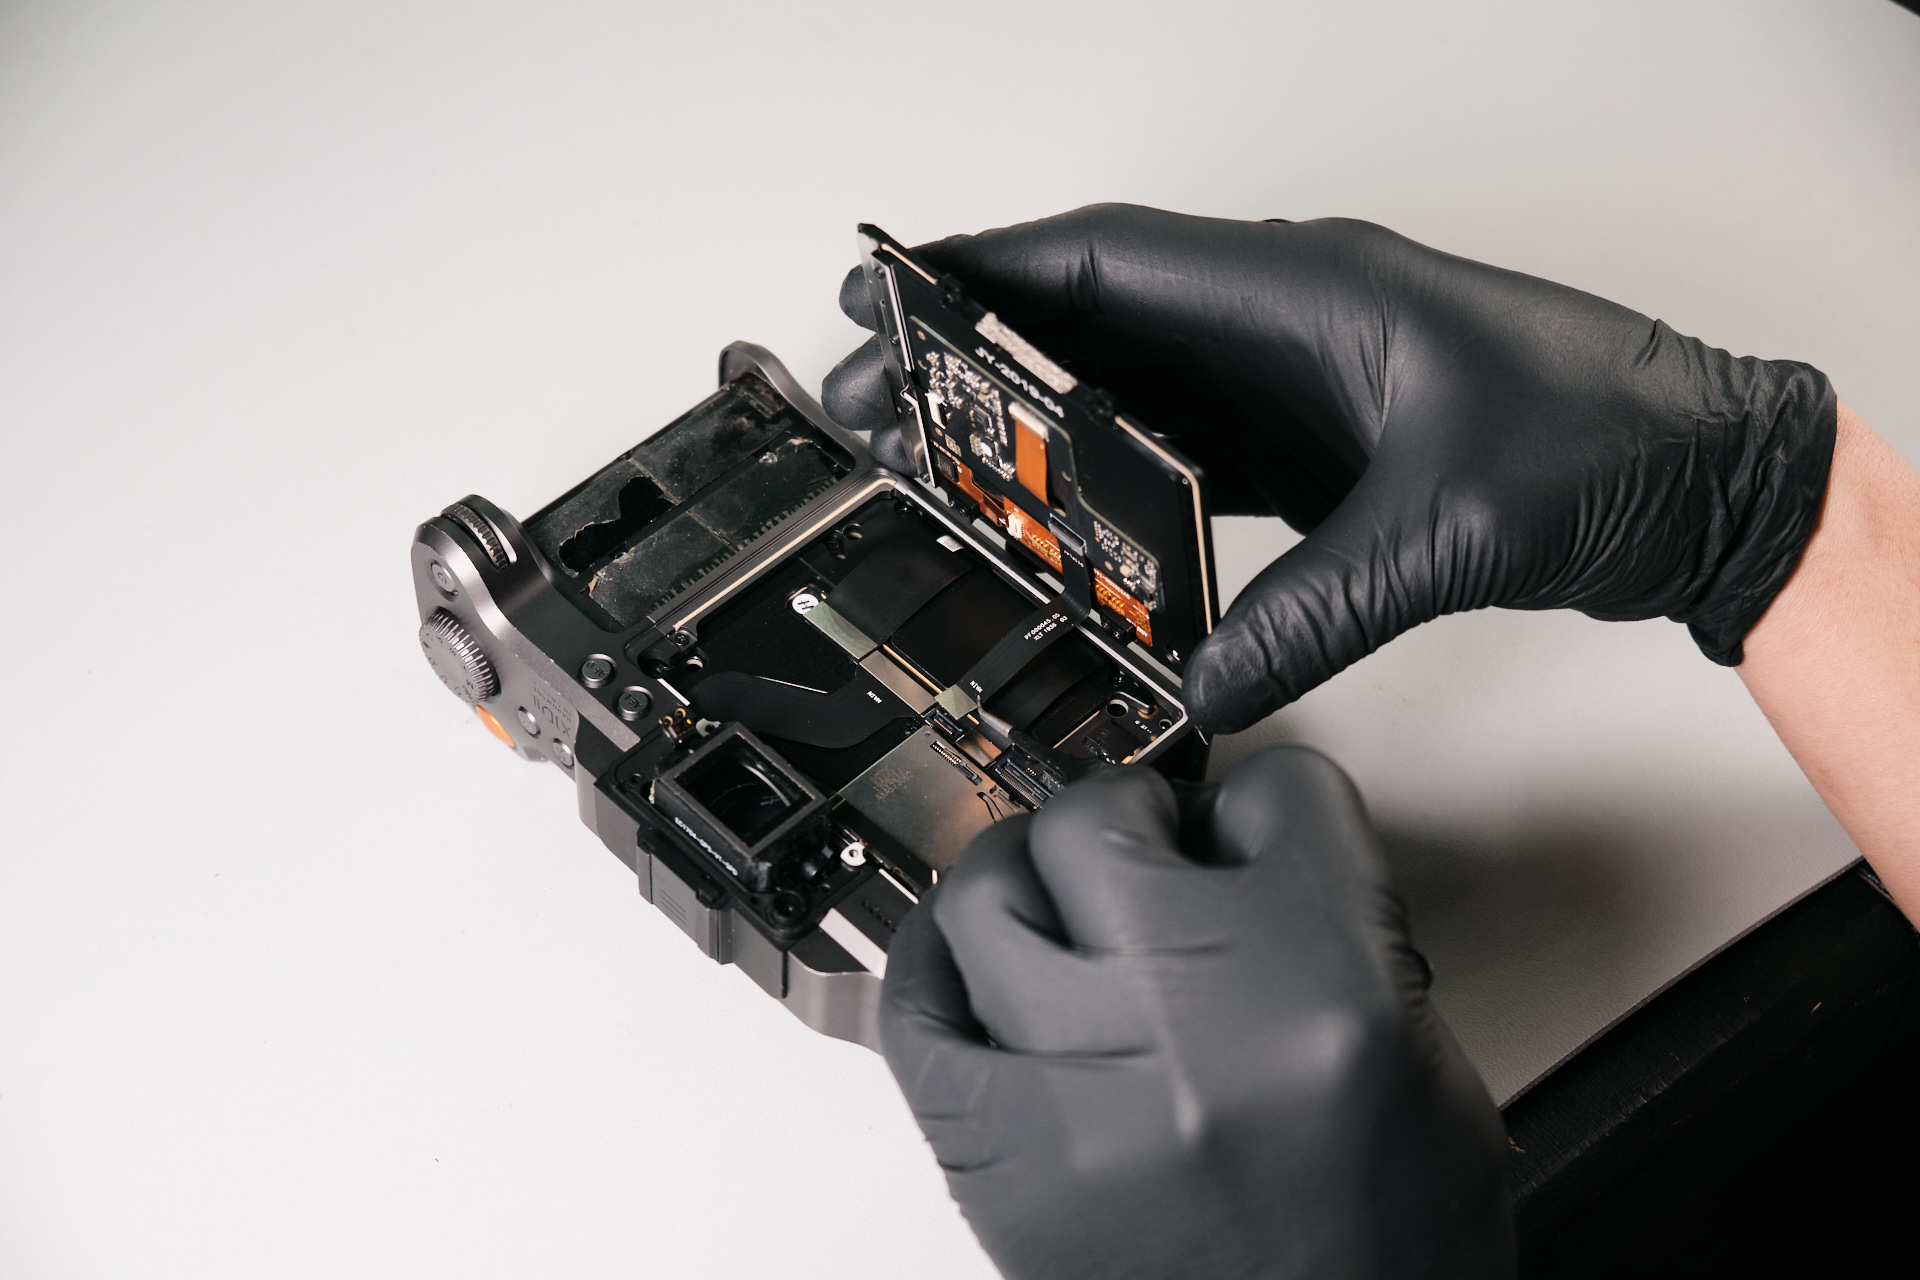
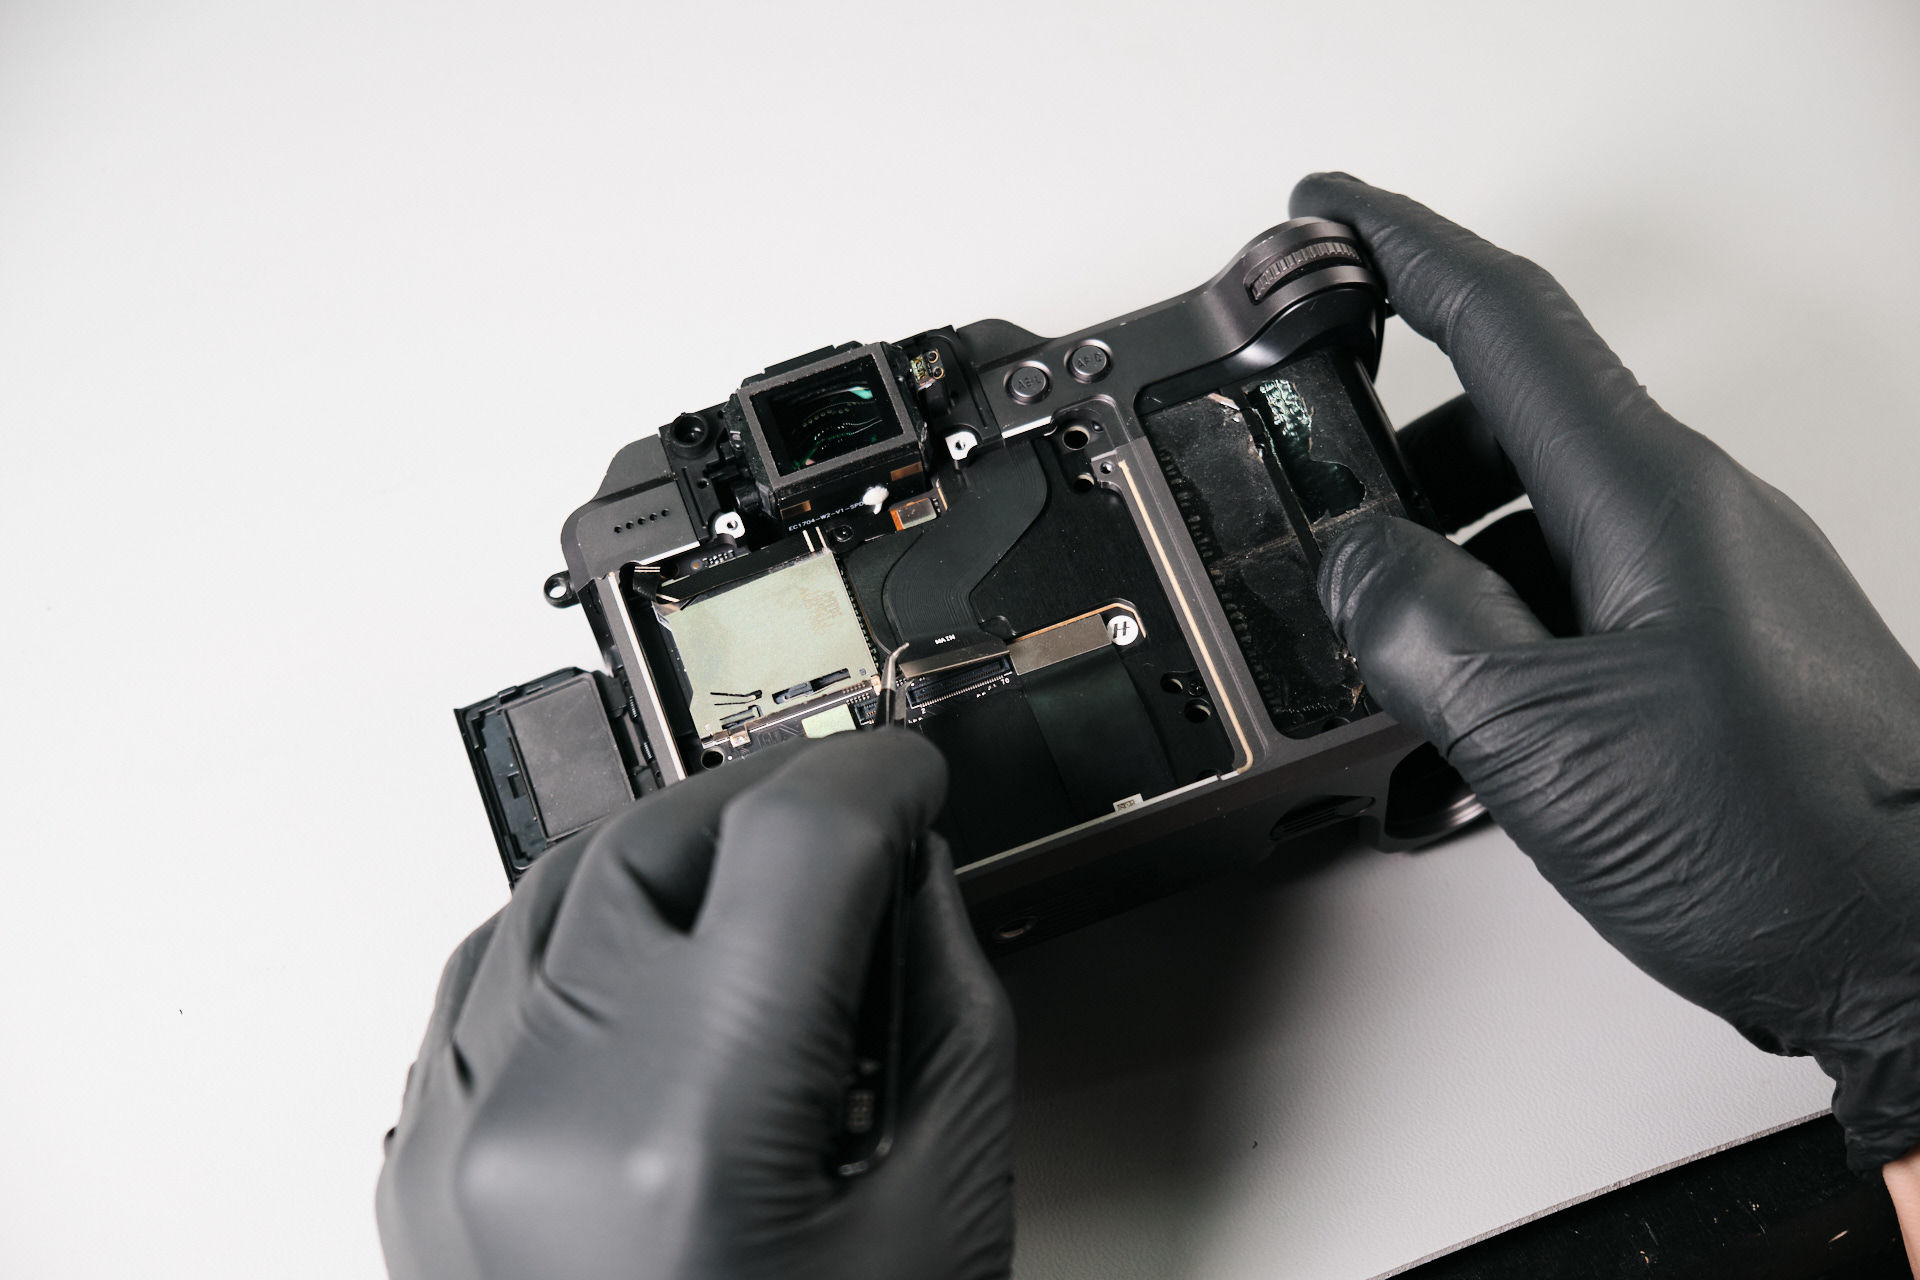
With the camera face down, we lifted the LCD screen away from the body and disconnected its ribbon cable. The LCD screen was removed.
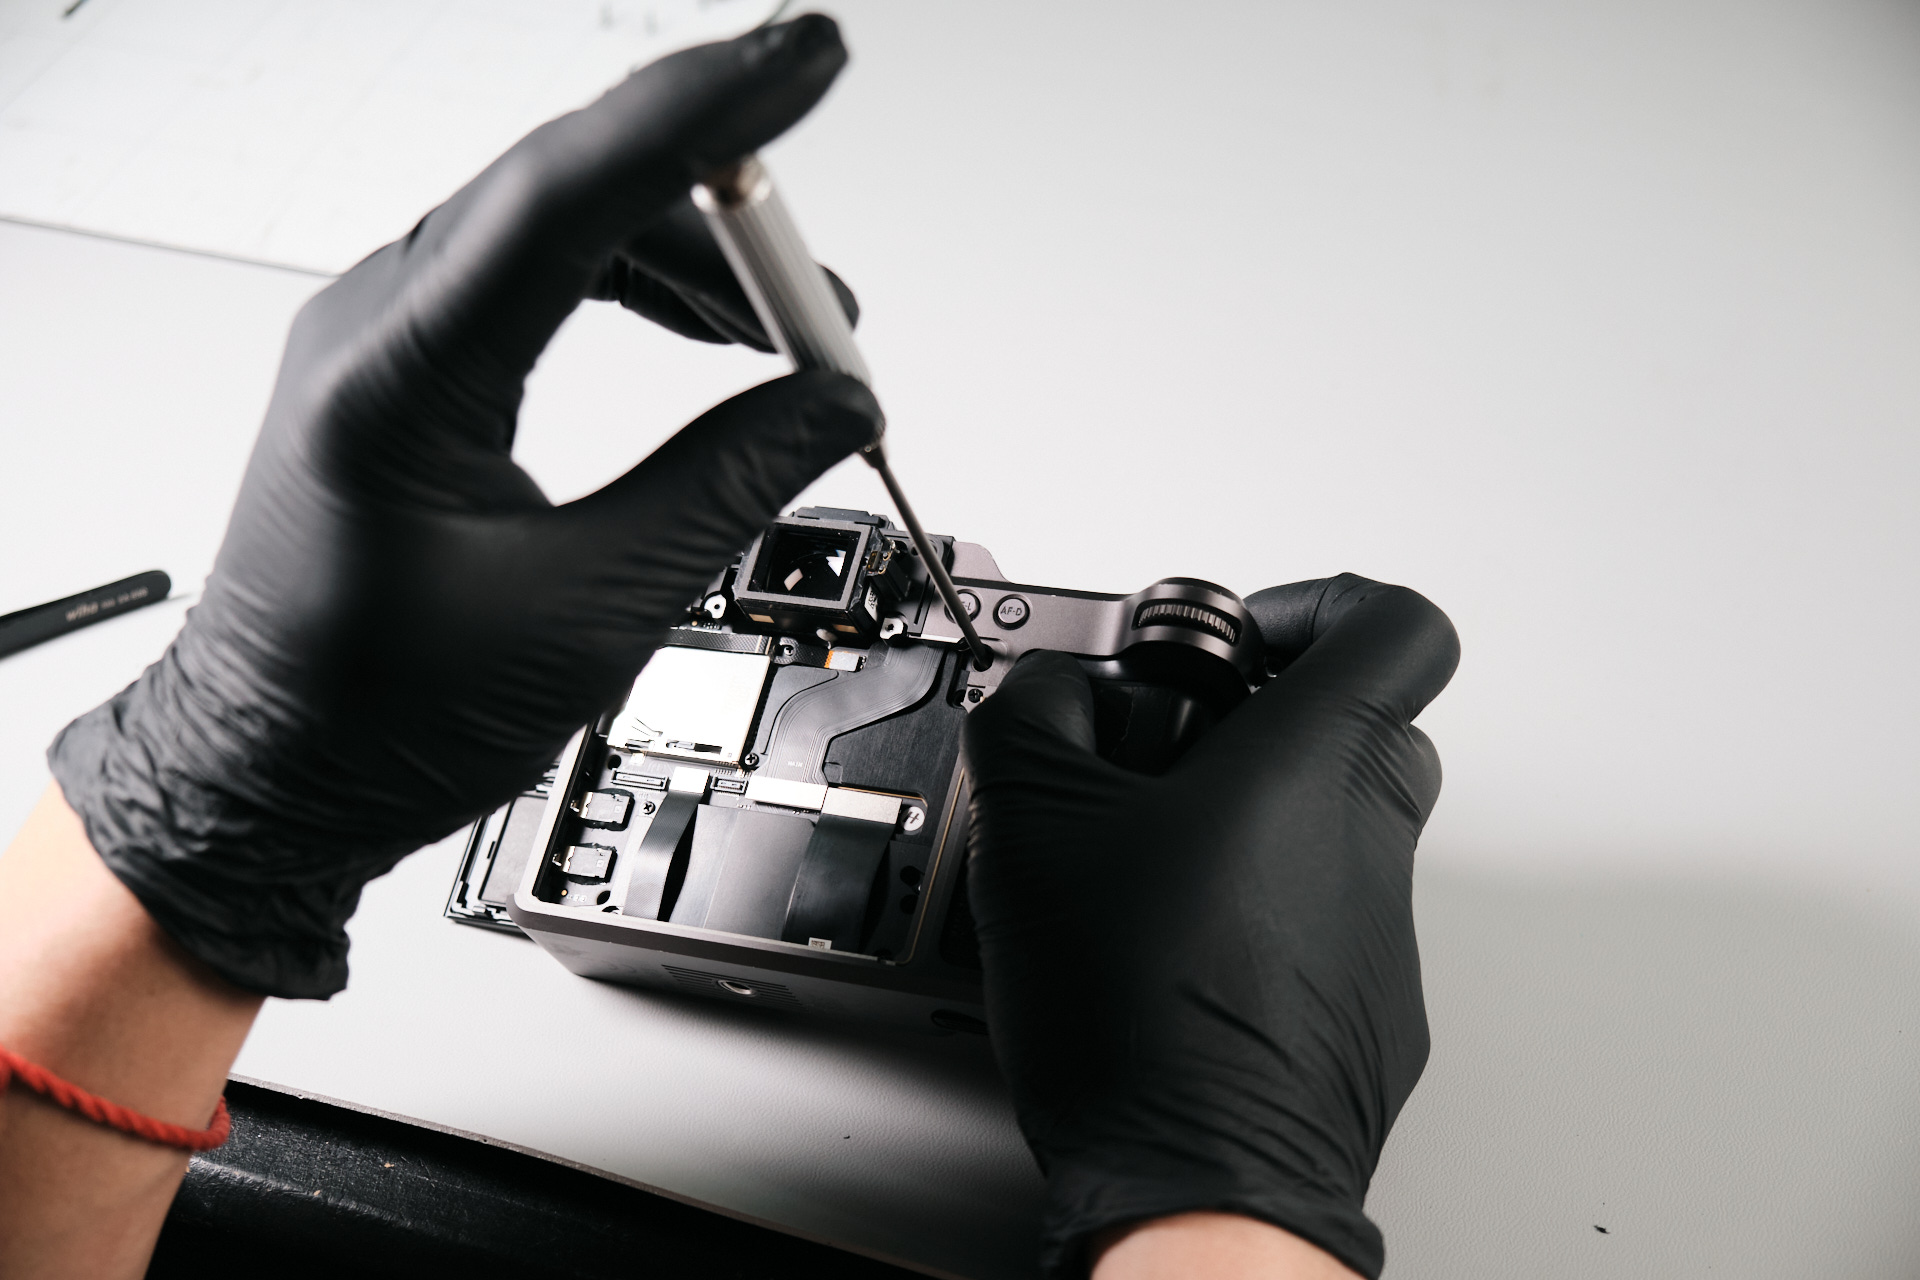
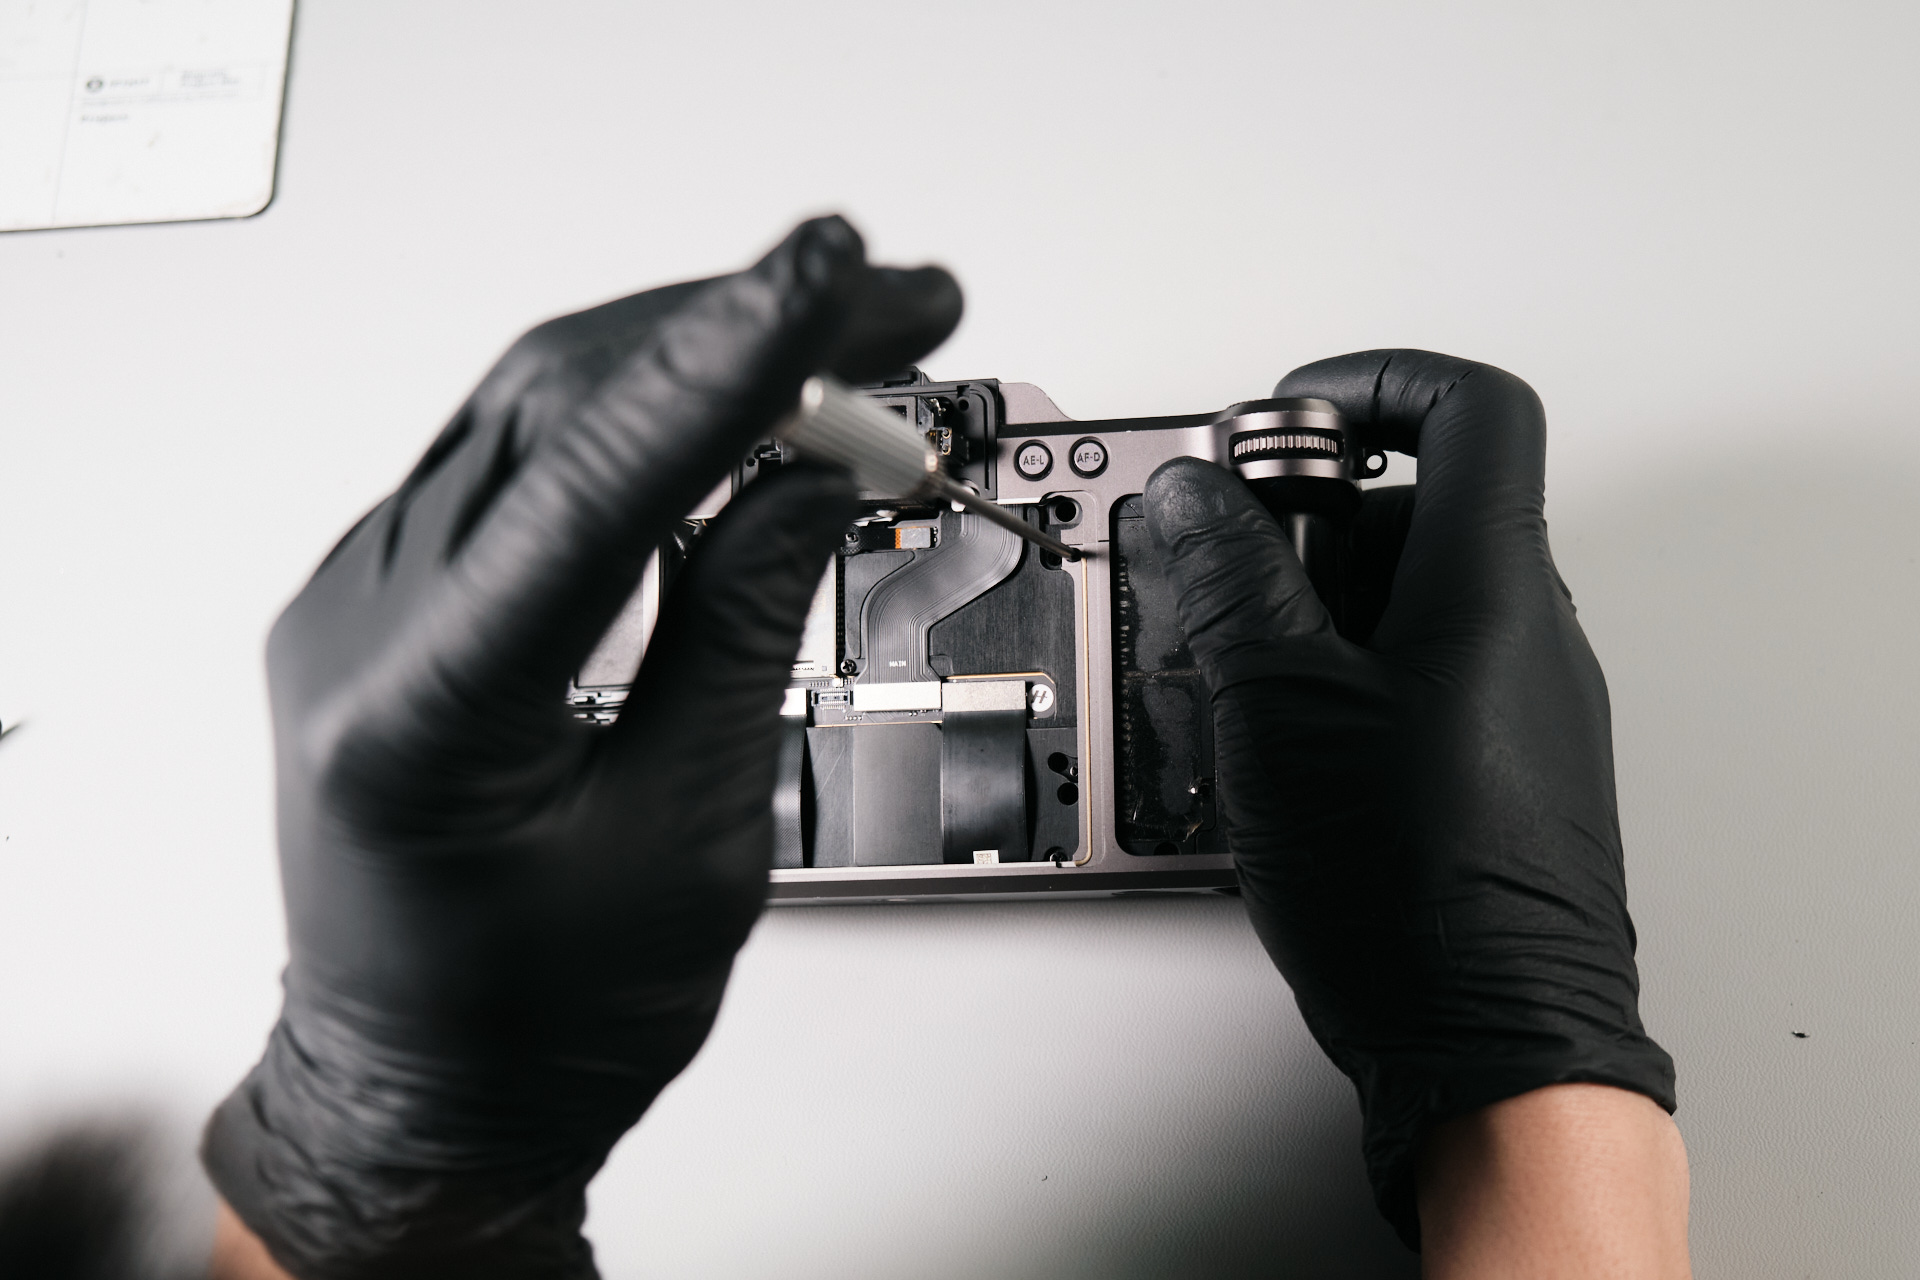
Removing Screws Below the AE-L Button
Two screws were below the AE-L button. Approximately half an inch below was another screw.
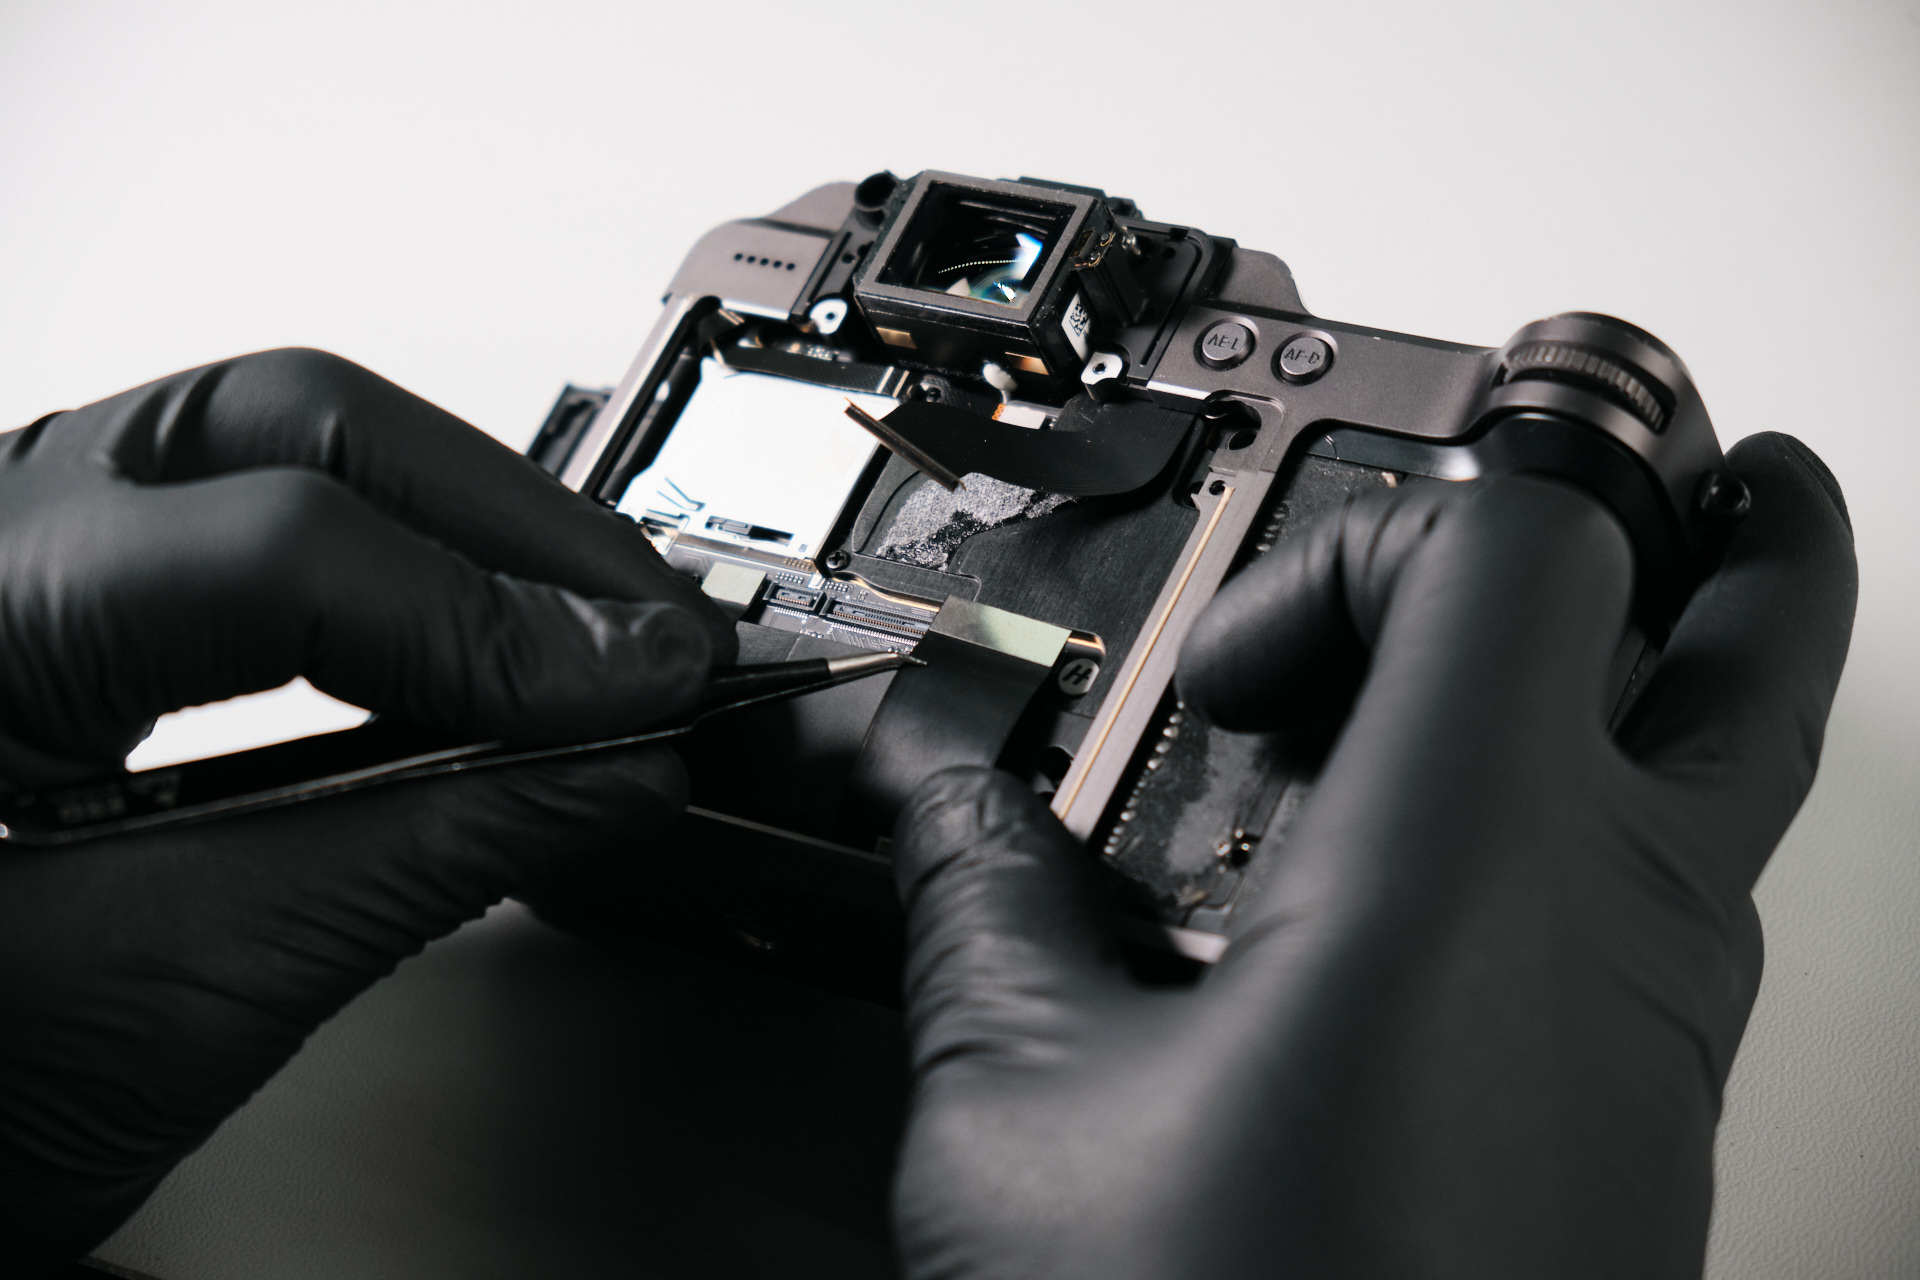
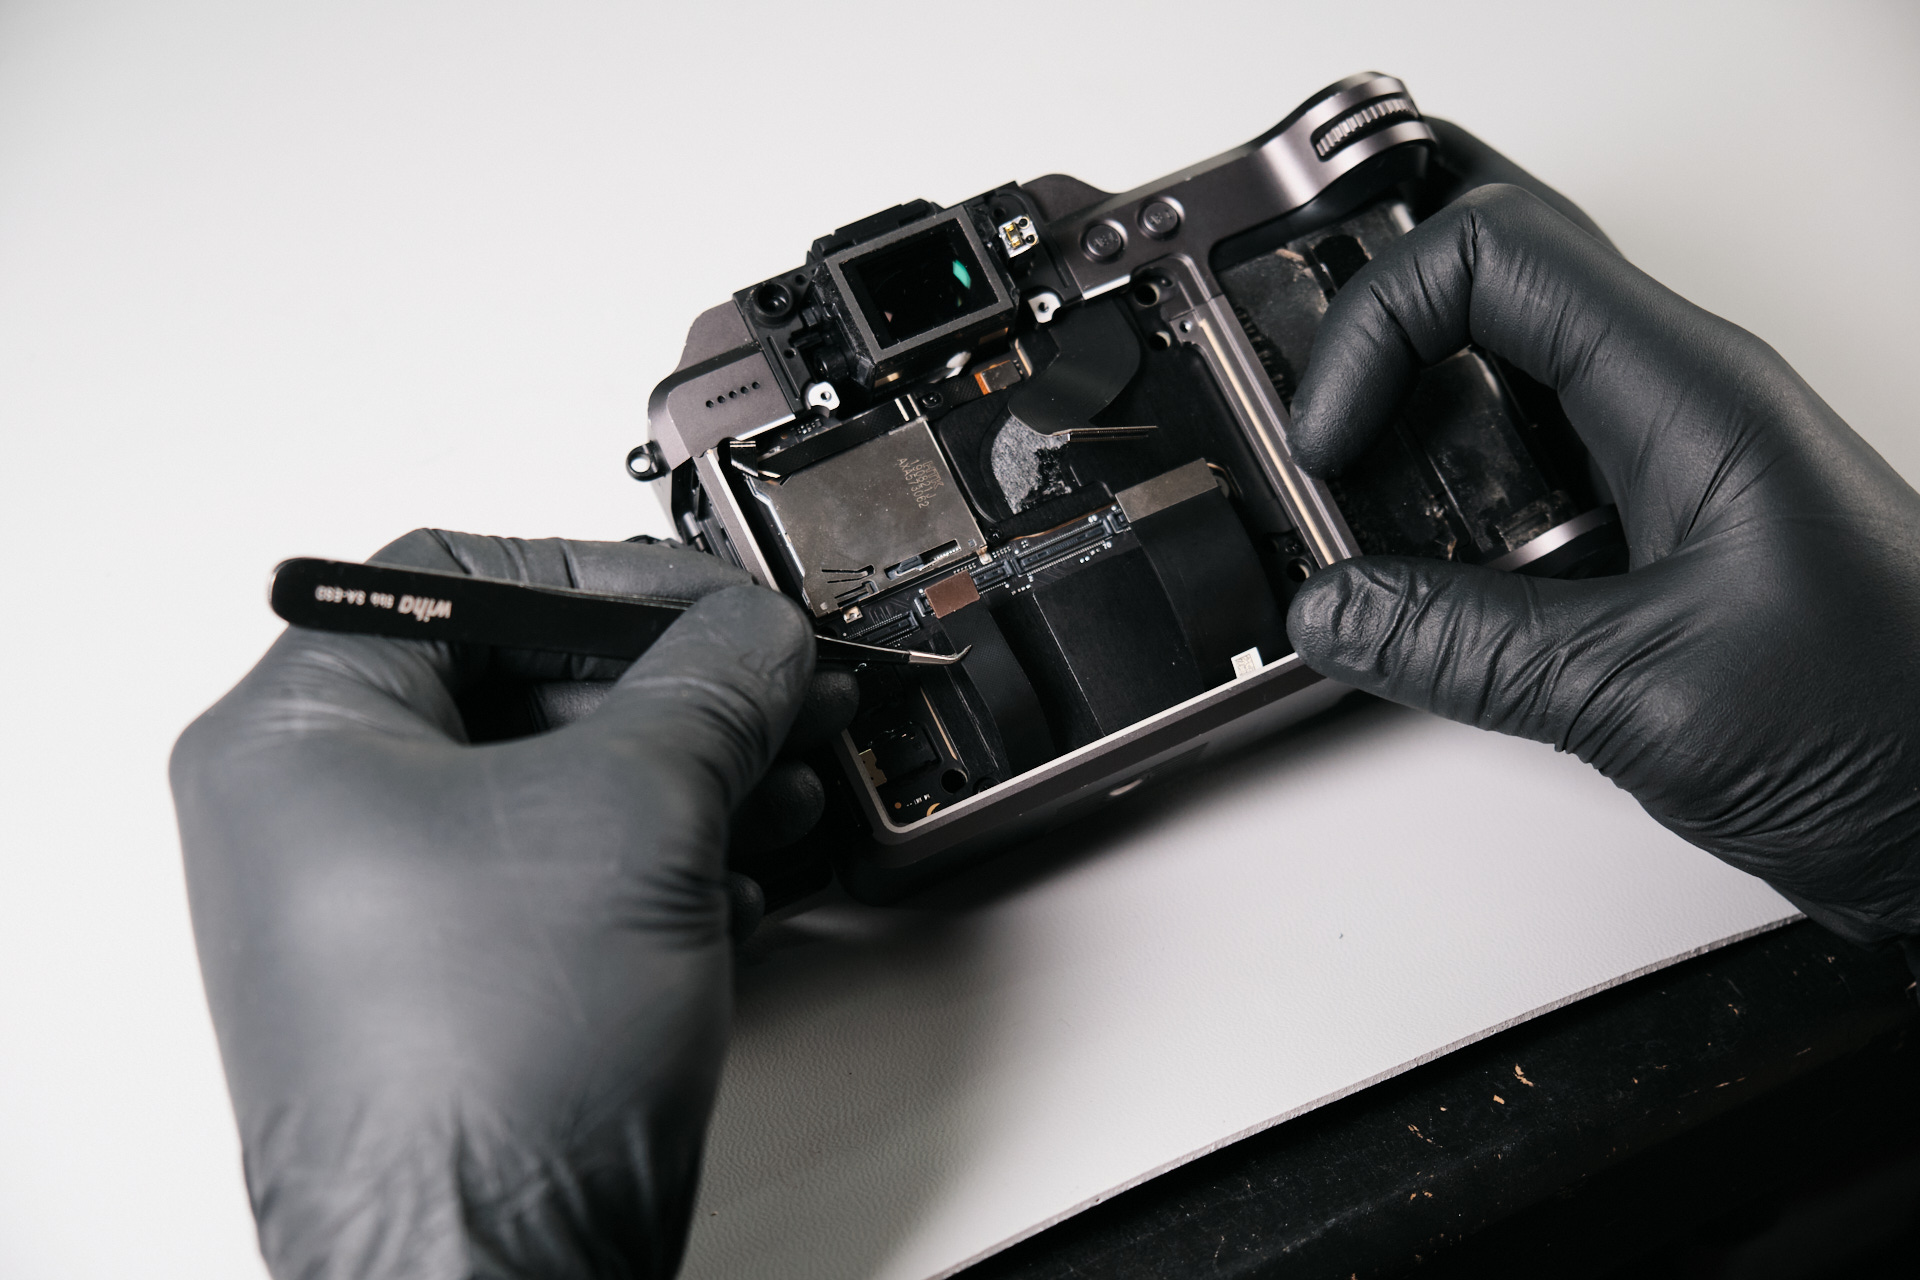
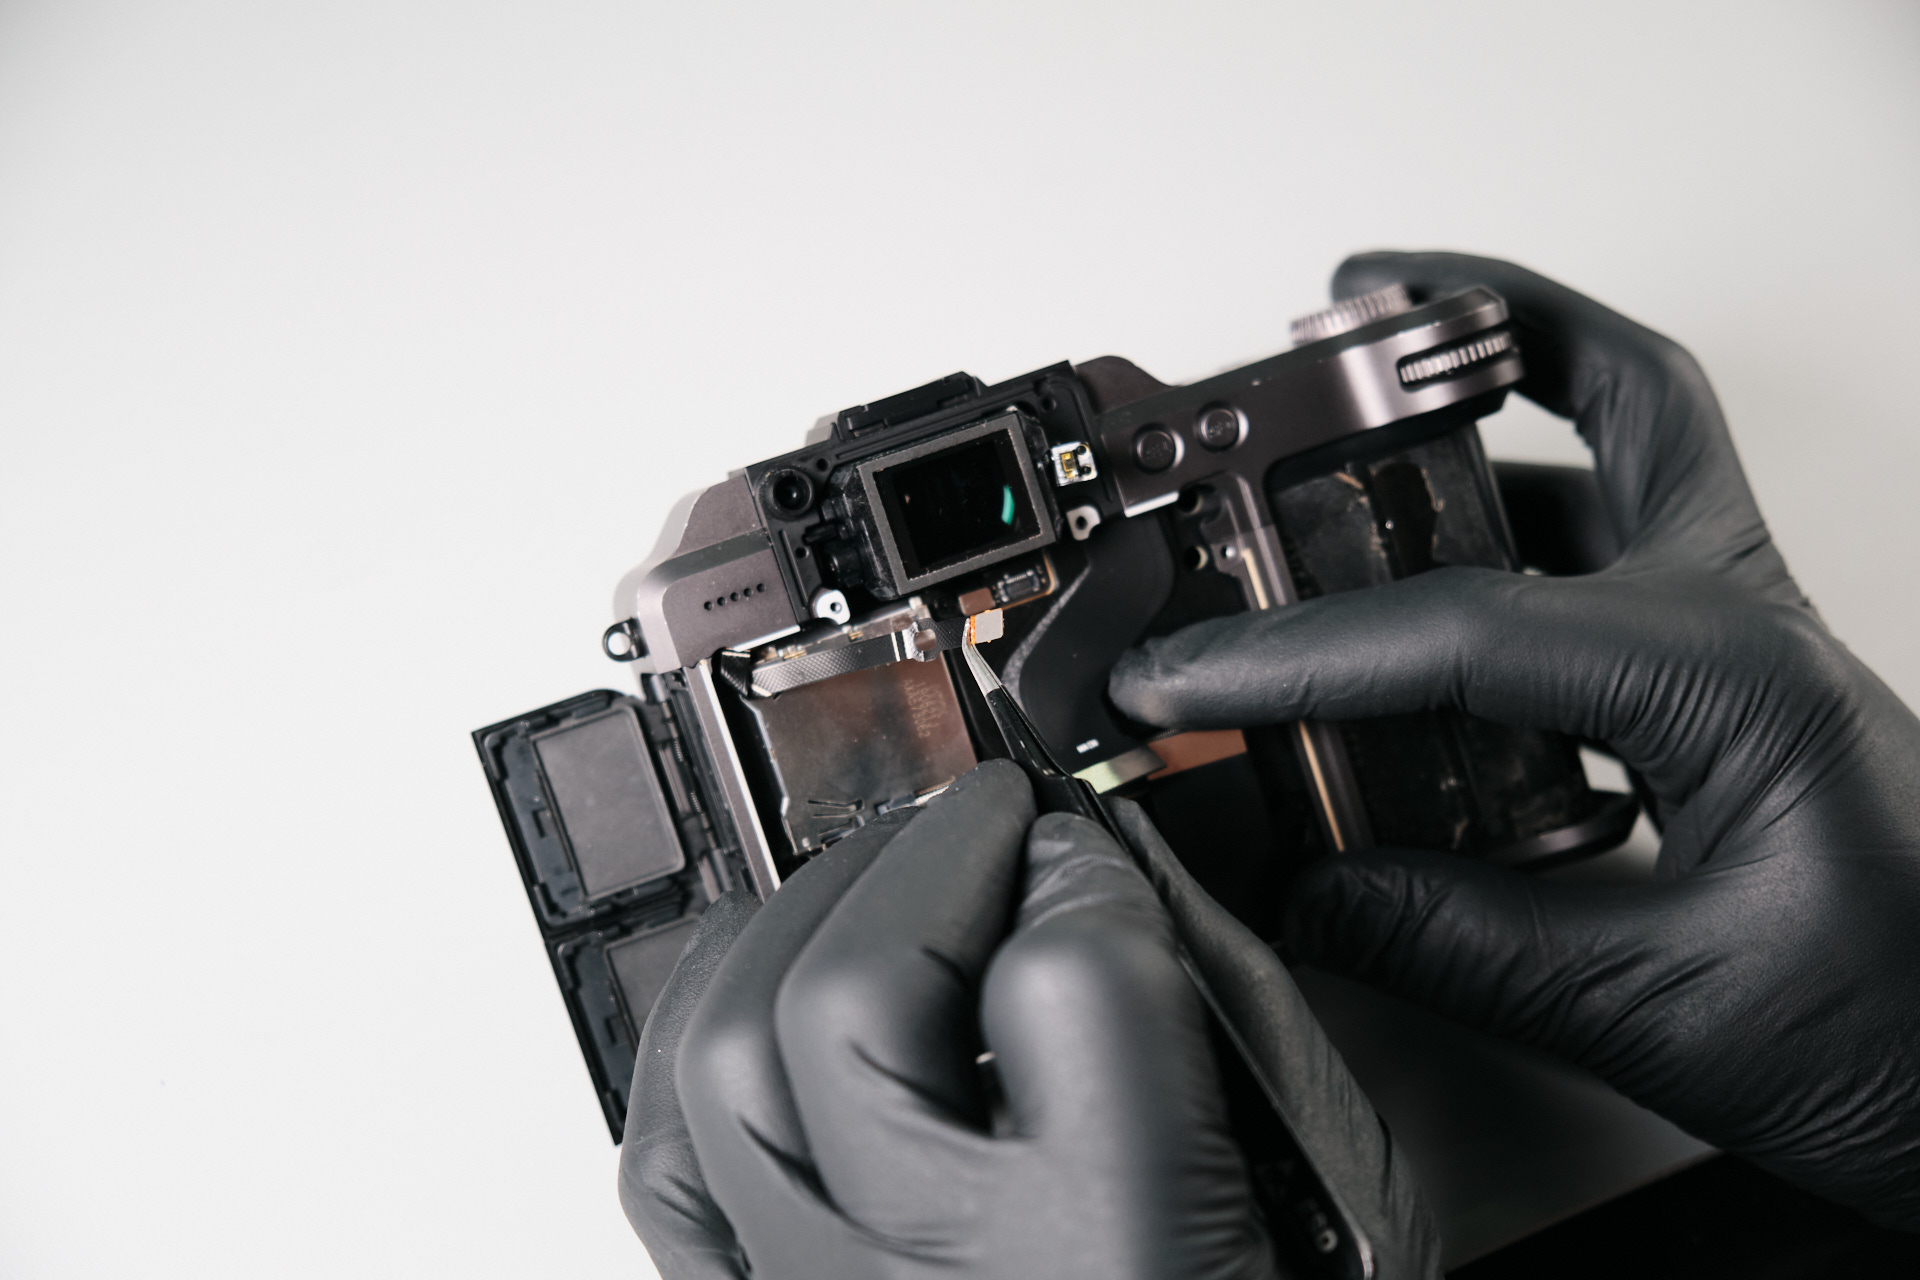
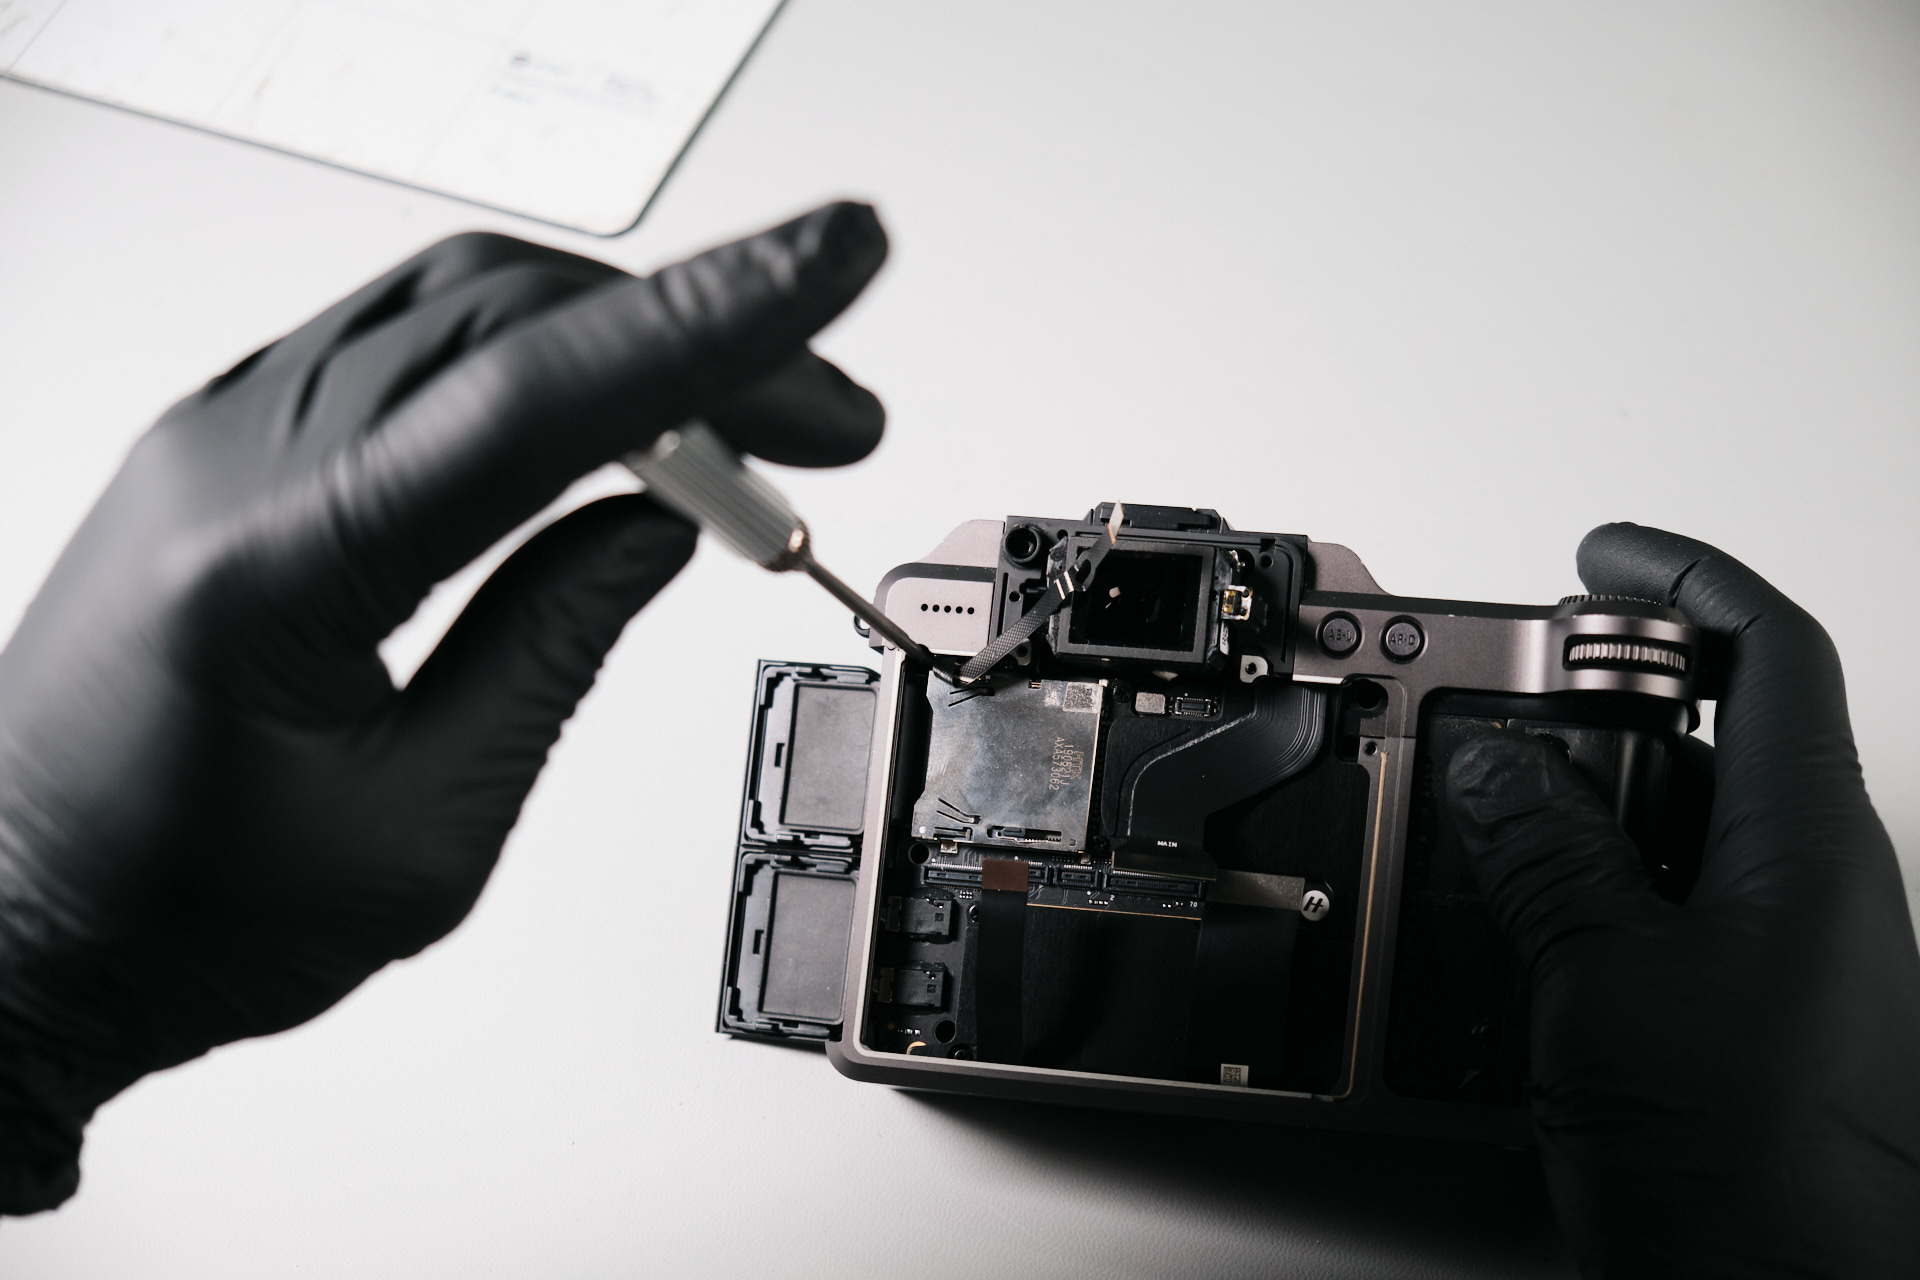
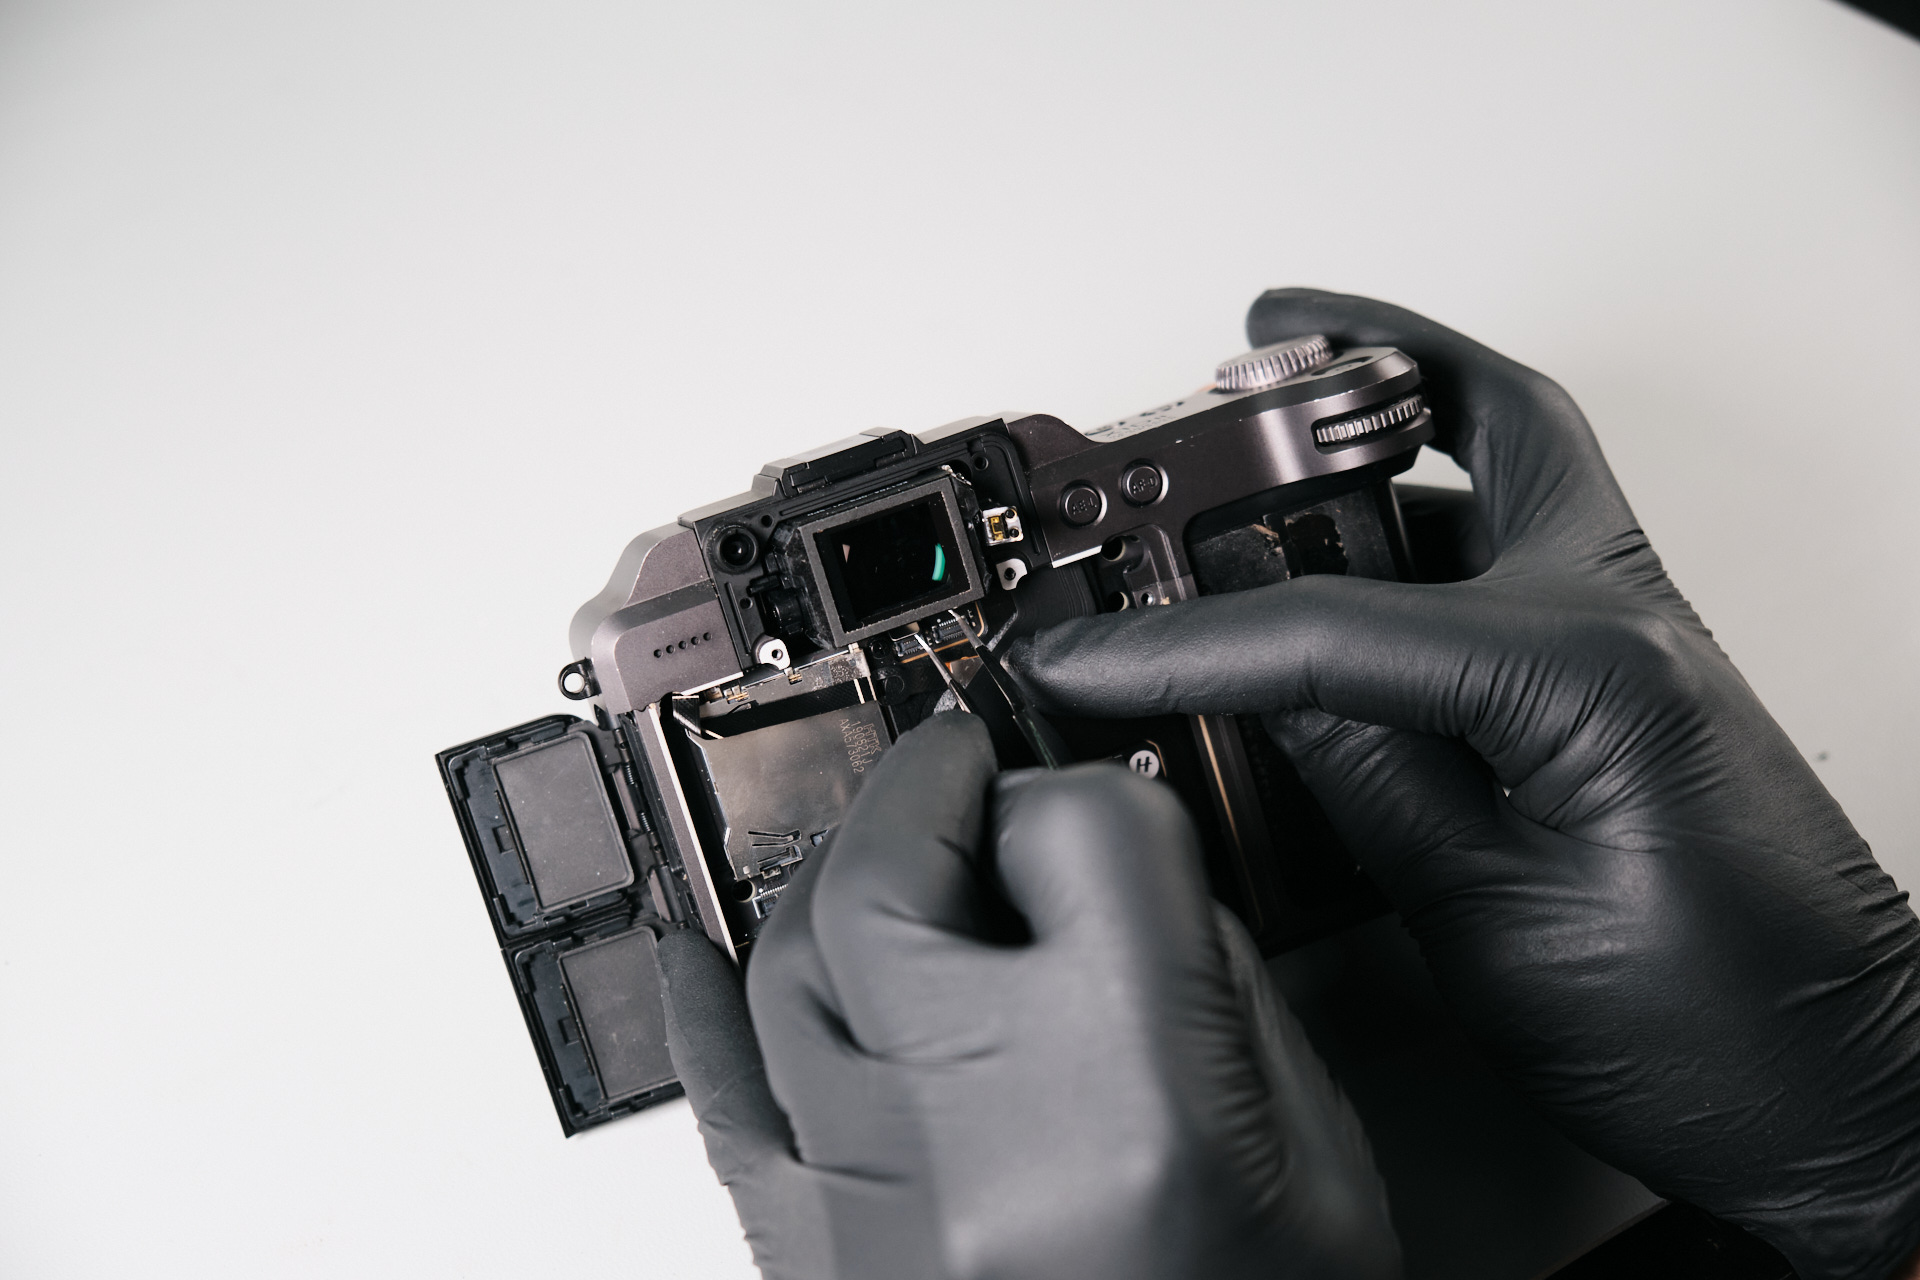
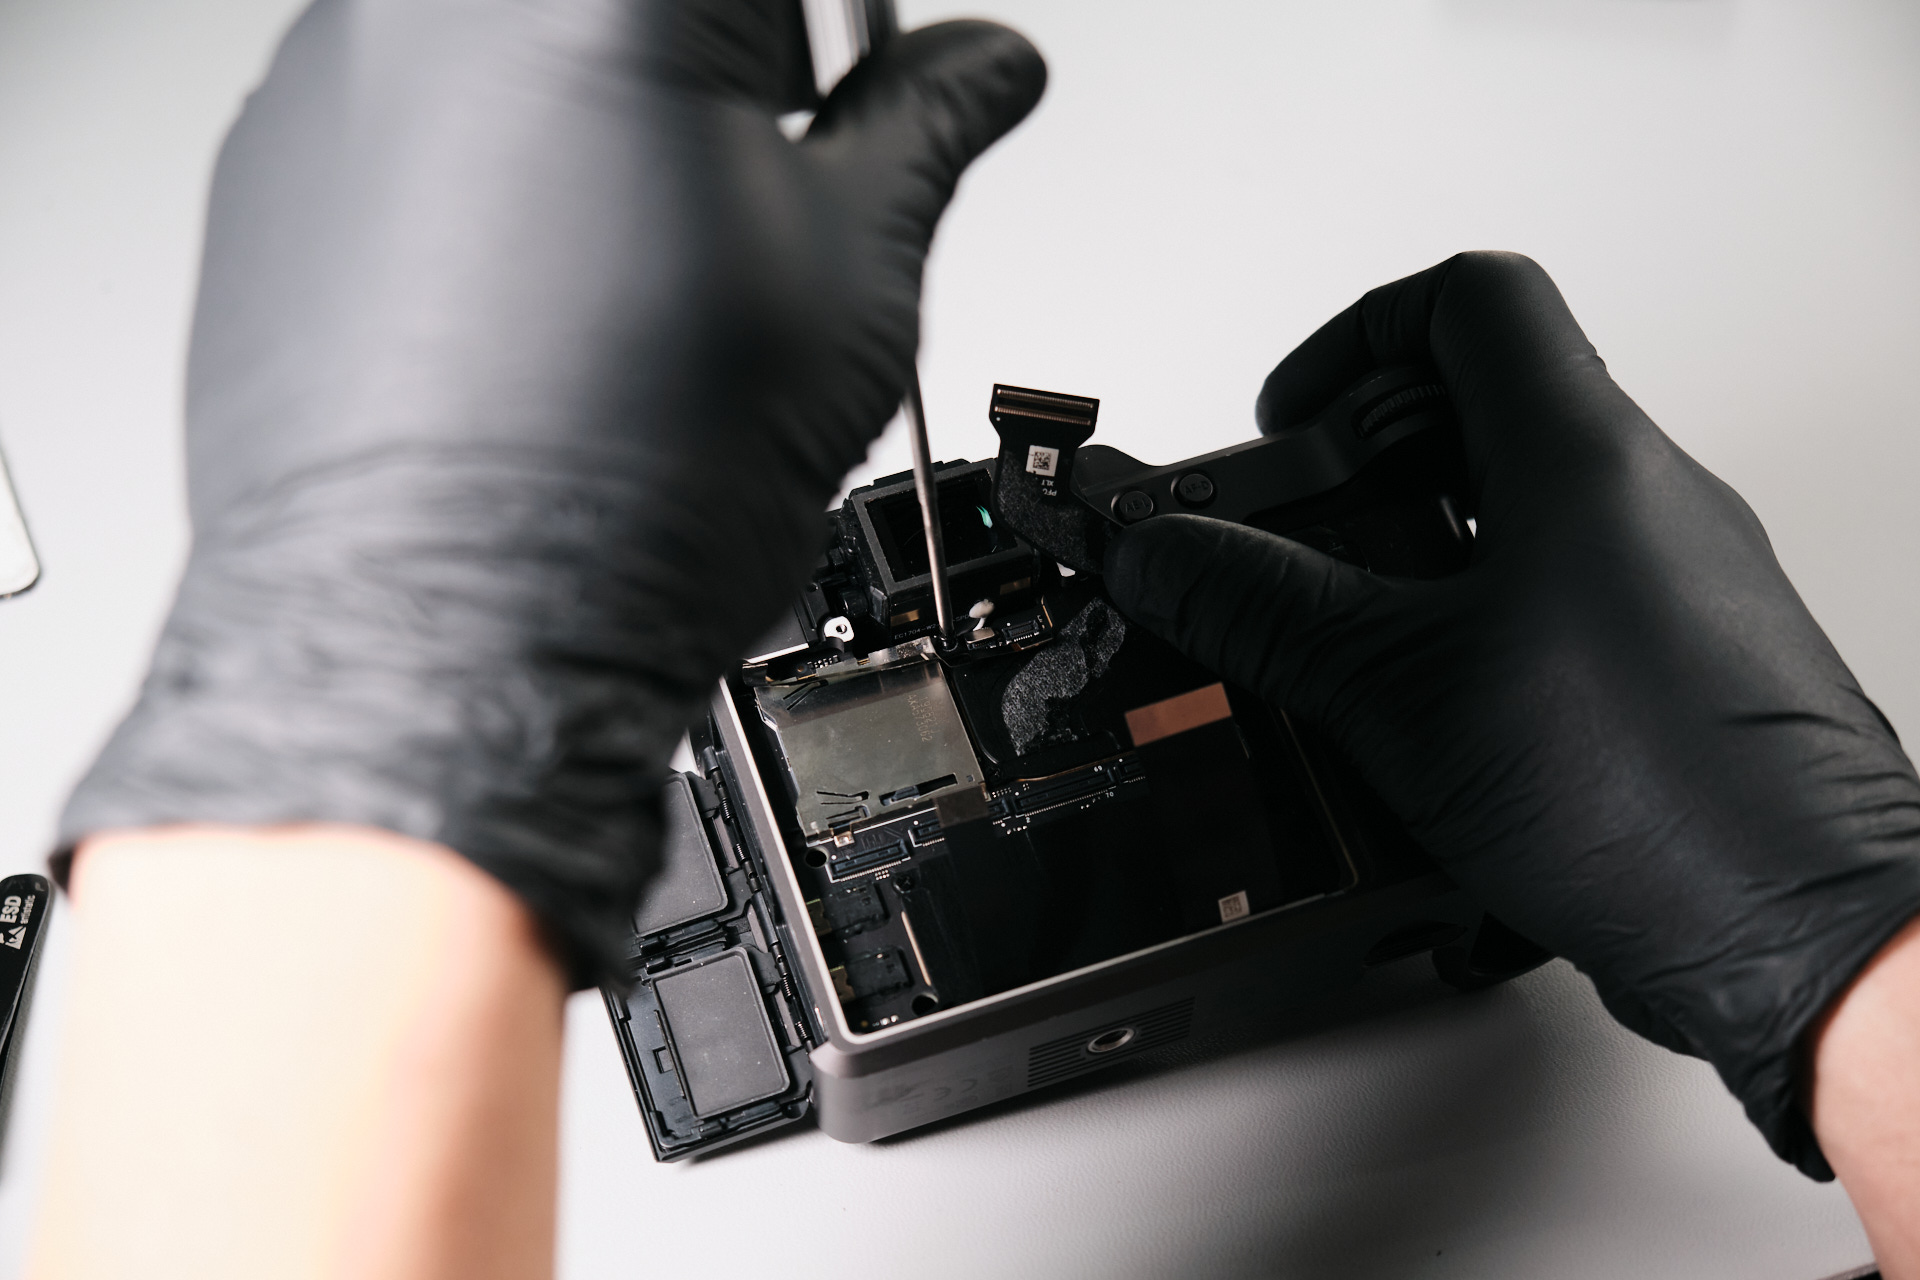
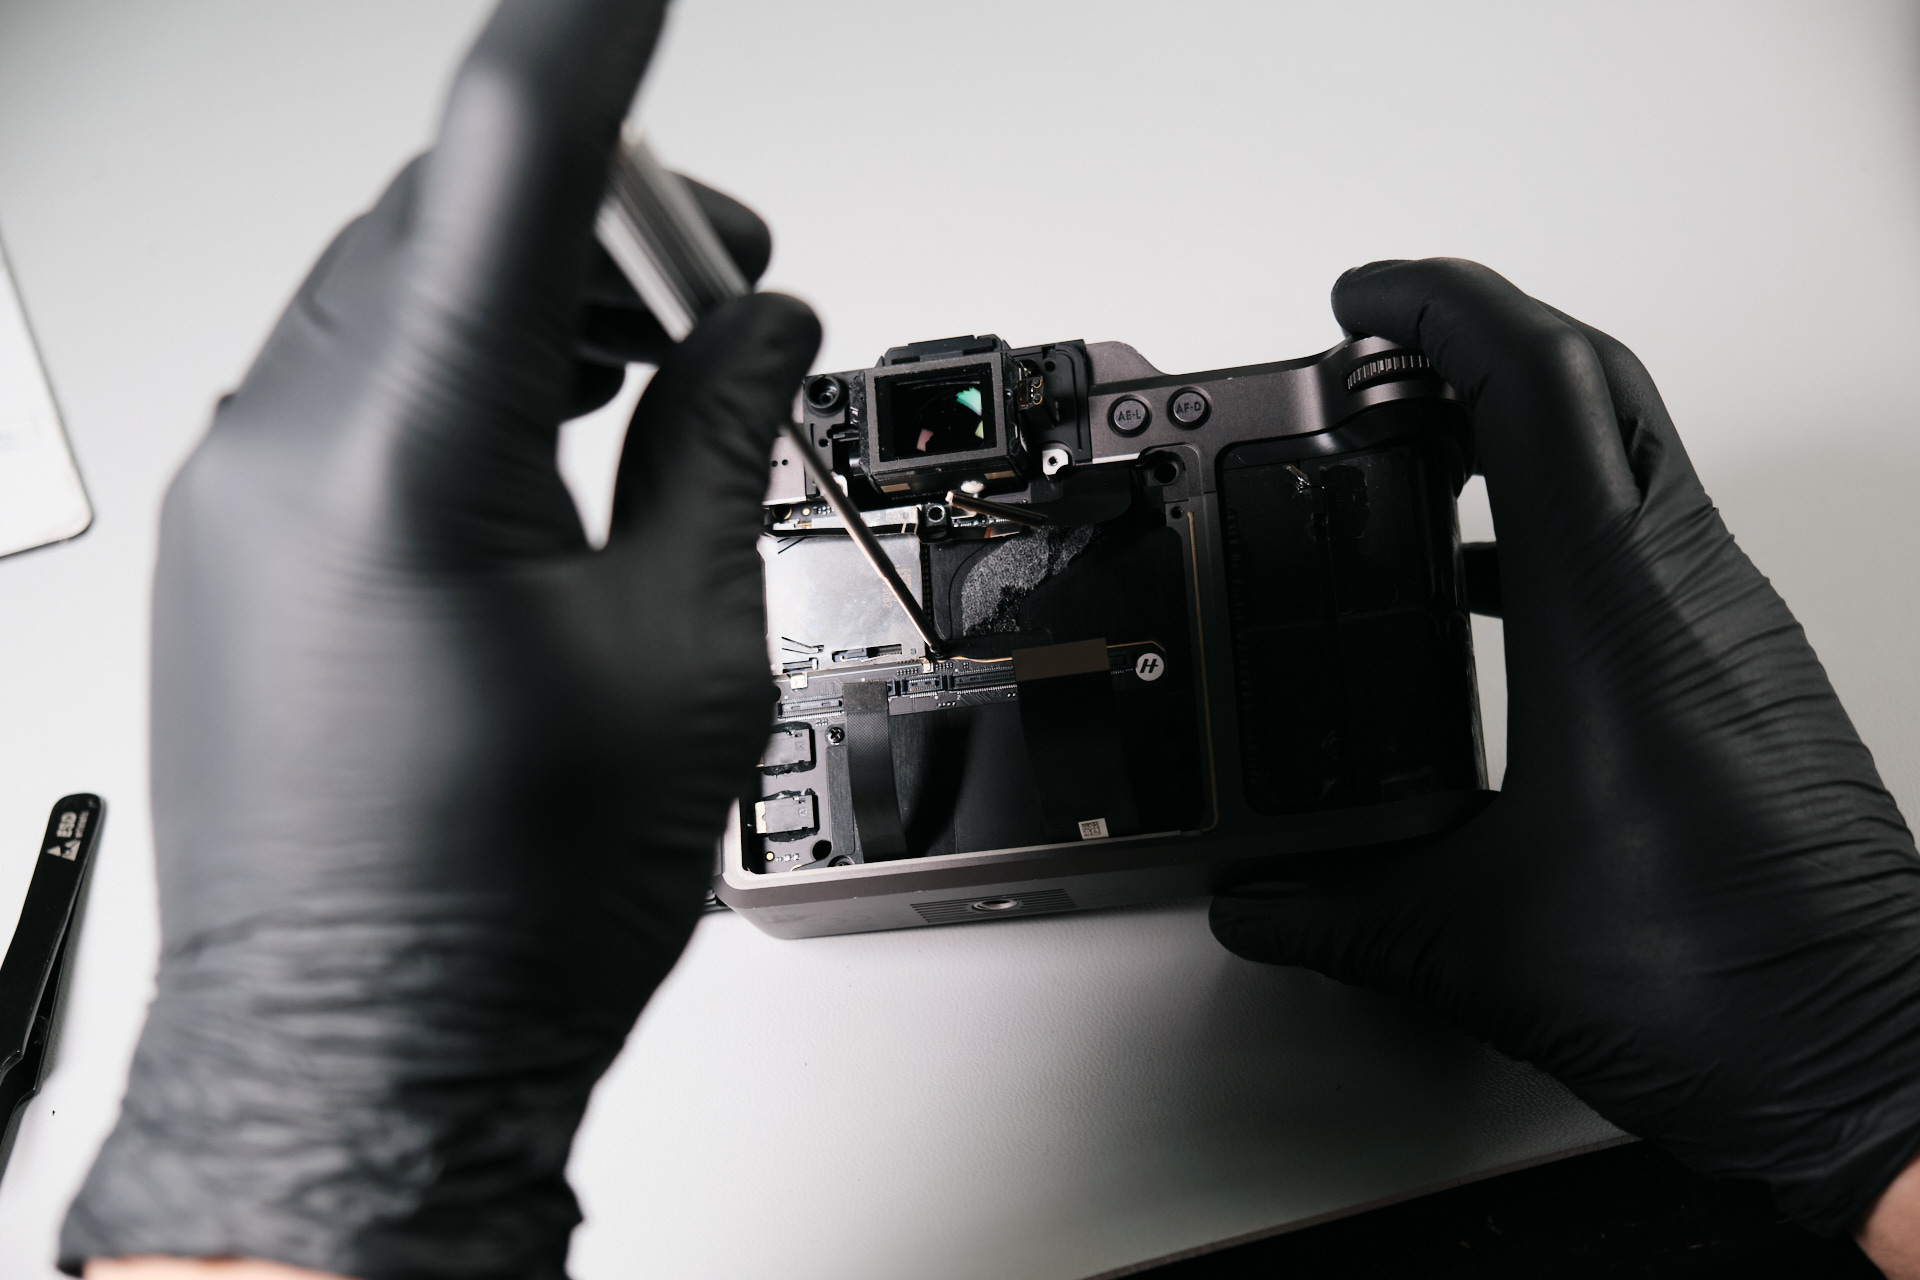
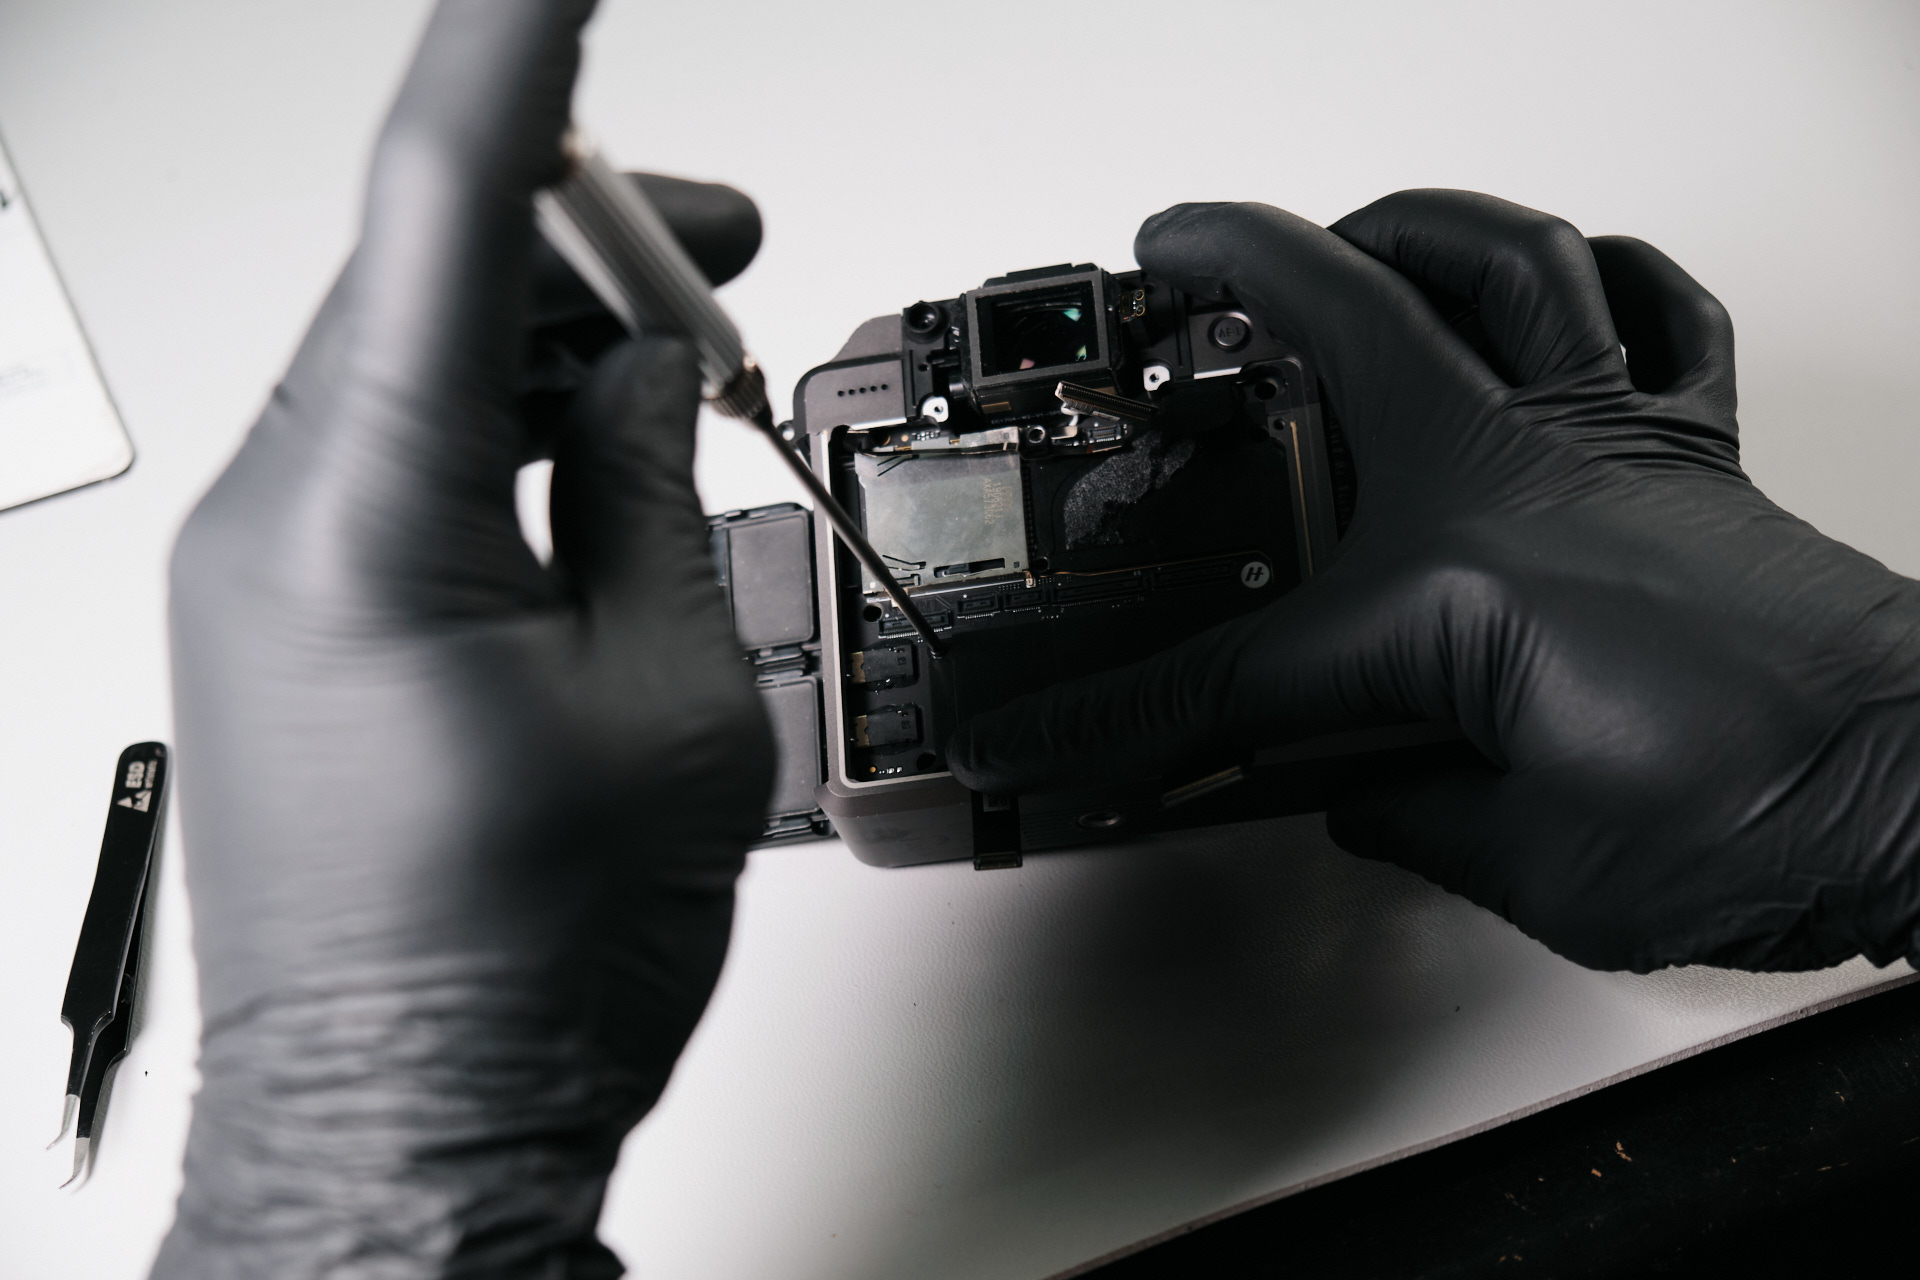
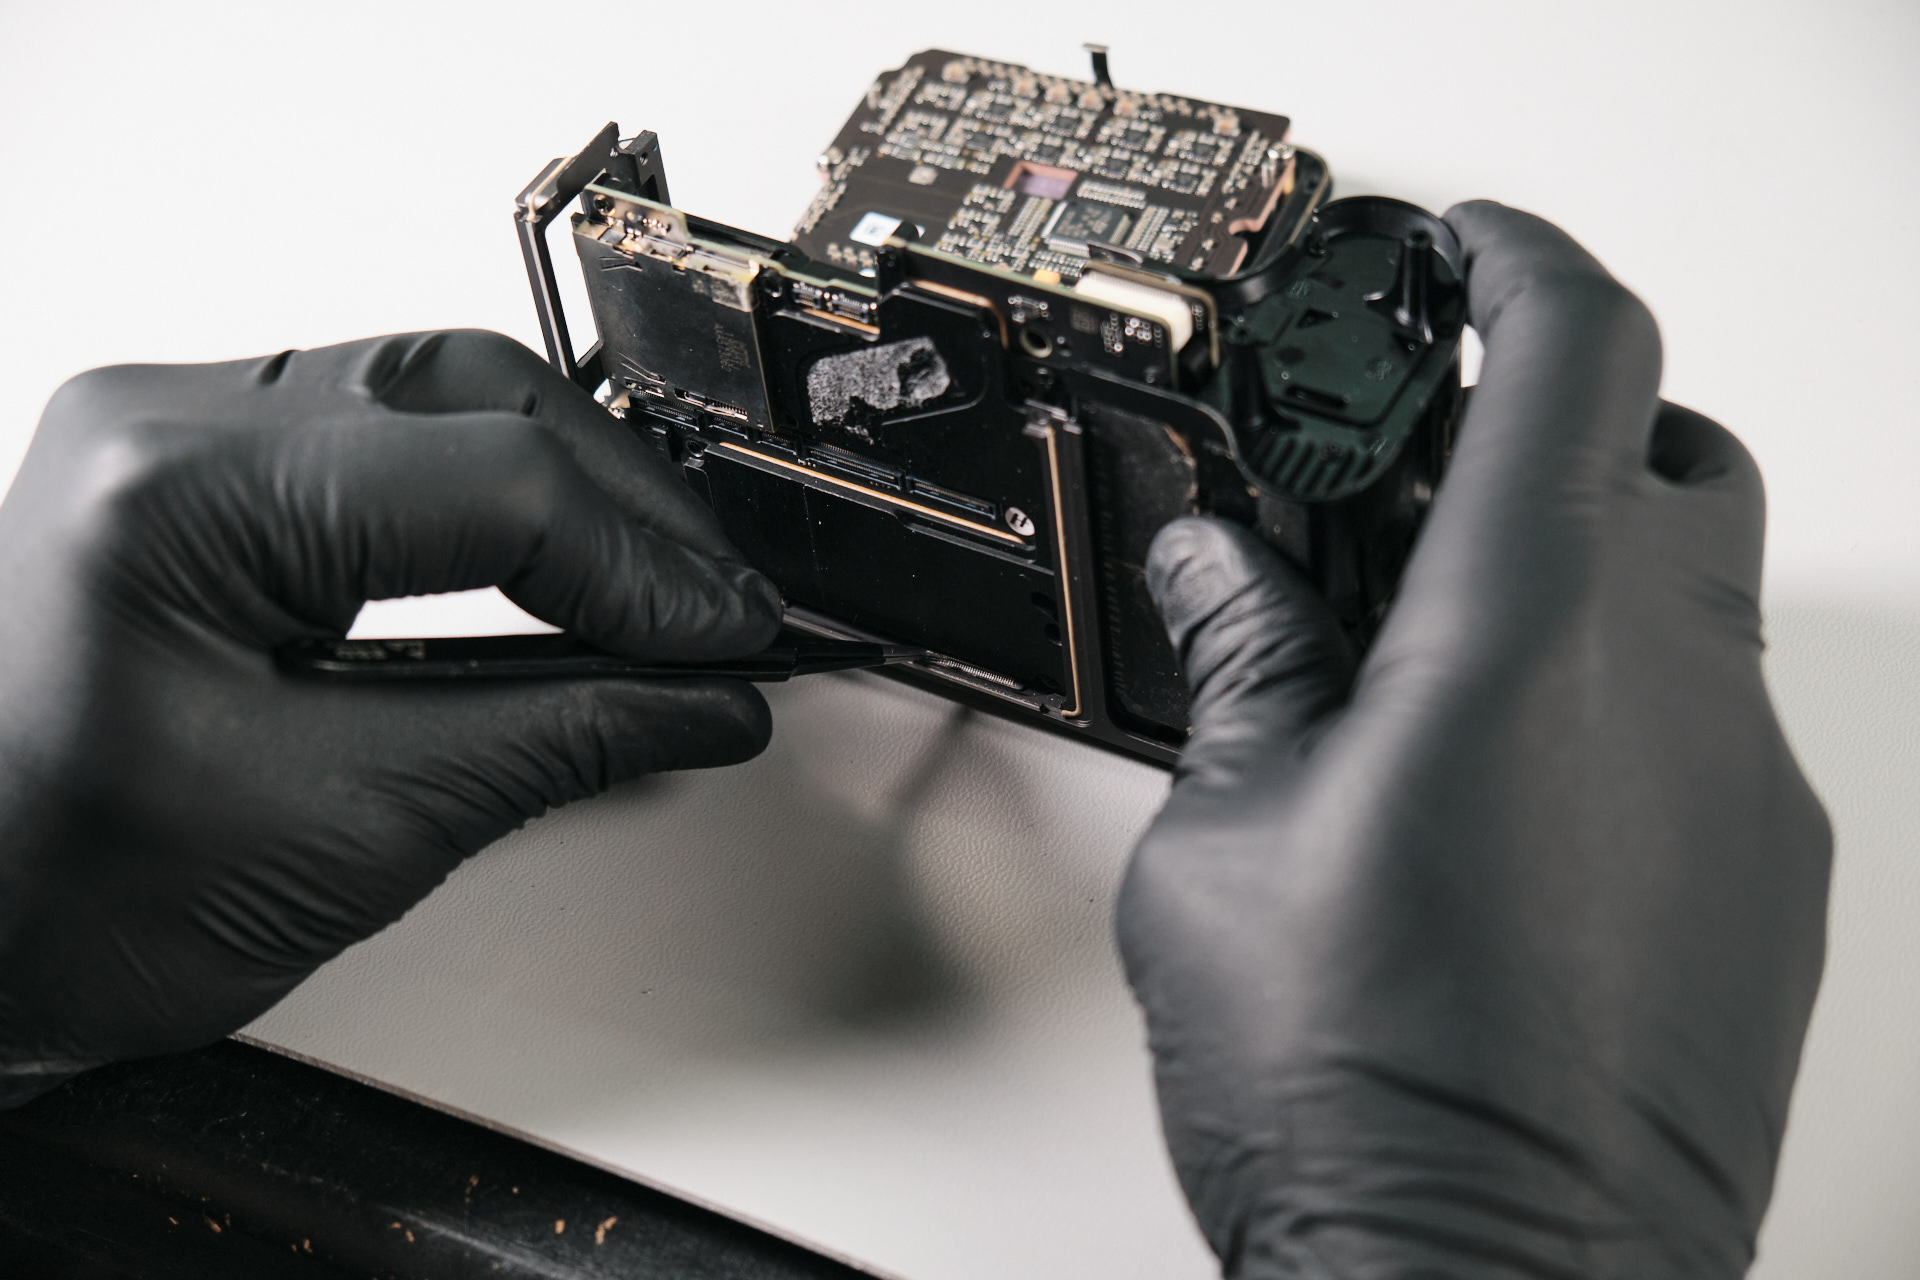
Disconnecting Circuit Board Ribbon Cables
Four ribbon cables were connected to the circuit board.
Removing Top Panel and EVF Ribbon Cable Connections
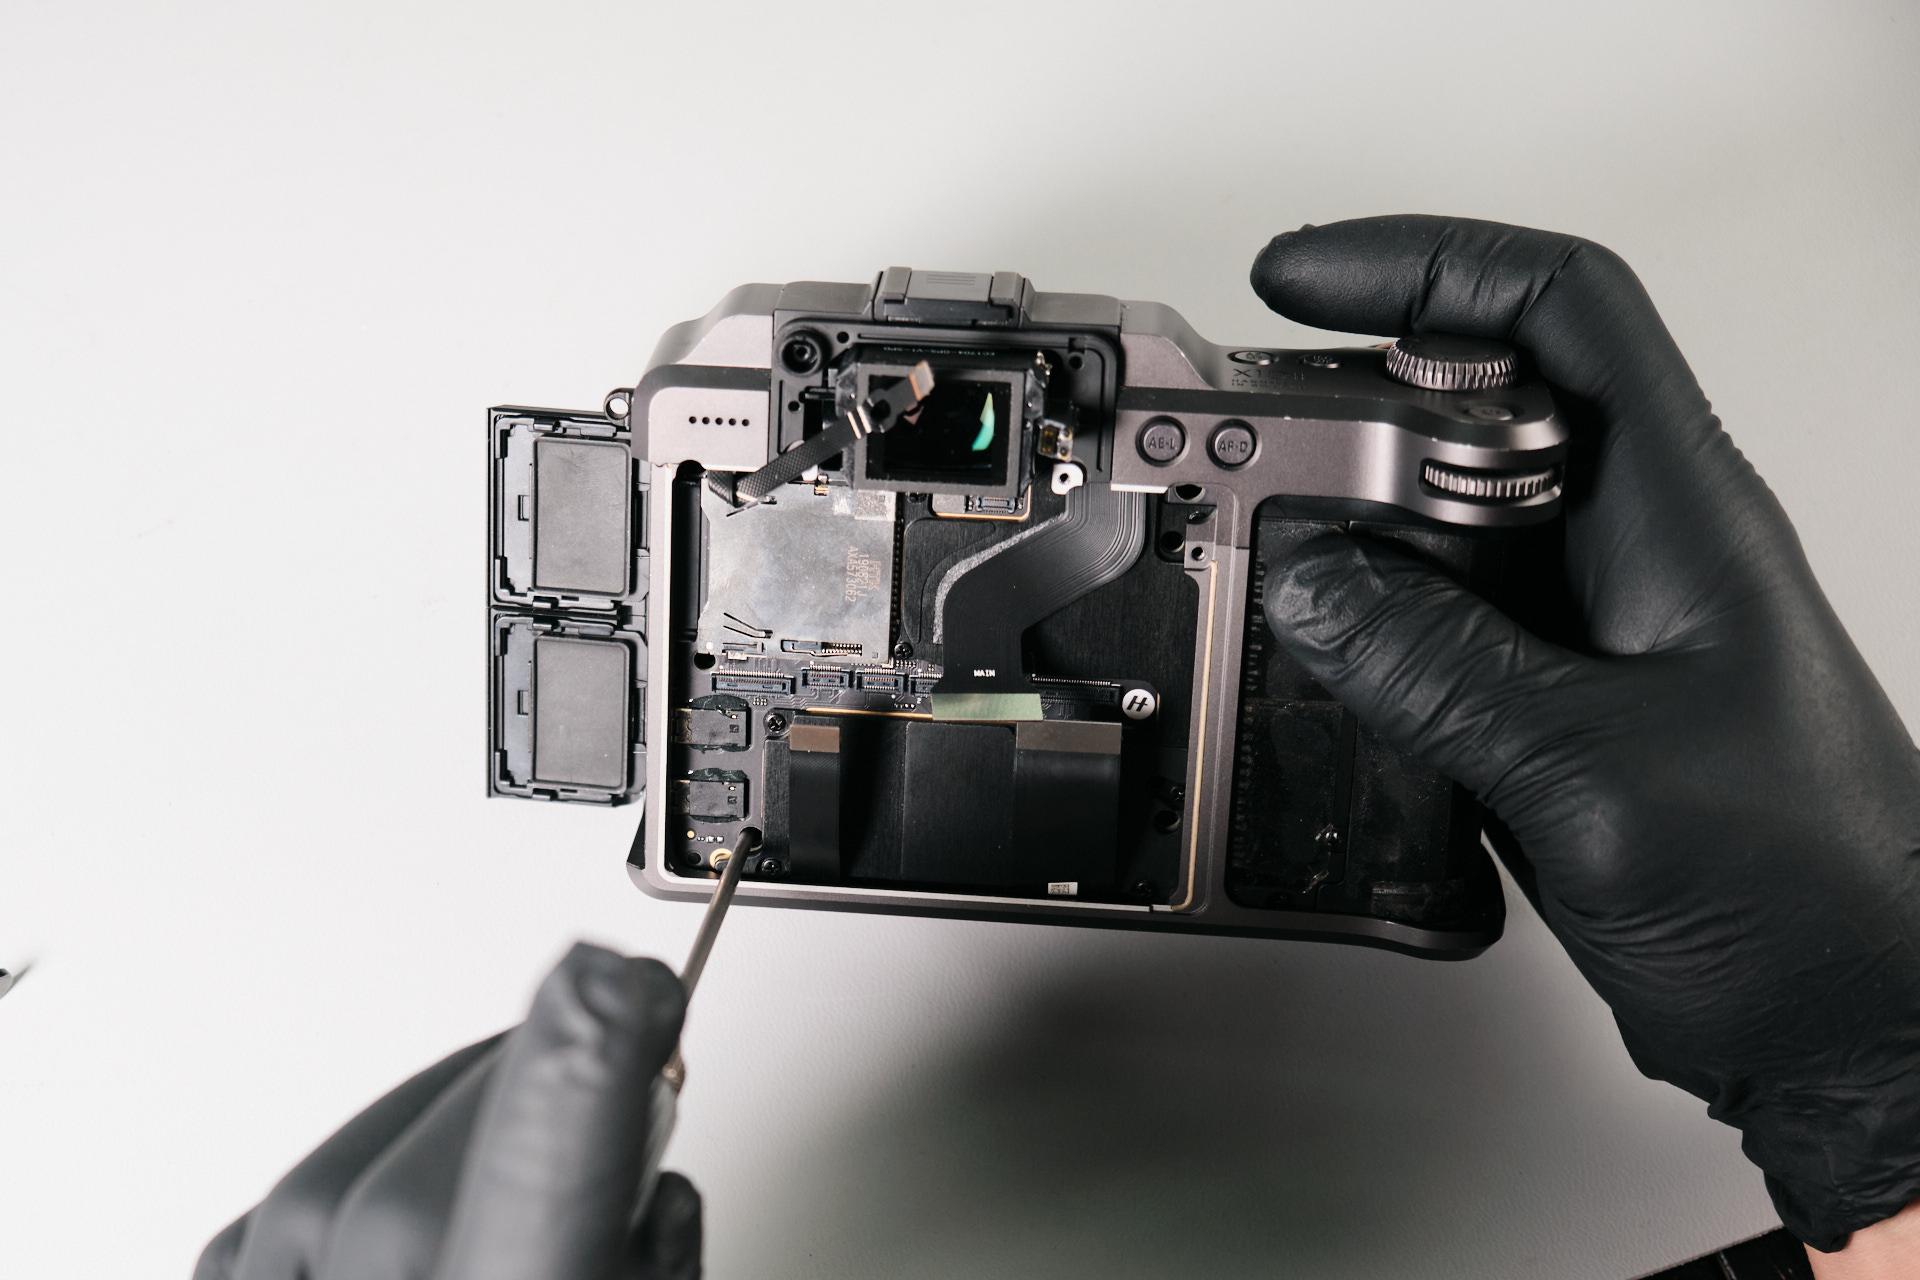
Removing the Hasselblad X1D II 50C Circuit Board Screws
Next, we removed three screws from the circuit board.
Removing the Port Terminal Cover Trim
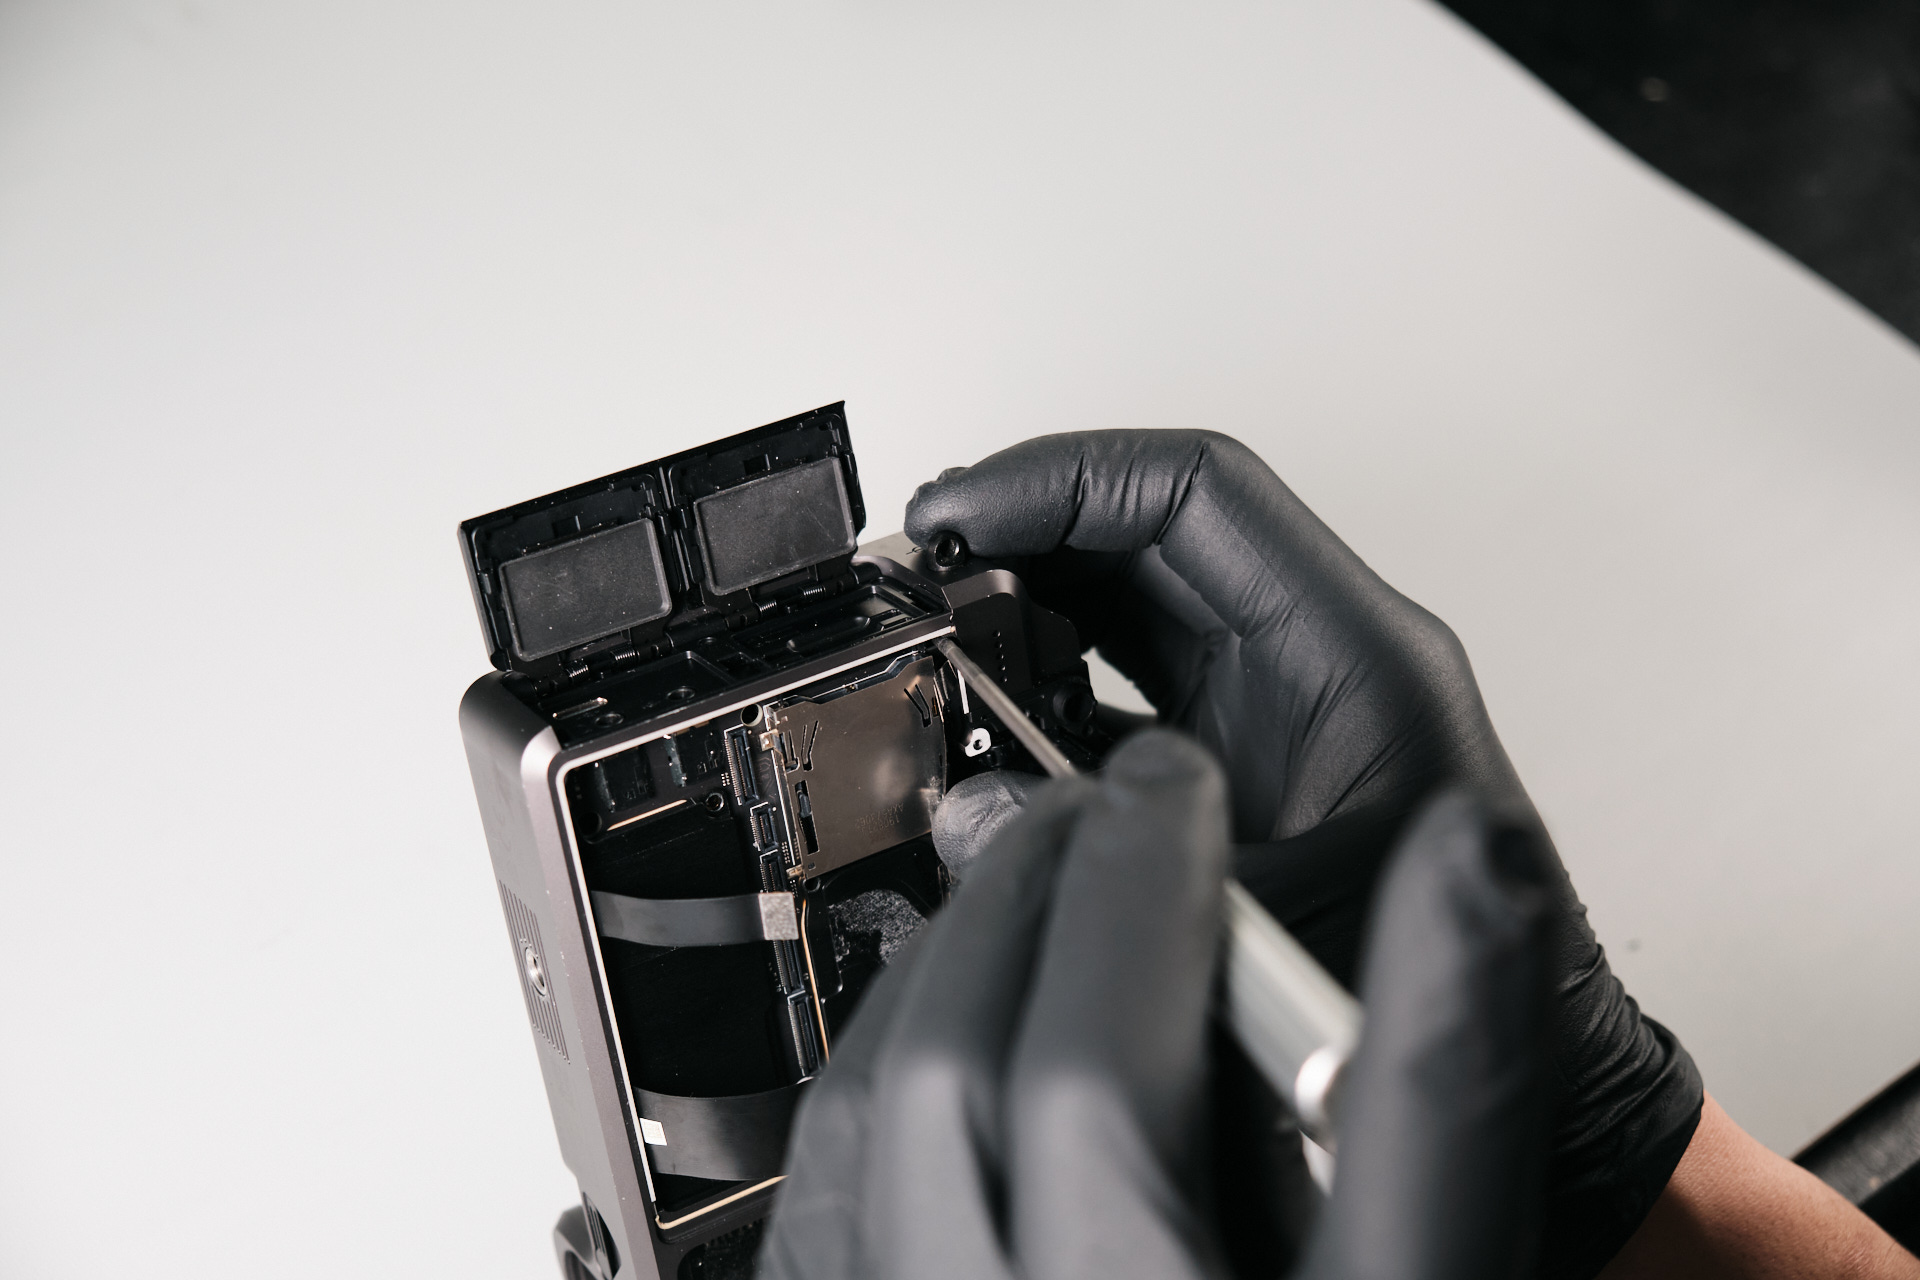
Removing Screws Near the CFexpress Slot
Two screws next to the CF express slot were removed.
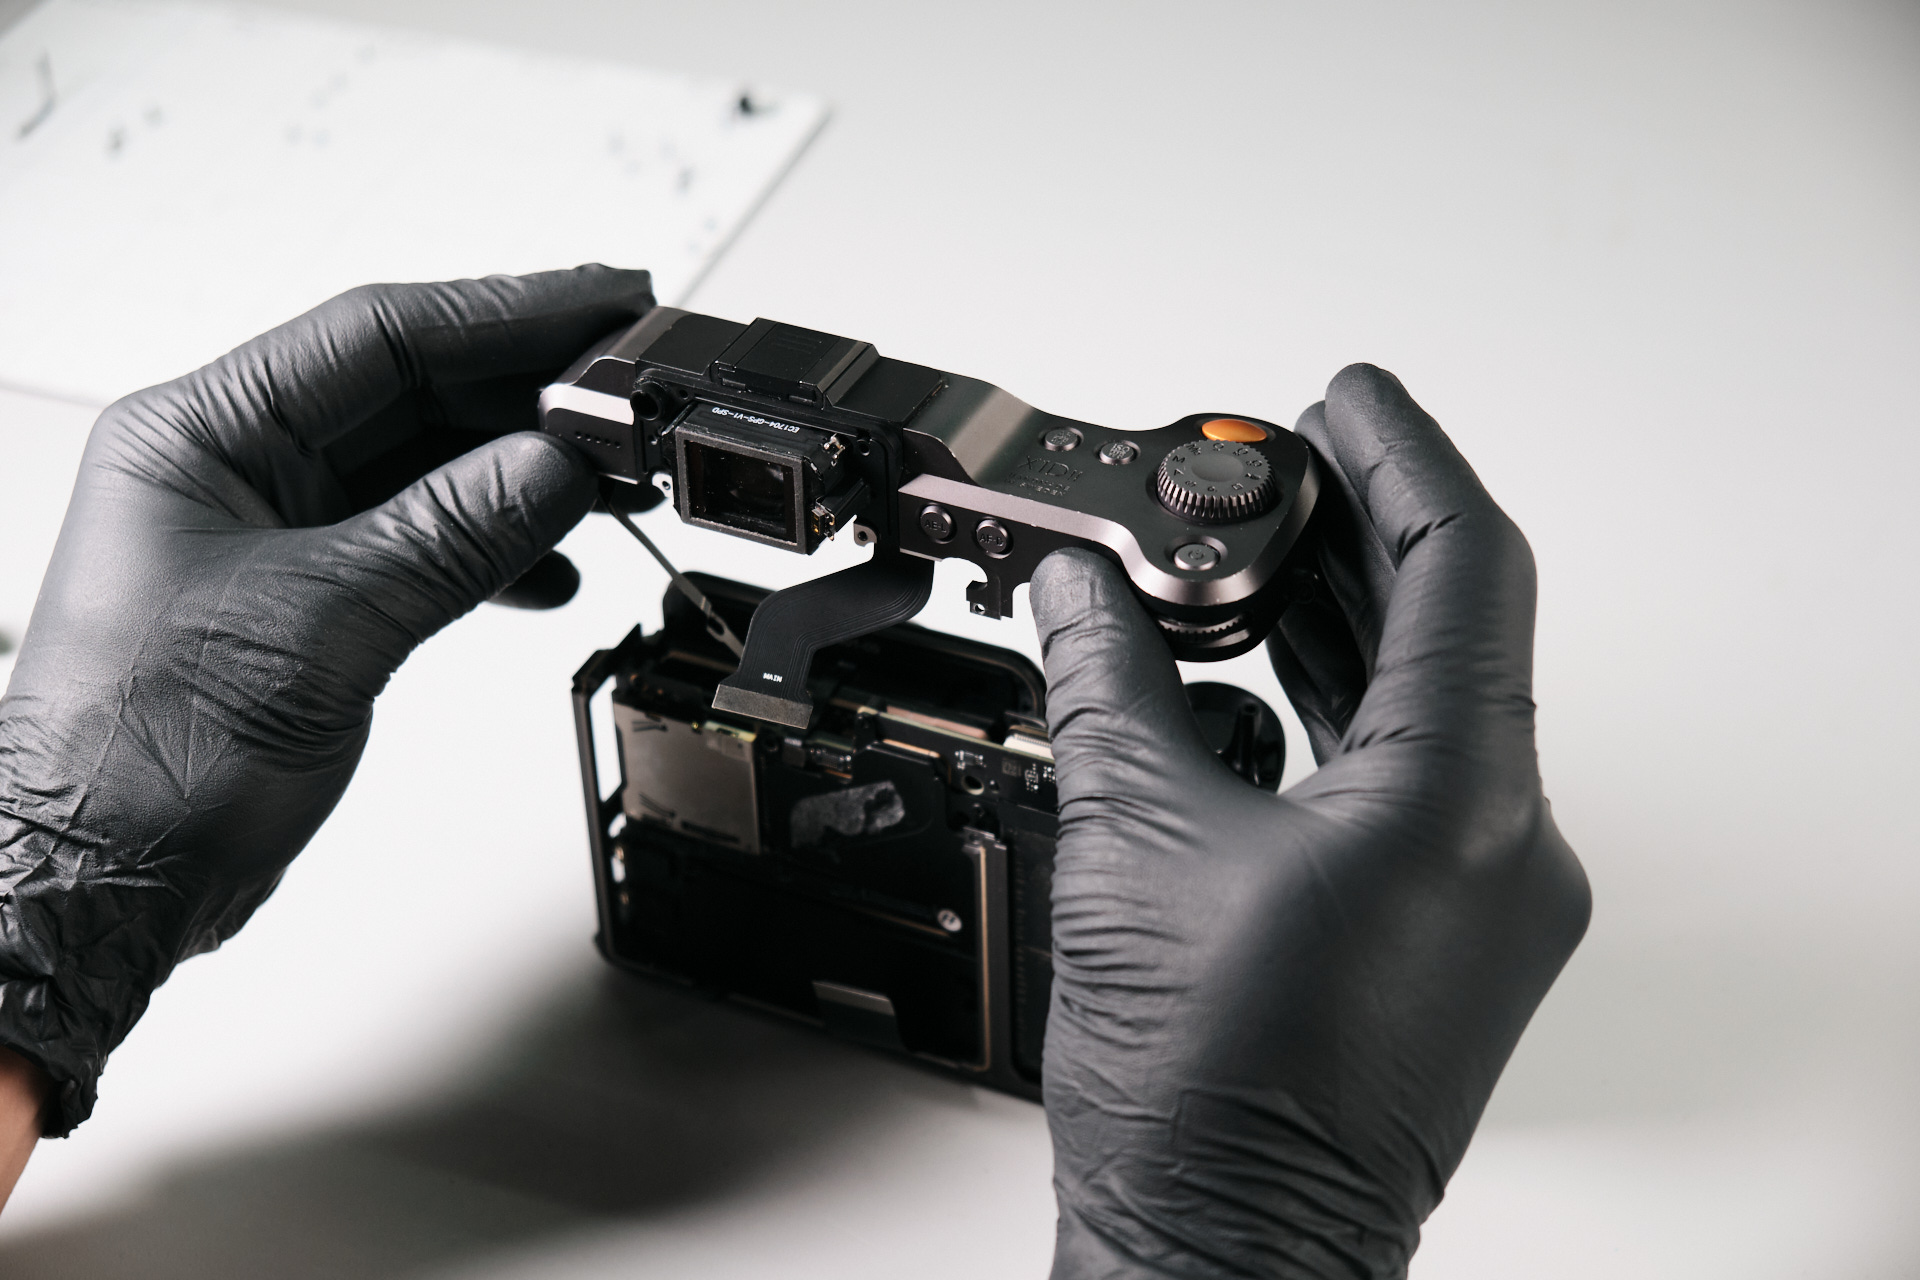
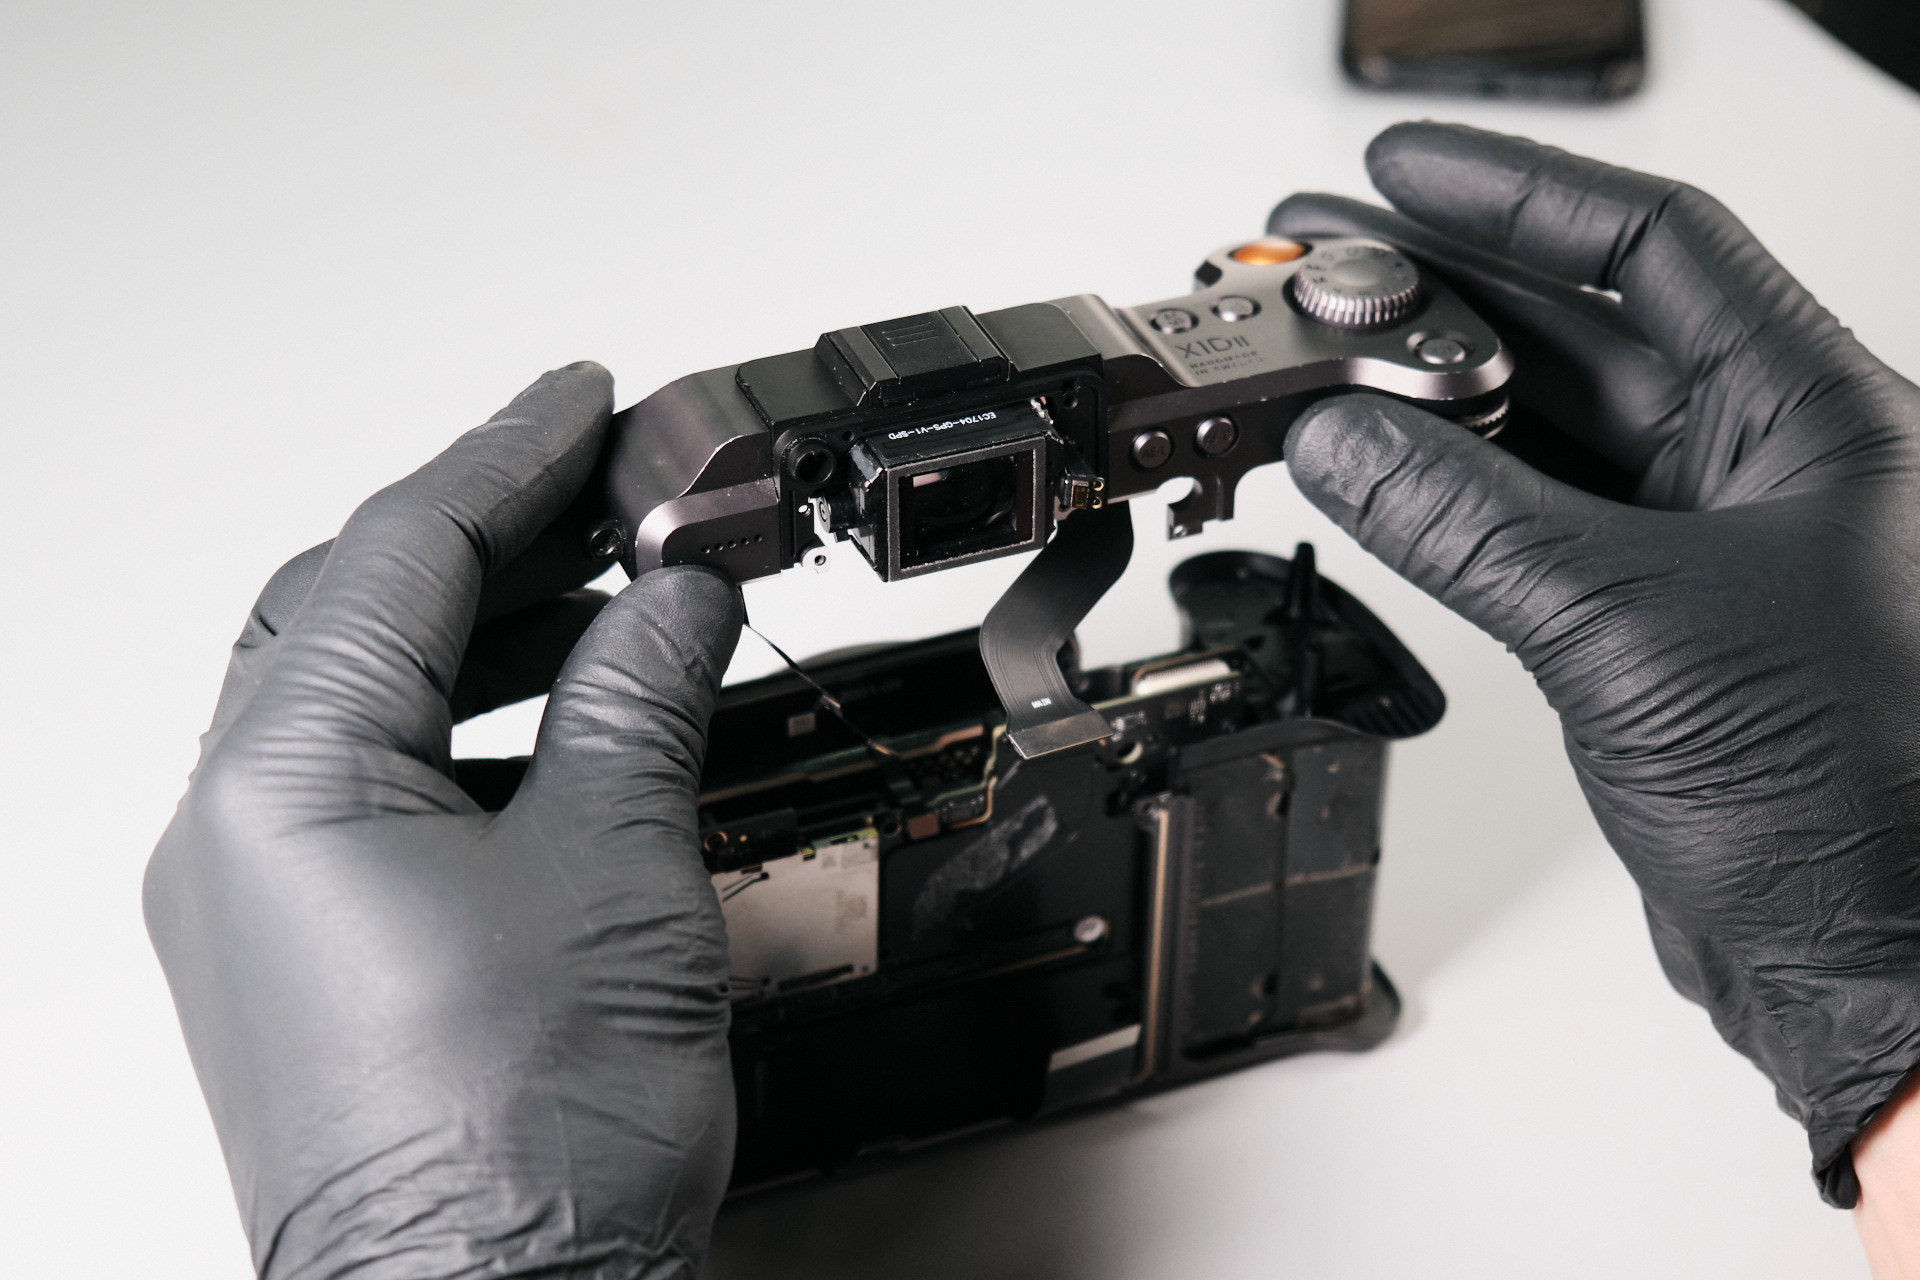
Removing the Top Panel From the Camera Body
Finally, we were able to unseat the top panel from the body.Â
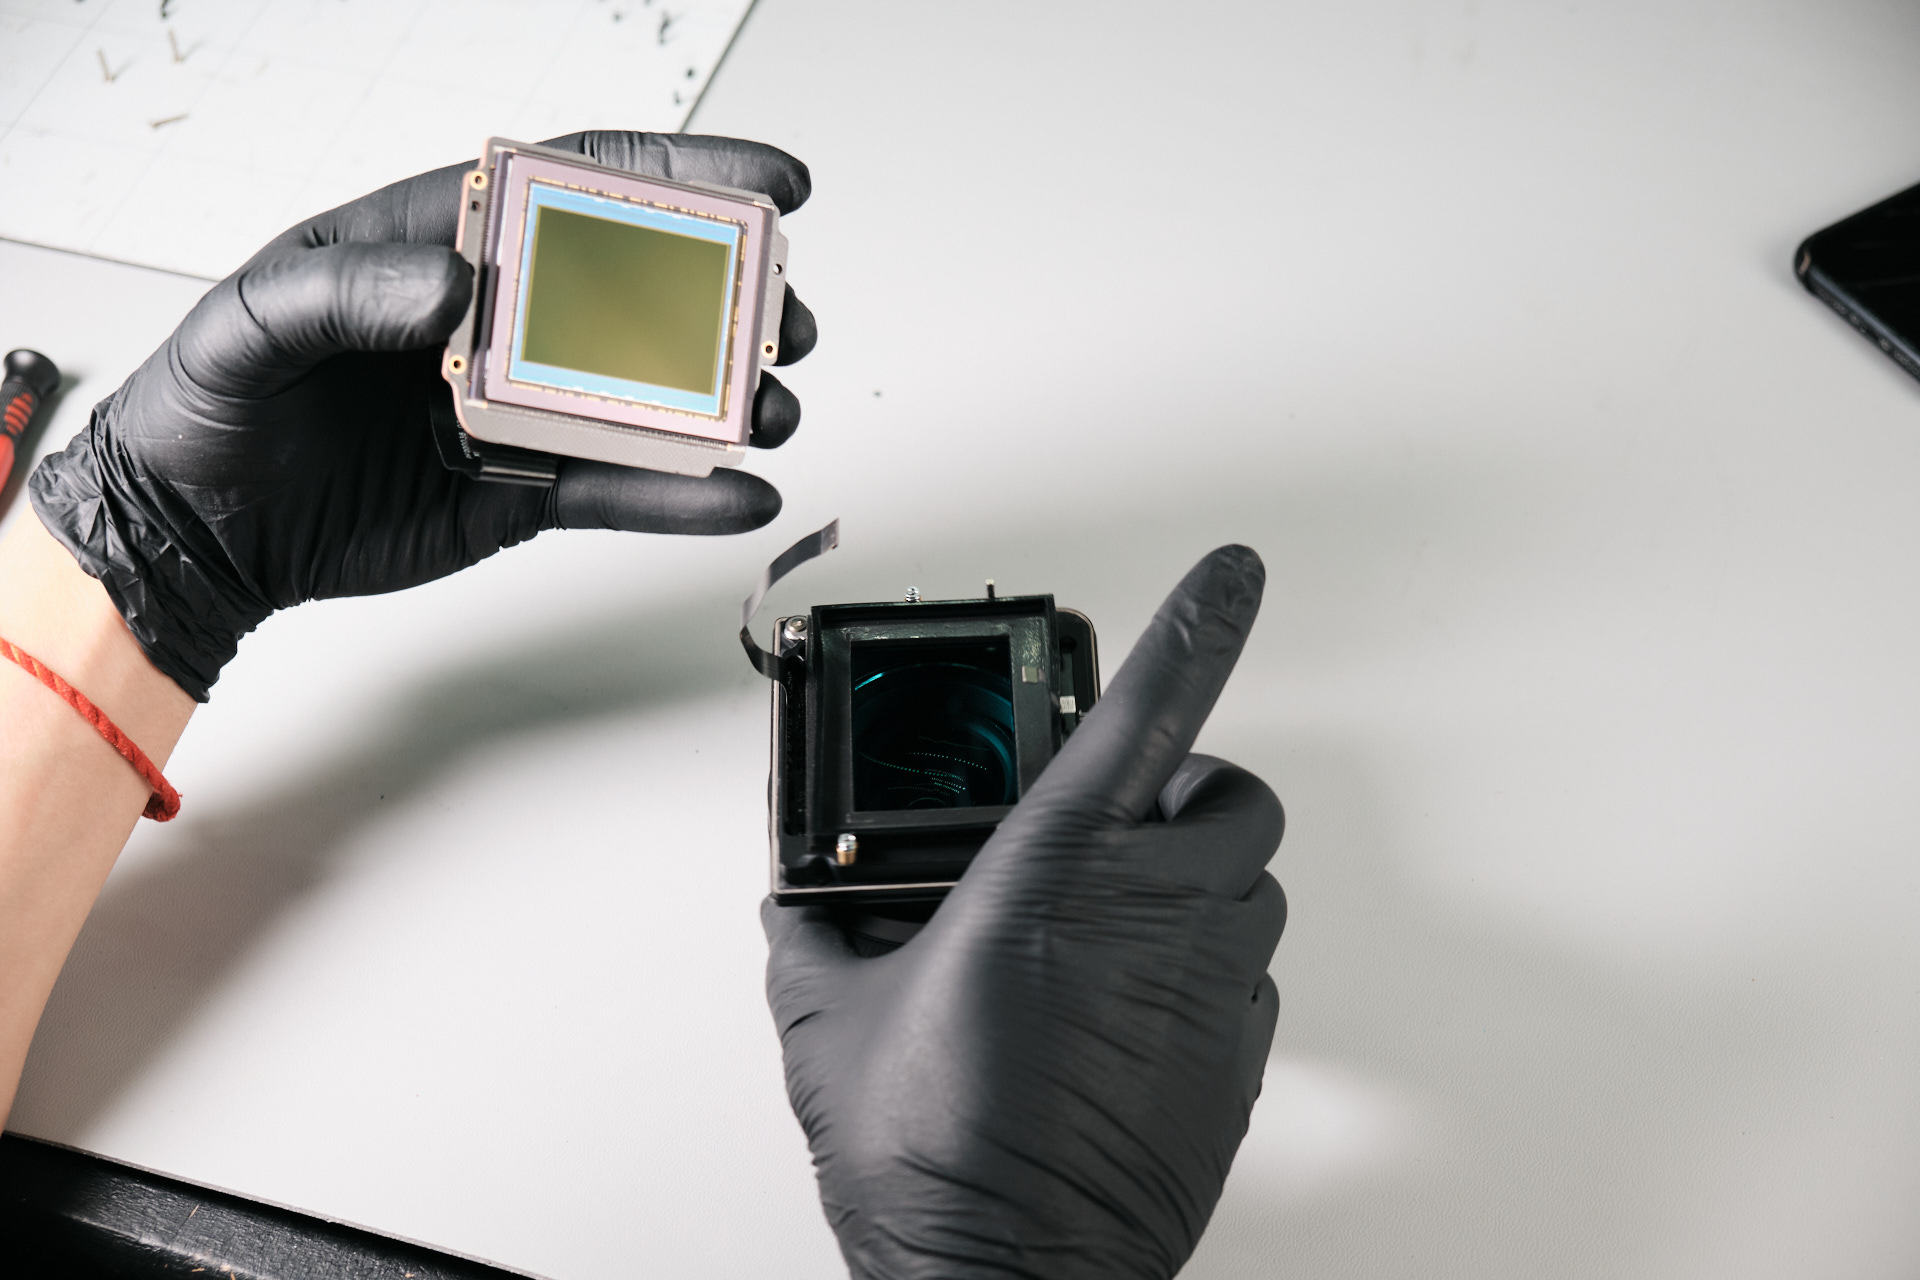
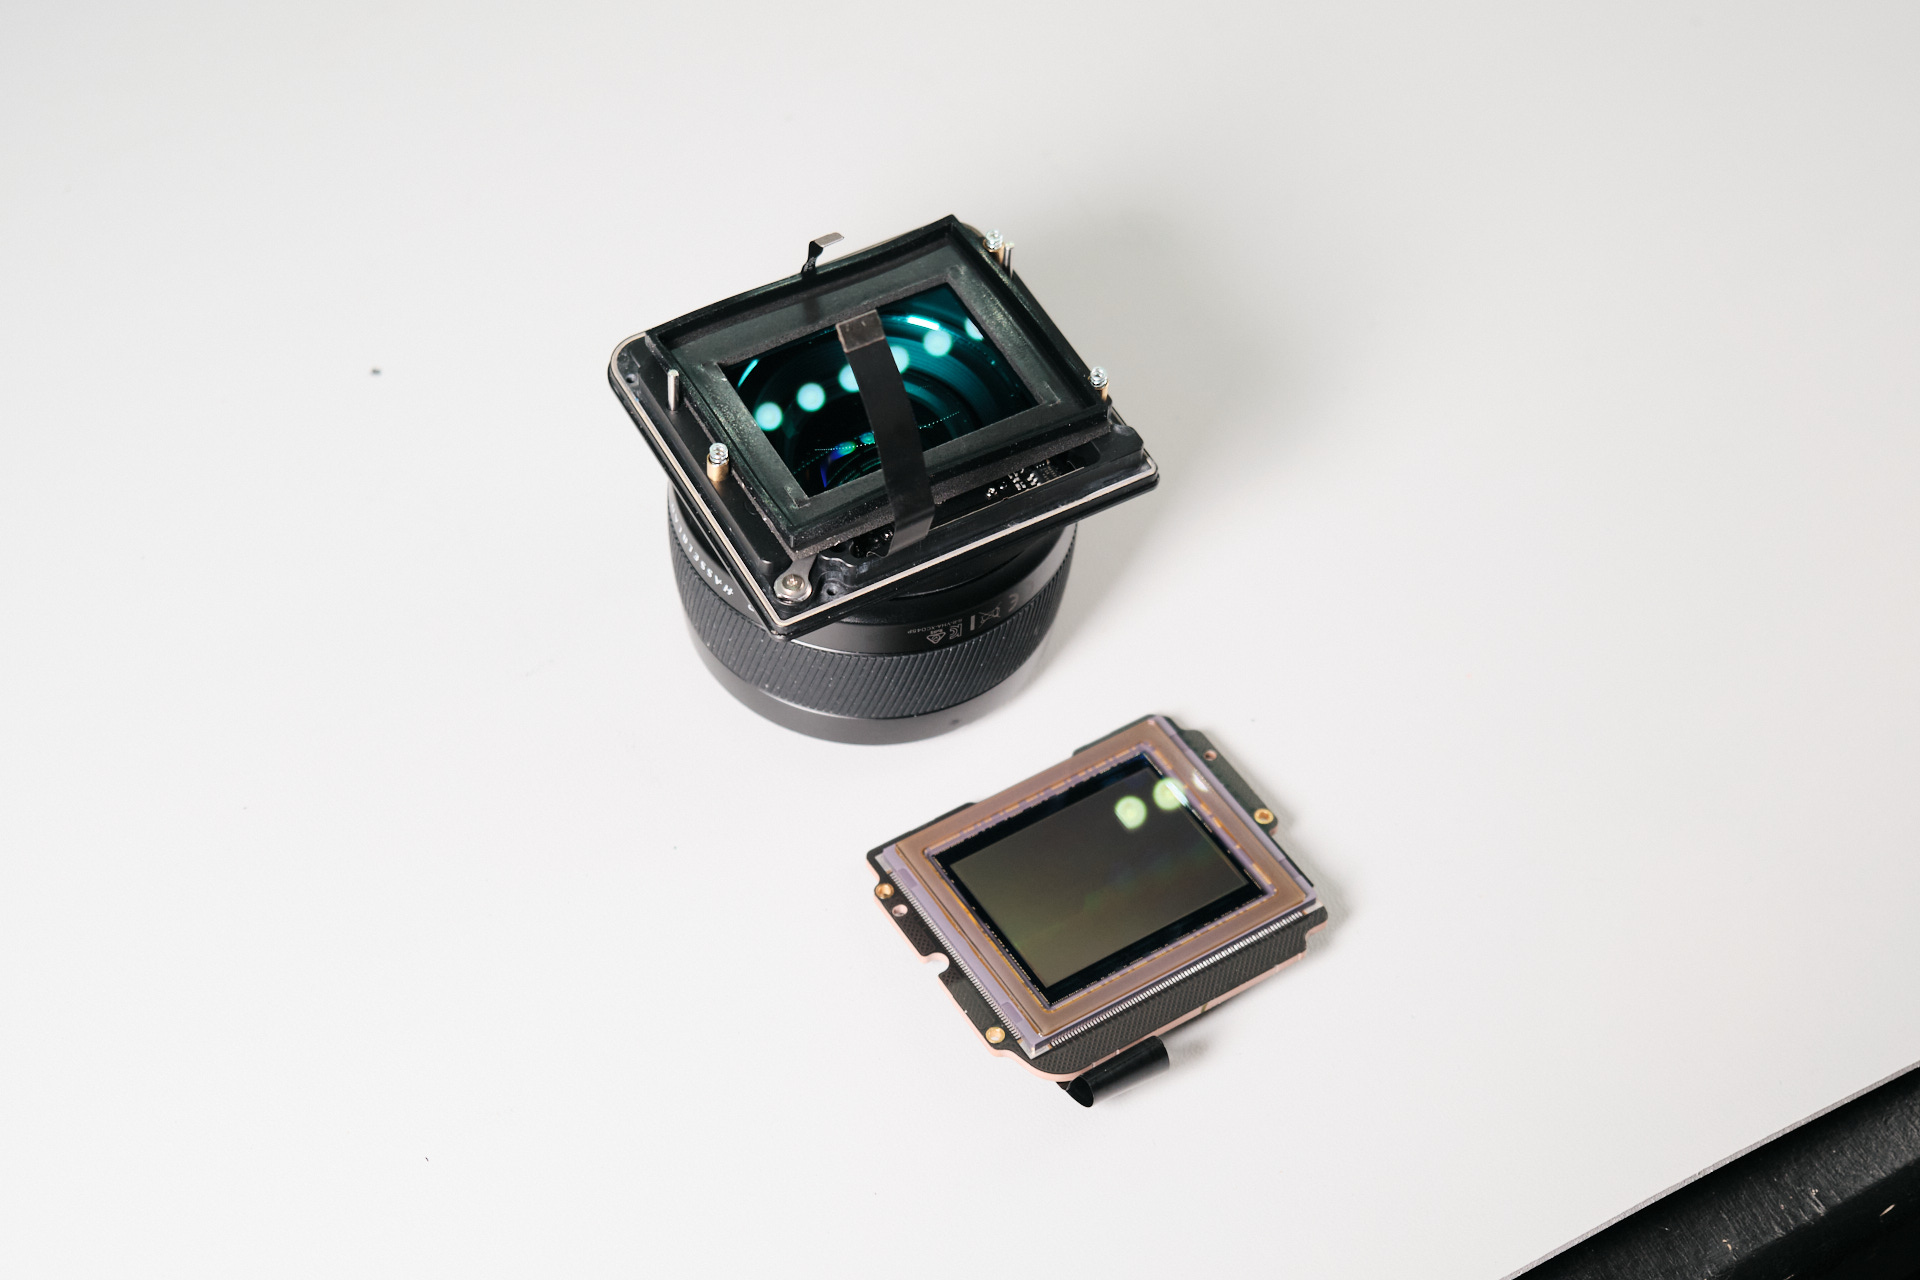
Removing the Hasselblad X1D II 50C Sensor Assembly
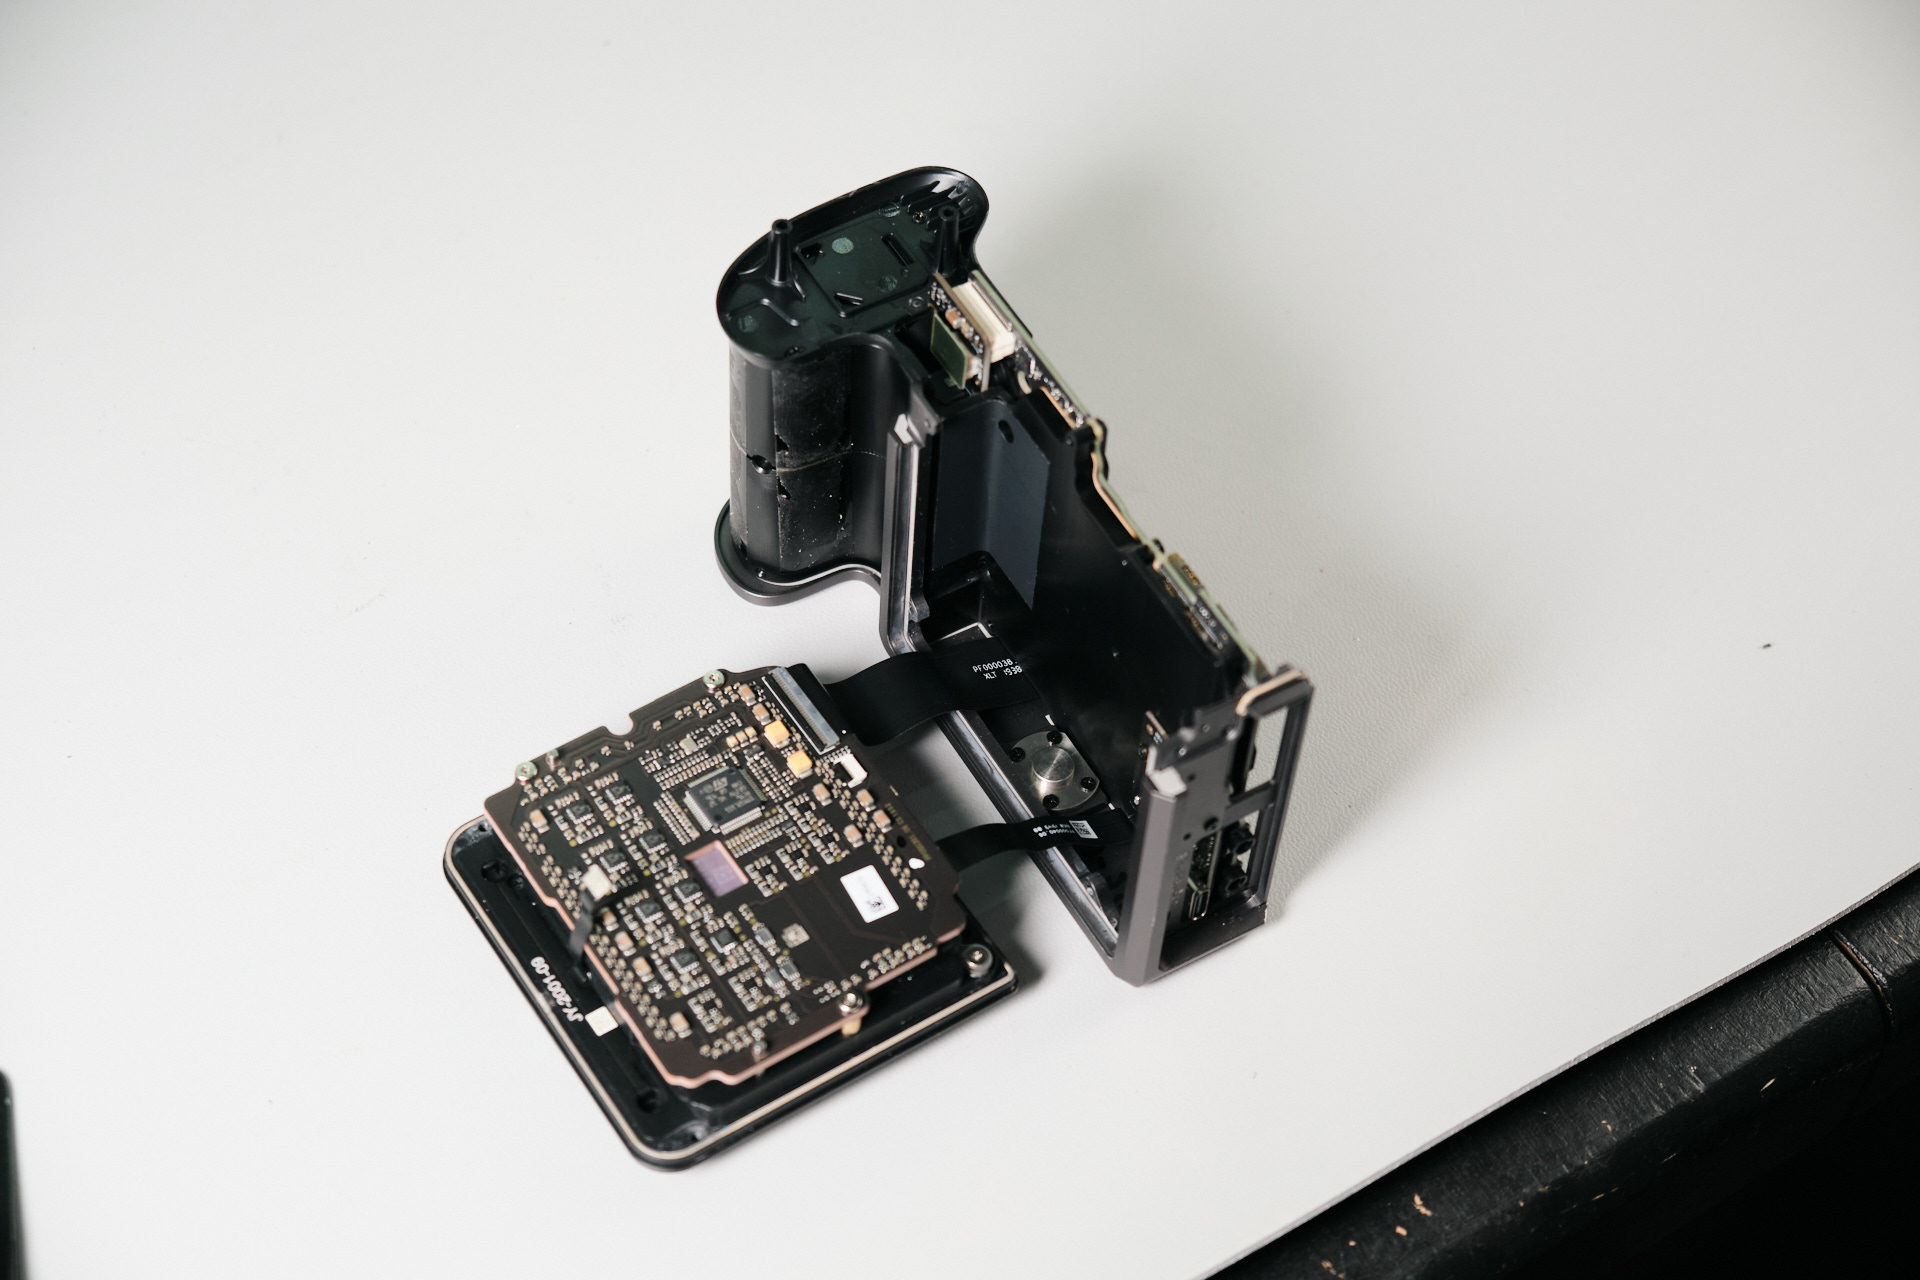
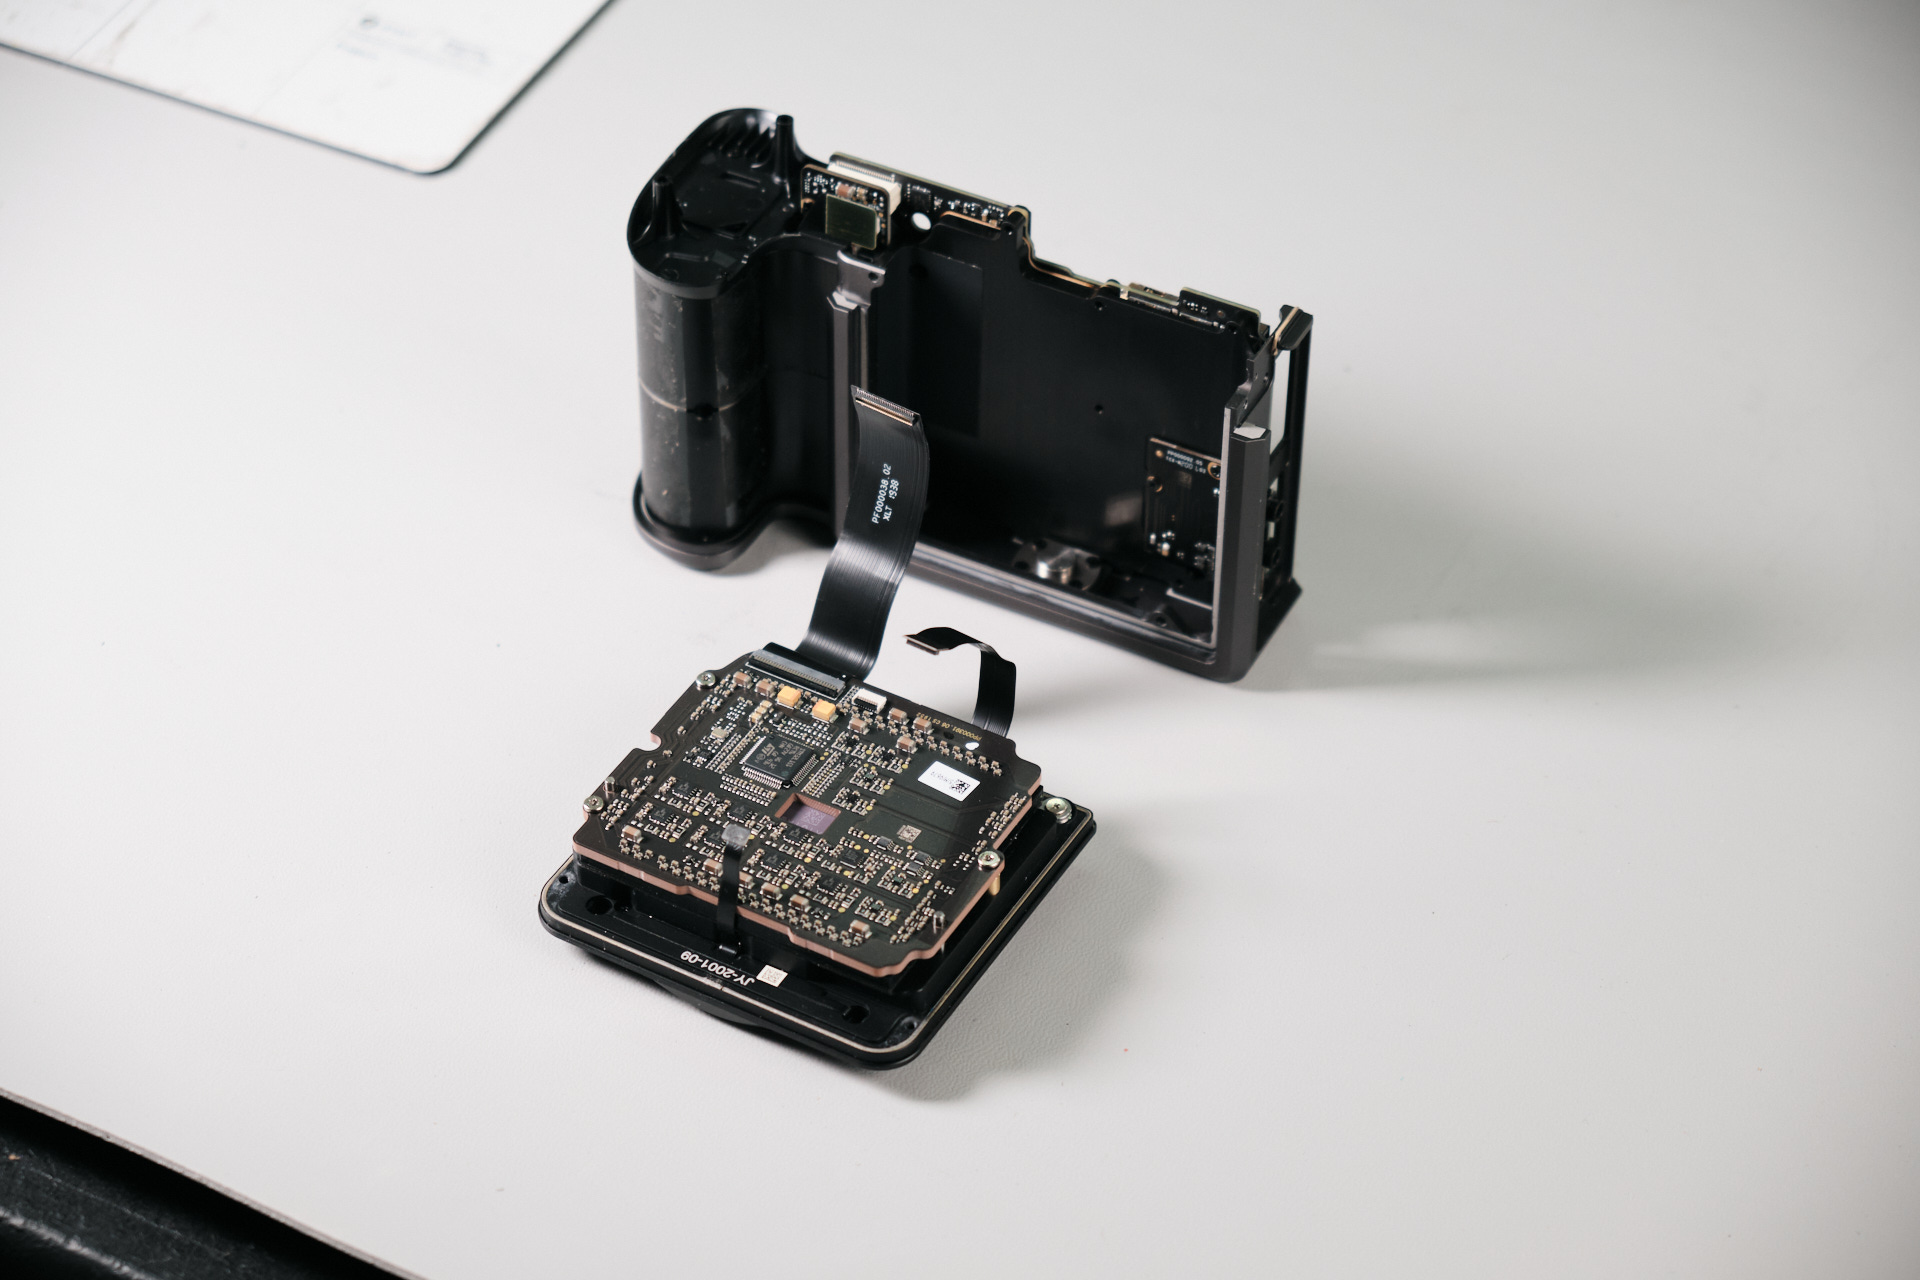
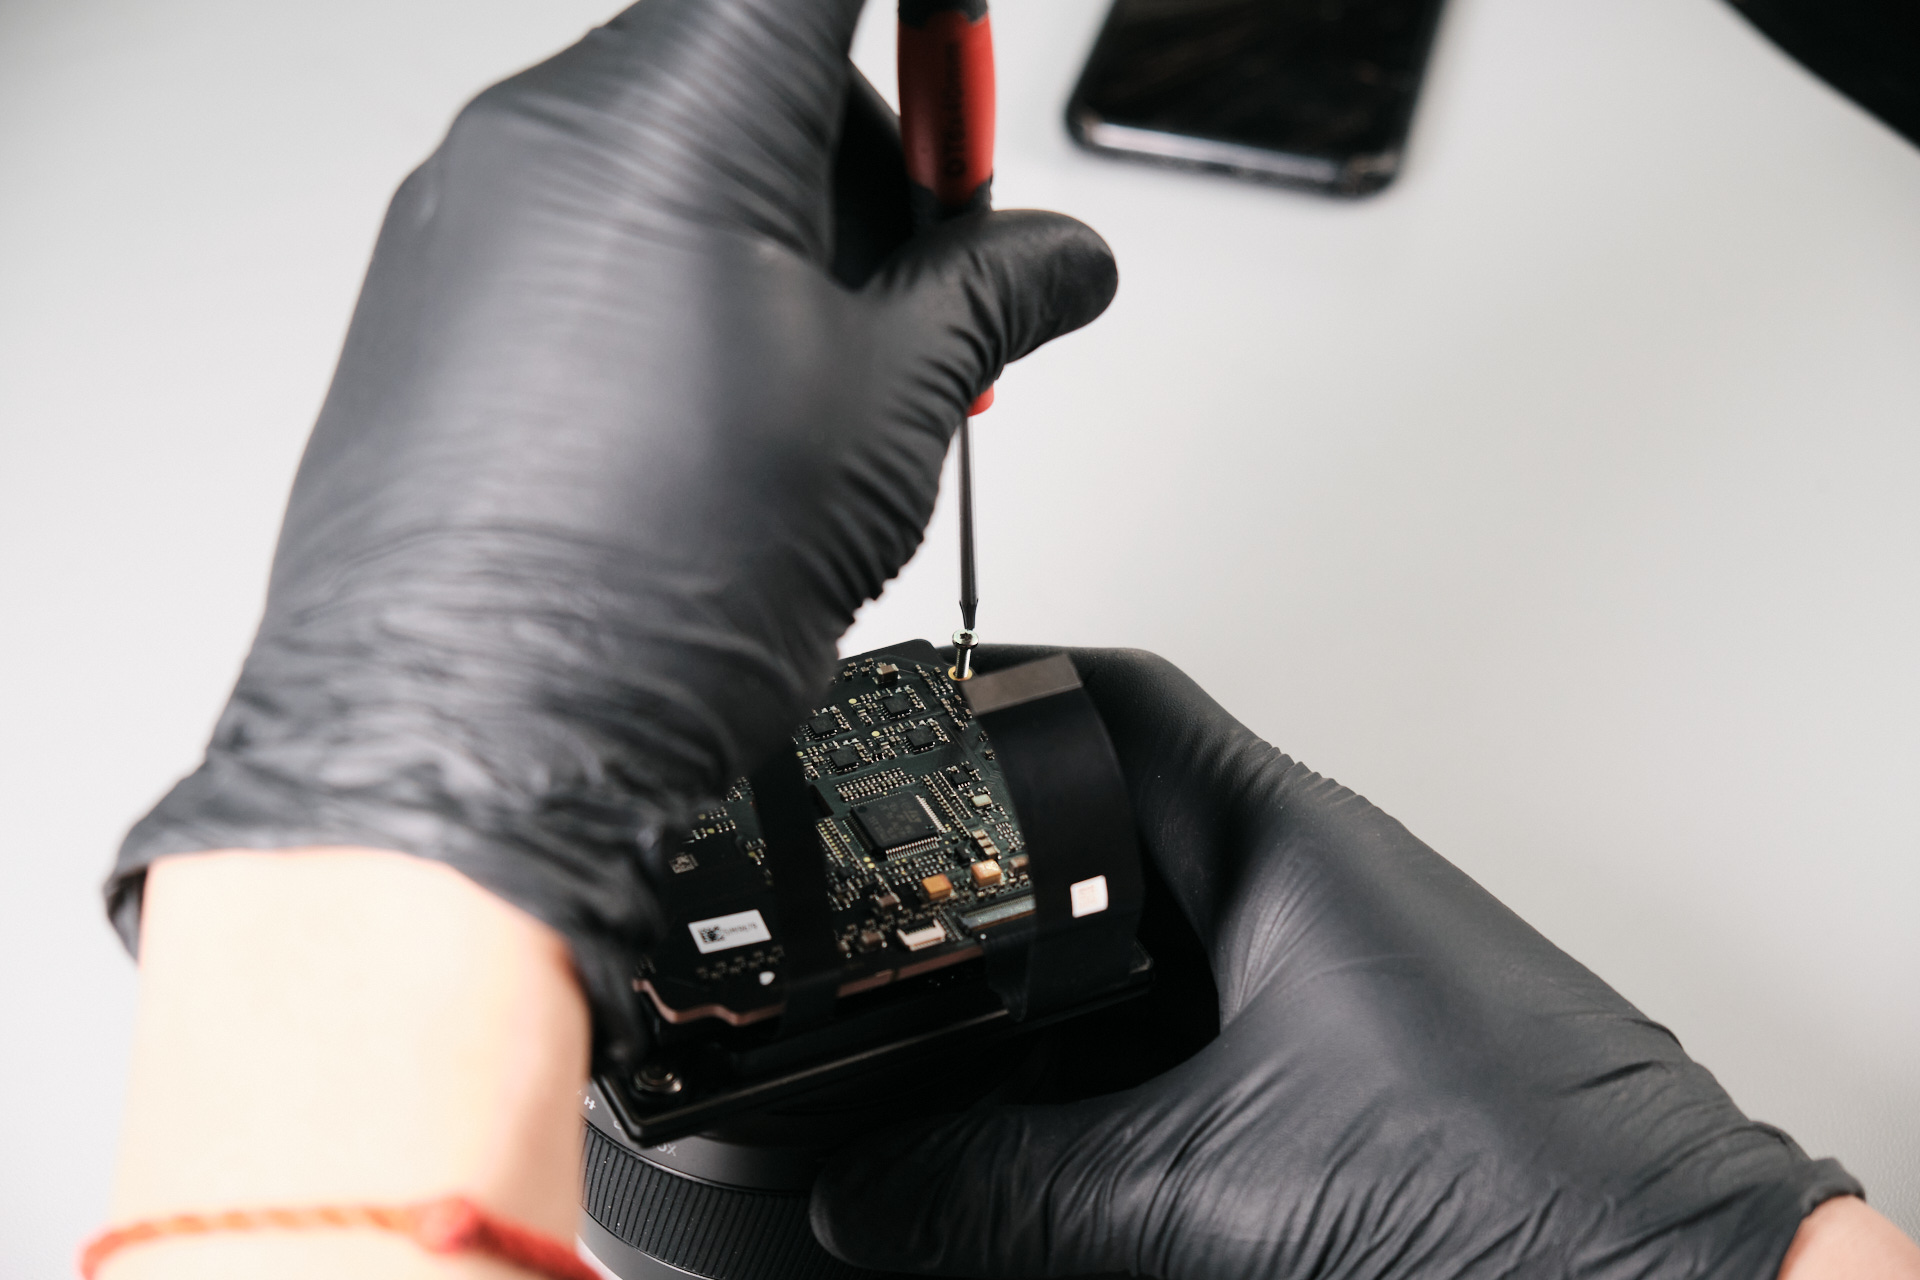
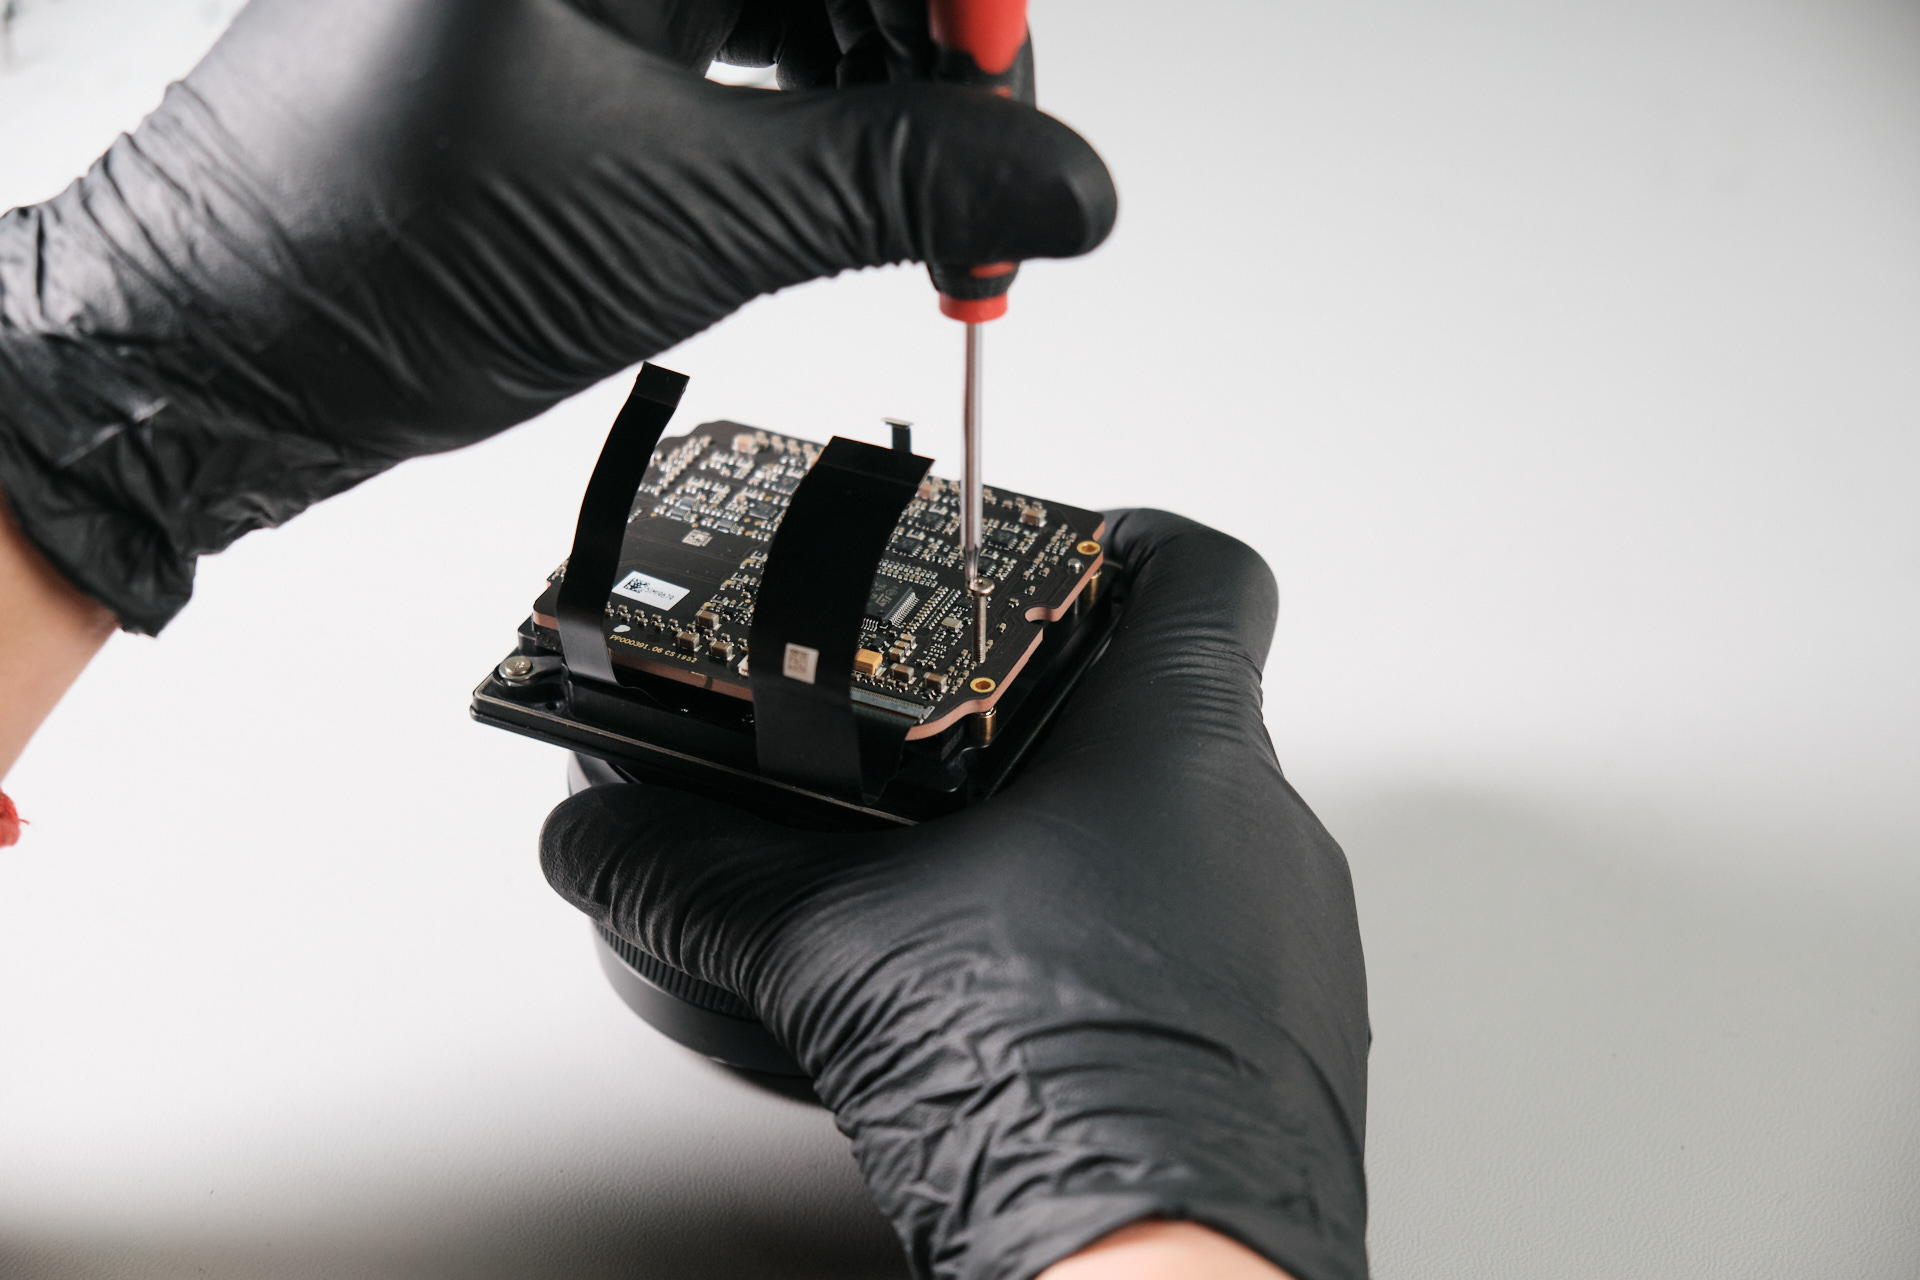
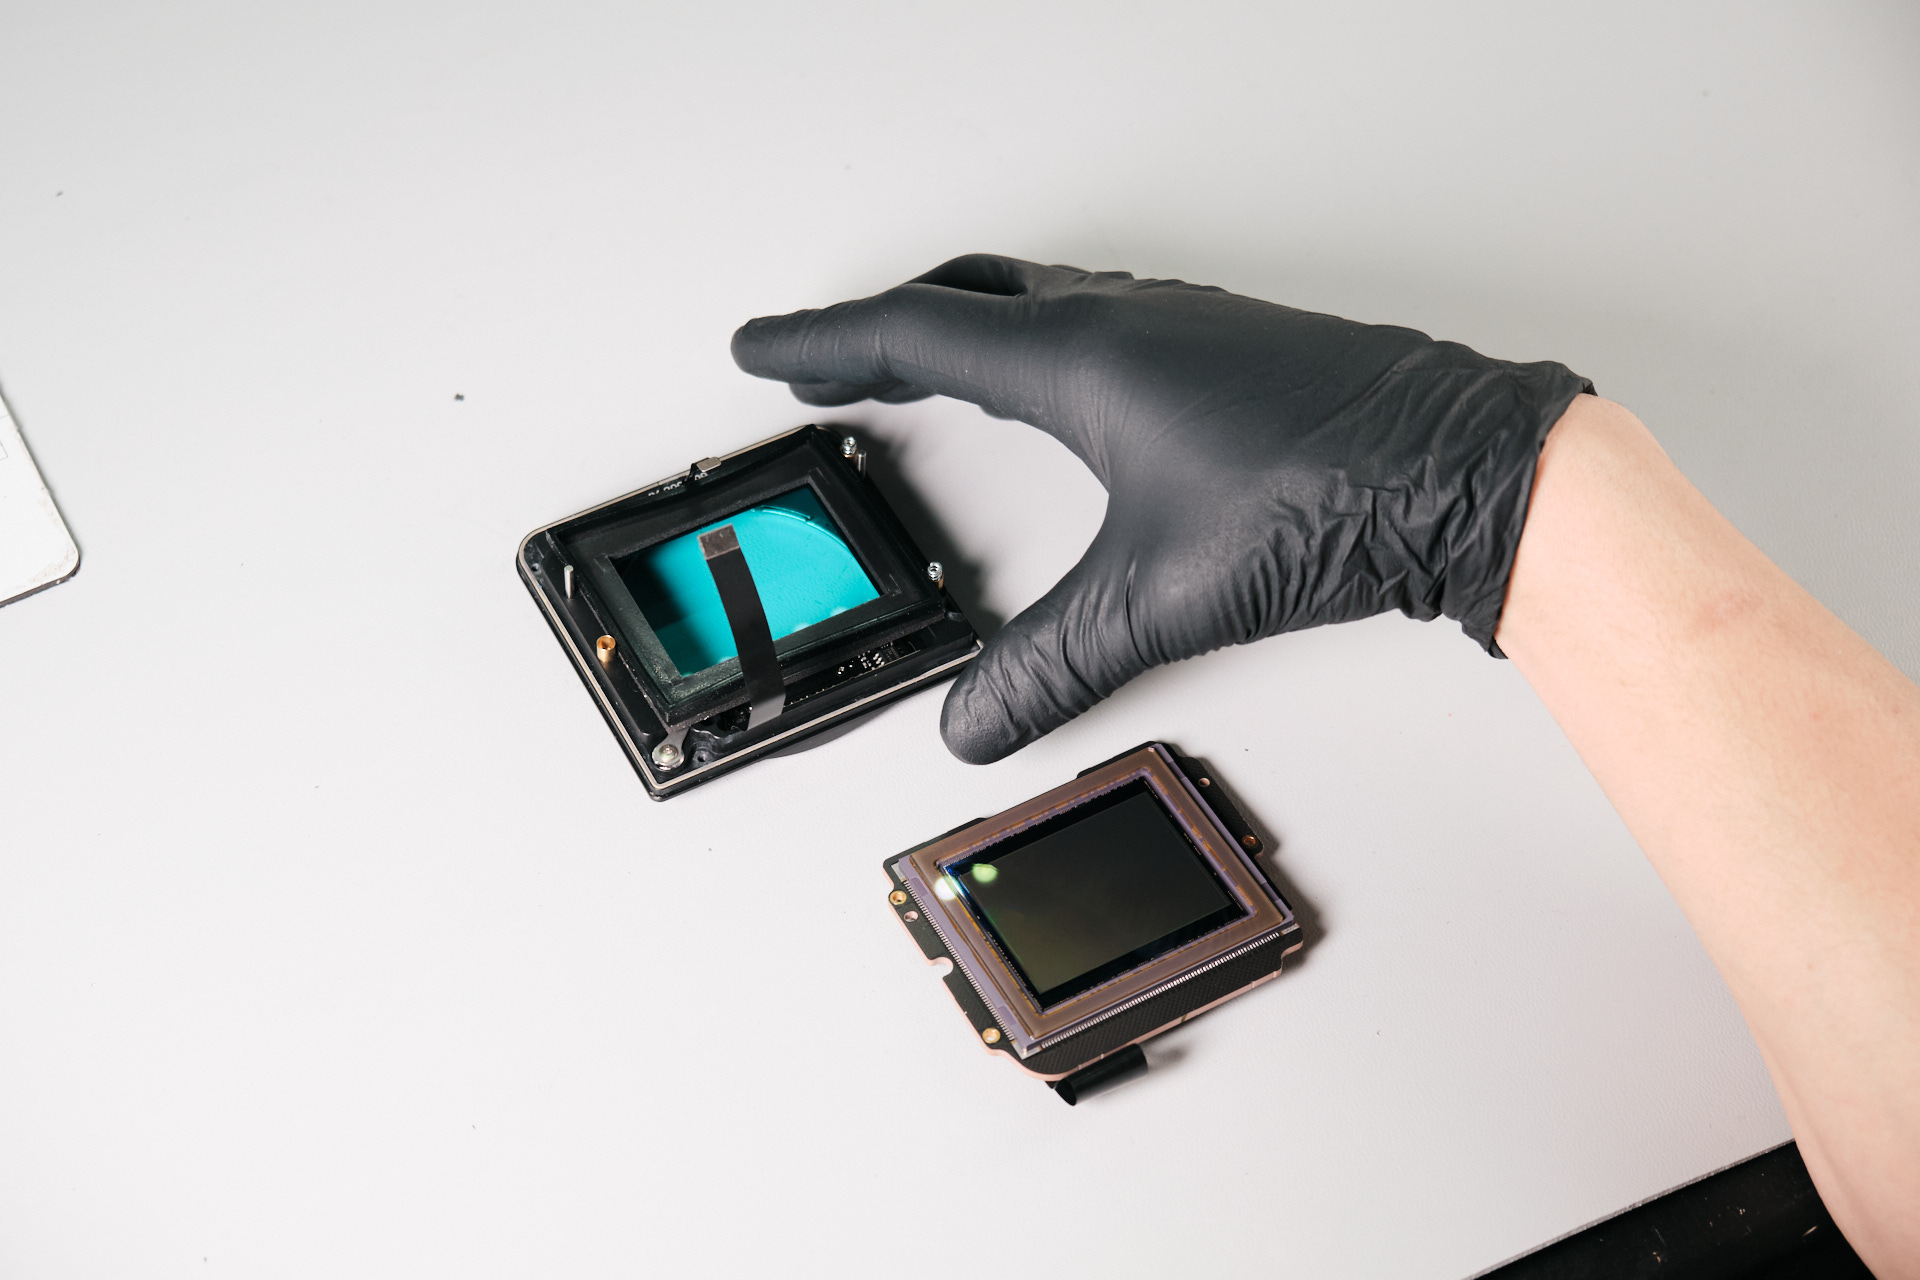
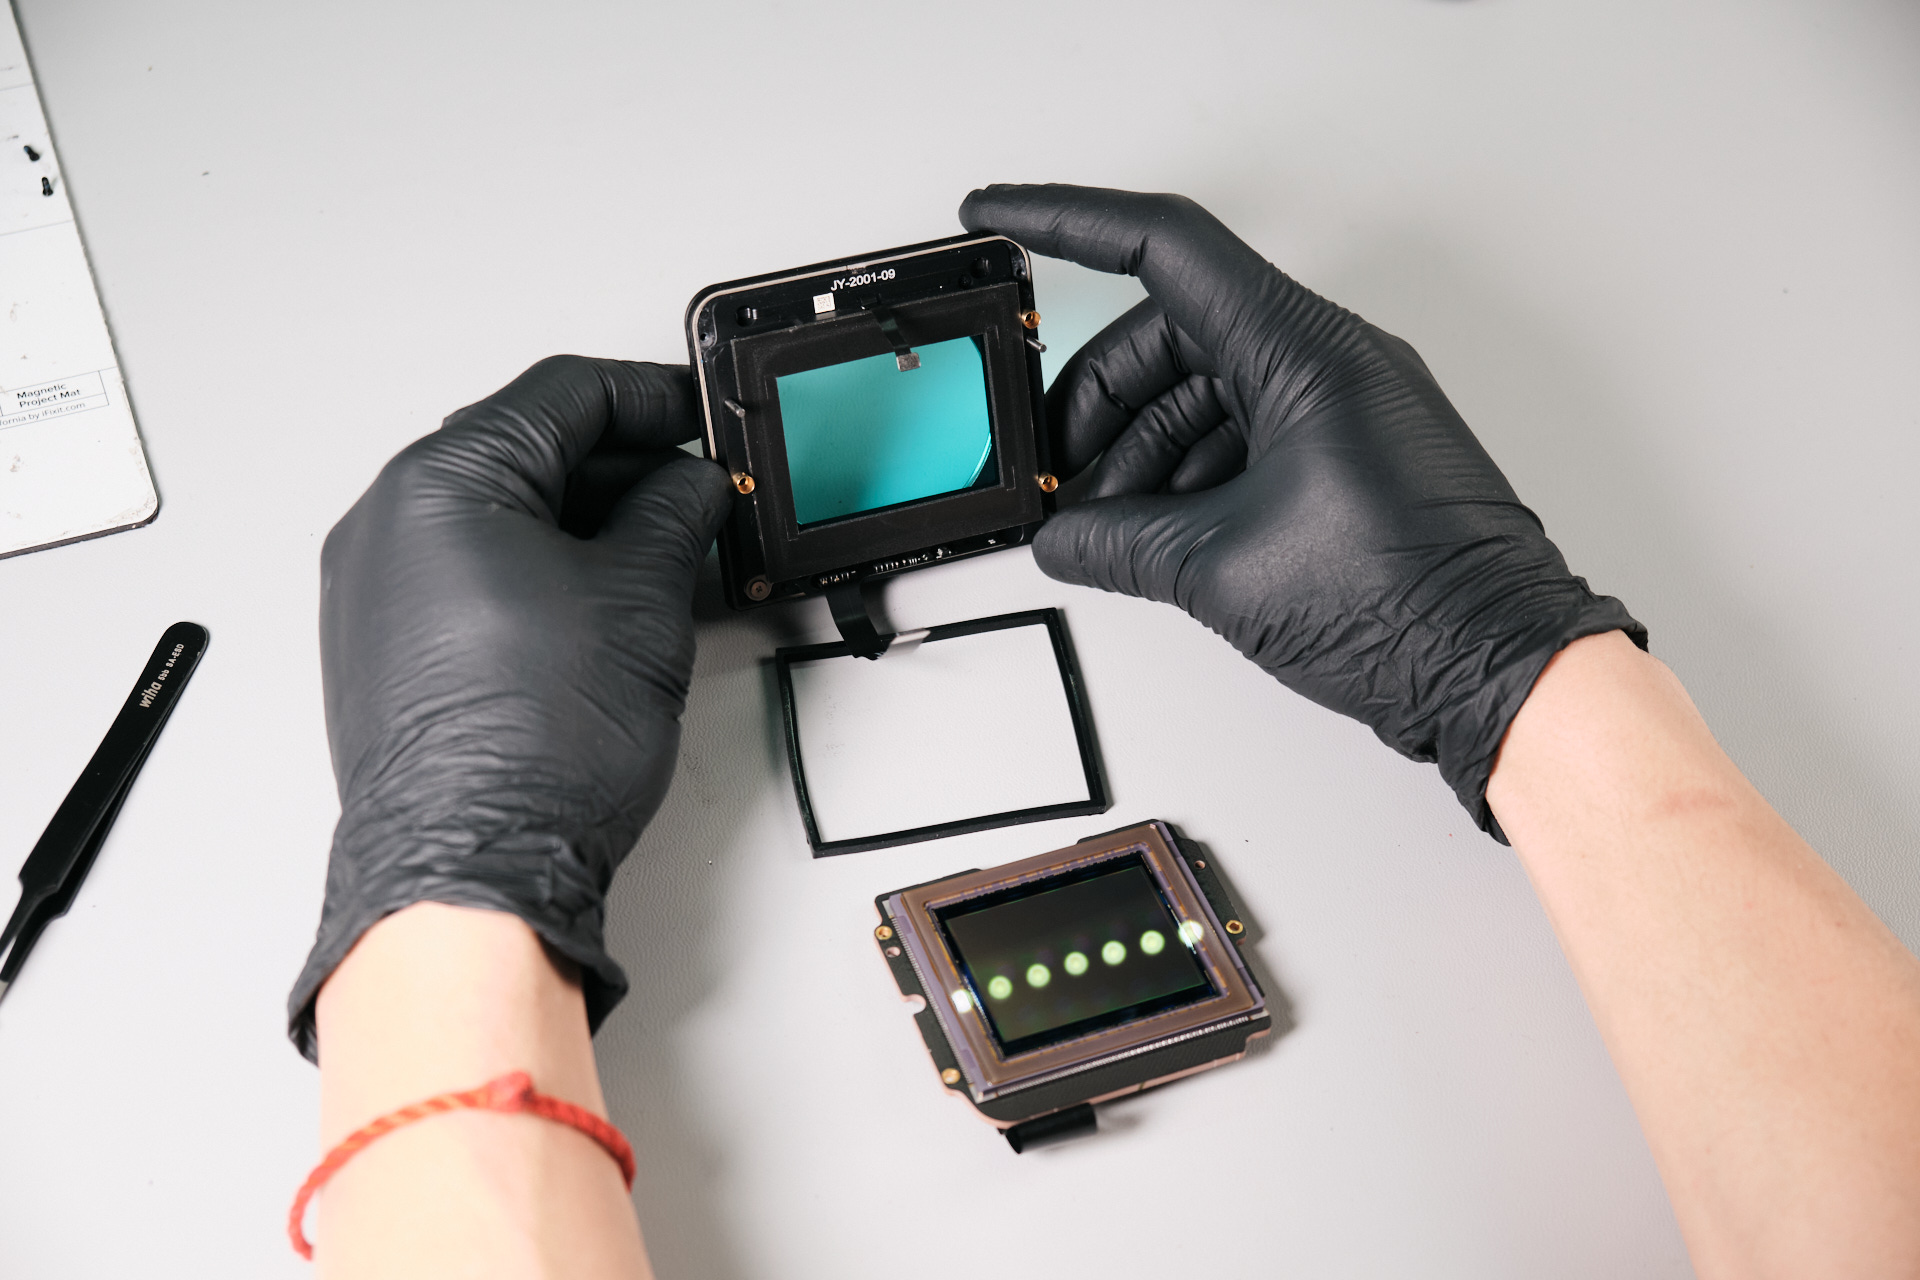
The sensor assembly could come off now. Three ribbon cables were attached to the sensor circuit board. Interestingly, the cables were fed underneath and through a gap to reach behind the circuit board. We needed to make sure we didn’t damage the sensor.
Hasselblad X1D II 50C Sensor Focus Adjustment and Full-Spectrum Conversion
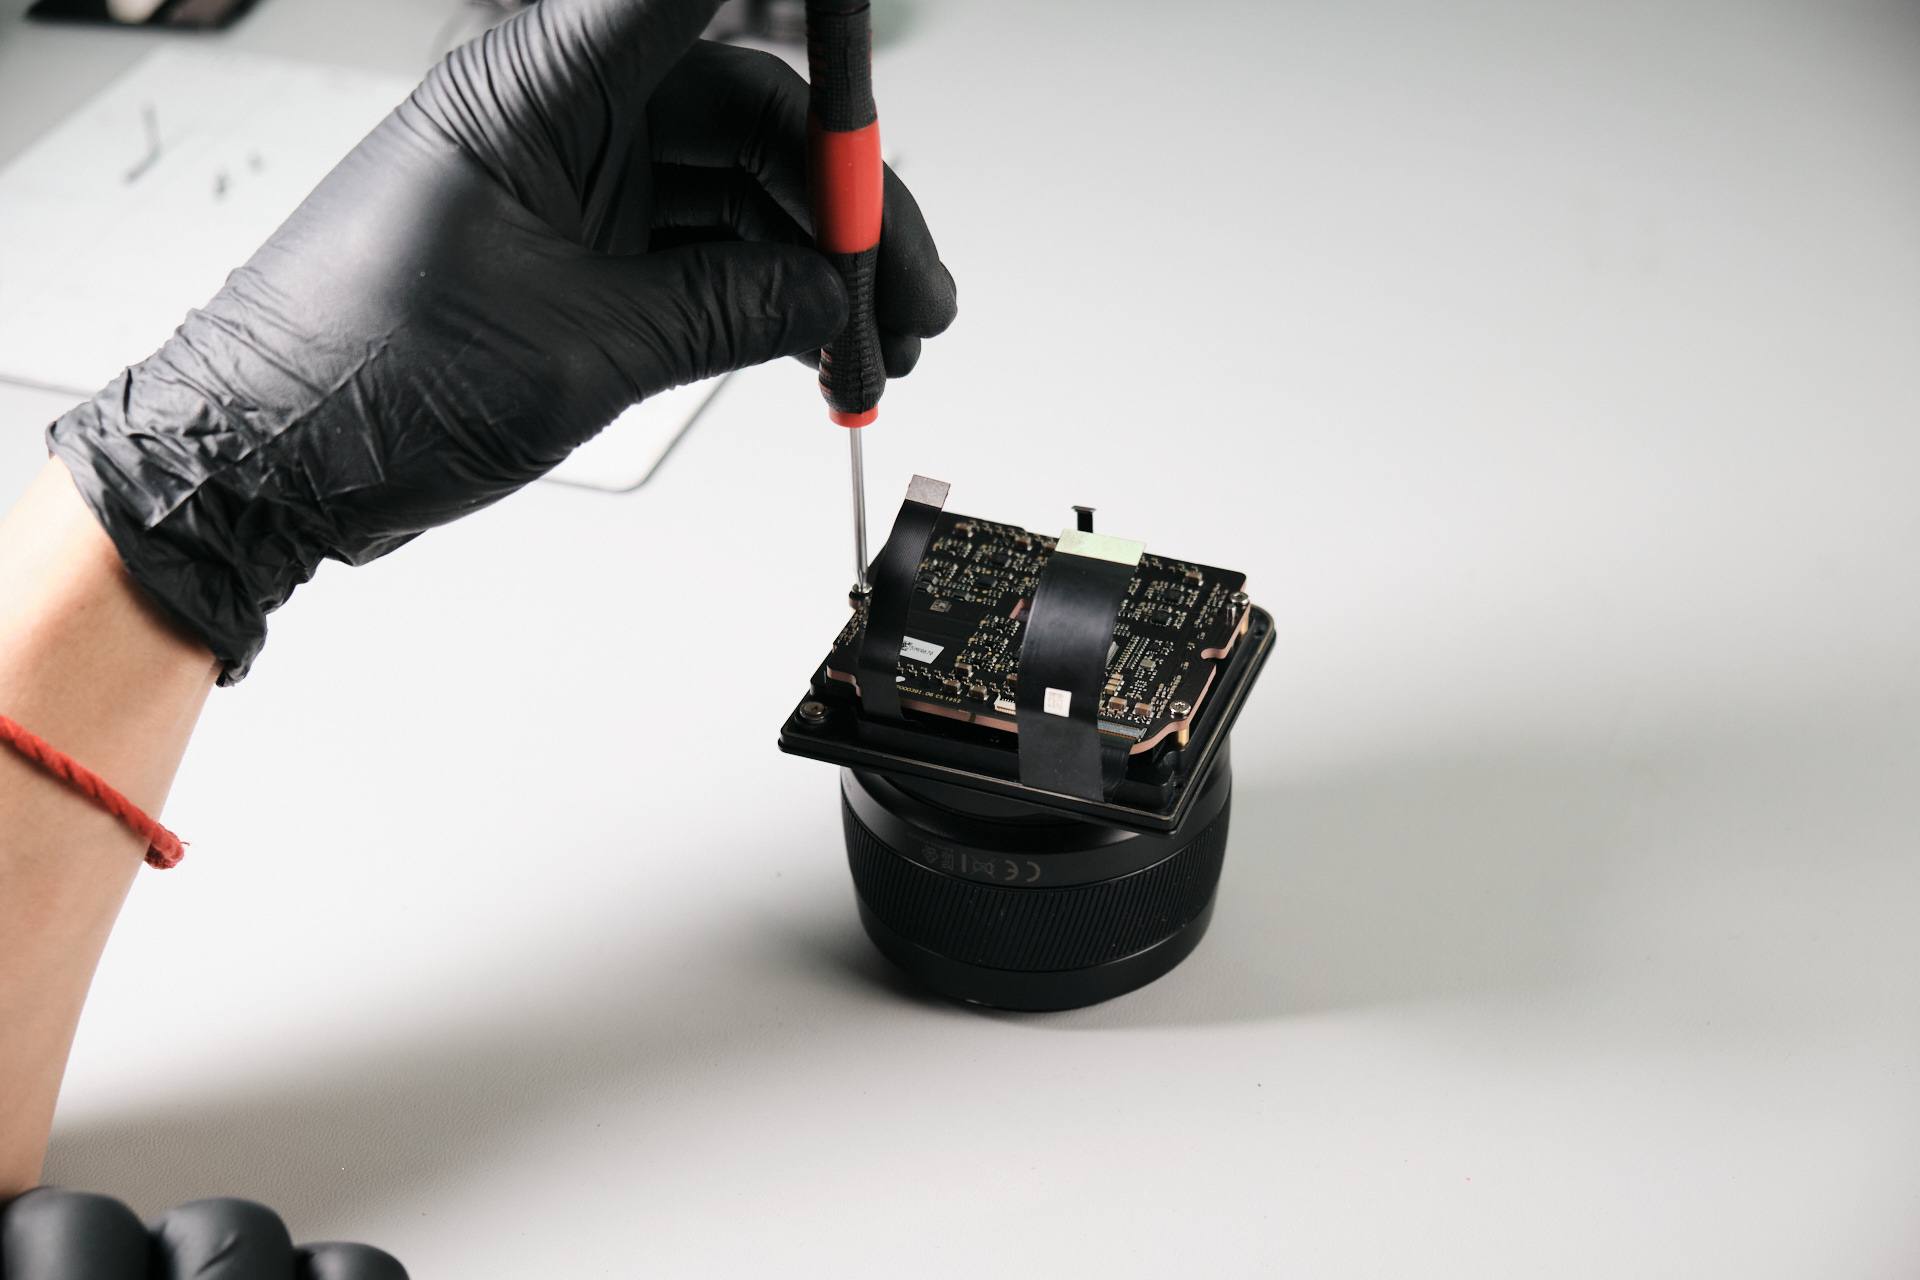
We found that Hasselblad uses springs for focus adjustment. Three T6 torx screws were removed.
With the sensor removed, we could continue with a full spectrum conversion!Â
Final Thoughts on the Hasselblad X1D II 50C Teardown Difficulty
We give the Hasselblad X1D II 50C teardown a 6/10 difficulty rating. There are many hidden screws, and each screw has Lock-Tite, so we had to be careful in the removal, or else we would strip the Philips head screws. During the separation of the sensor, we needed to be mindful of its ribbon cables that fed through the camera and the rubber gasket that acts as a spacer between the sensor and camera.
Thanks for reading. If you’re interested in more camera teardowns, we feature a new one every month. Be sure to sign up for our newsletter so you don’t miss them!
Frequently Asked Questions
How Do You Start Disassembling The Hasselblad X1D II 50C?
The Hasselblad X1D II 50C teardown starts differently from many camera teardowns because the camera does not have a separate baseplate. Instead, the disassembly begins by peeling off the rubber right-hand palm grip to access hidden screws.
Where Are The Hidden Screws On The Hasselblad X1D II 50C?
Several hidden screws are found around the Hasselblad X1D II 50C body, including screws beneath the rubber right-hand palm grip, screws around the EVF, screws under the dust caps, screws below the AE-L button, and screws near the CFexpress slot.
How Is The Hasselblad X1D II 50C LCD Screen Removed?
The LCD screen is removed by placing the camera face down, lifting the LCD away from the body, and disconnecting its ribbon cable. Once the ribbon cable is detached, the LCD screen can be removed from the camera body.
How Is The Hasselblad X1D II 50C Sensor Assembly Removed?
The sensor assembly is reached near the end of the teardown after the LCD, ribbon cables, circuit board screws, port terminal cover trim, CFexpress slot screws, and top panel are removed. Three ribbon cables are attached to the sensor circuit board, so they must be handled carefully.
How Difficult Is The Hasselblad X1D II 50C Teardown?
The teardown is rated 6/10 difficulty. The main challenges are the number of hidden screws, Lock-Tite on the screws, ribbon cables routed through the body, and the rubber gasket that acts as a spacer between the sensor and camera.